


For years I kept a lovely pot of African violet leaves. I say leaves because the violets never showed up, so it was a pot of lovely emerald-green leaves. It wasn’t until I was ready to pitch the silly plant in the trash that I decided to make a last-ditch effort to try and figure out what exactly my plant needed to bloom.
After a weekend of reading, I realized I had done everything wrong and made all the classic African violet mistakes.
I completely overhauled my African violet, repotting it, removing leaves and trimming the root ball. Then I paid attention to a few key environmental factors. Within a month, I grew a large cluster of deep, purple blooms among my African violet leaves.
I realized then once you know what you’re doing, it’s easy to keep African violets blooming continuously.
And from there, it didn’t take long for one plant to become a dozen.
If you avoid making these common African violet mistakes, they’re some of the easiest and most rewarding plants to grow. If you’re having trouble getting your African violet to bloom consistently, let’s look at a few of these common mistakes and get you sorted out. Before you know it, you’ll have a dozen tiny pots of brightly colored violets around your home too.
1. Not Repotting Frequently
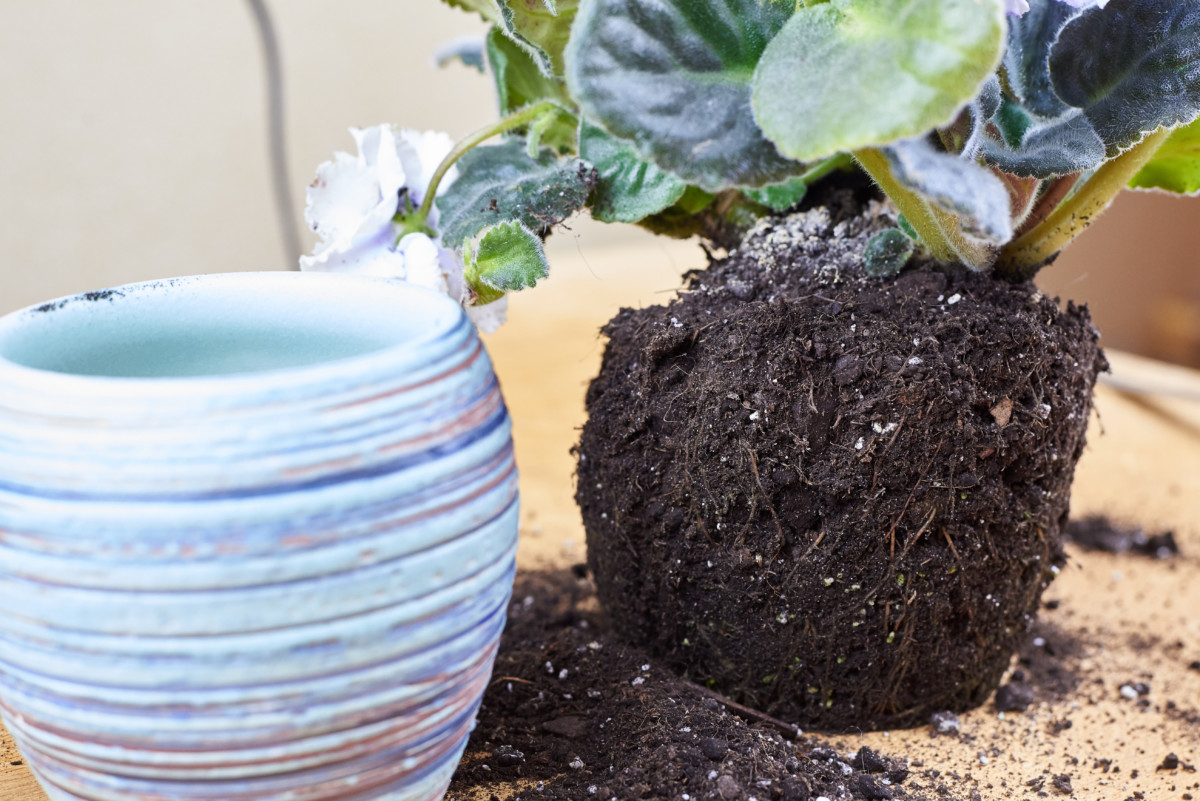
Once your violet is fully mature, it needs to be repotted twice a year. I know, repotting isn’t my favorite task either. But for violets, it’s pretty easy because a full-grown violet will not need to pot up, as you’ll always be removing extra leaves as it grows. Repot it in the same size pot. Because you’re removing leaves, the plant isn’t growing larger over time.
However, more of the bare stem will be visible as time passes. To keep the plant’s roots healthy and the stalk from becoming too gangly, the plant should be repotted twice a year, the root ball trimmed, and the stalk planted deeper in the potting mix. By keeping your violet nice and compact, you’ll encourage more flowers.
2. Using Soil that’s Too Heavy
While repotting your African violet, you may have noticed the root system is quite small. Rarely do they become root bound because the root system remains compact. While that’s one less problem you have to worry about, these smaller root systems can be crushed under the weight of an all-purpose potting mix, especially if it remains wet for too long.
Remember, the root system delivers the nutrients needed to make blossoms.
African violets are notorious for developing root rot if kept in a general-purpose potting mix, especially if you let the plant sit in water after it has been watered. Once a plant develops root rot, it’s tough to save.
Avoid these issues by using a specially blended African violet potting mix that is light and quick draining. You can usually find one at your local garden center. Or, mix up a big batch of your own in a 4:5:1 ratio of coconut coir (40%), perlite (50%) and vermiculite (10%).
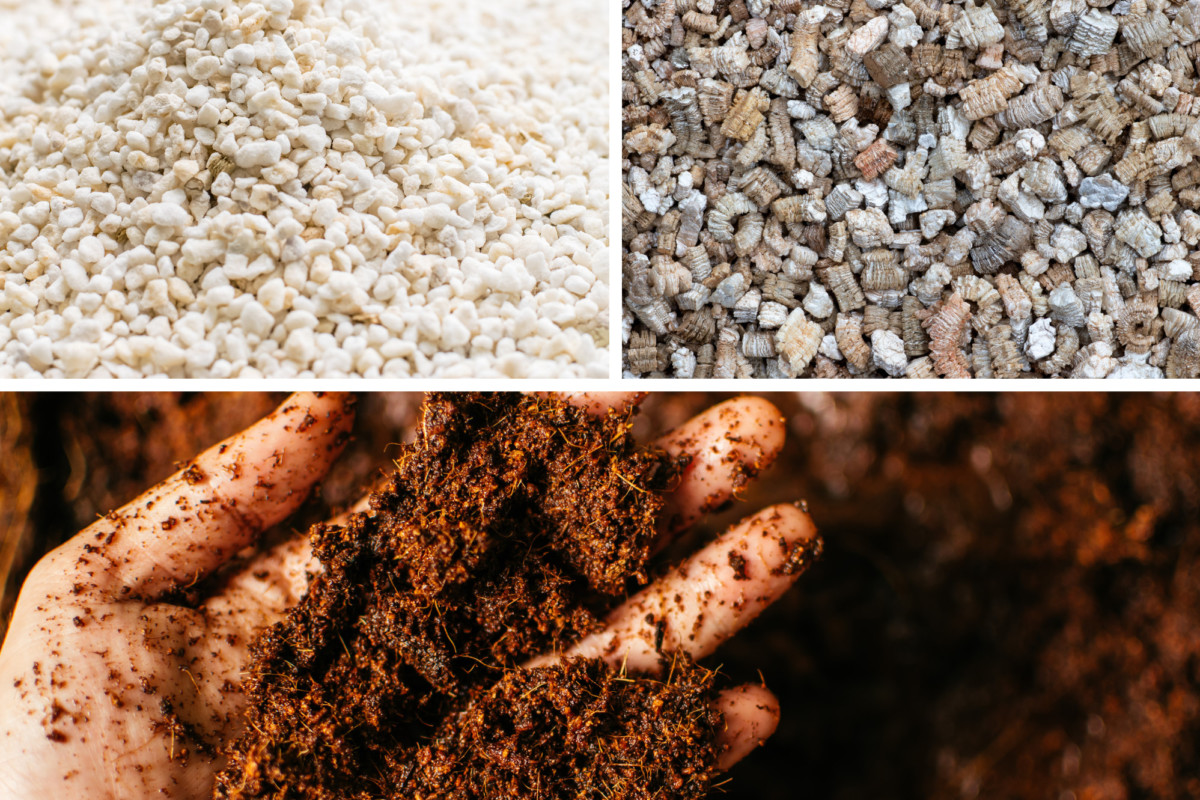
(If you can’t find coconut coir, you can use peat moss, but we don’t recommend it because of the environmental impact)
When you water in violets with this blend for the first time, add a drop or two of liquid dish soap to the water, as this mixture can be hydrophobic otherwise.
3. Forgetting to Fertilize
Fertilizer is so important when you’re growing a plant that blossoms. The plants you grow in pots can’t draw nutrients from the soil as they would in the wild. You have to give them the nutrients they need to grow and flower.
This is especially important to remember if you’re having trouble getting your African violet to bloom.
They’re kept on the smaller side, and the smaller pot means less soil, so they run out of nutrients quicker. If you aren’t feeding your African violet with every watering, then there’s a good chance it won’t bloom for you.
For African violets, I’ve found the best way to ensure they have what they need in the soil is to fertilize them every time you water them at half-strength.
Flush the soil once a month by watering it without fertilizer. This will slow the buildup of harmful salts. If you’re consistently repotting every six months, this is less of a concern.
Choose a fertilizer with a higher amount of potassium in it than nitrogen or phosphorous. I’ve been using Shultz African Violet Plus for years with excellent results.
4. Not Providing Humidity
African violets need moist air to do well. If your home is dry, keep your plants on pebble trays filled with water, or purchase a small cool-mist humidifier to run near them. Humidity is especially important in the winter when heating our homes causes dry air.
If you’ve got a sunny bathroom, it’s a great place to keep an African violet happy.
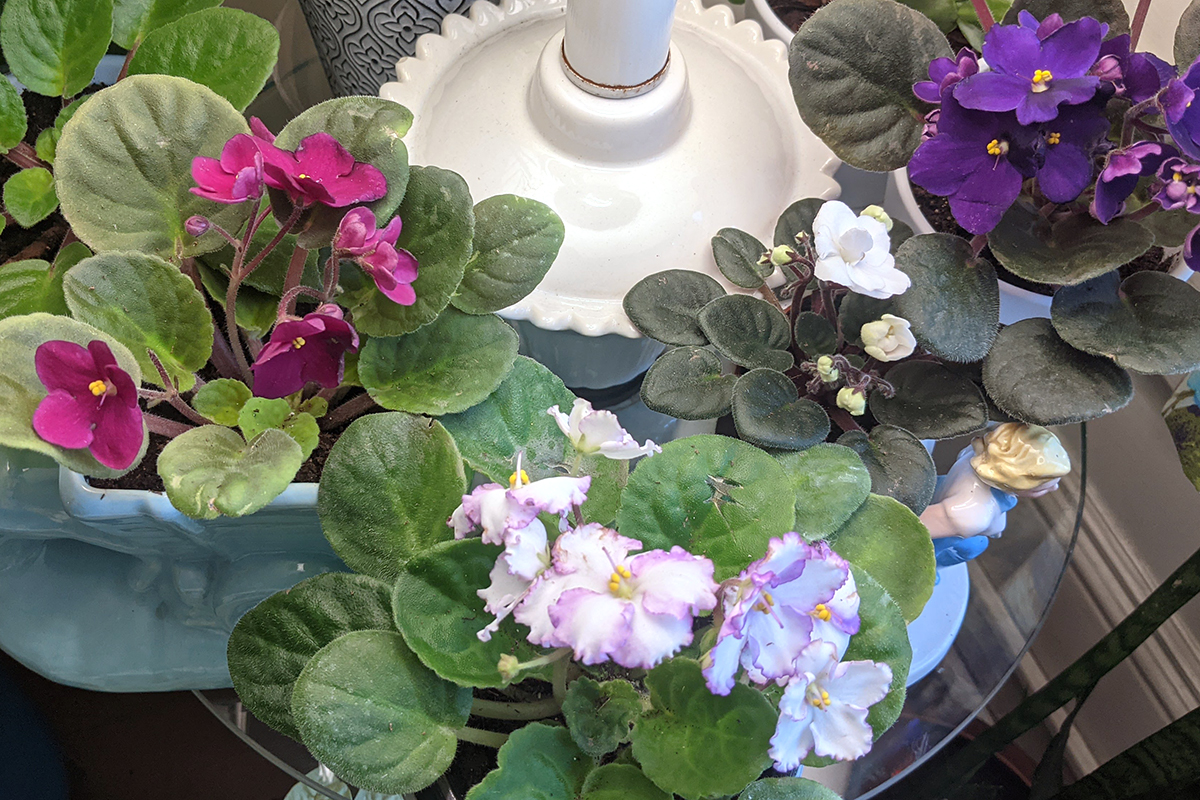
5. Using a Pot That’s Too Big
Unless you’re growing African violets to show in competition, they’re generally kept on the small side. When repotting, you’ll rarely ever pot up for a mature plant.
For all plants, not just African violets, the size of the mature root system dictates pot size. As the root systems of these plants stay pretty small, a larger pot is unnecessary and, depending on watering habits or potting soil, can lead to soggy roots.
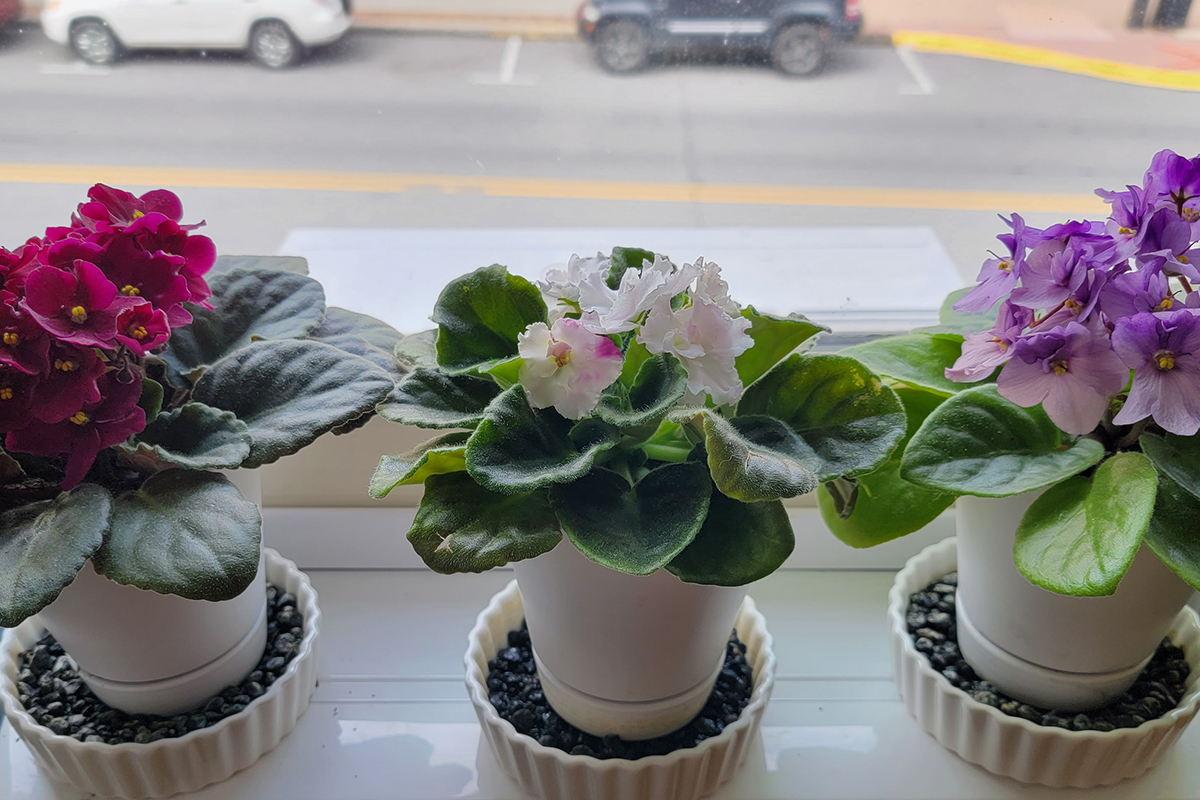
Keep your African violet pots to around 4” for normal-sized plants and 2 ½” for mini-African violets.
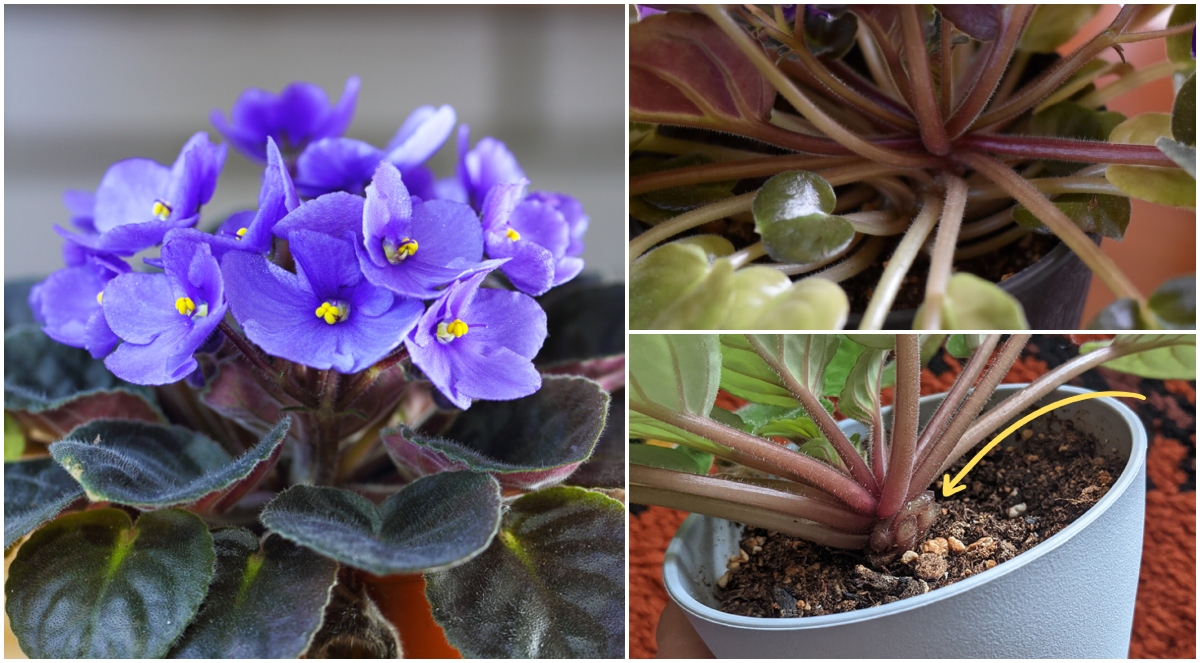
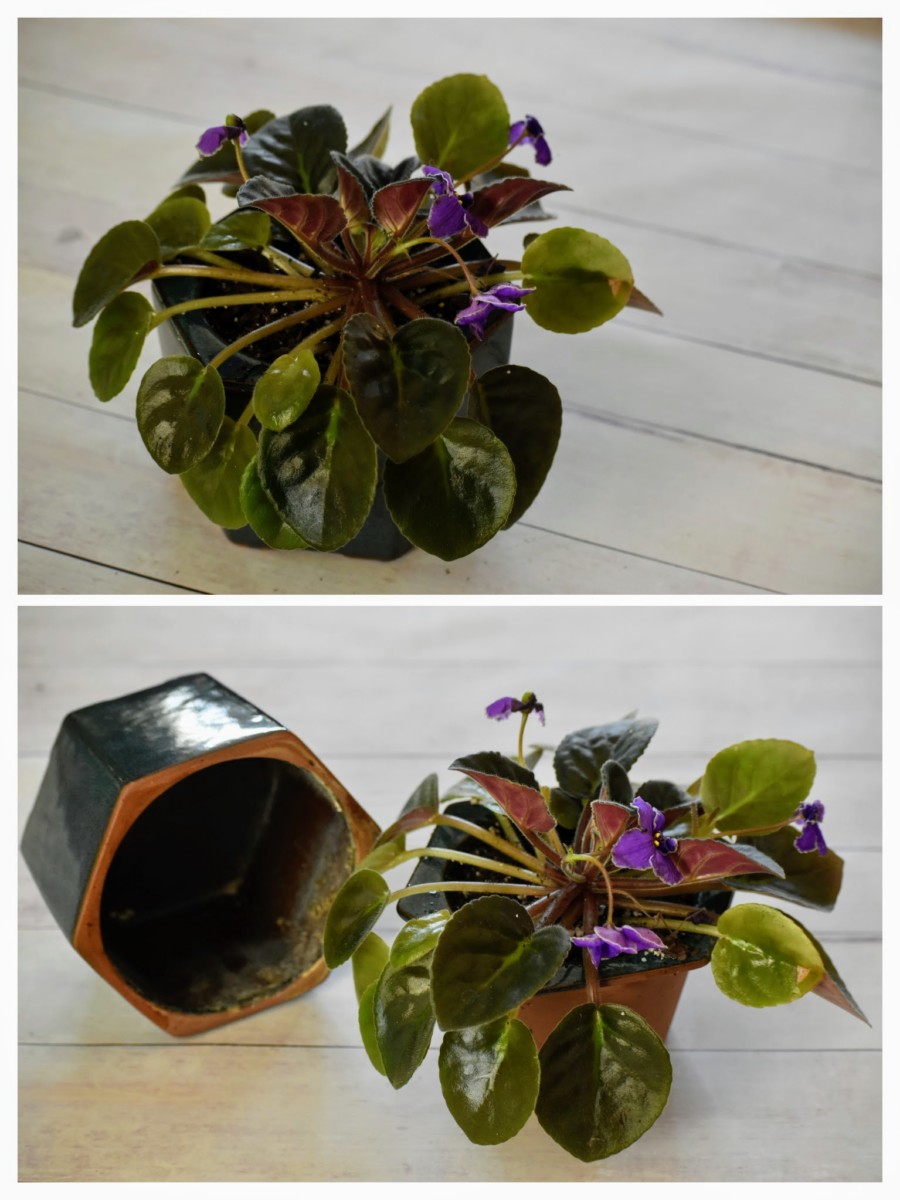
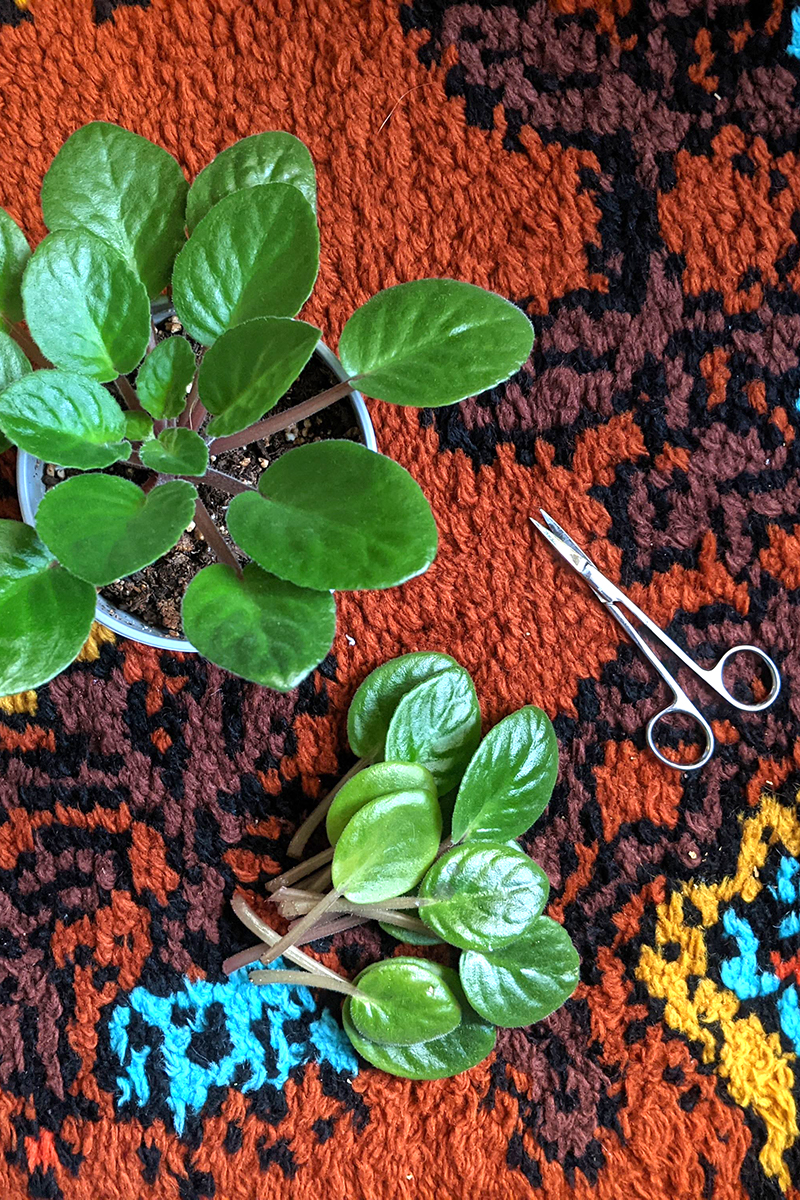
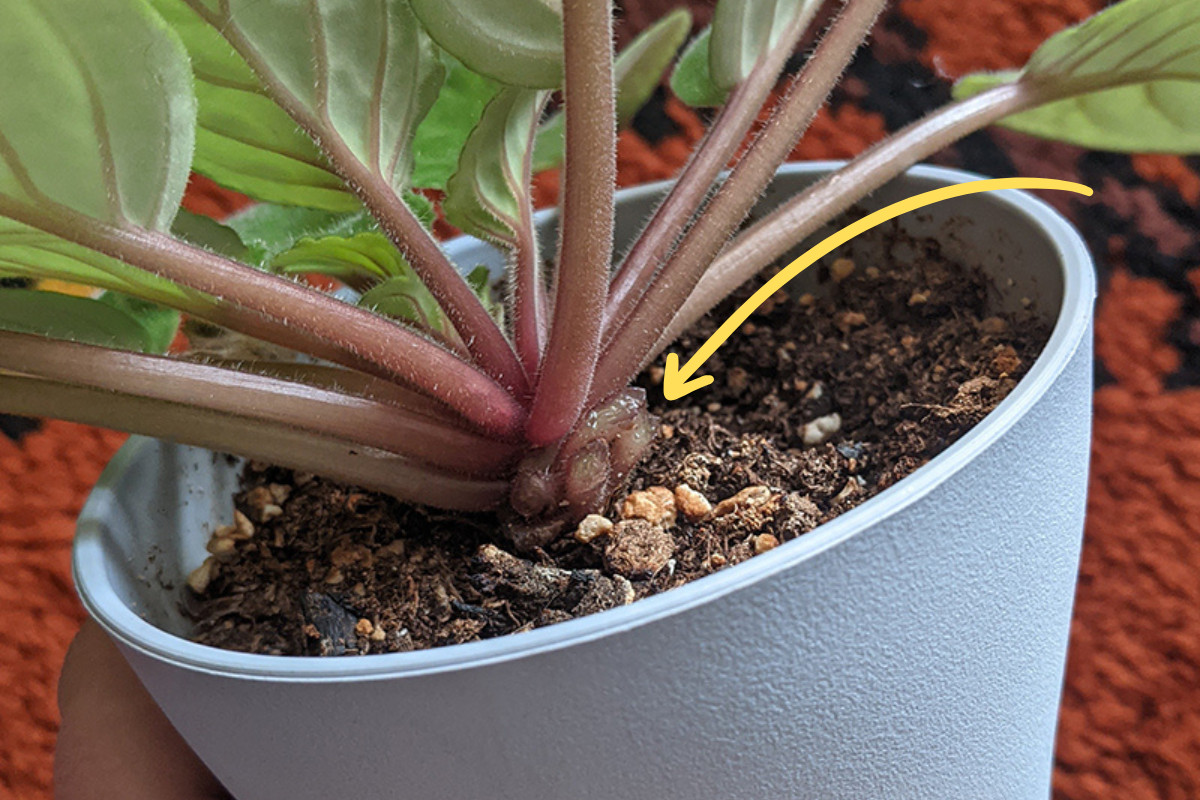
6. Not Removing Suckers
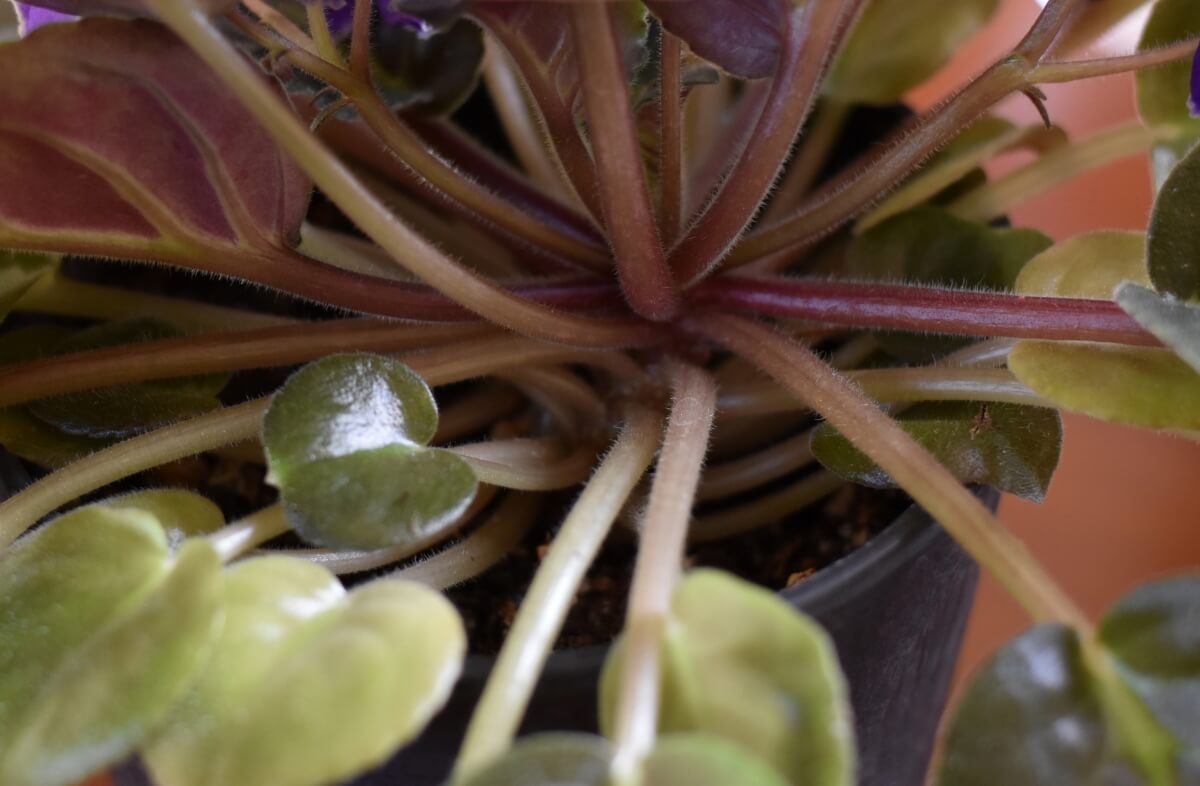
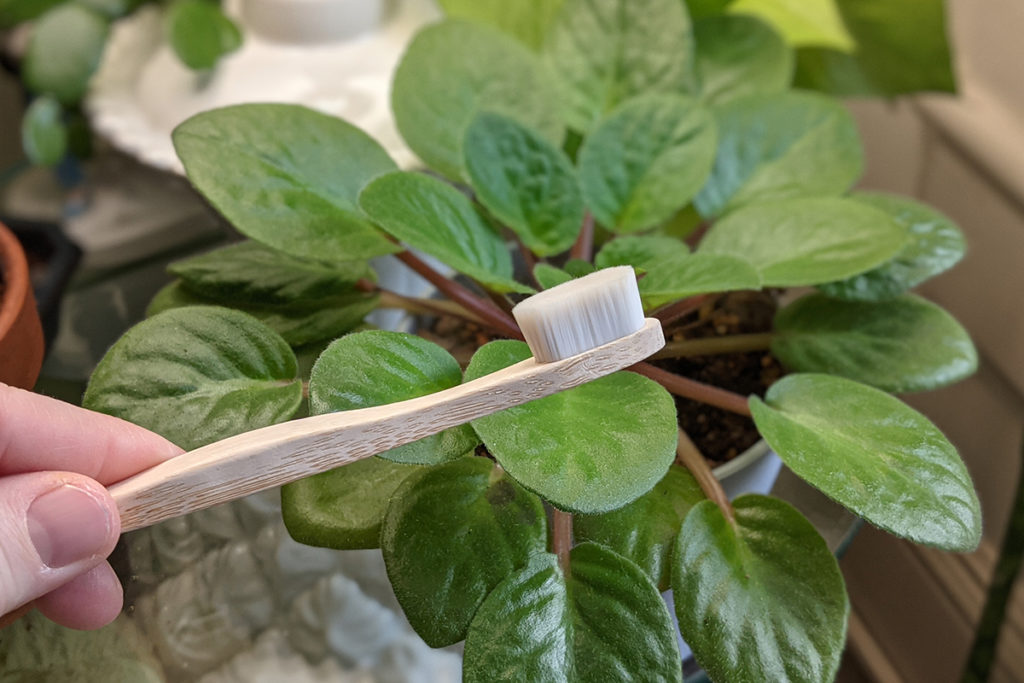
Suckers are tiny, new plants that sometimes develop on the stalk of the existing crown. They can be difficult to spot without closer inspection, as they tend to blend in with the crown of leaves. But if you find them, you should remove them, as they take away nutrients from the main plant to grow bigger.
Using a clean pair of scissors, you can snip them off. Or, just as easily, you can twist them off with your fingers.
But don’t pitch them! You’ve got a fully propagated new plant there in your hands.
Press it down into a small pot filled with damp African violet potting mix. Cover the pot with clear plastic or glass to keep in the humidity. Place the tiny sucker where it will receive plenty of bright light. It will put down roots, and you’ll have another African violet to keep or give away.
Meanwhile, the main plant you removed the sucker from can now put more nutrients toward flowers. More flowers and a new plant – it’s a win-win.
Related Reading: How To Propagate African Violets
7. Not Removing Leaves
African violets continuously produce new leaves as the plant grows. However, if you want to encourage the plant to put nutrients and energy into blooming, then removing some leaves needs to be part of its care.
In general, leave 12-15 leaves on the plant to ensure it has plenty for photosynthesis.
All other leaves beyond that can be removed, starting at the base of the stalk, closest to the soil and moving upwards. Simply bend the leaf until it snaps cleanly from the stalk—the scar on the stalk with scab over within a day or two.
Removing leaves is also one of the reasons why African violets need to be repotted more frequently than other plants.
8. Not Providing Enough Light
African violets need lots of light to bloom—more than you think. If you’ve corrected all the other mistakes listed here and still aren’t getting blooms, this is usually the culprit.
African violets need bright, indirect light to thrive and even more to bloom consistently. Commercial growers give African violets between 10-12 hours of bright light daily to encourage consistent blooms.
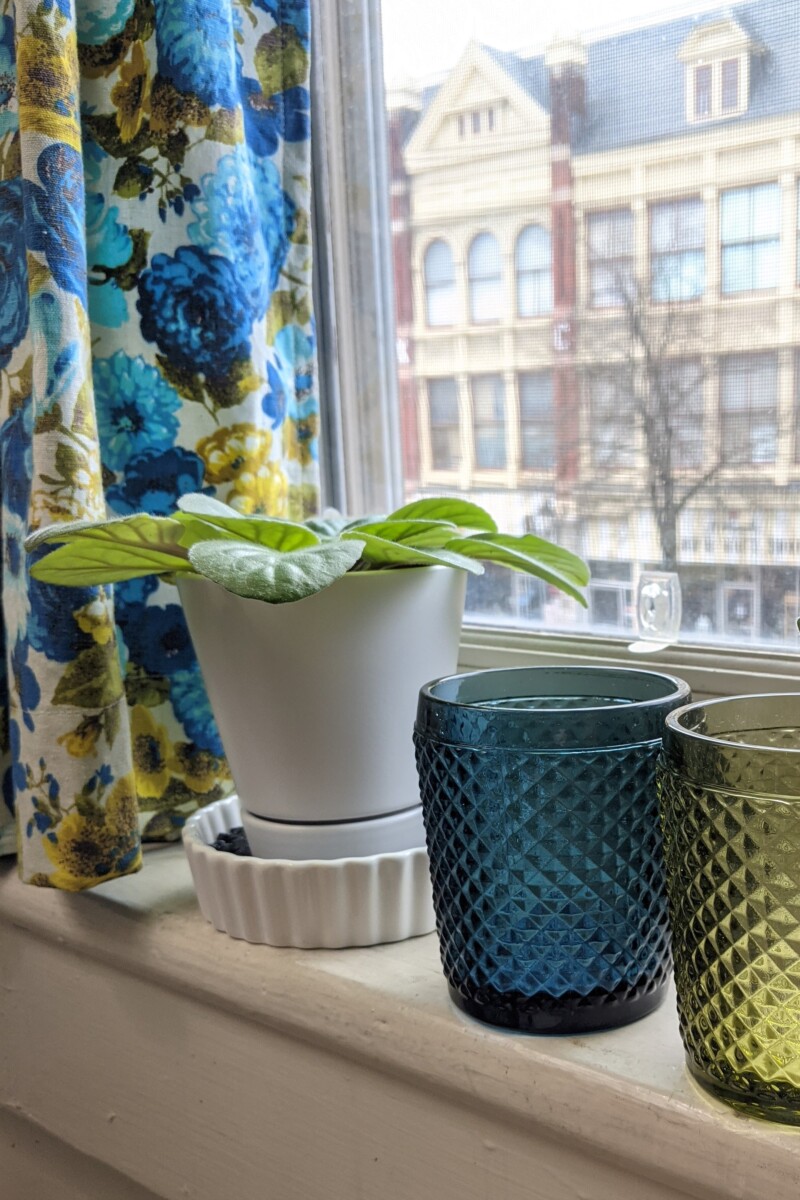
Near a southern-facing window is a great place to keep your African violet so it will bloom all year long. If that’s not an option, try putting the violets directly on the windowsill of a window that receives less full-sun exposure during the day, such as an eastern or western-facing window.
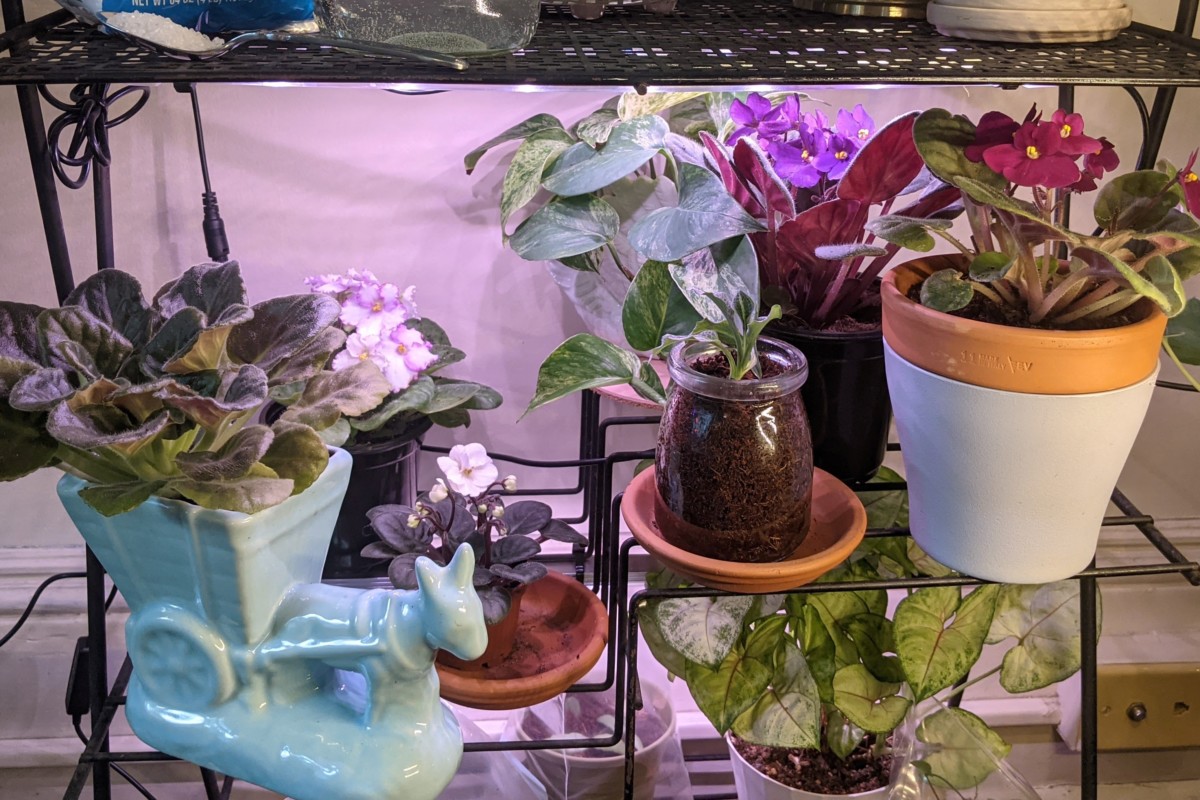
If you don’t have good light, it’s time to get out the grow lights. Keeping African violets under a grow light set to a timer will ensure the plant receives enough light to flower.
9. Not Paying Attention to Seasonal Needs
If you place African violets directly in a window to give them the light they need to blossom, keep in mind that the amount of sun they receive there will change throughout the year.
In spring and fall, that same window might be just fine; however, in the summer, you may find a plant with sunburned leaves and crunchy flowers in the same window.
During the warmest months of the year, keep an eye on your plants and relocate them if they’re getting too much sunlight.
On the flip side, if you live somewhere with cold temperatures in the winter, you’ll need to keep your plants away from drafts and windowsills. This may be a temporary move until the seasons change, but a necessary one all the same. Tender leaves can be damaged by touching windows with icy outside temperatures.
Like all houseplants, if you take the time to learn how to care for an African violet, you’ll realize it isn’t all that difficult to keep them looking great and thriving.
While these mistakes may seem like a lot of work to fix, the actual day-to-day care is minimal once you get your plants set up correctly. And the extra effort it takes to do so is worth it when that pot of emerald green leaves starts producing flowers.
If you really want to take your violets to the next level, check out our article below:

Get the famous Rural Sprout newsletter delivered to your inbox.
Join the 50,000+ gardeners who get timely gardening tutorials, tips and tasks delivered direct to their inbox.