

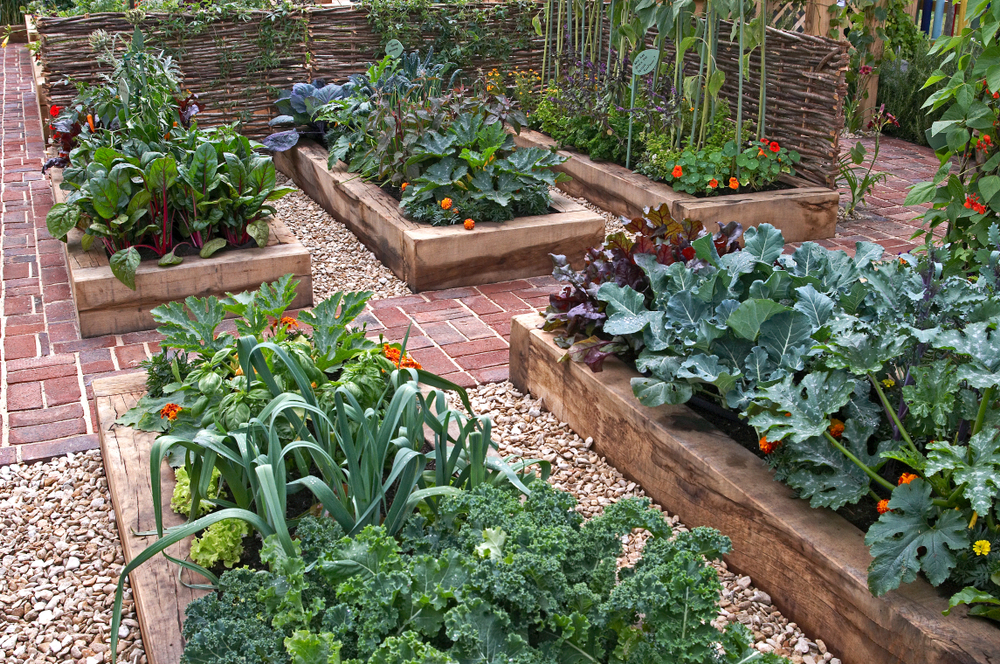
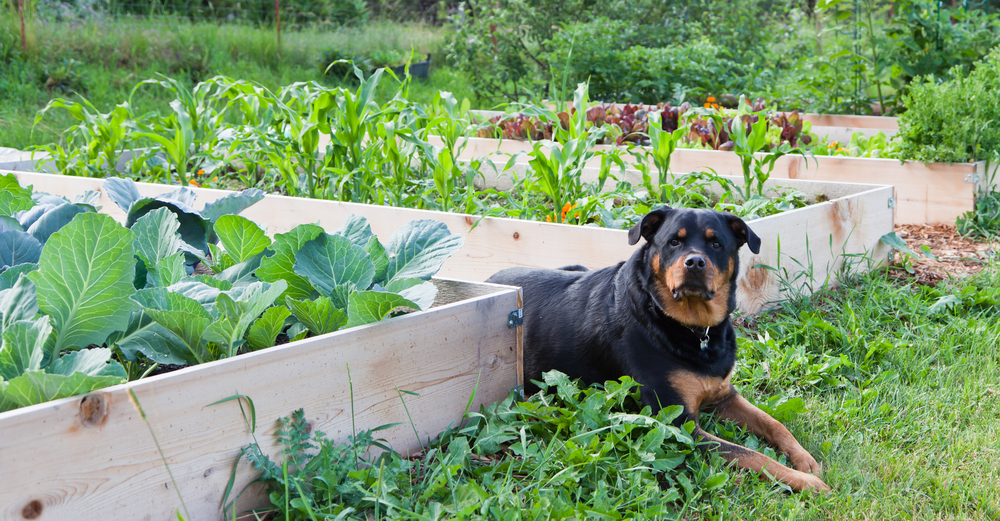
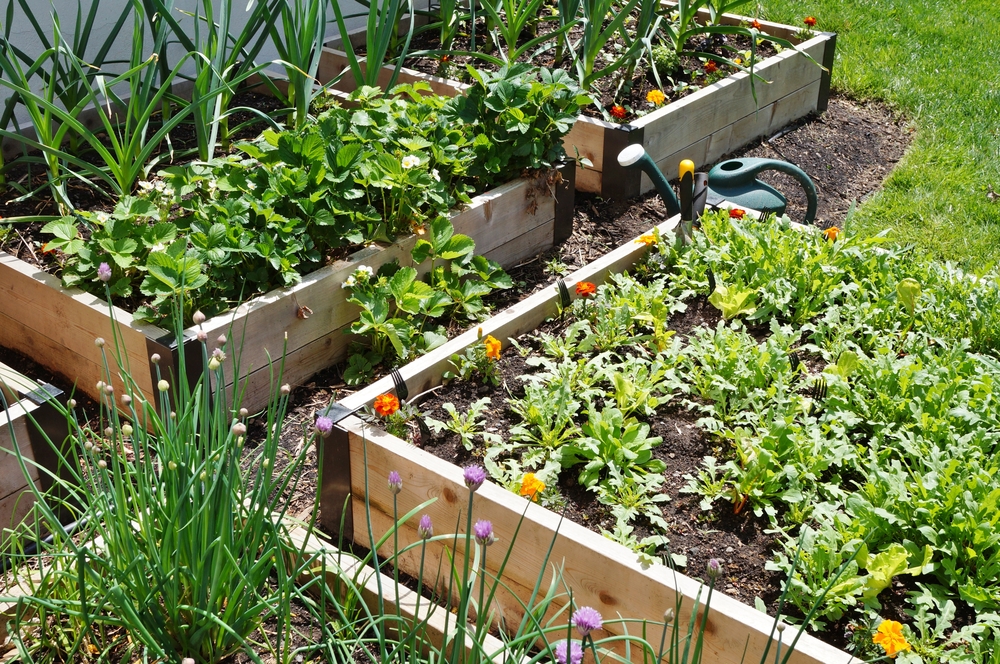
Raised beds are enormously popular among beginner and experienced gardeners alike. They’re a great choice for folks with limited space. A well-kept raised bed always looks great in your yard. They’re practically immune to soil erosion. And you can easily control drainage and water retention, making them drought-proof.
Of course, if you don’t get it right when you put them in, that beautiful new raised bed can be a source of frustration and anger.
Gardening is hard enough work as it is. If you set yourself up for even more work with a poorly laid-out raised bed, you may end up throwing in the trowel altogether.
See what I did there?
I’ll stop.
Maybe.
My point is this, there are a bunch of common mistakes that can turn your fancy, new raised bed into a neglected box of dirt in your backyard, leaving you feeling miffed (and a little guilty) every time you look at it.
Every single one of these mistakes can be avoided right from the start with a little thoughtful planning.
So, my dear Rural Sprout reader, as I often do, I’m inviting you to make a cup of tea and settle in with me here as we save your raised beds before you even start them. You can thank me later by leaving a bag of fresh tomatoes on my porch.
1. Not Planning to Plan
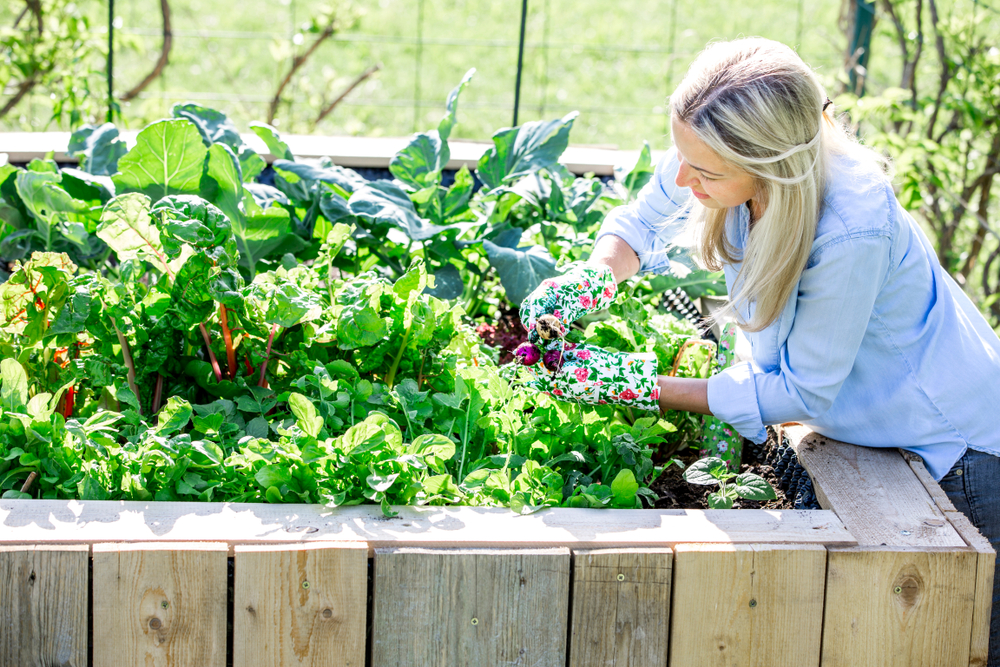
There’s no dirt under her nails; I don’t think she’s a real gardener.
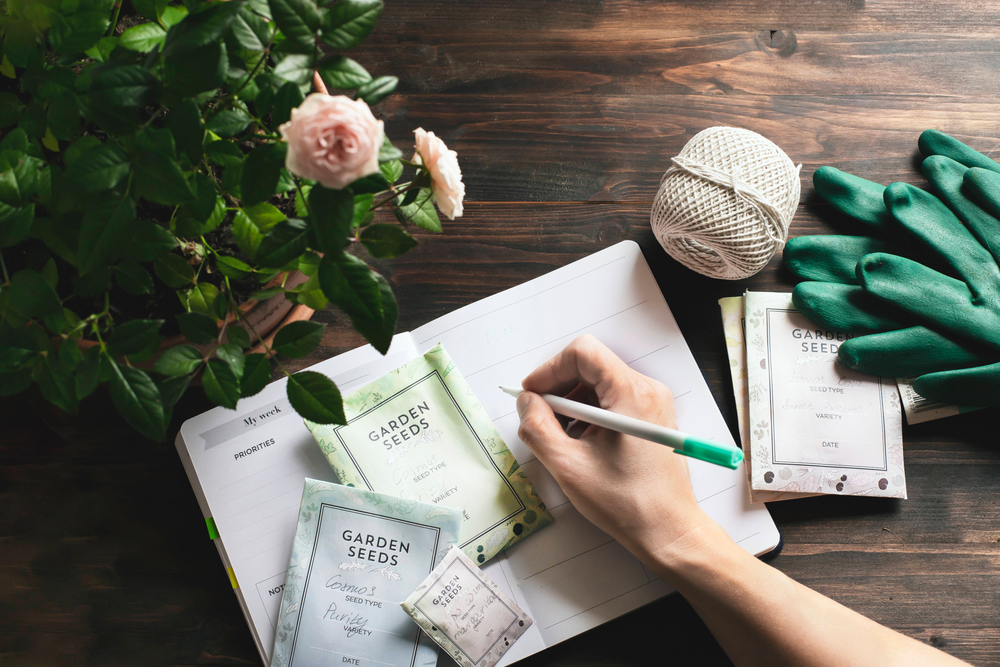
The first common mistake is one we’re taking care of right now, and that’s setting aside the time to think about and plan out your garden.
It’s easy to read our great articles on what to do and what not to do, but not set aside the time to plan it all out. Then we hastily throw something together when the weather warms up, and as the growing season progresses, we slowly stumble over the very mistakes we were trying to avoid in the first place. Only now, we really feel awful because we knew how to avoid them all along but never got around to the planning that bypasses them.
If you’ll allow me to light some incense and drag out my yoga mat – think of this as an act of self-care for you and your family. You’re planning nourishment and a source of stress-relief and enjoyment of the outdoors. Make this time of planning a joy and not a chore.
2. Pay Attention to Your Raised Bed Location
This one is so important, and yet we so often overlook it. I’m guilty of this mistake. I planned two 4×8 raised beds in the side yard one year. There was an oak tree nearby, but it was okay my beds still got plenty of sun.
That is until the oak tree budded out and its leaves opened. Suddenly I had a shade garden filled with full-sun vegetables.
Talk about amateur hour. Don’t be me.
Take the time to pay attention to how the sun travels across your yard in relation to where you plan to put your raised beds. Spend a week noting how shadows hit that part of the yard during different times of the day. Take into account nearby trees (whose shadows get a lot bigger when they have leaves), buildings, or other structures.
It’s also important to plan what direction your raised beds will face. For the best growth, raised beds need to face south.
SunCalc is a fantastic website that helps you figure out how the sun travels across your property, and it can be incredibly helpful if you’re planning in the winter. I highly recommend checking it out.
3. What’s Your Plan for Irrigation?
There’s nothing worse than trying to install a drip irrigation system after your raised beds are filled with growing veggies and you’ve realized just how many trips to the spigot you have to make to water your plants.
Take some time now to think about how you’ll water your garden. Maybe you plan on hand watering, and that’s fine. But you still need to consider things like where the closest water tap is on your house or how long a hose you’ll need to reach your raised beds. You may want to consider putting in a rain barrel or two next to your beds.
The important thing is to spend some planning out how this is all going to work.
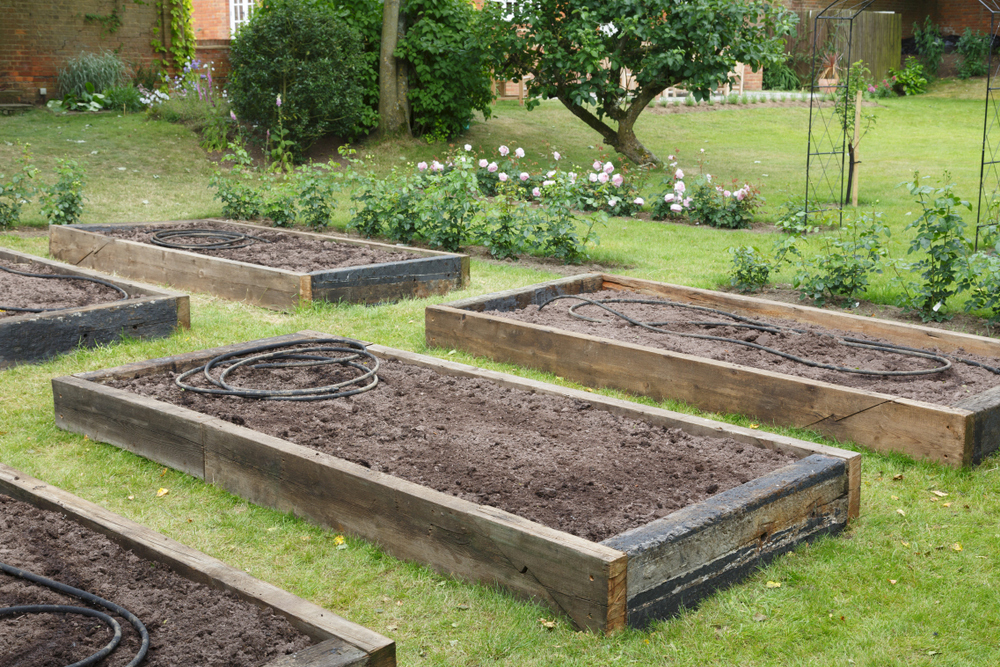
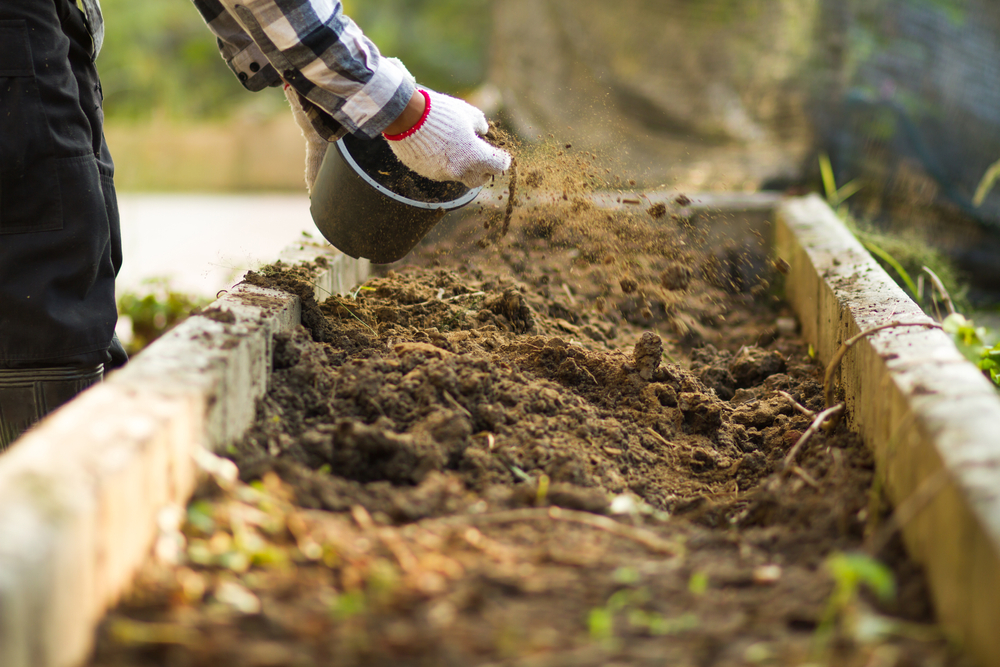
4. Using Subpar Soil
Look, we all want to use native soil. It’s cheap, and it’s already there. However, most of us don’t have very good soil, to begin with. Take the time to test your soil. That way, you have the information you need to decide if you can amend your native soil to make it work or if you’ll have to start from scratch.
You need a good mix of media for proper drainage, plant nutrition, and water retention. We always talk about the nutrition that plants need, without necessarily acknowledging where they get that nutrition from – the soil.
If you’re starting with nutrient-depleted soil that doesn’t drain properly, then you’re setting yourself up for a season of frustration and unhappy plants.
Set your veggies up for success right from the beginning with a quality soil mixture.
5. Using the Wrong or Dangerous Building Materials
It’s important to consider the climate where you live when deciding what to build your raised beds with. Wood is the most common choice for raised beds because it’s relatively inexpensive and easy to obtain. However, it also breaks down over time.
Someone who lives in Seattle, where it rains a lot, will have to replace their wooden raised beds more often than someone who lives in a drier area, like Tucson.
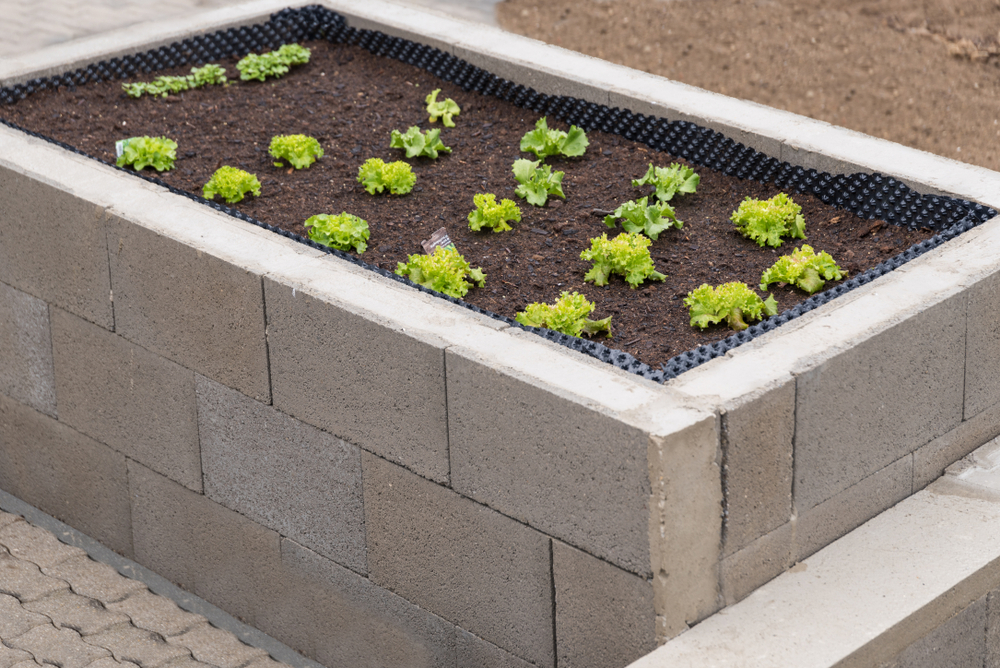
Consider your building materials and how long they will hold up in your climate before making a choice. Cinder blocks, reclaimed bricks, and stones are all good choices as well. You can even use small branches to weave together a wall for your raised bed. Using what you have on hand is always the best option.
One material that should never be used is old railroad ties. These have been coated with creosote to help them stand the test of time. The creosote leaches into the soil over time, and it’s bad news for both plants and people.
If you don’t want to build your own, here are some great kits for raised beds.
A note about pressure-treated wood
For many, many years, we all heard the warning cry of using pressure-treated wood for vegetable gardens – don’t.
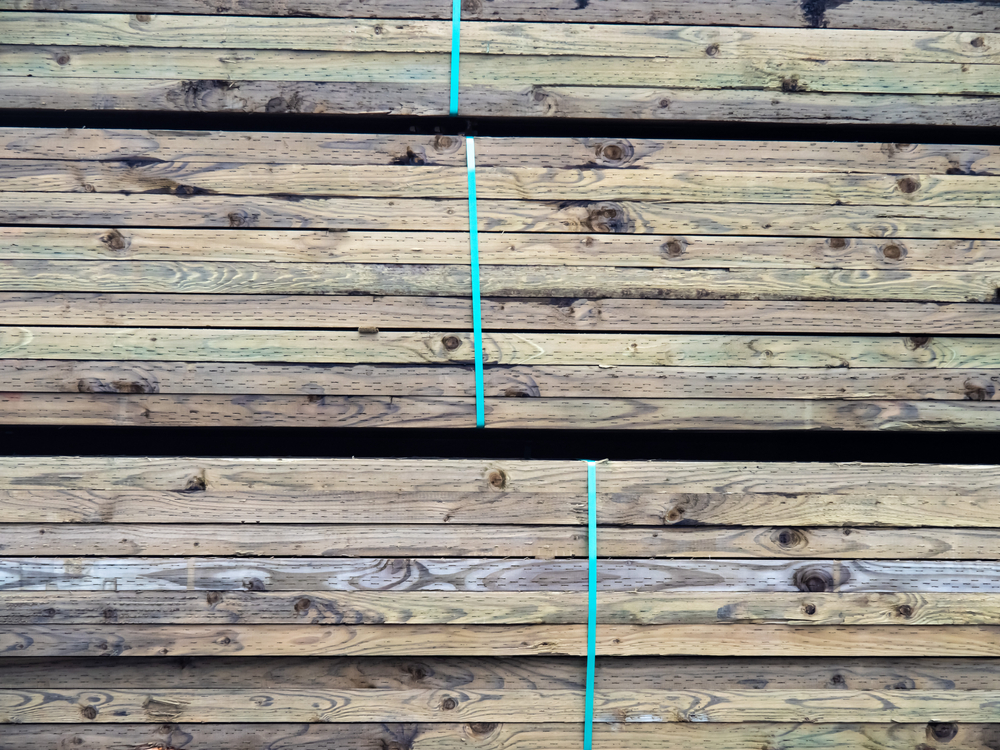
That’s because it was treated with chromated copper arsenate, or CCA, which contained inorganic arsenic. Arsenic is another one of those words that spooks people. Yes, in high doses, arsenic is harmful and downright poisonous. The problem with this stuff is it stays in the body, and our bodies are pretty good at absorbing it. So even small amounts could build up and make us sick over time.
However, back in 2003, the EPA banned the sale of CCA pressure-treated wood because we (wisely) were concerned about it poisoning our soil.
These days two different types of elemental copper are used to treat wood, both of which our bodies are pretty bad at absorbing and both of which you’d have to be exposed to large amounts of to do any harm. More importantly, plants are bad at absorbing these elements too and will die if they did absorb them, in which case you wouldn’t be eating them.
Certified organic farms are still not allowed to use pressure-treated wood as it’s also treated with a fungicide that protects the wood from insects and wood rot. So, if you’re setting the bar that high, then, by all means, use another material.
If you want a closer look at the science, here’s a good article from Fine Gardening.
From a safety standpoint, though, pressure-treated wood made after 2003 is safe to use in vegetable gardens, so let’s put this myth to bed. Like, in a raised bed.
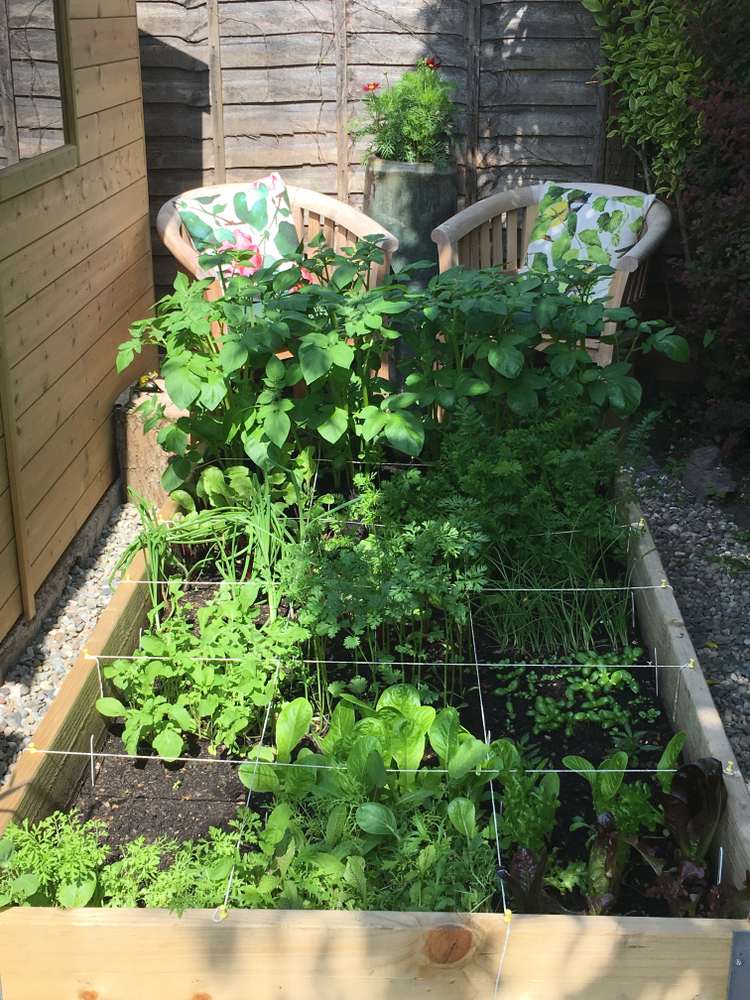
6. Goldilocks and the Wrong Size Raised Bed
In general, you see the suggestion to make your raised bed 4′ across. This allows you to reach the middle of the bed from both sides. And while this is a pretty good rule of thumb, you shouldn’t plan all of your raised beds to be 4′ across, at least not yet.
Why?
Well, what if you have small arms? Or you want the kids to help with the gardening? What if your raised bed is butting up against a building? What if you have mobility issues and can’t reach the two feet to the middle of the raised bed.
Think about this information, and then plan the size of your raised bed accordingly. Maybe, the perfect raised bed for you is 3′ across.
It’s also important not to make your raised beds too long. If you have to walk twenty feet to get around to the other side, it takes the convenience out of having a raised bed.
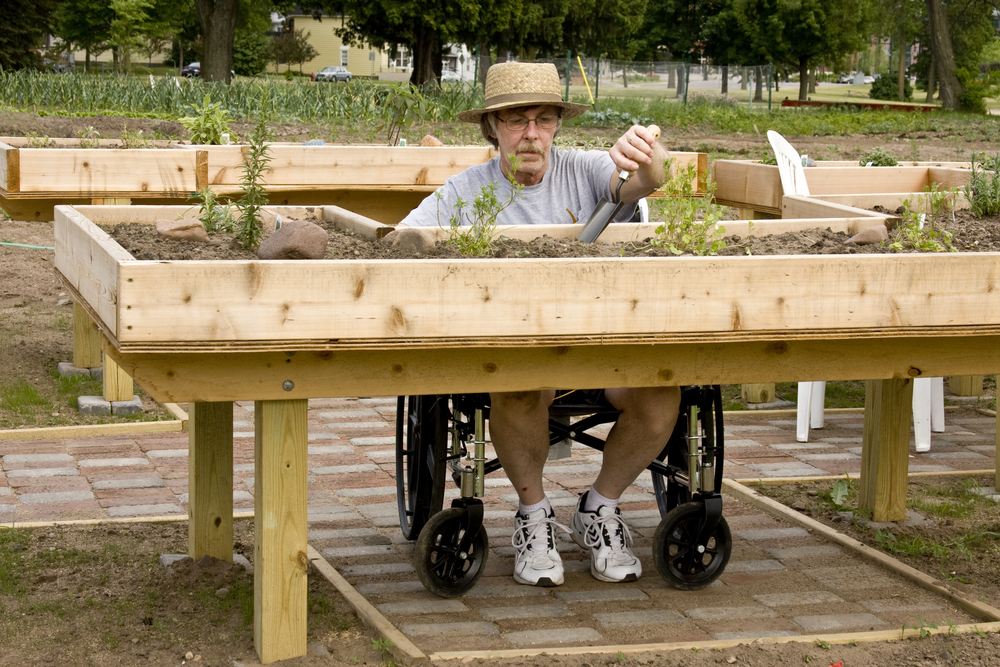
Again, take some time to look at where your raised bed is going to be built. Think about who is going to be using it. You might even want to consider raising the entire bed on stilts so you can stand next to it rather than kneel.
If you’re uncomfortable or in pain while you’re trying to garden, you’re less likely to keep up with it. This is supposed to be an enjoyable activity; plan now so it will be. Here are 45 different raised bed ideas to help you get started.
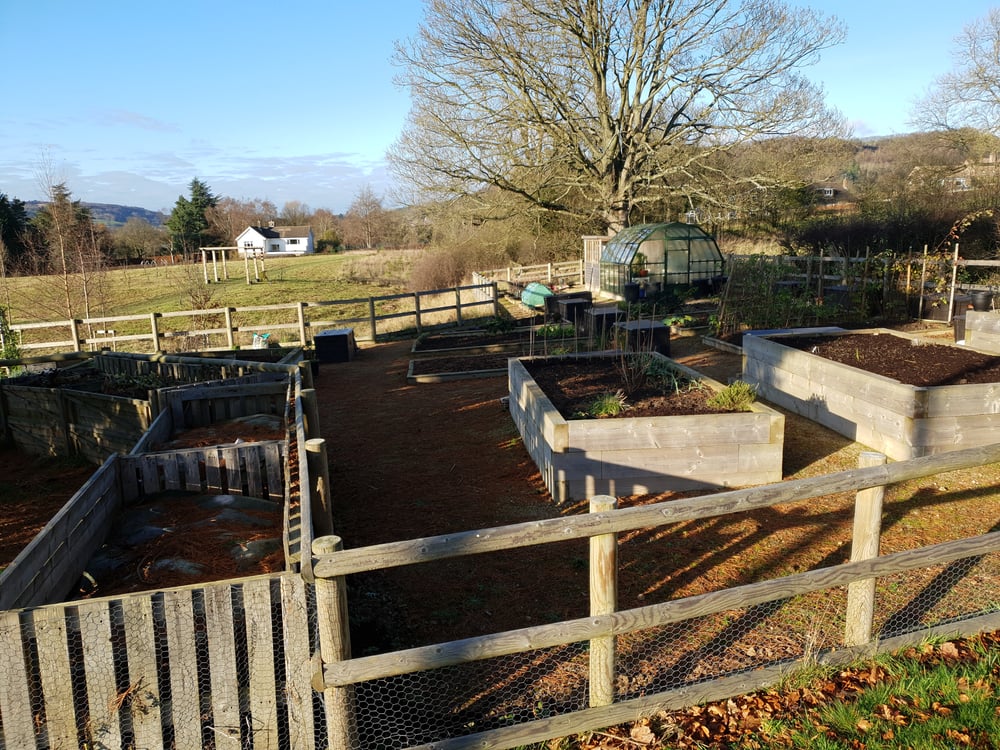
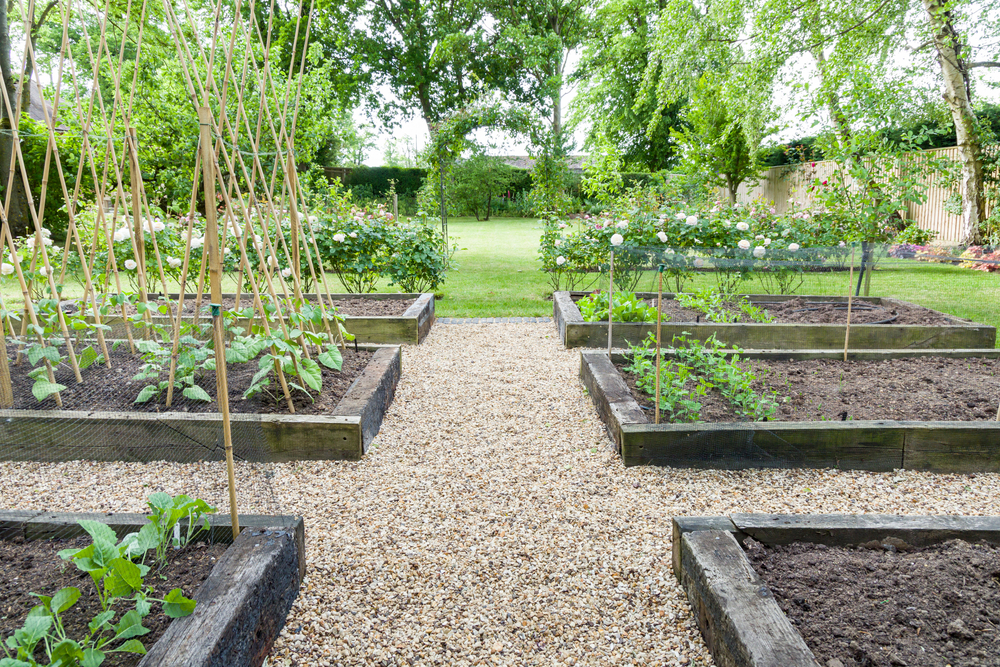
7. Plan Your Pathways
Now that you’ve planned out the size of your raised bed don’t forget to plan the size of the paths around it. If you make your raised beds too close together, you won’t be comfortable kneeling between them.
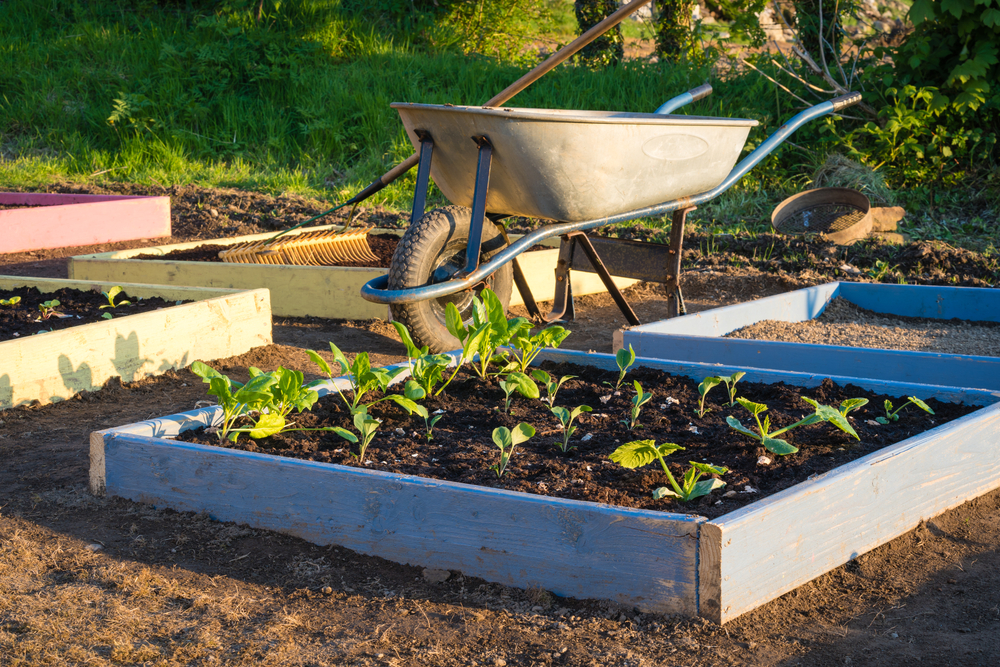
And if you have to get any kind of equipment between them, it will be a hassle. If you’ve got a wheelbarrow full of compost and you can’t get it between the rows, that means carrying heavy shovelfuls back and forth. Or what about using a weed trimmer, is there enough room for you to operate it safely? Consider measuring the mower deck on your garden tractor and spacing your raised beds so you can mow between them. It’s wonderfully convenient.
8. Pathway Weed Control
Since we’re on the subject of pathways, don’t’ forget to consider how you’ll keep weeds in check on your paths. Most people think about keeping their gardens weed-free and completely forget about the paths.
You’ll save yourself a lot of headaches if you keep your paths weed-free. Those weeds will be less inclined to find their way into your raised beds. Mulching around your raised beds is a great, organic way to keep the paths in good shape.
9. Oh, the Shade of It All
After I learned my lesson with the oak tree, I failed again the next summer. I moved my garden out of the oak’s shade, but then I planted my beets behind my cucumbers in my south-facing garden.
Once you’ve planned the correct direction for your raised beds, don’t forget to plan the correct order for your vegetables. It’s generally a good idea to plant lower crops upfront (working south to north), mid-height crops, and then your tallest crops in the back.
One exception is if you choose to plant a taller crop upfront to help create shade for a less heat-tolerant veggie behind. But again, this all takes thought and planning upfront.
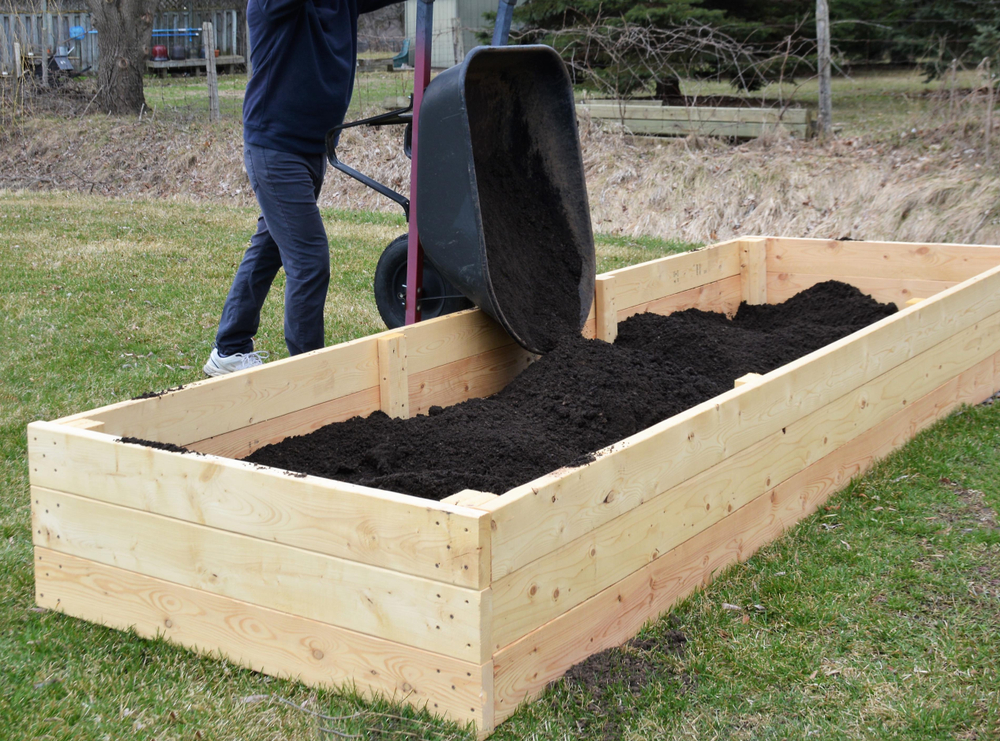
10. Set It and Forget It Soil
You did what I suggested and put some great soil in your raised beds after you built them.
Excellent. Now, don’t forget to amend the soil throughout the season.
Always replenish the soil when you’re not actively growing. Remember, the soil is living; if you don’t feed it, it will die. Plan to add nutrients back into the soil between each crop rotation and at the end of the growing season.
Take care of your soil so that it will take care of your plants.
11. Not Mulching
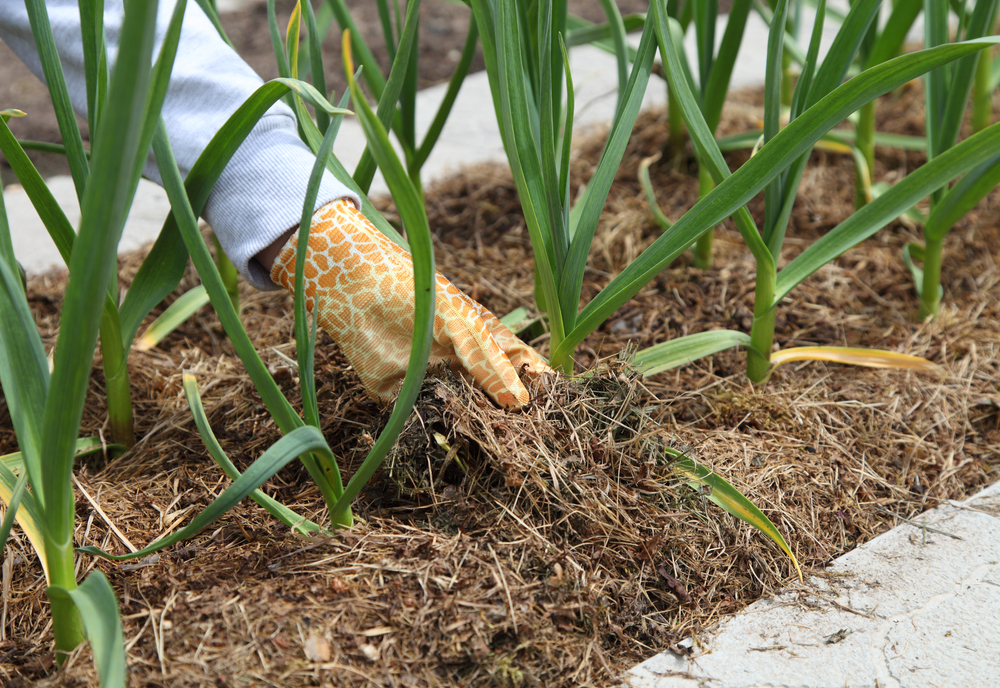
Raised beds are tiny micro-climates, and they dry out faster than a normal garden. Keep your plants happy by mulching your raised beds once the plants are established. This will help your plants retain moisture as well as cut down on weeds.
If you’re going to have raised beds, you need to mulch them.
12. Label, Label, Label
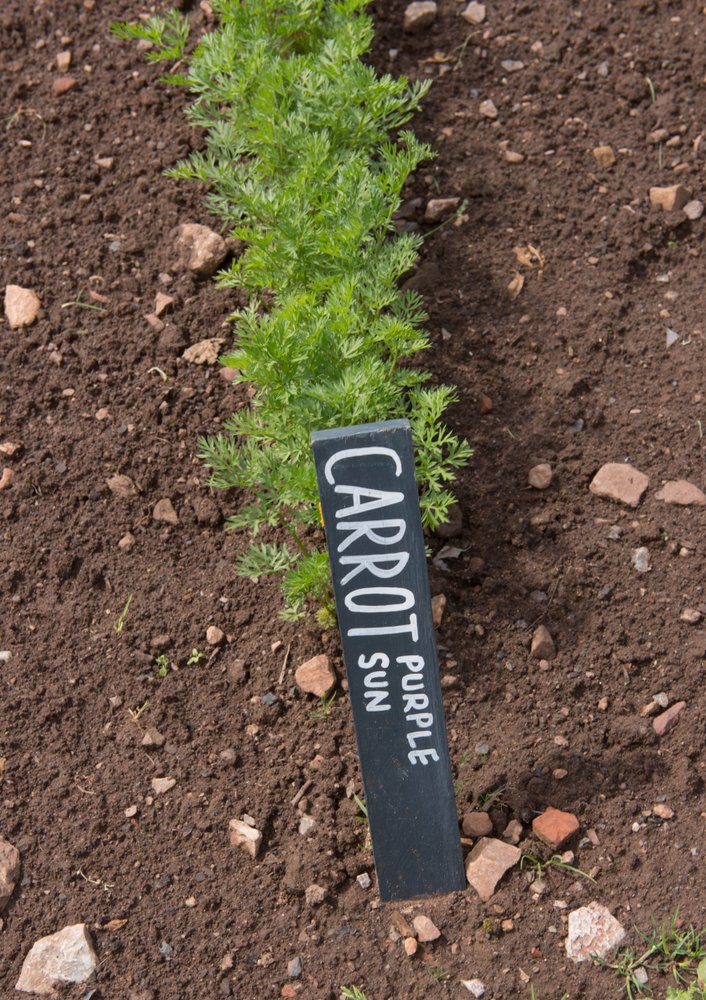
I know this mishap goes for all gardening, but it bears repeating. Label your plants with when you planted them and what they are. You can physically label them in the beds themselves or set up a spreadsheet to use.
This is especially important when you’re dealing with boxes of dirt that all look the same until the plants start growing – and you have no idea what that one thing is that’s growing in the western corner of the fourth bed until the middle of July.
No, I’ve never done this. Why do you ask?
13. Using Chemicals Near Your Raised Beds

Don’t make the mistake of setting up an organic raised bed, only to have chemicals from elsewhere on your property contaminate it. It’s easy for the wind or rain run-off to carry harmful chemicals to your veggies if you don’t take into account where you use them.
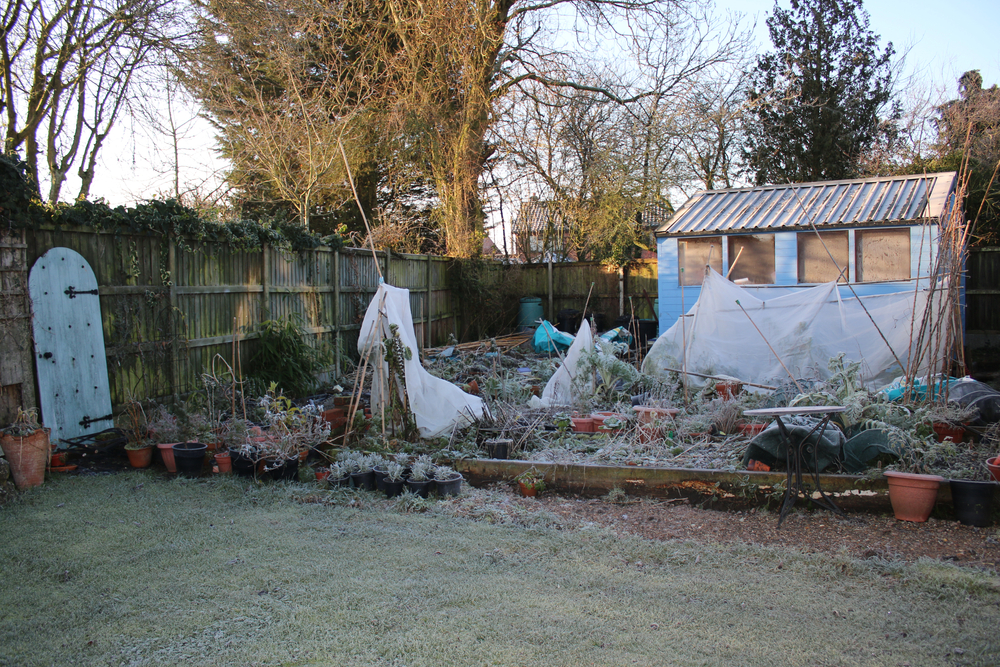
14. Skipping Polytunnels

You’re seriously missing out if you don’t pair tunnels with raised beds. You’ve already got the perfect set up for a tunnel with a raised bed. You can easily extend your growing season on both ends by making your beds with a tunnel over the top of them. Once the spring warms up, you can remove the tunneling and add it back at the end of the season as the weather cools again.
And here are some ideas to keep your plants protected once that cool weather does show up again.
Of course, no matter how much planning you do, there’s no better teacher than experience. You may find an obstacle you would never have dreamed of once you get your raised beds up and growing. And that’s okay. Take this lesson and improve your beds next growing season, and be sure to let us know what your obstacle was so we can learn too.

Get the famous Rural Sprout newsletter delivered to your inbox.
Join the 50,000+ gardeners who get timely gardening tutorials, tips and tasks delivered direct to their inbox.