


Starting seeds in the middle of the winter is the best way to satisfy “the green itch.” You can extend a short growing season, enjoy things like tomatoes or peppers a little earlier and try varieties you can’t get in your local garden center.
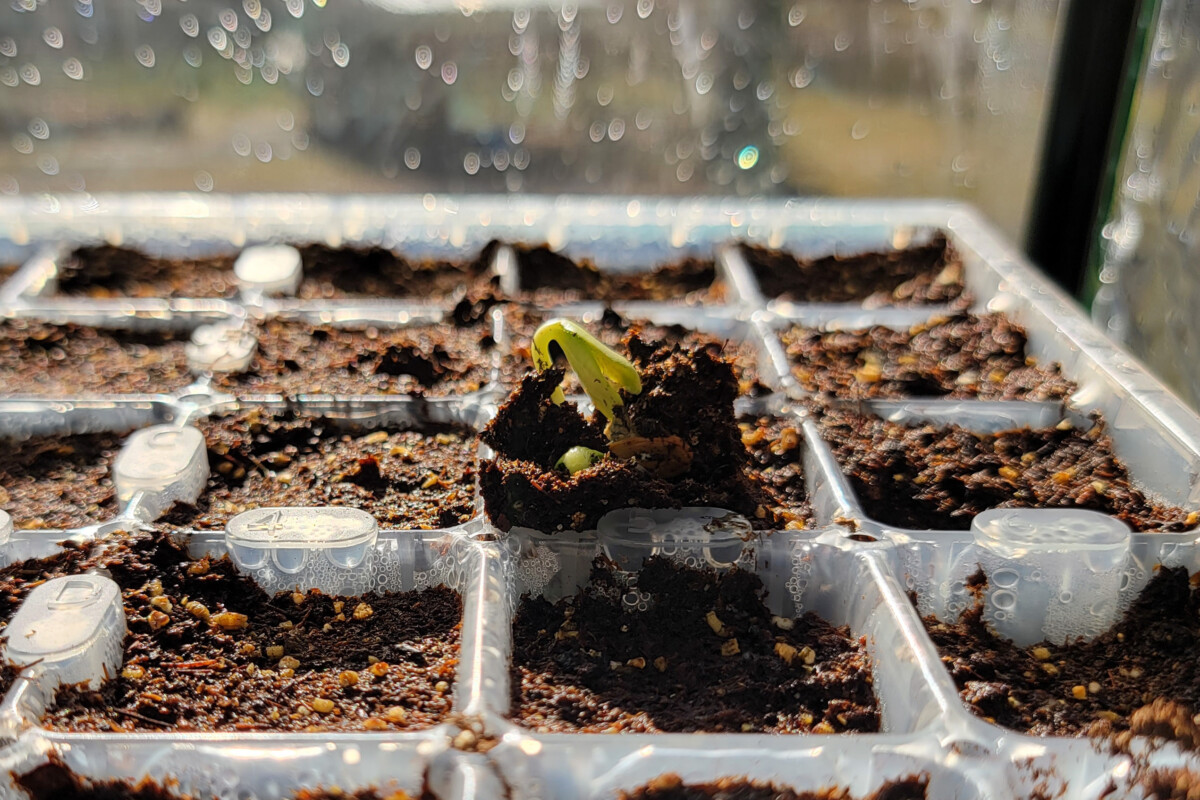
Over the years, how I start seeds and the equipment I use have changed drastically, which has led to bigger, healthier plants each spring.
Whether you’re new to starting seeds indoors or you’re a seasoned pro who enjoys checking out someone else’s setup, I think you’ll find this piece both interesting and useful with one important caveat.
When It Comes to Starting Seeds, Use What Works For You
I want to be quite clear; this is how I start seedlings indoors. I’ve spent years making mistakes, and sometimes, I even learn from them and do things differently. I’m sure the whole thing will continue to change and evolve with every passing year because, well, you’re a gardener, you know.
In the end, my process and the tools I use yield pretty consistent results.
Seeing how someone else does something often provides new ideas, an answer to a problem you’ve had or a different way of doing things that will make your life easier. My way is by no means the only way, the best way, or even the right way to start seeds. But it’s what works for me.
I Was Hijacked By an Engineer – Two Definitions of ‘Keep it Simple’
I like to keep things simple. To me, that means using what I have to hand, nothing fancy. I despise gadgetry. I’m stubborn. I like to do it myself, thank you very much.
My sweetheart is an engineer.
His idea of ‘keeping it simple’ is very different from mine. He likes to automate everything. The less you have to tend to it, the simpler it is. He loves gadgets. He enjoys helping out with projects, especially when I’m adamant that I can do it myself.
These two definitions of simplicity have caused:
- arguments about the best approach to starting seeds indoors.
- dead seedlings.
- weird purchases showing up among my plants.
- both of us wearing smug, “I told you so,” grins.
- compromise.
- a pretty great setup that consistently leads to large, healthy seedlings.
For not being a gardener, he’s come up with some great ideas, with me kicking up a fuss every step of the way.
Okay, let’s jump in.
Wrapping Paper
It all starts with wrapping paper. I know. Not what you were expecting, but trust me on this one.
Dig through your wrapping paper and find a roll with cutting lines on the non-print side. Not only does this stuff allow for precision present wrapping, but it also makes incredible grid paper for garden planning.
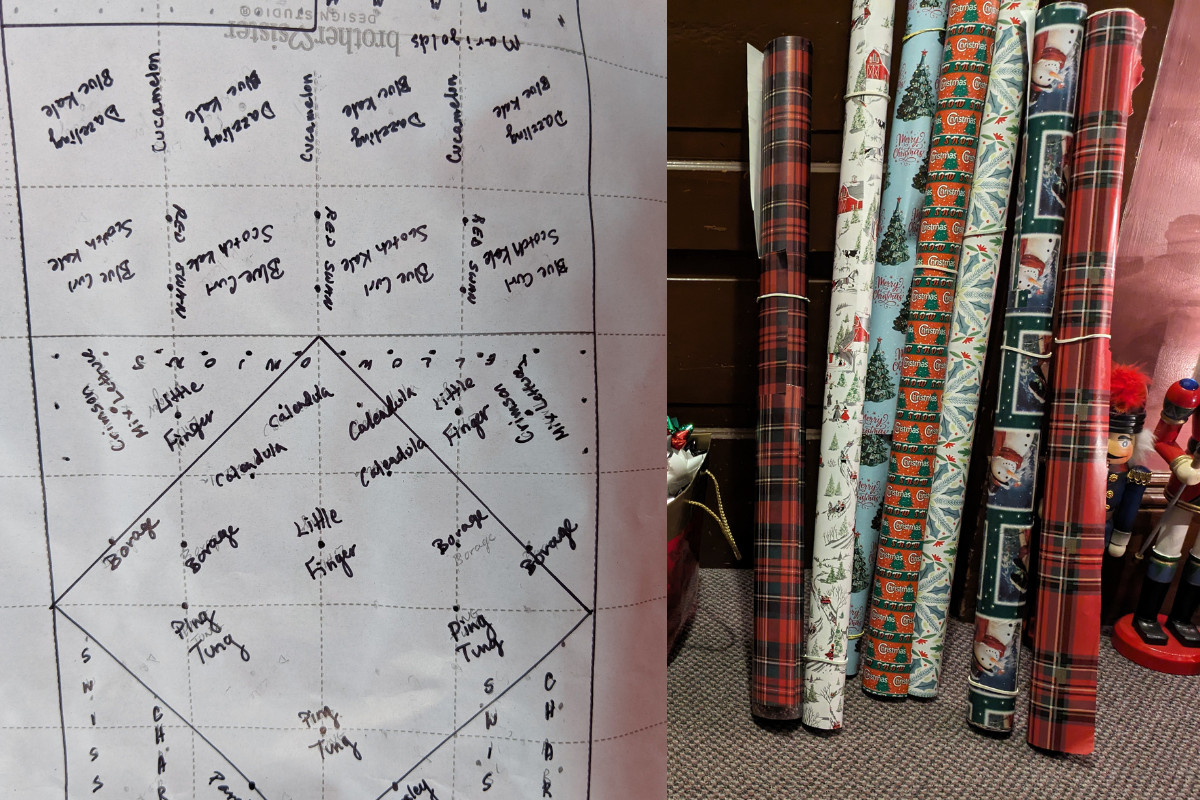
I’m old school and prefer my final garden plan to be on paper. That also means teeny-tiny grid paper isn’t cutting it anymore. I need grid paper I can actually see. So, I map out my garden rows on the back of a piece of wrapping paper each spring. Because before you start seeds, you need a plan.
Large Storage Tote (38 Gallon)
Around mid-May, all of the plants make their way into the garden. That’s when the reminders start.
“We need to take the greenhouse down.”
“Should we pack up the greenhouse tonight after dinner?”
“Nuts. We forgot to pack up the greenhouse after dinner last week.”
“It’s been a month; can we please tear down the greenhouse today?”
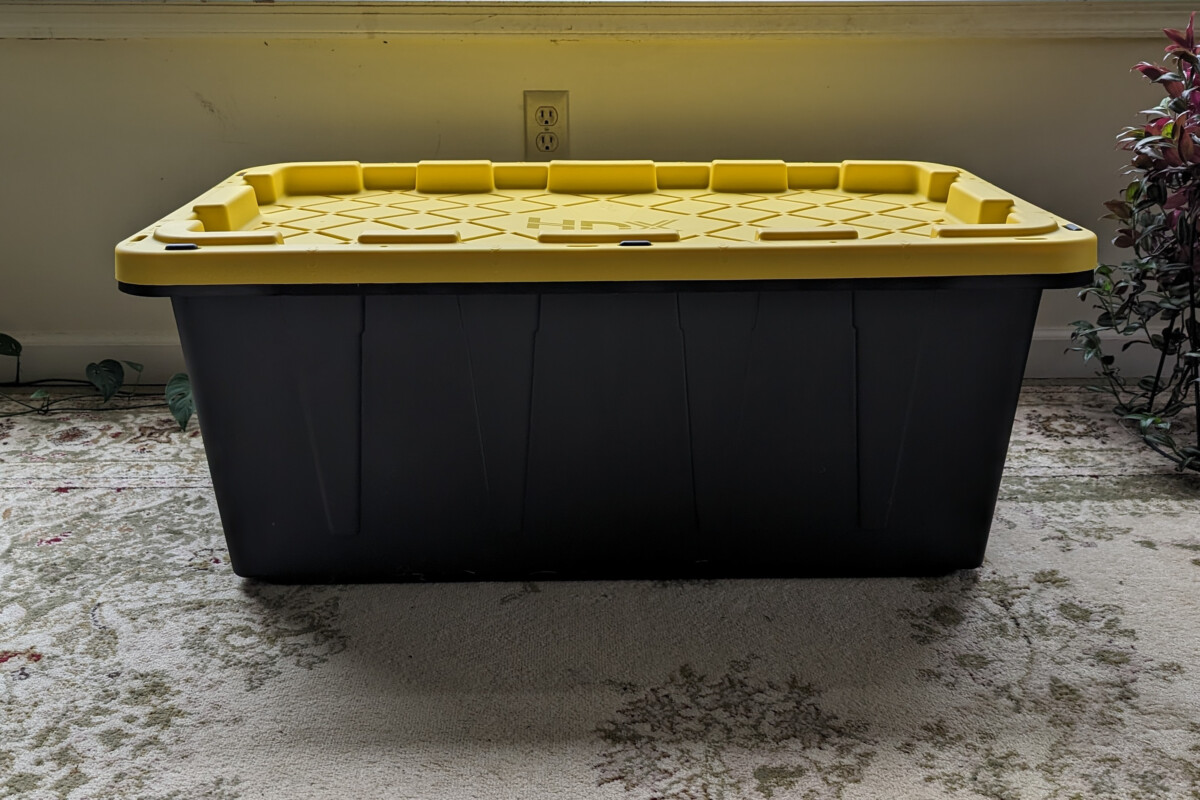
We have a large storage tote that the whole seed starting kit goes into. The greenhouse, the lights, the heating mats and all of the other ephemera fit snugly. Because I’m also good at putting things “where I’ll remember them” and then forgetting where that is.
I’m getting smart in my old age and sticking to the old adage of ‘everything in its place and a place for everything.’ That means making sure things have a place to go to.
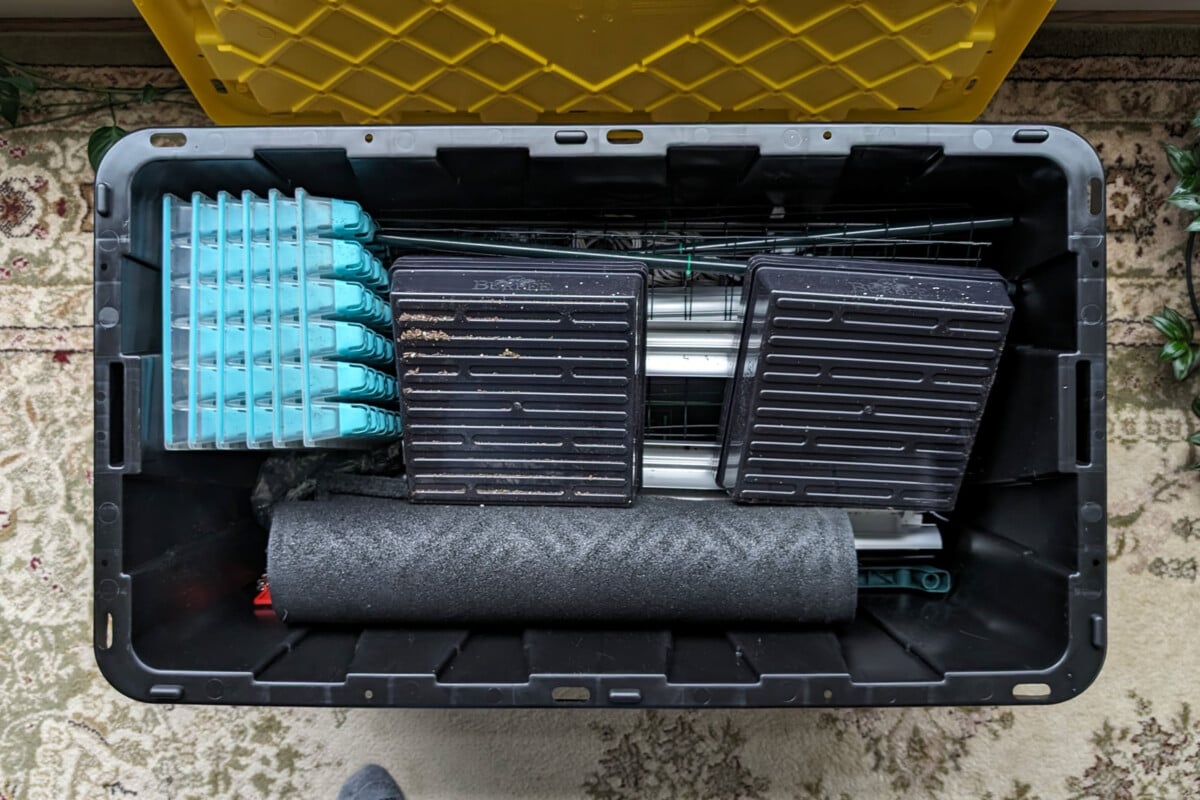
It’s a pleasure each spring to pull that tote out and have everything ready to go. There’s no more hunting for items that were stored on this shelf in the hall closet or out in the garage or what have you. Everything is ready to go in the tote.
Waterproof Doormat

I’m clumsy and messy. These traits make my partner nervous when water and dirt are being used in the house. I picked up an inexpensive doormat with rubber backing to protect the floor where we set up the mini greenhouse. It has saved my bacon so many times I’ve lost track.

Grow Lights
I live smack in the middle of Pennsylvania. Winters here are generally cloudy and dreary. Even with my sweetie’s massive picture windows in the great room, we simply don’t get enough sunlight in January and February to grow seedlings without them stretching and getting leggy.
That means I need to supplement with grow lights, which has been a struggle.
I have lost track of the number of lights I’ve bought in the past five years. I’ve tried strip lights. I’ve tried clip-on lamps with adjustable wands. I’ve tried LED grow light bulbs. And to put it bluntly, they all sucked.
Shortly after Christmas ’22, I started digging around on Amazon, weeding through the thousands of LED grow lights they have to offer. I was done with clip-on lights. They were always ungainly. Bending their necks to get the light centered above the seedlings was a pain, and they didn’t put out enough light.
I already knew I was going to be getting a small greenhouse or shelving unit, so I wanted long lights I could suspend above the seedlings. But they needed to be bright enough to provide a wide area of coverage, which was something we struggled with in the past. And I didn’t want to pay an arm and a leg.
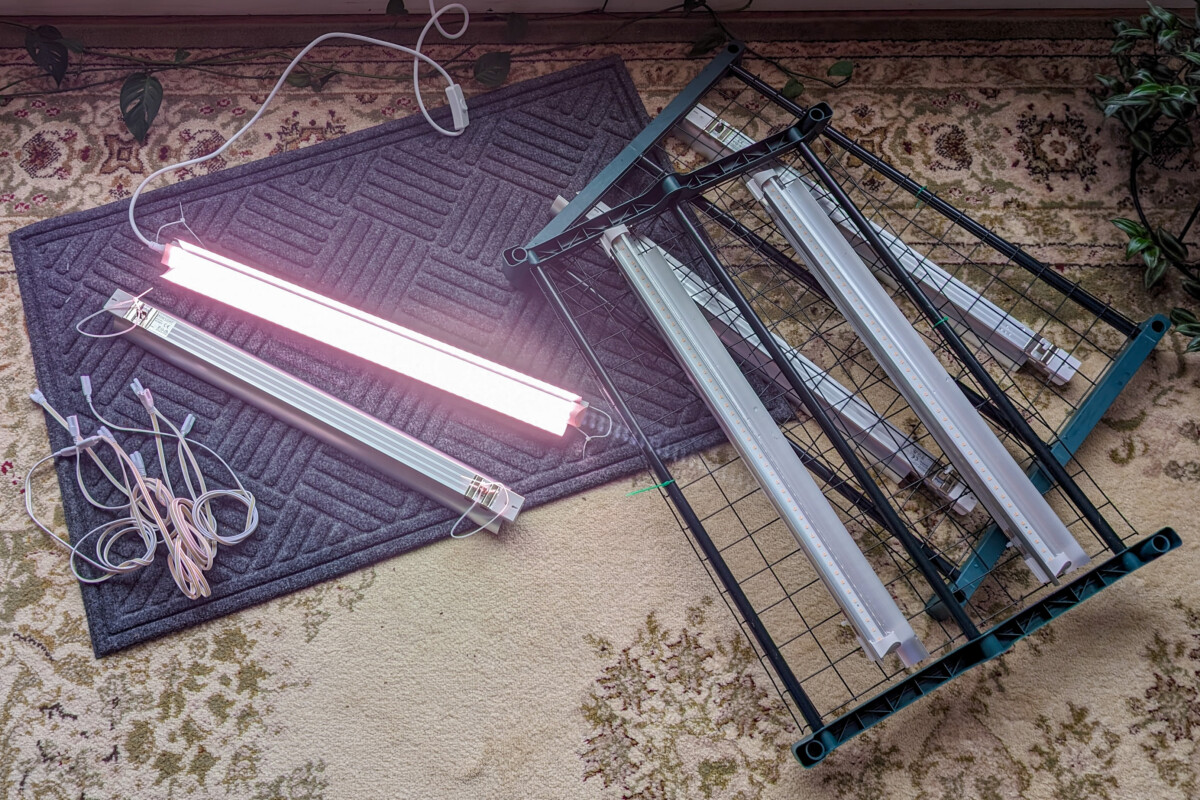
I settled on this set of Barrina LED grow light strips. We have six total in the mini greenhouse.
Holy cow, what a difference! When they say they’re super bright, they mean super bright. At one point, we had to move them further away from the plants. I had a tomato seedling grow too close, and the leaves were scalded.
I no longer had issues with seedlings on the edge of the light getting leggy, which is huge.
I use two of them in the mini greenhouse, and the other two are attached to a plant stand, keeping my African violets in constant bloom all year long.
Heating Mats
Not everyone is going to need heating mats, but I certainly do. We start our seeds in January and prefer not to double our heating costs to keep the house warm enough for the peppers to germinate. That means using heating mats. The nice thing is once the seedlings have sprouted, we can turn the heat down or stop using them altogether.
Because I start seeds for different types of veggies, we decided to pick up three mats, all with digital thermostats. I can set the mats at different temps and put the seed trays for the appropriate veggies on each. Germination is no longer an issue.
If you’re having trouble getting plants to germinate and you live somewhere with cold winters, I’ll bet cool soil temps are to blame.
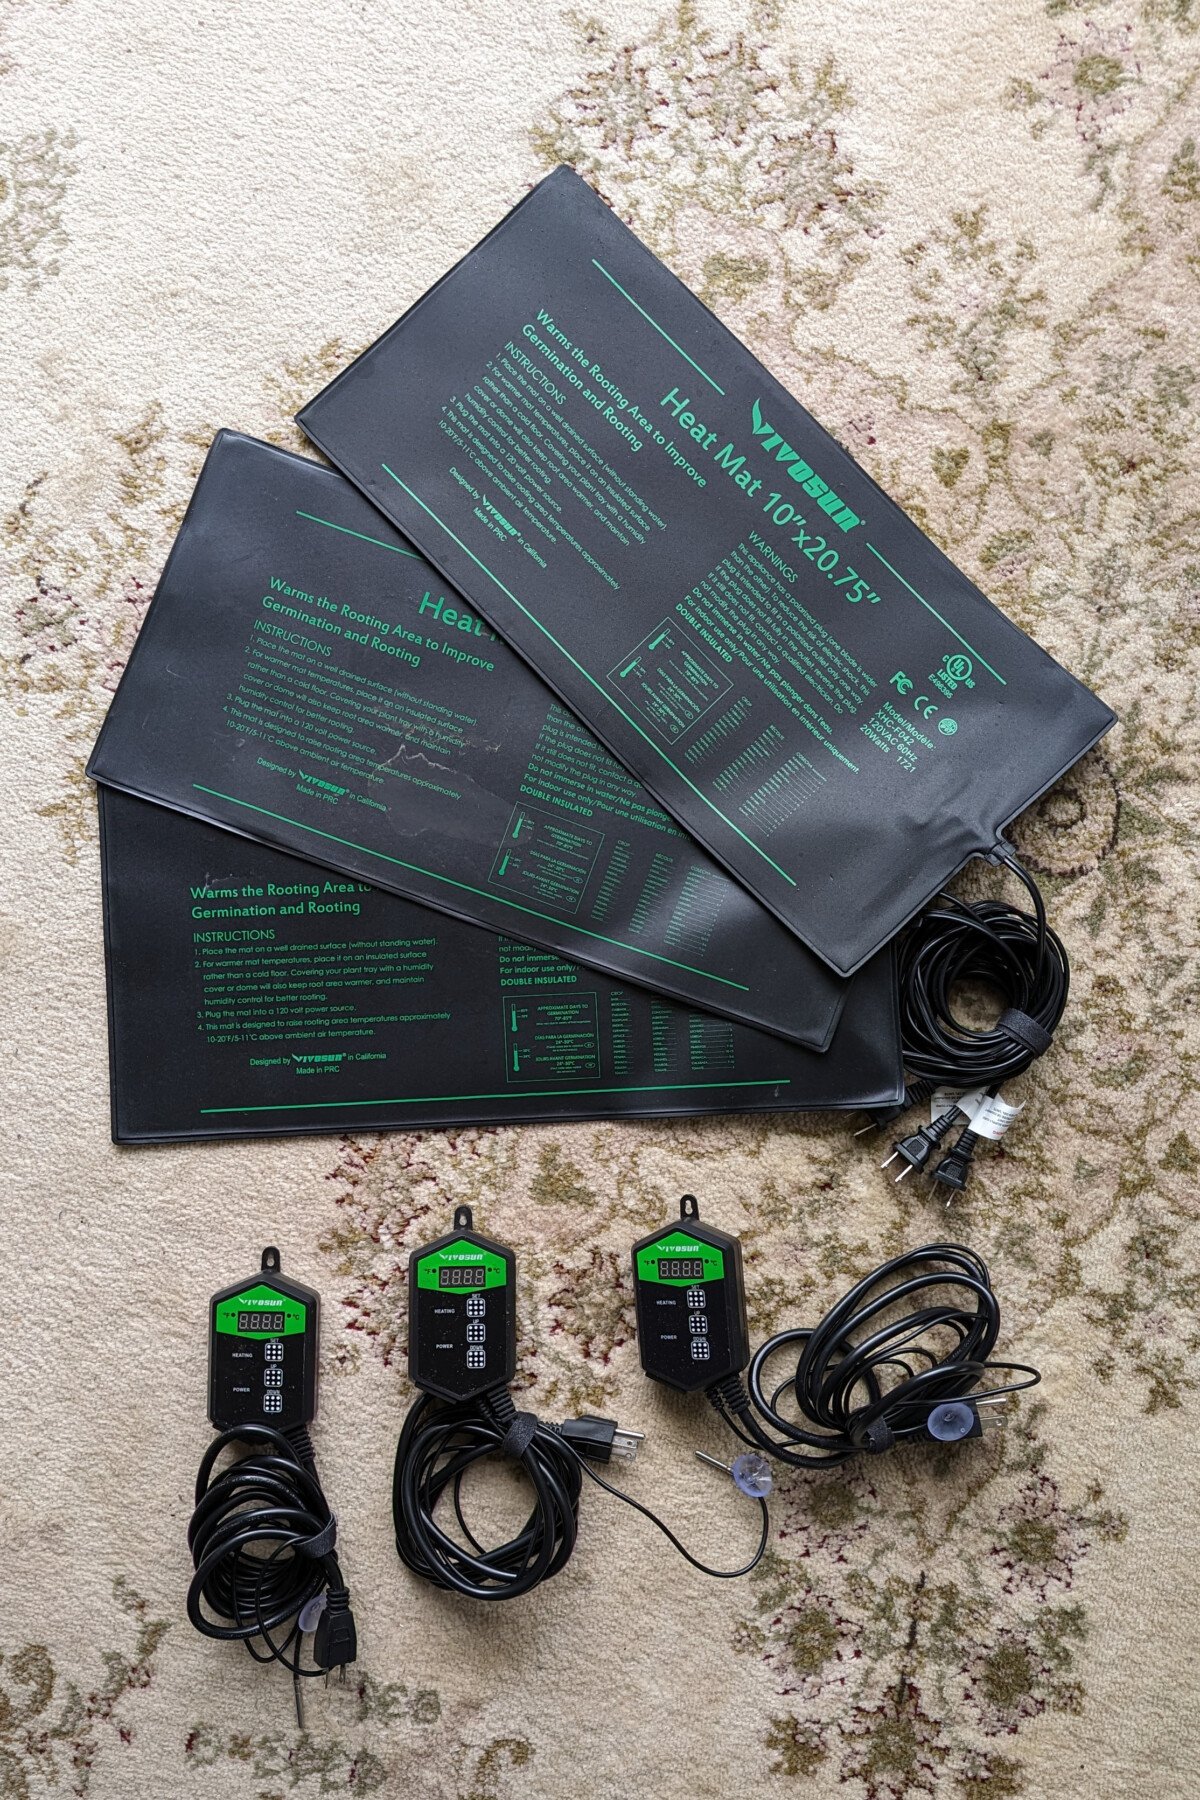
I chose the Vivosun brand mainly because I’ve bought numerous garden products from them and have liked them all. (They have a fantastic selection of different-sized grow bags.)
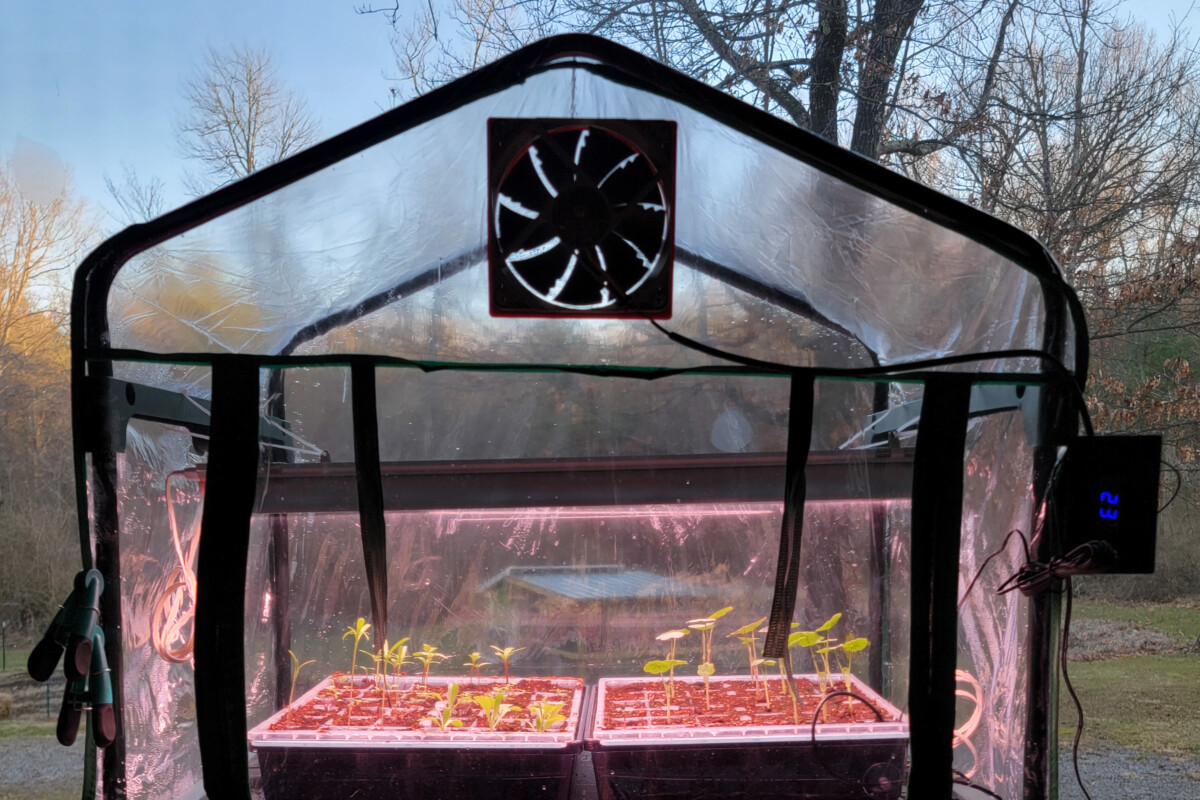
Mini Greenhouse
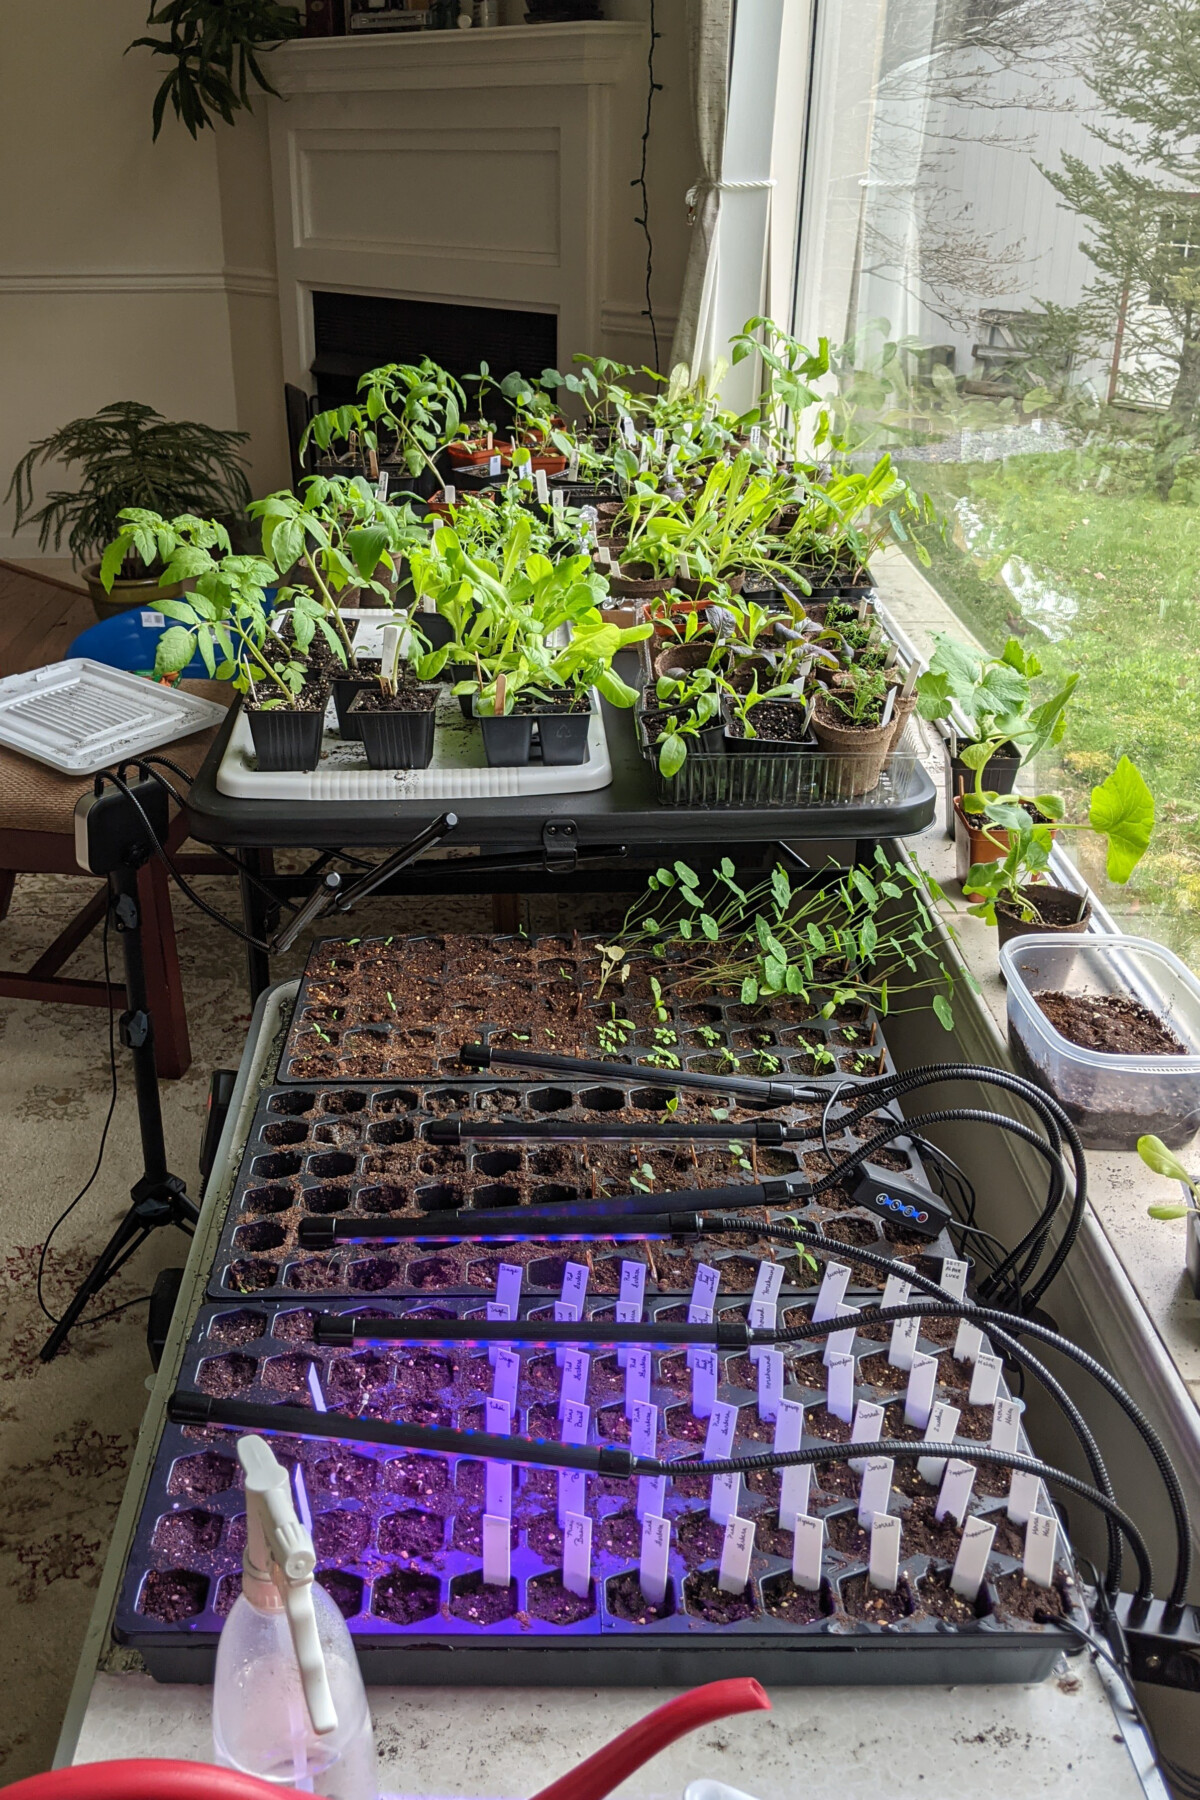
When starting seeds indoors, few of us have that ideal spot that gets the perfect amount of light, stays a steady 75F, and maintains 40% humidity. Oh, and also a place not already occupied by other things. So we have to make do with what we’ve got.
There were many years when the dining room table was not available for dining as it was covered in seed starting trays.
There were just as many years when every windowsill in the house had plants on it. And the messes that go with them.
I even spent a couple of years with card tables pushed up against the southern-facing windows.
Trying to maintain heat, light and water with all of these setups was a nightmare.
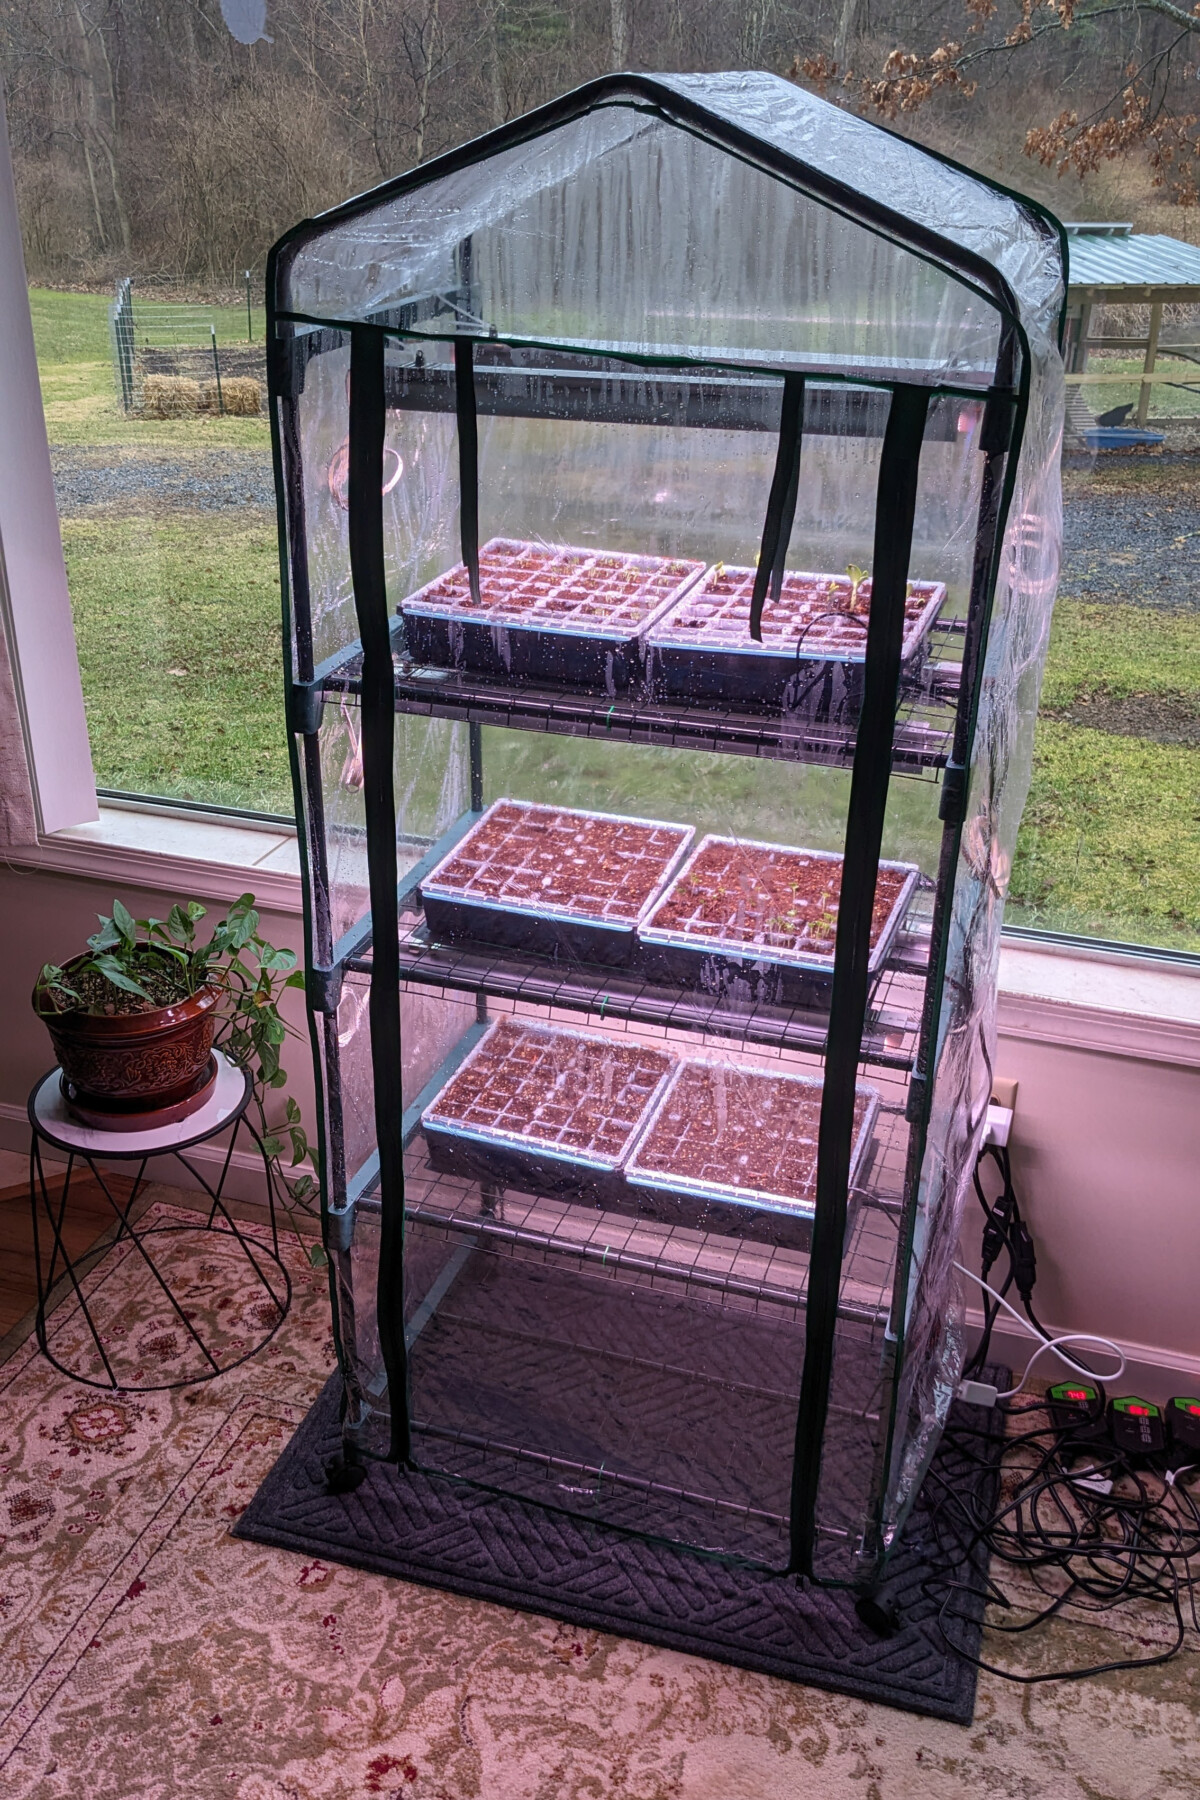
In exasperation, I finally bought one of those inexpensive mini-greenhouses you see everywhere. Heck, even Aldi had them at one point. They’re cheap (both in price and quality), and I certainly wouldn’t trust them to stand up to the elements or the merest gust of wind, but for a few weeks indoors every year, they’re Goldilocks approved.
Just right.
I’m a fan of going vertical when you have limited space. This thing takes up far less room, and maintaining the climate inside it is much easier than trying to maintain the climate for a whole room.
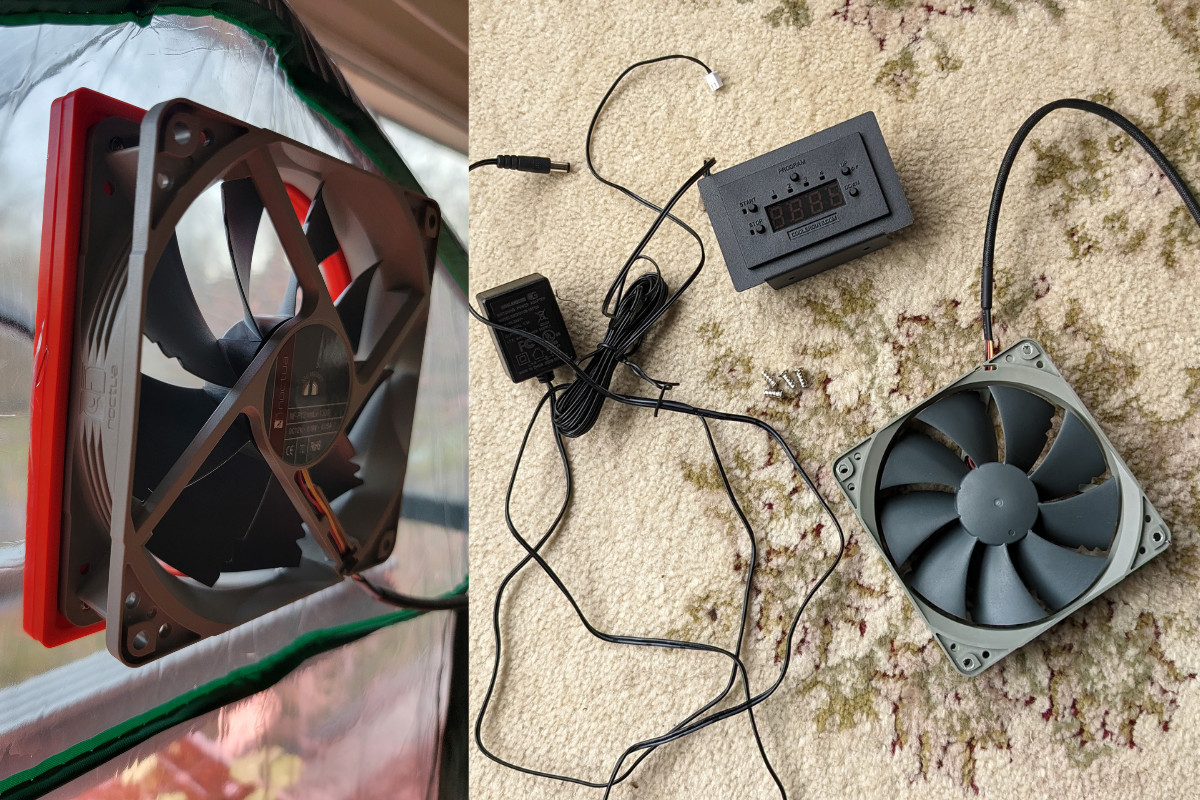
Exhaust Fan with Thermostat
Okay, I will fully admit this is one that caused an argument.
The greenhouse has a flap door you can roll up.
Easy. Simple. Fine the way it is.
I said it would be best if we left it rolled up during the day and then unrolled it in the evening as the house cools off to hold in heat and moisture. He agreed. But after a few days of being the one who had to do the rolling and unrolling, his engineer brain took over.
“What this thing needs is an exhaust fan with a thermostat. That way, we can leave the flap down, and the fan will kick on whenever the temperature gets too high. It will self-regulate, and I don’t have to worry about killing your plants if I forget to roll up the flap or something.”
“Oh gosh, we don’t need anything that fancy. Why don’t you set a reminder on your phone?”
It went back and forth like this for the rest of the day, the tone getting a bit saltier each time. I eventually gave in and told him, “Fine, do whatever you want.”
This thing is brilliant! While it isn’t a must-have, it has certainly made the whole process of starting and growing healthy seedlings easier. My sweetie was right!
But don’t tell him that.
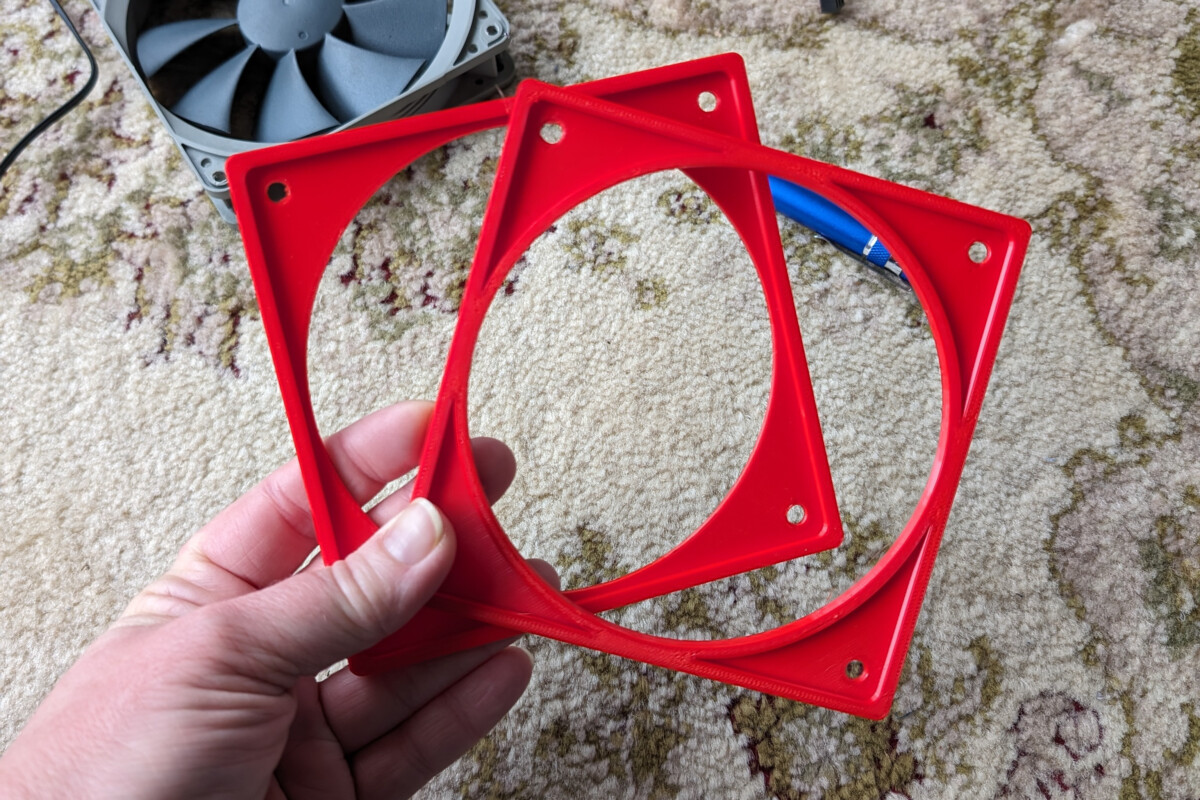
You can easily purchase the fan and thermostat. However, the bezel needed to hold the fan in place in the plastic is 3D printed. My sweetie was nice enough to upload the file to Thingiverse so anyone can use it. If you don’t have a 3D printer, there are many ways to access one these days. They are popping up in schools, maker spaces and even local libraries.
Reusable Seed Starting Trays & Tree Seedling Pots for Potting Up
We picked up some of the fancy silicone-bottomed seed starting trays last year, and they worked beautifully. But after reading about how Fawn makes soil blocks, I’m itching to give that method a try.
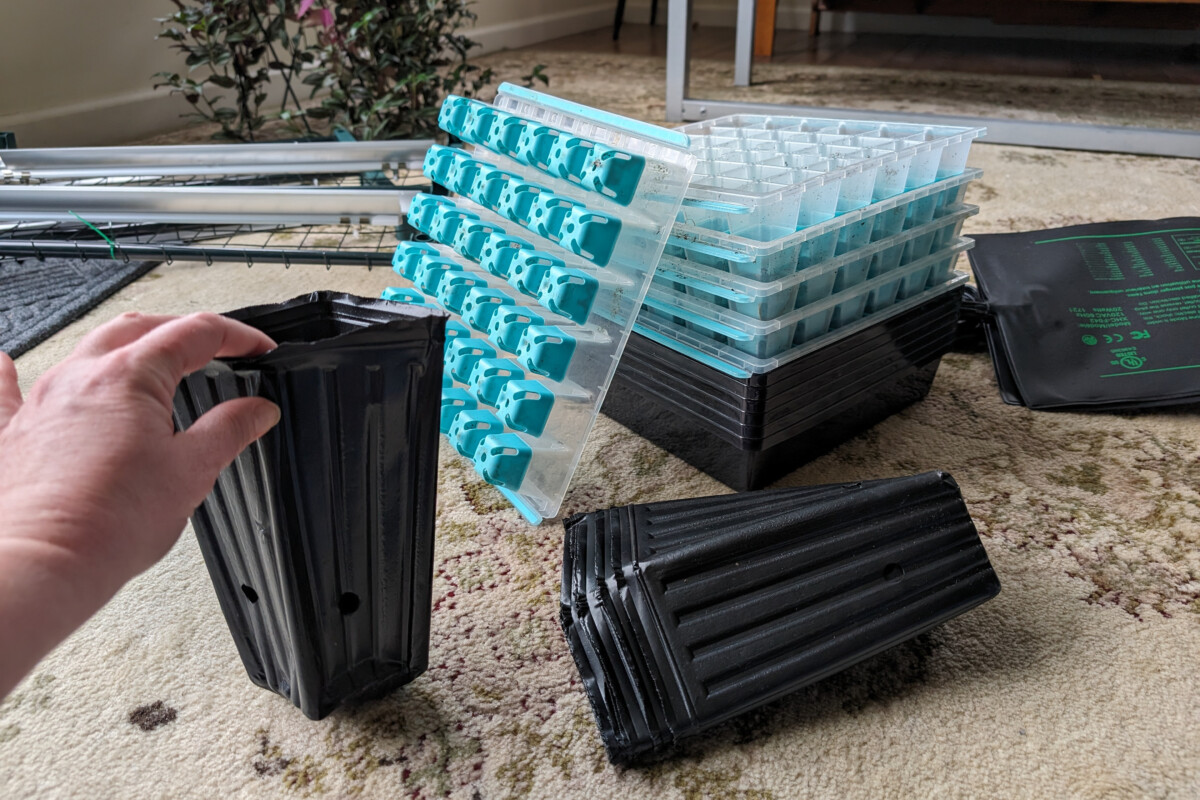
Because I start my seedlings so early, potting up is a must. I finally got smart and started potting up things like tomatoes, eggplant and peppers in the flexible seedling pots nurseries use for trees. They’re tall and narrow, which allows the seedlings to develop a much larger root system.
When they finally go out in the garden, they do so much better, with very little transplant shock. Because they have a much larger root system than the plants I used to grow in standard 4” nursery pots, they’re more drought tolerant in those first few weeks of being in the soil.
They get reused every year because my plastic guilt is high.
If you grow tomatoes, you’ll want to read my piece about how I repot tomatoes with these to get big, bushy plants each spring.
Mycorrhizae
Mycorrhiza goes hand in hand with the tree pots. When I pot up the seedlings into the tree pots, they all get inoculated with mycorrhizae. These happy microscopic fungi and bacteria increase the surface area of the root system as well as make nutrients in the soil available for the plants to use.
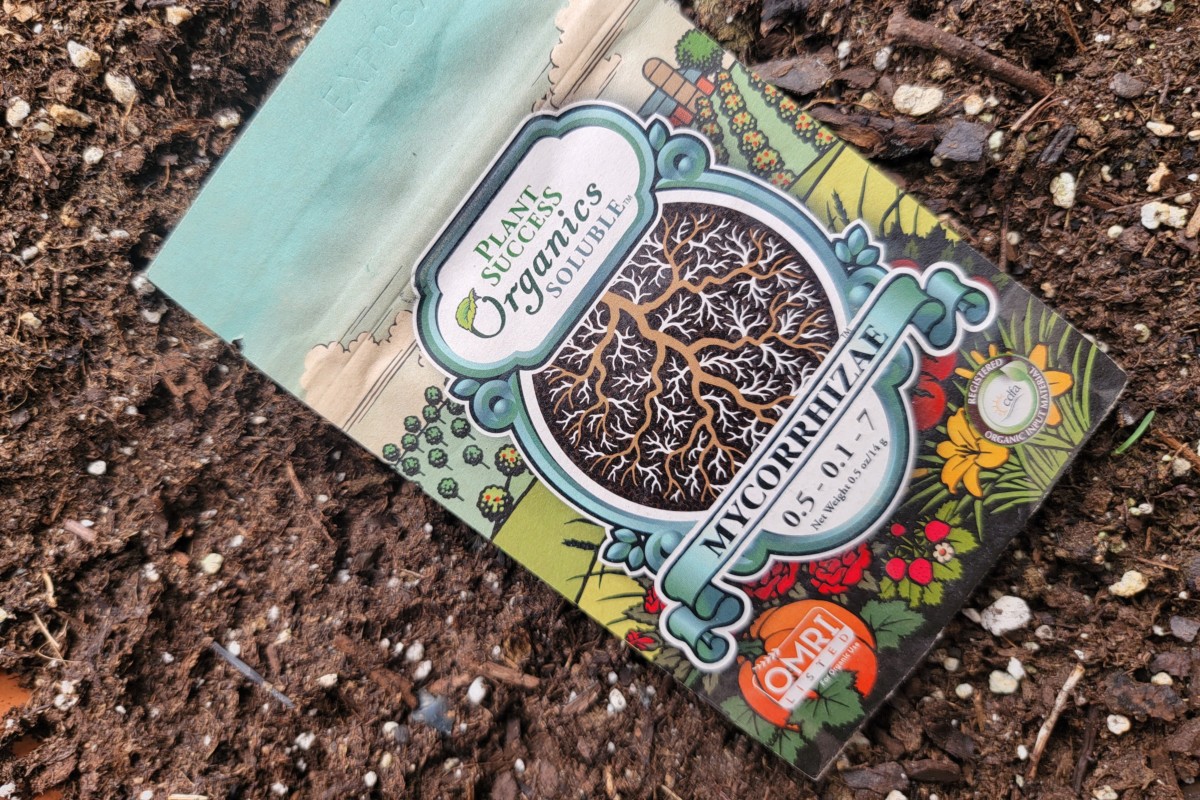
If you haven’t jumped on the mycorrhizae train yet, I highly encourage you to do so. You can read about the many benefits of inoculating your plants here. I prefer the Plant Success Organics Mycorrhizae. I was surprised to find it at Lowes last summer. Apparently, the word is spreading!
Seed Starting Mix
I used to buy the overpriced bags of Jiffy Seed Starting Mix each year. But, as stated, they’re over-priced for what you get, and they contain peat moss. I try my hardest not to use products with peat moss in them, as the harvesting of peat is terrible for the environment.
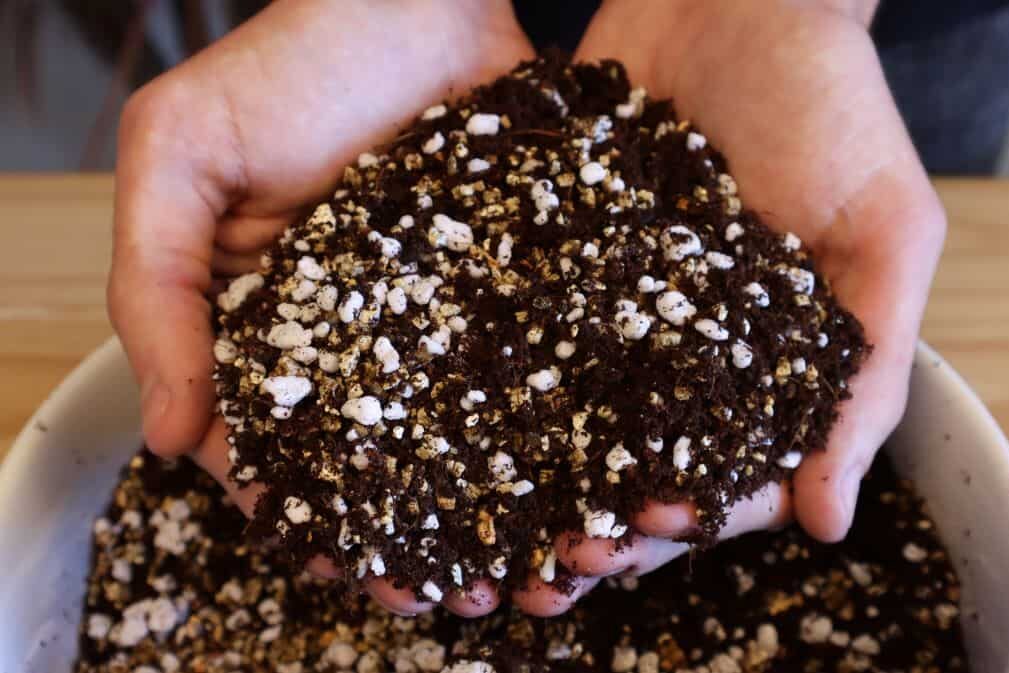
I switched to making Madison’s three-ingredient seed starting mix, which is peat-free. I can mix up a big batch and store it in a tote. It’s great for propagating leaf cuttings, too.
So, that’s it.
That’s everything I use to start seeds each year. And I’m sure I will change something or find something that works better by the time you read this. (Don’t worry, if I do, I’ll update this article.)

Get the famous Rural Sprout newsletter delivered to your inbox.
Join the 50,000+ gardeners who get timely gardening tutorials, tips and tasks delivered direct to their inbox.