

While there are entire books dedicated to drying herbs at home, you’ll find all you need to know right here.
At the same time, we’ll also walk you through a step-by-step tutorial on making a DIY herb drying screen out of branches and a tea towel. It’s a cheap way to use materials that you already have (without the use of a dehydrator).
By all means, put that dehydrator to good use if you have one, but save it for other valuable foodstuffs, such as fruit leather and dried tomatoes. Herbs don’t need so much fussing over.
You can make it more difficult if you like, but drying herbs at home is really very simple.
All it takes is a bunch of herbs and a length of string.
But where are you going to hang those herbs if you have a small space, or are harvesting a few sprigs here and there?
We’ve said it before and we’ll say it again: go vertical!
What if you could make a simple herb drying rack that could be hung on the wall? Perhaps it could hang in the kitchen or the dining room as a temporary art.
You could even hang it outside in a sheltered place out of direct sunlight.
If you wanted to dry flowers (don’t we all) – you could lay the screen down on a table and let the petals dry in peace.
I know, the first thing you think of when imagining an herb drying screen is, well, a metal screen. Not unlike what you use on your windows to keep the mosquitos out. It’s all fine and dandy to allow a lot of airflow to circulate around your herbs, but think about materials for just a second. Unless that screen is a food-grade fine stainless steel, it’s an inferior choice. And if you are trying to avoid plastic, then choosing a plastic screen is also out the window.
So, here we come to the most cost-effective option that also provides excellent results: branches, string and a tea towel.
As I said, the act of drying herbs is very simple. Knowing when they are completely dry, however, is something that comes with practice. In the end, what you are looking for are moisture-free flowers, stems, roots or leaves that can be put away safely for long-term storage. Reusing glass jars is my favorite way to store them.
Let’s get you started on making your own herb drying screen.
Materials and Tools For Making An Herb Drying Screen
It’s true, this easy herb drying screen will cost you next to nothing.
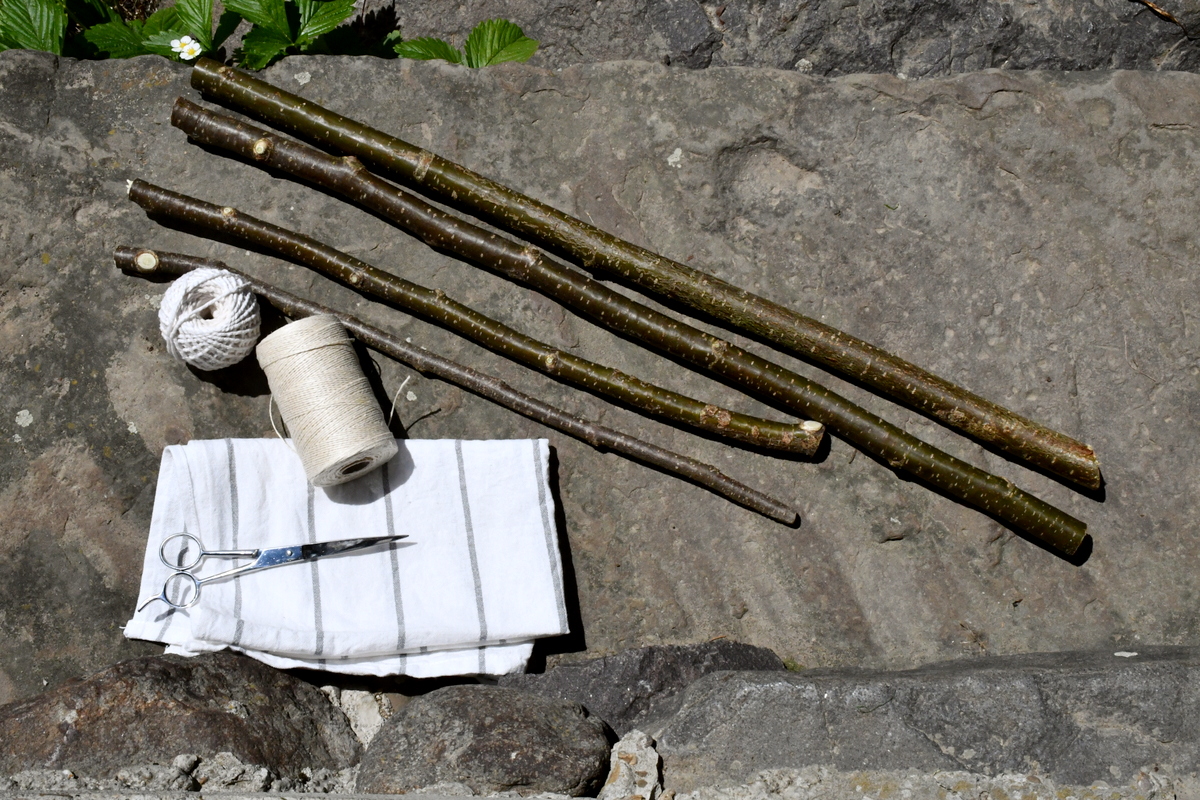
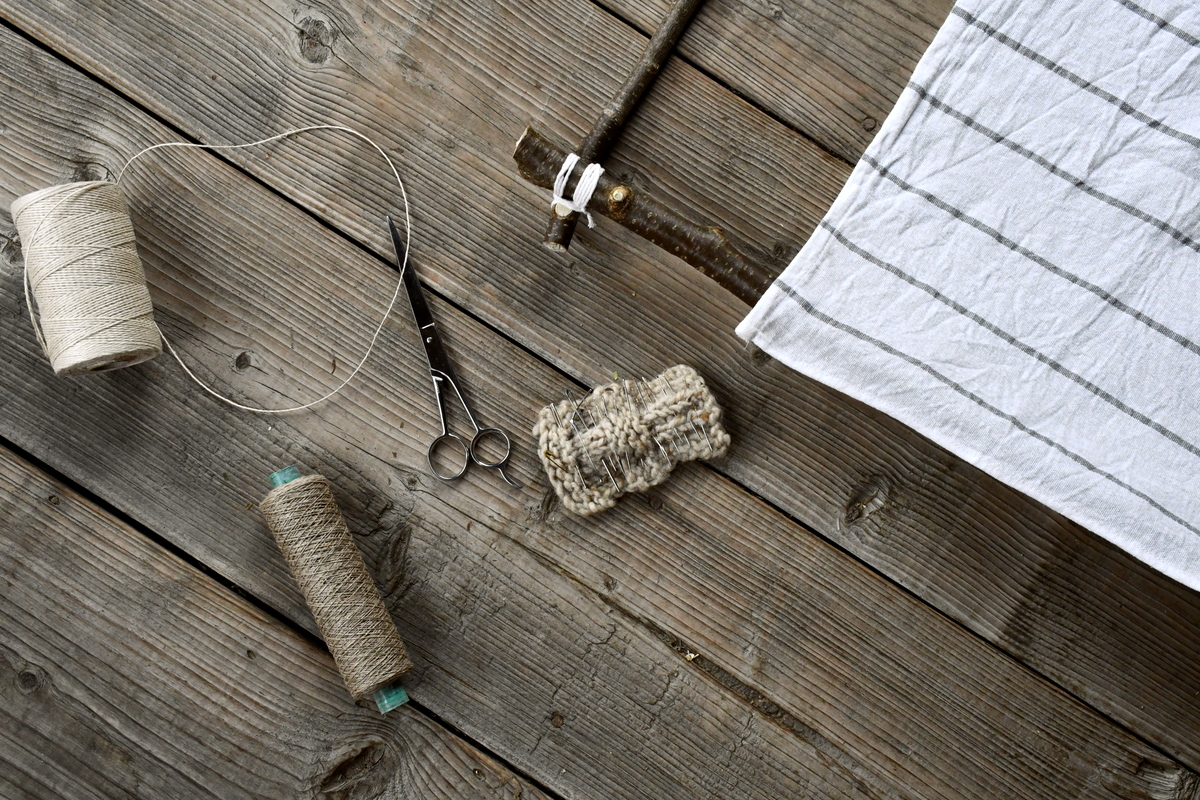
Collect the following tools and materials to quickly get started:
- fresh or dry branches
- hand saw and pruners
- tea towels (new or gently used)
- strong string for tying the frame
- scissors
- needle and thick thread
- measuring tape
Finding Materials For The Frame
Freshly cut branches make the best frame material, just be aware that they will shrink with time, so the lashing may need to be retied at a later date.
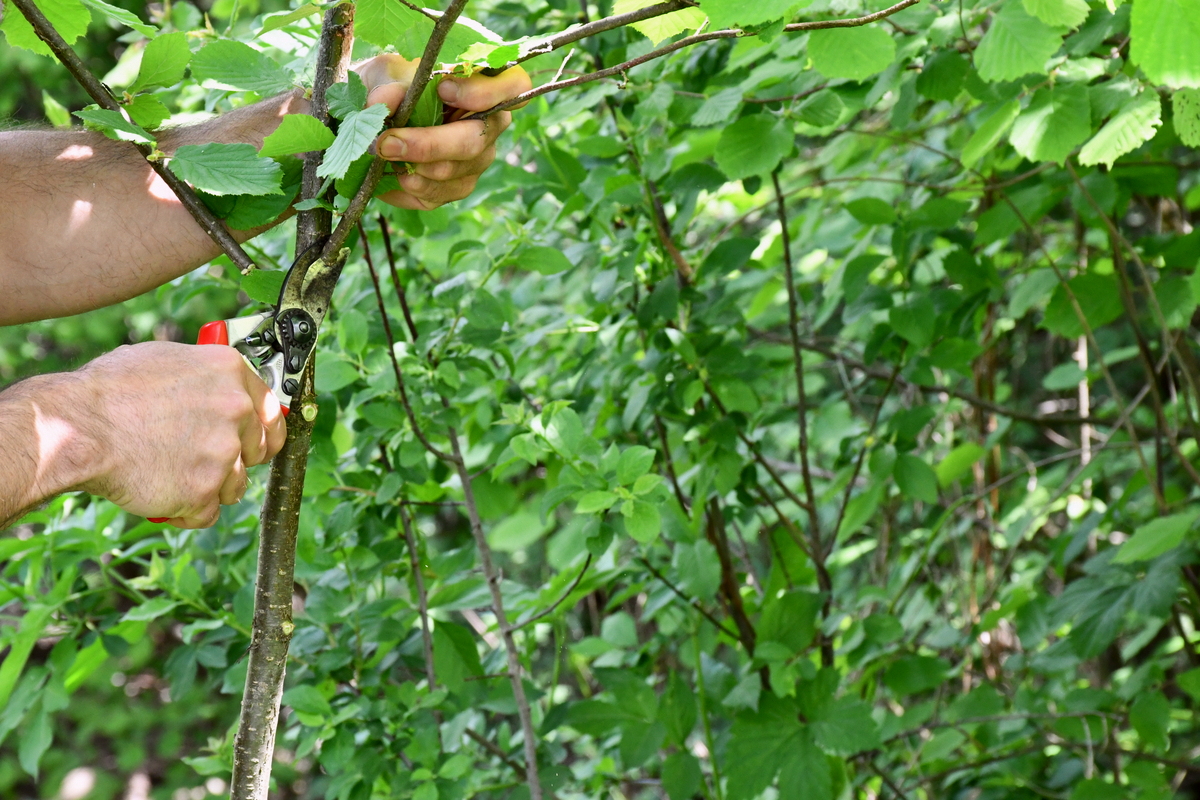
In this project, we’ve chosen to go with hazel branches since they are abundant where we live. Oftentimes, they also happen to be straight. Curved branches work just as well. Use what you can find, even arched branches, and it will turn out that much more artistic.
You can also make a low-cost herb drying screen by taking the glass out of an unused picture frame. The empty rectangle can easily be covered by a tea towel or undyed cloth.
Cutting branches to make the herb drying screen frame.
The size of your herb drying screen will depend on what you find in nature, or opt for in a picture frame.
Choosing two tall branches of hazel, we noticed that the bottom had a larger circumference. Cutting the larger part off, we divided that in half, to provide for the length of the frame.
The smaller part of the branch went towards the width of the frame.
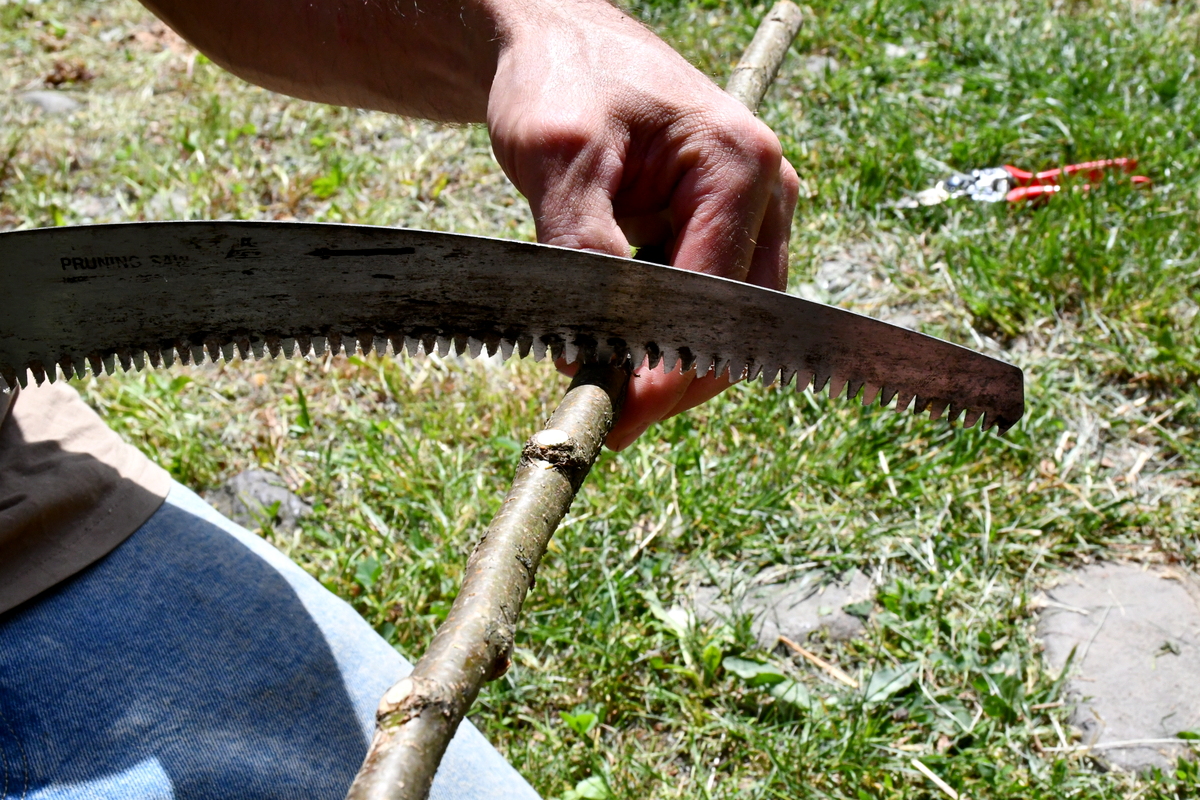
Don’t be so focused on numbers, here they aren’t important. However, in case you were wanting more specifics, the final dimensions of the two screens we made at once, were 26.5″ x 19″ (68 x 48 cm).
Now, let’s bring back some scouting knots!
If you don’t remember how to make a clove hitch or a lashing knot, no worries. And if you weren’t ever a scout, you’re about to learn something new and useful. Knowing these knots come in handy anytime you are working with string or rope around the home, homestead or small farm.
Position your branches on the ground or table where you are working.
Choose a corner to start with and make a clove hitch to attach a longer length of string.
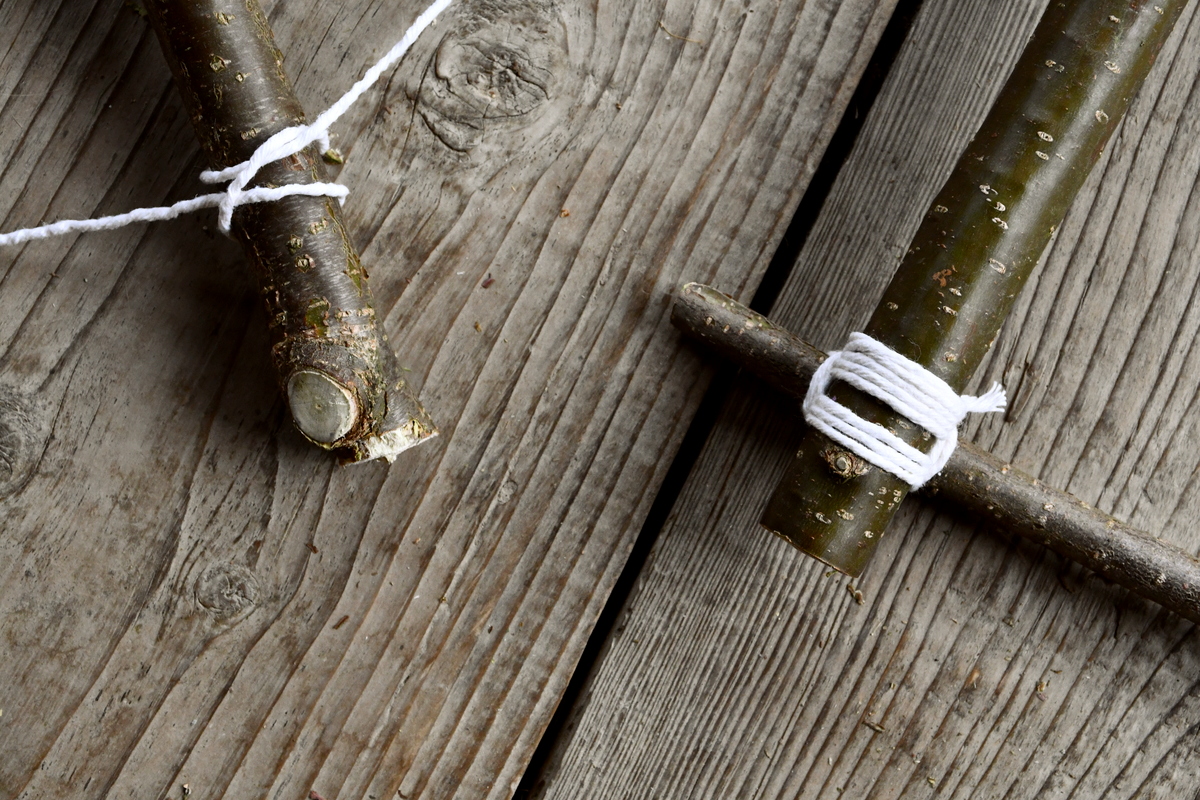
I used 55″ (140 cm) lengths of a multi-ply cotton string on each corner of the frame to attach with a lashing knot.
Make sure to wrap the string as tightly as possible, knowing that green branches will shrink as they dry.
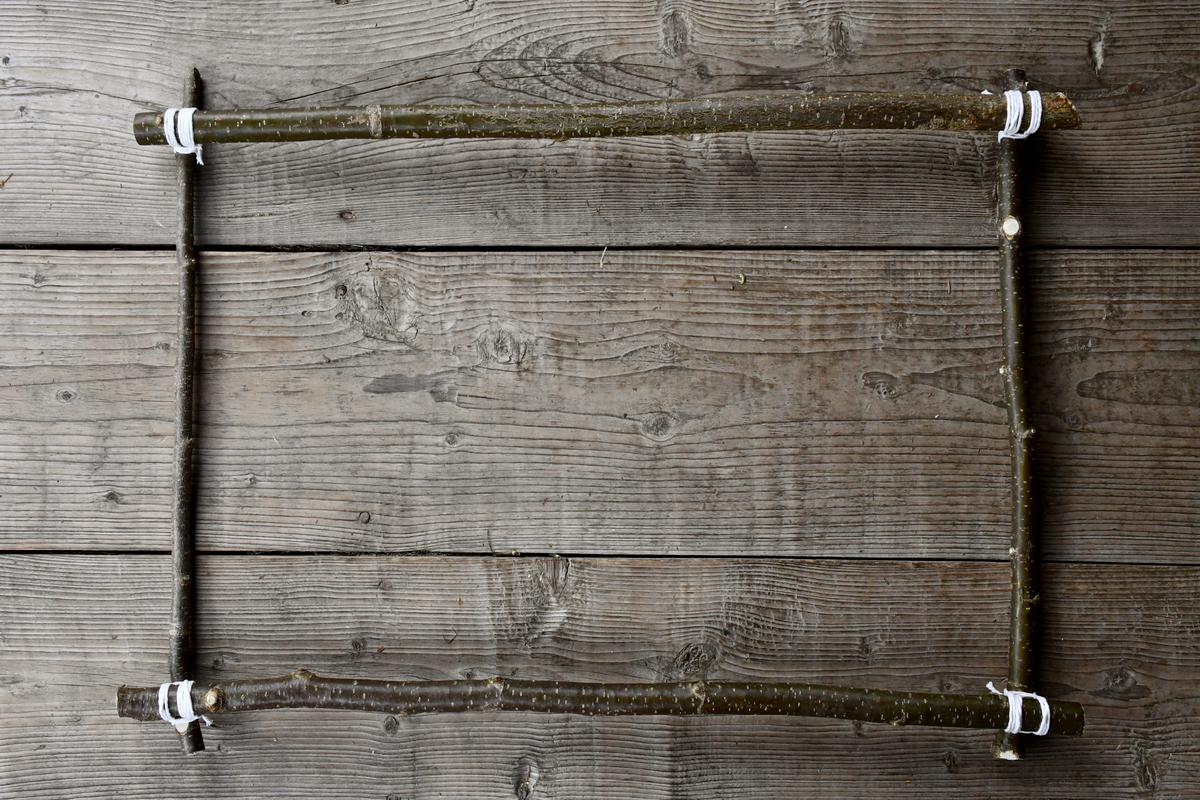
Bind all four corners together, then flip the frame over to sew the tea towel on.
Attaching the tea towel to your herb drying screen.
Sewing is one of those homestead skills that is absolutely essential. From mending socks to sewing up rips in work clothes, it’s a way to extend the life of things you own. It’s immensely useful for creating and making.
Without giving sewing advice here, simply follow the basics using the skills that you already have.
Start by attaching all four corners of your tea towel to the frame. Our towels seemed to fit by chance, luck or good intuition.
A quick note: you don’t have to use new tea towels.
Though whatever material or scrap fabric you use should be clean, preferably undyed and non-shedding. The purer it is, the better off you will be. Since the food/herbs/flowers you eat will be directly touching the fabric, make it as natural as possible.
How to secure the tea towel.
Thread your needle with a very long piece of thick thread and begin at one corner. Secure it with a knot and bring your needle to the opposite side of the frame, making a “V” pattern as you sew. This will help the rack not to sag under the weight of drying herbs.
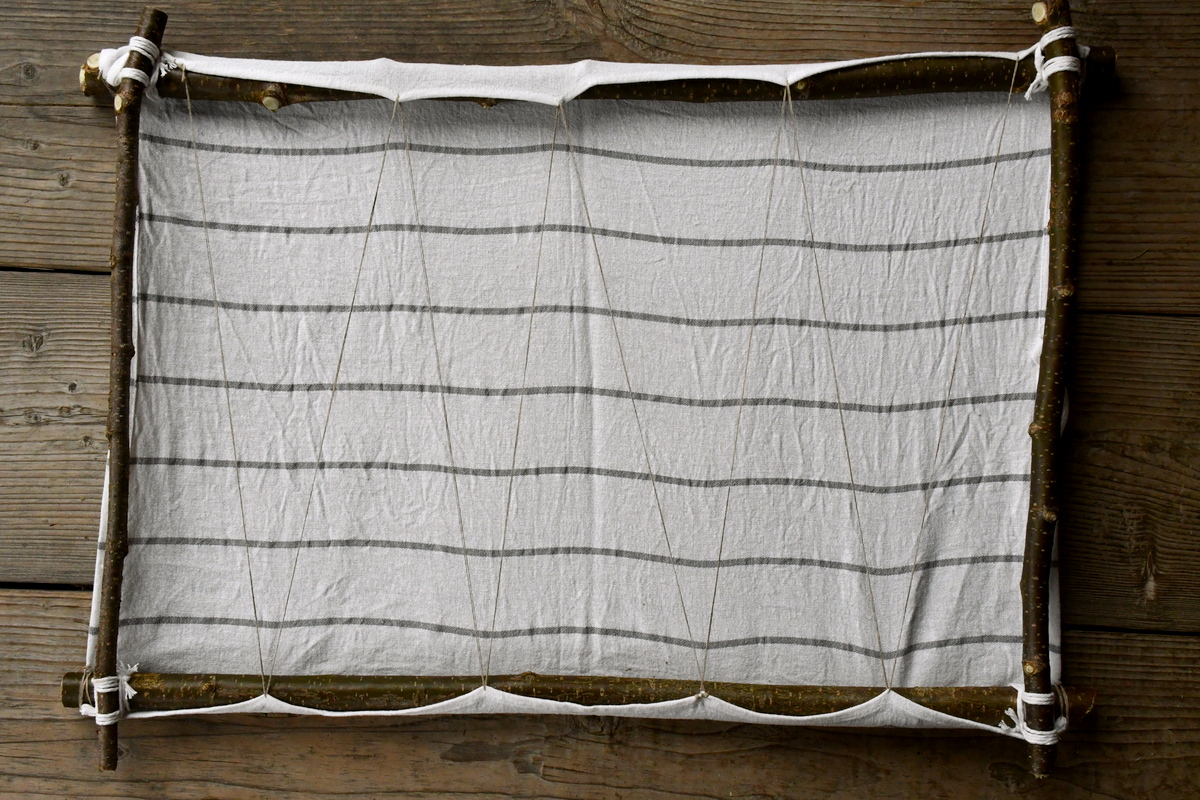
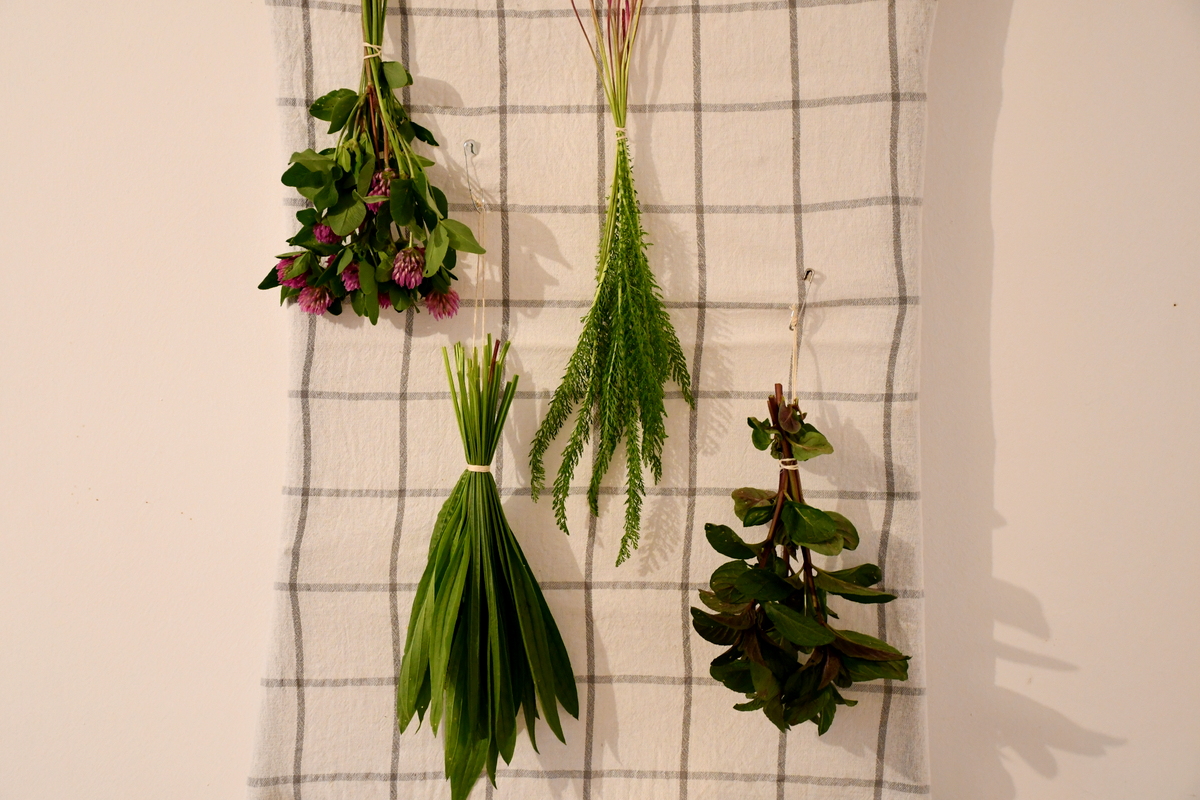
When this is complete, you are essentially done. All that’s left to do, is to tie a hanger on if you wish to hang your herb drying screen in the kitchen, or in a protected, outside space.
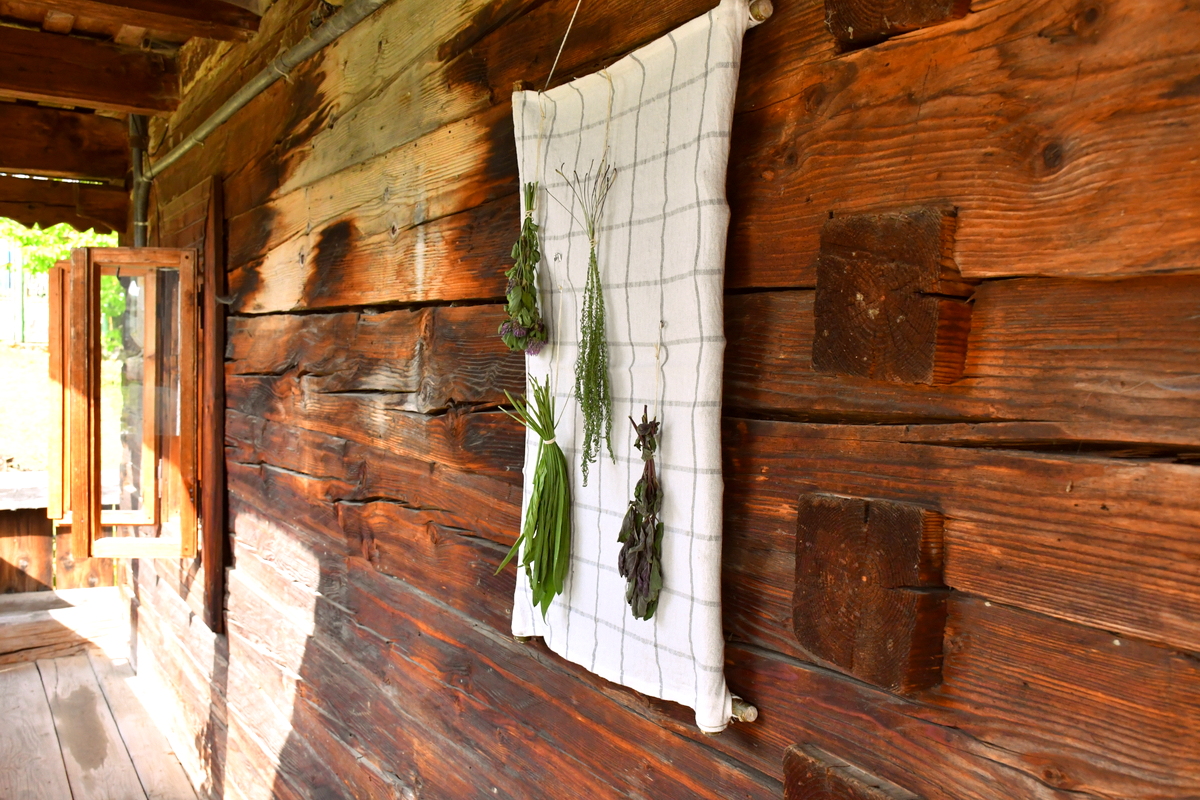
As mentioned above, when you are able to hang your herb drying screen, it provides you with an alternative space to dry your herbs. It works just as well in an apartment as it does on a farm.
You can even dry the herbs you grow on your own windowsill. No matter if your garden is big or small, you’ll always need a place to dry herbs.
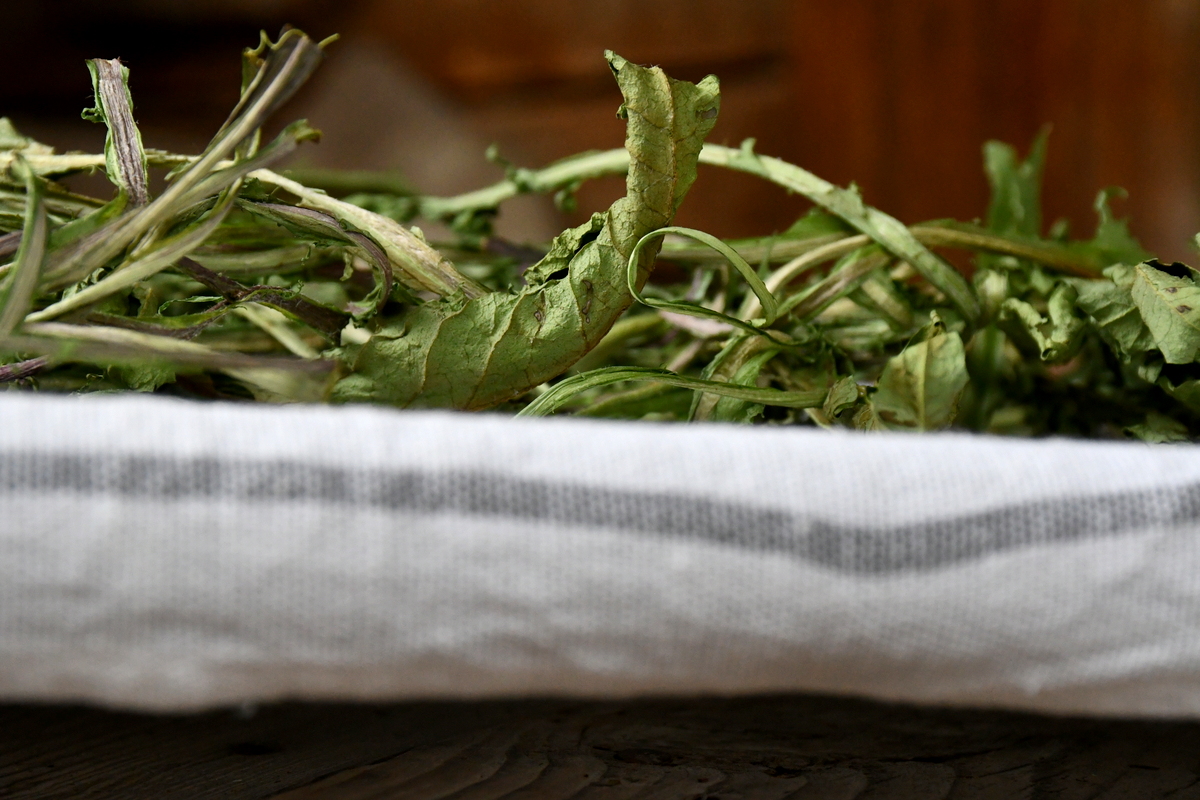
Once your screen is ready, head back outside to collect those herbs and wild plants. Dandelion greens included.
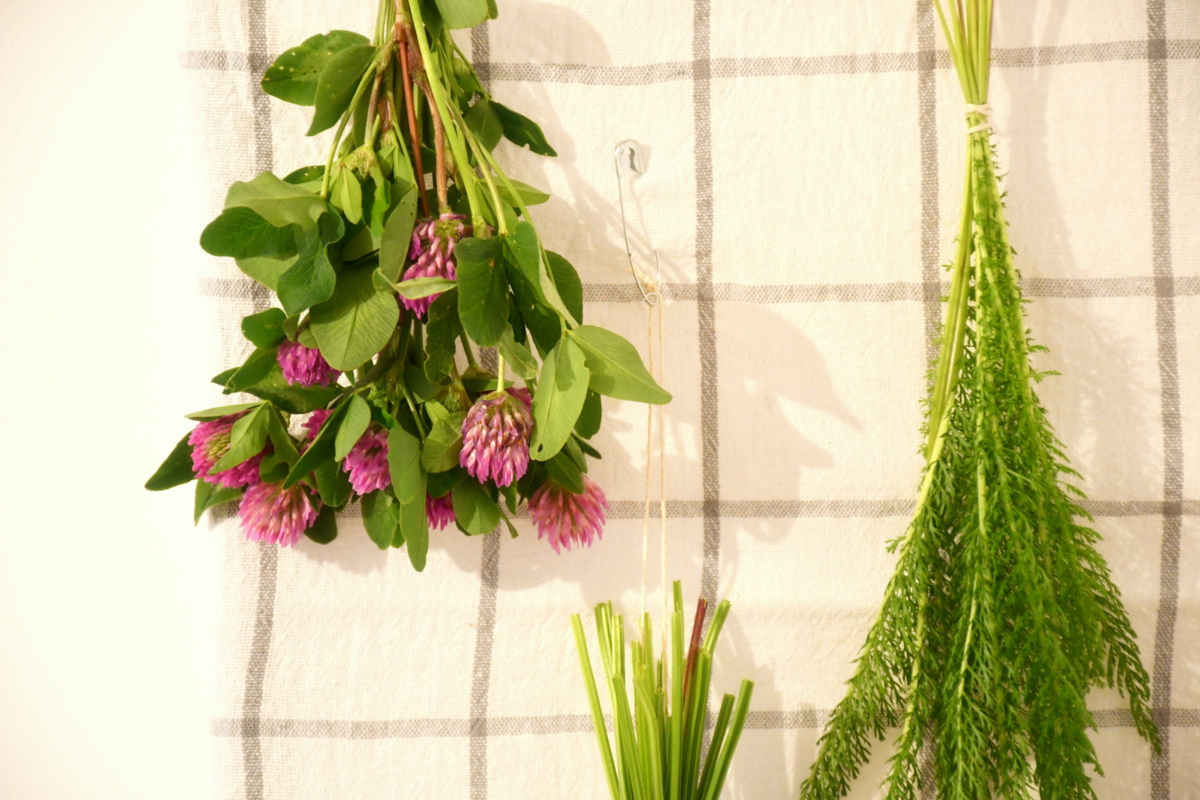
If you are drying them vertically, go ahead and tie several small bunches, attaching them to the towel with a safety pin.
Drying Flowers On An Herb Drying Screen

Over the years, I’ve found there is an art to drying flowers – don’t overcrowd them.
If you allow blossoms to overlap too much on the drying board, the petals will often stick together, leaving pockets of moisture that are hard to get rid of.
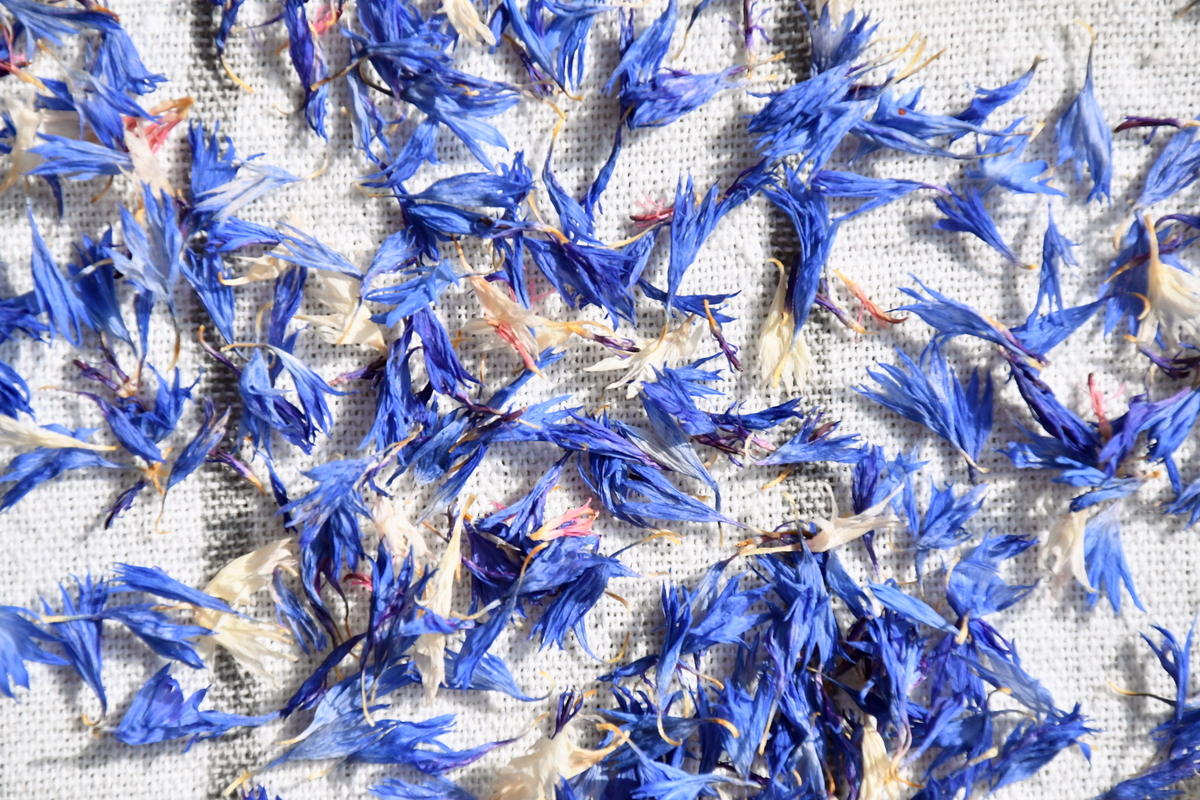
When drying flower heads and petals, be sure to spread them out as much as possible. For this, the screen must be horizontal and in a safe, air draft-free place. Be sure to flip or turn your flowers every day, to achieve maximum dryness.
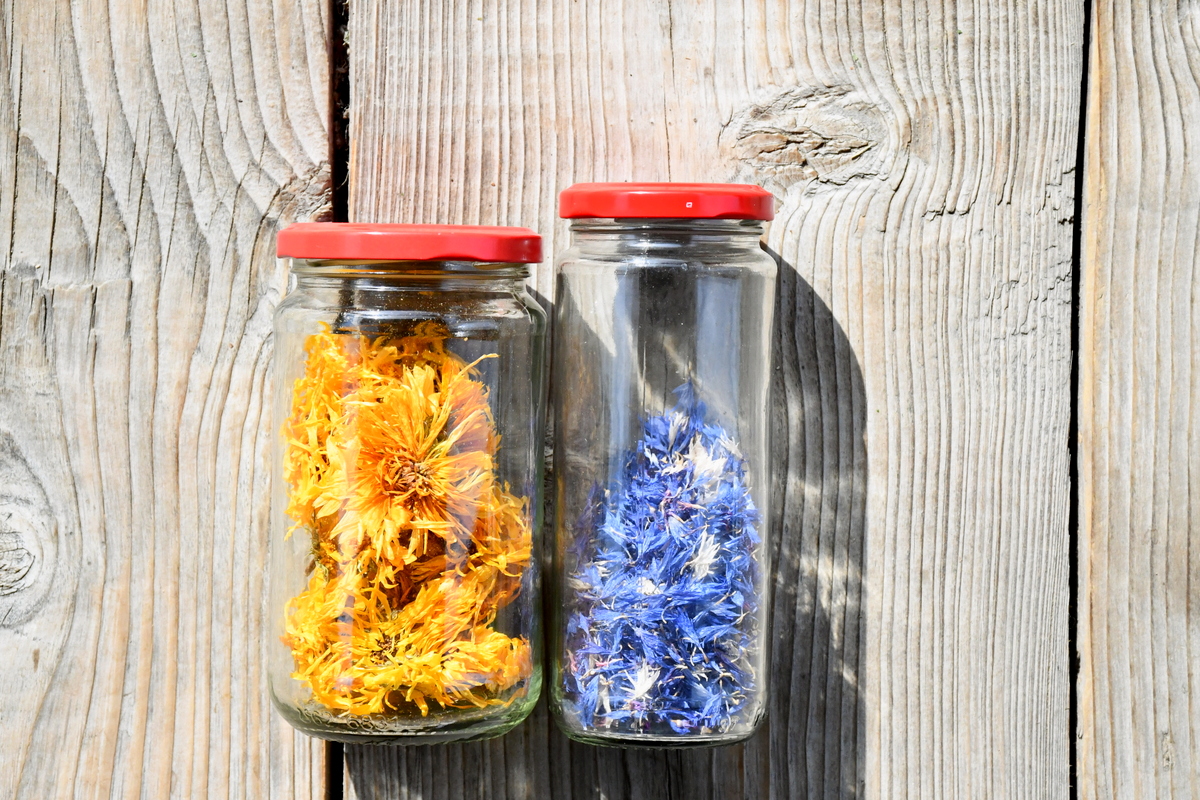
Store in a cool, dry and dark place. (Sunlight used for photography purposes only.)
What flowers and herbs will you be drying this summer that could use a screen?
Nasturtiums, chive blossoms, plantain leaves, nettle, mint?
You name it, you can dry it. Try using an herb drying screen this summer as you harvest more than ever before.

Get the famous Rural Sprout newsletter delivered to your inbox.
Join the 50,000+ gardeners who get timely gardening tutorials, tips and tasks delivered direct to their inbox.