


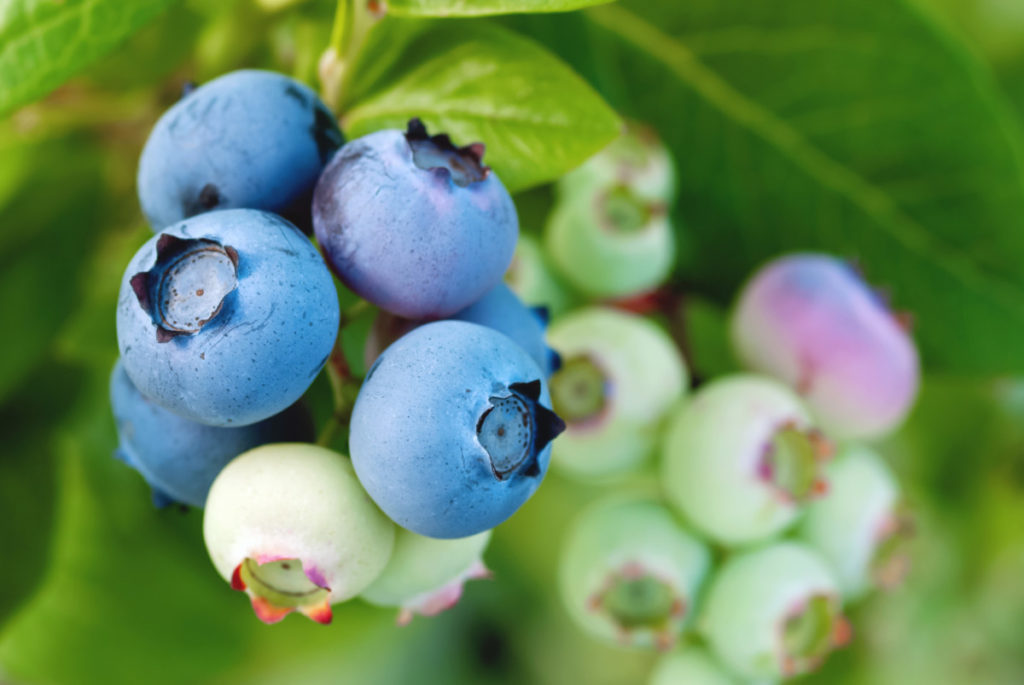
It’s hard to imagine picking blueberries when you’re busy getting your garden ready in the spring. However, if that’s what you want, to be picking blueberries by the bucket later in the summer, now is the time to fertilize.
Blueberries are an incredibly nutritious berry, popular among the low-carb crowd for their low glycemic index. These tasty blue bites are packed with vitamins, including vitamin C, antioxidants, and potassium; and they’re even anti-inflammatory.
To ensure you’ve got plenty of these healthy berries in July, it’s time to grab the gardening gloves and add ‘Fertilize the Blueberry Bushes’ to your spring gardening chores.

We’ll go over the best fertilizer option for blueberry bushes, and when to fertilize them, and I’ll even walk you through the process. Now is also a good time to acidify your soil and give it a little topdressing if it needs it, so we’ll talk about that too.
And finally, I’ll point out a couple of differences between growing your bushes in the ground or in containers where fertilizing is concerned.
Take care of this simple task now, and not only will you be setting yourself up for scads of blueberries this summer, but also the continued health and growth of your bushes in the future.
What’s the Best Fertilizer for Blueberries?
Blueberries prefer acidic soil, so it only makes sense that they would also do best with a slightly acidic fertilizer. Fertilizers containing sulfur-coated urea, ammonium sulfate, and ammonium nitrate are all fertilizers that will raise the acidity of your soil and keep your blueberries happy.
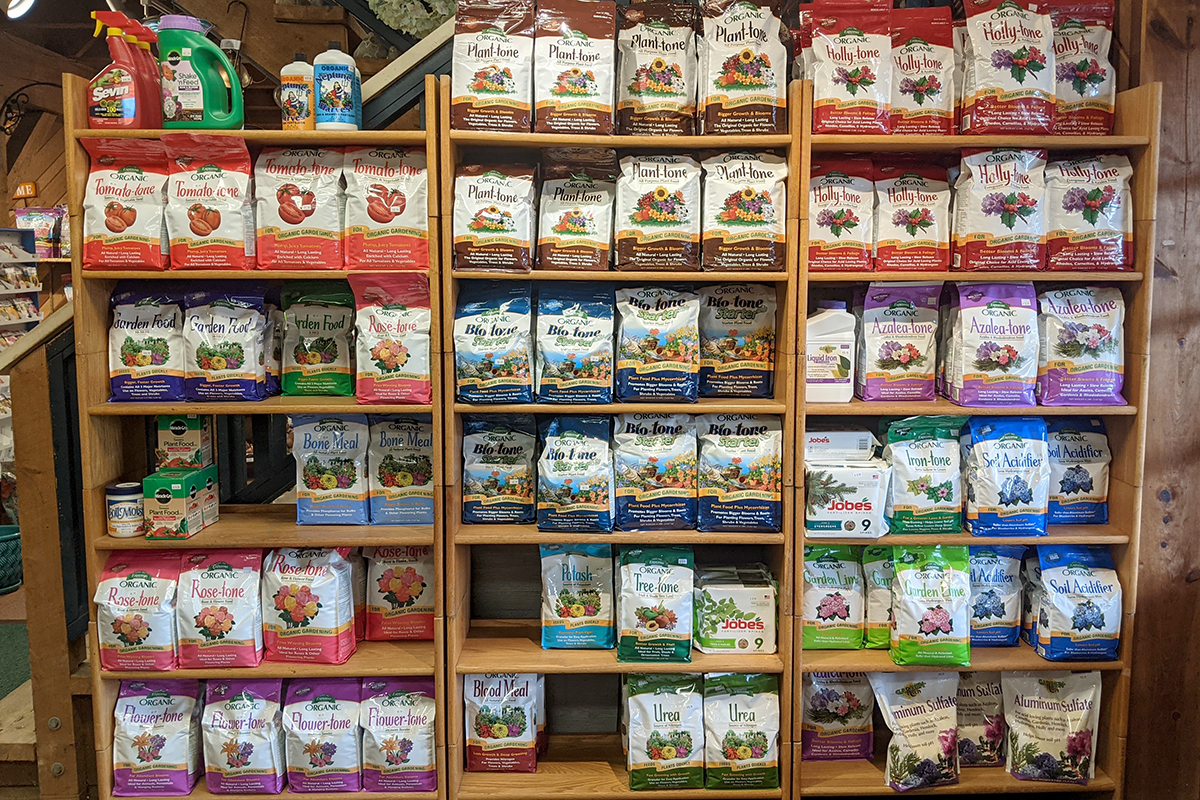
Rather than searching out these ingredients separately, opt for a fertilizer blend labeled specifically for acid-loving plants. Look for fertilizers made for azaleas and rhododendrons, and you’ll be all set.
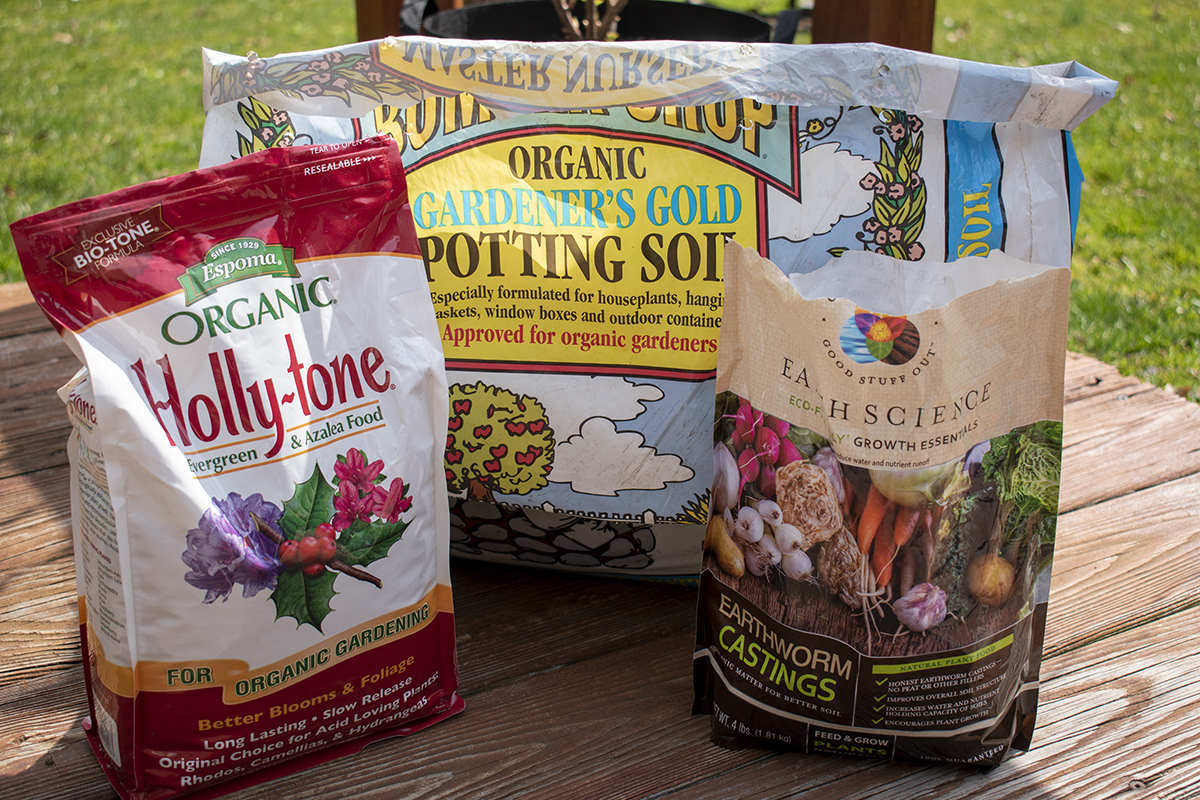
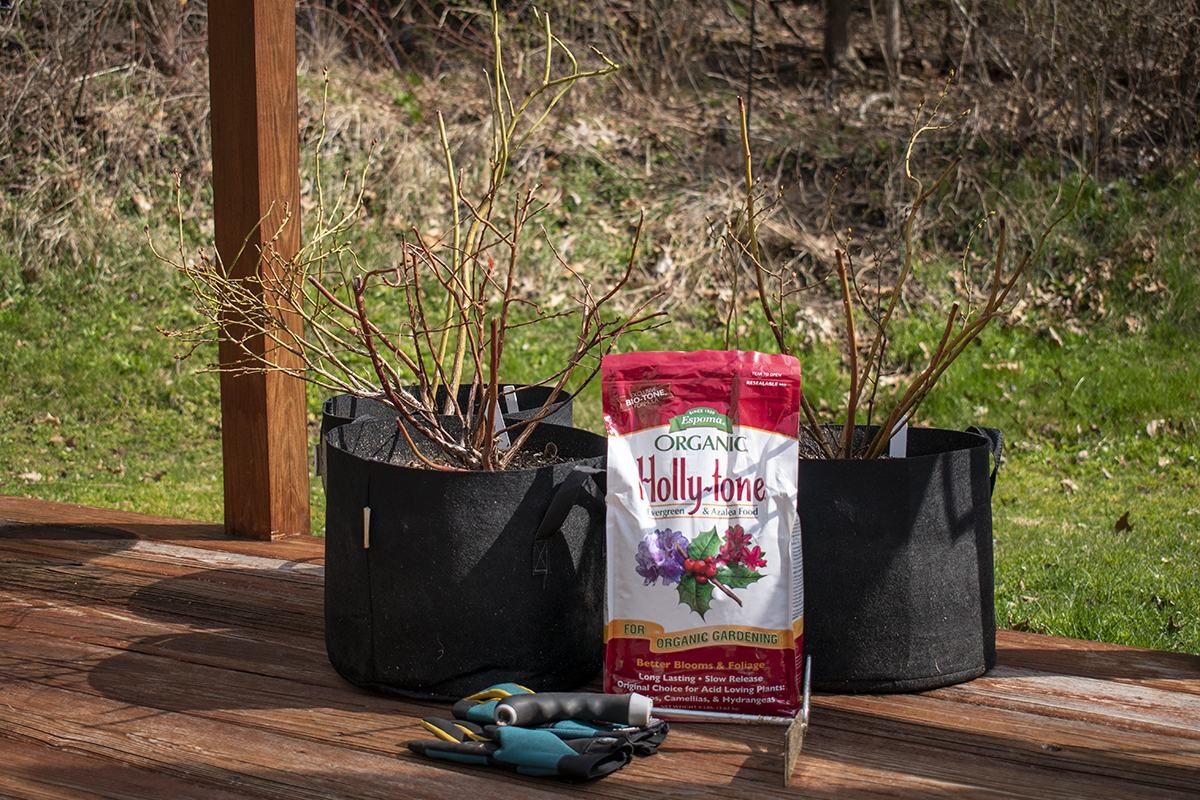
I like to use Espoma’s Holly-tone on my blueberry bushes, mainly because it’s organic, and I can easily find it just about anywhere, even at Walmart.
A few other great options are Down to Earth’s Acid Mix, Fox Farm Happy Frog Acid Loving Plants and Dr. Earth Acid Lovers.
You can always use a good, balanced fertilizer, too; just be sure you also add a soil acidifier at the same time.
When Should I Fertilize My Blueberry Bushes?
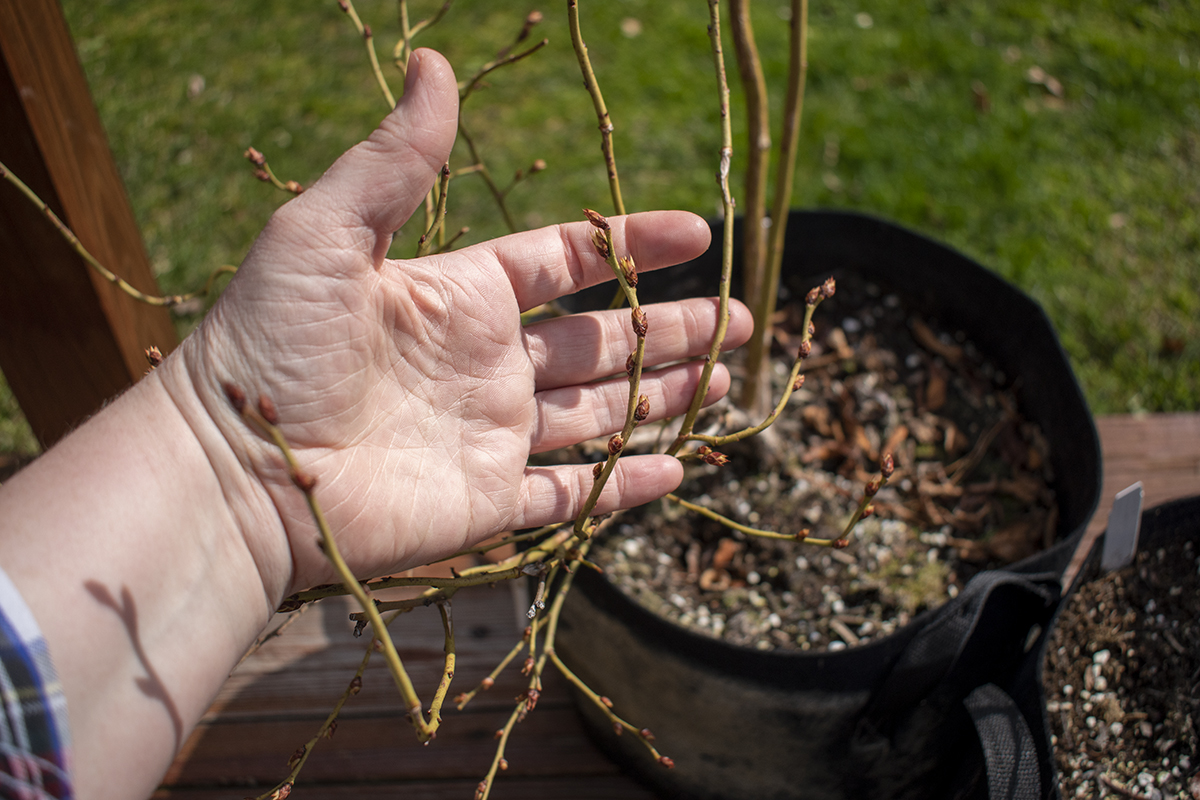
For the best blueberry yield possible, you’ll need to fertilize your bushes in the early spring. You want to plan on fertilizing them as they begin to set buds and well before the leaves are fully developed. Adding fertilizer this early in the season gives the bushes plenty of time to absorb all of the nutrients.
If your blueberry bushes are new, you’ll want to fertilize them again six weeks after the first application. So, you’ll be fertilizing them in the early spring and again in late spring. However, once they are a couple of years old, they only need one application per year in the early spring.
Give Your Blueberry Bushes a Little Extra TLC
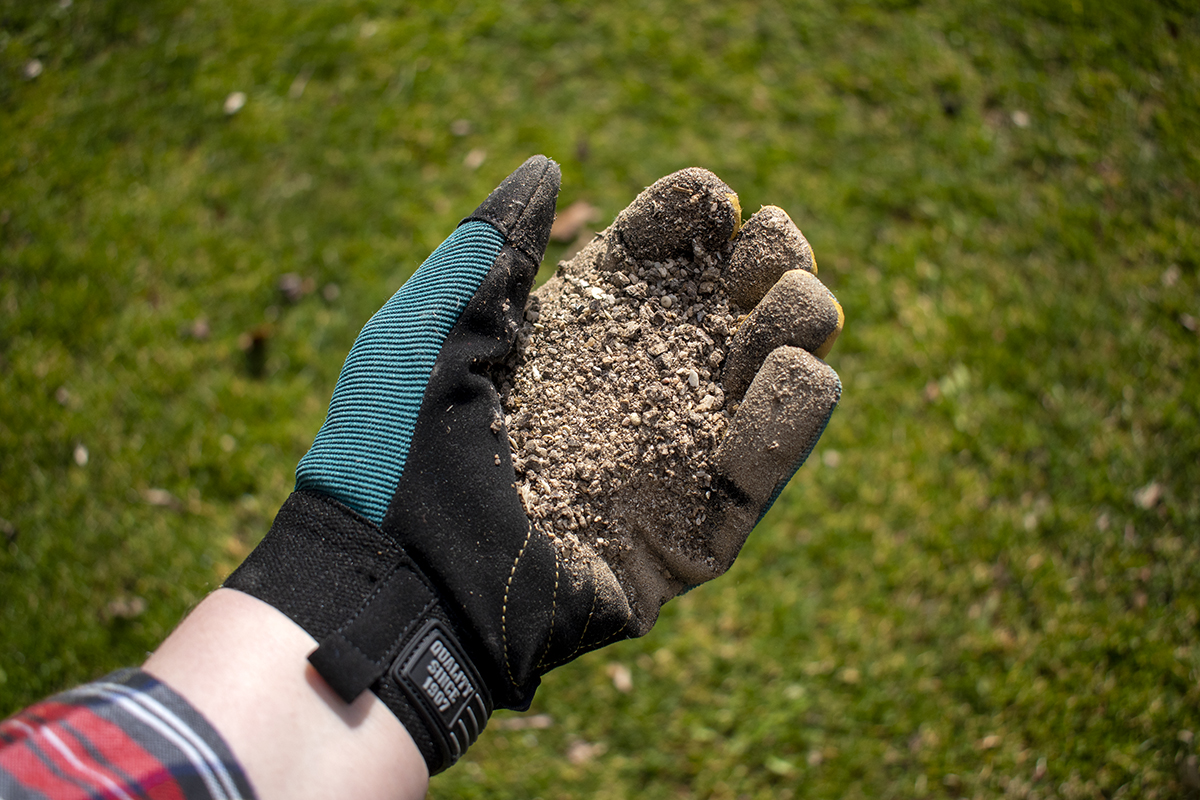
Since you’re already going to be showing your blueberries a little love, why not go the extra mile? Now is also a great time to test the soil with a pH monitor to see if you need to add a little sulfur and decrease the pH to make it more acidic. You can add your chosen soil acidifier mixed right in with the fertilizer.
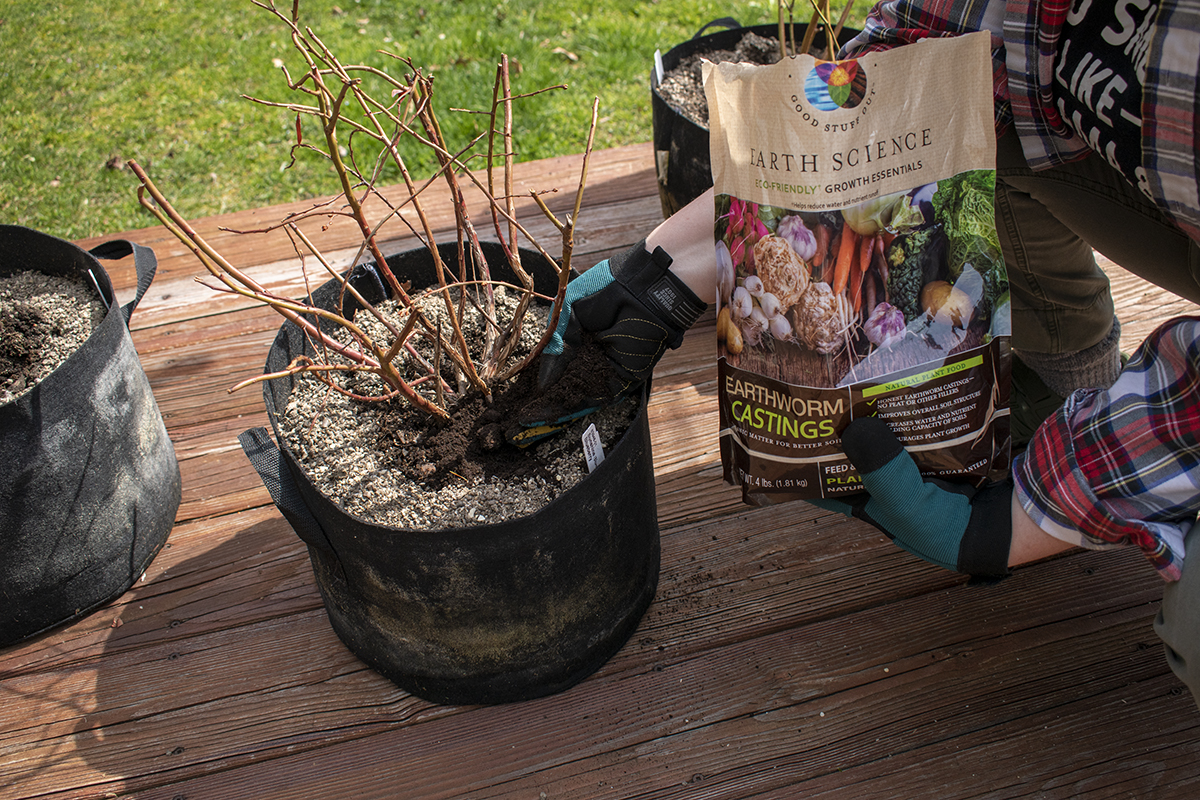
Once you’ve applied the fertilizer, consider topping it off with some worm castings. Worm castings not only provide a low-level, slow-release fertilizer, but they also help to deter certain pests and improve the soil. Did I mention that they will also contribute to a larger yield?
If you want to improve your bush’s root system, consider inoculating your plant with quality mycorrhizae.
Adding these helpful fungi to the soil offers your blueberry bushes a host of benefits. Mycorrhizae increase the surface area of the plant’s root system, allowing them to take up even more water and nutrients and give the plant protection from drought. The fungi also help to “predigest” nutrients in the soil, making them readily available to the plant.
I’m a firm believer in the benefits of mycorrhizae. Give it a try, and see for yourself. Read up on all the benefits here; I think you’ll be surprised.
Step-By-Step Instructions
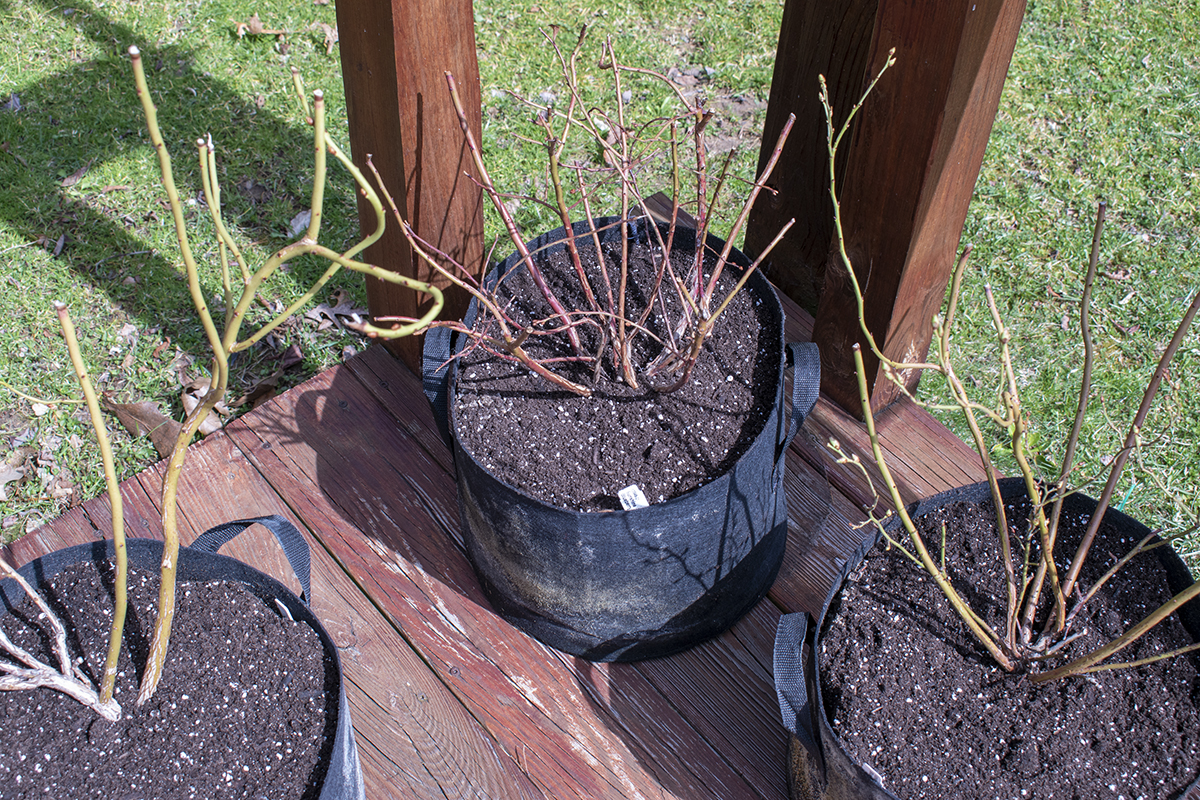
Now that you’ve got your fertilizer picked out and any other extra amendments you’ll need let’s fertilize those blueberry bushes. If you’re working with blueberry bushes in the ground, you’ll need a garden rake. If your bushes are in containers, a small tine hand cultivator is all you need.
Let’s get started!
For planted blueberry bushes, you’ll want to rake away any mulch you put around them from the previous year. Gently scratch the very top layer of the ground, being careful not to disturb the bush or pierce any roots.

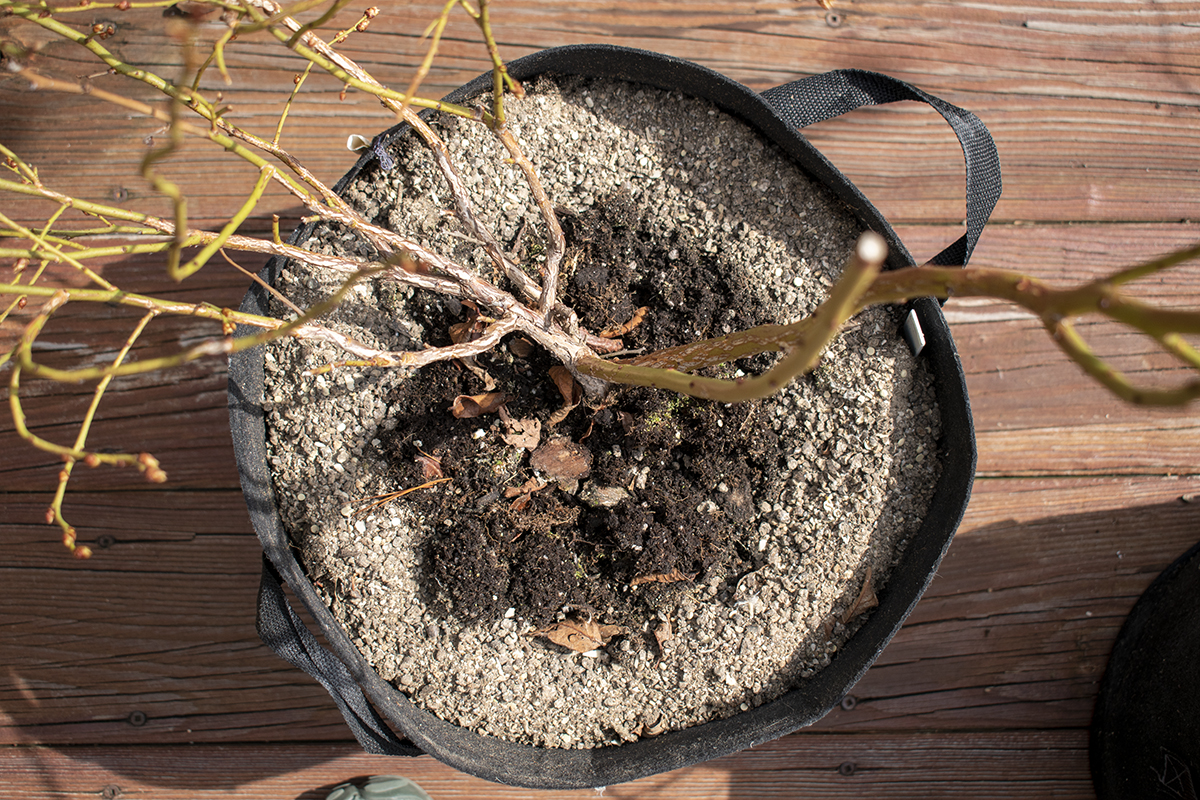
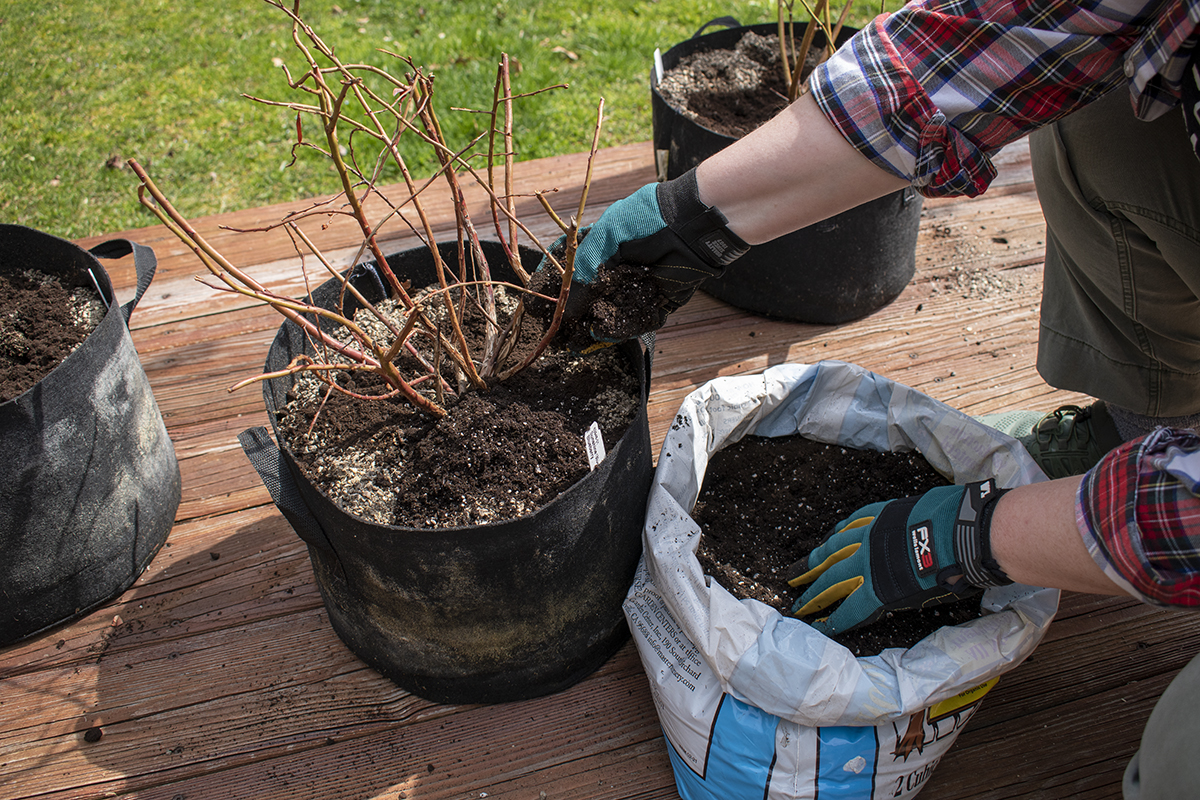
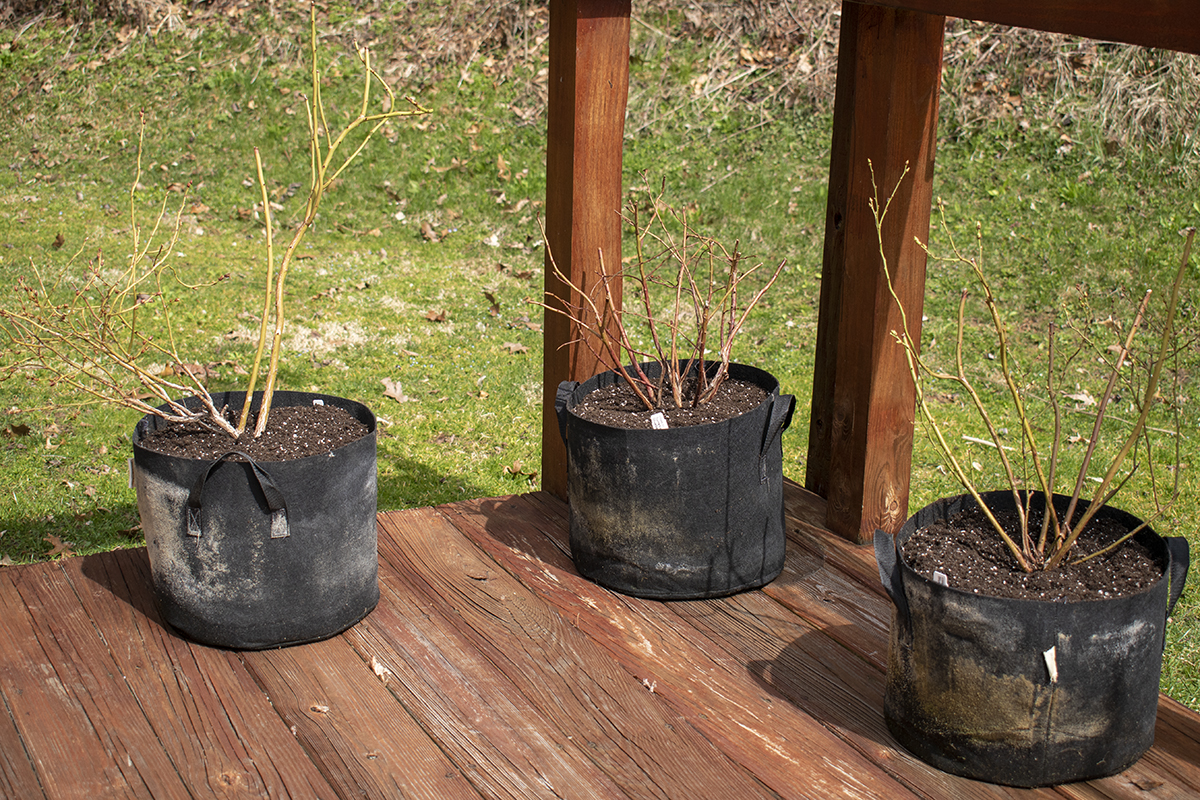
If your blueberry bushes are in containers, again, you’ll want to remove any mulch from the previous season. You can be a little more aggressive when scratching up the top layer of soil but watch the roots. This is also a good time to check out your root ball and decide whether it’s time to pot your blueberry bush into a larger container.
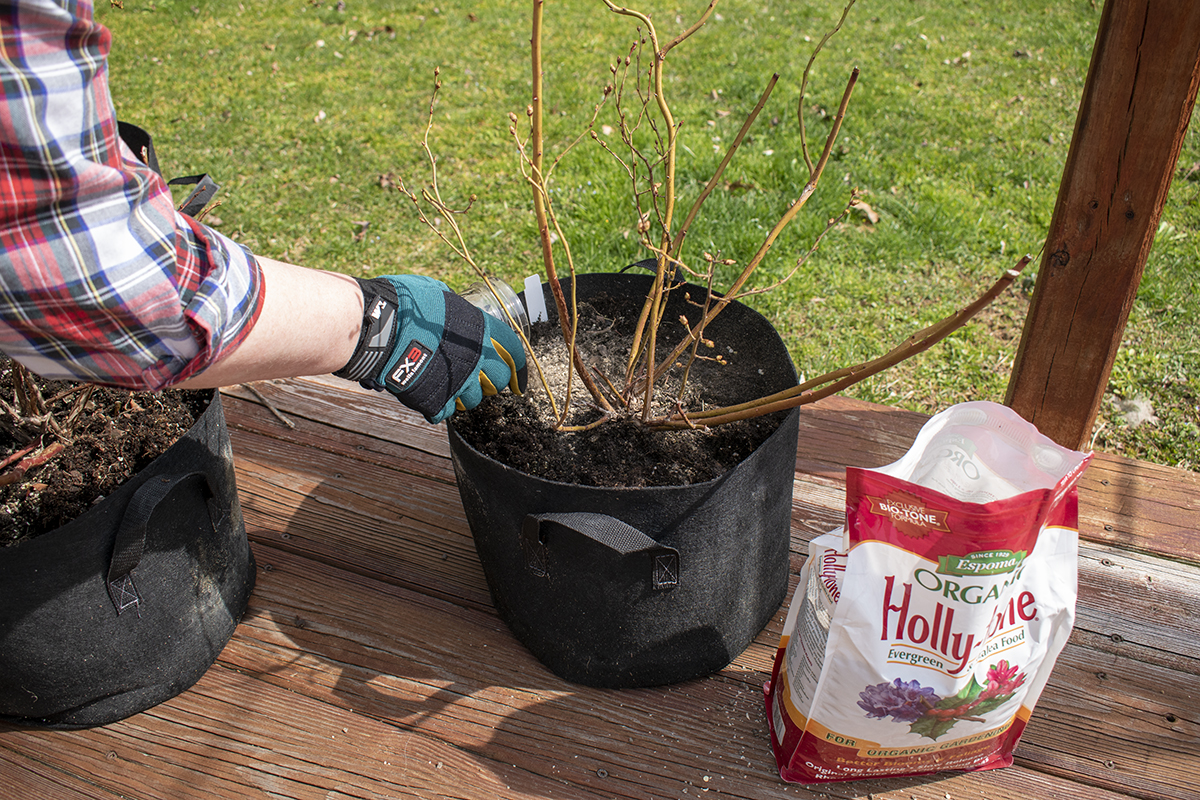
Now you’ll add your fertilizer. Always go by the recommended dose on the package, as they’re always different strengths. You shouldn’t put fertilizer directly near the base of the bush; you always want to put it out around the plant’s dripline. The dripline is the very outer edge of the bush, beneath which is the critical root zone. This is where you want to concentrate all of those nutrients.
Top off your fertilizer with any soil-acidifier or worm castings you plan to use.
If your bush is in a container, topdress everything with some fresh potting soil, as the soil drains out of the bottom of your container with every watering, which will help to replace it.
You can gently rake everything in for blueberry bushes planted in the ground; no top dressing is needed.
When you finish, don’t forget to water everything in. If you can, plan to fertilize your blueberry bushes right before a day or two of steady rain. The falling rain will help saturate the roots with all the nutrients you’ve just applied. Plus, it’s one less thing you have to do when Mother Nature will take care of it for you.
Don’t Forget to Mulch
To prevent the fertilizer and any top dressings you’ve applied from running off, mulch beneath your blueberry bushes out to the drip line. Mulching will also help to lock in moisture and prevent weed growth.
If you need some ideas on what mulch to use, check out Elizabeth’s article with 19 different mulch options, many already in your backyard.
Now check that chore off your spring gardening to-do list. You’ll be enjoying plump, sweet blueberries before you know it. You might even need some blueberry recipe inspiration to handle all of them.
Read Next:

Get the famous Rural Sprout newsletter delivered to your inbox.
Join the 50,000+ gardeners who get timely gardening tutorials, tips and tasks delivered direct to their inbox.