

The aroma and texture of finished compost – or humus – is a divine thing.
Rich, dark, and crumbly, humus has a sweet, loamy, and deeply earthy scent that is reminiscent of a stroll through a forest after a fresh rainfall.
Teeming with a gazillion microorganisms, you can practically smell the fertility!
But before you can appreciate the wonder of the humus harvest, you need some sort of housing to render down your collection of food and yard waste.
Although an open heap will work too, an enclosed space will cover up the inherent unsightliness of a big ol’ pile of waste, while preventing refuse from blowing away and your scraps from being plundered by rodents.
Choosing the Right Composter for You…
The composting system should suit your needs, the space you have available, and your lifestyle.
Stationary Compost Bins
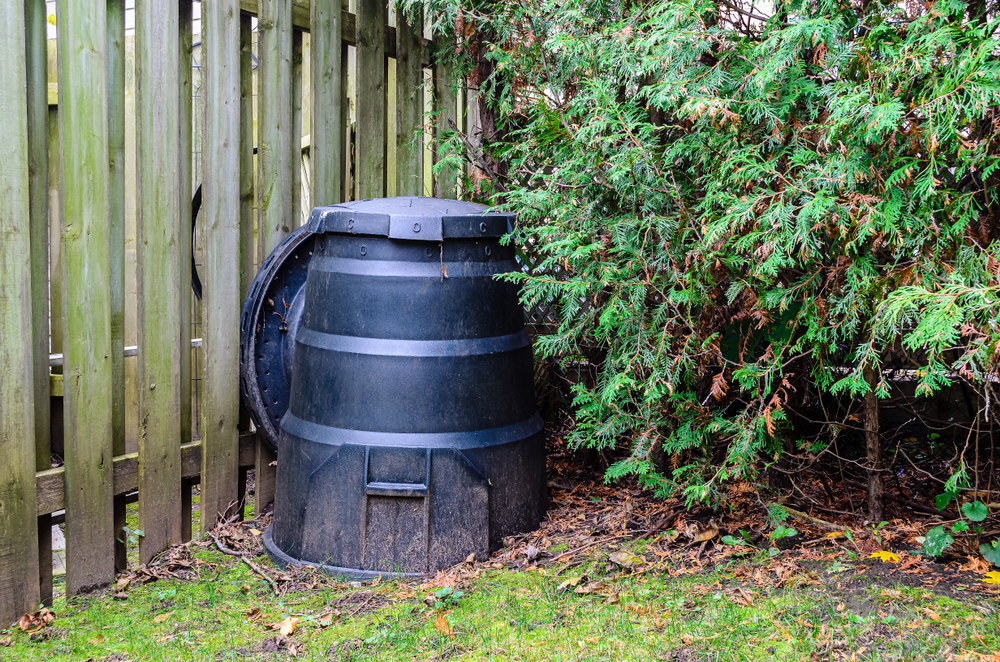
A stationary bin is basically a holding unit for your green rubbish.
These require the least upkeep and maintenance, and so are best suited for a more hands-off approach to composting.
Stationary bins are usually enclosed by four walls, which also happen to make it more difficult to turn and aerate the pile. It can take many months to get your hands on finished compost.
In this system, once the bin is full you can either stop adding new organic materials and start a new pile, or lift the bin and harvest from the bottom. Sift out all discernible bits and set it aside for a few weeks to cure before using it in the garden.
Three Bin Compost Systems
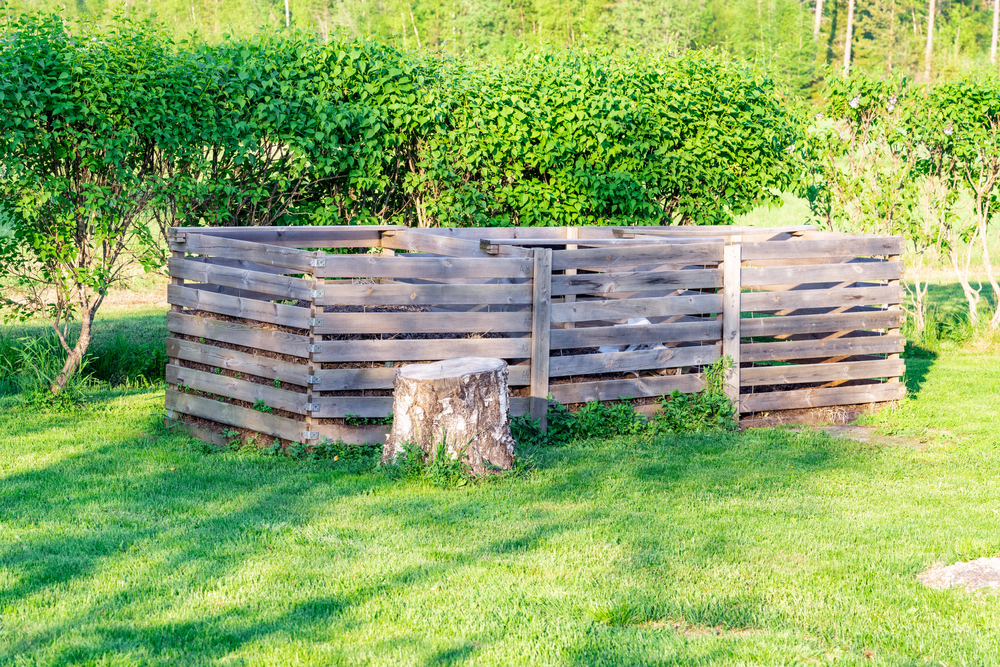
Multiple bin composting systems typically involve three or more composting containers in a row.
Although they require a bit more space and upkeep than a single stationary bin, three bin composting is a great choice when you have a lot of green waste to dispose of. It will yield plenty of high quality humus as well, in a shorter amount of time.
To use a three bin system, start by filling up the first bin by layering green (nitrogen-rich) materials with brown (carbon-rich) materials.
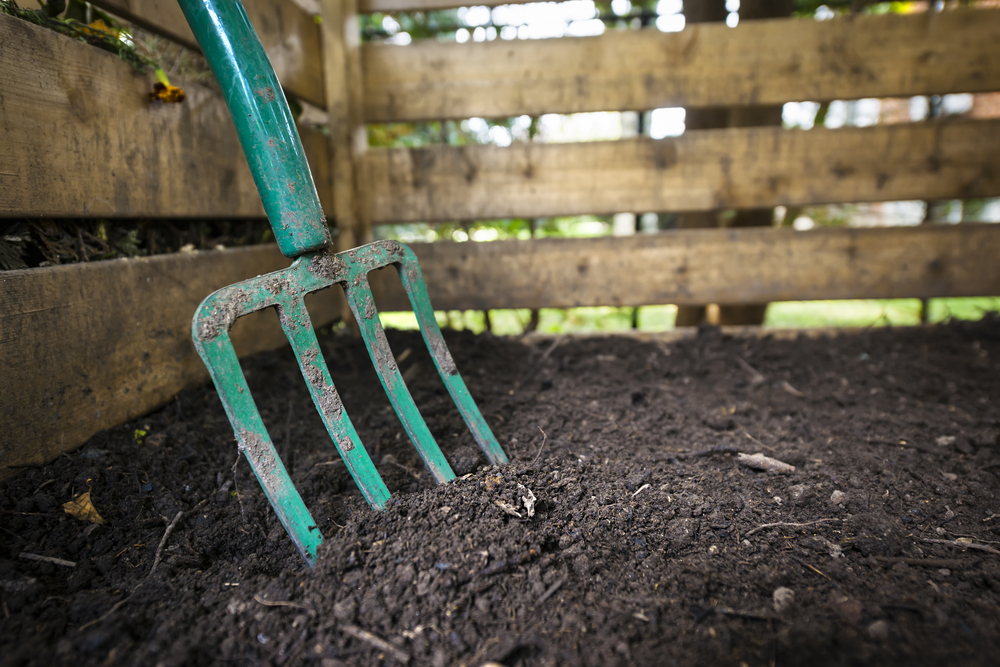
When the first bin is full, use a pitchfork to transfer its contents to the second bin.
Relocating the compost in this manner has the benefit of really mixing up the materials within the pile. Turning compost prevents it from becoming compacted, which allows for better air flow and a hotter heap. And hot piles make compost fast.
Next, begin a new pile of greens and browns in the first bin. In the meantime, the second pile will keep “cooking” down and shrinking in volume. Don’t add any fresh organics to this pile.
Once the first bin is full again, move the materials down the line. The second pile is moved to the third bay; and the first pile is moved to the second bay.
The beauty of this system is that the compost is always “working”. The first pile is always where you toss fresh materials; the second is a holding area for further decomposition; and the third is where the compost goes to finish and cure.
Compost Tumblers
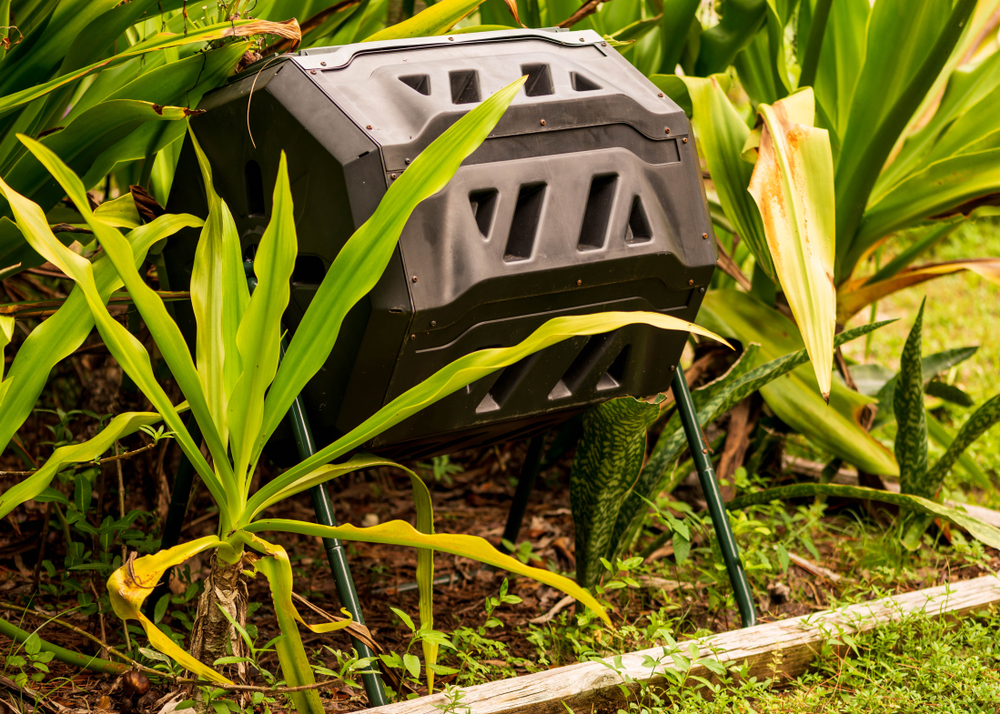
Compost tumblers consist of a rotating drum set on an elevated frame. A crank handle attached to the unit allows for easy turning of the compost materials within.
These have the space-saving benefit of a single bin combined with the aeration advantage of a multi-bin system, but with far less labor.
Add green and brown materials to the drum and turn it every three days or so. Place the compost tumbler in a sunny spot and it will process organic materials into humus in about a month.
12 DIY Composter Ideas
No matter which kind of composting device is right for you, you don’t have to spend a fortune buying a new compost bin.
The internet is blessed with some brilliant DIY composter ideas and I’ve rounded up twelve of the best.
1. Simple 3’ x 3’ Compost Bin
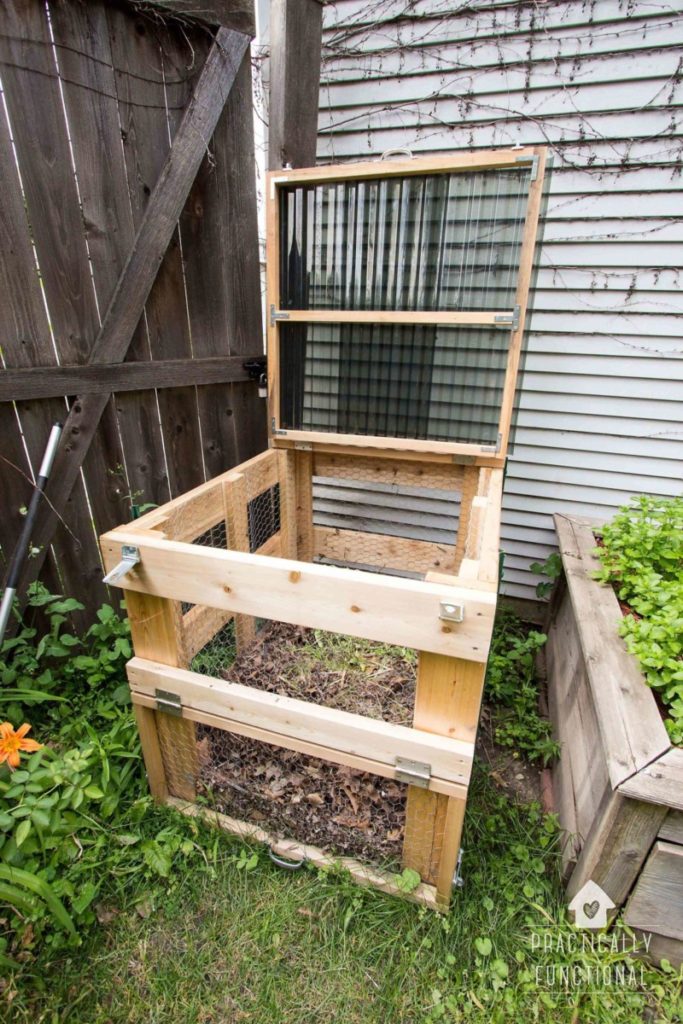
A basic but very functional design, this stationary bin can house up to one cubic yard of kitchen and garden waste.
It is designed with some neat features too: hardware cloth along the sides allows for plenty of oxygen to flow through the pile, a lid with latch to keep rain, snow, and rodents out, and an opening on the bottom so you can easily scoop finished compost out.
Get the DIY from Practically Functional.
2. Pallet Compost Bin
This quick and cheap compost bin is made with four pallets attached together with corner brackets and screws.
Make sure each pallet you use are stamped with “HT” which stands for heat-treated, and not “MB” which means the wood was treated with chemical preservatives.
Once three walls are up, you can add an optional stable-style swinging gate for easy access to the heap.
This setup also makes it simple to add additional bays for a multi-bin system.

3. Trash Can Compost Bin
The garbage can composter is about as easy as can be – just drill holes along the sides and bottom of a plastic trash can to provide air flow.
You can set it up on bricks to allow for drainage or place it directly on the ground for introduce soil microbes and earthworms to the pile.
While trash can composting is often slower than 3’ x 3’ heaps, it is an inexpensive option for smaller spaces with less yard waste.
Get the DIY from Thrifty Artsy Girl.
4. Plastic Tote Compost Bin
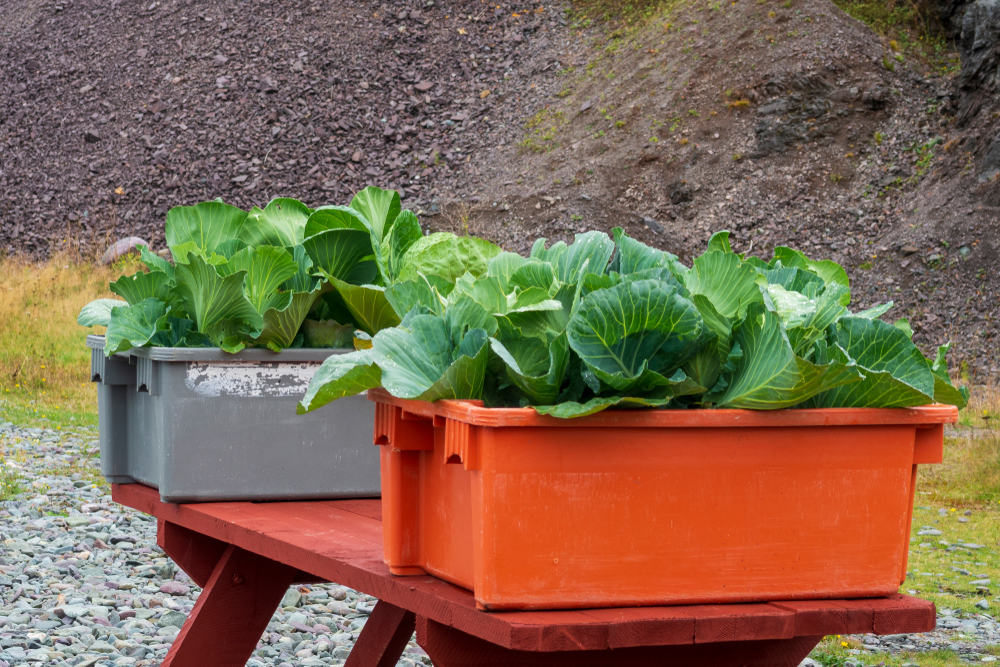
Just like with a trash can, plastic totes can be transformed into a mini compost bin by drilling numerous holes along the bottom and sides.
When selecting a plastic tote to use for composting, aim for one with a capacity of at least 18 gallons.
This is a great composting option in urban environments or when you have very little outdoor space. Tote composting is suitable for balconies or small patios as well.
If you want to expand the system, plastic totes can be stacked “up” instead of “out”. When the first tote fills up, stack a second plastic tote on top to create a new pile while the lower one keeps breaking the materials down.
Get the DIY from Savvy Saving Couple.
5. Hardware Cloth Compost Enclosure
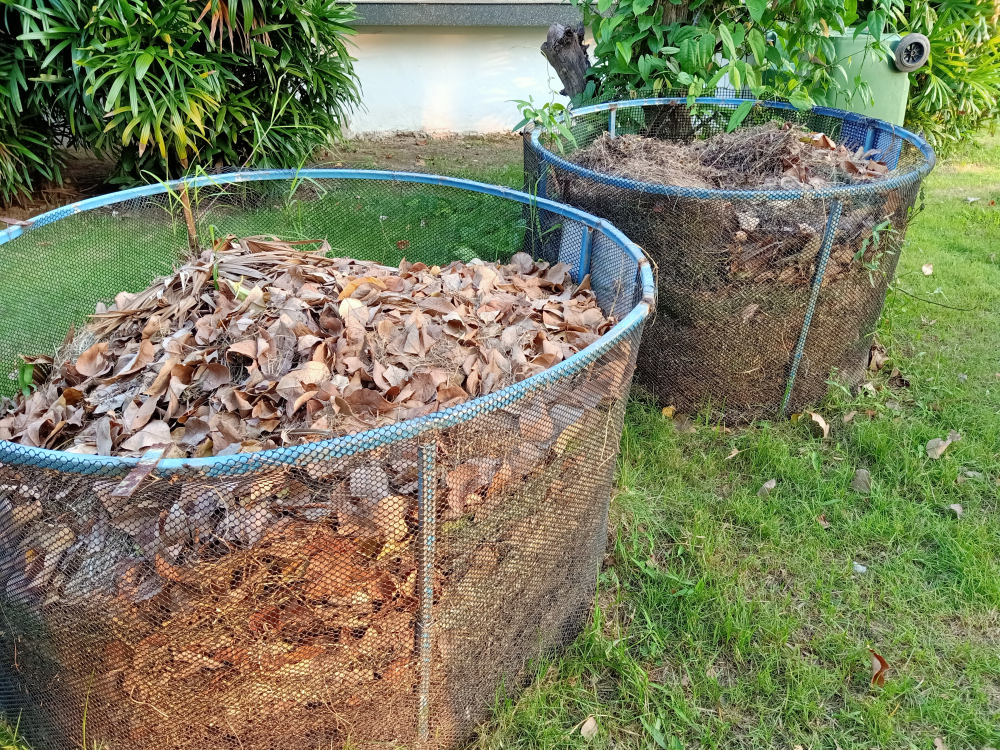
Possibly the quickest and easiest of all compost set ups, rolls of hardware cloth are cut into 10-foot lengths and formed into an upright tube.
Use twist ties to secure the ends together to make a composting space roughly three feet in diameter.
Make many of these to create a multi-bin system. They are also wonderful for preparing leaf mold too.

6. Straw Bale Compost Holder
Straw bales are entirely organic and provide a brilliant way to enclose your kitchen and yard scraps.
To make, simply place straw bales into a square shape, leaving a 3’ x 3’ x 3’ opening in the center. Stack them up if necessary to add height. Toss green waste into the middle and you’re done.
Straw is an excellent source of carbon, and the perfect brown material for a hot pile. The straw bale compost container itself will eventually break down, and in the meantime keep the inner pile nice and toasty.
Get the DIY from Bay Branch Farm.
7. Wattle Fence Compost Bin
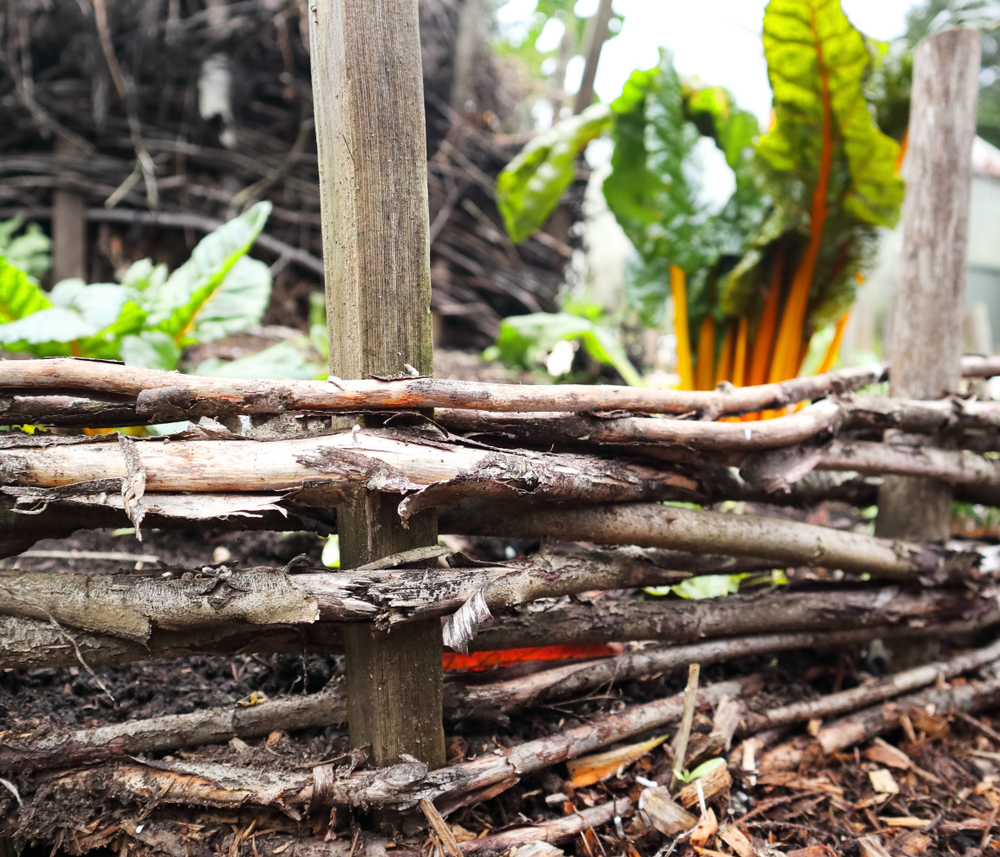
A true zero-waste set up, this composting bin is composed entirely of scavenged brushwood.
Hazel, willow, sweet chestnut, and plum are some of the traditional woods to use in wattle fencing, but any long, supple, and mostly straight branches, 1 to 2 inches in diameter, would work as the weavers.
To keep it all upright and held together, drive thicker wood cuts into the ground as the posts, 1 to 2 feet apart.

8. Wood Log Compost Corral
This wood log compost enclosure is inspired by the children’s toy set, Lincoln Logs.
Place four cinder blocks at each corner, then lay down landscape timber logs by stacking them in an interlocking fashion. This allows a decent sized gap between the logs for airflow. Drill holes at each corner and insert metal rods through them to keep the logs in place and stable.
While this build creates a large compost holder, 8’ x 8’ in size, you could always cut the timber in half to create a smaller bin.

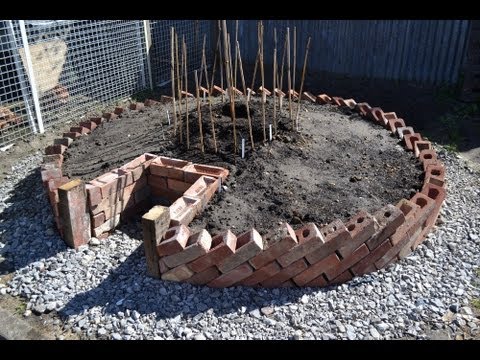
9. Keyhole Garden With Compost Basket
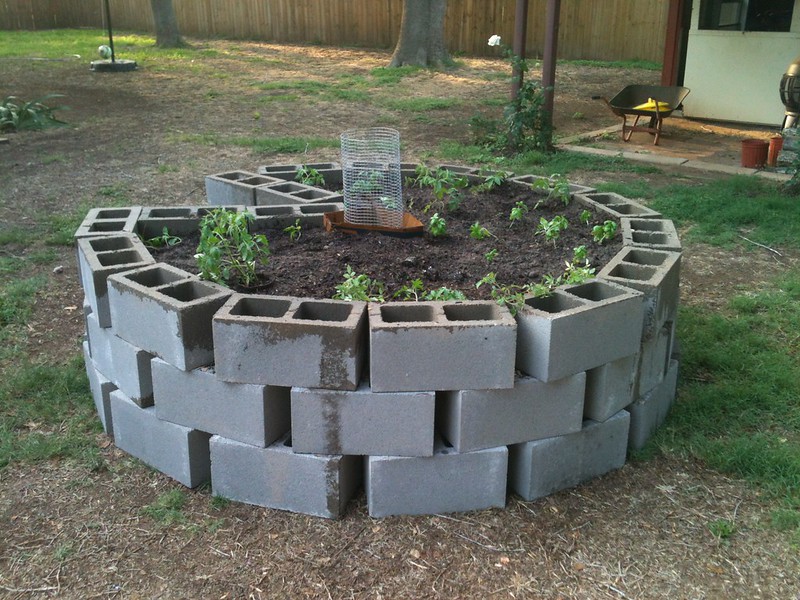
A keyhole garden is a circular raised bed with a pathway to its center. When viewed from above, this indentation makes it look like an antique keyhole.
Adding a notch to the middle makes it easy to reach and nurture vegetable crops. When situated near the kitchen, it is an ideal place to grow cut-and-come-again plants such as herbs, leafy greens, and root crops.
Originating in Africa, keyhole gardens were designed for hot, arid climates. Stones or bricks make up the walls of the raised bed, helping to conserve moisture.
Traditional keyhole gardens also feature a composting basket in the center. As the organic waste breaks down, it releases key nutrients to surrounding plants.
Along with incredible soil fertility, keyhole gardens are notable for maximizing yields for a super productive vegetable patch.
10. Basic Barrel Roll Compost Tumbler
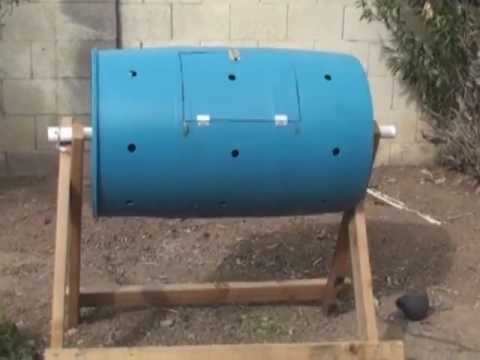
Simple enough for even the most novice DIYers to build, this very basic tumbling compost is perched on a wooden sawbuck. A long PVC or galvanized steel rod runs through the center of a rain barrel (or other food-grade drum) which allows it to rotate.
It also has a locking door, drilled holes throughout for air flow, and sheet metal “fins” that are attached to the interior of the barrel to help mix up the organic materials inside.
Get the DIY from WikiHow.
11. Vertical Compost Tumbler
This one is similar to the barrel roll tumbler, except that instead of rotating horizontally, it spins vertically – or on its y axis.
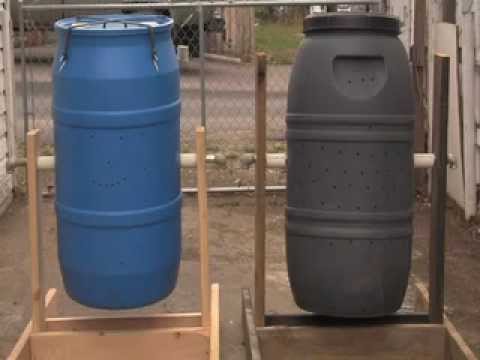
12. Compost Tumbler on Wheels
This is an interesting take on compost tumbler design.
It is built with four wheels inside a wooden stand, which sits about 6-inches off the ground. A food grade plastic barrel set on top acts as the tumbler drum. The wheels inside the frame make rotating and spinning the drum a breeze.
This tumbler on wheels has other smart features as well: a locking door, screened air exchange, and scoops installed on the inside of the barrel to assist with turning and mixing the compost.

Tips for Building an Efficient Compost Bin
Compost Pile Volume
Compost heaps that are a minimum of 3 feet cubed (or 27 cubic feet or 1 cubic yard) retain heat better than smaller piles.
Smaller compost containers will eventually degrade, but at a much slower pace.
Compost Bin Lids
Unless you live in a very arid climate, try to incorporate a lid into your compost bin design. Lids help prevent rain and snow from turning your compost heap into a wet and soggy mess.
The compost should have the moisture consistency of a squeezed out sponge, which is much more difficult to control in open air heaps. At the very least, placing a tarp over the pile will protect against the elements.
When Possible, Build Composters Directly on the Ground
Each teaspoon of rich garden soil can house up to one billion microorganisms!
Giving the compost pile direct contact with the earth will quickly introduce a multitude of decomposers that will work to turn waste into black gold.
What begins with microscopic bacteria and fungal filaments will eventually turn into mushrooms and mold. Seeing centipedes, beetles, and earthworms working the pile is always a good thing.
In cases where you can’t place the heap on the ground, like in balcony composting, simply add a couple scoops of garden soil to the bin to seed it with microbial life.
Curing the Compost
When the compost particles are practically indiscernible and turning the heap no longer heats it up, the curing process has already begun.
Using the compost in the garden before it has properly cured risks damaging plants. Unfinished compost may contain high levels of organic acids, extreme pH values, or have excess salt content.
To cure compost, simply set it aside to finish for 3 to 4 weeks. Curing is best accomplished in moderate temperatures, above 68°F (20°C).
The organic materials will continue to slowly decompose into a balanced substrate that is safe to use as a soil amendment and fertilizer.

Get the famous Rural Sprout newsletter delivered to your inbox.
Join the 50,000+ gardeners who get timely gardening tutorials, tips and tasks delivered direct to their inbox.