

If you’ve read much about composting, you’ll know there are a different ways to go about it. One option is hot composting.
There are a number of reasons why hot composting might be the method to go for where you live.
In this article, we’ll cover the whys and hows of hot composting, and help you create an excellent compost in your garden.
What is Hot Composting?
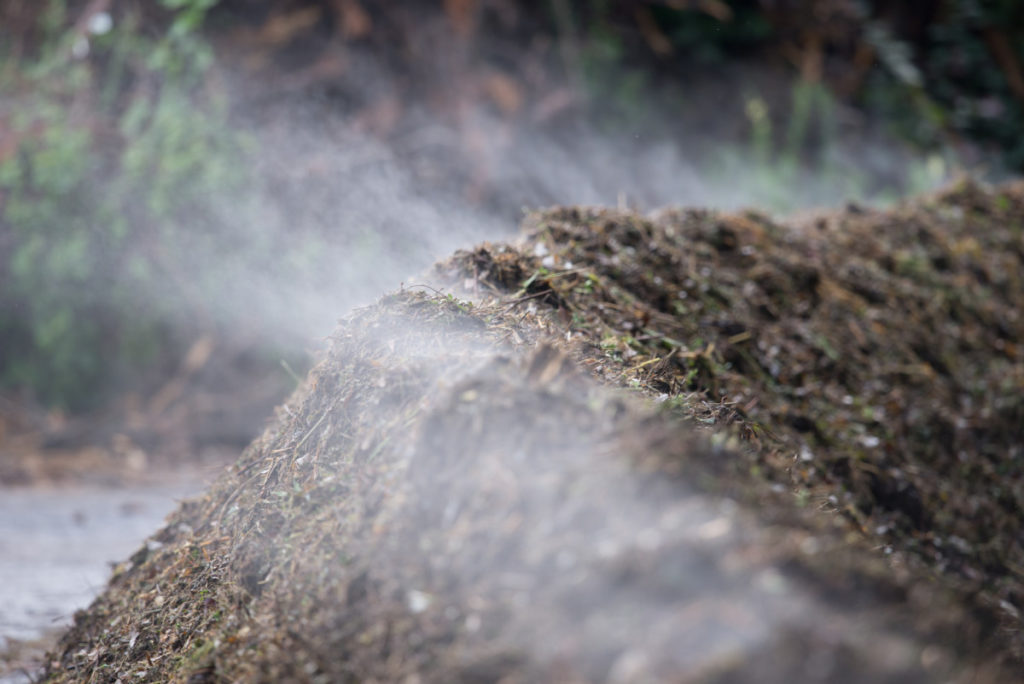
Hot composting is, as the name implies, all about temperature. In a hot composting system, we refine the composting process. In a hot composting system, we’re looking to achieve temperatures between 141°F and 155°F inside the heap or bin.
There are a number of different techniques that can be used. But all hot composting involves making sure these high temperatures are achieved and sustained.
Why Give Hot Composting a Go?
Composting is always a great thing to do. It’s not only good for your garden but also great for people and planet. But hot composting specifically has a range of benefits.
Firstly, while many materials will break down fine in a cold composting system, hot composting works more quickly and delivers a higher quality end product.
By generating high temperatures inside a heap or bin, you can naturally compost biodegradable materials more quickly and efficiently.
Unlike cold composting, which will deliver compost in months to years, hot composting can deliver high-quality organic compost in a matter of weeks.
Hot composting also allows you to compost materials that could not otherwise be dealt with in a cold composting system. In a hot compost system, you can compost anything that you could in a cold composting system. (Carbon rich ‘brown’ materials, and nitrogen rich ‘green’ ones.)

But you can also compost, for example:
- Meat and dairy products.
- Small pieces of natural clothing such as wool, cotton, linen and hemp (that usually takes too long to break down in a cold composting system).
- Invasive weeds/ weeds that have gone to seed. (Weed seeds are killed by the high temperatures involved.)
- Even dog/cat waste and ‘humanure‘ – in a very carefully managed system. (Pathogens can also be destroyed by hot composting.)
Choosing Where to Hot Compost
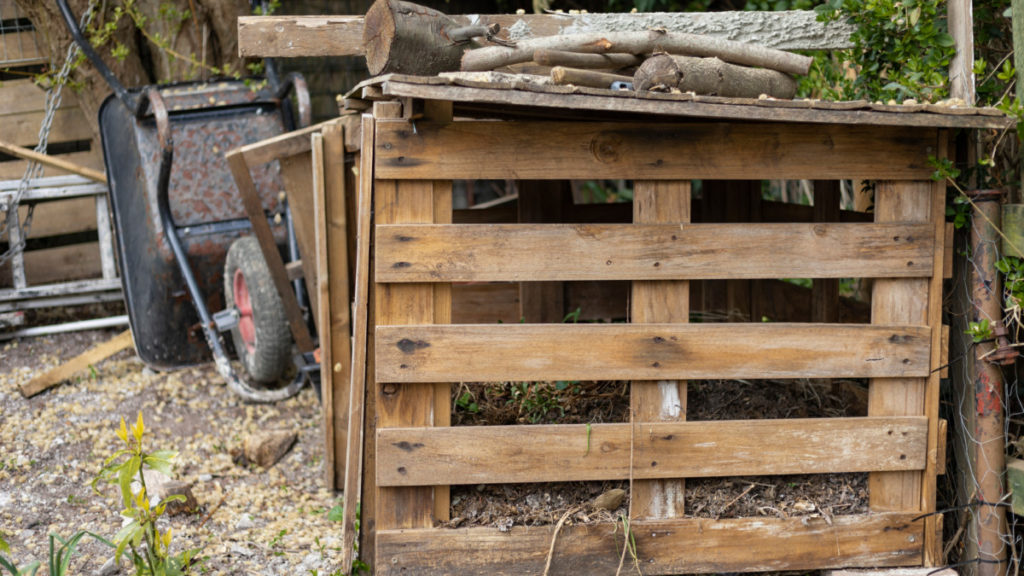
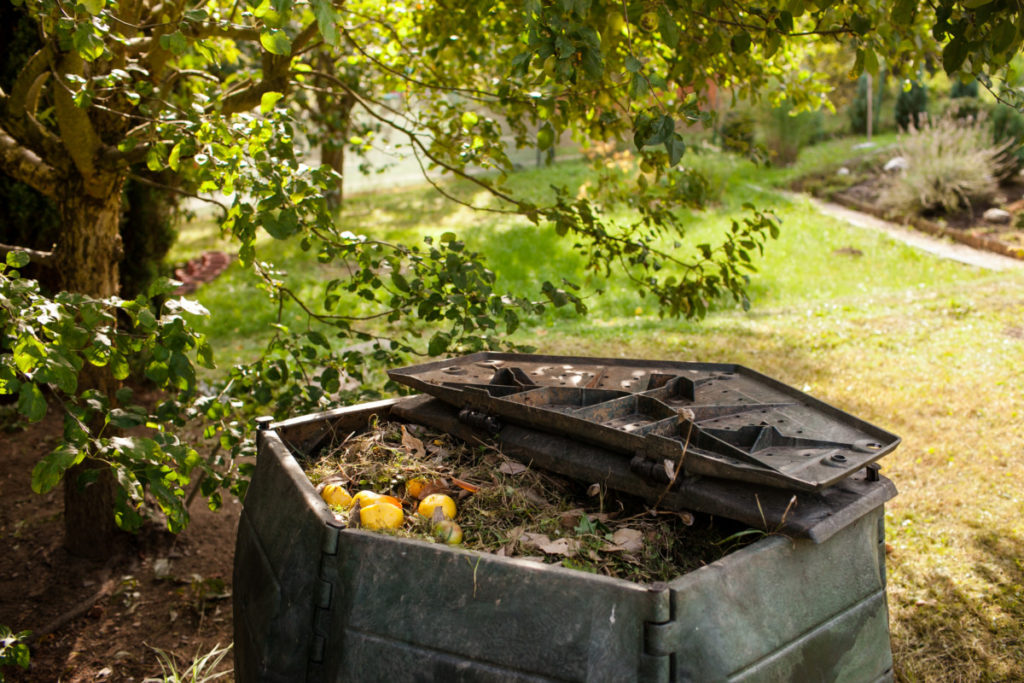
Hot composting can be done in your garden, or even inside your home. There are two main methods. One involves careful management of a compost heap or outdoors containment area to achieve the right temperatures. The other involves the use of specialist hot composting bins, or containers that are suitable for the purpose.
If you’re hot composting in your garden, in a heap, where you choose to place it will be important.
It’s important to choose a sunny and sheltered position. The less the exterior of the heap cools down due to environmental conditions, the easier it will be to keep the interior hot.
If you’re hot composting in a special bin or container, again, placement will be important. Avoid putting your bin in a cool, exposed or shady spot.
Sizing Your Heap or Choosing Your Container
If you plan on making a hot composting heap, size is important. Your heap should ideally be around 4ft wide and at least 3-4 ft high. The size is important, because a heap that is too small will not heat up sufficiently inside.
If you do want to go for the heap option, it’s important to remember that, unlike in a cold composting system, you need materials ready to go. You won’t add materials to the heap in small quantities as you go along.
While you can hot compost in a smaller area, it can be more challenging. Unless, of course, you use a container. A suitable container will be essential for hot composting in smaller spaces (or indoors, of course).
Here are a few tips for choosing a suitable container for hot composting:
- Consider black or dark coloured options as these will absorb more heat.
- Choose an option with thicker side walls (or make or buy a compost bin with insulated sides).
- Make sure there is sufficient aeration so that the compost does not become anaerobic.
- Consider an option that allows excess fluid to drain away, or which has a faucet and sump so you can drain off fluid. (The fluid from a composting system can be used as a liquid fertilizer in your garden.)
- Choose a compost bin or container sufficient for handling the kitchen and garden waste from your household.
In a container or bin hot composting system, you may add materials over time. But again, it’s best to have a decent quantity of material ready before you begin.
Temperature and Hot Composting
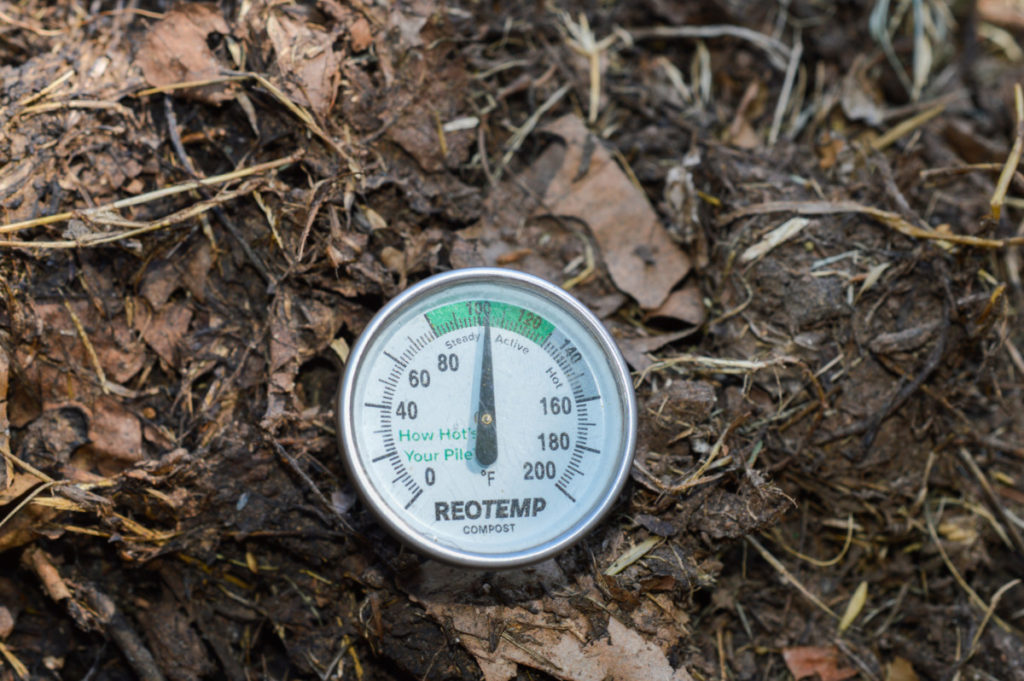
In hot composting, your key goal is to reach the required temperature of 141°F to 155°F. There are a number of things you can do to increase the chances that these temperatures will effectively be reached.
If you’re hot composting without a container, it’s also a good idea to cover your heap of materials with a thick layer of straw or other insulating, carbon rich material to retain heat.
You might also wish to cover the heap with a tarp or other covering. This won’t only help retain heat, but will also reduce moisture loss in summer, or waterlogging, compression and nutrient loss in a deluge.
A bin or container should also be covered if it doesn’t already have a lid. Though it’s also important to make sure sufficient air can get inside.
In hot composting, it’s a good idea to monitor the temperature inside your heap to make sure adequate temperatures are maintained. Investing in a decent infrared thermometer/ temperature gauge is a good idea, especially if you’re composting materials that could spread pathogens if they don’t reach the required temperature.
The Ideal Carbon to Nitrogen Mix
A big part of ensuring sufficient temperatures for hot composting and creating a good quality compost is getting the mix of materials right. All composting involves adding carbon-rich and nitrogen-rich materials. In cold composting, you’ll generally add these in relatively equal volumes.
In hot composting, however, it’s best to add twice as much carbon-rich material as nitrogen-rich material (by volume).
By weight, you should add around 25 times more ‘brown’ material than ‘green’ material to the system.
You don’t have to be too precise with this or worry about it too much. But these figures serve as a good rule of thumb.
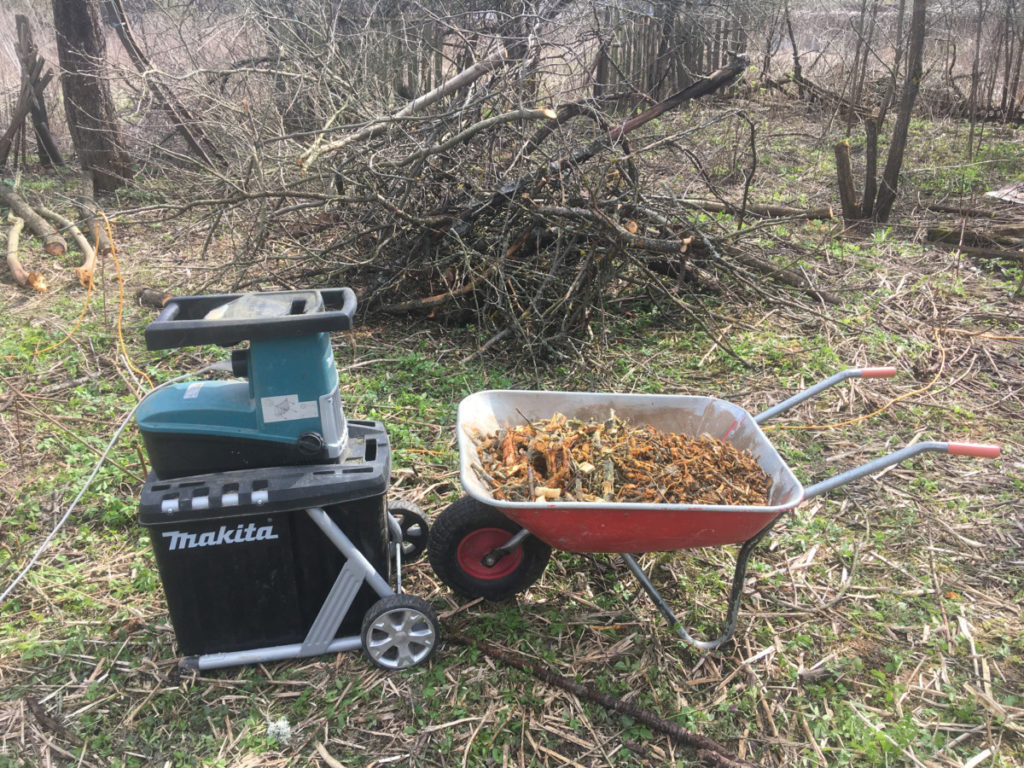
The materials you add should be well-mixed, and ideally chipped or shredded into small pieces. Woody material that has been passed through a garden shredder can be ideal for a carbon component. Shredded card/ paper also works well. Kitchen waste, grass clippings and shredded leaves are great ‘green’ materials.
Compost Activators
One way to ensure that your heap gets a kick start and heats up quickly is to use natural compost activators.
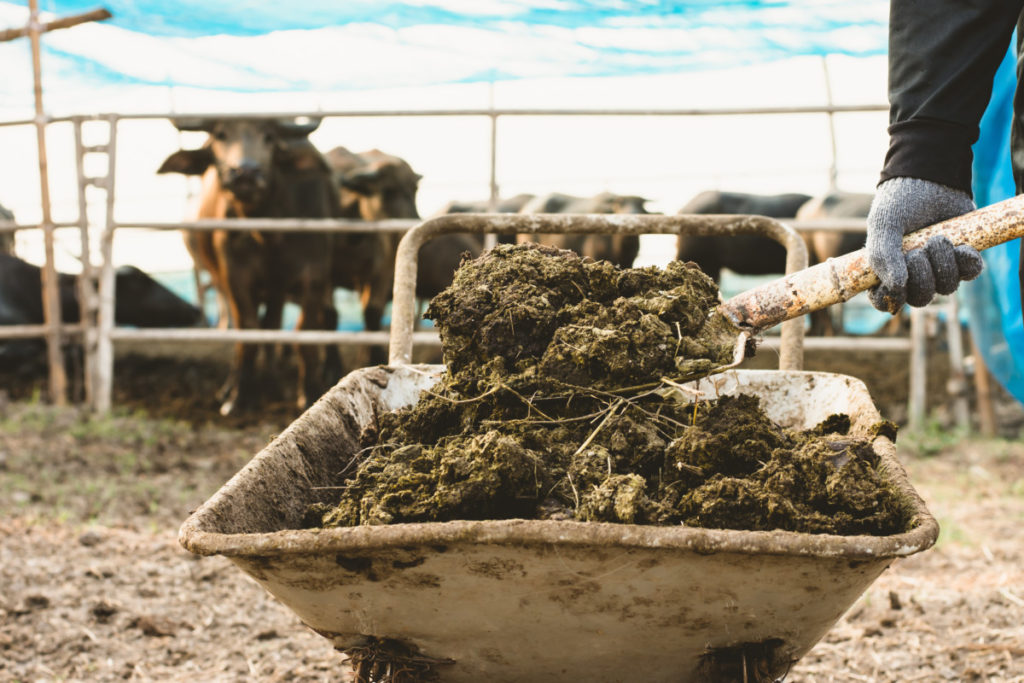
Natural compost activators are materials which are particularly effective at kick starting the composting process. These might be manures, ammonia, a handful of existing soil or compost, or plant materials high in nitrogen, for example.
There’s absolutely no need to buy commercial compost activators, compost accelerators, or other such products that are on the market.
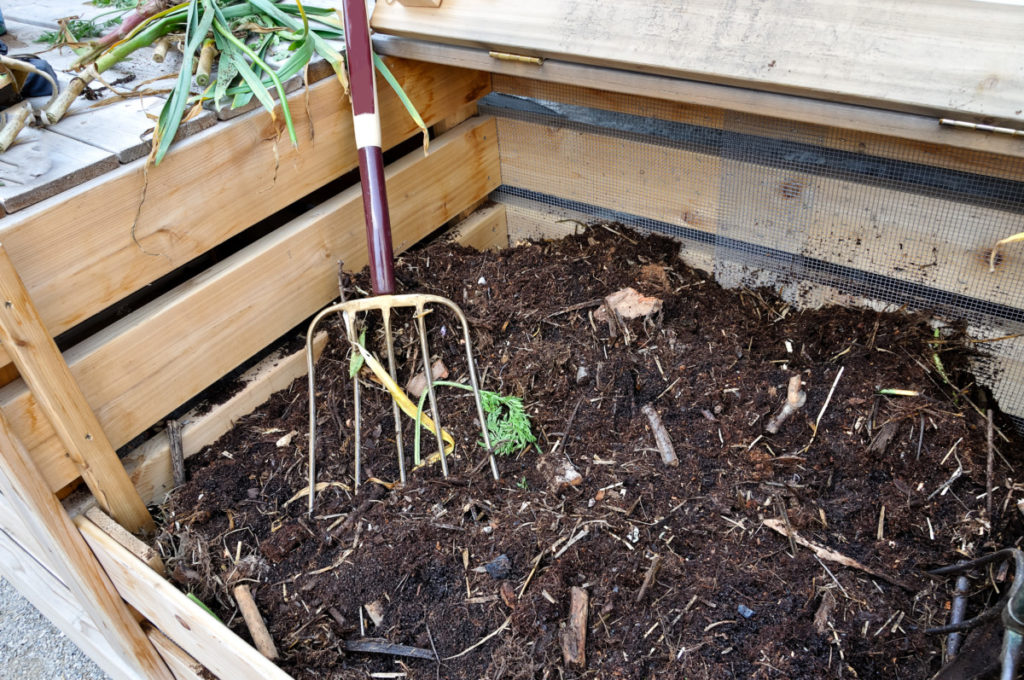
Turning Your Compost
In hot composting, opinion is often divided on whether or not it’s necessary to turn your compost. If you have a heap, the answer is almost certainly yes. If you have a bin or container, things are less clear cut.
Turning the compost in a hot composting system:
- Aerates the mixture, ensuring aerobic decomposition is maintained.
- Makes sure materials decompose at an even rate, and that materials close to the outside make their way to the heat in the middle.
- Helps to distribute water and nutrients to all areas, to create a more even finished compost.
In a bin or container, with the right mix of compostable ingredients, this may not be necessary, since all the materials are in the ‘hot zone’ inside.
It’s best to leave a new heap to ‘settle’ for around four days before turning. Then, you should turn your heap every few days.
Turning the heap will allow temperatures to climb once more.
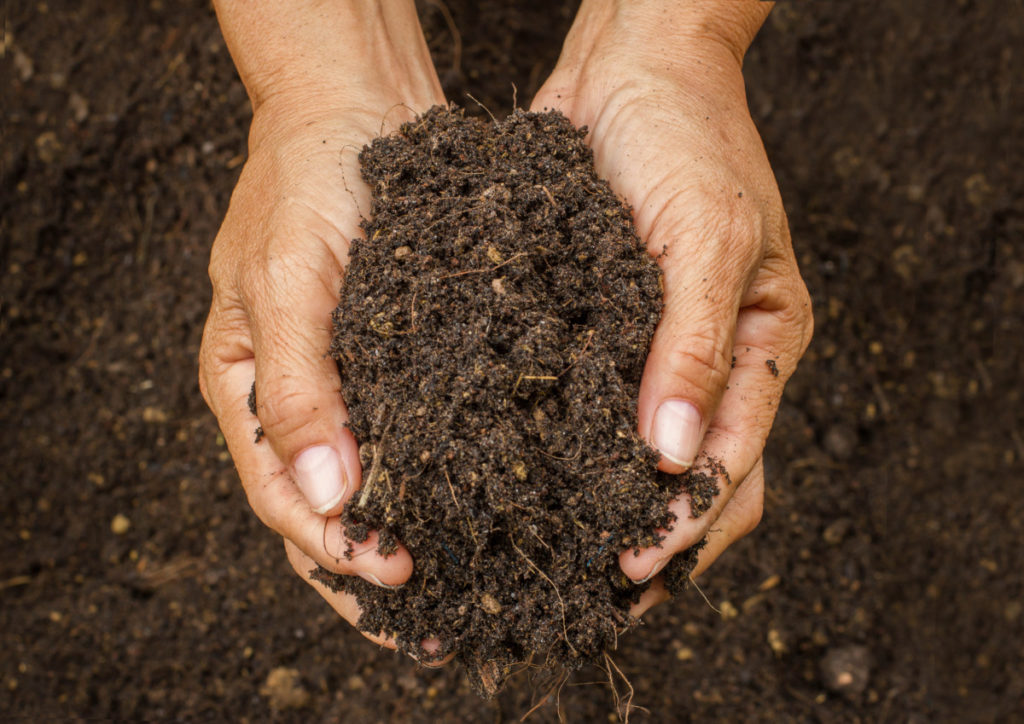
After around a month of this, and ensuring the heap or bin/ container is moist enough throughout, you can leave the compost for a couple of weeks, after which time it should be ready to use on your garden.
Hot composting does take a little more work and effort than simple cold composting. But if you have the time to devote to the process, and suitable materials to use, it’s a great way to return nutrients to your garden.

Get the famous Rural Sprout newsletter delivered to your inbox.
Join the 50,000+ gardeners who get timely gardening tutorials, tips and tasks delivered direct to their inbox.