


Do you guys remember when fall was just fall and not ‘Pumpkin Spice Season’? Starbucks made one little latte, and we all fell down the rabbit hole. Every candle or air freshener is some variant of pumpkin spice this time of year. And every candy has a pumpkin spice version. Most of the candy tastes like you’re eating the candle.
But then we get to the beer and ciders that come out this time of year.
My friends, autumn into the holidays is my favorite time of beer. And cider. Pumpkin spice in beer? Yes, please. Pumpkin spice in hard cider? Here’s my glass.
And that’s what we’re going to make today – spiced pumpkin cider—or spiced pumpkin cyser.
This is a choose-your-own-brew adventure.
Okay, that’s great, Tracey, but what the heck is a cyser?

A cyser is a mead made with cider instead of water. Or maybe it’s a hard cider made with honey instead of sugar? Whatever you call it, it’s one of the options for this recipe. And as this recipe makes a one-gallon batch, I highly suggest you make one gallon of each so that you can taste the difference.
In either case, we’ll be using cider as our base for this recipe. Whether you choose to use honey or sugar as your sweetener is entirely up to you. I’ll talk a little bit about the differences you can expect in a bit.
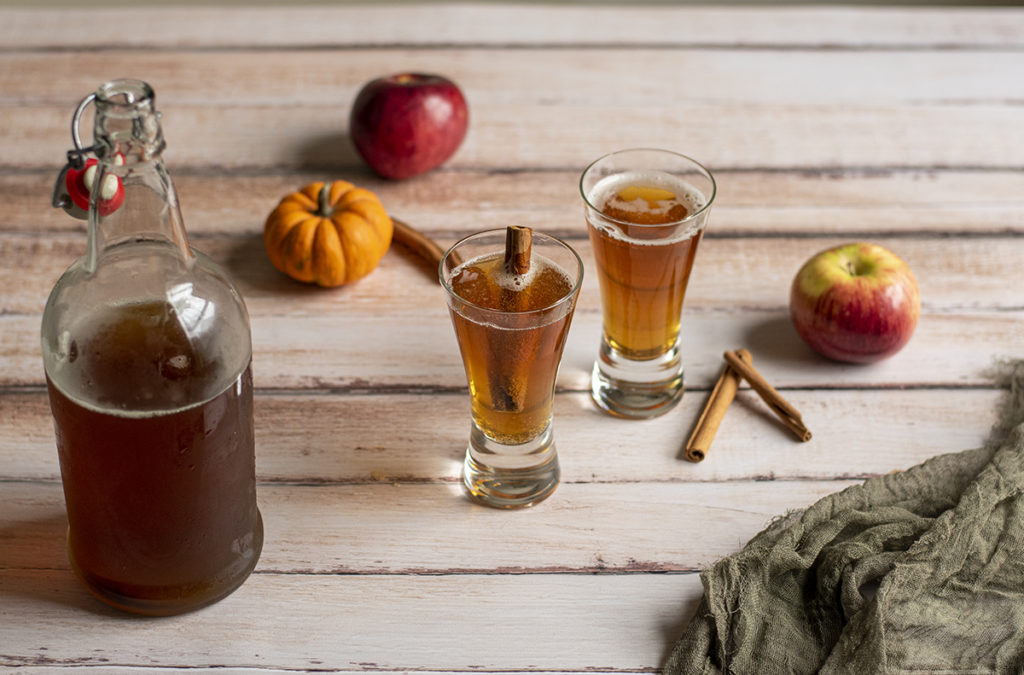
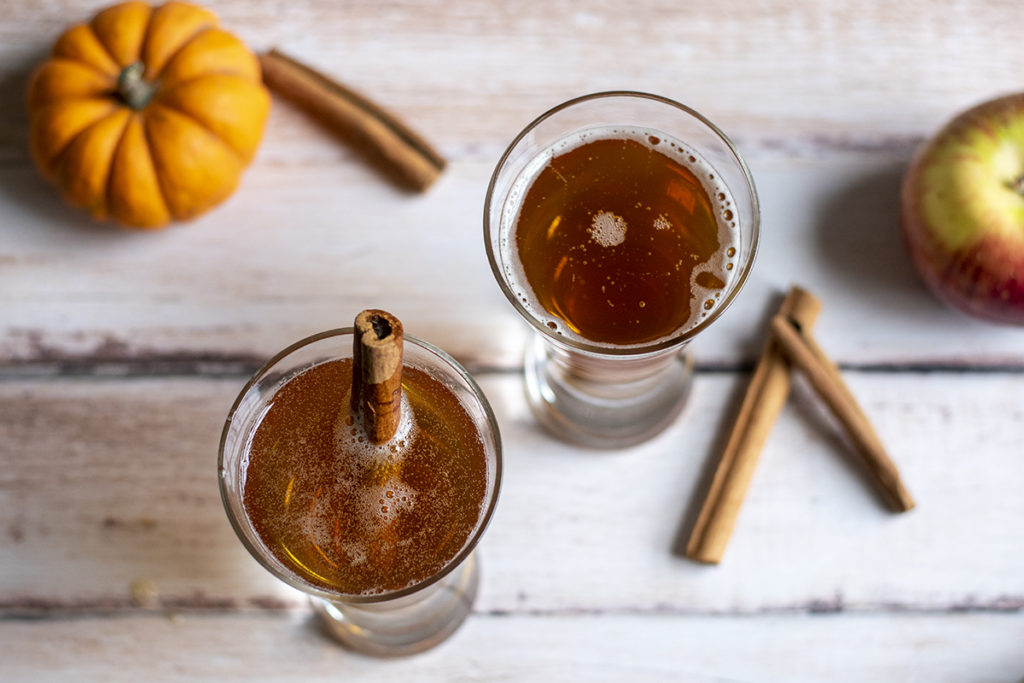
Right now, I’m here to tell you that no matter which version you make, you’ll end up with a fantastic, crisp fall drink. Apple forward and slightly tart, the crispness hits your tongue and melds into a mellow pumpkin pie finish.
It’s a bonfire, hay-wagon ride, pumpkin patch, pick-your-own apples party in a glass.
I’m eagerly waiting for my next batch to finish fermenting because the last gallon I made is long gone.
My favorite part of homebrewing is sharing what you make. I don’t know what it is that’s specific to homebrewing, but there’s something about taking that first sip of a good batch that makes you immediately shout, “Hey, come here! You’ve got to try this.”
Let’s talk shop
This is going to be a wild ferment. Wild fermentation gained (unjustly) a bad rep in some brewing communities, but it’s making a comeback. Which is good, considering it’s how most of the world has fermented alcohol for as long as we’ve been fermenting alcohol.
Yeast is everywhere.
It’s in that gallon of unpasteurized cider. It’s on the fruits and veggies we buy. Heck, it’s even on your skin. (But nobody wants to drink anything fermented with yeast from your skin, so stop right there.)
I started dabbling in home brewing because of wild fermentation, mainly because it was easier and less fussy than brewing with commercial yeast strains. (Big surprise, right?) There’s no boiling the water with the honey and scraping off the foam. And no adding a commercial strain of yeast or additives.
If the yeast is already there, why not put it to good use?
The main reason folks seem to shy away from using wild yeast is this notion that wild yeast leads to funky flavors in your finished brew.
In my experience, there are a few things you can do to prevent weird flavors from developing.
- Be diligent about racking, so your ferment isn’t sitting on the lees for long. (Lees and trub are both names for the sediment that develops on the bottom of the carboy.)
- Always use clean and sterilized equipment.
- Keep the headspace at the top of your fermenter to a minimum. Air is not your friend after the primary ferment has started.
- Remove spices and other woody additions at the appropriate time. Alcohol is very good at pulling every flavor out of the ingredients, so things like cinnamon sticks or cloves begin to taste more like bark if left too long.
I have lost track of the number of one-gallon wild ferments I have made over the years. And none of them have ever had funky flavors that were a result of the yeast. Other weird ingredients, sure, but not the yeast. In fact, the best tasting batches I’ve ever made are usually wild ferments.
I’m not saying it can’t happen; rather, it happens far less likely than people seem to think.
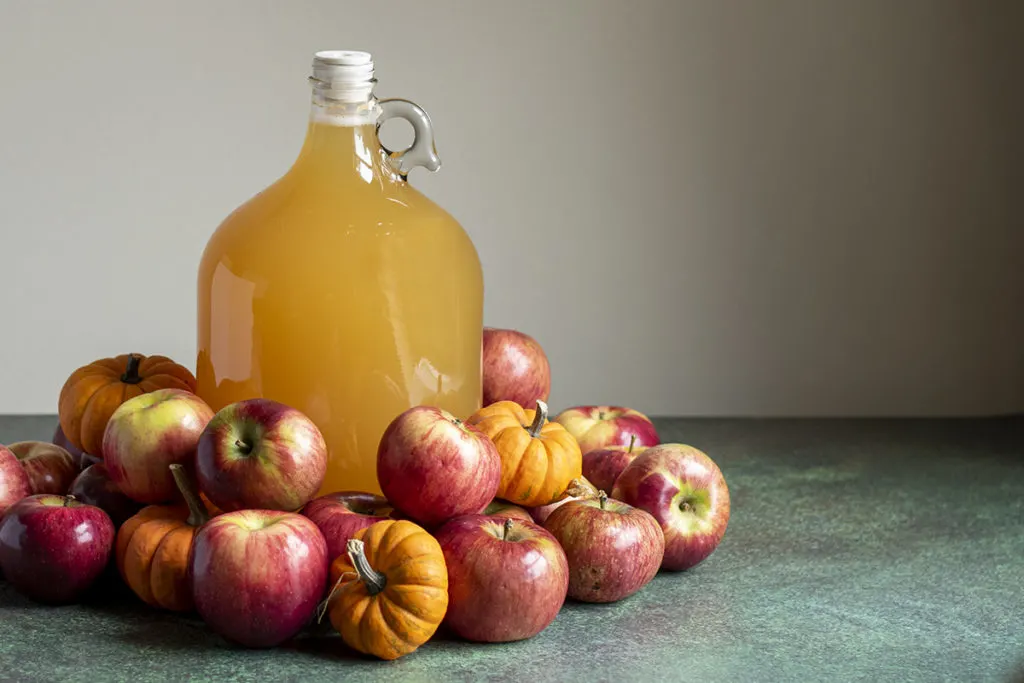
Cider
This recipe requires a gallon of fresh cider or apple juice. It has to be unpasteurized or UV-light treated, so the naturally occurring yeast is still viable.
Pasteurized cider or juice, or cider or juice with added preservatives will not work for this recipe.
If your only option is pasteurized cider, you can still make this recipe. However, you’ll need to use a commercial strain of yeast for fermentation. Just be sure your pasteurized cider doesn’t also have preservatives, as those will inhibit the commercial yeast from growing.
Honey or Brown Sugar or Both
For this recipe, you can create two very different tasting brews simply by switching up the sweetener.
As I mentioned earlier, if honey is used, then this beverage style is what’s known as a cyser – a mead made with cider. You’ll still get that pleasant crisp apple taste, but the honey mellows it, so it’s less tart. The flavor is brighter, and the color is a bit lighter.
You’ll want raw honey for this cyser.
We want to put the naturally occurring yeast in raw honey to work.
The very first batch of this I made was with brown sugar. Lots of brown sugar. Because I wanted that nice caramel flavor that it adds to cider. I figured it would be a good pairing with the pumpkin. I wasn’t wrong; it was incredible.
And of course, if you’re entirely indecisive (like me), you can always make a batch using both honey and brown sugar. You get the best of both worlds with this, and the color is pretty darn amazing. Just look at that.
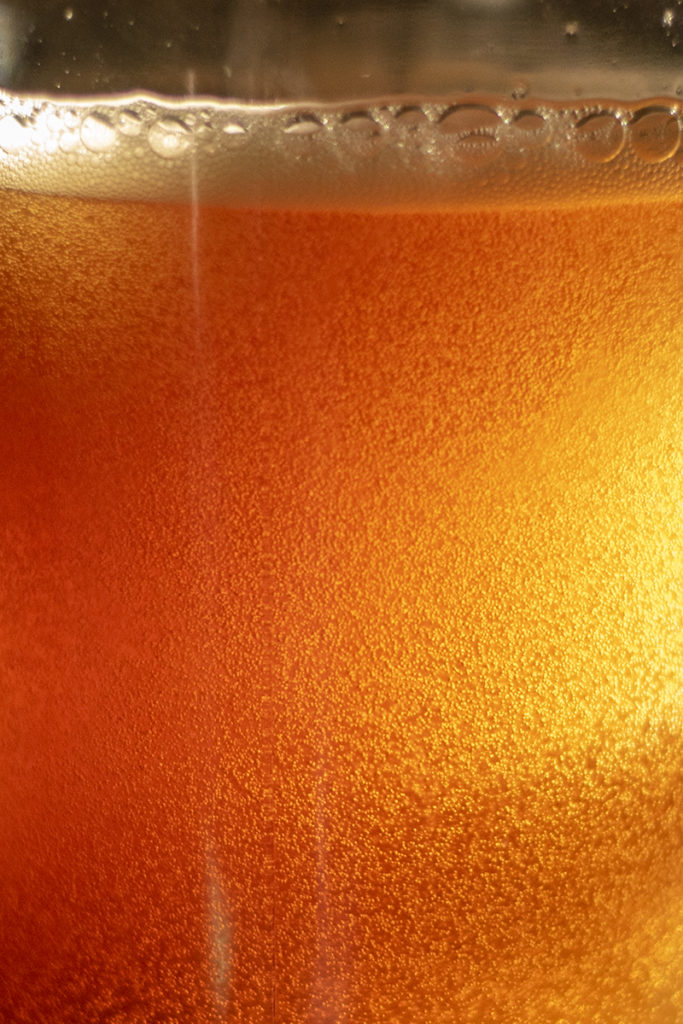
Ideally, I think you should make a batch of each because they’re all that good.

How about that pumpkin?
You can use any pumpkin for this cider, even a big ol’ carving pumpkin. Just be sure there aren’t any soft spots or bruises.
I’m a huge fan of cheese wheel pumpkins and longneck pumpkins.

I discovered both when I moved to an area of Pennsylvania with a large Amish population. I had always assumed these shapely squash were more for decoration than eating. Oh, how wrong I was.
If you have them available in your area, I highly recommend trying them. The flavor is richer than your average pie pumpkin.
Now, the fun part is deciding how you want to incorporate the pumpkin into your brew. Raw? Roasted? With the skin on or without?
No matter what you choose, rinse your pumpkin first. If you plan on leaving the skin on, I suggest you use only pumpkins that haven’t been sprayed with pesticides or other harmful chemicals.
What Equipment Do I Need?
As with all of my homebrew recipes, the equipment list is pretty short. I keep it that way on purpose. Homebrewing should be fun and easy. You don’t need a ton of equipment to make some amazing drinks.


I’ve bought several things over the years designed to make the process easier, but I rarely used them. Recently, I cleaned out my bin that holds all of my equipment, and I ended up getting rid of a ton of those gadgets.
Here’s what you need:
- A 2-gallon plastic brew bucket and a drilled and grommeted lid
- 1 or 2 one-gallon glass carboys (This is one homebrew you want a few of. I have 14 on the last count, and a third of them have something fun bubbling away in them.)
- 3-piece airlock
- Drilled rubber stopper
- 6’ length of food-grade silicone or nylon tubing
- Small tubing clamp
- Sanitizing solution
- Nylon straining bag, course mesh
- Racking cane
- Racking cane holder
- A sanitized wooden or plastic spoon
You’ll also need bottles for your finished cider, which I’ll discuss later.
The nice thing about brew equipment is once you buy it, you’re set. You can make anything. Give blueberry basil mead a try. Or how about beet wine or a batch of dandelion mead?
Now that we’ve talked about the star ingredients in this delightful cider and we’ve got your equipment all set up let’s get brewing.
Ingredients
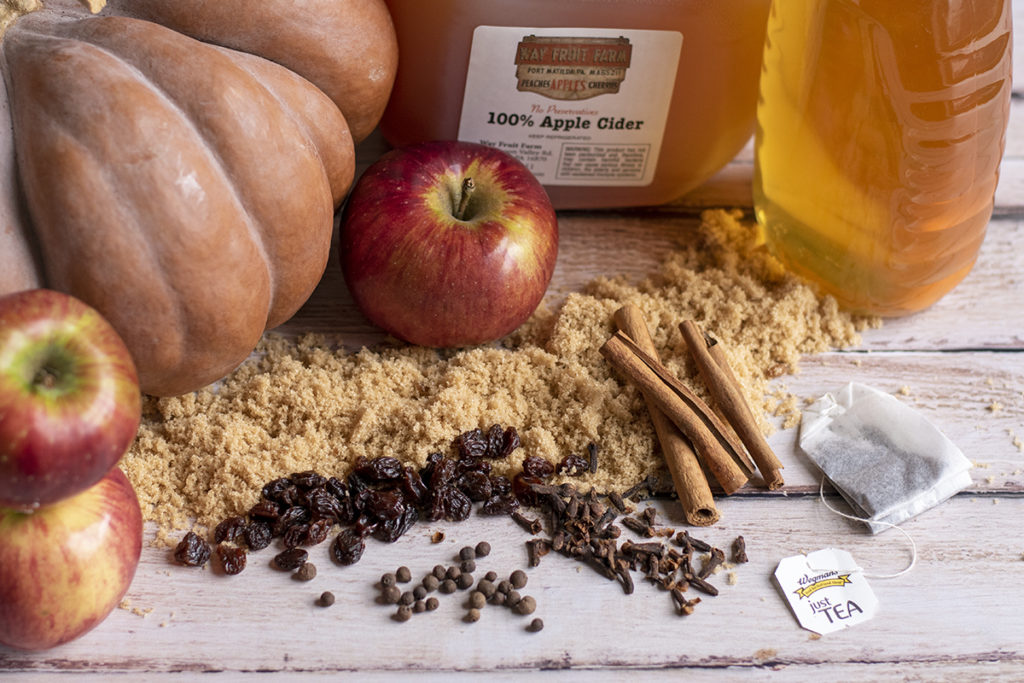
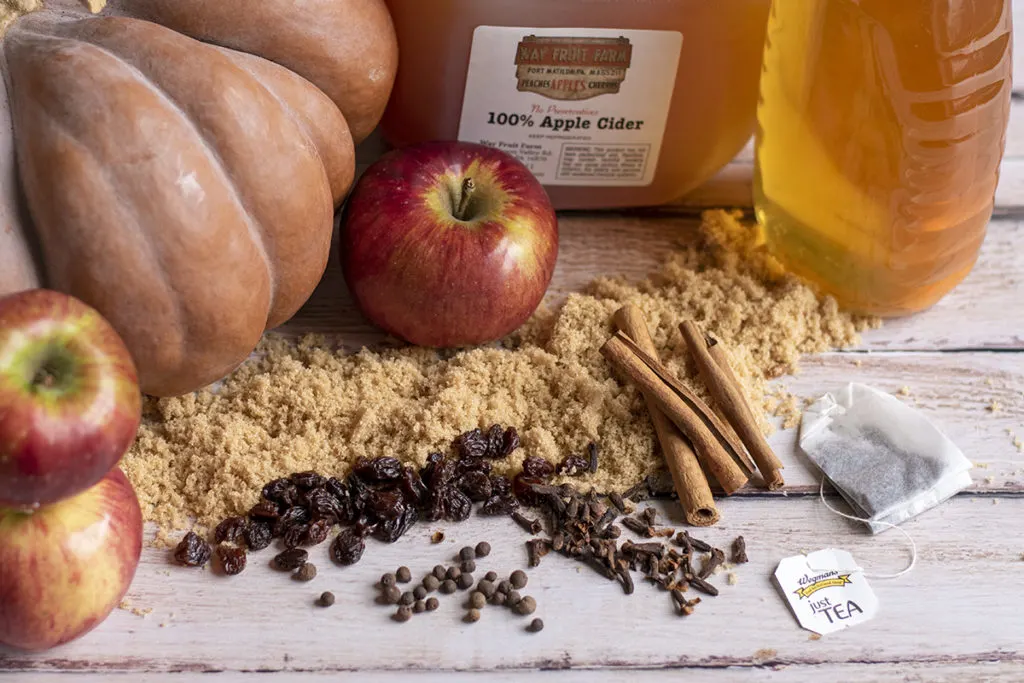
- One medium-sized pumpkin; rinsed, with stem, seeds, and stringy flesh removed
- One-gallon unpasteurized or UV light-treated cider
- Two cups of packed brown sugar OR 3 lbs. of raw honey OR 1lb of raw honey and 1 cup of packed brown sugar
- 1 tsp of black tea leaves, or one cup of strong, brewed black tea, cooled
- 1 tbs of raisins
- a cinnamon stick
- 3 allspice berries
- 6 whole cloves
- Priming sugar for carbonating
Sanitize Your Equipment
As always, for each step of this process, it’s important to sanitize your brewing equipment before you start.
Spiced Pumpkin Cider
Pour about ¾ of the gallon of cider into the brew bucket. Next, add in your honey, brown sugar or honey and brown sugar. Give it a vigorous stir with a wooden or plastic spoon. This accomplishes two things – it mixes the sugar and honey into the cider, and it incorporates lots of air into the solution, which will get that yeast active. If you’re using a cooled tea, rather than tea leaves, add it too.
Now it’s on to the pumpkin. We will be putting the pumpkin and the rest of the ingredients into the nylon straining bag. (You remembered to sterilize that too, right?)
For the best pumpkin flavor, you should try to get as much pumpkin as will fit in the bucket.
Place the tea leaves, raisins, and spices in the bag. Leaving it open, lower the bag into the cider and sweetener solution.
If you’re using fresh, raw pumpkin, slice it into manageable sized chunks and add it to the straining bag.
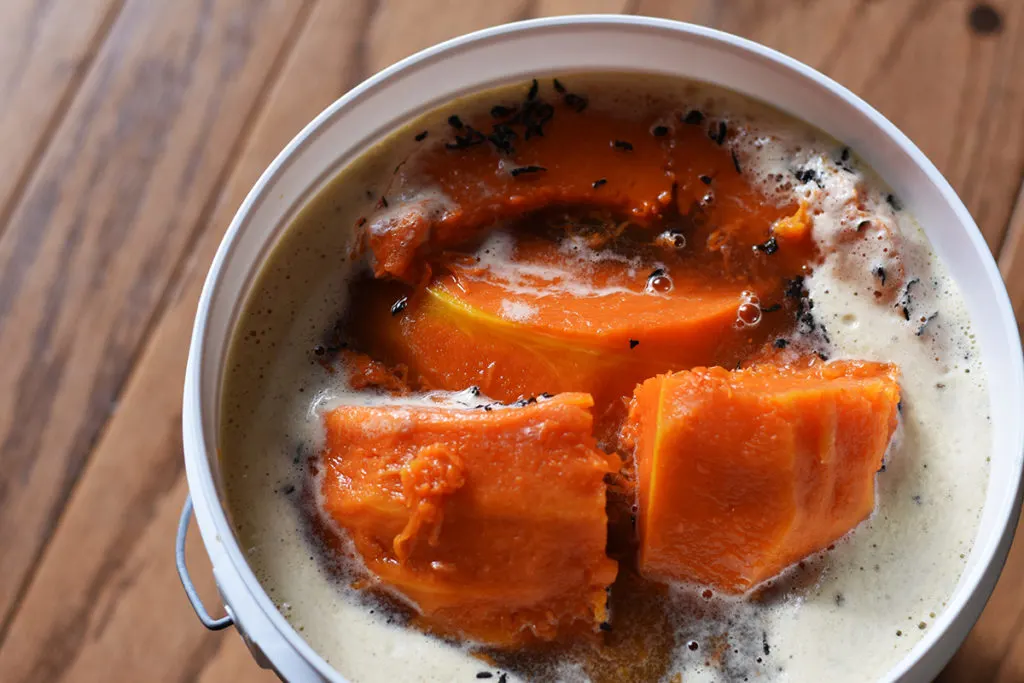
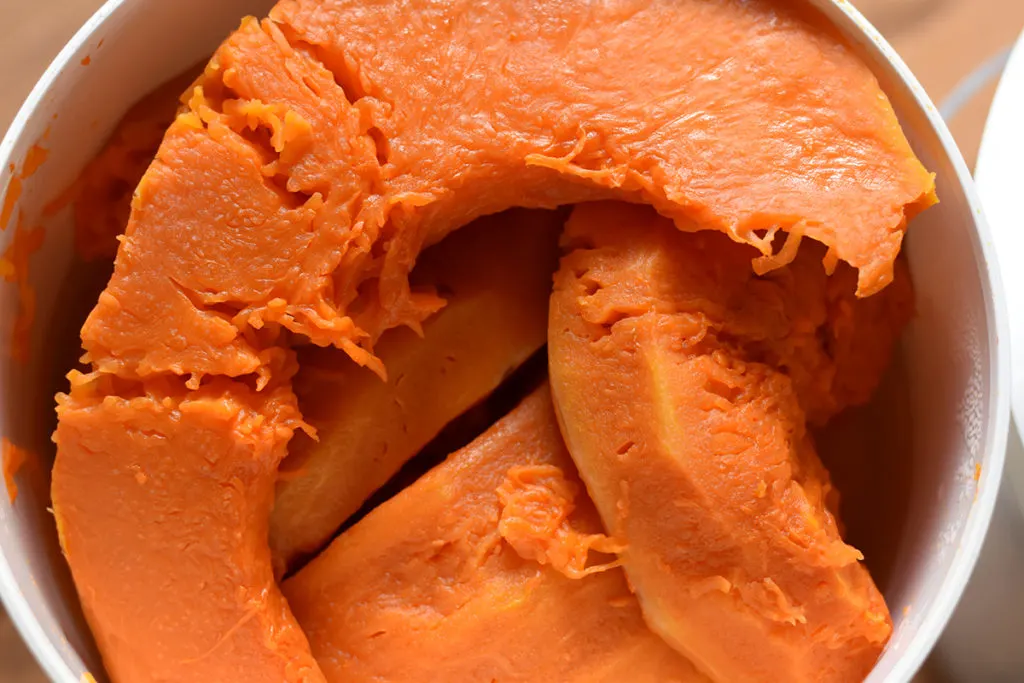
If you want that nice roasted pumpkin flavor, cut your pumpkin in half, and roast it cut sides down on a baking sheet in a 350-degree F oven for 30-45 minutes, or until you can pierce the skin easily with a fork. Let the pumpkin cool completely before you add it to the straining bag.
Don’t forget to add the pumpkin juice released while baking.
Cut the pumpkin into slices, or scoop the pumpkin flesh, leaving the skin, and add it directly to the straining bag.
Be sure to leave at least 4” of headspace at the top of the bucket, as you’ll need to stir this, and the liquid level will rise as the sugar pulls moisture from the pumpkin.
Once you’ve got as much pumpkin as you can fit in the bag, tie a loose knot in it. Give it another good stir being careful not to slosh it all over your floor. (No, I’ve never done that. Why do you ask?) Cover the bucket with a clean, dry kitchen towel. Label it with the date you started your pumpkin cider.

For the next few days, stir your pumpkin cider. If you can stir it a few times a day.
You want to incorporate as much air into it as possible to get those natural yeast colonies working. Eventually, you’ll hear a hissing and fizzing sound when you stir. This is exactly what you want – active fermentation.
At this point, pop the lid on your bucket and fit it with the water-filled airlock.
You no longer have to stir the pumpkin cider; now you can sit back and let the yeast take over. They’ll spend the next month making spiced pumpkin cider for you.
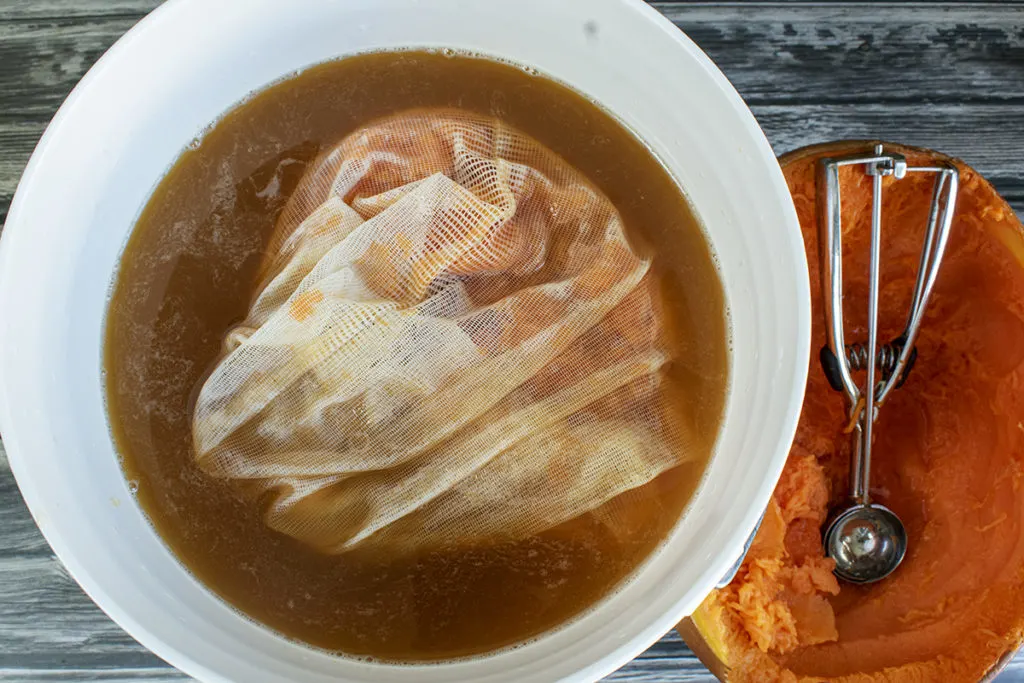
Two weeks after the start of your cider, open your bucket and gently lift out the bag of pumpkin and spices. Don’t squeeze it; just let it drain back into the bucket for a few moments. Add this microbe-rich mash to your compost pile to give it a boost.
Secondary Fermentation
It’s time to rack (or siphon) your pumpkin cider over into the glass carboy, the secondary fermenter. Because we’ve just pulled the bag of pumpkin out, there’s going to be a lot of sediment floating around. Put the lid with airlock back on your bucket and set the bucket up on a counter or tabletop overnight to give the lees a chance to settle again.
The next day, place your sanitized carboy beneath the bucket on a chair or stool. Carefully remove the lid from the bucket without disturbing the lees.
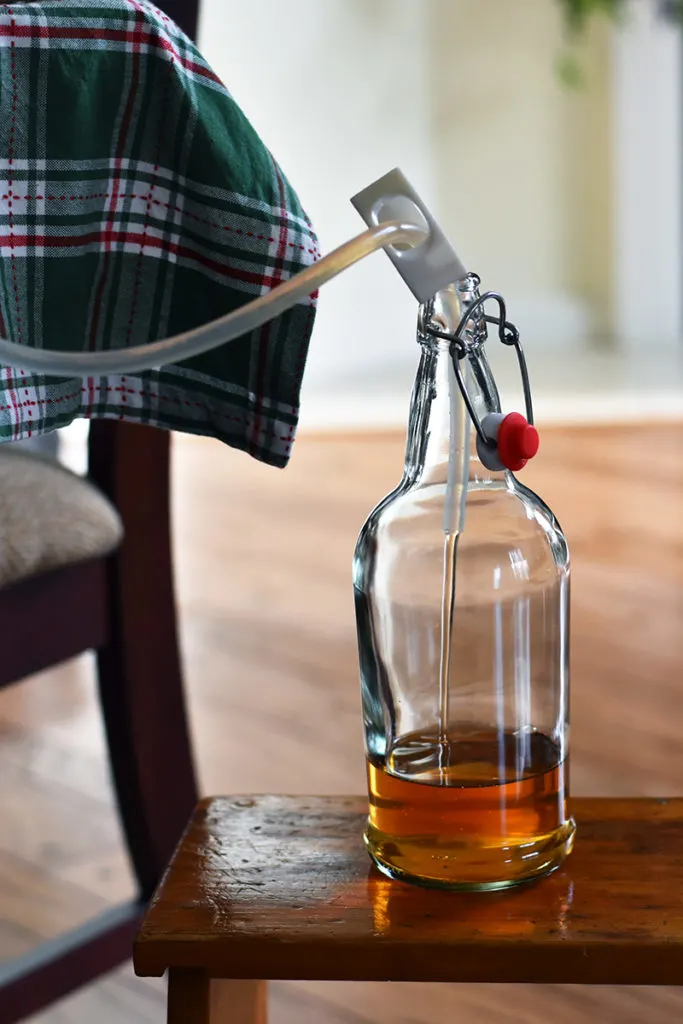
Attach the racking cane with holder to the inside of the bucket. Then slip the tubing on over the shortest end of the racking cane. Keep the end of the racking cane an inch or two up off the bottom. You don’t want to transfer the lees into your nice clean carboy.
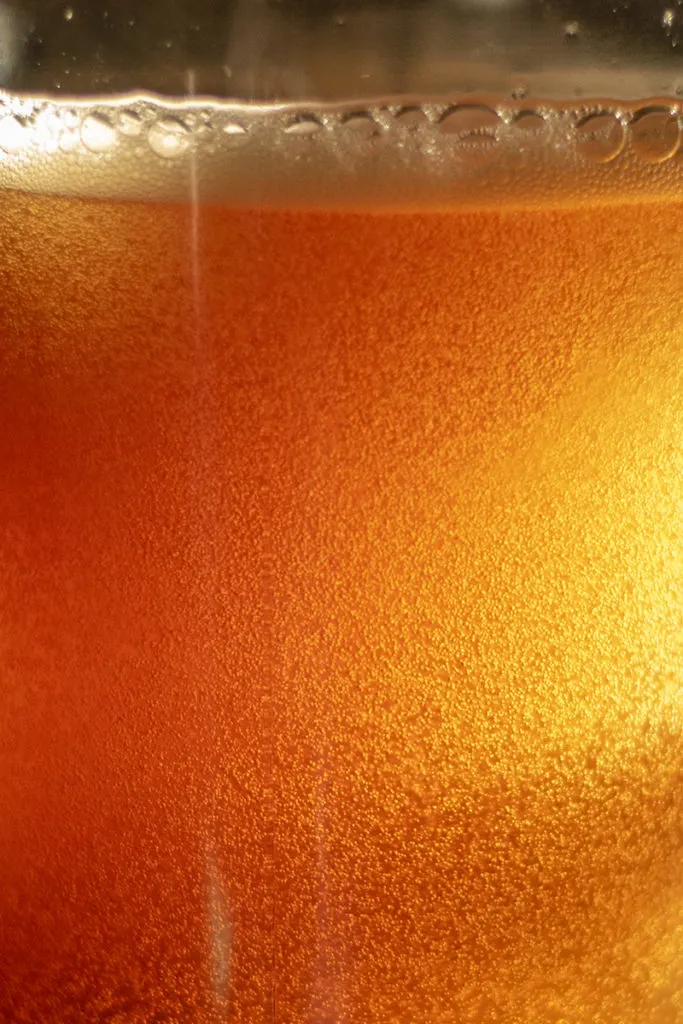
Now suck on the other end of the tubing to get the flow of cider started. Quickly place the tubing into the carboy and watch that beautiful, golden pumpkin cider fill the glass. There should be enough liquid to fill the carboy up to the neck. If there isn’t, you can add a splash of fresh unpasteurized cider to the jug to top it up.
Using the drilled rubber stopper, fit the airlock into the secondary fermenter. Don’t forget to label this as well. I use painters’ tape for my brewing labels because I can just peel it off the bucket and slap it on my secondary. Add the date that you racked the cider to the label.
Blow-off Tube
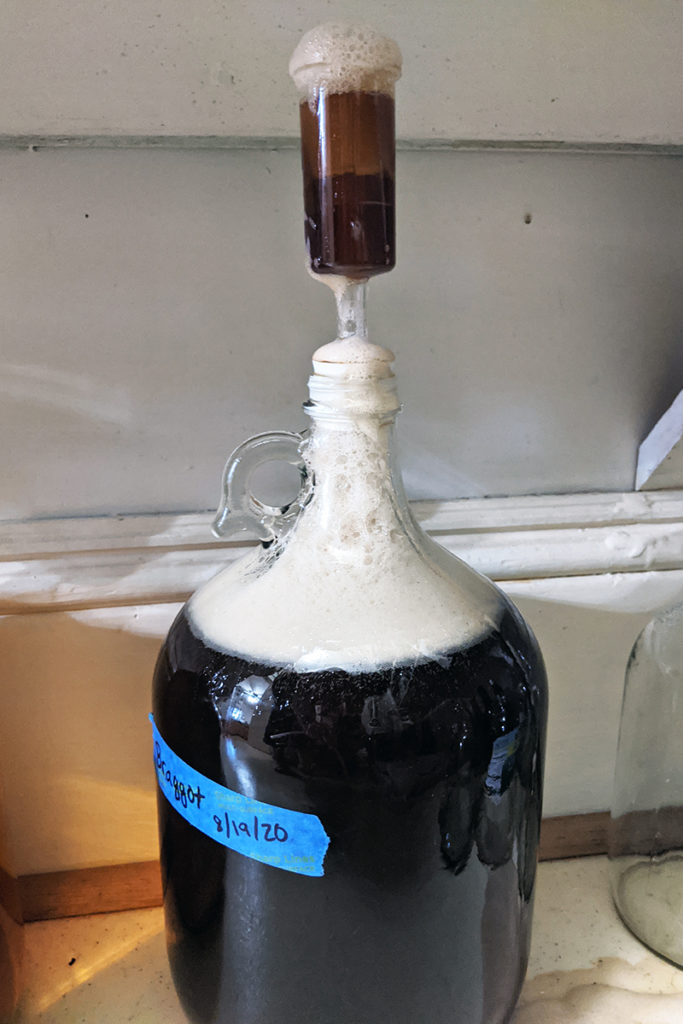
Because of the amount of sugar in this cider, you’ll occasionally get a very active ferment. You’ll check the airlock only to find it filled with foamy cider. If this happens, use a blow-off tube for a couple of weeks.

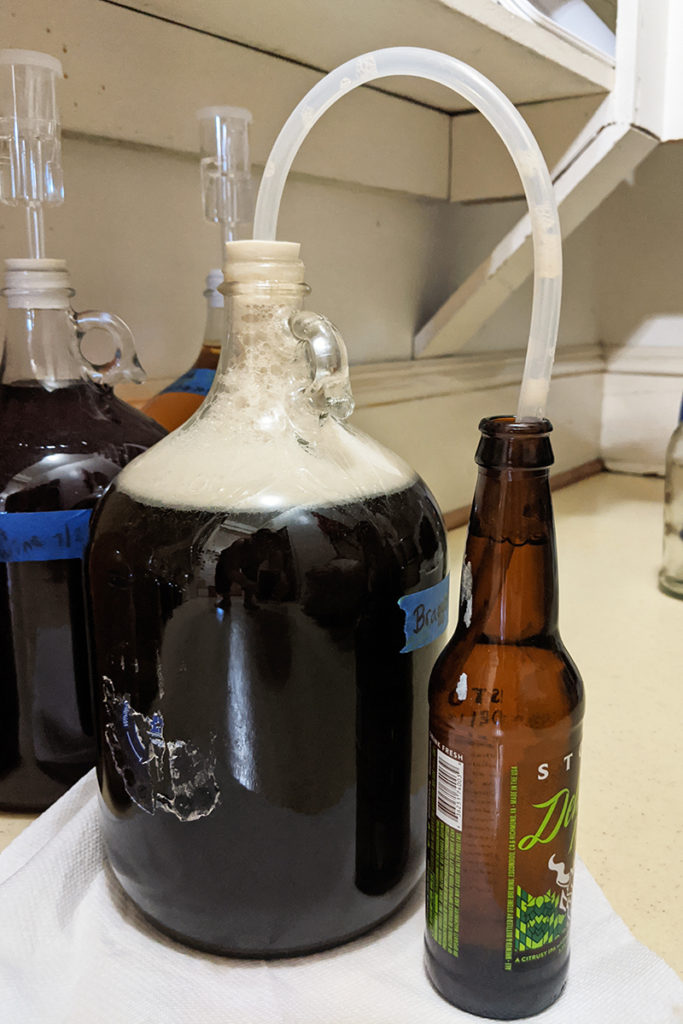
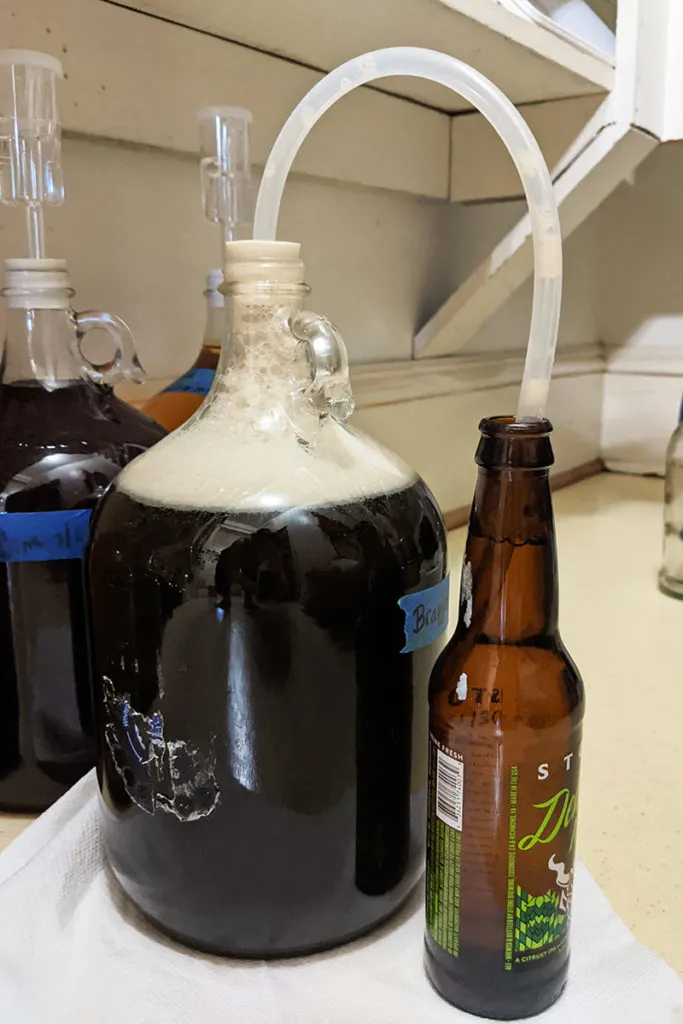
To make a blow-off tube, cut an 18” length of tubing. Remove the airlock, leaving the rubber stopper in the carboy. Insert one end of the tubing into the rubber stopper and put the other end of the tubing into a beer bottle or mason jar filled with water. This allows for a larger volume of carbon dioxide to escape.
After a week or two, you should be able to switch back to the water-filled airlock with no problem. Again, this is only necessary if you find that the cider is backing up into the airlock.
Prime and Bottle
Your pumpkin cider will finish fermenting after about a month. The airlock will stop bubbling, and if you shine a flashlight into the carboy, you’ll no longer see tiny bubbles rising to the surface.
At this point, it’s time to bottle your pumpkin cider.
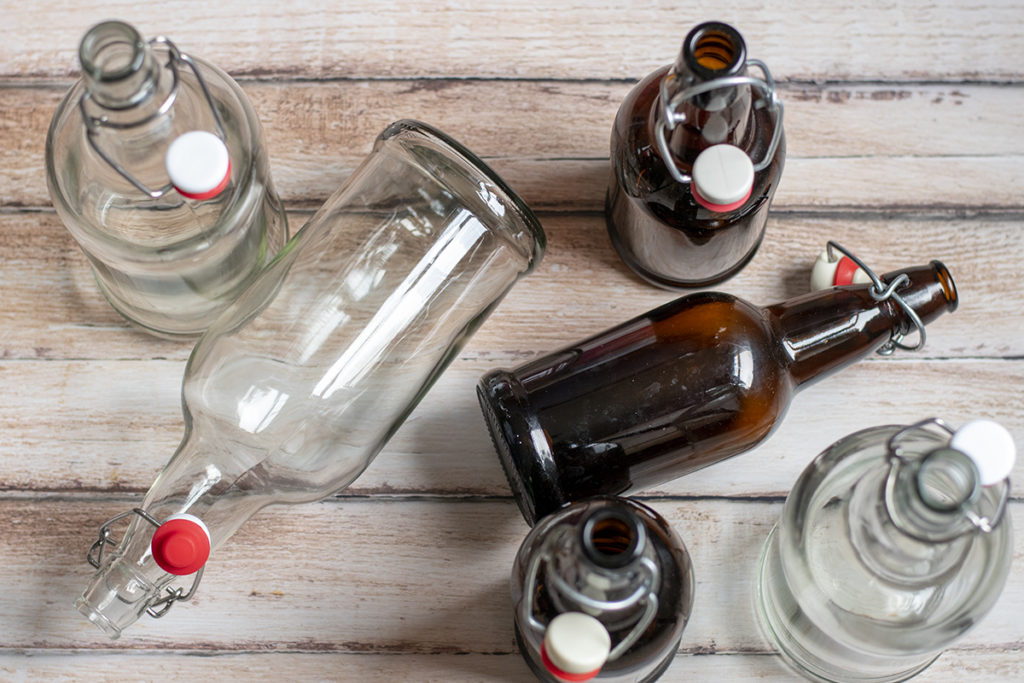
I prefer to use swing-top bottles for my homebrewing adventures. I love the rustic look of them, and they’re incredibly sturdy. Plus, you don’t have to buy a special capper and bottle caps. I can reuse my bottles over and over.

You can bottle your finished product as is – a still pumpkin cider or cyser.
Simply use the racking cane and the tubing, fitted with the small tubing clamp to fill your clean and sterilized bottles. Clamp off the flow of cider between bottles
However, if you prefer a sparkling cider (and this one is great sparkling), you’ll need to prime it first. You’re basically adding a small amount of sugar back into the cider to create carbonation but not sweeten the resultant cider.

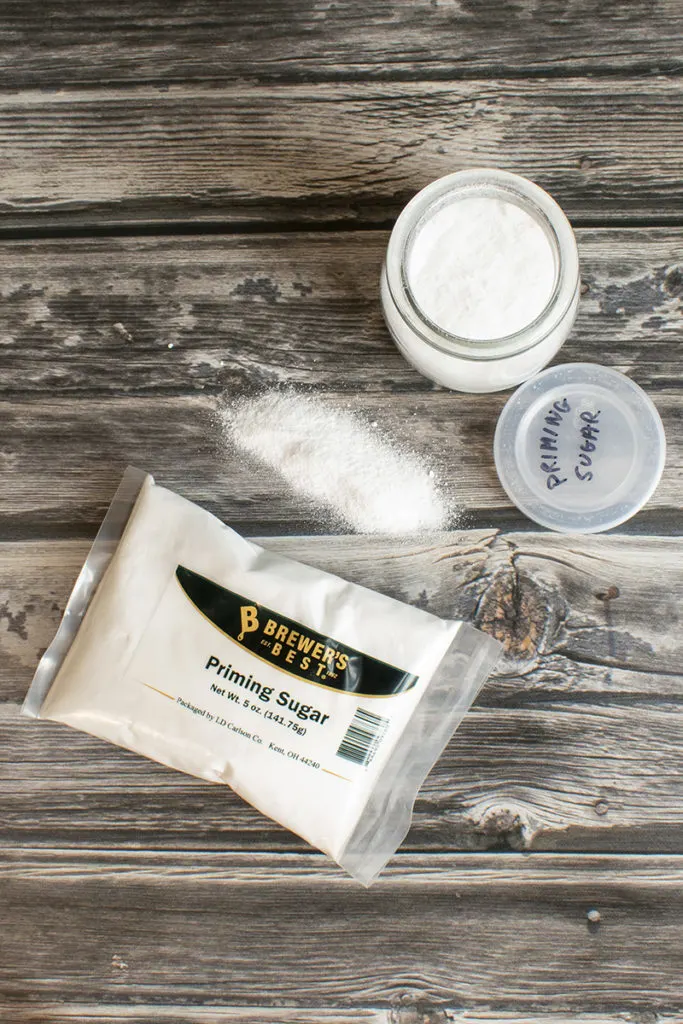
Bring a half cup of water to a boil and add 1 oz of priming sugar. Boil the mixture for 5 minutes. Pour the syrup into the sterilized brew bucket. Now rack your finished cider into the brew bucket. Use a sterilized wooden or plastic spoon to stir the mixture gently. Bottle immediately leaving 1-2” of headspace in the bottle.

Bottled still or sparkling, you should let your cider rest for a couple of weeks before trying it. And like most homebrews, this will get better the longer you let it sit. But it’s best if you drink it within the first two years.

I truly hope you enjoy this cider as much as my family and I do. Get a batch started now, and it will be ready to share during the upcoming holidays. Just don’t forget to set a bottle aside to enjoy by the fire during those long, cold winter nights.

Get the famous Rural Sprout newsletter delivered to your inbox.
Including Sunday ramblings from our editor, Tracey, as well as “What’s Up Wednesday” our roundup of what’s in season and new article updates and alerts.