

Around this time of year, I start pacing. I walk to the window and peer out at the garden. Then I check on my seedlings. I’ll do something else for a time and inevitably end up back at the window. I can’t wait to get out there and get my seedlings in the ground.
Do you feel it too, my gardening friends? Are you getting antsy?
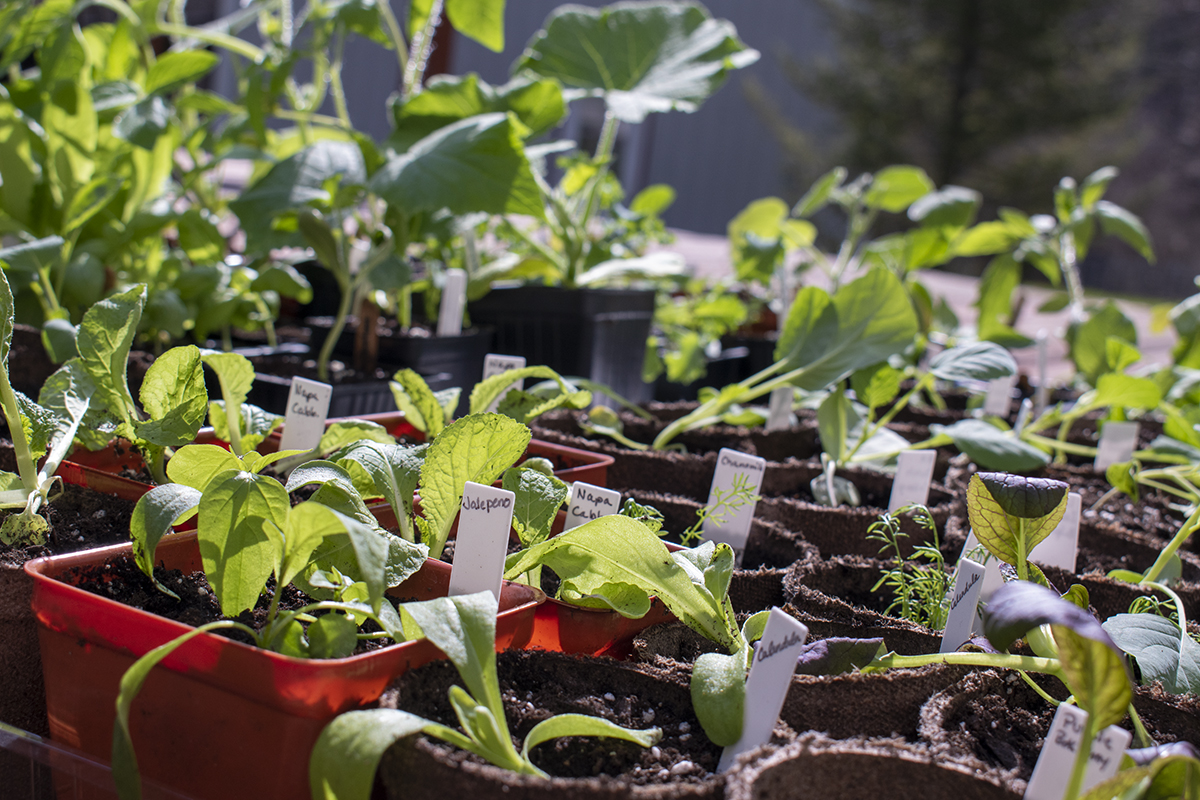
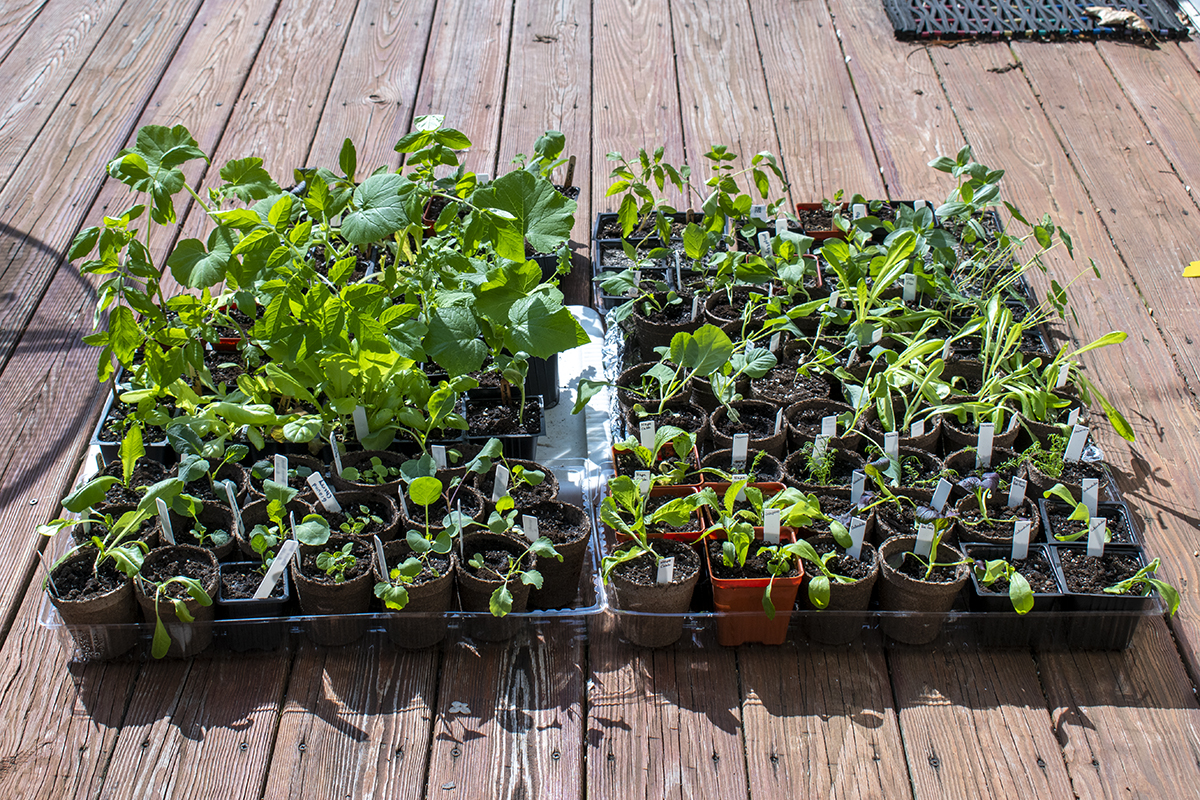
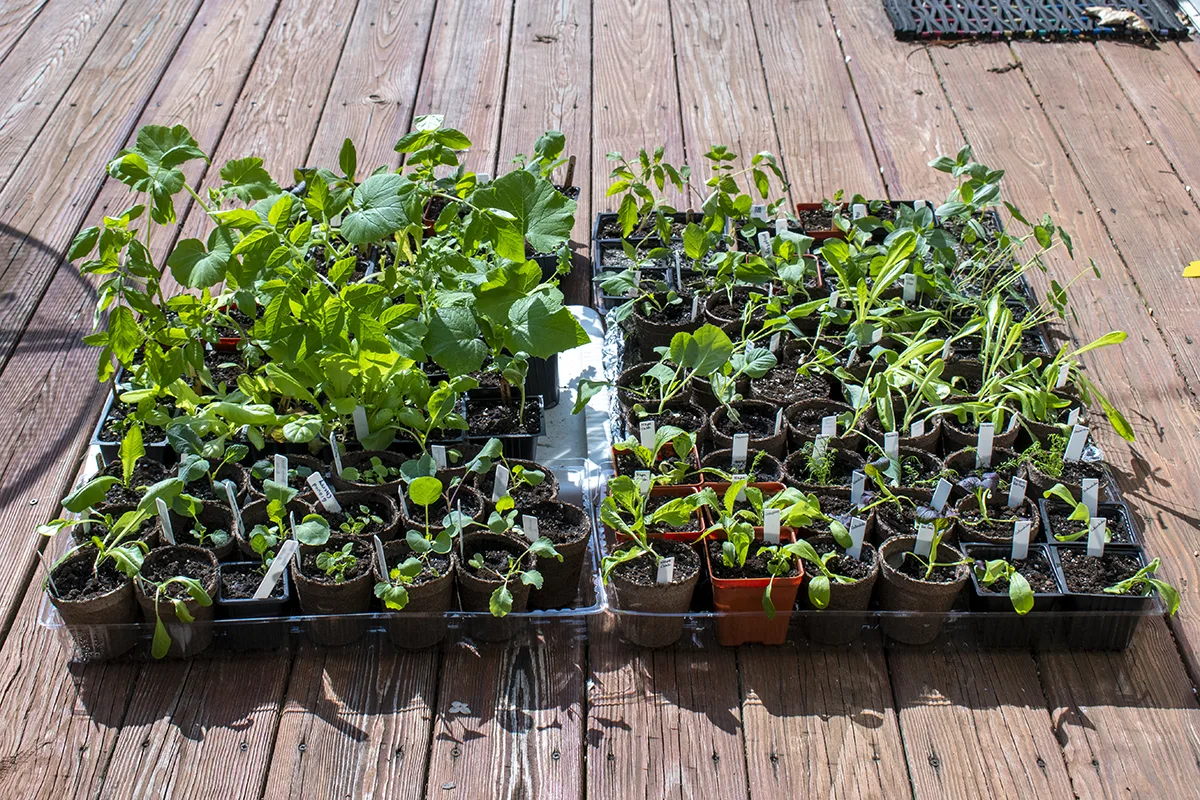
It’s no wonder when you think about it. We’ve all been diligently raising tiny plants for weeks now, getting them ready for the big day – the day we get to transplant.
And let’s be honest, it hasn’t been easy.
We’ve been at this since January. It feels like the house has turned into a garden center. Every windowsill has seedlings or egg cartons with chitting potatoes on them. We’ve lived in the purply glow of grow lights for over a month.
But it’s worth it because we did everything right.
- We got our seed order in early.
- We planned out every detail of our garden.
- We made sure to soak our seeds before starting them.
- We used our own seed starting mix.
- And pricked out our seedlings when they outgrew the seed starting tray.
There were some close calls along the way, and maybe a few of them didn’t make it. But now we’ve got a sturdy little army of seedlings ready to get their roots down in some real dirt.
Before it’s time to transplant them, though, we need to plan ahead and consider a few things. After all of your hard work, you don’t want to lose any to transplant shock or damping off.
What is Transplant Shock?
Transplant shock is a term used to cover the period shortly after a plant moves from its tidy little nursery pot to its permanent home in the garden. Plants don’t especially like being uprooted and moved from place to place. When we put them out in the garden, it stresses the plant, and they all experience some form of shock, even if it’s only for a day or two.
If the move is too stressful, you’ll see outward signs like a limp stem, stunted growth, and sometimes death of the plant. So, while we’re still a couple of weeks out, let’s plan for the big event by following these transplanting tips, which help give your plants a healthy start to the season.
11 Transplanting Tips To Start Your Seedlings Off Right
1. Know Your Anticipated Last Frost Date
The USDA hardiness zones also have estimated first and last frost dates. These are a three-week window at the beginning and end of the growing season. NOAA has a good map for last spring frost dates. Check for the last frost dates for your growing zone and write them on a calendar. Then when you’re nearing that window, start watching the weather, especially the ten-day forecast.
Three weeks is a pretty wide window, and it’s hard not to get antsy. You want to get your garden growing, and if you’ve got seedlings taking up room, you probably want them out of the house by now. But be patient. We all know how finicky the spring weather can be, which leads to tip number two.
2. Watch the Weather a Week to Ten Days Out
Now that you’re in your last frost date window and the weather is noticeably warmer, it’s time to make some serious plans.
It’s time to pick ‘the big day.’ Start watching your ten-day forecast. Ideally, you want to transplant your seedlings during a 4-5 day stretch of warm, mild weather. Keep an eye out for things like high winds, thunderstorms, sudden dips in the temperature; even heavy rain can do a number on your seedlings.
Temperature is important too. The obvious one everyone is concerned about is the cold, but you also don’t want to plant when it’s too warm either. Scorching temperatures in the 80s and above can quickly kill tender seedlings that don’t have deep root systems.
If you can, pick an overcast day to do your transplanting. The cloud cover will shield tender leaves from the hot sun.
3. Harden Off – It’s Important

Roughly a week or two before you plan to transplant your seedlings, you’ll need to begin hardening them off. Those soft, coddled babies need to be toughened up a bit to survive the outdoors. You can start this process indoors by lowering the temperature of any seed mats every couple of days and finally turning them off completely.
It’s also a good idea to turn on a fan near your seedlings. You can turn a ceiling fan on high or use a smaller oscillating fan near them. The fan mimics the air currents outdoors and signals the plants to grow thicker, sturdier stems.
While you’re doing this inside, begin setting your seedlings outside, but only for a short time. Start by taking them outside for an hour. Place them where they are sheltered from the wind and receive partial sun.
Set a timer if you’re forgetful, like me.
You don’t want to be standing over several flats of dead seedlings crying the next morning because you forgot to bring them inside. (Also, like me.)
Extend these daily outings each day by a half-hour to an hour. You’ll want to check on them periodically as you leave them outside longer. Your seedlings will dry out quicker outside, so make sure you give them a drink when you bring them in if they’re looking a little thirsty.
Hardening off can be a bit of a pain, but it makes a huge difference in how well your seedlings do once they’re transplanted and goes a long way to ease transplant shock.
4. Fertilizing & Amending The Soil
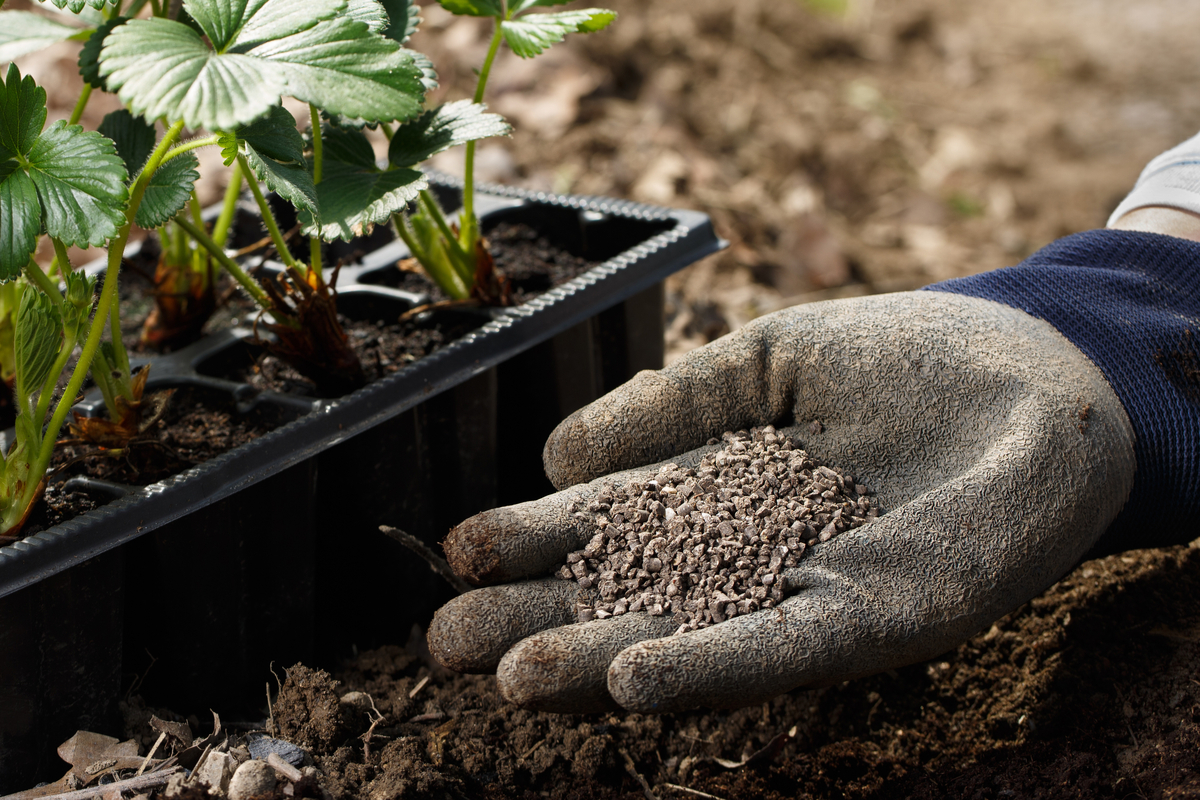

The day you transplant, you have a unique opportunity to deliver soil amendments and individualized fertilizer right where your plants need it most – at the roots. Once you dig the hole for your seedling, you can put a variety of slow-release fertilizers in the bottom to give your plant a great start.
This is also the perfect time to inoculate the roots with a quality mycorrhizal blend, which will ensure your plants grow large and healthy root systems. I’ve said it repeatedly, if you haven’t started using mycorrhizae in the garden, you’re missing out on harvests that will blow your mind.
This stuff is incredible with all it does for your plants and soil.
You can read up on it here. Of course, it’s also a great time to add a scoop of worm castings or compost too.
Figure out what plants will need as fertilizers go for the beginning of the season, so you can be sure to have them all on hand and ready to go. You’ll want to stock up on things like blood meal, bone meal and even Epsom salts.
No one likes making a trip to the garden center in the middle of transplanting because you’re out of fertilizer.
You’ve got a day in mind; you’ve hardened off your seedlings, and you’ve got everything you need. Let’s talk about what to do on the big day.
5. Plant Early or Late in the Day
If it’s a cooler day, 55-65 degrees, you’ll want to transplant your seedlings in the morning. This will give them plenty of time to warm up through the hottest part of the day before dealing with cooler evening temperatures. Keep an eye on them during midday when it’s hottest out.
If it’s a warmer day, 75 degrees and above, plant your seedlings in the late afternoon or early evening, after the hottest part of the day. You don’t want to stress out your plants by baking them.
You’re trying to avoid your plants baking during the hottest portion of the day, but if it’s a relatively mild day, then planting in the morning is fine.
6. Don’t Forget Your Amendments
Now that you have bought all of those great soil amendments and fertilizers, don’t forget to put them to good use. As you’re dealing with new plants, don’t be heavy-handed with the fertilizer, or you could burn tender roots.
7. Pay Attention to How Deep You Bury Your Plants
Some plants, like tomatoes, will form new roots anywhere the plant is touching the soil. It’s a smart idea to bury your tomatoes on their sides to ensure they have a large root structure in the soil.
But for most plants, if you bury them too deeply, the stem will rot, and the transplant will die. As a good rule, it’s best to plant your seedlings so they’re in the ground flush with the soil from their pot.
8. Be Careful Not to Disturb the Roots
To minimize transplant shock, one thing you can do is be mindful of the roots when you’re planting them. Be careful not to disturb the root ball too much (unless it’s very root bound).
Water the seedlings in their pots right before you plant them to make it easier to slip out of the pot without disturbing the soil.
9. Water In Each Plant Immediately
I used to wait until I finished planting all of my seedlings before going back and watering them all in. But as my garden grew and I began using more of my own seedlings, it took a lot more time to get them all planted. One year, I finally got everything in the ground and went to water the seedlings, only to find that a couple I had planted first were severely dried out and stressed. I ended up losing plants that way.
Water in each seedling as soon as you plant it for the best results.
10. Don’t Forget Your Labels
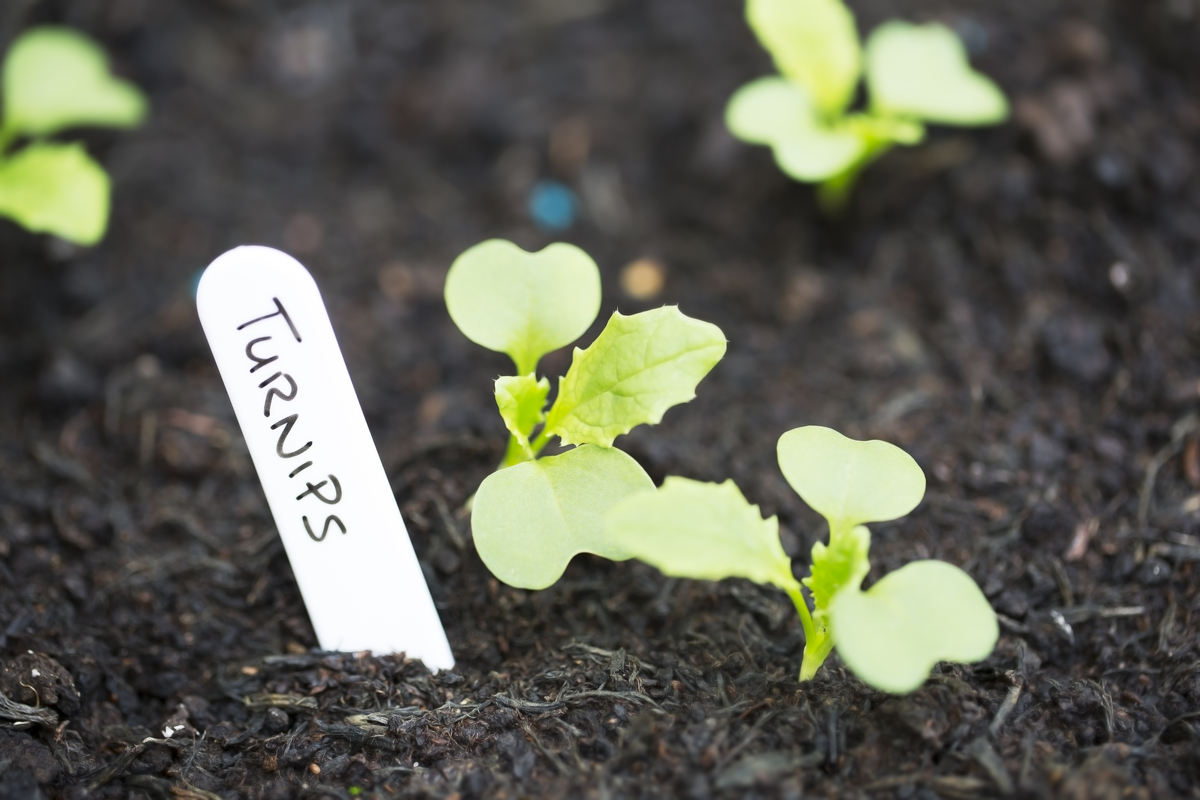

Label your newly planted seedlings as you go, and note any changes you make on your master garden plan. Once they’re in the ground, all tomatoes look the same; all peppers look the same; you get the idea. It will be a while until you can distinguish which plant is what variety when they start fruiting.
11. Check Your Transplants
There’s such a sense of satisfaction and completion once you get those new plants in the ground. It’s tempting to give in to the feeling that your work is done (at least for now). But if you want to make sure your garden gets off to a great start, you’ll need to keep an eye on those plants for a week or so to make sure they get established.
If you can, it’s best to check on seedlings twice a day, in the morning and again in the early evening. Because they don’t have large root systems yet, they can quickly dry out and die if forgotten for a day or two. You can spot issues before they become serious problems by checking on your transplants.
If it helps, again, set a reminder on your phone.
It’s also important to keep a close eye on the weather during this time. Early spring storms often bring high winds or hail, which can decimate tender seedlings. If foul weather is expected, you can get ahead of it and cover your new crops to protect them. Something as simple as old bedsheets can shield them from wind, frost or hail damage.
Once you start to see new growth in your transplants, it’s a good sign that they have settled in and require less babysitting. They’re ready to be mulched to lock in moisture and prevent weeds from growing.
For most of us, there are three highlights of each gardening season – when the seed catalogs start showing up in our mailboxes, when you finally get to transplant your seedlings in the garden and when the veggies start coming on.
With extra planning and watchfulness, you’re sure to get those transplants off to a great start. Now all you have to do is wait patiently for that final garden highlight.

Get the famous Rural Sprout newsletter delivered to your inbox.
Including Sunday ramblings from our editor, Tracey, as well as “What’s Up Wednesday” our roundup of what’s in season and new article updates and alerts.