

Are you ready to turn a straw bale into a garden?
No, it is not magic, but it can be a lot of fun, and it can provide you with many nourishing meals too – even enough surplus veggies to can and preserve food for winter!
If you find that the soil in your backyard is too hard, or generally unsuitable for gardening, why not try a straw bale garden next season to see what the “to-do” is all about.
Straw bale gardening – What is it and what it’s not…
Growing food in straw bales is a technique developed by Joel Karsten in his book: Straw Bale Gardens Complete – Breakthrough Method for Growing Vegetables Anywhere, Earlier & With No Weeding.


Not only is a straw bale garden a great, temporary way to start a vegetable plot in your backyard, it is also a means to self-reliance and self-sufficiency.
The more homesteading skills you can prepare your family with, the better!
And growing your own food is always important.
Just because it is easy to get started, it is not without work. When bales are wet, they are extremely heavy – once you have them in place, keep them there for the remainder of their life.
They can’t support everything a “soil” garden can. Vegetables that are too top-heavy are a no-go, corn and sunflowers for example.
Yet, they are proven to produce! Can they work for you?
Related Reading: Build A Hugelkultur Raised Bed: Step-By-Step Guide With Photos
Benefits of straw bale gardening
Back-friendly
Getting the bales in place requires some heavy lifting, even when dry, but once they are in place, the planting and weeding height is kind to your lower back. It is an instant raised garden bed, ready for planting!
Location, location, location
Straw bales allow you garden virtually anywhere there is plenty of sunlight. Naturally, you will want to place the bales directly on the ground, you can also arrange them on a driveway or a hard surface.
Refrain from putting them on wood that can rot due to the excess moisture.
Suitable for small spaces
Whether you want a single bale, or multiple ones side by side, you’ll be able to grow plenty of greens and tomatoes right outside your door. and because of their size, they’re great candidates for square foot gardening.
Inexpensive
If you can find bales locally, they will be fairly cheap. As a bonus, you will not need to invest in expensive potting soil to get started.
Disadvantages of using bales
Water intensive
With a straw bale garden you will need to water your plants, so be sure to plant close to where your water source is, or irrigation will become a chore.
Weeds
There will be weeds in any garden, even with straw bales. Yet, they will be fairly easy to pull or cut with pruners. Don’t be afraid if fungus and mushrooms emerge at free will, they will decay quickly in the sun and they are generally harmless.
Temporary
A hay bale will last a growing season, a straw bale will last one or two years. In the life of a garden, this is a short time. However, if you are renting, or unsure whether the gardener’s life is for you, this is a great segue into food production. In this way you can use it to your advantage.
May contain toxins
You will want to make sure that your bales come from organic farms to have a healthy start to your growing season. Conventional agriculture uses many chemicals and herbicides that may harm your garden plants, so stay away from the tainted straw.
As the straw bales decay and become compost, your compost will be contaminated too. Use a whole-systems approach and think about the quality of food you wish to grow and consume.
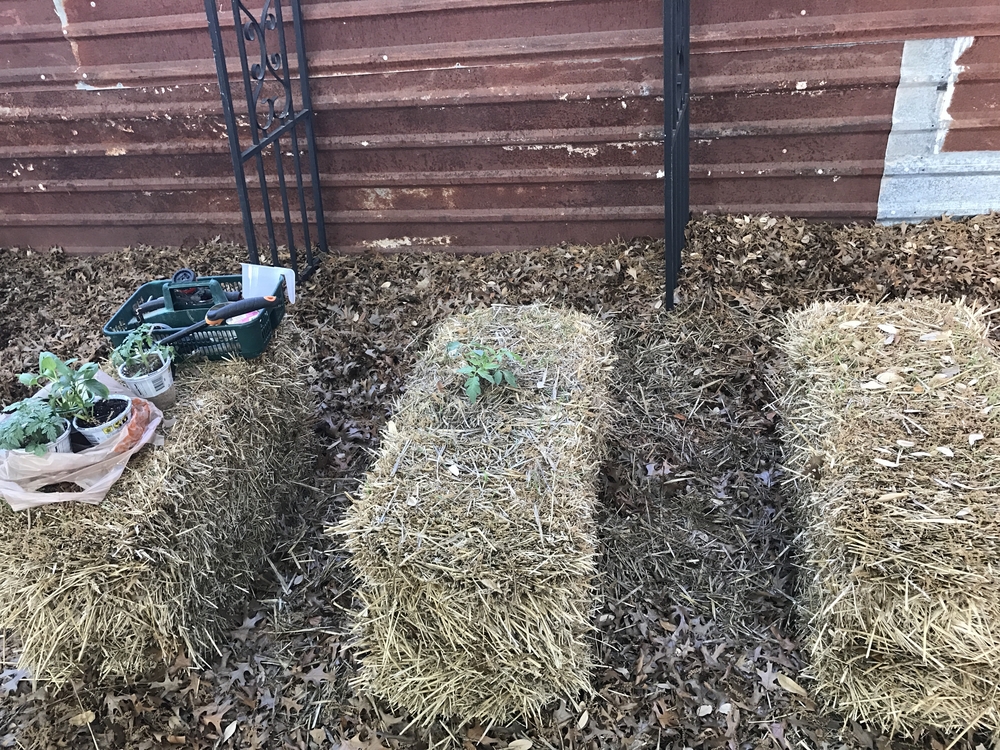
Setting up your straw bale garden
When you bring the bales home, you will have to decide exactly where they are going to lay. Once they are wet, there are there to stay for the remainder of the growing season!
Lay them with the baling twine horizontal to the ground and remember to keep them sheared side up. The other side of the bale may look like the straw is folded over – put that side to the earth.
If you are laying the bales side by side, be prepared for gaps to form between them as the garden ages and the bales decompose.
Preparing and fertilizing your straw bales for planting
Before planting, there are a few steps you need to accomplish to achieve a successful straw bale garden – and you’ll need 10-14 days to condition your bales.
Water and time will naturally begin to rot the bales for you, though it helps to add nitrogen, phosphorus and potassium fertilizer as you keep the bales thoroughly wet for the easiest planting start.
Once your bales are set in place, spread an all-purpose fertilizer on the tops, watering it in.
You can follow a water-and-wait strategy to set the bales in motion, or you can feed it with fertilizer on alternating days to get it decomposing more quickly.
You can check the progress of the bale heating up inside by using your hands to feel for the rising temperature, or you can use a standard meat thermometer with a long metal spike (keep that as a garden tool, once you have used it in a bale!).
The internal temperature of the bale should peak between days 6-8, the temps being as high as 150°F (65.5°C).
When it cools down at the end of two weeks, it will be ready for planting.
Irrigating your straw bale garden
Once you get your plants in, you’ll need to ensure that they are watered on a regular basis – this can even lead to everyday irrigation.
If you are expecting drought, this is likely not the best way to garden. If water is an issue, know that no-dig gardens retain plenty of moisture and preserve the soil structure too.
You can go with the route of watering can after watering can if you have a small straw bale garden, but if you have combined several bales together you will want to find a more efficient way to keep the bales moist.
A soaker hose system is one convenient way to irrigate.
On the plus side, you can also feel for moisture in the bale, then water with a hose until the water exits from the bottom.
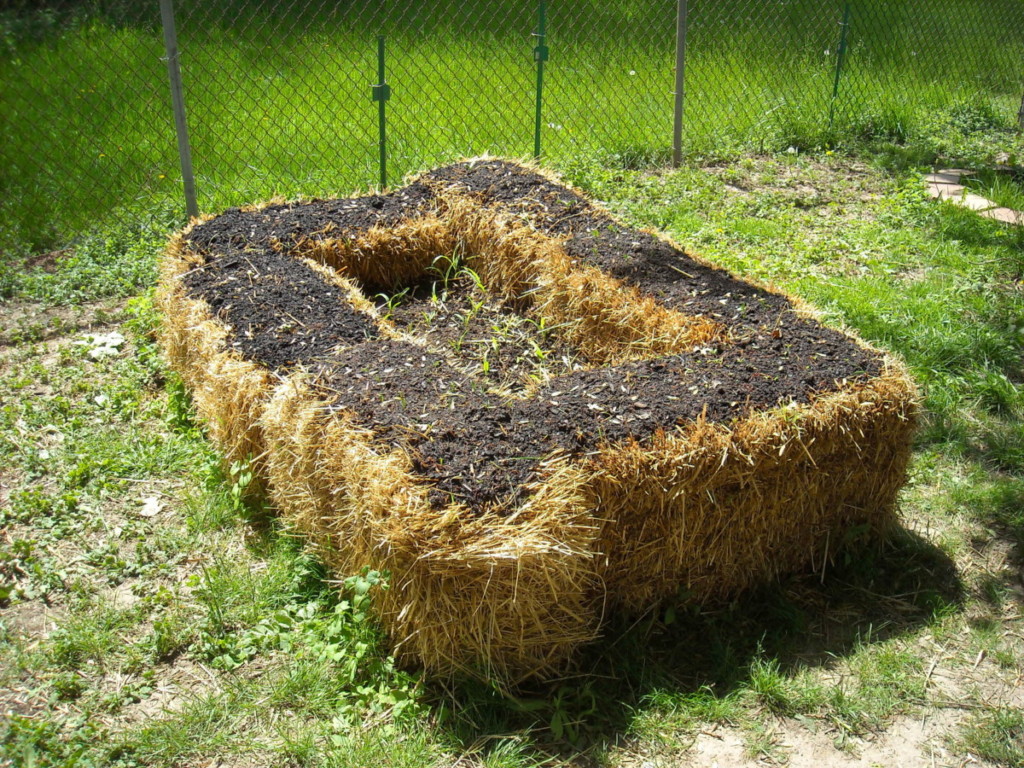
Planting your straw bale garden
Now comes the fun part: planting!
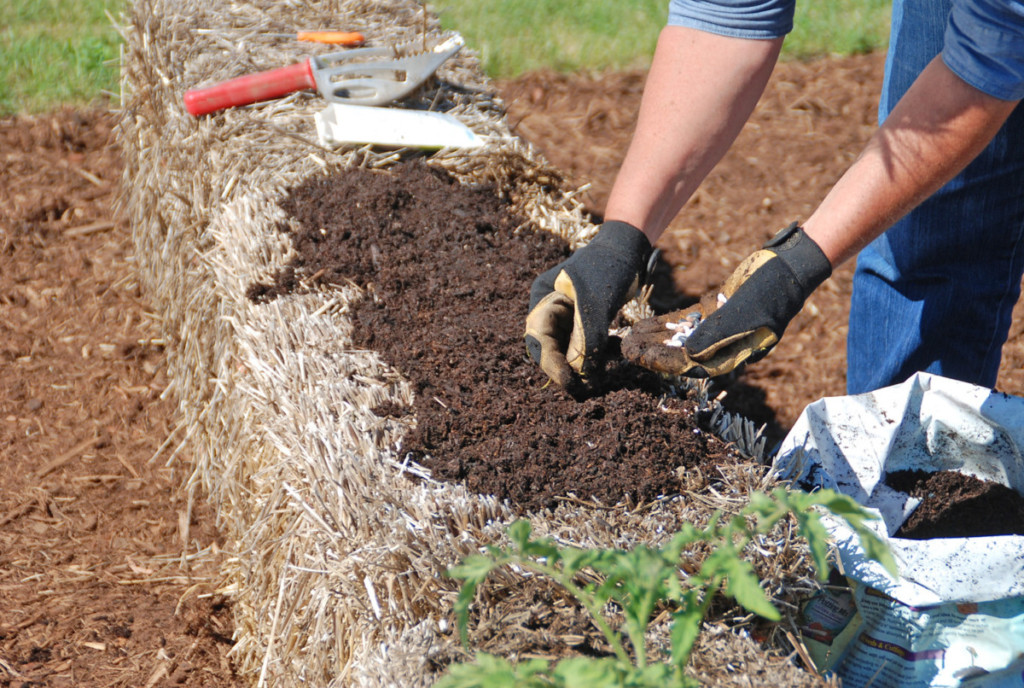
Add a layer of potting soil (approximately 2-3″ deep) to the top of the bale, and plant small seeds just as you would in a traditional garden.
If you are transplanting, simply poke into the bale and wiggle it back and forth to form a hole, then plant your transplant adding more potting soil if necessary.
There is no right or wrong way to go about planting after your bale has been conditioned properly. You can even plant on the sides and let smaller flowers, or rocket, stick out.
Beautiful, edible and oh, so delectable!
Make sure to protect your precious bales from your scratching backyard chickens and curious ducks!
Taking care of your straw bale garden
Bales are easy to climb and are more of an obstacle course, rather than an obstacle, for some garden pests.
Take precautionary measures, just as you would with a conventional garden if you anticipate others taking a random bite out of your tomatoes.
Watering and fertilizing your bales will be a regular duty. They do retain a decent amount of moisture, but it is still more akin to container gardening. Water the bales, not the leaves, and every plant will get the nutrition they need.
At the end of the growing season, you can use the decomposed bales as mulch under your fruit trees, or simply compost it further.
Best organic fertilizers for straw bale gardening
Compost tea
Simple to make at home, with nutrients made readily available to the plants, compost tea is the best thing for the garden!
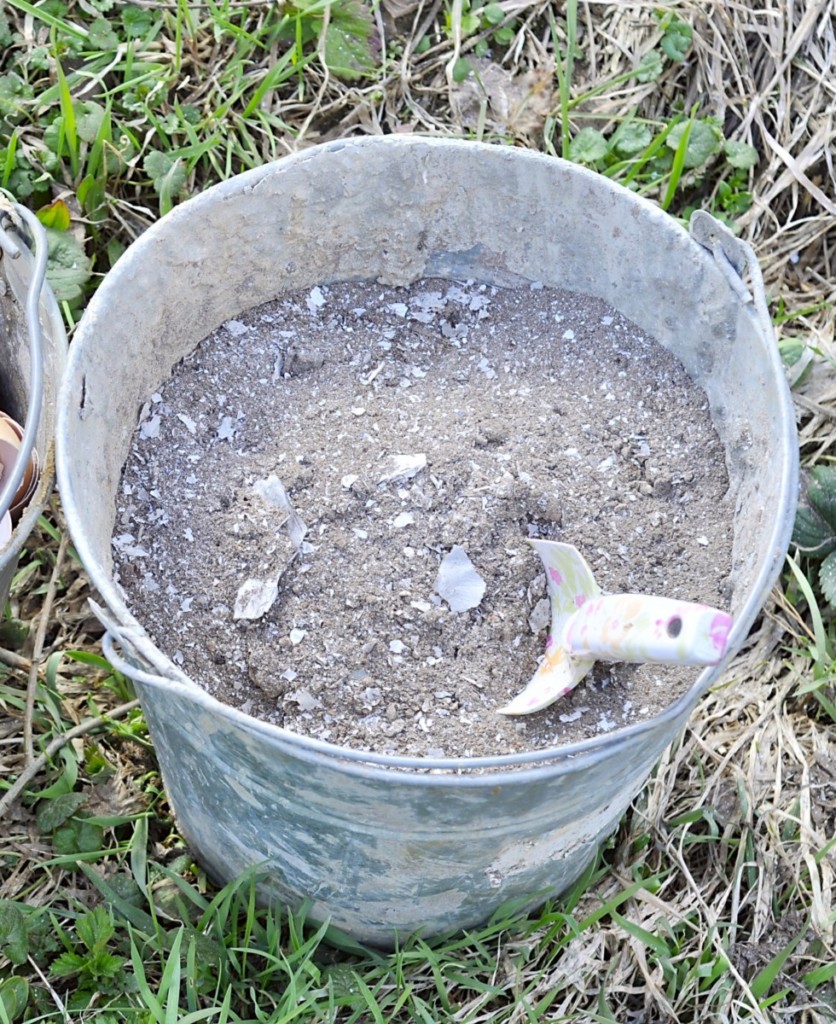
Wood ash
Provides a potassium boost to your plants. Wood ash is easy to sprinkle around your plants for a nutrient-boost combined with pest control. Use it sparingly, as too much may damage more sensitive crops.
Bone or fish meal
Full of phosphorus, nitrogen and calcium, bone meal will benefit the garden; fish meal has the added benefit of potassium. Nitrogen is exactly what your straw bale garden needs, you can feed your bales more than one way.
Seaweed mix
Applied later in the season, seaweed mixes are known to improve fruiting yields of tomatoes, peppers and potatoes, as they contain enzymes and minerals not found in other fertilizers.
The list of fertilizers could go on… Choose a natural fertilizer that you can make, or buy locally and experiment with what your garden likes best.
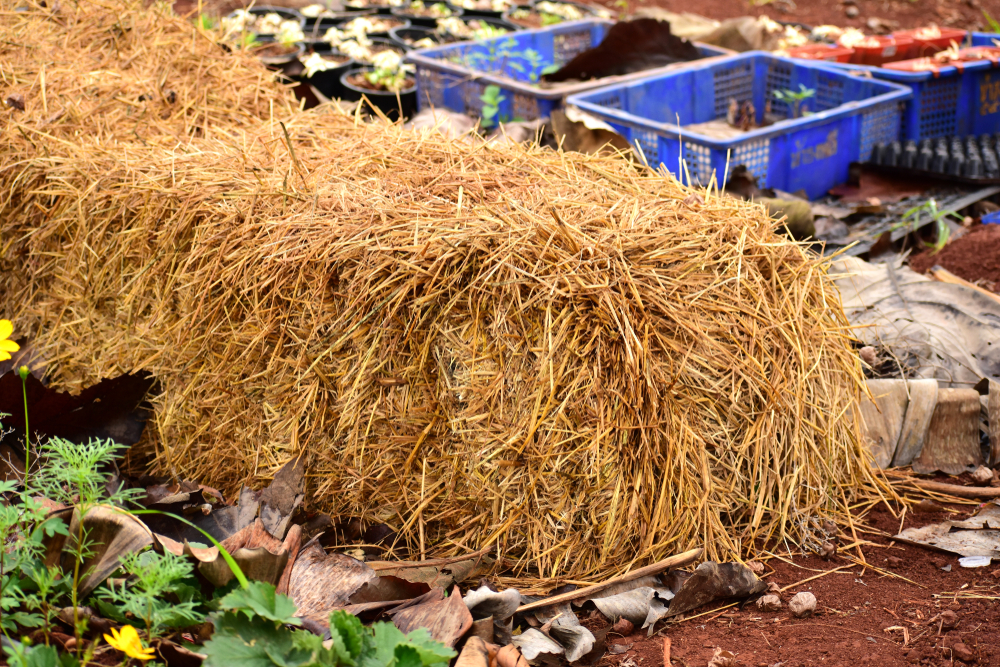
Straw or hay bales?
If you choose to raise a garden using the straw bale method, you’ll want to opt for bales from organic production of oats, rye, wheat or barley straw.
The stalks will have already been through a combine harvester with very few seeds left on them after threshing.
Other suitable materials for this type of gardening include pea straw, vetch or alfalfa bales. Corn and linseed (flax) are not desirable due to their coarseness and the length of time it takes them to break down.
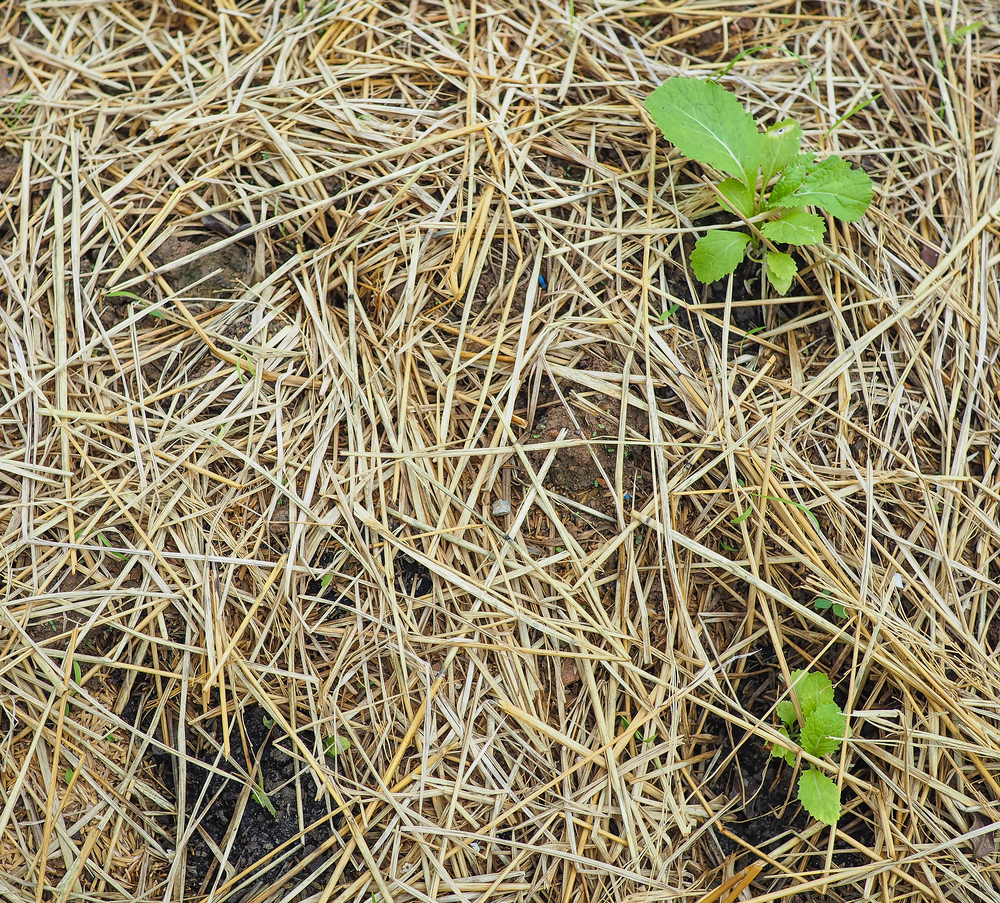
But what about hay?
Some gardeners would say “no way!”, others know a little secret.
While hay bales may be a bit troublesome with “weeds” that pop up (many of them might even be edible!), they also have an unseen benefit: wet hay creates a rich, warm environment with plenty of nitrogen to support growing plants. On the other hand, straw bales are primarily carbon and will require additional nitrogen fertilizer.
Best plants to grow in straw bales
In order to have the most abundant straw bale gardening experience, it is useful to know what is voted “most likely to grow”.
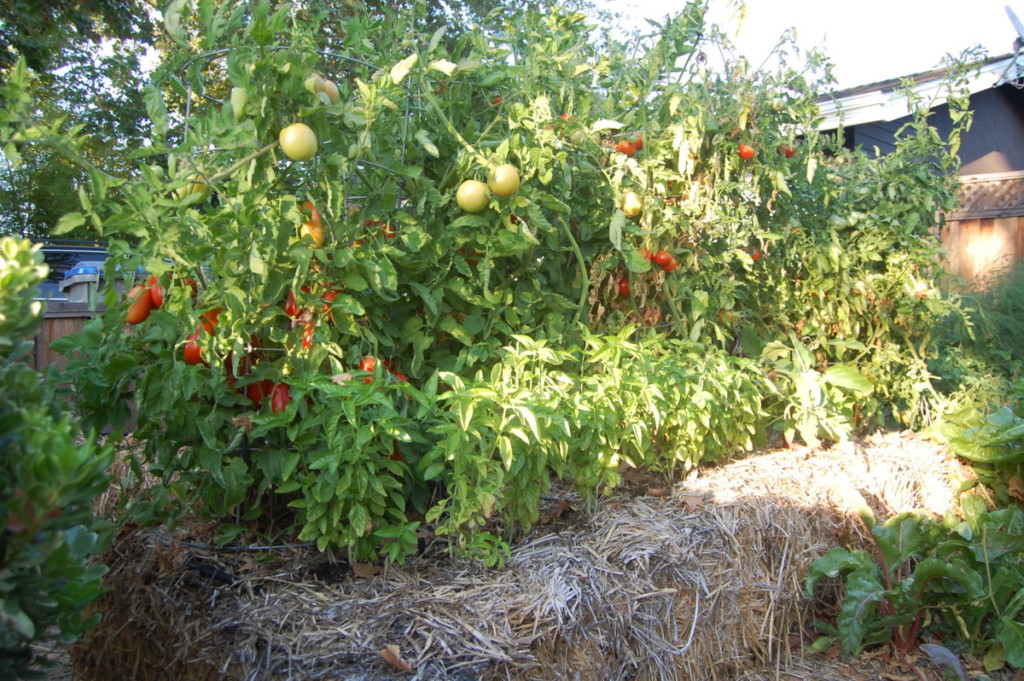
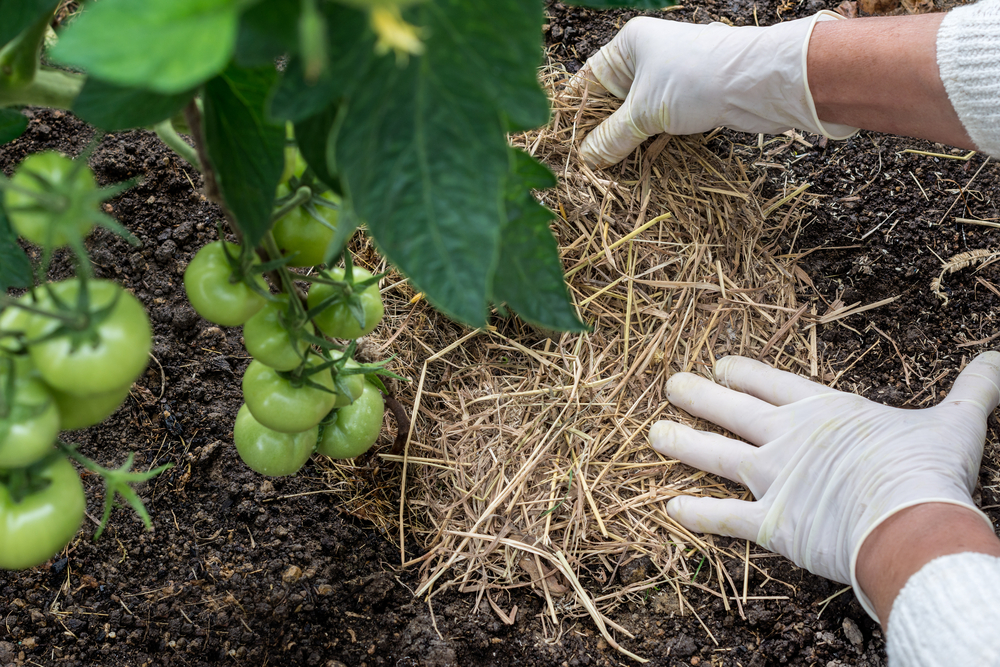
Tomatoes
Tomatoes are always a popular choice for home gardeners. They taste amazing when picked fresh from the vine and they are extremely rewarding to grow.
With straw bales, opt for smaller tomato varieties such as Early Wonder, Red Rocket and Tumbling Tom.
Potatoes
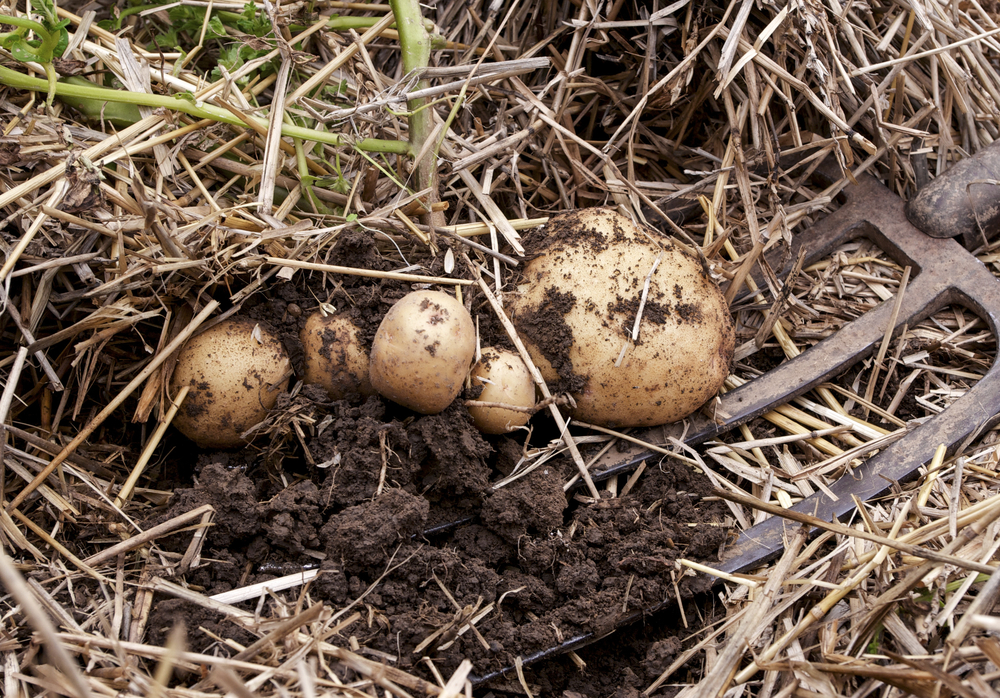
Potatoes are considered an inexpensive food, perhaps that is what makes them so popular, that and hash browns fried in lard/tallow in your trusty cast iron pan. Growing them in bales couldn’t be easier or more uncomplicated.
Peppers
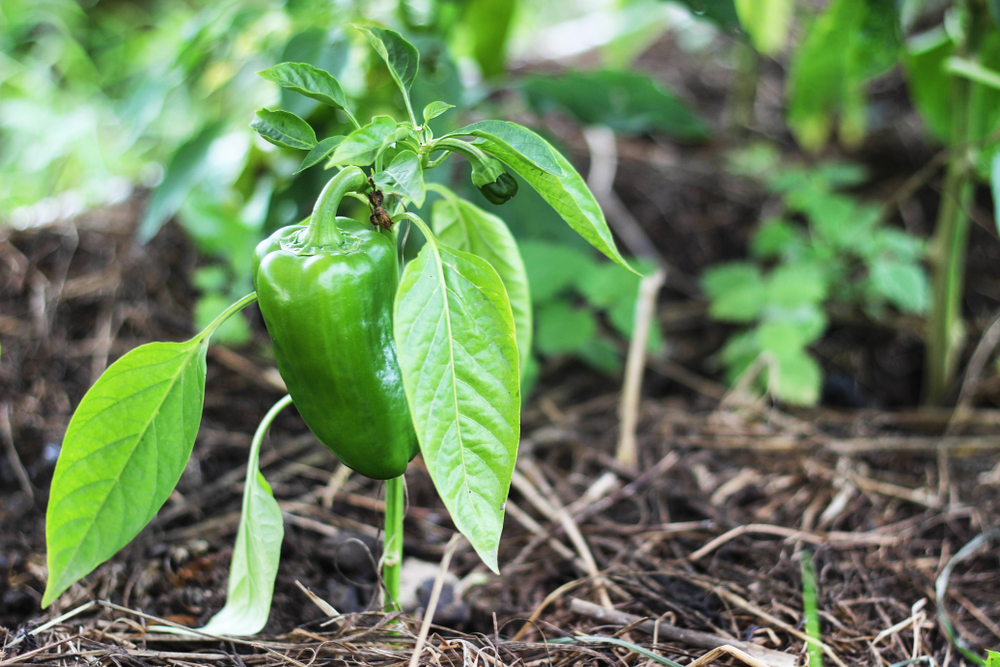
Peppers, on the other hand, can get pricey at the market and the store. They are fairly easy to grow and the variety of peppers are incredible, from the sweetest sweet to the spiciest fire.
Plus, you can harvest a decent amount from a single straw bale with minimal input. Like all Brassicas, they are easy to transplant.
Eggplants
Eggplants grow vertically and will do well as companion plants next to peppers and tomatoes, just be sure to give them enough space to produce their larger fruits.
Edible Flowers
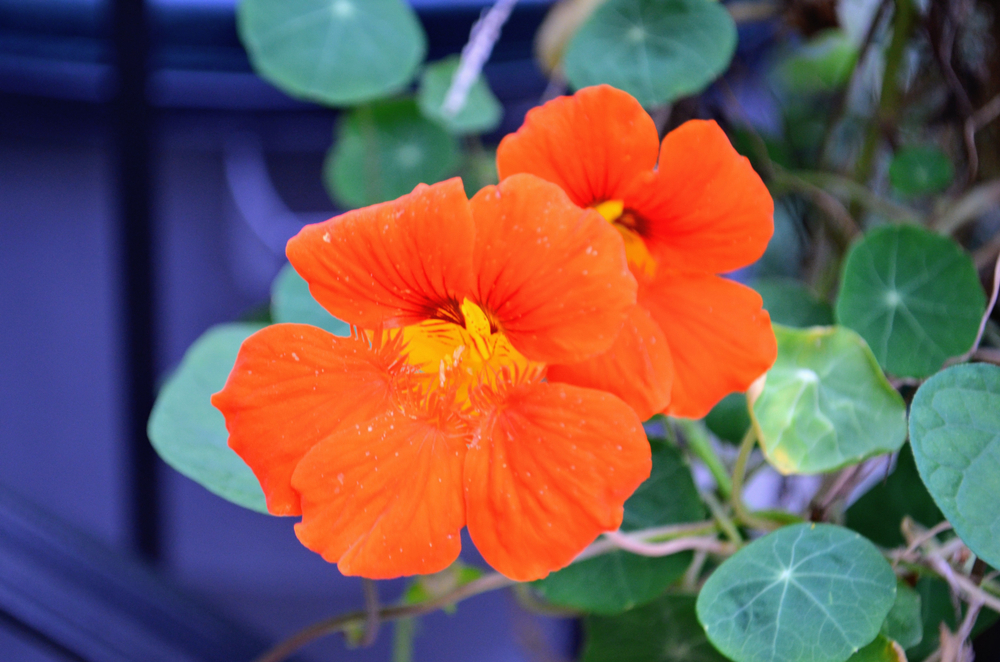
Edible flowers make for a delightfully special treat – think nasturtiums, calendula, chicory, chives and cornflower, just to name a short few.
Not only are they pleasant in a salad, or as a garnish on the plate, they make your straw bale garden beautiful too.
Root Vegetables
Root vegetables such as carrots and parsnips thrive well in loose soil, and straw bales are to their benefit. Just be sure to reinforce the bales with wire, as an overgrowth could cause the bale to collapse.
Strawberries
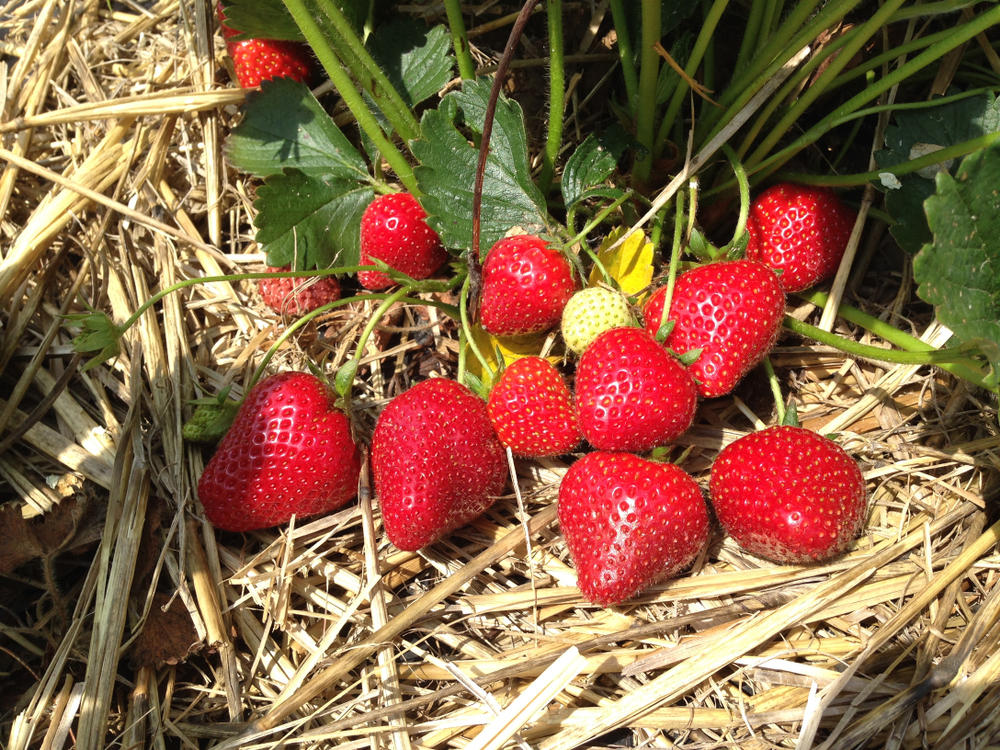
Strawberries are nitrogen loving little sweeties. Since the bales have nitrogen fertilizer added to them before planting, they are a perfect host for a single growing season.
Everything you plant in a straw bale should be treated as an annual. As strawberries are perennials, you’ll need to purchase new plants every year.
Spinach and Lettuce
Spinach and lettuce are two leaves that are easy to grow, allowing you to grow a load of salad in a small space. Don’t forget to plant rocket too!
Leafy Greens
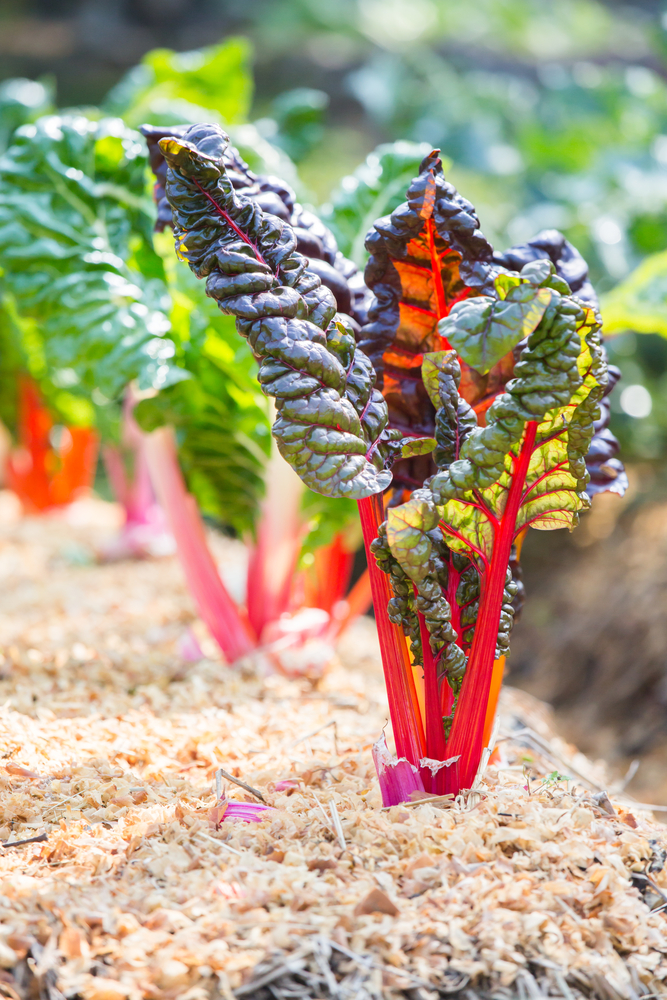
Leafy greens such as kale and chard are beneficial for many reasons, yet it is far better to harvest it from your garden on a need-to-eat basis, leaving it with zero chance to wilt before preparing it. If you can never get enough kale chips, it is time to start growing your own!
Herbs
Basil, cilantro, and parsley are all compact plants that can be grown in your herb-bale garden. Plant a diverse assortment of greens and ramp up your cooking skills as you start saving and drying your own herbs.
Brassicas
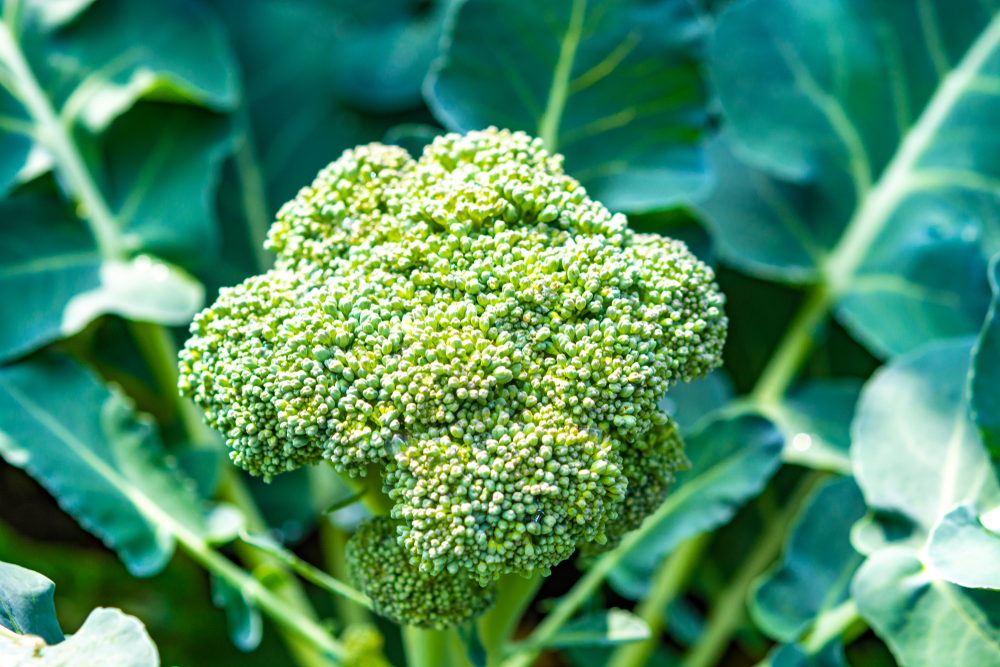
Brassicas – cabbage, broccoli and cauliflower do take up plenty of space and they have a longer growing season, yet they defy all odds by thriving in a fertilized straw bale. If you are thinking of homemade sauerkraut, leave enough space to plant a cabbage or two.
Do not plant these veggies in your straw bale garden
Now that you know what will grow to maturity, let us take a look at a few plants that won’t do quite as well.
Corn
Corn is a tall plant that is easily swayed by the wind. Combine the fact that bales are already a few feet off the ground (adding to the height of the corn) and with their shallow, fibrous root system they can be knocked over by wind gusts, damaging either the plant or destroying the bale underneath the weight of the plant.
If you really want to plant corn, go with a dwarf variety and limit the plants in each bale to three or fewer. Think of it as an accent, rather than a meal.
Pumpkins, Melons, Squash & Cucumbers
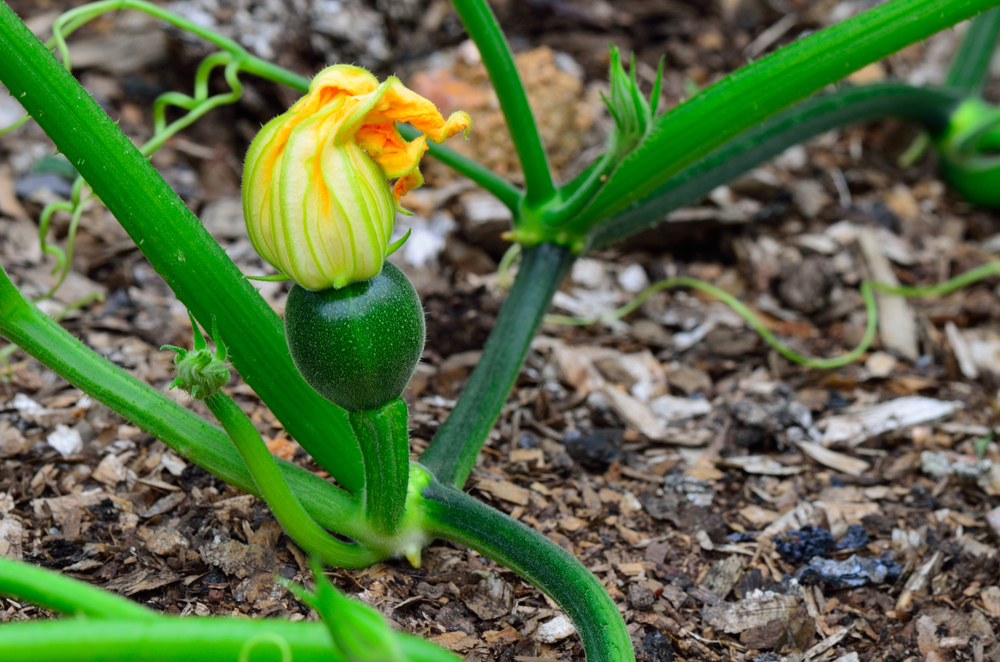
Pumpkins, melons, squash, cucumbers and other runners are best to avoid in a straw bale garden as they will spill out of the bales and into the yard. In essence, they are difficult to contain. Some can be staked, and grown vertically, it is a matter of trial and error.
Many people opt for straw bale gardening because it fits neatly into a small yard. That being said, think about how much space each plant takes up. In a good season a single zucchini plant can produce several fruits – even enough for making zucchini relish!
Go ahead and start planning your straw bale garden to try it on for size.
If it doesn’t meet all your growing and canning needs, see if a no-dig garden method would suit your space better.
Gardening is all about the harvest – go small or go big, but always go for quality over quantity, always.

Get the famous Rural Sprout newsletter delivered to your inbox.
Join the 50,000+ gardeners who get timely gardening tutorials, tips and tasks delivered direct to their inbox.