

Pothos, commonly known as Devil’s Ivy, is leading the forefront of the recent houseplant boom.
For many, this humble plant is the one that starts their houseplant obsession, and it’s easy to see why.
Pothos require minimal care, come in many beautiful leaf variations, and when it comes to fast growth, it’s tough to beat them. It’s only natural then that you would want to know how to propagate pothos.
Lucky for us, they are incredibly easy to propagate via stem cuttings, and new cuttings mean more beautiful plant babies to green up your world.
If you’re new to the whole houseplant craze, you might be wondering why everyone is so obsessed with propagating. Isn’t it easier to buy a fully-grown plant?
Why You Should Propagate Pothos
Keep Your Pothos in Good Health
Taking cuttings from established plants keeps extra-long vines in check and can help reshape a plant that’s grown a little too leggy. Everyone looks better after a fresh cut and style; the same goes for your pothos.
Plant cuttings = green crypto currency
Propagation is the easiest and cheapest way to grow your plant collection without investing a lot of money. If you’ve got cuttings, you can bet someone out there wants them.
And if you’re a collector, swapping cuttings is the least expensive way to acquire the varieties you want. Sure, you could buy the pothos variety you’re after from a nursery, but that gets expensive. Purchasing them online where shipping becomes an issue makes this method even more spendy.
Propagating cuttings from your plants to trade or sell to friends and family or on places like Facebook Marketplace means you save money and still have an incredible collection of plants. Not to mention, it’s just fun.
Propagating is Fun
There is something satisfying and rewarding about growing a plant from a cutting rather than purchasing a full-sized plant.
You get to enjoy the entire process. It’s a nice feeling checking in on your cutting to see the tiny roots develop. And once you pot up your plant, it’s a huge sense of accomplishment to see your lush, healthy pothos growing.
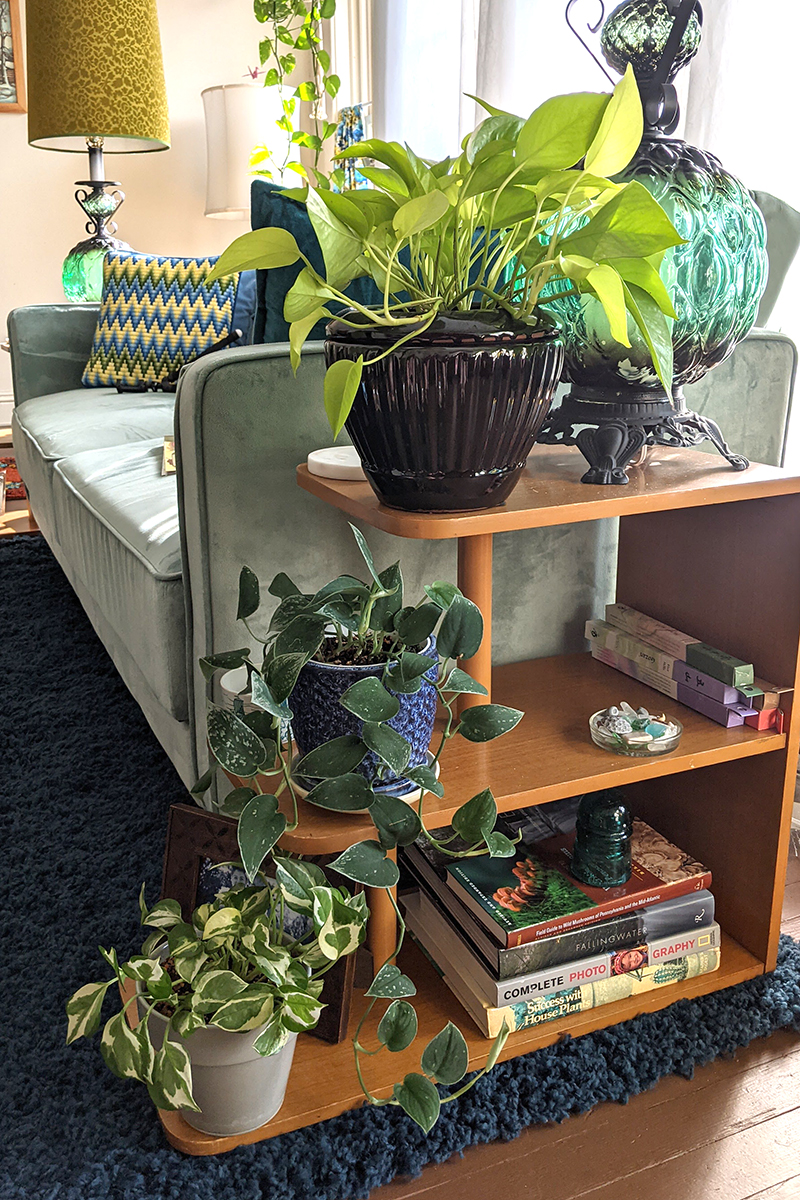
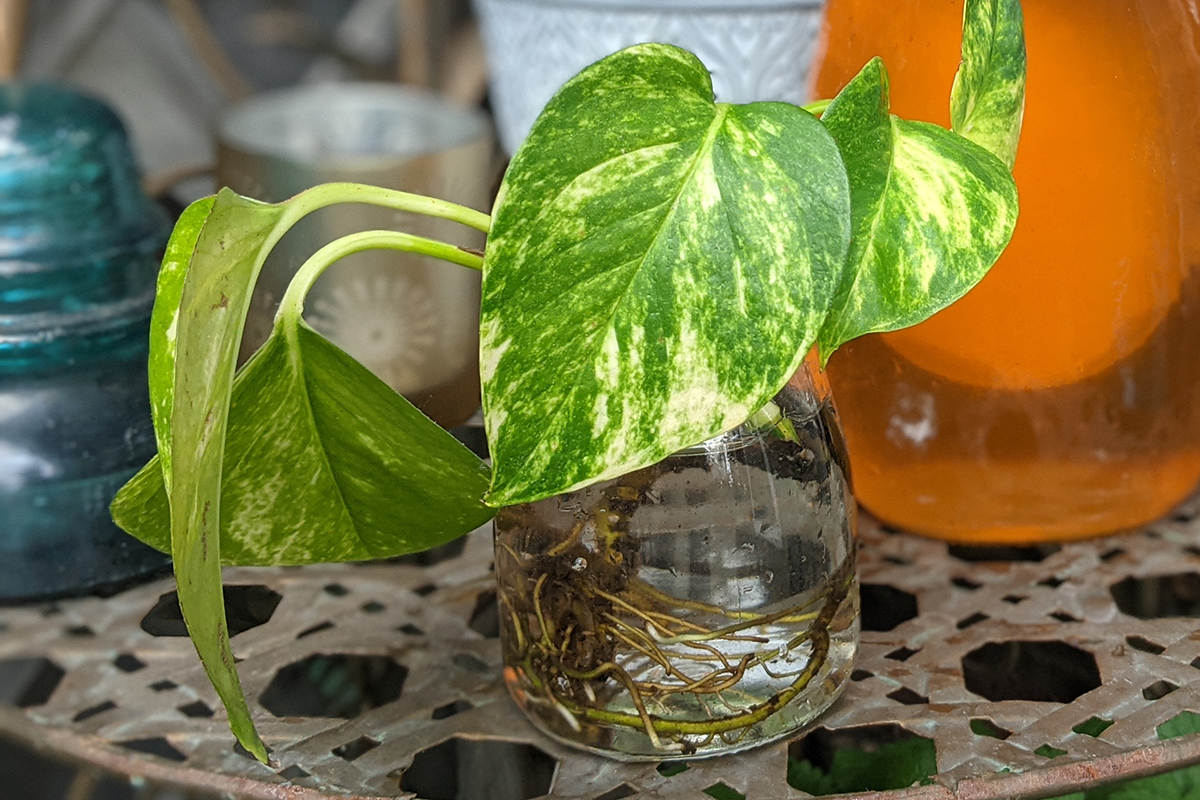
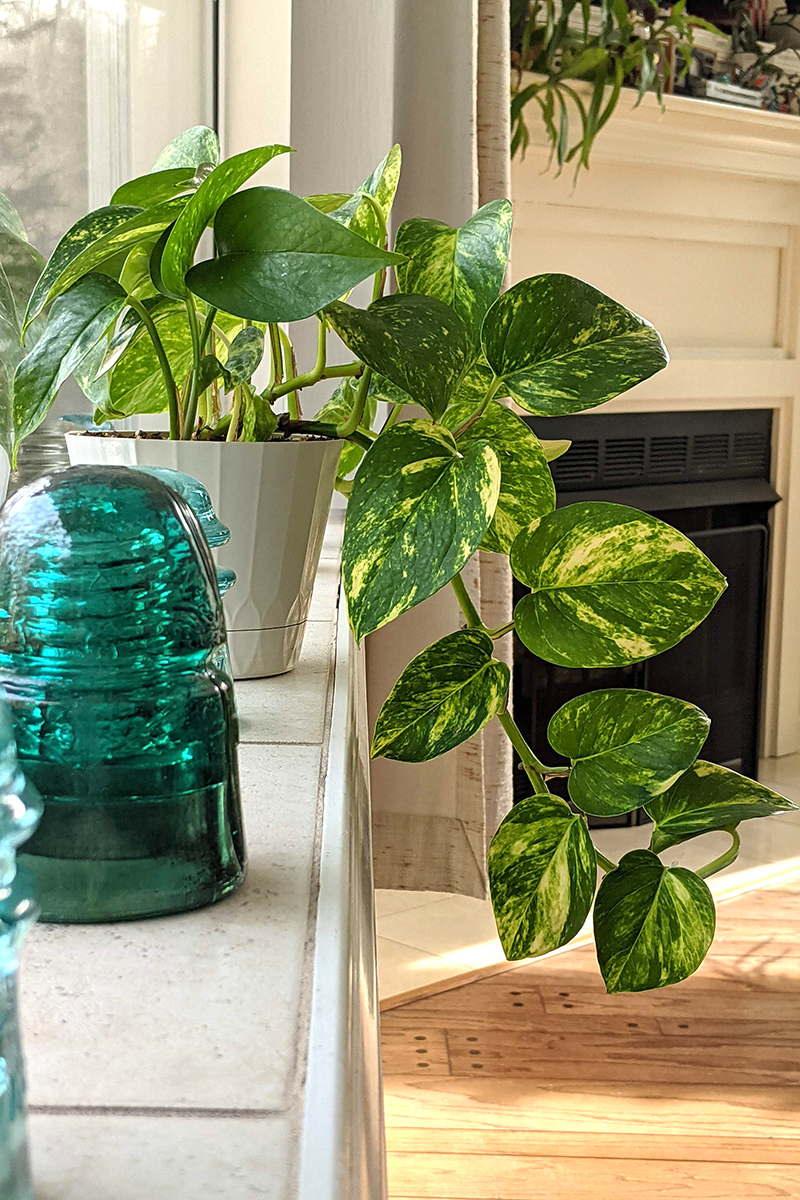
My first pothos was a cutting of a golden pothos in a jelly jar given to me by a friend. That was only two and a half years ago. And just look at it now.
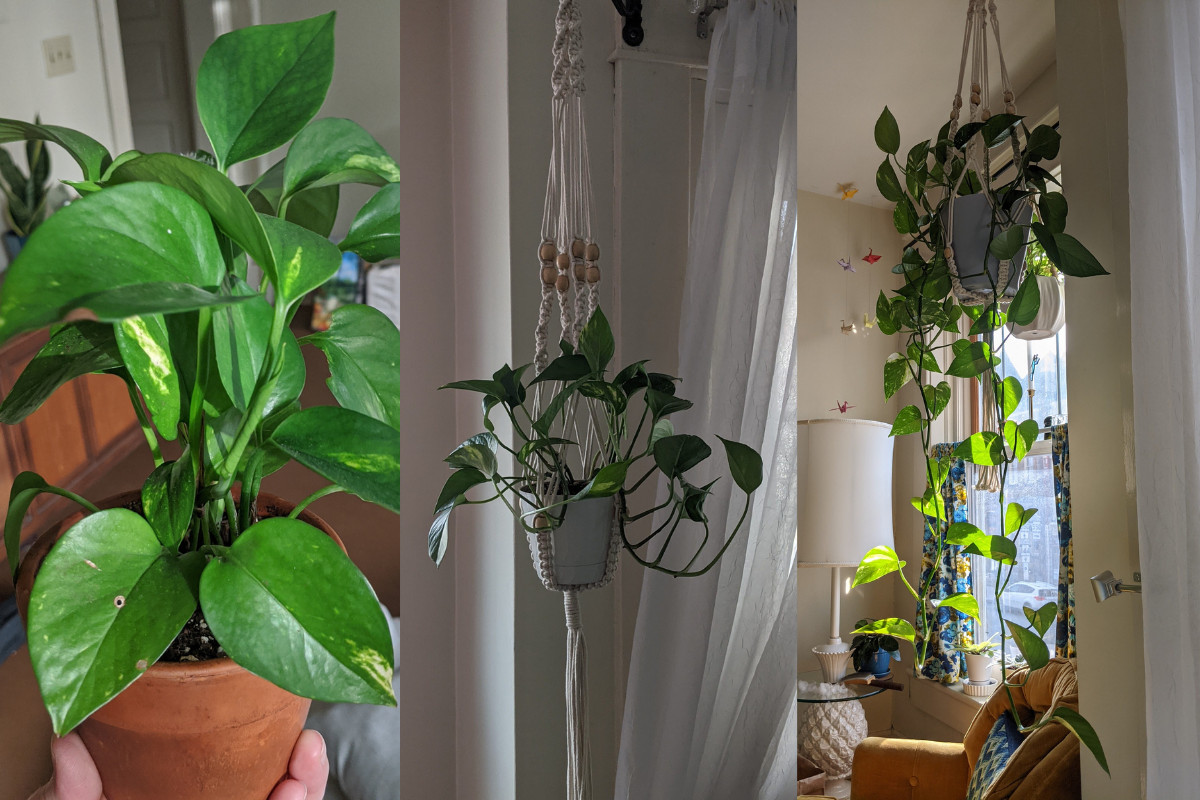
I can’t help but smile when the late afternoon sun hits it.
How to Propagate Pothos
Now that we’ve got you all fired up for propagation let’s get to it.
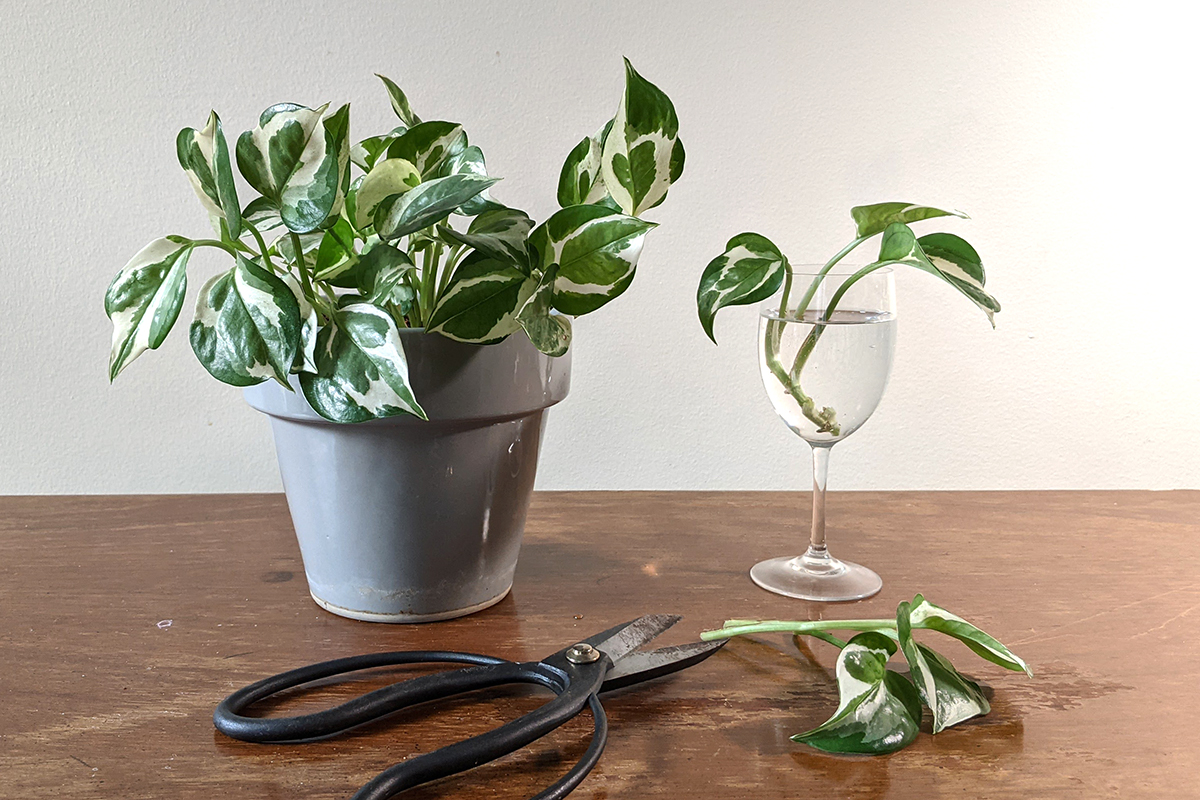
What You’ll Need
- A sanitized pair of sharp scissors – Practicing good plant hygiene ensures you don’t introduce disease to your plants.
- A propagation station or small jar to keep your cutting in
- Alternatively, a small pot with a soilless growing mix for soil propagation
- A healthy pothos plant
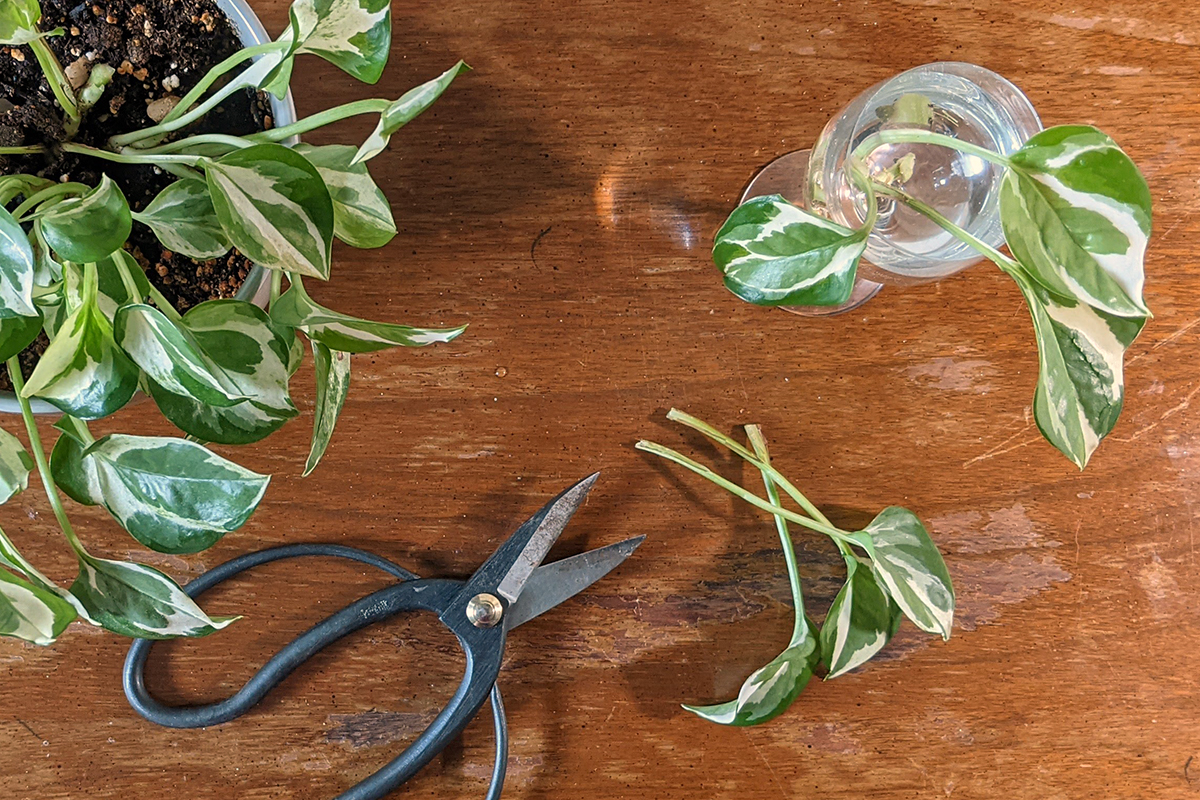
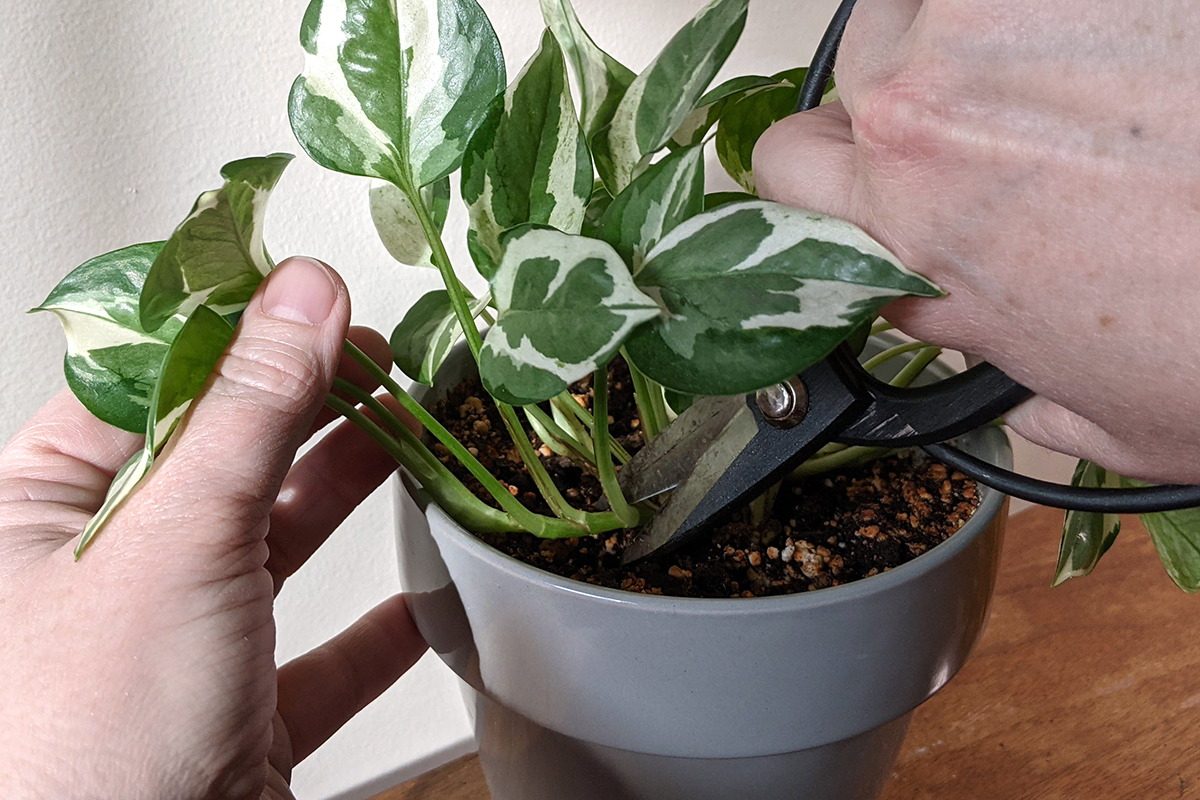
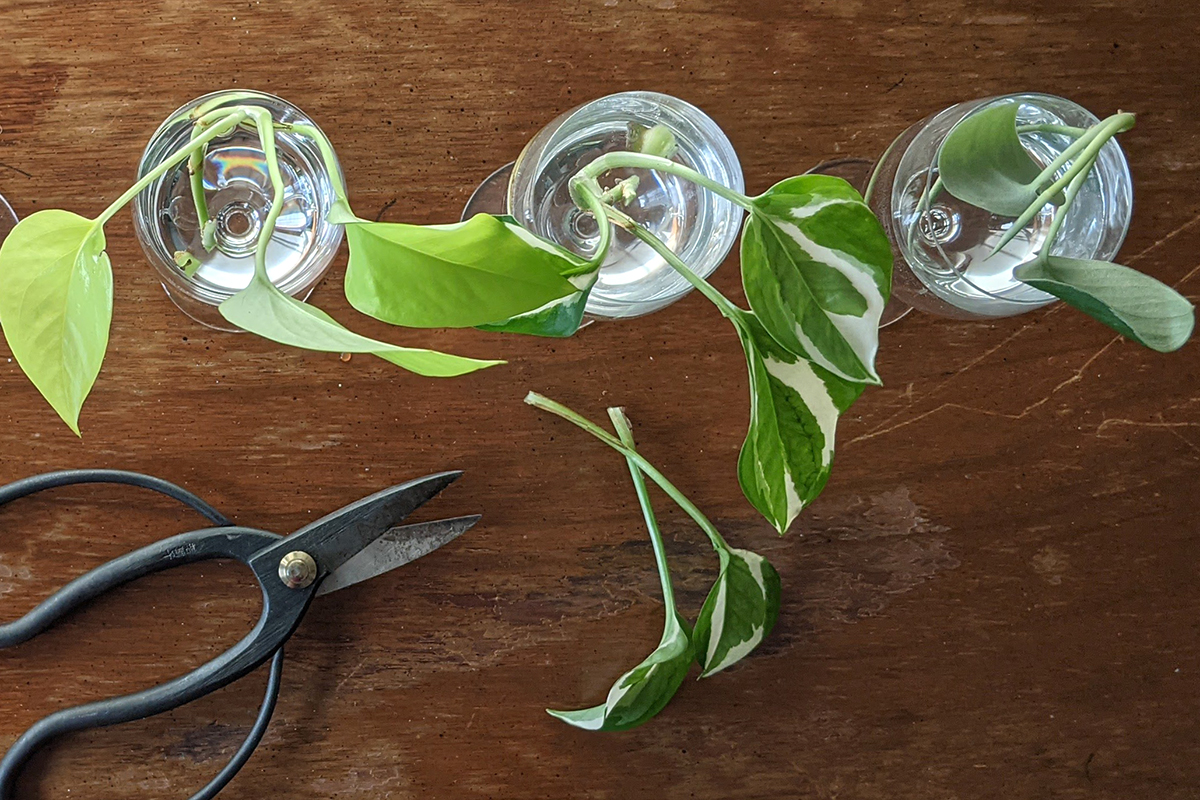
Take a Cutting
Your cutting must have at least one node present on the stem to root successfully. The nodes look like tiny brown bumps growing out of the joint along the vine where each new leaf forms.
These are actually the beginnings of aerial roots used by the plant to cling to and climb rocks or trees in their native habitats.
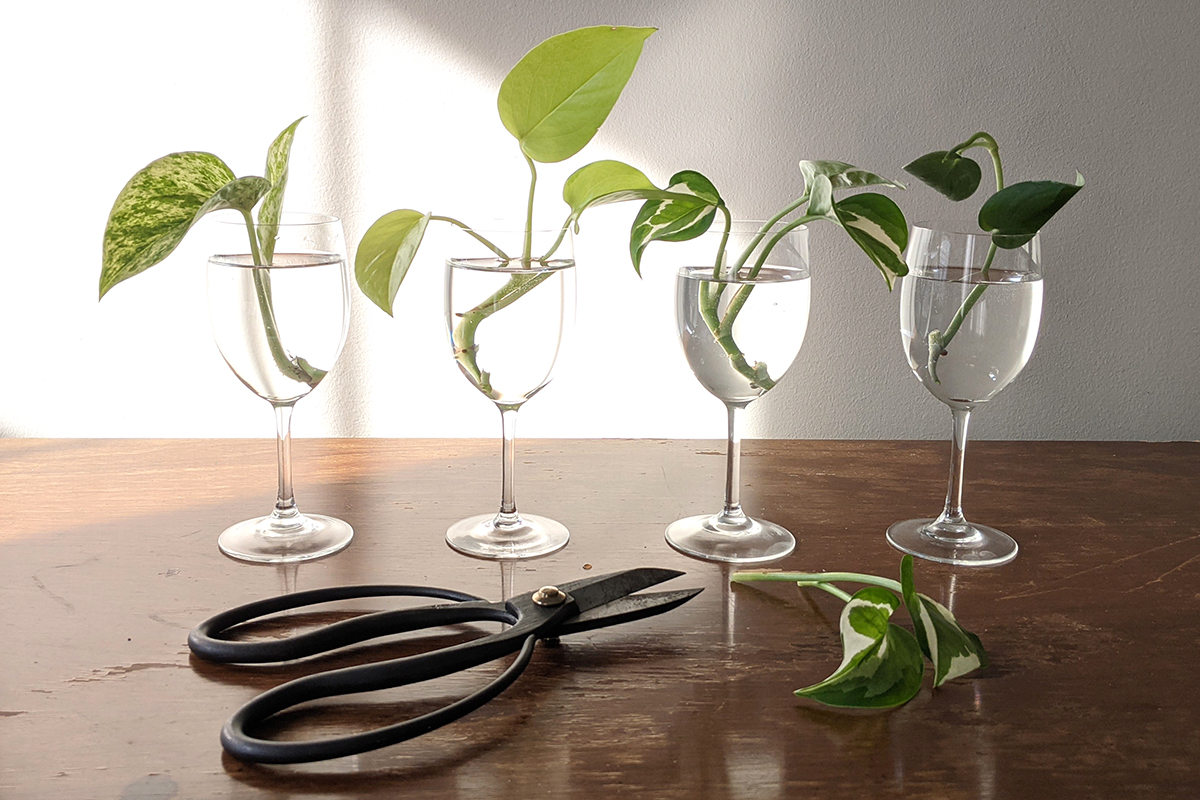
For the best results, take a cutting at least 4-5” long. You can take a cutting from anywhere on the pothos. Leaves are not necessary for propagation as long as you have nodes.
However, if you’re taking cuttings to help rein in a leggy plant, it’s best to take cuttings from the ends of the vines. You can safely remove up to 1/3 of the plant at a time, and the lengths you remove can be cut into smaller cuttings.
Remove any leaves from the lower 2/3 of the stem as they will rot if they are sitting in water.
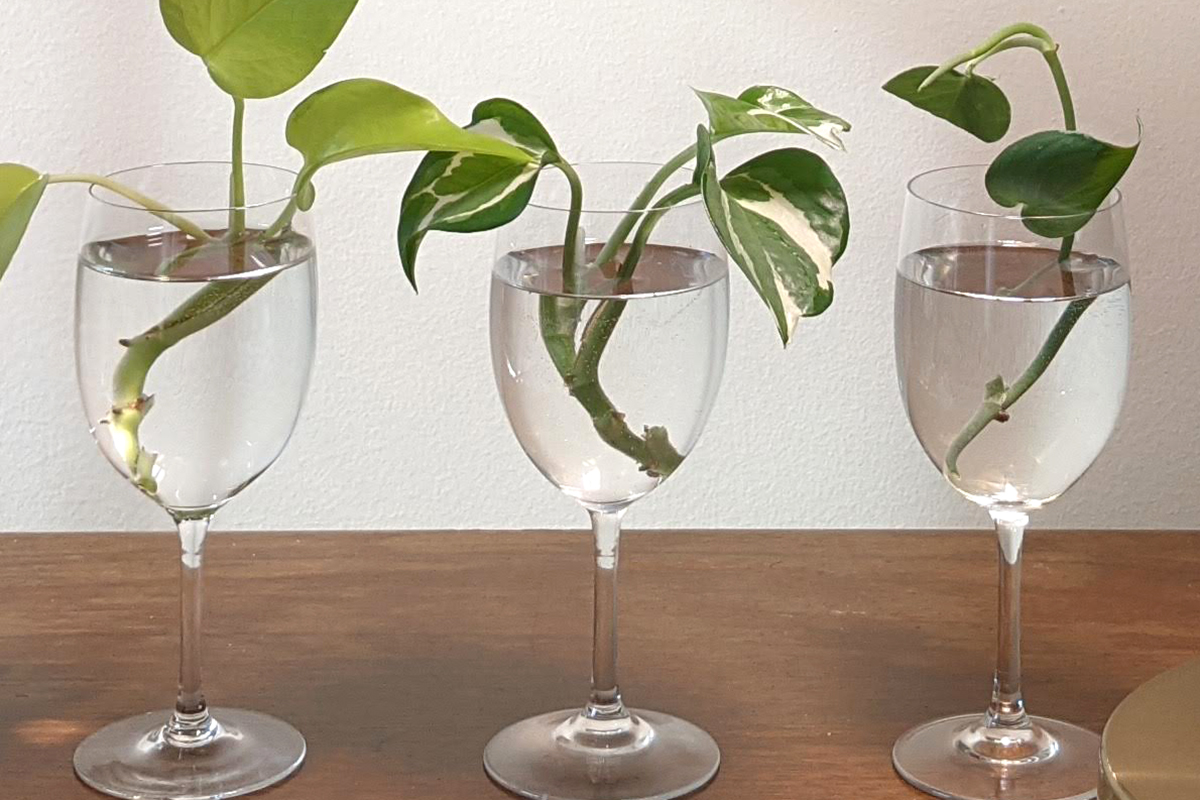
How to Propagate Pothos in Water
Place the cutting in the jar with clean water and place the jar where it will receive bright light. It’s best to avoid direct sunlight as it can cause algae to form in the water. Simply dump out the water, wash the jar, and refill it with clean water if this happens.
Change out the water weekly and enjoy watching the new roots grow from your pothos cutting. In about 6-8 weeks, the cutting will have developed roots large enough to allow it to be planted.
To speed up root growth, add some mycorrhizae to your water. Read all about this brilliant ingredient and what it can do for your plants here.
Potting Your Rooted Pothos
Once your pothos cutting has 3-4 new, main roots that are at least 2-3” in length, you can pot your plant.
Choose a small 4” pot to begin with and use a quality, well-draining potting mix. If the roots are excessively long, you can trim them back a bit before potting your new pothos.
Water in the plant and place it where it will receive bright, indirect light. You can begin fertilizing your new pothos once planted.
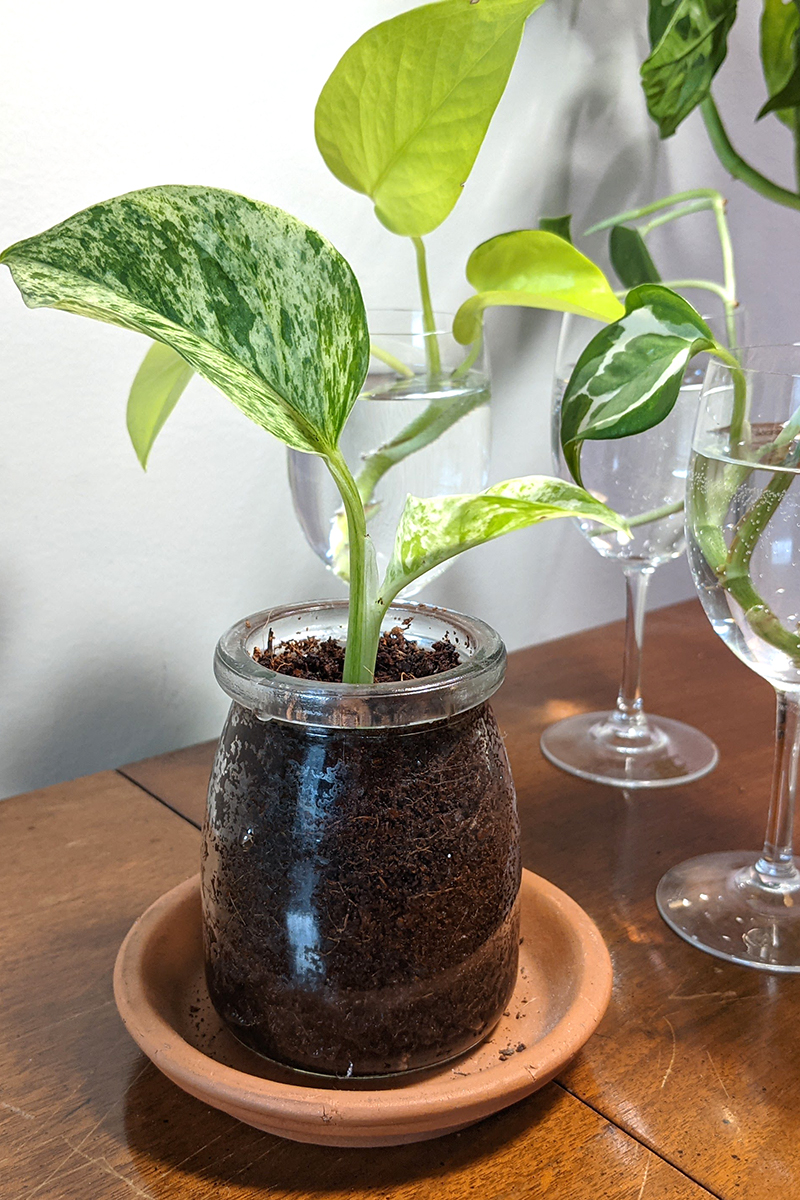
Propagating Pothos in Soil
If you want to skip the step of potting your cutting once it has roots, you can propagate your cutting directly in soil.
It’s still a good idea to use a different growing media than you would for your potted plant. Seed starting mix works well, and I’ve found that coconut coir works great too. These are both lighter and drain better, ensuring the cutting doesn’t rot sitting in damp, heavy soil.
Premoisten your potting mix, then fill a small pot with it. Next, place your cutting in the potting mix. Make sure at least 2/3 of the stem is below the potting mix.
For the best possible results, cover the pot with a clear plastic baggie to create a miniature greenhouse. This will create a humid environment that will provide the plant with moisture while developing its new root system.
After 3-4 weeks, remove the plastic baggie and gently lift up on the cutting. If new roots have developed, it should hold to the potting mix. If it pulls out easily, the cutting may have rotted, and you should start over.
Which is the best rooting method when propagating pothos – water or soil?
While rooting in water allows you to keep an eye on what’s going on, rooting in soil is quicker. In the end, both methods work just fine, and it’s all about personal preference. I always encourage new growers to try both ways. You’ll soon discover which method you prefer.
Grabbing a Cutting on the Go
If you’re grabbing a cutting on the run, say from a friend or your dentist’s office (Why yes, I did ask my dentist if I could take a cutting from their office plant. Wouldn’t you?), wrap the stem in a damp paper towel until you can get it in water. Once you’re home, retrim where you made the initial cut before putting your cutting in water.
Reading up on how to propagate pothos is probably the hardest and most time-consuming part of the entire process. But now that you know what to do, you can start propagating new pothos easily. Don’t forget to take a few extra cuttings for family and friends.
More Houseplant Propagation Articles on Rural Sprout
9 Houseplants That Are Ridiculously Easy to Propagate
7 Houseplants You Can Grow In Water – No Soil Required
How to Propagate Christmas Cactus + 2 Secrets To Big, Blooming Plants
How to Propagate African Violets – Easy as 1-2-3
How To Propagate Spider Plants – With and Without Spiderettes
4 Easy Ways to Propagate Snake Plants

Get the famous Rural Sprout newsletter delivered to your inbox.
Join the 50,000+ gardeners who get timely gardening tutorials, tips and tasks delivered direct to their inbox.