

Potatoes are a crucial crop for many home growers. They are often a staple, especially for those living in temperate climate zones.
Generally speaking, potatoes are relatively easy to grow. But there are a number of things that can go wrong.
Tiny tubers, rotten, scabbed or hole-riddled ones…or simply plants that fail to thrive, and small harvests.
If you’ve encountered problems with potatoes – use these 15 tips and tricks and you should be able to significantly improve your potato harvest:
1. Choose the Right Potatoes
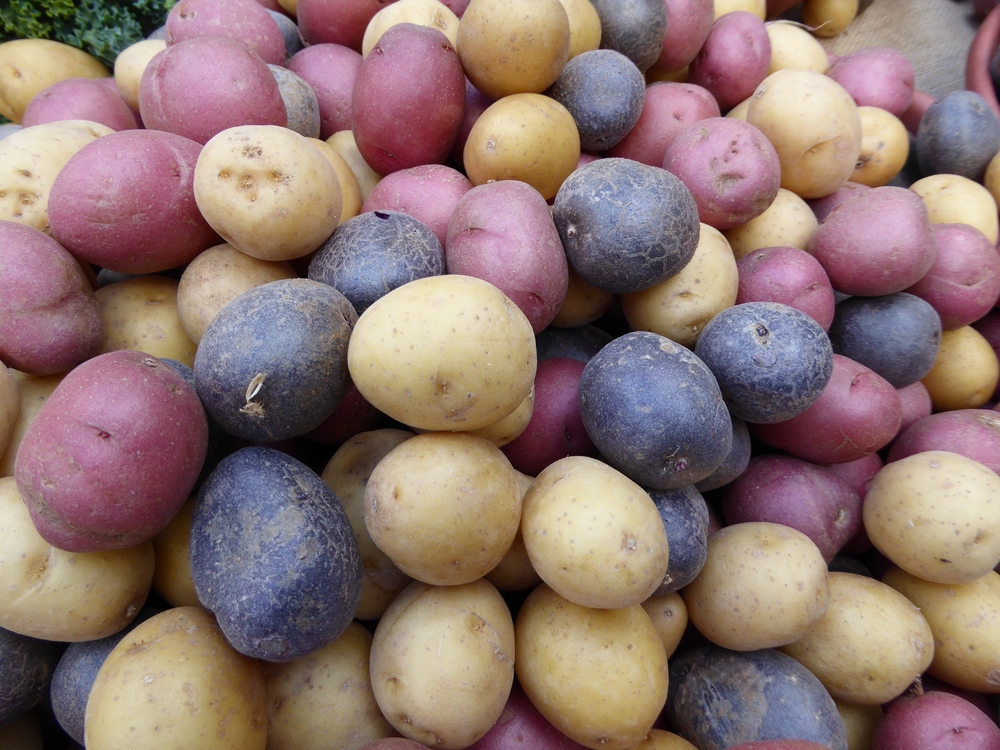
The first thing to think about is which potatoes you choose. Many people will simply sow potatoes from the store – remnants from their cupboards – or even scraps. And often, sowing these can work perfectly well.
But if you want a better harvest, choosing high-quality seed potatoes can be a better idea. Certified seed potatoes will be disease free, and will have been specifically selected. Be sure to buy them from a reliable source.
It is important to choose options which are suitable – not only for your culinary needs and preferences, but also for the climate and conditions where you live.
My hint – choose good quality heirloom varieties and you can save your own seed potatoes for next year. Over time, you can selectively breed by selecting the best, and over time, get better and better yields as the potatoes adapt for where you live.
2. Choose the Right Spot To Grow Them
Another very important question is where you will grow your potatoes. Where and how exactly you choose to grow them can have a big impact on the size of your harvest.
In the Ground or in Containers?
Most of the time, potatoes are grown in the ground. But they can also be grown in raised beds or large containers. On a small scale, potatoes can even be grown in grow bags.

Potatoes do take up quite a lot more space than many other crops. But you can increase the size of your harvest by being imaginative about how you use every inch of space.
Personally, I grow potatoes in several locations around my property. I grow some (the first early potatoes of the year) in my polytunnel. Those, I am harvesting right now. These are small potatoes that are perfect boiled and used in salads.
I sometimes grow a few second earlies in containers. Finally, I have a larger area of maincrop potatoes that are grown more traditionally in the ground. Those will be harvested when they are much bigger, much later in the year.
You may also be interested in growing potatoes in 5 gallon buckets.
It’s a brilliant space saving way to get a large harvest of delicious spuds. Here’s our tutorial for growing potatoes in 5 gallon buckets.
What Growing Conditions Do Potatoes Need?
Potatoes can be grown in a wide range of locations, but it is important to remember that they are a cool weather crop. Temperatures are the main factor that will determine how well they will grow. Below 50 degrees F, and above 85 degrees F, the growth of the tubers will be sharply inhibited. The best yields are achieved on sites where mean daily temperatures between 64 and 68 degrees can be achieved.
In cooler climate zones, this means growing them in a good, sunny spot. While in warmer climes, they may do better when provided with some shade during the hottest part of the day.
When it comes to soil/ growing medium, potatoes are a very accommodating plant. They can do well even where soil and growing conditions are not ideal.
The only soil types that could be problematic for potatoes are those which are saline, or alkaline in nature. A good quality loam, rich in organic matter, and slightly acidic, is the ideal soil type for growing potatoes.
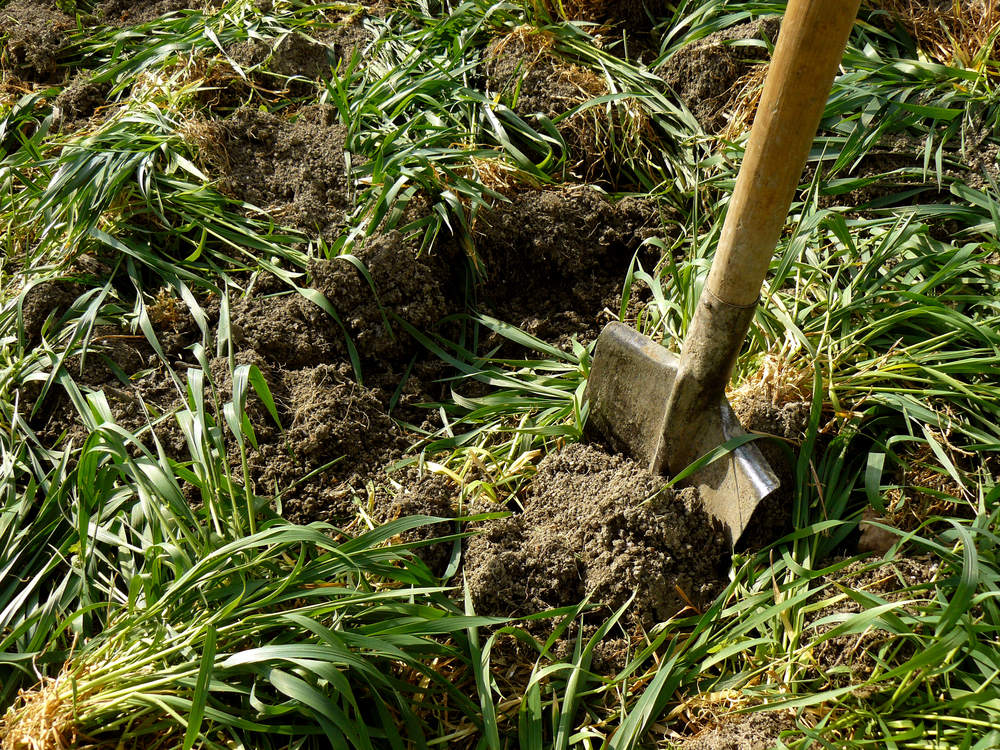
3. Prepare Your Growing Area
I am blessed with a soil type that is great for growing potatoes. We have a clay-loam, that I build over time with homemade compost, leaf mold, and chopped and dropped plant matter.
The organic matter improves the clay soil structure, making it looser and providing better aeration and drainage.
Whatever soil type you have, adding plenty of brown and green organic matter is the best way to prepare a bed ready for planting potatoes.
In my ‘no dig’ garden, these materials are not dug or tilled into the soil, but left on top of the soil, so the soil web can take over and earthworms, fungi, bacteria etc. can do their work.
A ‘lasagna bed’ is an ideal growing area for potatoes grown in the ground. This is a no dig adaptation of the idea of the ‘lazy bed’ – a very traditional way of growing common in Scotland and Ireland until the 19th Century.
Seaweed was commonly used to fertilize these beds. And if you live near a coast, this is definitely an ingredient to consider for your new growing areas – it helps potatoes to thrive.
I live around 4-5 miles from the coast (and can see the estuary from my property). So I do sometimes forage for seaweed to use as mulch around my potatoes. (More on mulching below.)
If your soil is particularly degraded or compacted, it may be beneficial to plant then chop and drop a green manure prior to planting your potatoes to improve soil fertility and structure.
4. Amend the Soil if the pH is Not Ideal
Potatoes will do best in soils with a pH of between 5.2 and 6.4. If you have a neutral or slightly alkaline soil, you can gently amend the pH to improve your potato harvest.
To make soil slightly more acidic you can:
- Add plenty of organic matter. Especially pine needles, oak leaves, etc…
- Use liquid feeds with vinegar, citrus and other acidic substances around potato plants.
- And, if your soil has problems with alkalinity, add sulphur to your soil.
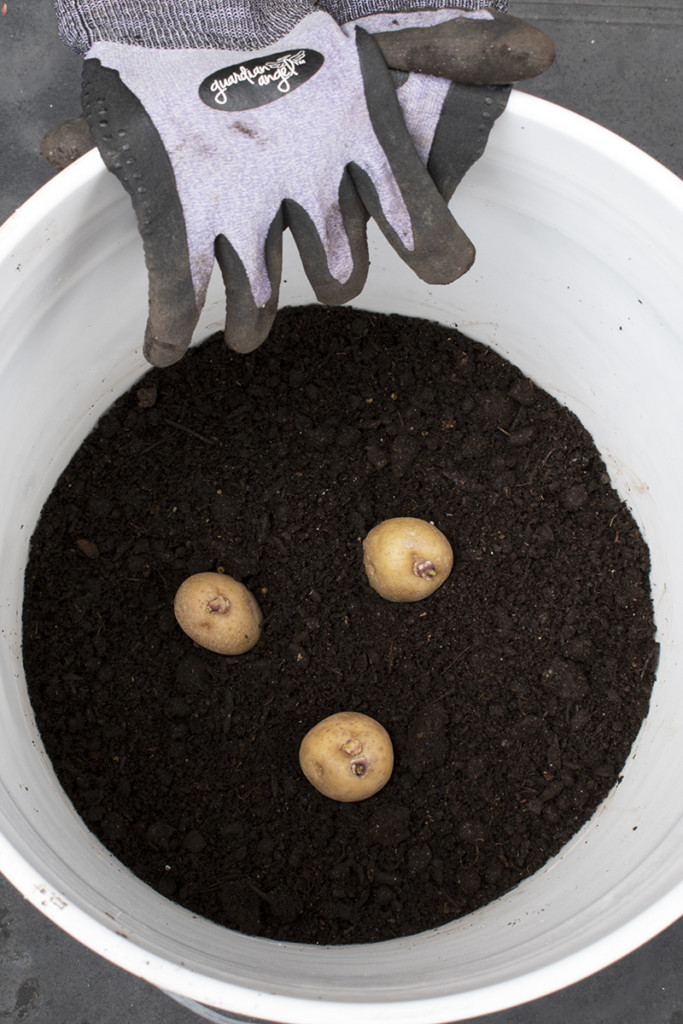
5. Chit Potatoes To Get Them Off To A Good Start
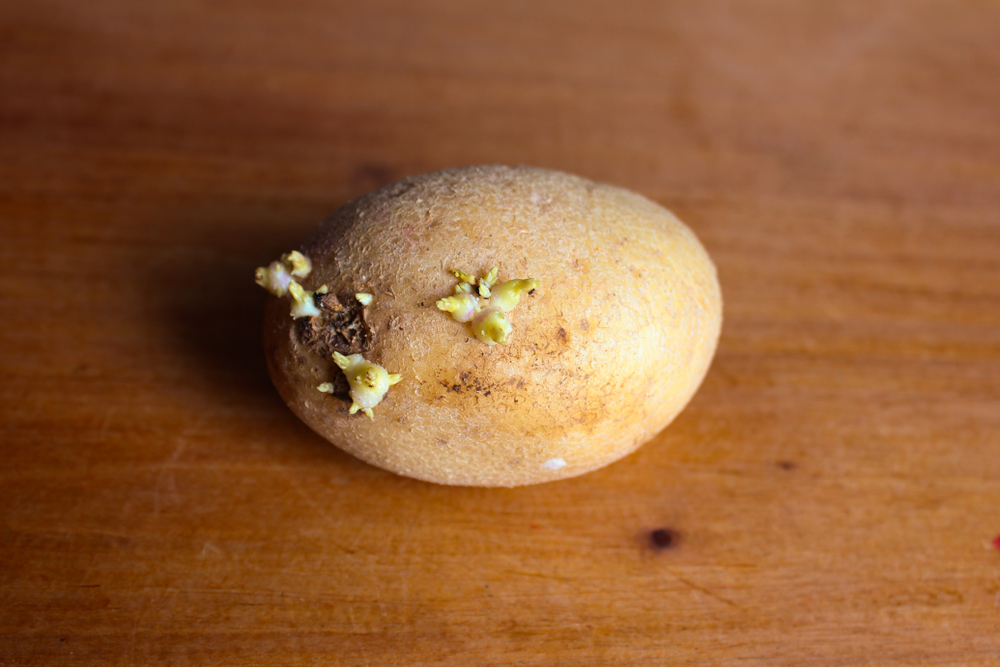
Chitting seed potatoes simply means leaving seed potatoes to sprout before you put them in the ground.
There is a lot of debate about this, and it is not absolutely essential. But it can help improve potatoes by getting them off to a good start, and may give you a harvest just that little bit earlier.
I do chit my potatoes, and find it beneficial.
Chitting seed potatoes is often one of the very first jobs in the gardening year.
As a general rule, start chitting potatoes around 6-8 weeks before you plan to plant them in their growing positions. But if you leave it too late to manage it, it is not something to worry too much about.
Here’s my guide to chitting your potatoes.
6. Get Your Timing Right When Planting Out
One of the main things that can make or break your potato growing endeavors is timing.
When you choose to plant out your potatoes can make a big difference to the size and quality of your harvest. Many of the main potato growing problems arise because they have been planted too early, or too late.
In temperate climate zones, this means sowing seed potatoes in spring. But when exactly you take the plunge and plant them out will depend on exactly where you live.
The ground must be frost free and not waterlogged, and the temperatures must be beginning to warm.
Where I live, there is a tradition that potatoes are planted on Good Friday. But since this is a moving date, there is plenty of scope for variation. Depending on the weather and conditions on a given year, I usually sow potatoes outdoors some time in April.
But one thing I do to increase the length of the growing season is grow under cover. The temperatures in my polytunnel are obviously warmer than outdoors, so I can sow earlier in the year. I generally sow first early seed potatoes in March.
7. Get the Spacing Right
Whether you are growing in raised beds, containers, or in the ground, spacing is another important factor.
For potatoes grown traditionally in rows, a spacing of around 12 inches (for smaller first earlies) to 15 inches (for maincrop) is optimal. And you should be sure to leave at least 24-30 inches between rows.
In smaller spaces/ square foot gardening, aim for 1-2 potatoes per square foot.
Be sure not to over-crowd growing areas or containers, or your overall yield will be reduced. And overcrowding can also lead to more problems with disease.
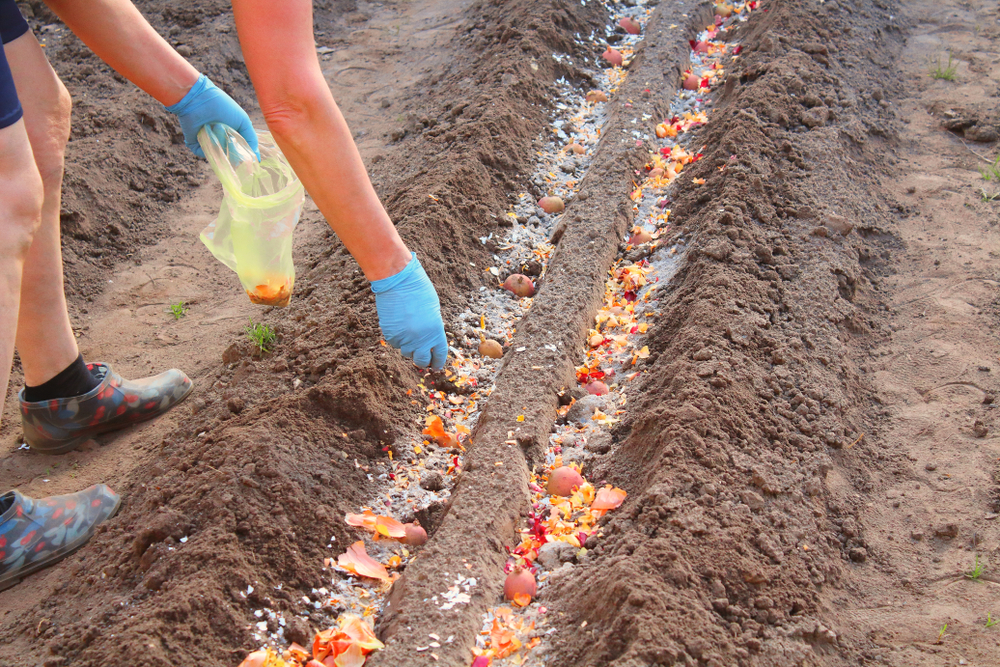
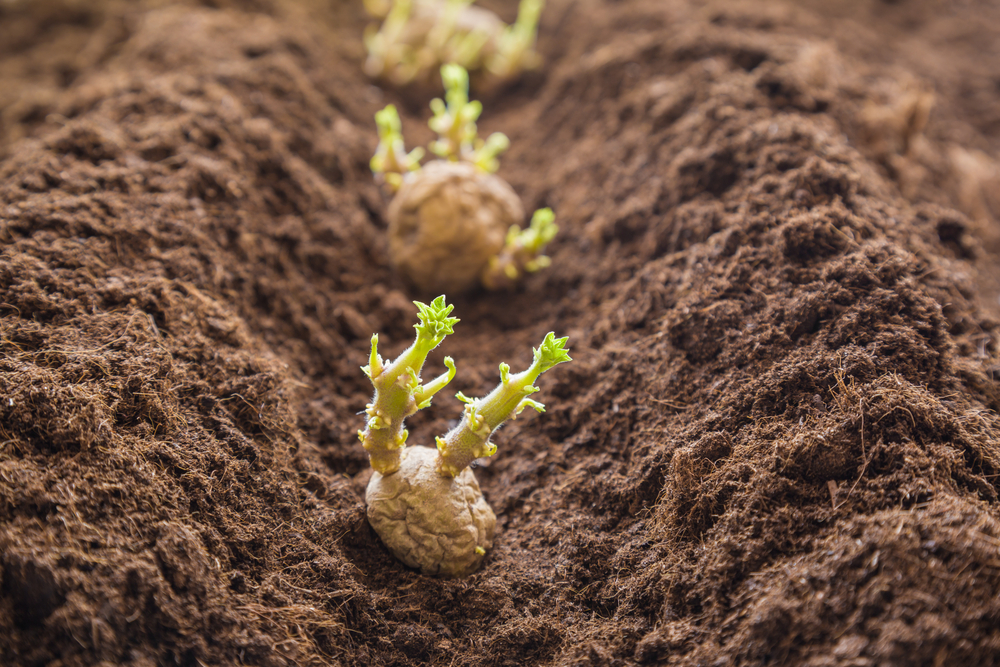
8. Add Fertility When Planting Out Seed Potatoes
One of my top tops is to add fertility not only when preparing your growing areas, but also when planting out your seed potatoes.
The potatoes I grow are placed into shallow trenches around 5 inches or so deep, dug into beds that have already been enriched with organic matter. I place the potatoes onto a bed of more beneficial organic matter.
My own favourite combination (which I feel improves yield where I live) is a bed of comfrey leaves and seaweed.
Being careful not to knock off the shoots, or chits, and pointing these upwards, I then gently cover the seed potatoes back over with soil. I then water them in with a comfrey liquid feed.
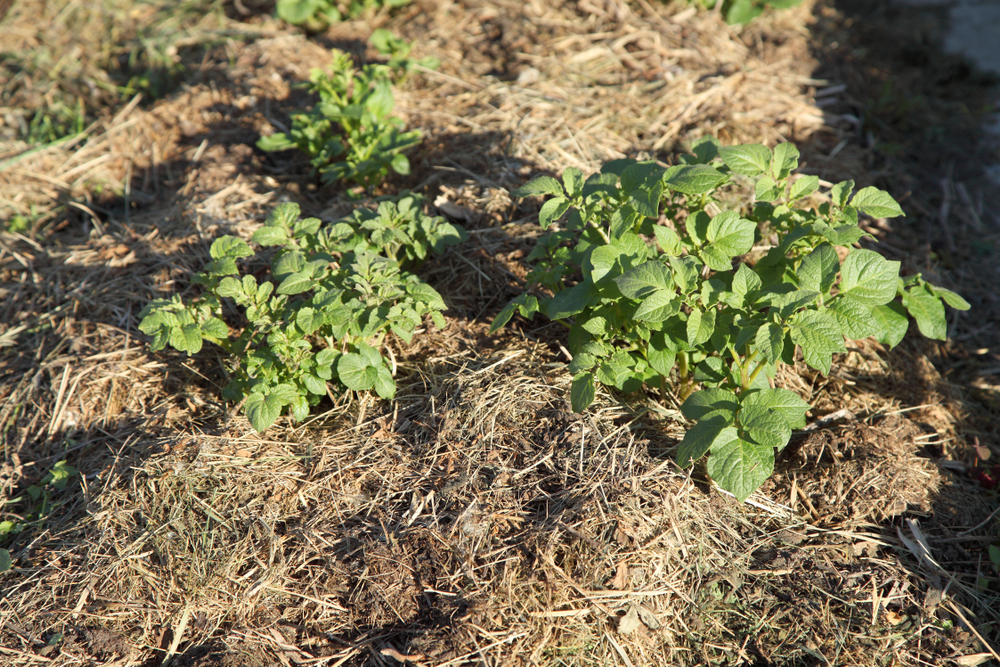
9. Earth Up Potatoes And Add Mulch To Encourage More Tubers To Form

Traditional wisdom dictates that potatoes should be ‘earthed up’ when plants are around 9 inches high.
This involves mounding soil around the plants to a height of around 5 inches. But through trial and error, I have developed a slightly different system.
I do ‘earth up’ a little. But mostly, I add a thick organic mulch around the base of the plants.
For the first ‘earthing up’ I use a mulch of well-rotted home-made compost. You would conventionally continue to earth up at regular intervals. Instead, I add successive layers of mulch.
After the compost, I mulch with grass clippings, then comfrey leaves, and sometimes also use seaweed foraged from the coast.
10. Get Watering Right
Potatoes require plenty of water, especially as the tubers begin to form. In order to improve your potato harvest, it is important to get watering right.
Potatoes will require consistent watering throughout the growing season when rainfall is low. In order to reduce the incidence of disease, and keep plants healthy and strong, always water at the roots, and avoid getting water on the leaves as much as possible.
11. Consider Drip Irrigation in Dry Areas
In dry areas (or when growing under cover), keeping up to watering potatoes by hand can be a challenge. Drip irrigation can be a good way to ensure consistent watering, and can reduce water use.
Hint: drip irrigation installation can be fed from a rainwater harvesting system for a sustainable and eco-friendly watering solution.
Another interesting option to consider is growing potatoes in a wicking bed, so there is a constant supply of water wicking up from a reservoir of water at the base of the structure. This is a way to integrate potatoes into a hydroponic or aquaponic system.
12. Choose the Perfect Potato Companion Plants
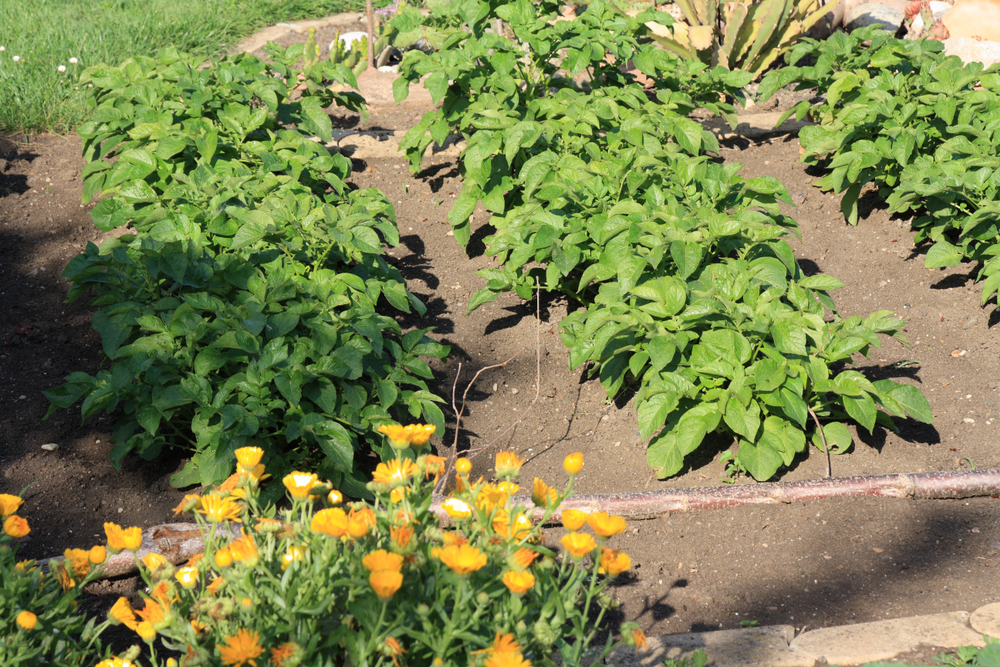
As mentioned above, potatoes are often an easy crop to grow. But unfortunately, they can succumb to a range of pests and diseases.
In an organic garden, increasing plant and wildlife diversity is one of the most important things. It can help to keep the garden ecosystem in balance and stop problems from getting out of control.
One important step you can take to significantly improve your potato harvest is companion planting.
Companion plants for potatoes include a range of other vegetables, flowers and herbs. Take a look at our dedicated article for detailed information on which plants to grow alongside your potato crop to reduce problems and increase yield.
13. Keep Your Eyes Peeled For Pests

In addition to companion planting, one of the top ways to ensure pests don’t destroy your crop is to remain vigilant. Keep your eyes peeled for pests, such as the Colorado potato beetle, and remove offenders by hand when you spot them.
Of course, to significantly improve your potato harvest, you should also attract beneficial wildlife (that eats slugs, mice and voles etc..) to your garden.
14. Be Vigilant for Disease
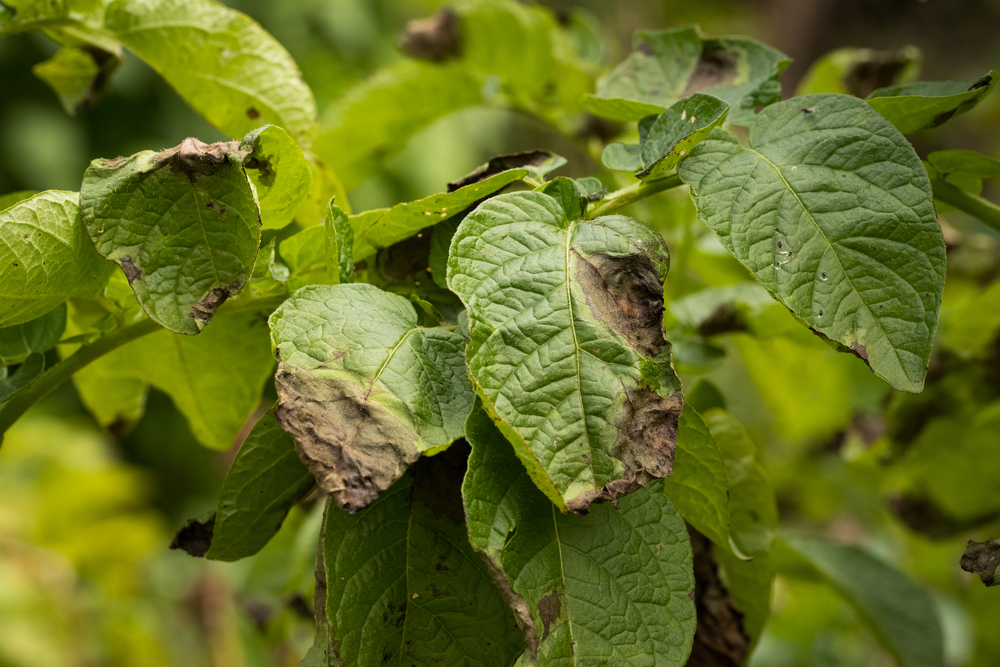
Common problems with potatoes include:
- Potato blight (late blight, caused by a fungal-like organism)
- Blackleg (a bacterial disease)
- Scab (caused by bacteria and an organism closely related to slime mould)
- Potato rot (caused by a number of bacteria and fungi)
Prevention is always better than cure. Generally speaking, following the tips above should reduce the chances of these problems taking hold.
Watering enough but not too much, and good air flow are particularly important.
It is also vitally important to rotate your potato crop. Move your crop year on year between different growing areas, so problems harbored in the soil do not take hold. You should also avoid growing potatoes near tomatoes, or other plants susceptible to the same diseases.
Unfortunately, these problems (especially blight) are very difficult to stop once they talk hold. But remaining vigilant and removing any diseased material straight away can help reduce the extent of their spread.
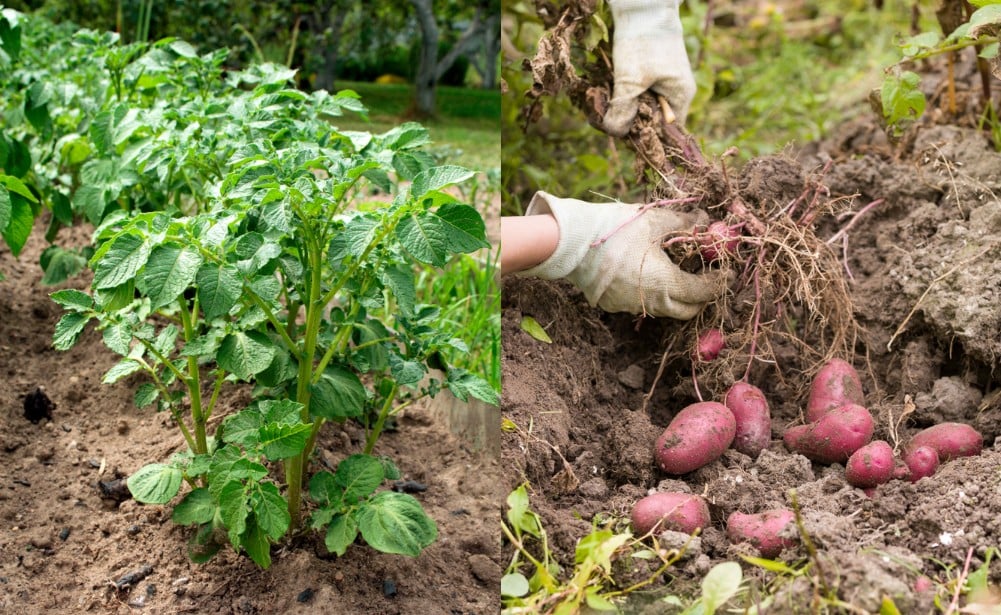
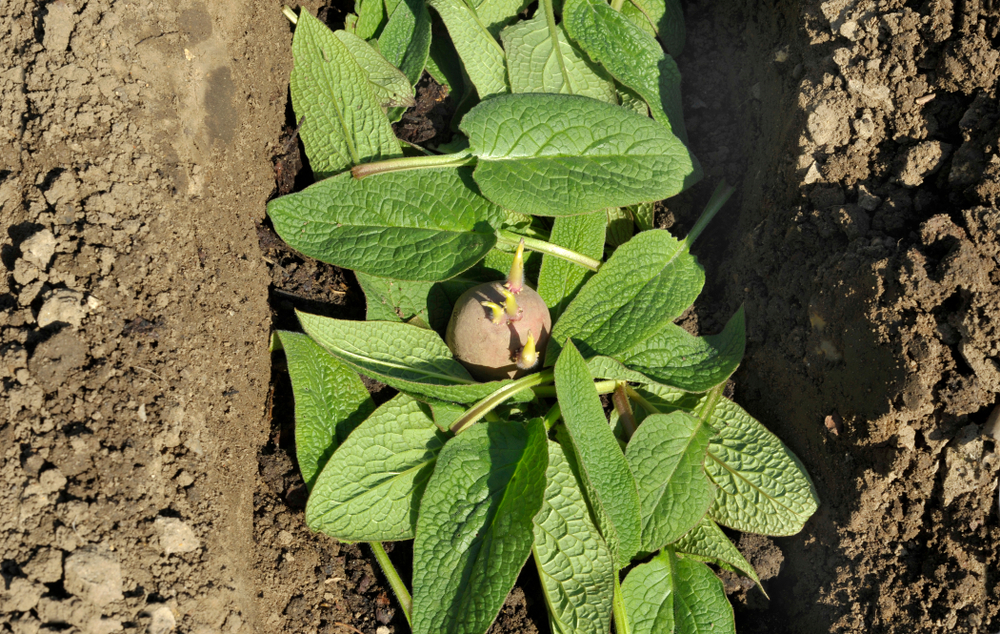
15. Pick The Perfect Moment to Harvest Your Crop
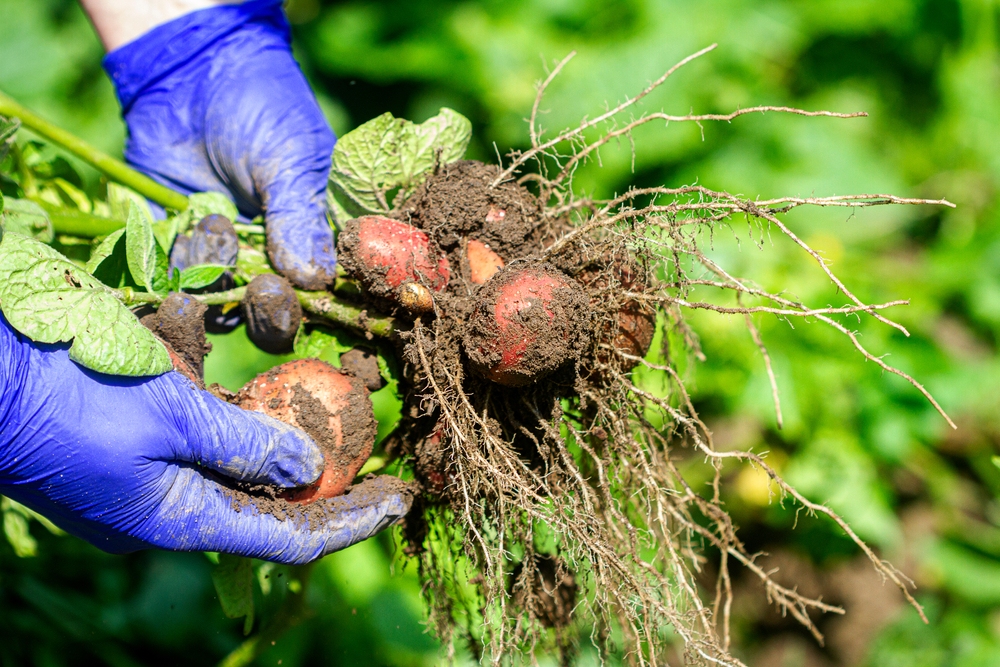
Finally, in order to get the best potato harvest possible, it is important to time things right. You should pick the perfect moment to harvest your crop to get the best results.
First earlies will be ready to harvest from late-May- July. With these varieties, you are ideally looking to harvest when the tubers are around the size of hens eggs. When the plants flower, this is usually a sign that the first earlies are ready for harvest.
But not all varietals will bloom. How long plants have been in the ground is usually a better indicator. Check time to harvest for the variety you are growing.
If in doubt, simply feel gently in the soil/mulch around your plants. You should be able to feel whether or not tubers are a suitable size for harvest.
With maincrop potatoes for storage, you will usually wait until the foliage turns yellow and then cut back the foliage. After ten days or so, you will then unearth the tubers, and leave them for a few hours before storing them.
Make sure you don’t let all of your hard work go to waste and learn how to correctly store and preserve your potatoes so they last all year round.
Think about all the tips and tricks above, and you should have a bumper potato harvest wherever you live this year.
As you tend your garden and improve its fertility year on year, your potato harvest should continue to improve over time.
Growing the perfect potatoes may be a challenge. But remember, even a novice gardener can successfully grow some potatoes in their garden.

Get the famous Rural Sprout newsletter delivered to your inbox.
Join the 50,000+ gardeners who get timely gardening tutorials, tips and tasks delivered direct to their inbox.