We’re always on the lookout for interesting and fun gardening projects here at Rural Sprout. And this time, we’ve got a doozy for you.
Not only is this project fun, but it’s quick to set up, keeps some single-use plastic out of the landfill, and is a real gem for gardeners with limited space.
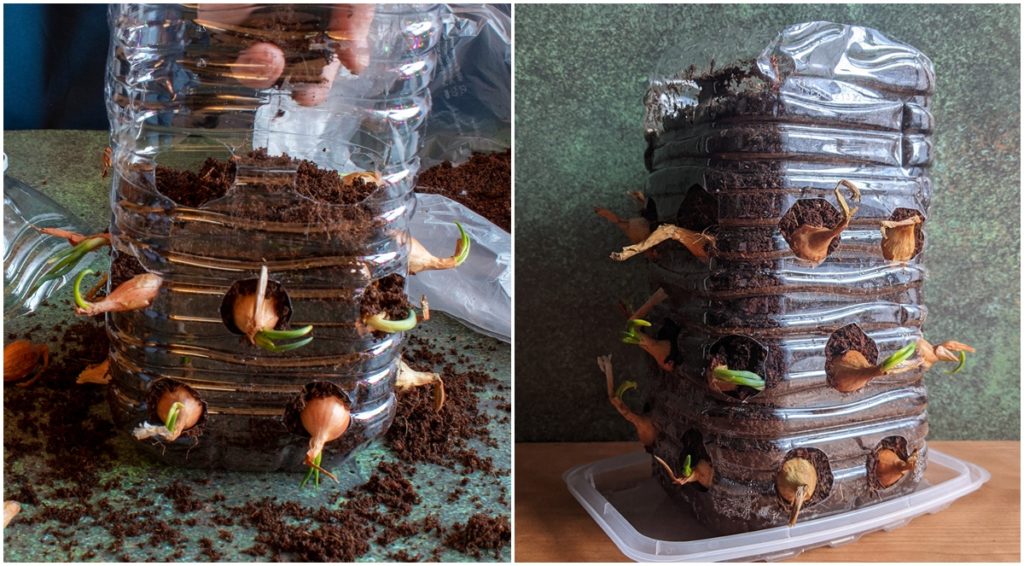
I’m going to show you how to grow onions vertically in a bottle.
Growing onions in a bottle makes perfect sense when you think about it. We often grow herbs indoors so we can have fresh herbs to snip off what we need, exactly when we need it.
In fact, Cheryl has an entire post about the best herbs to grow indoors.
11 Herbs You Can Grow Indoors All Year Round
And as anyone who loves to cook will tell you, (hi, friend) the key to an excellent meal is the freshest ingredients possible. Herbs bring flavor to a dish, and fresh herbs bring color too.
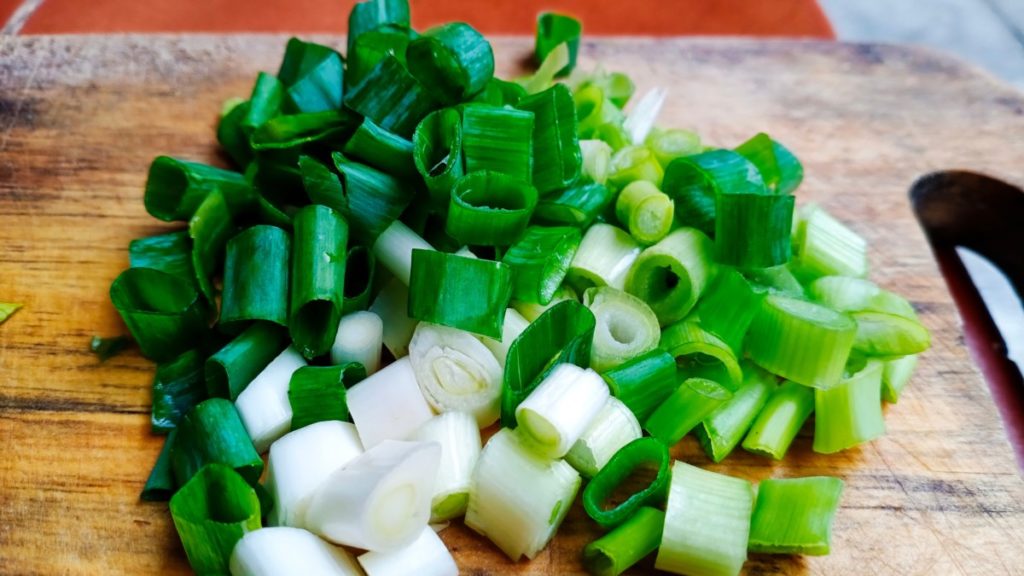
Onions are another common and flavorful ingredient in your favorite dishes. So, it makes sense to grow them inside so you can have fresh scallions and onions on hand too.
Related reading: 5 Easy Ways To Freeze Onions
It makes me crazy trying to find scallions in the supermarket that aren’t all dinged up or wilted. And even if you do find nice bright green ones, good luck getting them to stay that way once you get them home.
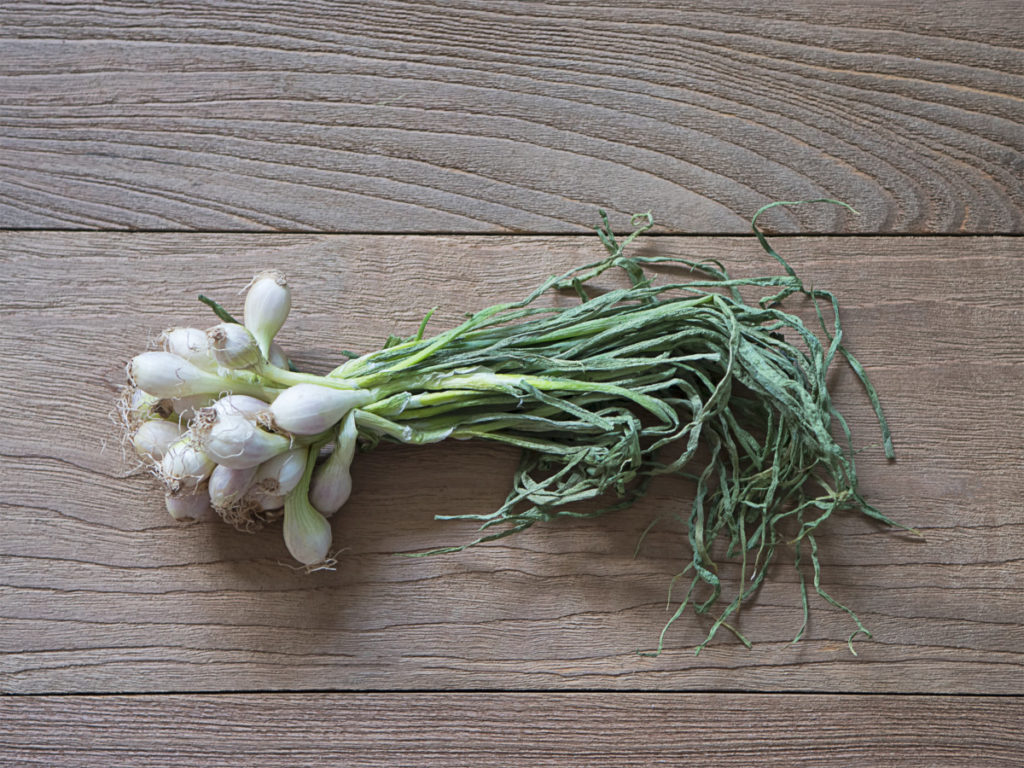
Instead, wouldn’t it be nice when you’ve got a recipe that calls for green onions to be able to grab your kitchen shears and snip a few from your onion tower?
Yes. Yes, it would be nice.
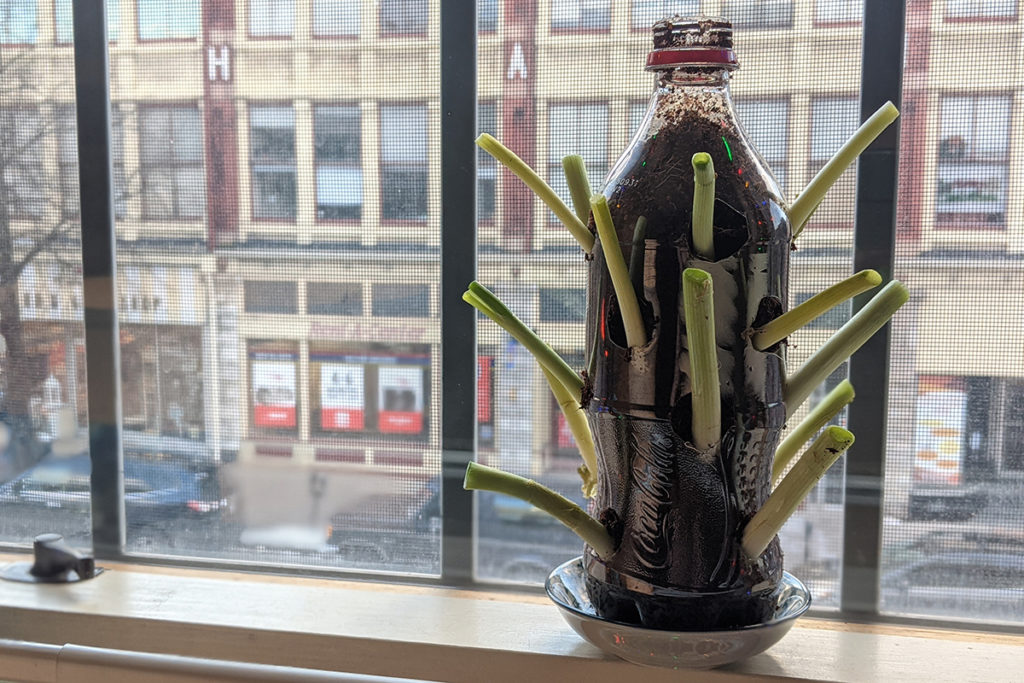
Let’s make a little room on your windowsill, between the thyme and basil for a bottle of green onions. You can easily regrow green onion scraps using a small soda bottle and never have to buy green onions from the store again.
(Do you know about all the vegetables you can regrow from scraps? Check it out: 20 Vegetables You Can Regrow From Scraps)
But our onion magic doesn’t end there. You can also grow full-sized onions vertically using a one-gallon water bottle. And you can still enjoy the green onion tops while they grow. So perhaps you should make room for two onion bottles on your windowsill
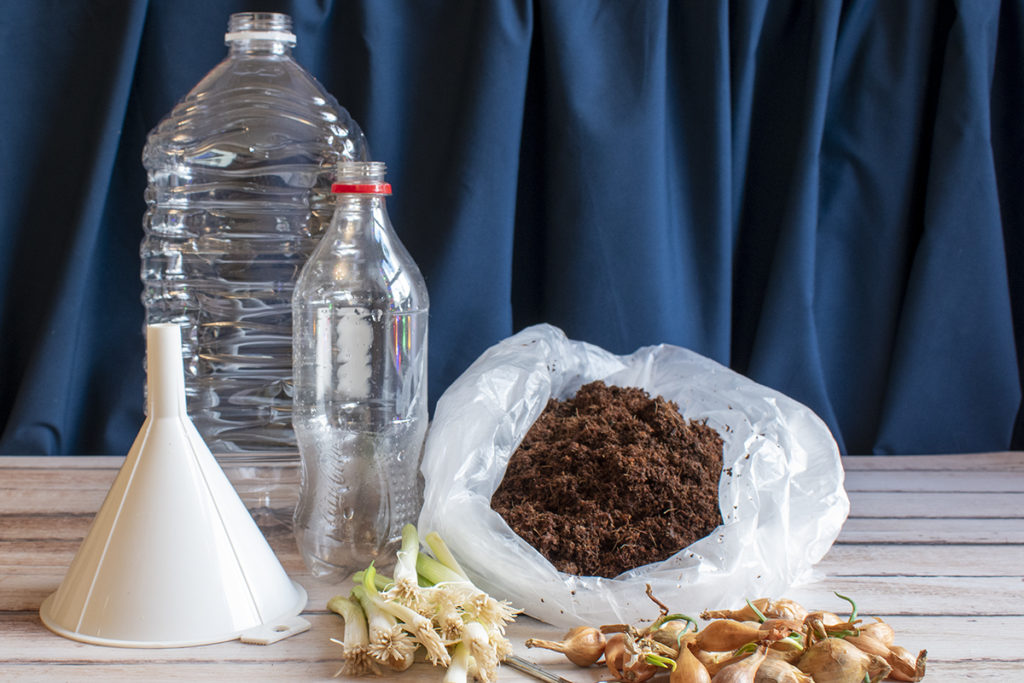
Here’s what you’ll need:
- Lightweight potting mix or growing medium
- Sharp scissors
- Funnel
- Houseplant drip tray or saucer for each bottle
For regrowing scallion/green onion scraps:
- A small, single-serve soda bottle (12 or 16 oz works well)
- Green onion bottoms, the white part, with roots still attached
For regrowing full-sized onions:
- A one-gallon water bottle
- Onion bulbs
Let’s Make a Green Onion Bottle
If you haven’t already, remove the label, wash the soda bottle with warm soapy water, and rinse well.
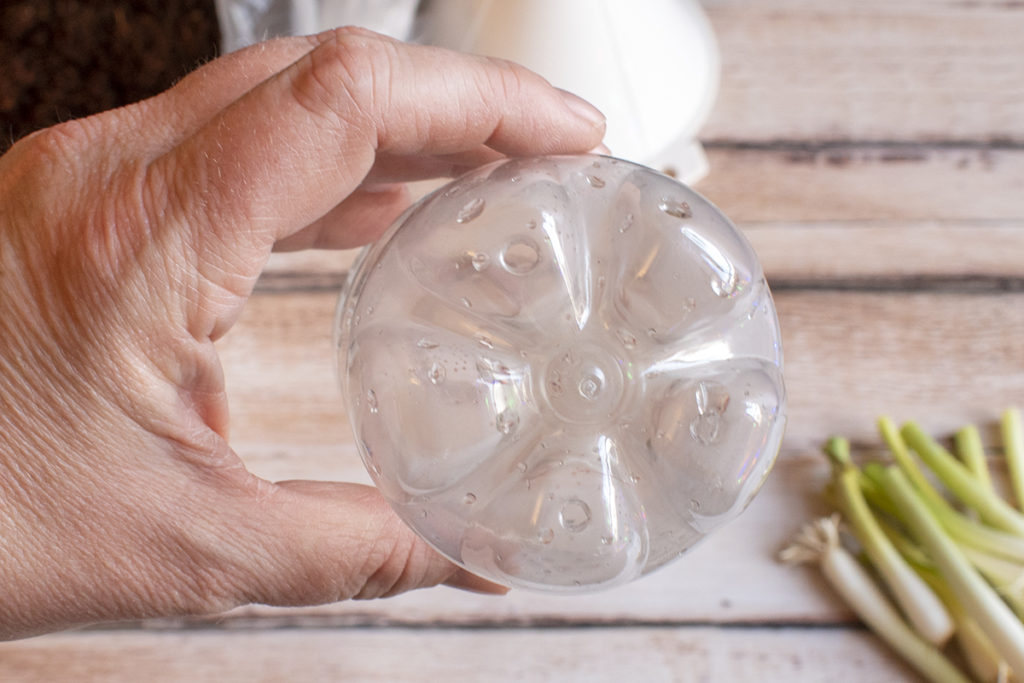
Poke three small drainage holes in the bottom of the soda bottle using either sharp pointy scissors or the tine of a fork that’s been heated over the stove. Be extremely careful with this step! You could easily slip and cut or burn yourself.
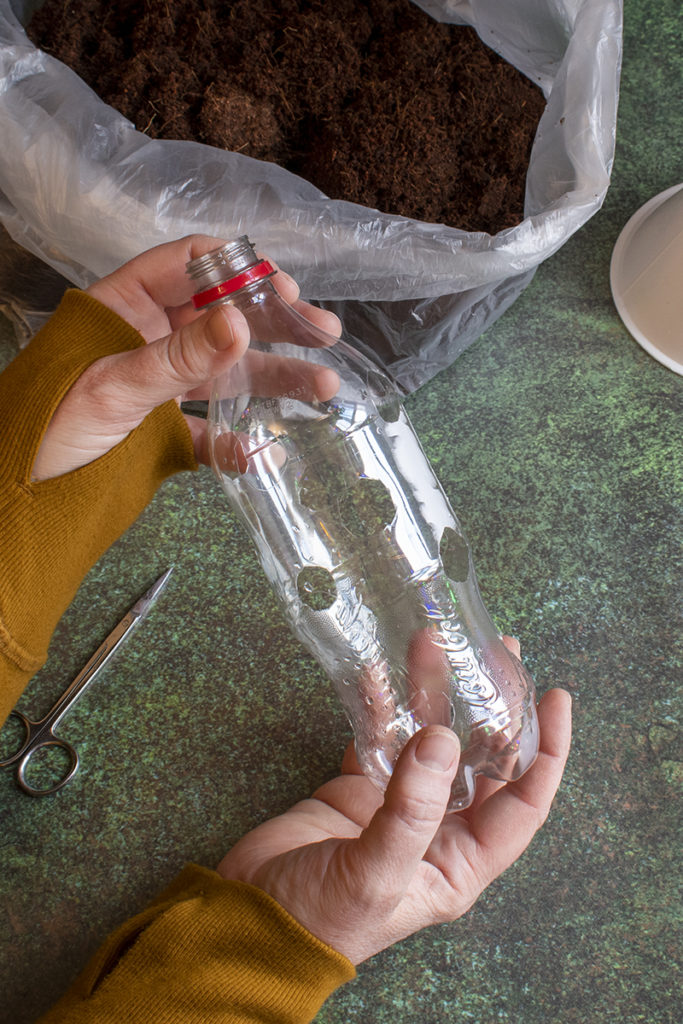
Again, being careful not to cut yourself, cut three dime-sized holes, equally spaced around the bottom of the bottle. Moving up the bottle about an inch or two and starting so every row is off-center from the one below it, continue cutting three holes to create rows.
Use the funnel to fill the bottle with potting mix.
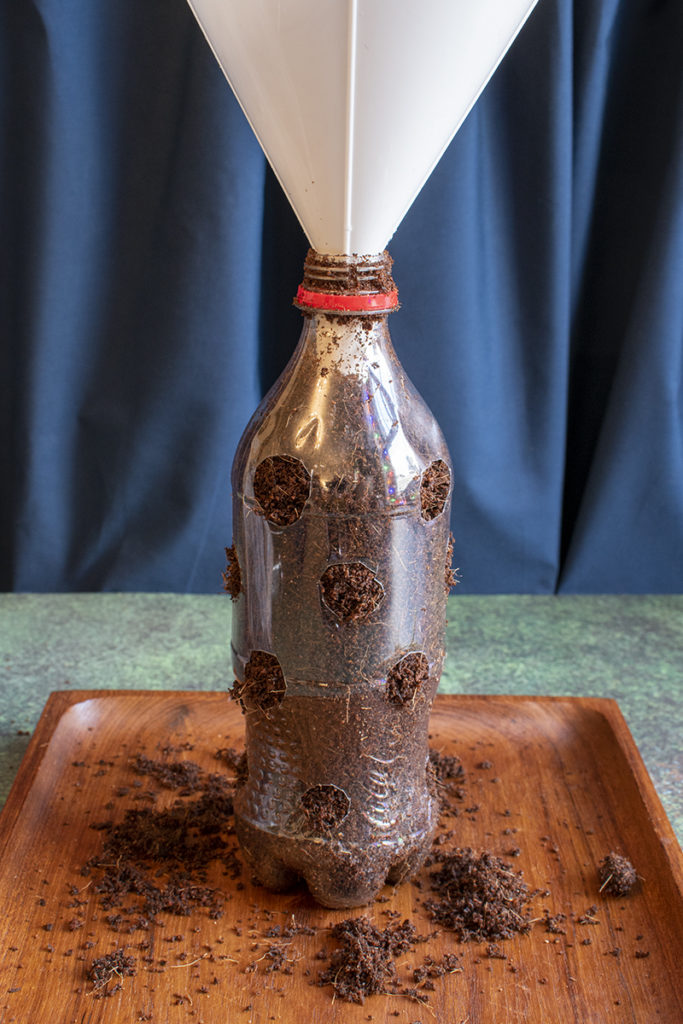
As this part can be messy (potting mix will spill out of the holes), consider doing this step in your sink or placing the soda bottle on a tray first.
Once the bottle is filled, poke the rooted ends of your green onion scraps into the soil in each hole. Push them in at a bit of an upward angle. You want to plant the onions deep enough so they won’t fall out; around a centimeter deep is fine.
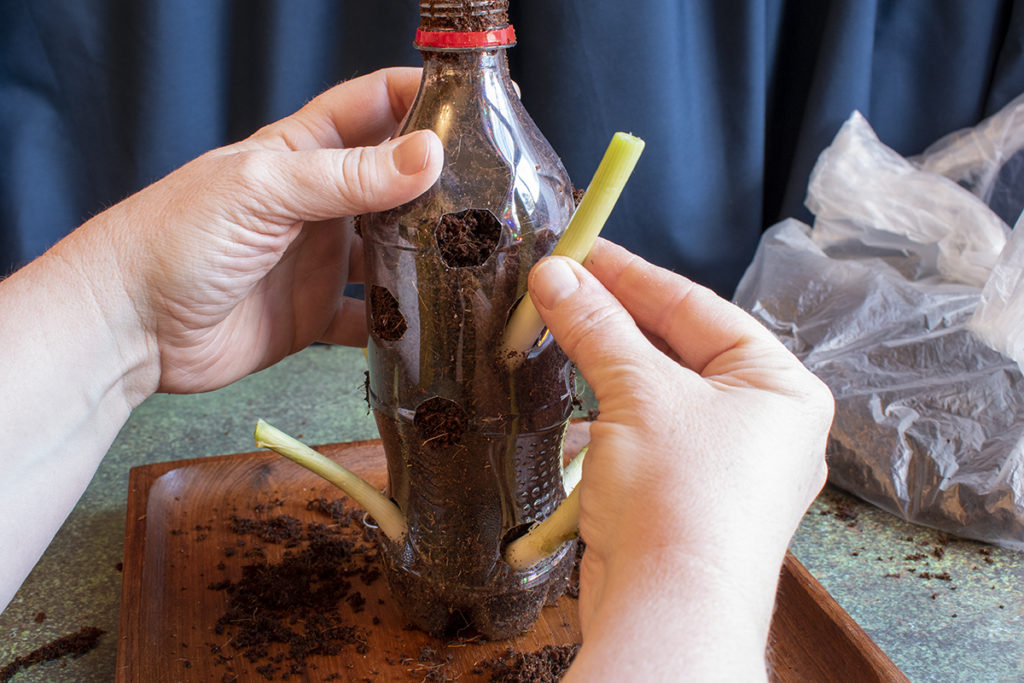
Place your onion bottle somewhere sunny and warm and set a drip tray or saucer under it.
Water in your newly planted onions and let the bottle drain. Throw out any water sitting in the saucer.
Let’s Make a Large Onion Tower
The process to make a larger growing container using a one-gallon water bottle is nearly the same as using a smaller soda bottle. However, we’ll be cutting the top of the bottle off for this project. Cut it just where it starts to taper inward.
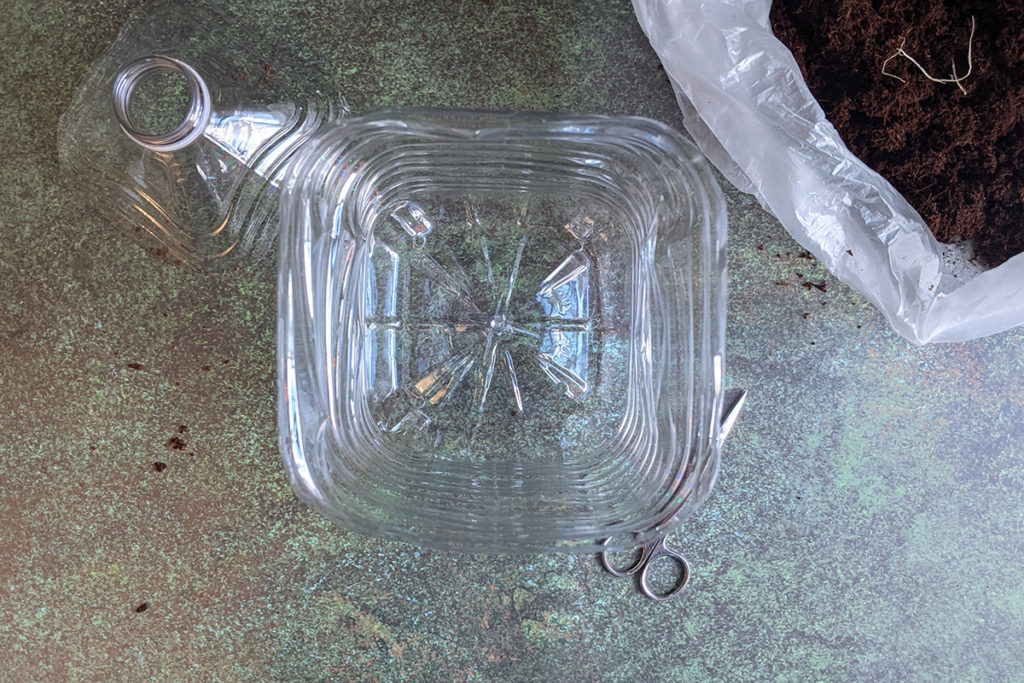
Poke four small drainage holes in the bottom using scissors or something hot, as I described above. Again, be extremely careful with this step.
We’ll be cutting holes around the outside of the bottle again to create our rows.
Use your best judgment to decide how many holes to cut into each side. I’ve got relatively small onion bulbs, and I don’t plan on letting them grow too large, so I’m going to cut two holes per side.
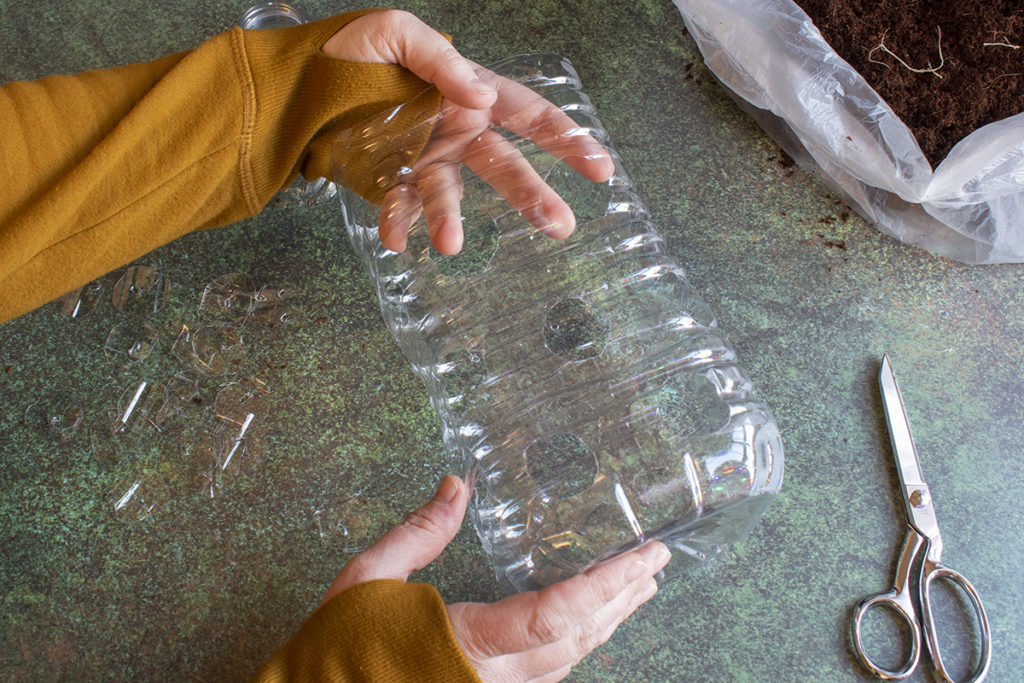
Moving up about three inches, cut another row of holes for your onions. Again, use your judgment to decide how much room between each row you want to leave for onion growth. Continue making rows until you’re about three inches from the top of the container.
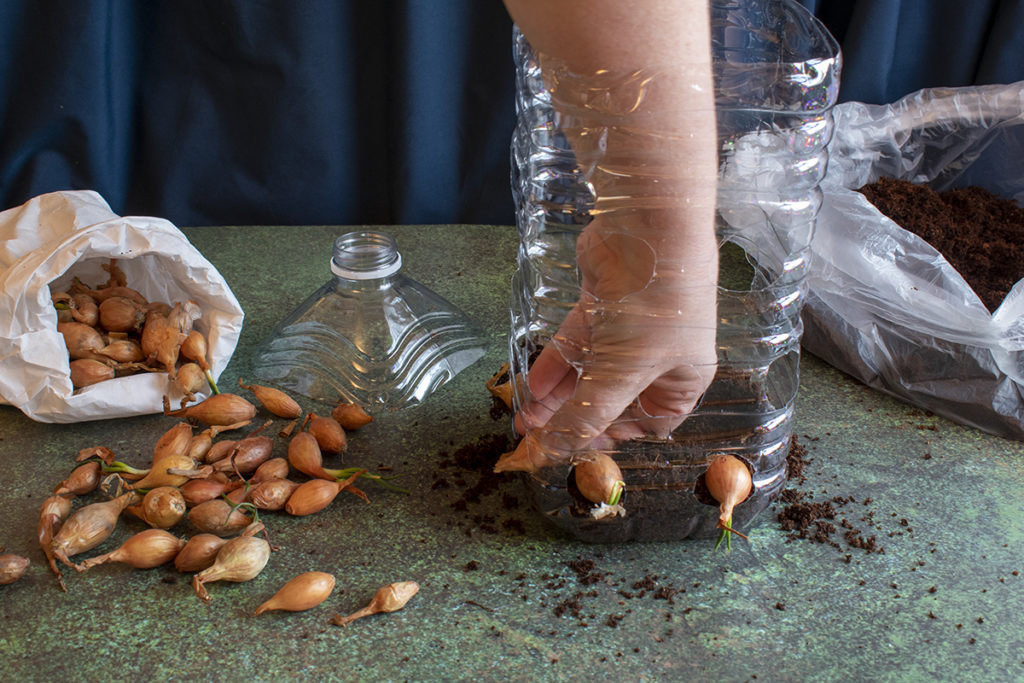
Add your potting mix to the bottom of the container until it comes up just below the first row of holes. Poke your onion bulbs into the holes from the inside. You’ll want to make sure the green top is facing outside the bottle and the roots inside the bottle.
Cover the onions with more soil until you reach the next row of holes.
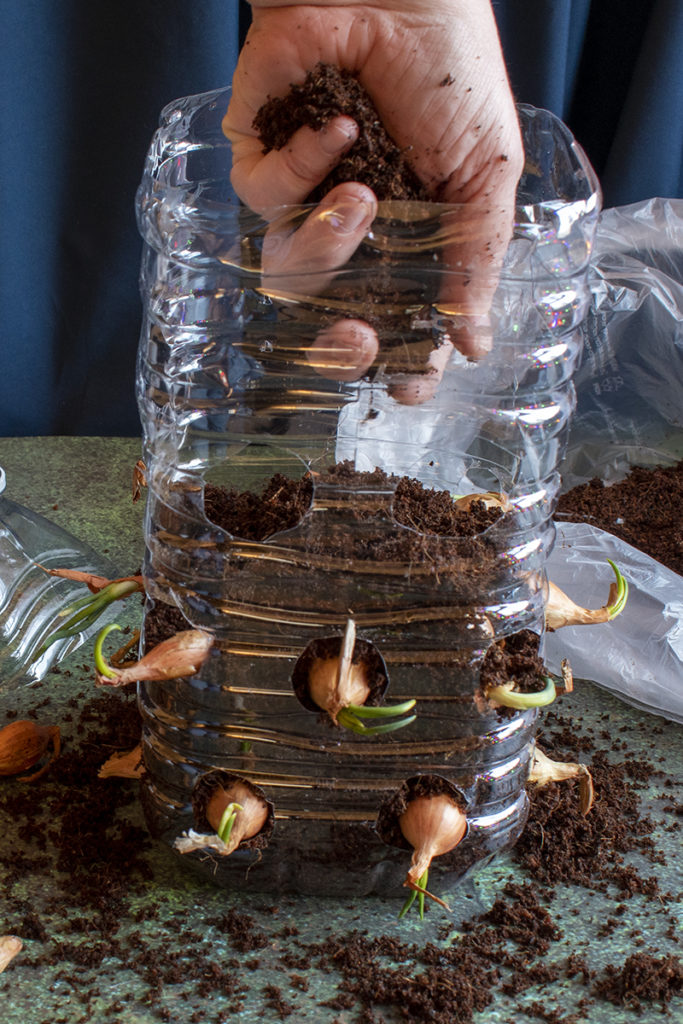
Continue planting your onions as described above and filling with more soil until about an inch from the top of the bottle.
Plant several onions upright in the soil at the top of the bottle. Now, cover the onions with a little bit of soil. You don’t need to bury them to get them to grow.
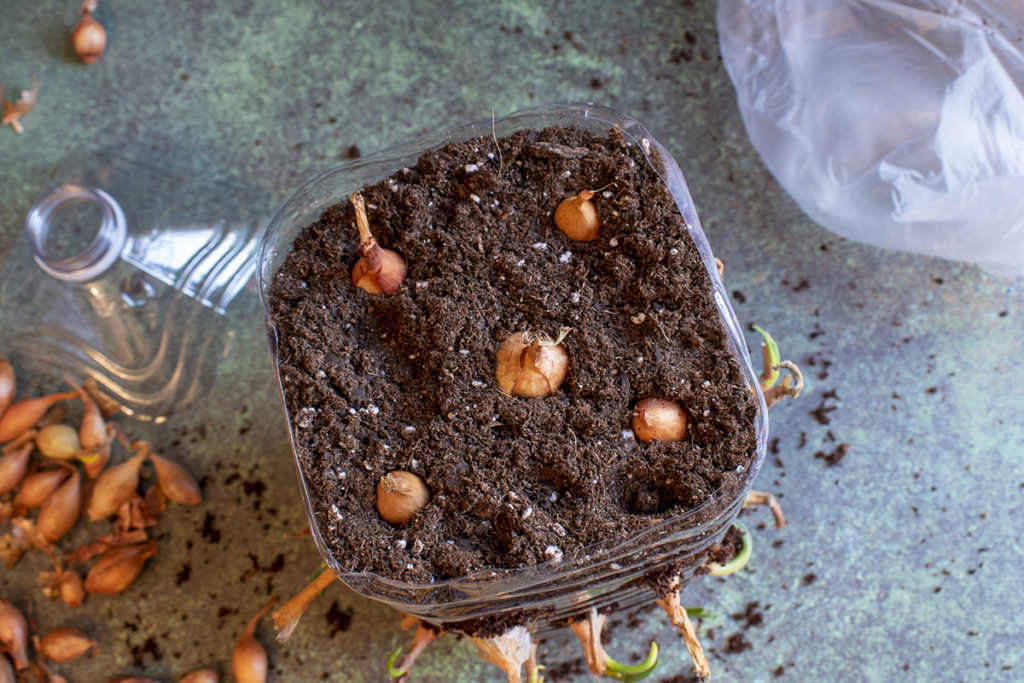
Water in your new onion tower, and then let it drain. Place the onion tower somewhere warm and sunny on a drip tray.
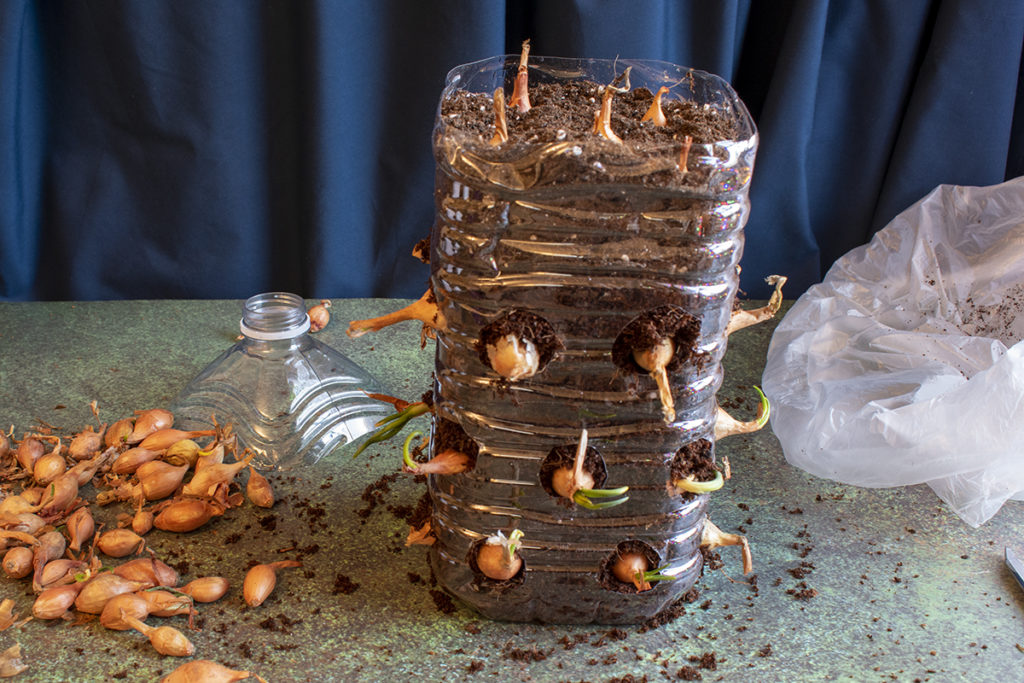
Because we’re using clear bottles, it’s easy to tell when your plants need to be watered. Keep the soil slightly moist but not soaked; otherwise, your bulbs will rot. It’s better to let the soil dry out a bit between waterings and give the onions a thorough soaking.
Related Reading: Grow Onions – How To Grow Onions From Seed Or Sets
What To Do Next
Your green onions will start producing new tops within a week or so. Trim them and enjoy anytime your recipe calls for fresh scallions. You can even pluck the whole onion out to use it if you like. You can always poke another green onion bottom back in its place later on.
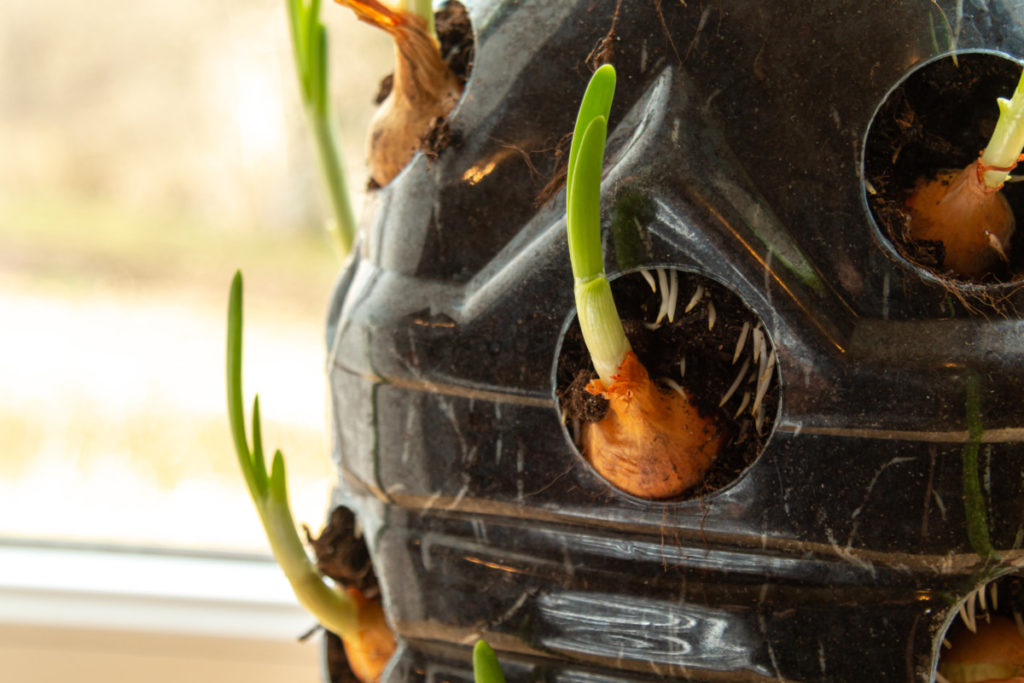
Your larger onion bulbs will take a bit longer to grow, but because you can see the bulbs growing, it’s easy to just pluck them out when you decide they are big enough. Although you can also eat the green onion tops from these, they won’t have the same spicy pungency of scallions. They’re still quite tasty, though.
If you want the onion bulbs to grow, be sure not to trim all of the green onion tops from each bulb. Use only half of the stalks.
Turn your bottle or tower every few days, so each side gets plenty of sunlight.
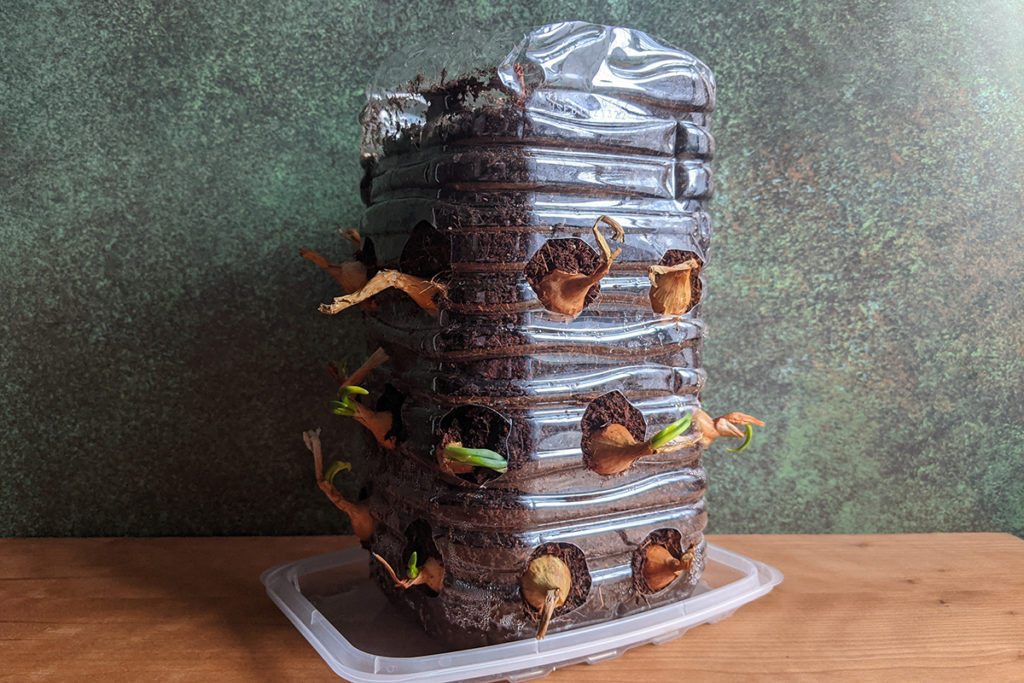
This step is especially important during the winter. Once the weather warms, you can even move your onions outside if you wish.
Don’t forget to add fertilizer once a month when watering your onions.
When your regular onions have growned to the size you wish, dump them out of the jug to harvest them, and start another batch.
Make a few onion bottles to give to friends and family. If you’re going to a party where the hostess loves to cook, a green onion bottle makes for an unusual and interesting hostess gift.
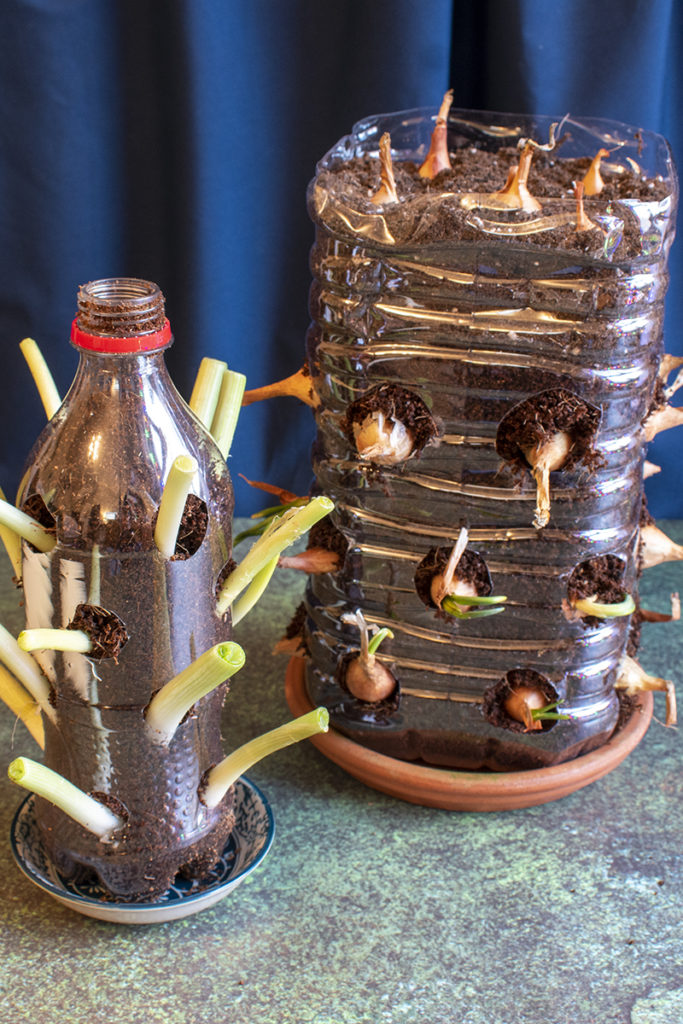
That was pretty easy, wasn’t it?
I bet, after this project, you’ll never look at soda bottles the same way again. And searching for the perfect bunch of green scallions at the supermarket will be a problem of the past.
Yes, You CAN Eat That! 15 Food Scraps You Didn’t Know Were Edible (& Delicious!)
How To Grow A Pineapple Plant From A Pineapple Top
13 Fruits & Vegetables Everyone Peels But Shouldn’t
32 Brilliant Ways to Reuse Plastic Grocery Bags
14 Practical Ways to Upcycle Toilet Paper Rolls

Get the famous Rural Sprout newsletter delivered to your inbox.
Join the 50,000+ gardeners who get timely gardening tutorials, tips and tasks delivered direct to their inbox.


