

Imagine a vegetable garden where the tomatoes are plump and juicy with perfectly unblemished skin, pepper plants so strong that they easily bear the weight of their dangling bell fruits, and leafy greens as crisp as they are sweet and tender. All these good qualities would not be possible without calcium.
Never part of our dreams are fruits with the bottoms rotting out while still growing on the vine, scorched leaf tips, or weak and distorted growth. But sometimes, that’s the reality of it, and these are the surest signs your plants aren’t receiving enough calcium.
As one of the 17 essential plant nutrients, calcium is the reason plants have a sturdy physical structure and firm-fleshed fruits. It also has a hand in nutrient transport, root growth, plant reproduction, and overall soil health. Calcium has a protective effect on plants, too – sending out signals to thicken leaves and stems to defend against pests, diseases, and other environmental stressors.
So when you spot the classic symptoms of calcium deficiency, you’ll need to act quickly to save the harvest. The fastest way to get calcium to plants isn’t through the soil but to take the calcium directly to the leaves.
Using Liquid Calcium to Fix Deficiencies
Being that calcium is an immobile nutrient – once absorbed, it stays put – calcium deficiencies first appear on the farthest reaches of the plant: the blossom ends, the tips of leaves, and the root tips. For plants to grow big and strong, a continuous supply of calcium is needed from start to finish.
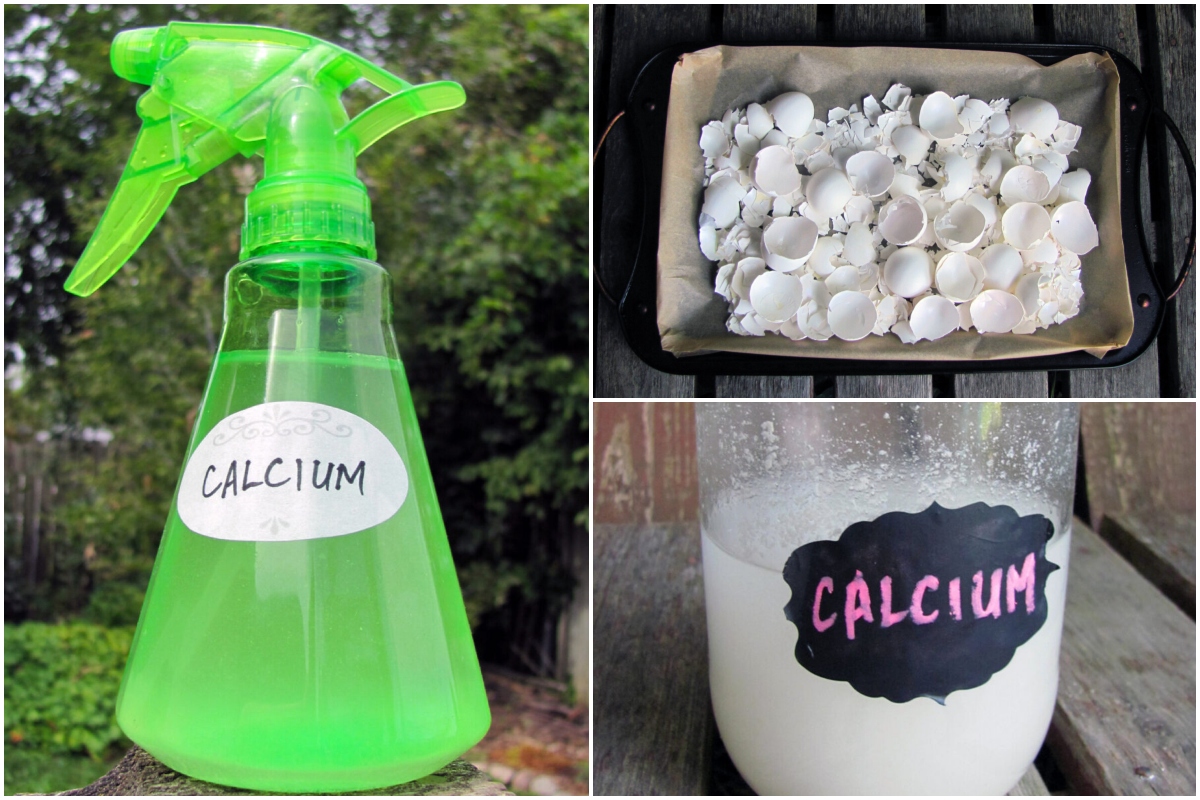
Eggshells, composed of 95% calcium carbonate, are an easy source of calcium for the garden.
Sprinkling crushed eggshells around plants is a great thing to do as a preventative measure to gradually build up calcium levels in the soil – but it’s terribly slow.
To become available to plants, eggshells need to undergo several transformations. First, the eggshell fragments would have to dissolve completely into calcium ions. Then, with the help of our soil microorganisms, the ions need to be converted into a water-soluble and mobile form of calcium that plant roots can absorb. The whole process, from eggshell to fertilizer, can take months to complete.
Even so, all the calcium in the world won’t help if the real cause of the calcium deficiency is environmental. The soil may be rife with calcium, but unseasonably hot or cool temperatures, drought or waterlogging, as well as salty or acidic soil, can interfere with calcium uptake by plants.
But by making a water-soluble and calcium-rich foliar spray –from eggshells – we can sidestep soil, temperature, and irrigation problems altogether. Yep, we’re cutting out the middle man (the soil) to directly deliver calcium to plant tissues ASAP.
How to Make Liquid Calcium Fertilizer from Eggshells
Eggshells, white vinegar, and a bit of time is all it takes to make liquid calcium for our garden crops. It’s super easy and costs only pennies to make.
Step 1 – Collect Some Eggshells
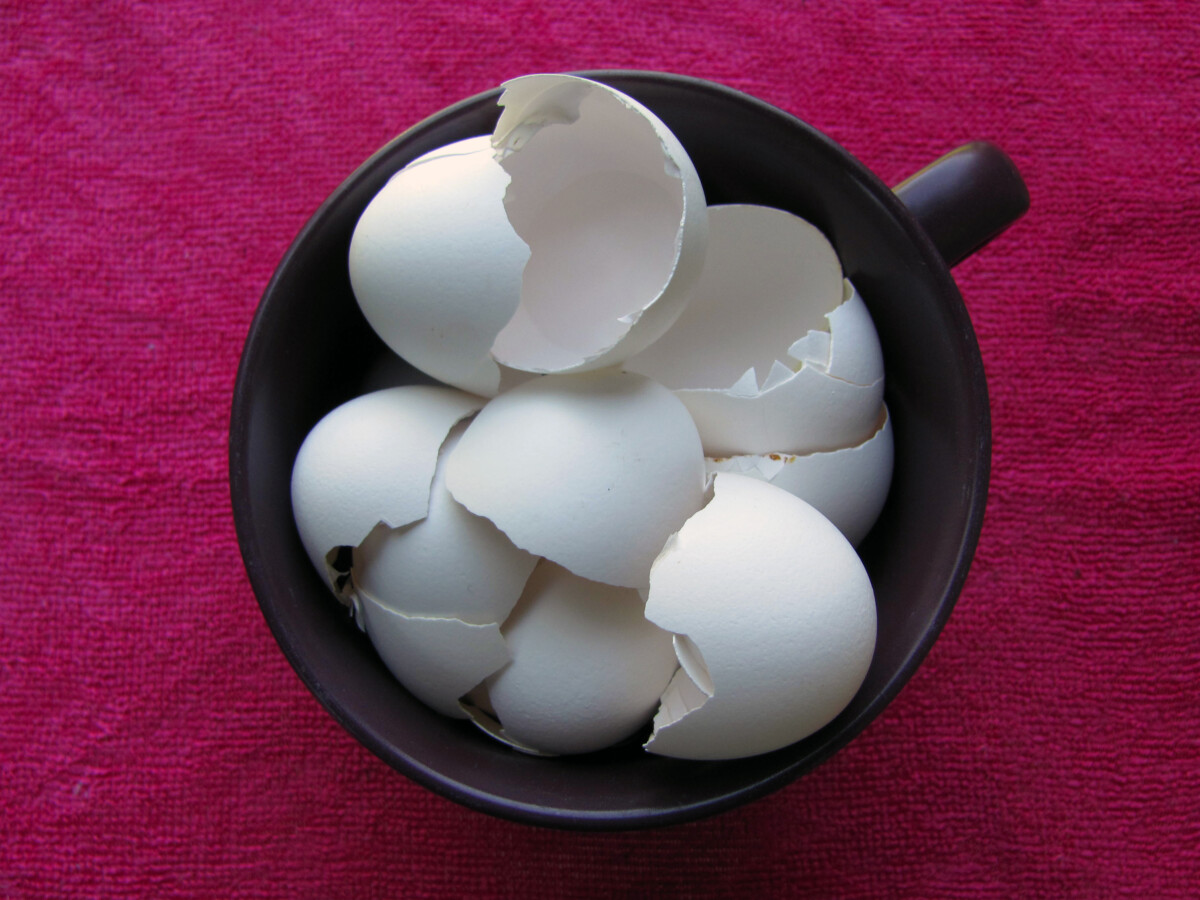
If you’re not already setting aside eggshells for a plethora of uses around the garden, you’re missing out on a free and abundant source of calcium!
Every time you crack an egg, rinse the shell with cool water to clear away the gooey remnants. Place the shells in a bowl to dry.
You’ll need to collect at least 10 eggshells to whip up a batch of liquid calcium.
Step 2 – Sterilize the Eggshells in the Oven
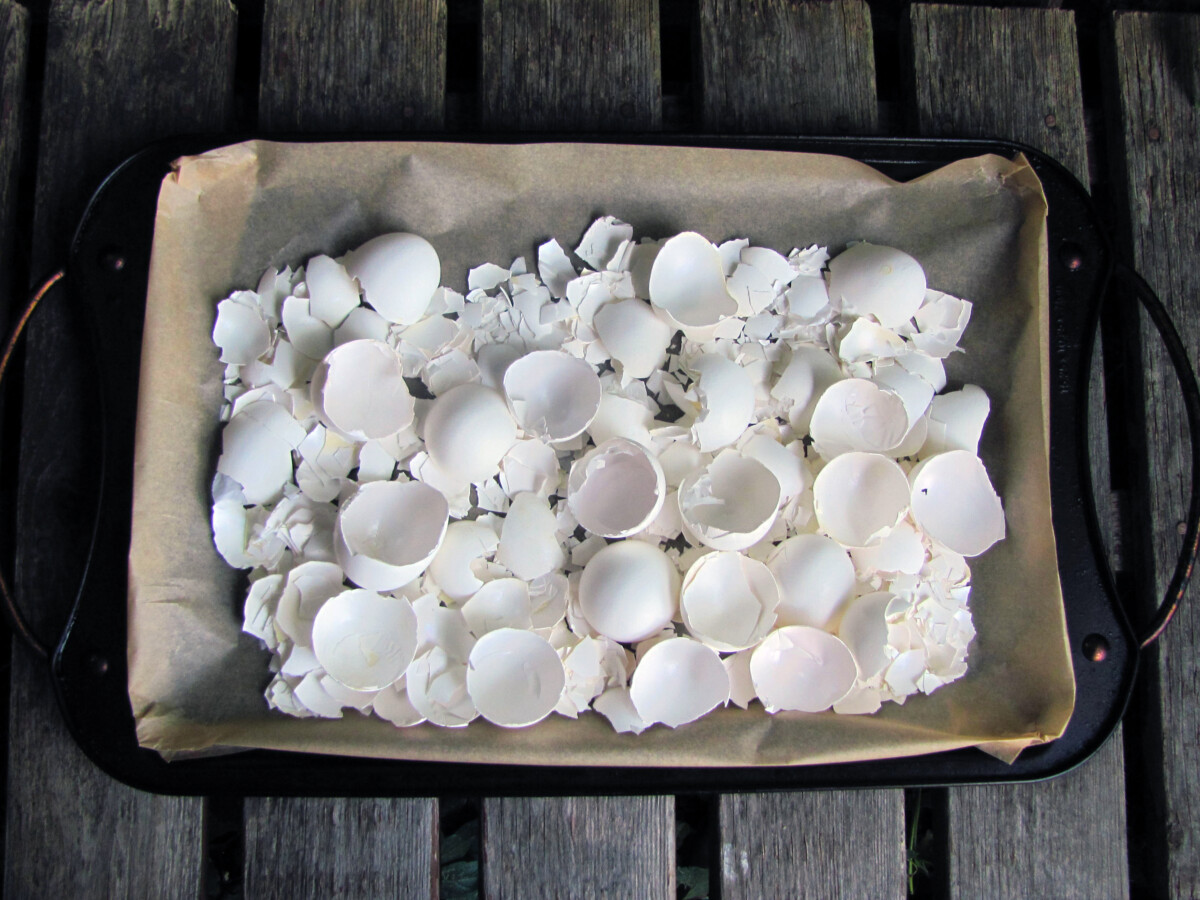
As an extra layer of precaution, sterilizing the shells with heat will remove potential pathogens and bacteria.
Lay out your eggshell collection on a baking sheet and place in the oven at 200°F for 30 minutes.
Step 3 – Crush Eggshells into a Fine Powder
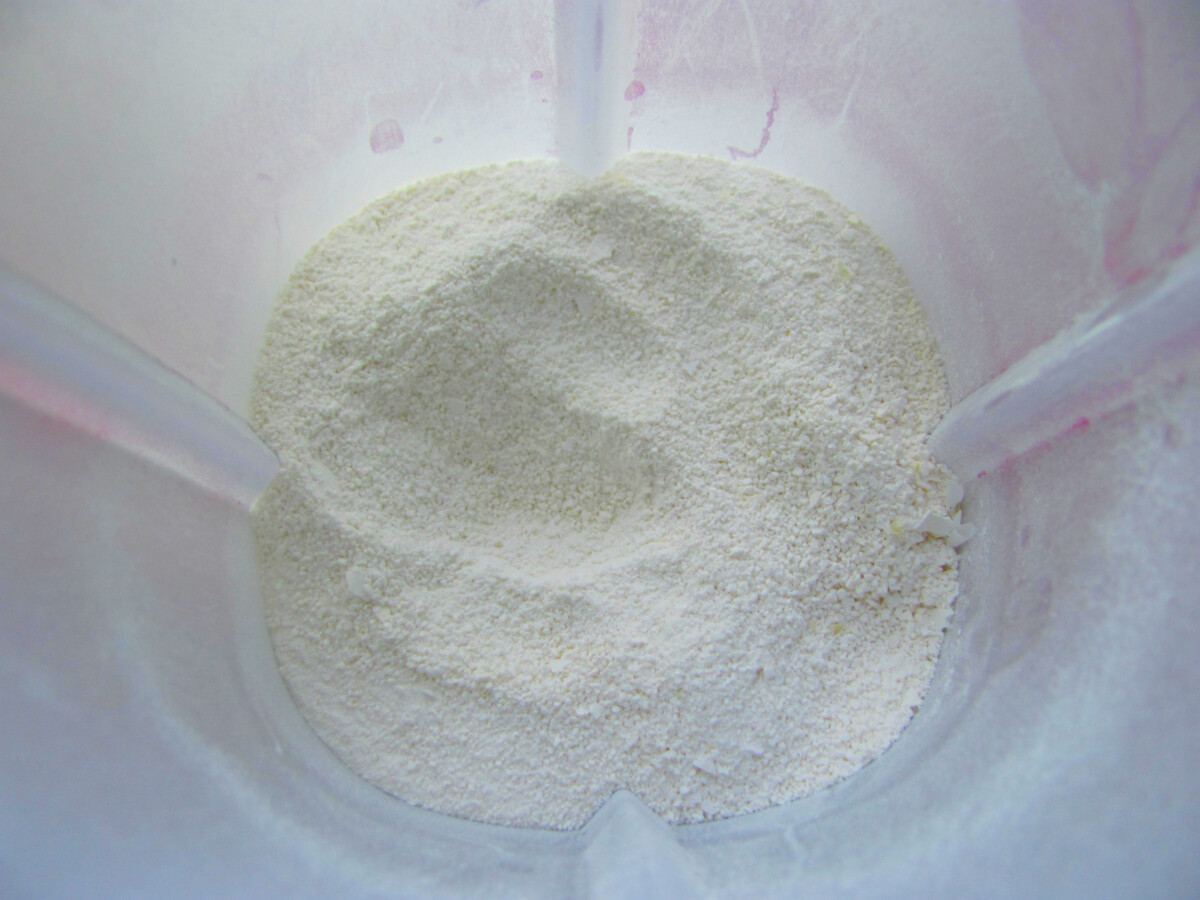
For making liquid calcium, the smaller the eggshell particle size, the better.
You can use a blender, coffee grinder, food processor, or mortar and pestle. Or, pop the shells in a bag and crush them with a rolling pin.
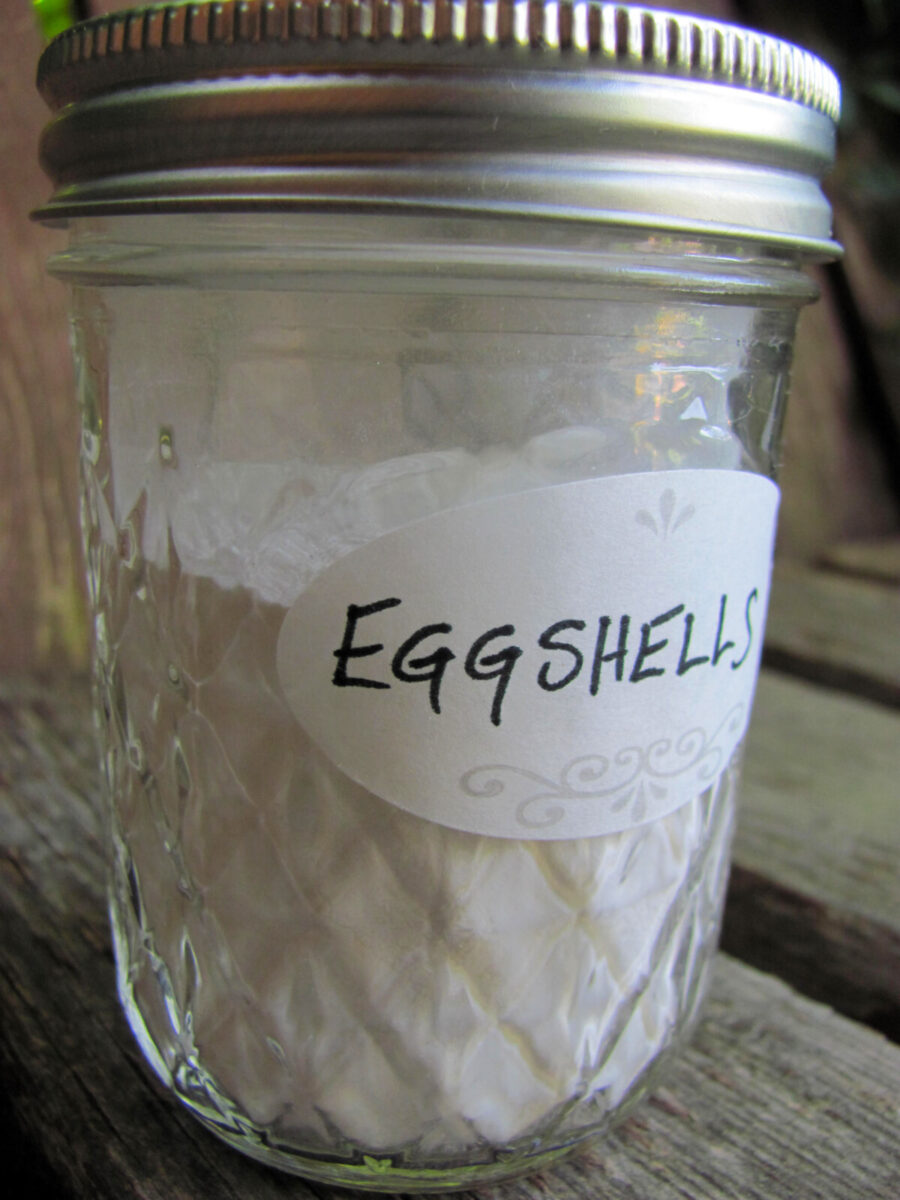
Once the eggshells are rendered into a fine grit, transfer them to a container.
Aside from its practicalities in the garden, eggshell powder is excellent for increasing our own calcium intake. You can add eggshells to your diet by dropping a spoonful of powder in your coffee, tea, fruit smoothies, and vegetable broths.
Step 4 – Combine Powdered Eggshells with Vinegar
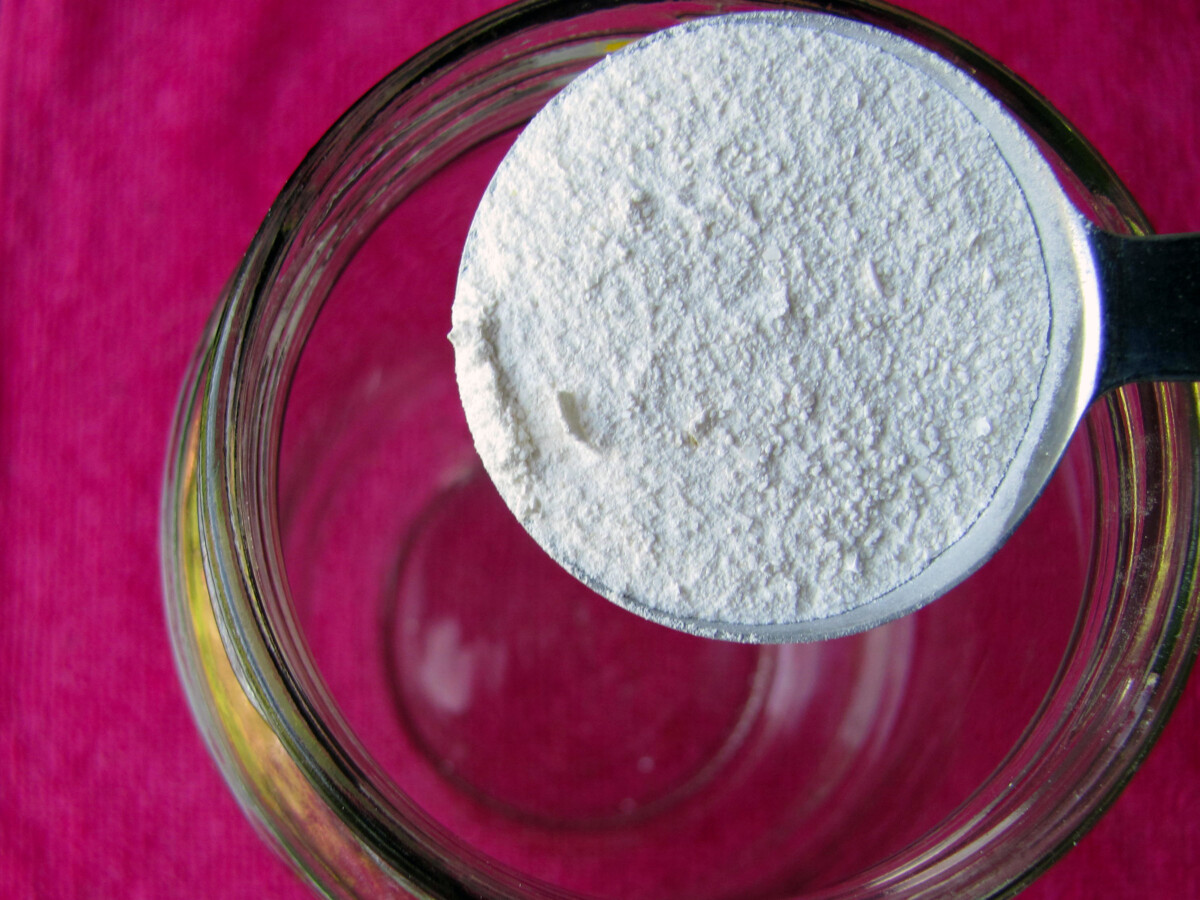
Dissolving eggshells into a liquid is as simple as adding distilled white vinegar. The ratio to use is 1 tablespoon of eggshell powder for every cup of vinegar.
But before you mix them, make sure you have a container that is about 3 times the volume of liquid.
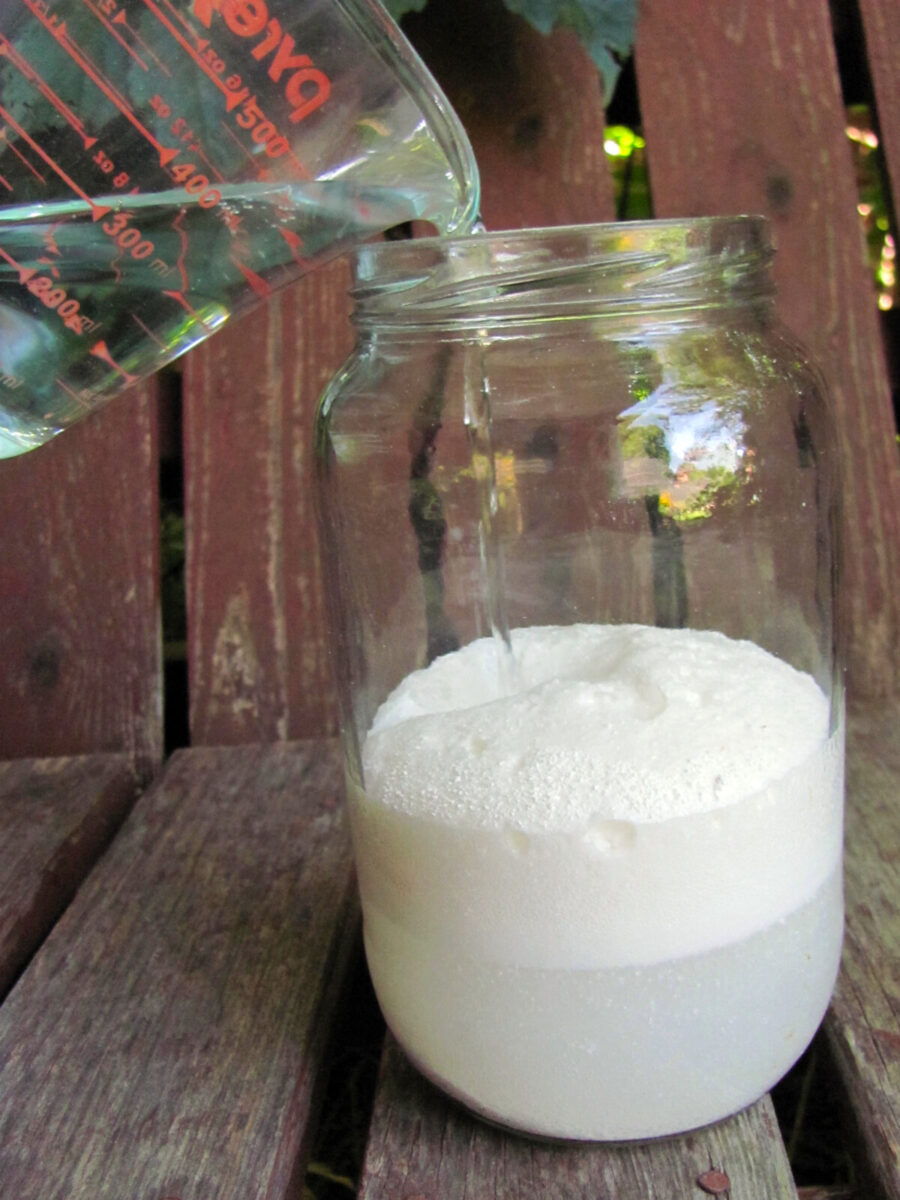
Do you remember the classic baking-soda-and-vinegar erupting volcano science project? Swap out the baking soda with another alkaline material – like eggshells – and the same gushing chemical reaction will occur.
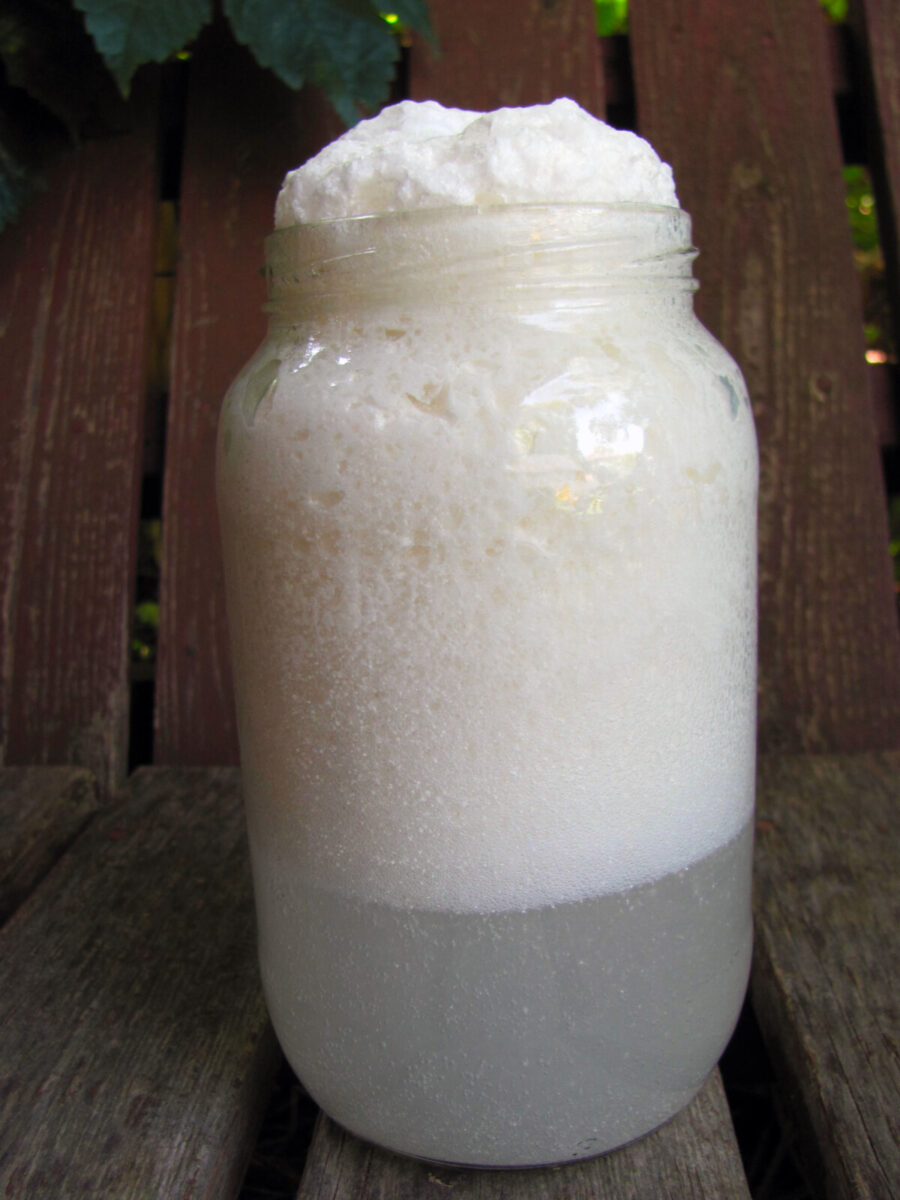
After a few minutes, the solution will settle down. Mix it together thoroughly with a wooden spoon.
Cover the jar with a breathable material, like cheesecloth or a paper coffee filter, and secure it with a rubber band.

It takes about two weeks for the acids in the vinegar to break down the eggshells into calcium. Mark your calendar and place the jar in a cupboard. While you wait, give it a stir every so often.
Step 5 – Dilute Liquid Calcium with Water
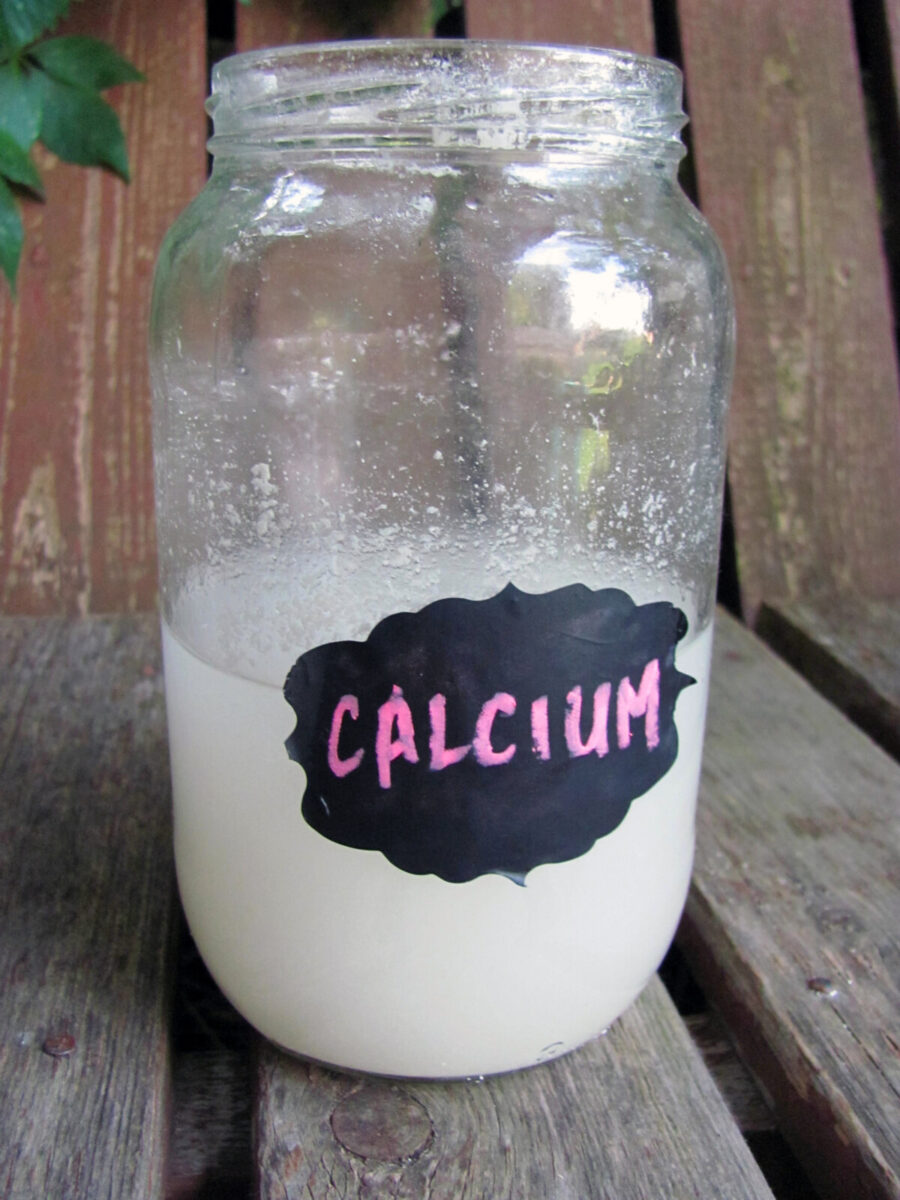
After sitting in the vinegar for about two weeks, the eggshell powder has dissolved completely to create a thin, milky liquid. If there are still eggshell remnants floating in the vinegar, leave them for a few more days or simply strain them out.
This solution is quite acidic. Before applying it to soil or plants, dilute it first by mixing 1 part liquid calcium with 5 parts water.
Step 6 – Apply it to Your Calcium-Loving Plants
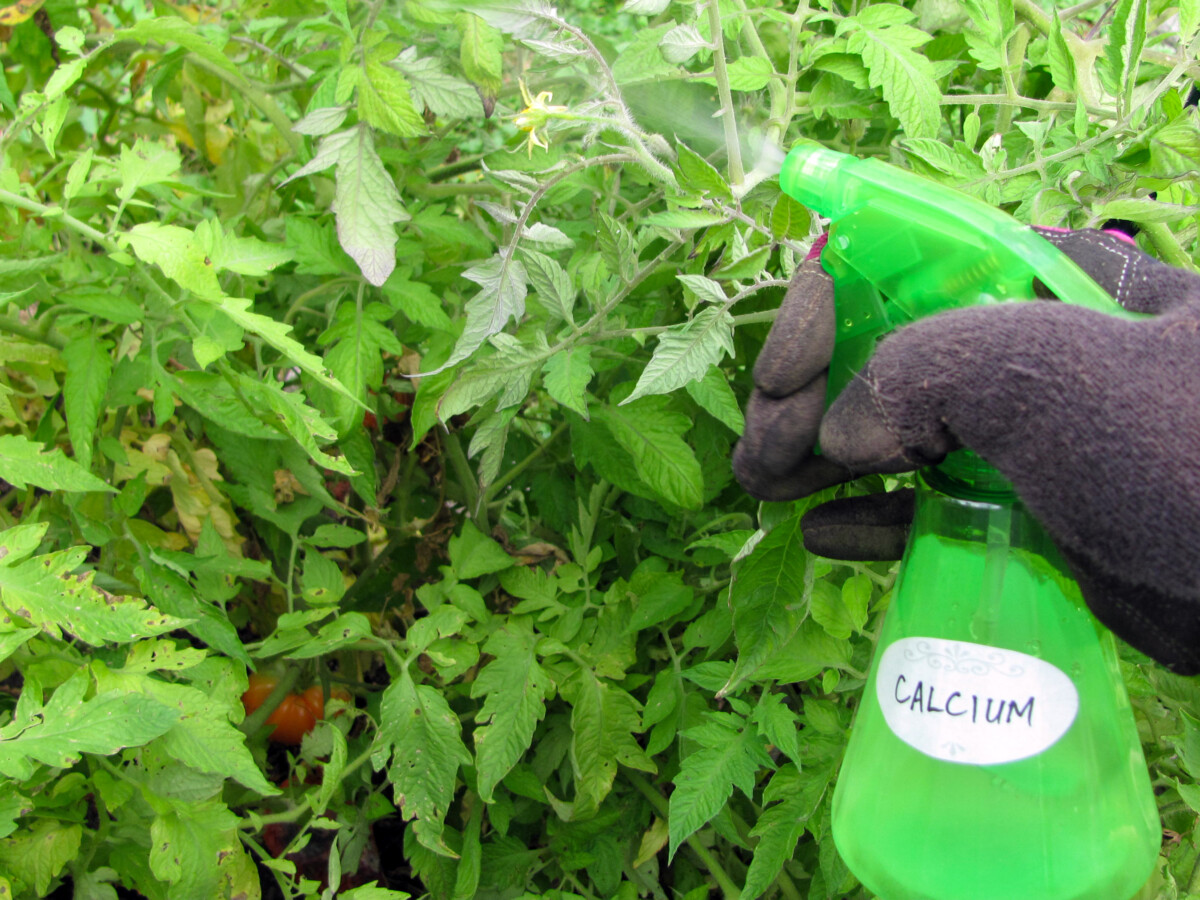
Although all plants need calcium, some crops have a higher requirement than others. Tomato, pepper, cucumber, zucchini, pumpkin, melon, lettuce, broccoli, cabbage, and cauliflower, as well as cherry and apple trees, will be especially appreciative of a calcium boost.
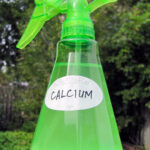
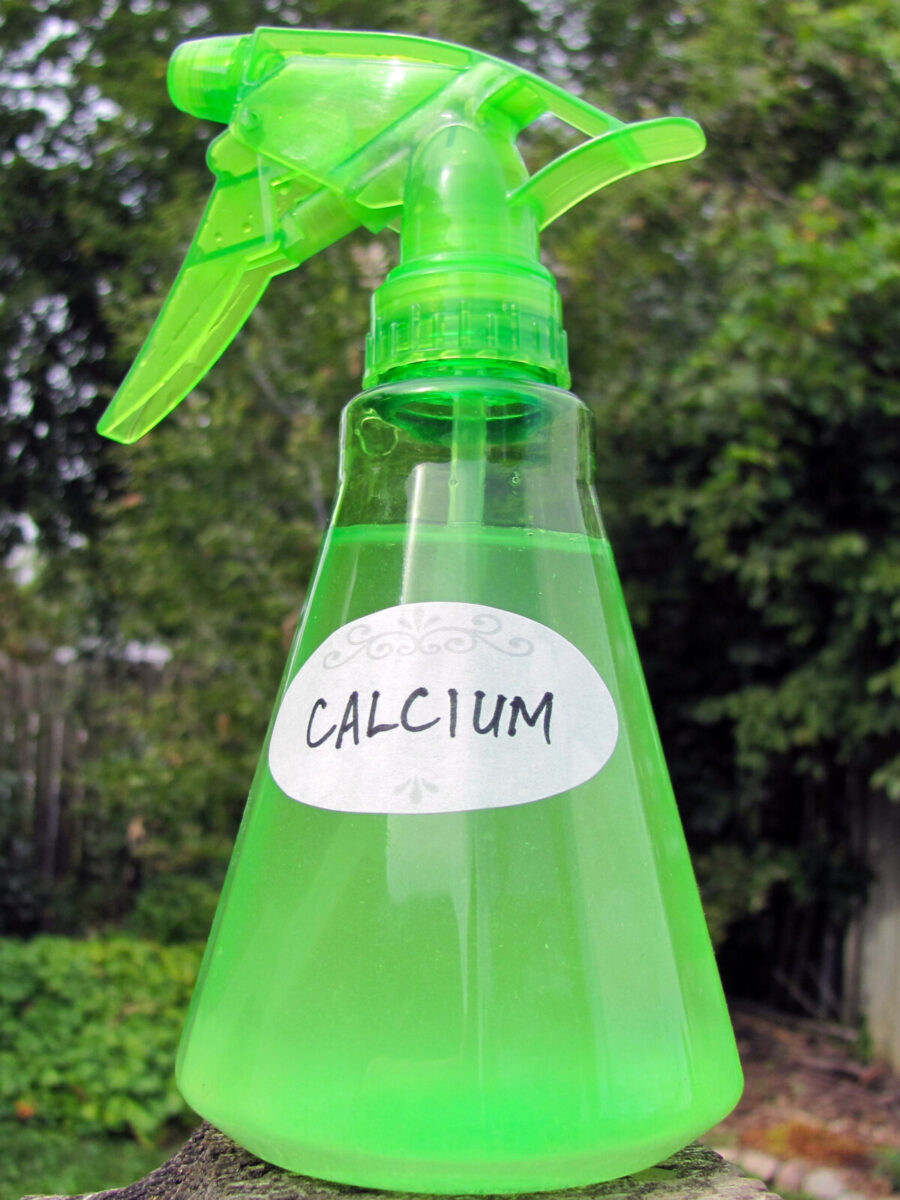
Transfer the diluted liquid calcium to a spray bottle to give them the foliar treatment. To prevent blossom end rot, the best time to spray plants is before bloom set or just after flowers have opened up.
Before you spray, it’s wise to do a spot test first.
Soak a small area of foliage and wait a few days. If all looks good and there isn’t an adverse reaction – such as wilting, burning, or discoloration – you can go ahead and spritz the rest of your crops.
When you have the all-clear, be thorough and spray the entire plant from top to bottom. Make sure you’re wetting both the top and underside of the leaves. As always, apply foliar sprays in the evening or on overcast days so the wet leaves don’t get scorched in the sun.
If it’s been raining a lot, you can use this solution as a soil drench to deliver calcium to the roots, too.
Any leftover liquid calcium will keep for 6 months to 1 year. Seal it up tightly with a lid and store it in a cool, dark place, and you’ll have ready-made, water-soluble calcium for the rest of this growing season and the next.

Get the famous Rural Sprout newsletter delivered to your inbox.
Join the 50,000+ gardeners who get timely gardening tutorials, tips and tasks delivered direct to their inbox.