

A nutritious and healthy source of fat is vital food and energy for everyone. And it is extremely important for all self-reliant homesteaders who raise and butcher animals to acquire the forgotten skills of rendering lard.
Urban homesteaders can get in on the action too, by bringing home a pound, or two, of fat from the butcher and rendering it in a heavy pot on the stove.
All you need is a cutting board, a sharp knife, pork fat, a heavy-bottomed pot to cook in and a wood/metal spoon for stirring.
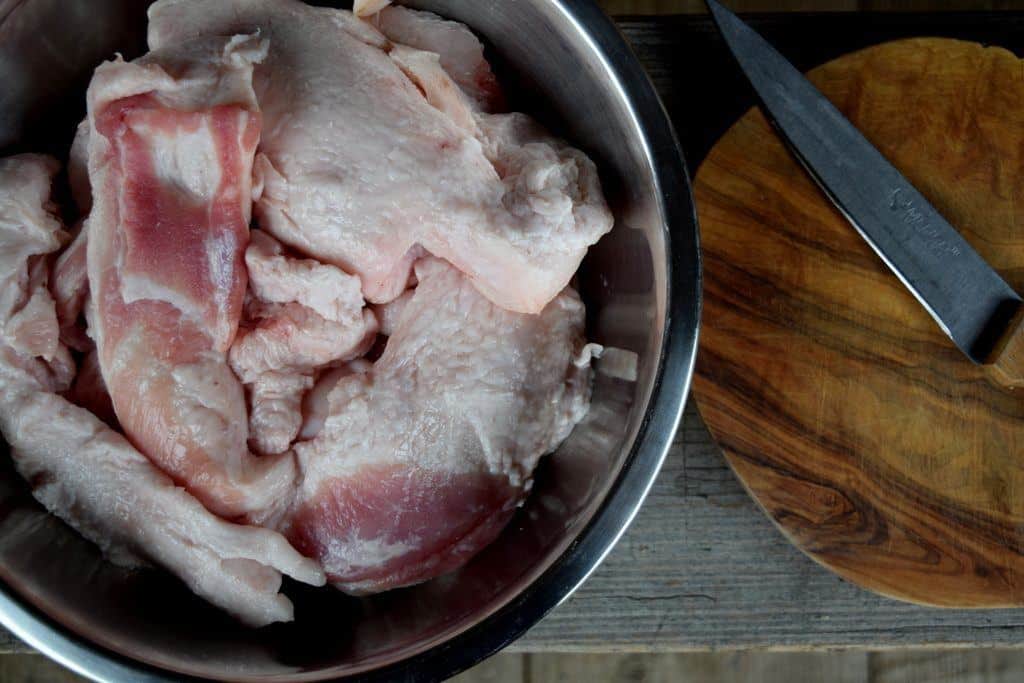
Ingredients for rendering lard
2 pounds of fatback or leaf lard from pasture-raised pigs is all you need to get started with rendering lard at home.
The fat may come in one large chunk, or several thinner slices, depending on the amount you are ready to process, how large the pig was, and from where on the body it came from.
Some meat attached to the fat is fine, as long as you are able to store it properly, or use up the lard quickly in the next month or so.
Types of fat for rendering
Leaf fat – If you will be using lard for creating the most amazing pastries and donuts, this is the fat you will want to render. Leaf fat is the exceptional fat that surrounds the pig’s kidneys, and the properties and flavor is unlike any other type of fat – goose, duck or tallow (beef fat). You may need to pay extra for a jar of this pre-packaged speciality, but never fear, once you learn how to render lard, you can make it at home for a very convenient price.
Fatback – Coming directly from the back of the pig (shoulder and rump), is the most common fat for rendering lard. It is what you will find in sausages, and it is best for frying and sauteing in.
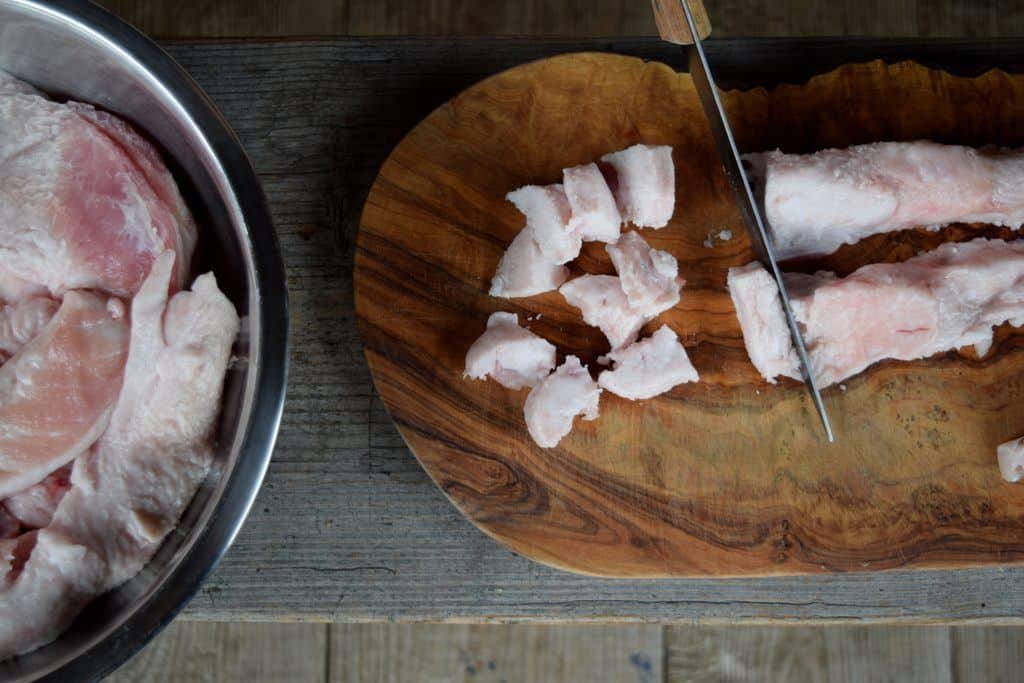
Cutting the fat
There are 2 ways to prepare fat for rendering lard. The first is to cut the fat into 1/2″ chunks and place in a deep pot or cast iron dutch oven.
This makes for chicharrones (pork rinds) that can be picked up by the fingers and dipped into mustard or mayonnaise for a hearty snack or appetizer.
Another option is to first freeze the fat, then run it through a meat grinder to create small pieces that can be used instead of croutons in salads. Sprinkle some garlic salt on them for a tasty treat.
One word of caution – if you are cutting fat with the skin on, it may become hard to chew when it is fully cooked. Something to keep in mind if all you want to do is chow down at the end of your lard-making success. Skinless fat produces the best results, for lard and rinds alike.
Rendering lard on the stove
Once all your fat has been chopped or minced, you’ll want to cook it over low-medium heat in a heavy bottomed pot. In the beginning, you can add half a cup of water, to prevent the frying fat from sticking to the bottom.
Bring the fat to a light boil till it begins to turn golden brown. Take plenty of time to stir and scrape the bottom of the pot, not to let the lard burn.
The rinds are done when crispy and rattly upon stirring.
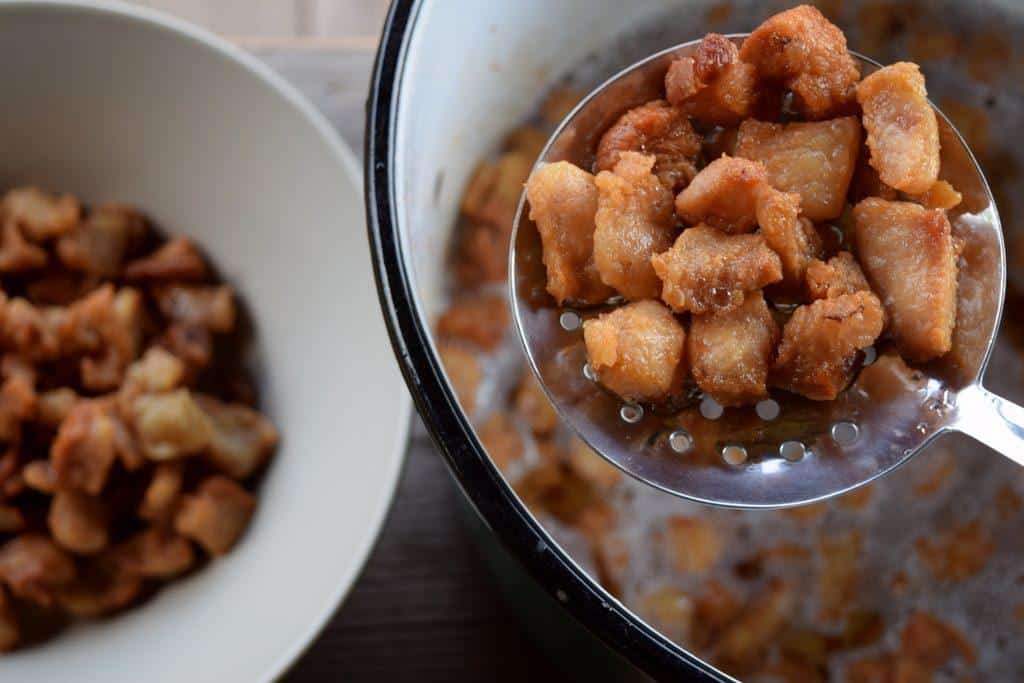
Remove the rinds with a strainer or spatula, and allow them to come to room temperature before eating. Store them in a ceramic bowl with a light cover.
Once you have taken the rinds out, you are left with the hot lard. Let it sit for 10-15 minutes before pouring into a glass jar, lard pot or stoneware pickling crock – when it is not in use for fermenting veggies!
At this point you can filter it for a more purified look with a cheesecloth, or fine strainer.
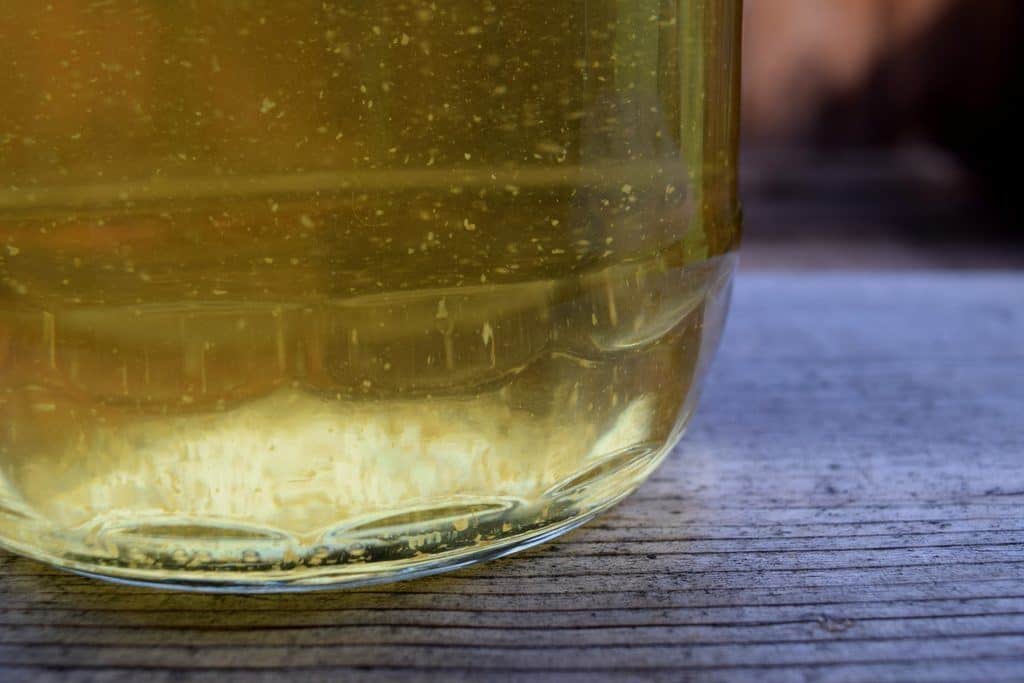
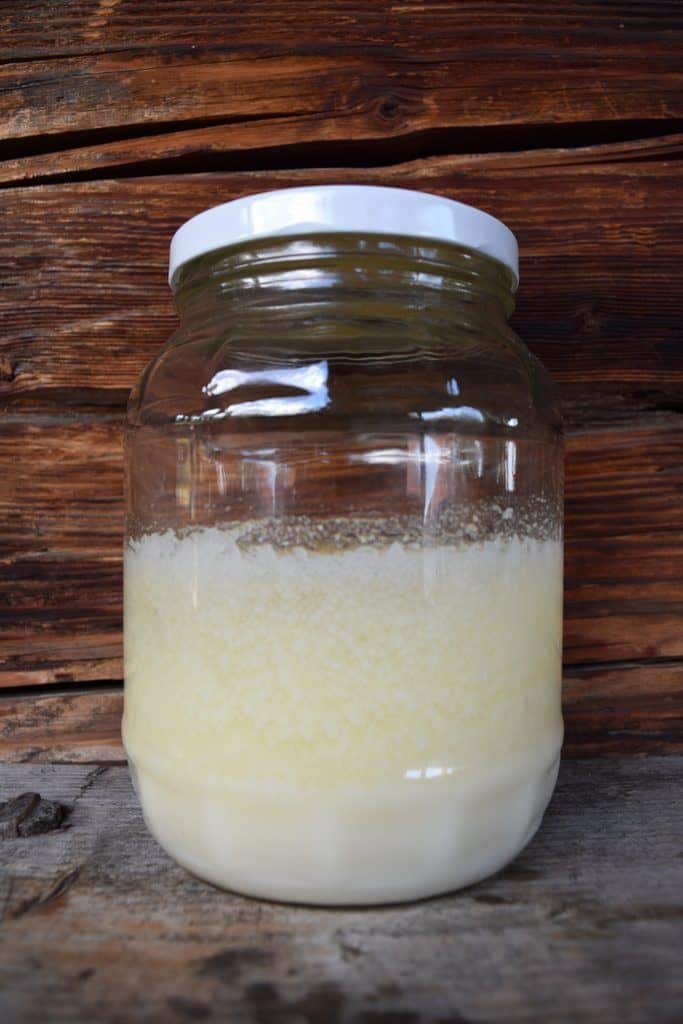
Store it in a cool place and it will begin to solidify like this:
In making over 100 batches of lard, I’ve noticed that the end texture and color will vary, even from season to season. It depends on the diet of the pig, just as much as where the fat comes from on the body.
Embrace the differences in food, slow down and appreciate how it gets from farm (or homestead) to plate.
It will not be perfect white lard every time, though that is something to admire, nonetheless your lard will be perfect for frying eggs and hash browns.
If you want snow-white lard, invest in leaf fat for the cleanest lard possible.
Storing lard
If you are looking to go plastic-free in the kitchen, now is your chance to give up single-use bottles of sunflower and corn oil. You can’t make those at home, though perhaps you can buy plant oils in bulk and reuse glass bottles, depending on zero-waste facilities near you. If you don’t have access to such a store, lard is a wonderful alternative.
Lard lends itself to simple storage. Not so long ago, every home had a lard pot in the pantry, usually an enamel pot with lid. Going further back, lard was stored in ceramic pots or crocks.
The best part is, lard does not require refrigeration – it is about as basic a food as you can get.
In room temperature, lard will last for about 6 months, though it is likely to go rancid after a year. Unless you are butchering a pig at home, you will be able to make lard on a monthly basis with a couple of pounds of fat purchased from the butcher. This ensures you have plenty of fresh cooking fat on hand, and plenty of rinds to snack on.
How do you know it is still safe to eat? You’ll be able to smell when it starts to go rancid. If you don’t consume it fast enough, adjust the amount you make for next time.
In modern times, you may want to put it in your fridge where it can last up to a year, though it will be harder to spoon out in a solidified state. Lard can also be frozen in smaller amounts from bars to ice cube size. Just make sure not to thaw and re-freeze it.
Mold on lard?
Start with the finest fat from responsibly-raised, pastured pigs and melt it down in a heavy pot. Cook it on low, not high heat, for a more neutral flavor and strain it into a clean glass jar if you are concerned about the lard going moldy.
Pure fat will not get moldy, it will only go rancid.
If mold does occur, your lard was either not rendered long enough, or bits of meat (if you cut any chunks into it) have remained. Make sure the vessel you are storing the lard in has been thoroughly washed and dried too.
Uses of lard
Lard can be used in place of butter, which comes in useful if you remove dairy from your diet.
It is also naturally grain-free, making it a wonderful alternative to corn, canola and soybean oils.
You can use homemade lard in :
- pie crusts
- corn tortillas
- lard biscuits
- cakes
- and for the best fried chicken and potatoes ever!
Once you begin to fall in love with fat – rendering it and eating it -, I recommend you to read into Fat: An Appreciation of a Misunderstood Ingredient. It may make you rethink your entire diet!
Enjoy the process of rendering lard, then go ahead and dig into a bowl of crunchy pork rinds with some mustard, or horseradish, and your favorite salt on the side.
Ready to render? What’s stopping you from sampling those crispy cracklings?

Get the famous Rural Sprout newsletter delivered to your inbox.
Join the 50,000+ gardeners who get timely gardening tutorials, tips and tasks delivered direct to their inbox.