

While there are several ways to preserve fresh table grapes, making grape juice tops the list of most delicious ways to make those fragrant bunches last well into the winter months.
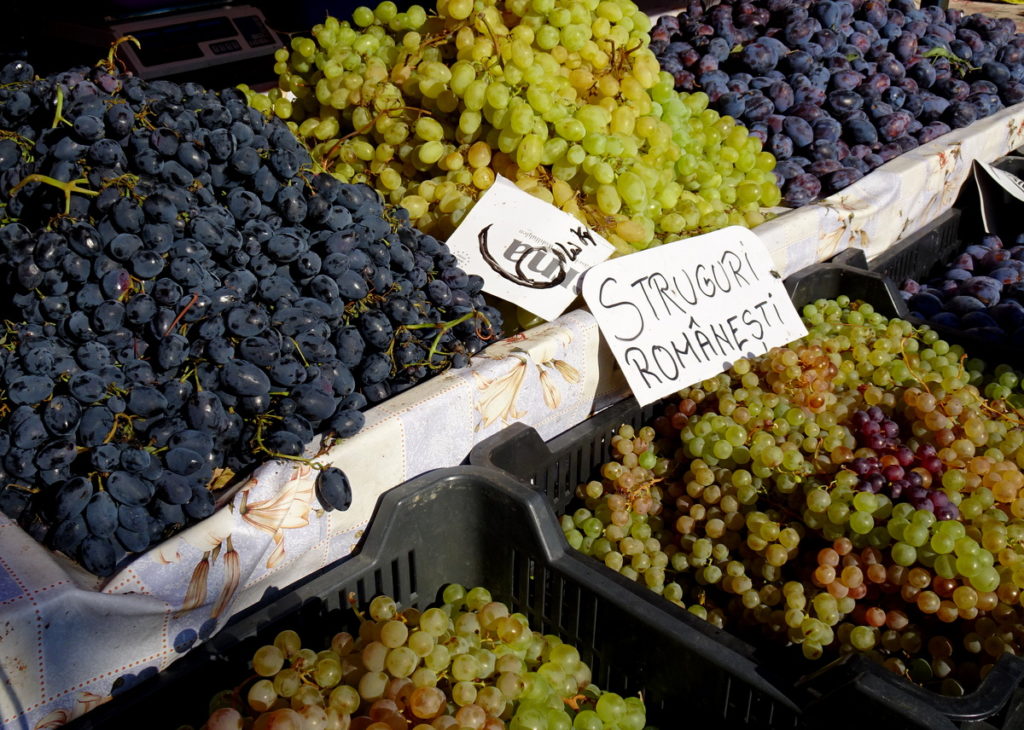
Be it white or red grapes, that you are harvesting, or purchasing at a local market, know that the method for making homemade juice is the same, regardless of seedy, or seedless varieties. Just be aware of the tartness of some green grapes before bottling your juice – there is an easy remedy to correct for that.
What we like about this recipe for making grape juice, however, is that it is among the simplest.
It doesn’t take a blender, a juicer or a steam juicer.
You can leave out the preservatives, the sugar and the over-complicated nonsense.
What this juice is, is 100% goodness, straight from the vine. Then to a pot, a jar, and finally to your glass.
Can I make juice from other than Concord grapes?
While many commercially produced grape juices are made strictly from Concord grapes, you are free to turn your head and pluck your harvest from another tasty variety.
The best way to know whether or not the flavor of your grape juice will be agreeably delicious, is to first sample the grapes.
They should be ever so sweet, with an aromatic edge to the them. What you feel when eating the grapes fresh, is mostly what you are going to experience in the juice. Go with your first impressions. If it tastes great, it is likely a wonderful juice material too.
While wine grapes are probably not your first choice for juicing, even those can be turned into a bewitching drink. If they are a little too tart for your taste, simply add a small amount of honey or sugar after you have strained your grapes and before canning.
This “remedy” works for more tart green grapes too.
Above all, make sure the grapes are ripe. Anytime from September through October is suitable for making grape juice.
At any time you can harvest grapes locally, take the chance. You might just discover a passion for growing them!
Learn how to prune your grapes in summer for the best harvests ever, and how to trellis grape vines to keep producing bunches for 50 years or more.
Ingredients and supplies for making homemade grape juice
Canning and preserving food can be difficult, depending on where, and with what gardening and kitchen skills you are starting from.
Kicking off with making grape juice is a good place to begin, if you are new to canning. Even if you are experienced, it is always fun to try out another, or new-to-you way of doing things.
In a way, becoming more self-reliant, or self-sufficient.
So, grapes.
Now that you have harvested them (any amount will do), all that is left is to follow the steps below.
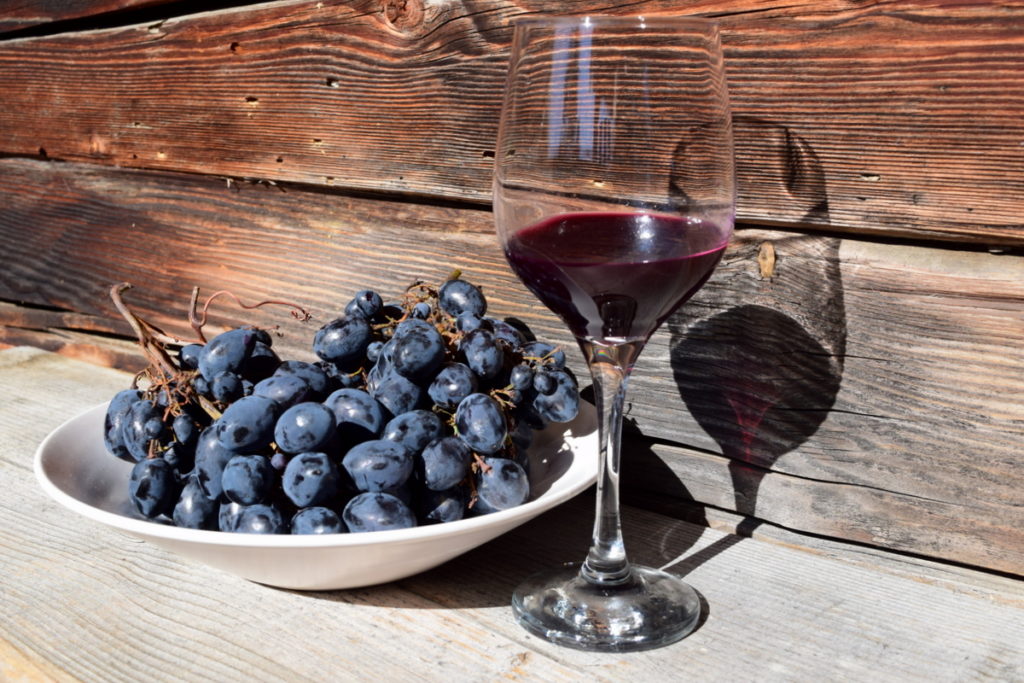
Soon enough they will be turned into the loveliest of juices to brighten any celebration. Having grape juice on hand is especially important for when you wish to serve a non-alcoholic version of something else made from grapes – homemade wine.
Besides grapes, you will also need the following items to can grape juice:
- bowls for rinsing in
- stock pot
- masher
- strainer or cheesecloth
- juice jars
- lids
- water bath canner
- basic canning tools: jar lifter, ladles, stirring spoons, funnel, kitchen towels
Once you have all your equipment prepared, it is time to start processing your grapes.
Making and canning homemade grape juice step-by-step
For every pound of grapes you harvest, you’ll get approximately one cup of juice.
Knowing this, you can approximate how many jars you can fill based on your grape harvest-purchase.
Other than that, you already know what you need to get started on making your own homemade grape juice.
Follow the steps below to find out how we do it.
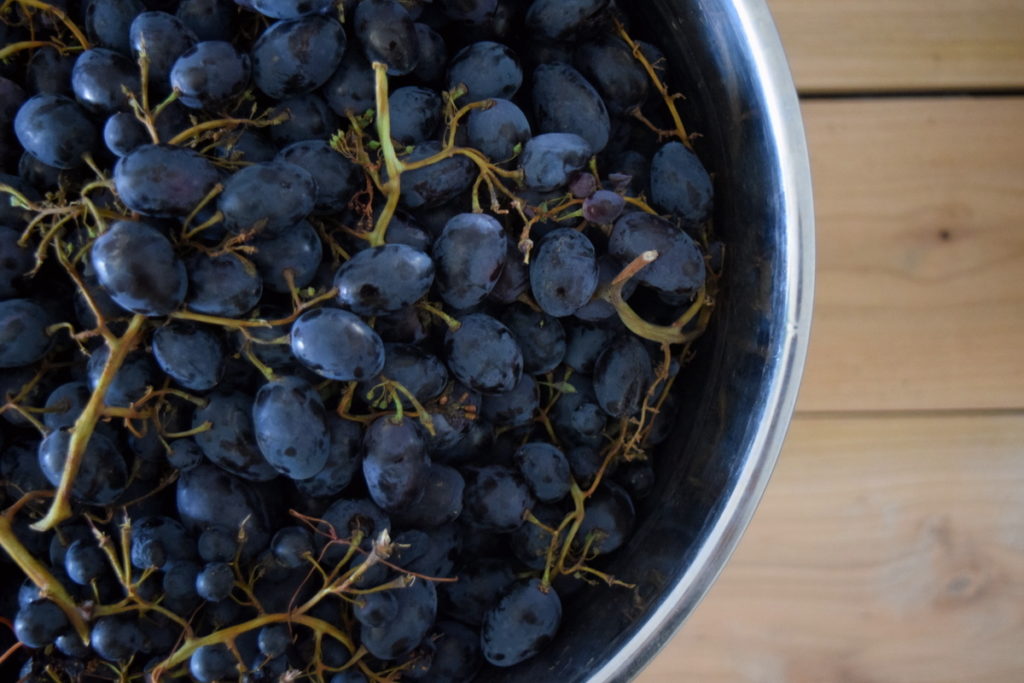
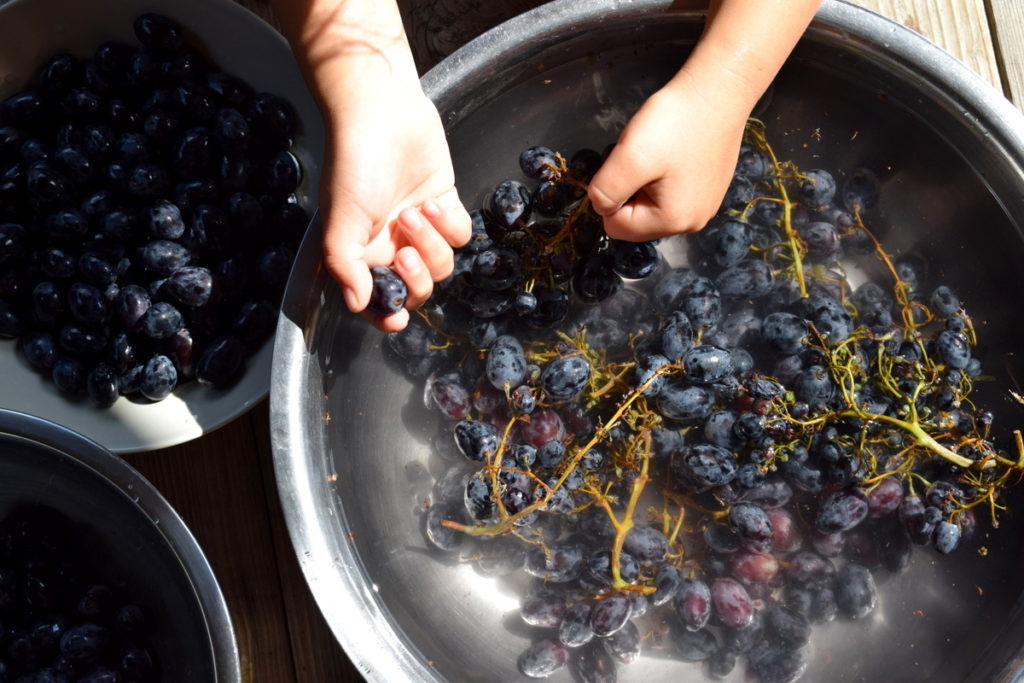
Step 1: Washing and plucking the grapes
Wash the grapes gently, yet extremely well. If the grapes were properly trellised and well taken care of, they are likely free of dirt, though insects may be abound.
Wasps are quite fond of ripe grapes, so beware of processing them outside!

If your grapes are organic, a light wash will do.
However, if you see signs of residues from spraying, be sure to soak them for longer and rinse with running water afterwards.
If you wish to play it safe, opt for organic grapes every time.
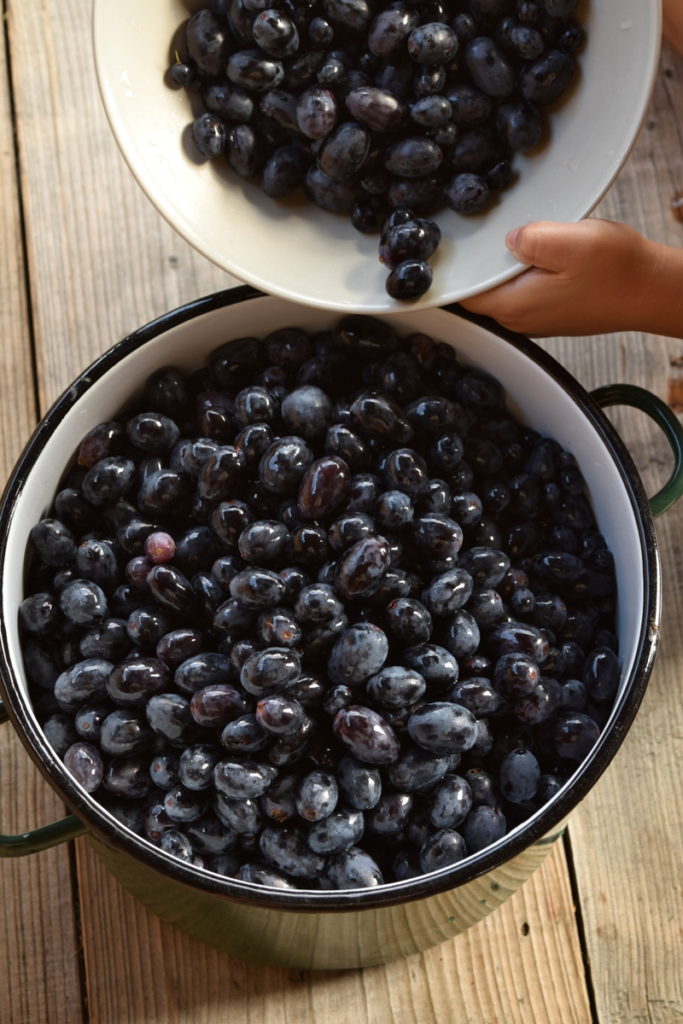
Once washed, remove them from the stems.
Step 2: Extracting the grape juice
Pour all those delicious grapes into a large cooking pot, or two, if you have a particularly large batch.
Put the pot on the stove over medium heat, along with one cup of water per 20 pounds of grapes. Or just enough water to prevent burning and sticking to the pot.
Gently heat the grapes, stirring occasionally, until the juices are released. As the skins begin to burst, they are ready for mashing. Any old (but clean!) potato masher will do.
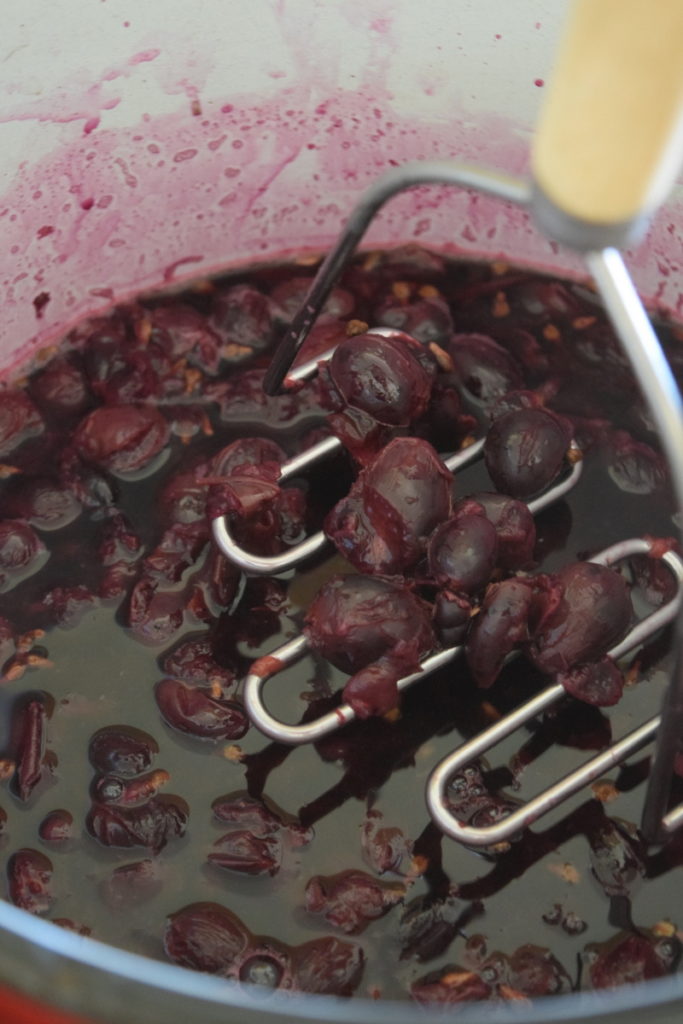
Simmer for about 10 minutes over a low heat.
Step 3: Straining the juice
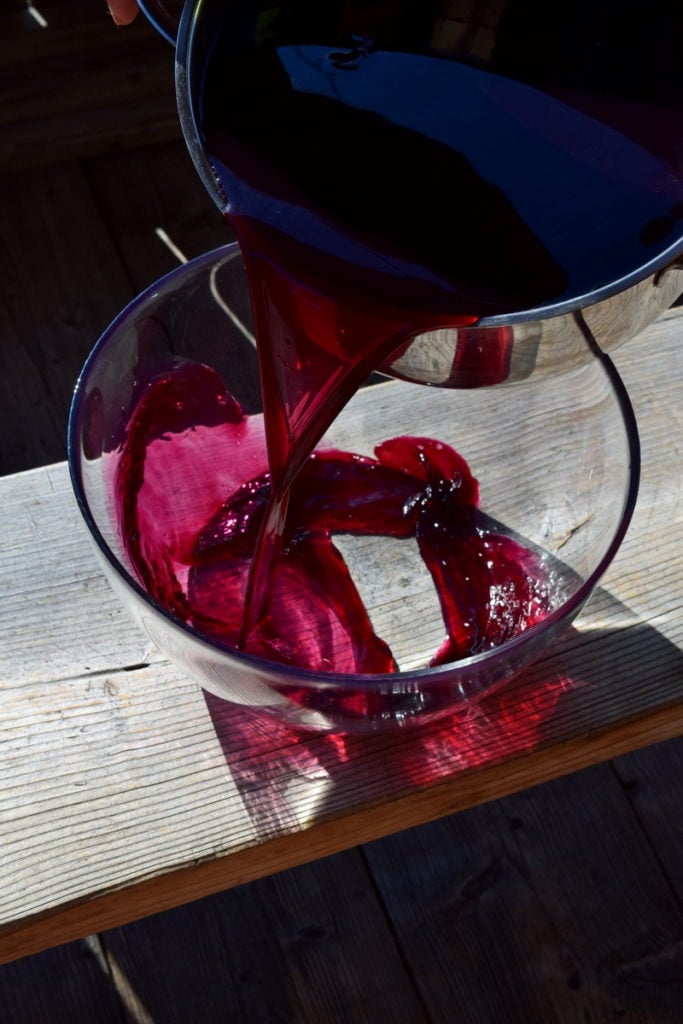
When the grapes are done simmering, let the contents of the pot cool for several minutes before straining.
This can be done by ladling the grape pulp and juice into a fine mesh strainer and pressing the back of the same ladle against the contents, in a circular motion, or with the use of multiple layers of cheesecloth, squeezed by hand.
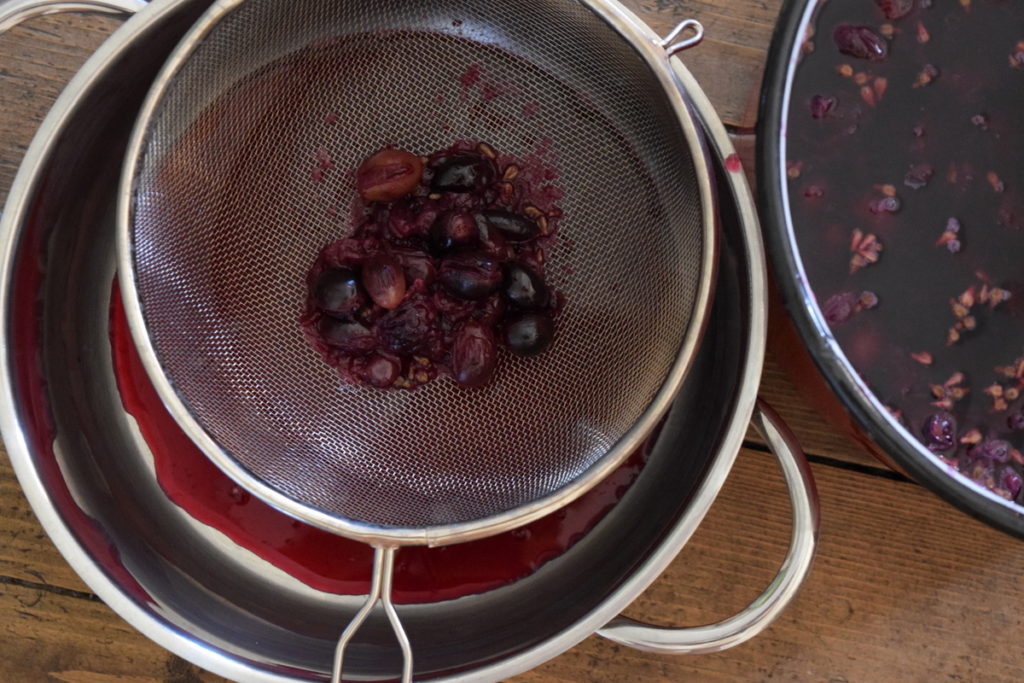
Ladleful by ladleful, transfer the contents to a new pot and discard the seedy solids. Hopefully on the compost pile, where any winged and non-winged small creatures will take delight.
Step 4: Waiting…
When you are cooking, you should never be in a rush.
And if you wish for your grape juice to be as smooth as possible, it is best to let the sediments settle overnight, or up to 24 hours, before proceeding. Let the grape juice rest in a cool place, making sure it is covered.
Step 5: Bring grape juice to a light boil
The following day, your grape juice is almost ready.
If you wish to clarify and strain it further, send it once through a reusable coffee filter for the best possible appearance. However, if you don’t mind the naturalness of using just a strainer, you can skip this extra step.
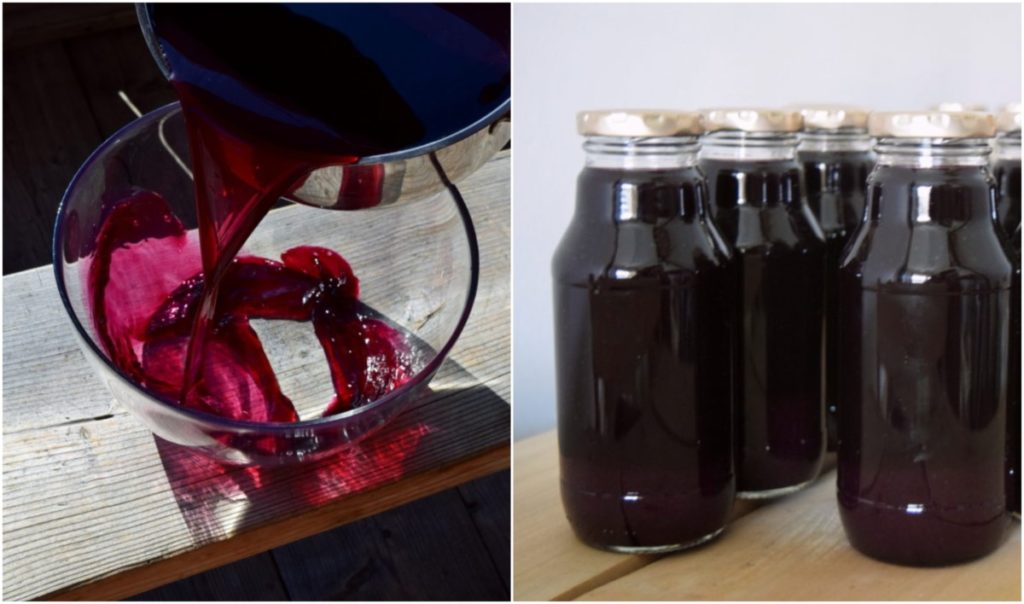
Carefully pour off the refined grape juice into a large pot and discard the sediment from the bottom.
Bring grape juice to a light boil, stirring occasionally for 10 minutes.
At this point, your homemade grape juice is done and ready to enjoy fresh! Once it has chilled, of course.
If you would like to preserve it for up to a year, freezing is one option that we will discuss shortly.
Putting it in jars is another.
Step 6: Water bath canning
This step could potentially be step one, as your jars should be washed and sterilized before setting the grape juice back on the stove. Hint: you don’t want to heat it longer than necessary.
With canning experience, you will have already known that, or at least have read the recipe to the end first.
For preserving grape juice, you will want to follow all standard directions for water bath canning, including filling your jars to the correct level (1/4 inch headspace). With steady hands you can pour straight from the pot. Otherwise, use a funnel and a ladle to prevent spills.
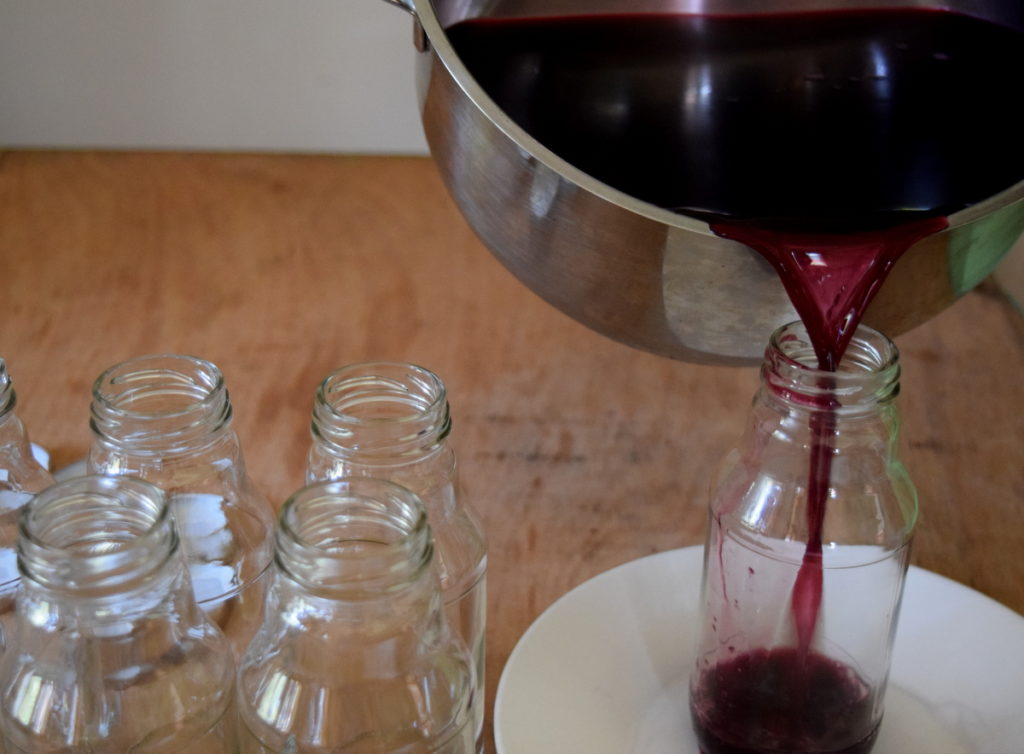
Be sure to wipe the rims before securing the lids.
With the water in your canner brought just to boiling temperature, slowly add each jar (not touching) and adjust the water level to be 1″ above the jar tops. Always fill with hot water, to prevent chilling the mass of water, and never pour directly on the jars.
Process at 5 minutes, adjusting for altitudes of above 1,000 feet.
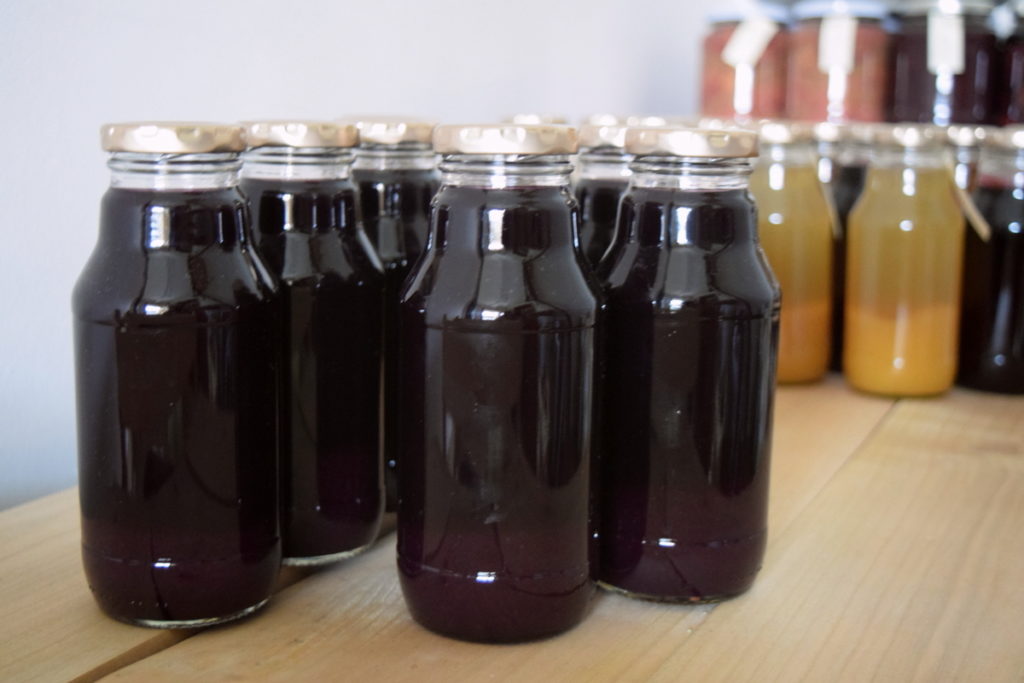
Remove jars from the hot water bath with a jar lifter, setting them on a kitchen towel. Let them sit for 12-24 hours, or until they come to room temperature. Check to see if lids have sealed before labeling your homemade grape juice.
Tips and tricks for storing and using your homemade grape juice
You will be pleased to know that you can still make this grape juice and not go through the extra steps of canning it.
Instead you can drink it fresh, or freeze it.
If consuming your homemade grape juice fresh, keep it no longer than 10 days in the fridge.
With time running out, you can always go ahead and get ready to devour a lemon and grape curd cake, using up some of that leftover grape juice.
A practical way, outside of canning, to make your grape juice last for longer, is to freeze it.
You can freeze grape juice in ice cube trays for individual servings that can be diluted with water. This is an excellent way to prepare it for children.
Frozen grape juice can also be stored in jars or plastic containers. If using jars, make sure to leave sufficient headspace to prevent jars from breaking as the juice freezes and expands.
When opening up the first bottle to sample your grape juice, note if the flavor of your homemade grape juice is too strong. If it is, go ahead and dilute it with some cold sparkling water before serving. Not only does it give a little effervescent fizz, it looks amazing too.
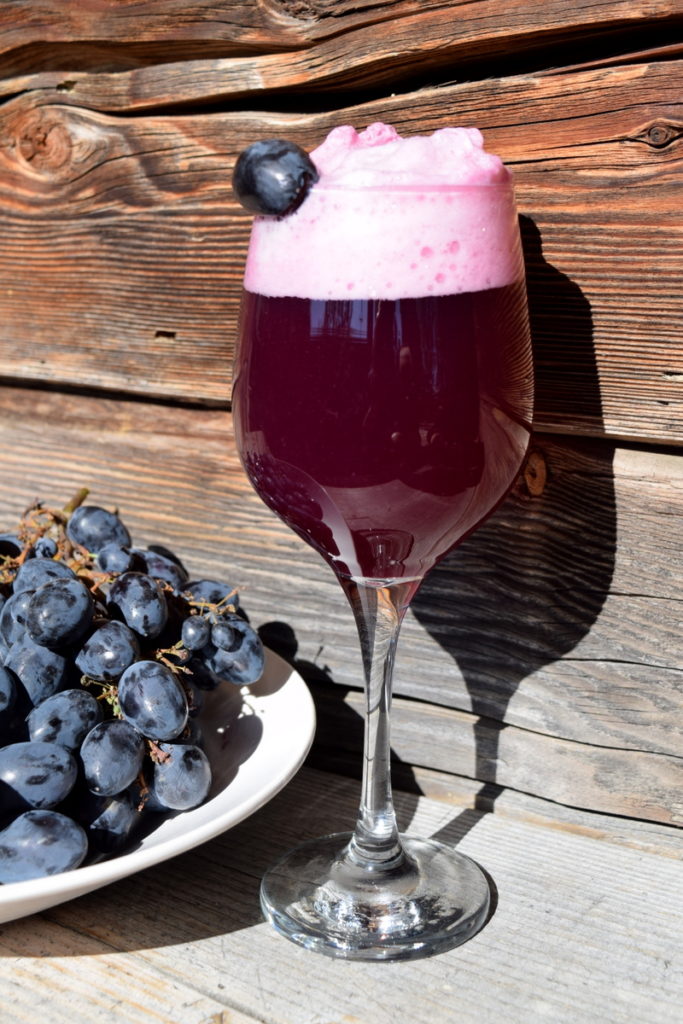
Who doesn’t like a grape cocktail from time to time? For sipping while you watch the autumn leaves colorfully fall to the ground.
Knowing full well that colder nights are soon on the way. Which leads to pumpkins and squash and all things apple flavored. Isn’t autumn the best time of the year?!

Get the famous Rural Sprout newsletter delivered to your inbox.
Join the 50,000+ gardeners who get timely gardening tutorials, tips and tasks delivered direct to their inbox.