

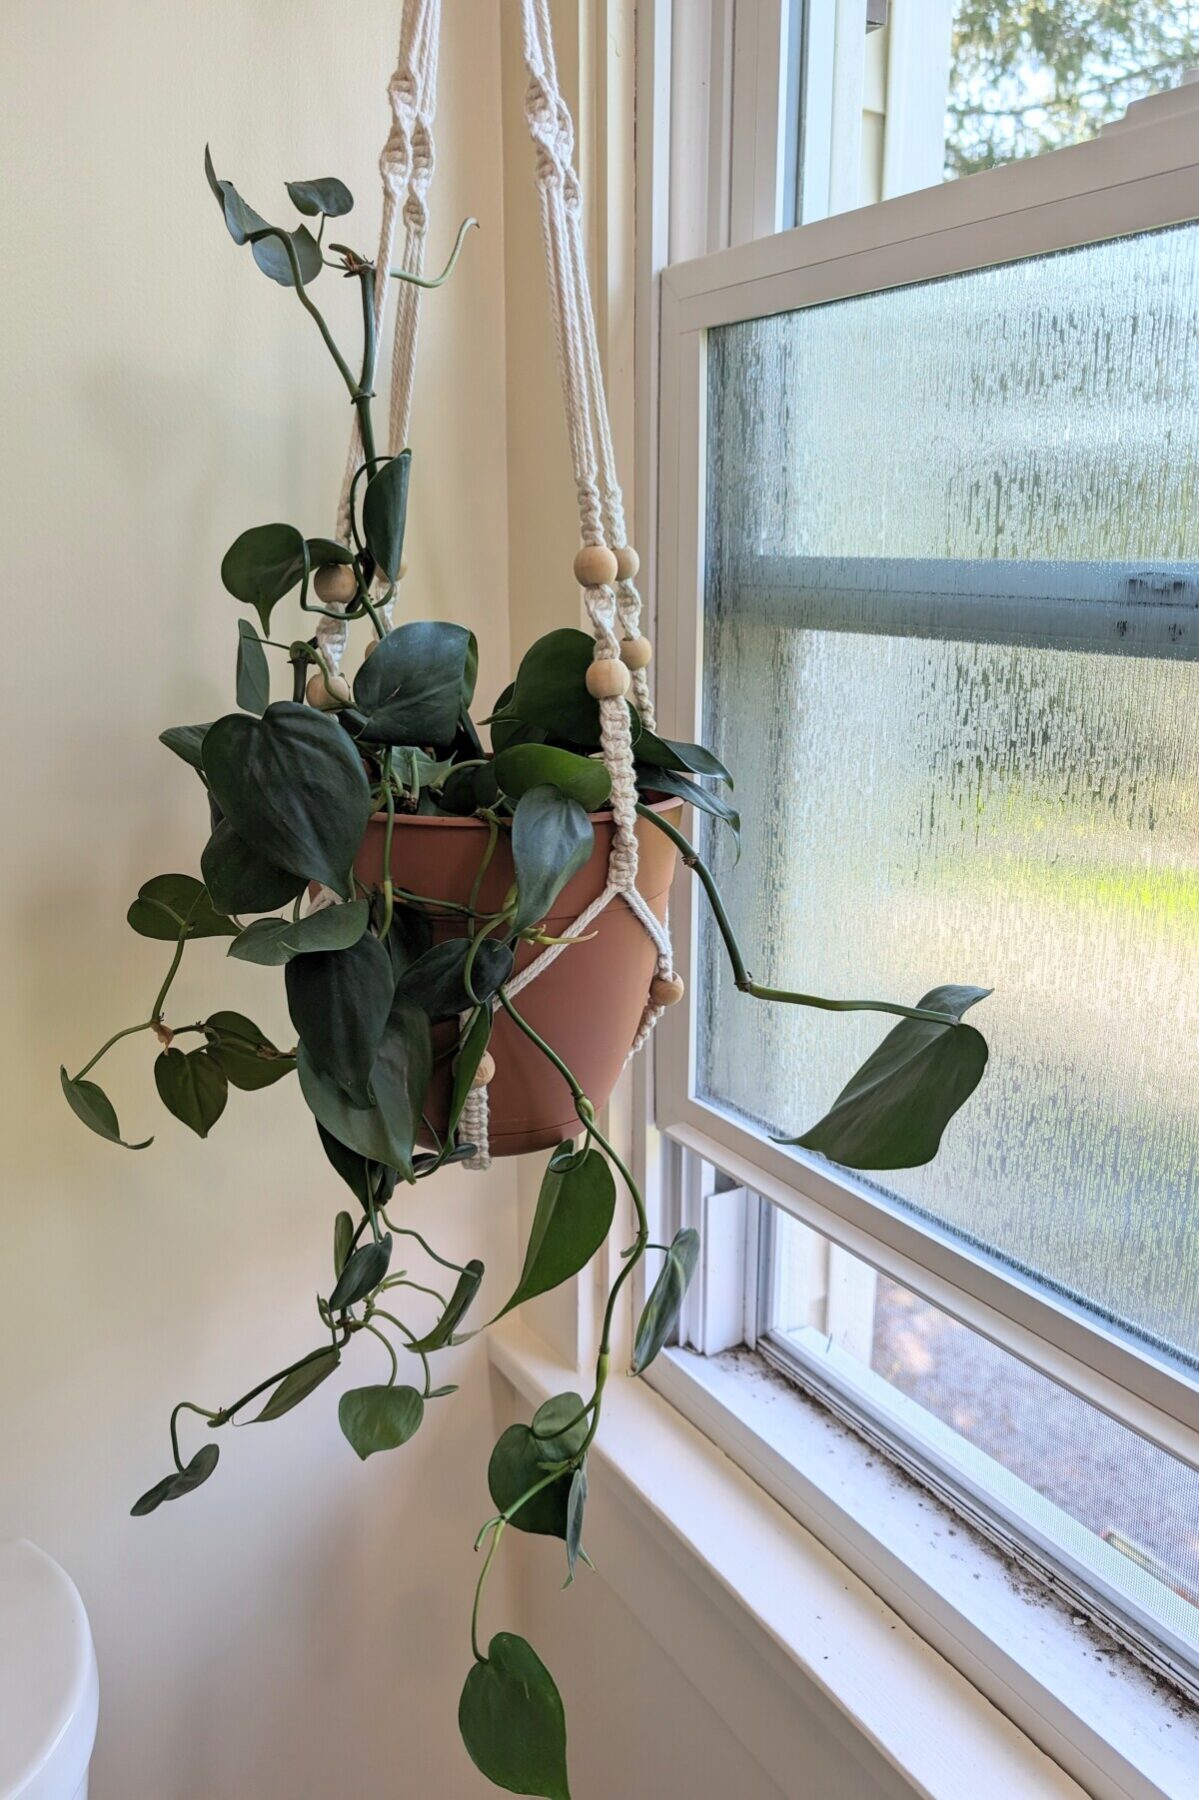
If you grow any vining houseplant, chances are, you wish it were fuller. Pothos, tradescantia, philodendrons, monstera adansonii – they’re all beautiful and popular houseplants. But they have a habit of looking stretched and spindly after a while.
Common wisdom says to take plant cuttings and add to the existing plant to give it more volume. Or you can give them a severe haircut to force them to put out new growth. But there’s a much easier alternative that requires nothing more than a handful of hairpins and a few moments of your time.
Propagators Annonymous
“But, Tracey, why don’t you just take node cuttings?”
I know this is an unpopular opinion, but I hate propagating.
Seriously hate it.
As a self-professed houseplant nut, I know I’m not supposed to say that. Propagating new plants is supposed to be one of the pinnacles of joy in the houseplant community. I’m supposed to own multiple propagation stations with cuttings rooting in each one.
Maybe I’m a bad houseplant enthusiast, but I don’t see the appeal.
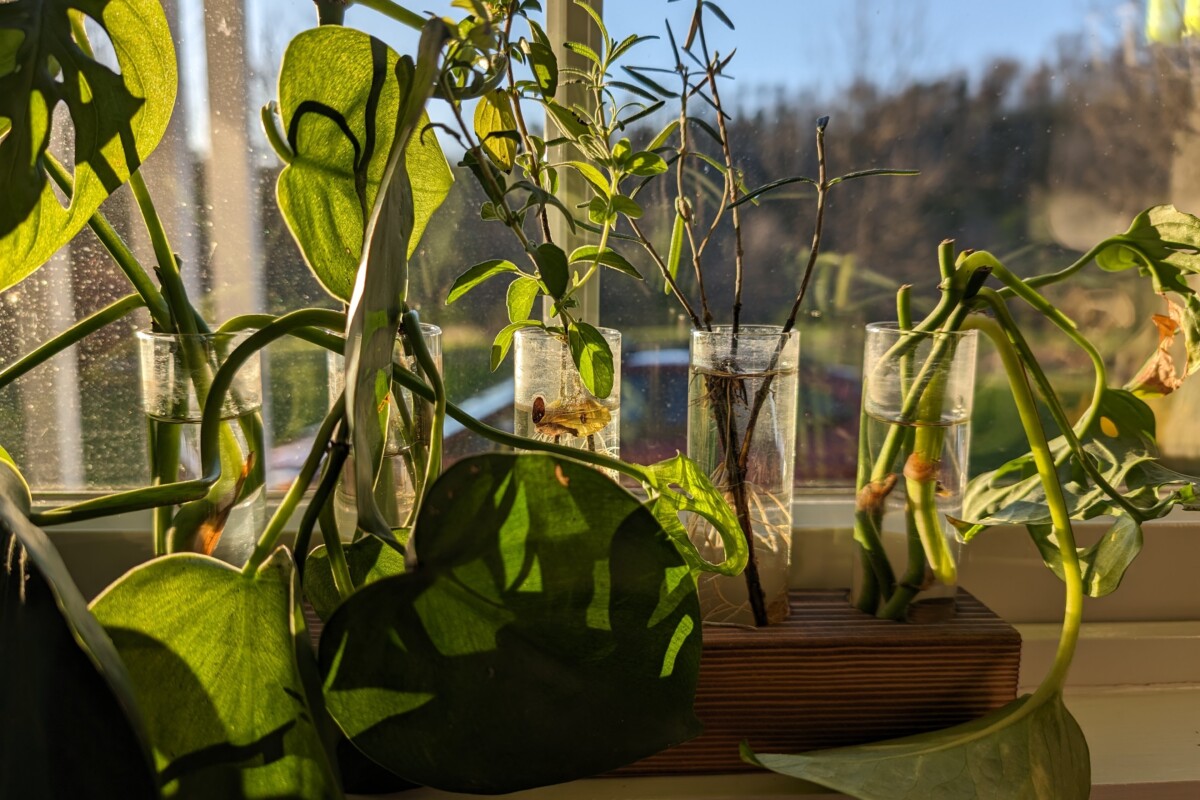
I hate having glasses of gross green water with plant cuttings scattered around every flat surface in my house. (Be honest, no one changes the water every few days like they’re supposed to.) And when a cutting finally roots after waiting week after week after week, it takes me another month to do something with it.
(You can stop clutching your String of Pearls now. I know I’m not allowed in the cool kids’ houseplant club.)
But I love my houseplants, and I want full, lush vining plants. I want my golden pothos to cascade over the side of the pot in a thick curtain of green leaves. I want my monstera adansonii to stop looking so pathetic and make more leaves instead of two long, skinny tendrils creeping along the floor.
That’s why I like this method so much; it’s the lazy way of propagating for those of us who don’t like propagating. (By the way, we have a Propagators Anonymous group that meets every Tuesday at Lowes by the rack they keep the dead and dying houseplants on.)
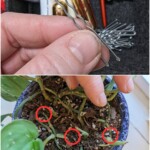
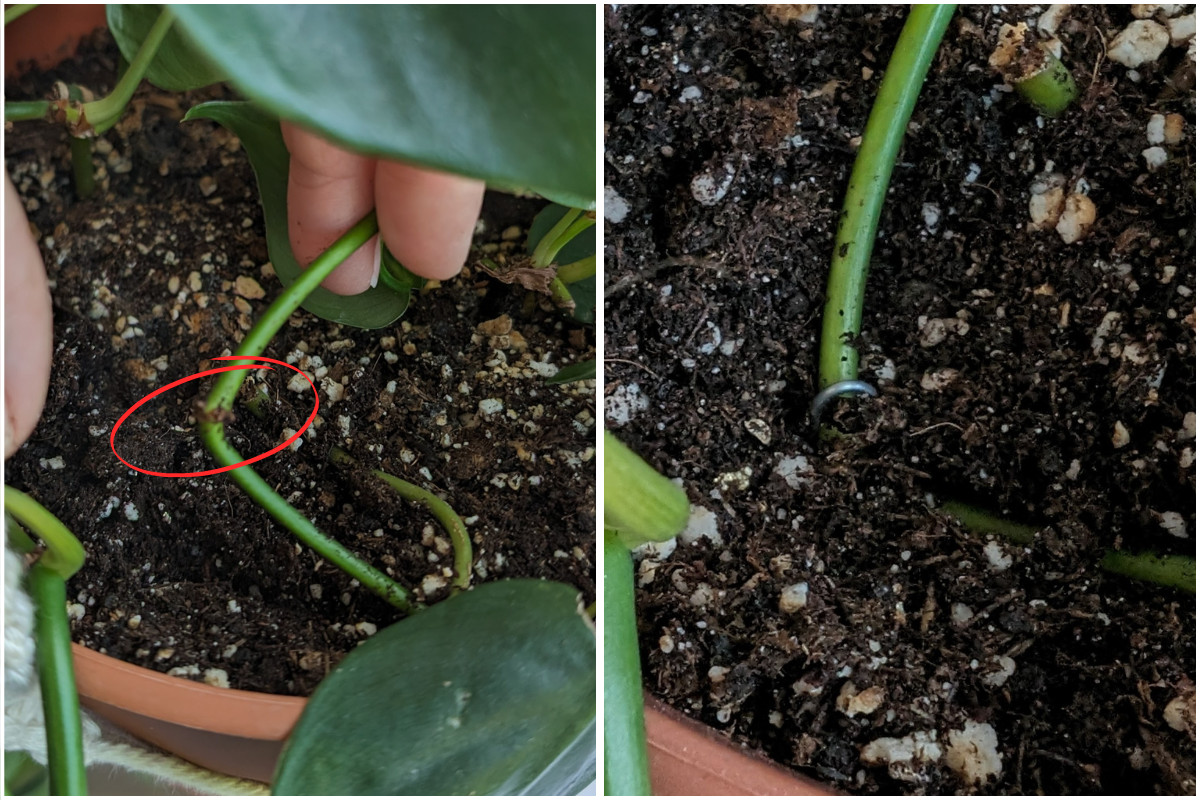
All you do is use a hairpin to pin down part of the stem next to the soil. That’s it. Okay, there’s a little more to it than that.
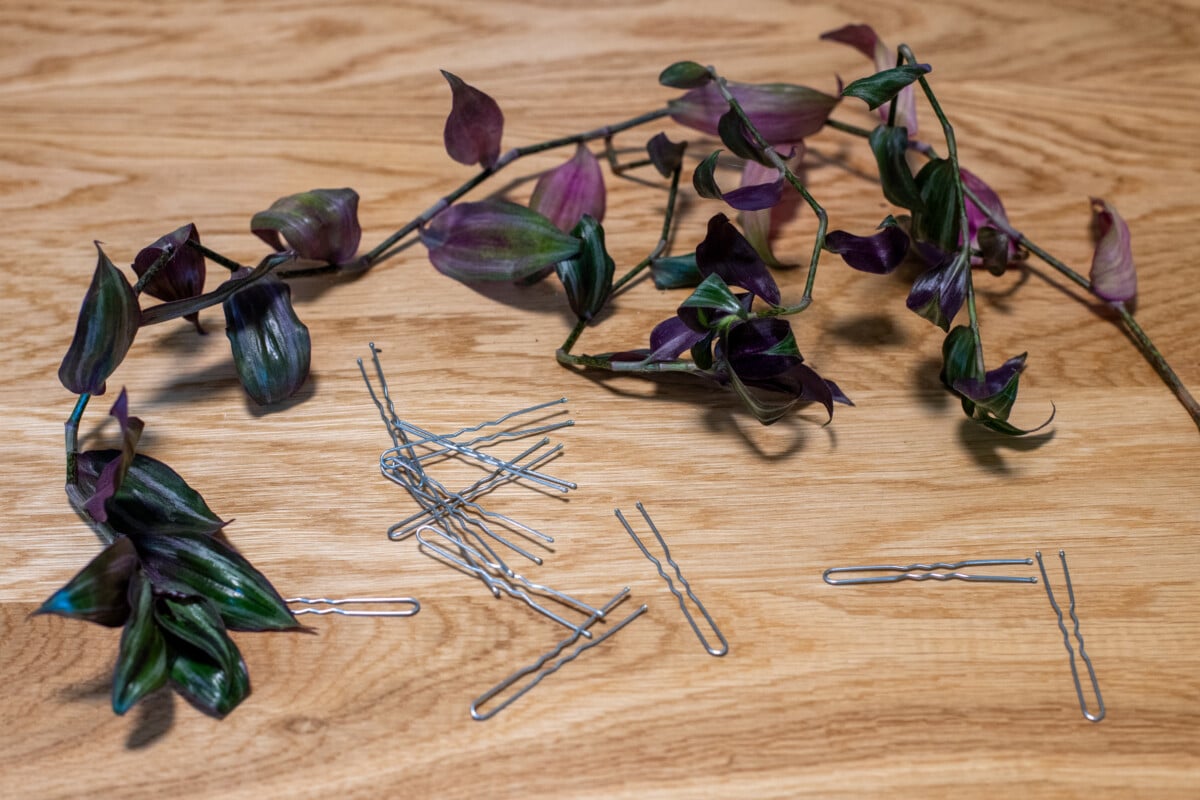
But first, let’s take a look at our tool – the common hairpin.
Hairpins vs. Bobby Pins
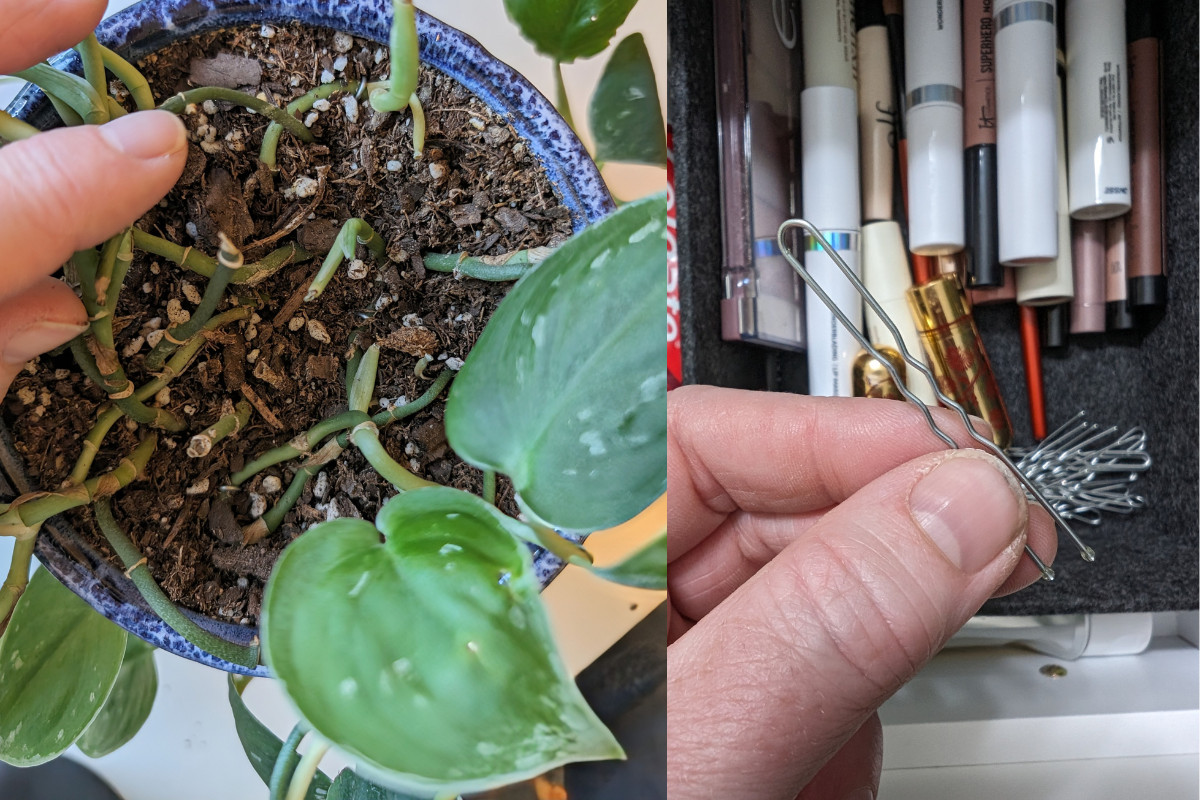
Trust me on this: you want hairpins, not bobby pins. I’ve seen this hack all over Reddit with folks using bobby pins. While you can use bobby pins, hairpins are much better suited for the job.
You might even be wondering what the difference is between the two. Oh honey, until you’ve mastered the ultimate messy bun, you’ll never understand the universe-altering difference.
Bobby pins are made to hold hair snuggly in place, as in, it isn’t going anywhere. They’re created to hold their shape – closed – and apply pressure to hold hair tight. A bobby pin will snap back into place unless they’ve been stretched too far.
Hairpins are also meant to hold hair, but they’re made of thinner wire and are more flexible than bobby pins. They are U-shaped and aren’t pressurized, which means they can hold more hair. Hairpins are generally used to pin updoes and buns in place.
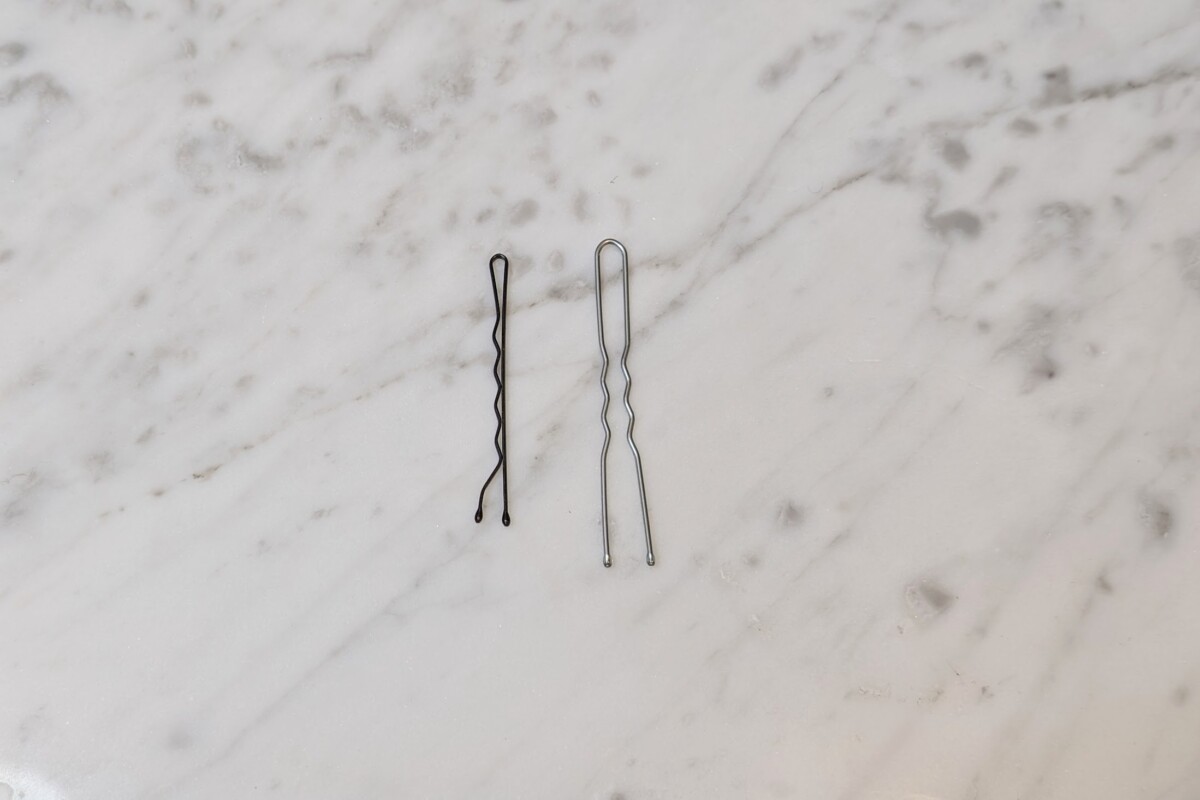
The U-shaped hairpin is the better option for wrangling vining houseplants.
If you try to do this with a bobby pin, you have to pry them open first. As bobby pins are meant to apply pressure, you have to stretch them out for them to stay open, so you end up having an unwieldy triangle. This shape makes it harder to pin a vine down without crushing it and have it stay in place in the potting mix.
With a hairpin, you can push them straight down into the soil, which makes it easier to pin vines where you want them. The rounded end leaves plenty of room for even chunky stems without crushing them. They’re basically tiny landscaping pins.
On to the ‘how’.
How to Pin Up Your Houseplant’s “Hair”
Rather than propagating a cutting, you’re going to let your plant propagate on its own. Wherever you are able, twist or bend the stem back so that you have a node or nodes touching the soil. Carefully pin the nodes down with a hairpin, pushing them straight down in the potting mix.
You want to ensure that the node remains in contact with the soil.
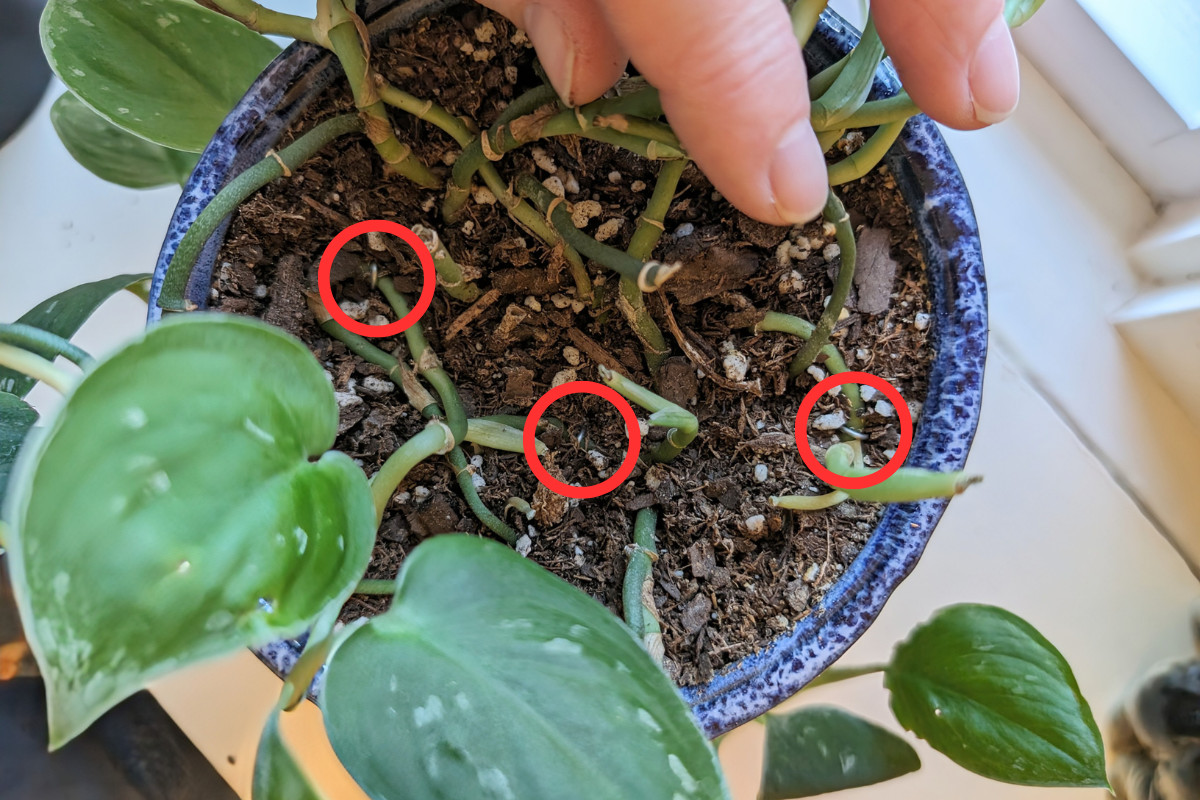
Do this in areas where the plant is a little sparse. With a little patience, your plant will start putting out new leaves at these pinned nodes. They’ll root themselves in place and put up new leaves at each node.
You get a fuller houseplant without green water and a glass that you’ll never be able to get completely clean again!
Maintenance and Repotting
Once your houseplant has started putting out new points of growth where you’ve pinned it down, you’re all set. You can leave the pins in place or remove them once that node has successfully rooted. Periodically, you may want to pin down a new section if you notice it’s thinning out again.
When it’s time to repot your plant, you can remove the pins. The plant should have rooted well enough not to need them. Wipe them down with alcohol before using them with another plant.
Why It Works
Most houseplant enthusiasts know that vining plants will put out new leaves anywhere there is a node. It’s the golden rule of propagating by cuttings.
But what some of us forget is that those same nodes will also put out new roots, too.
If you want a bushy plant, it’s got to have the roots to support what grows above ground. If you propagate in such a way that the plant can put down new roots and new leaves, you’re going to have a much fuller plant.
Propagate New Plants
You can even propagate entire new plants with this method. You know, in case there are still people in your life whom you haven’t foisted a golden pothos on. This is a great way to rehabilitate tradescantia. They seem to have a habit of quietly dying off until you notice there’s only one long tendril left.
Starting a new plant this way works best if you can use a long section from the parent plant. You’ll ensure the new plant is full and bushy if you have more nodes to work with. Don’t trim off the existing leaves; they will produce the energy needed for the new cutting to root.
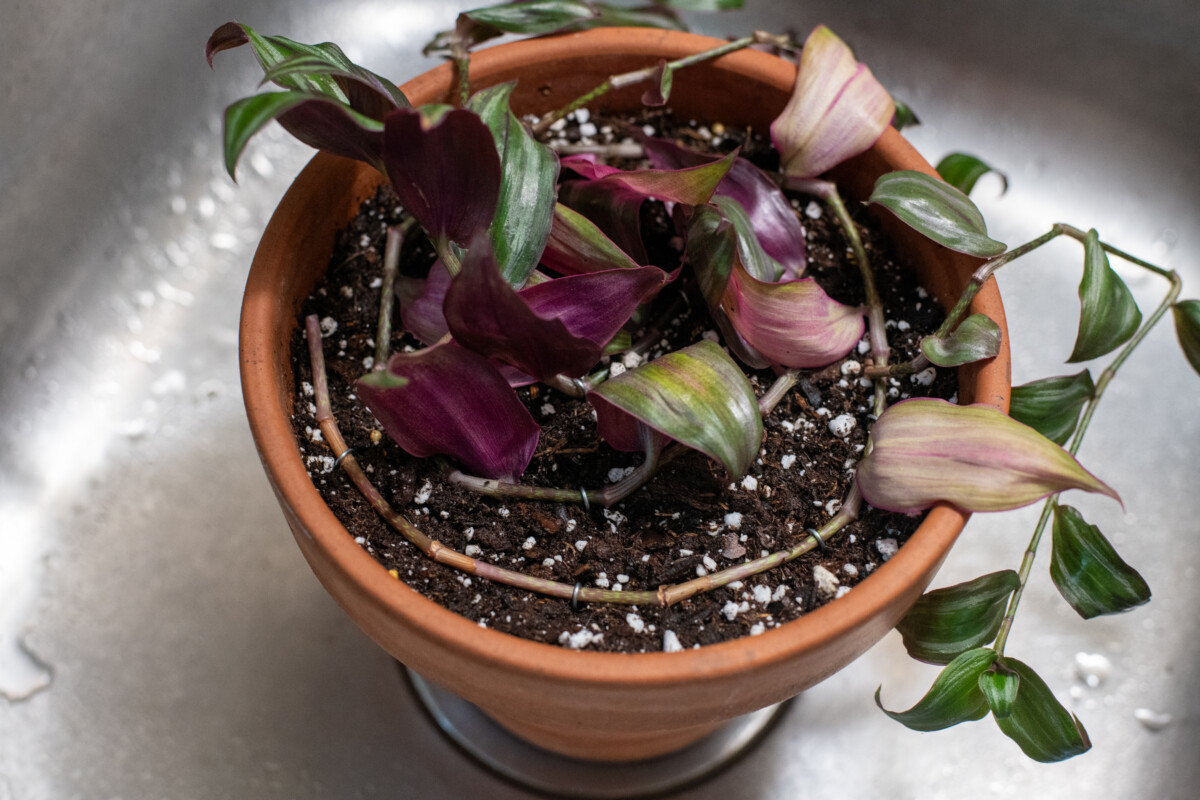
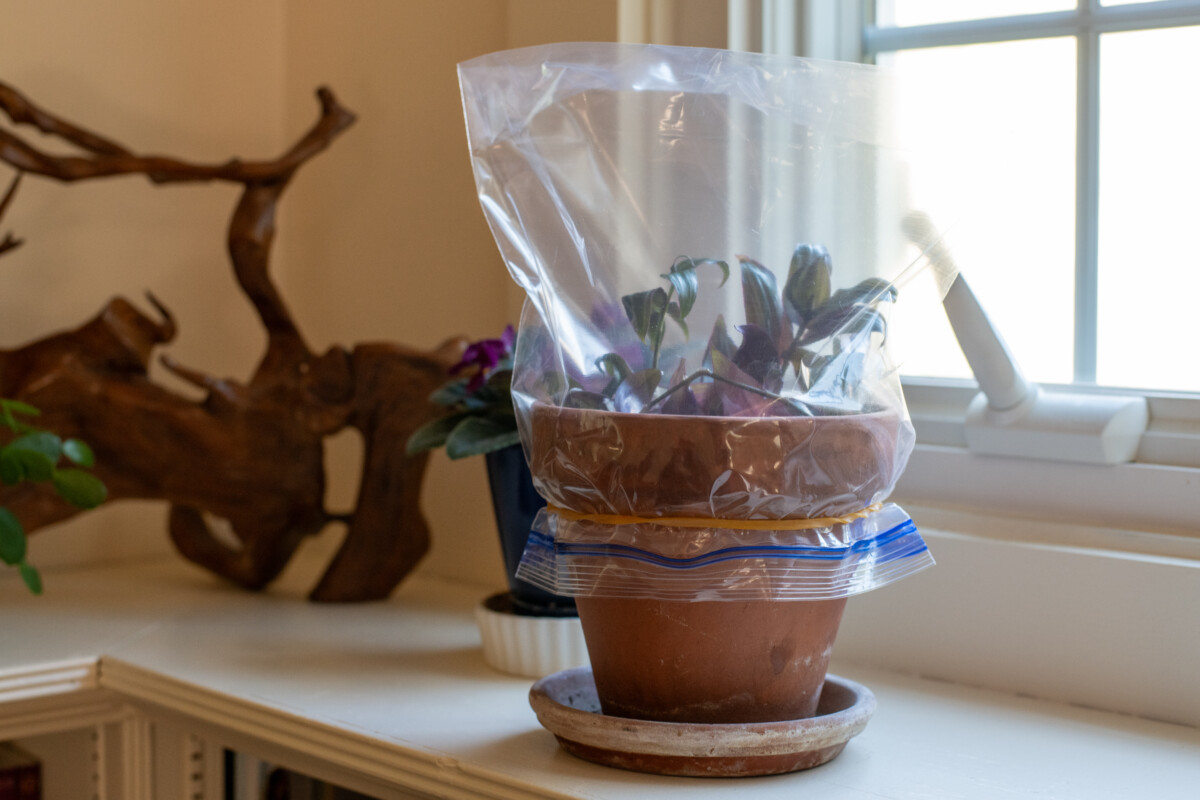
Spiral the cutting around the surface of the soil, pinning it so that all the nodes make good contact. The more nodes you can fit, the bushier your new plant will be. Ensure the soil is moist but not soaking wet, and cover the whole thing with plastic wrap.
Now, place your spiraled and pinned cutting someplace warm that receives bright (but not direct) sunlight. In a few weeks the cutting will root and begin putting out new leaves.
Not bad for something hanging out in the back of your vanity drawer collecting dust, right?

Get the famous Rural Sprout newsletter delivered to your inbox.
Join the 50,000+ gardeners who get timely gardening tutorials, tips and tasks delivered direct to their inbox.