

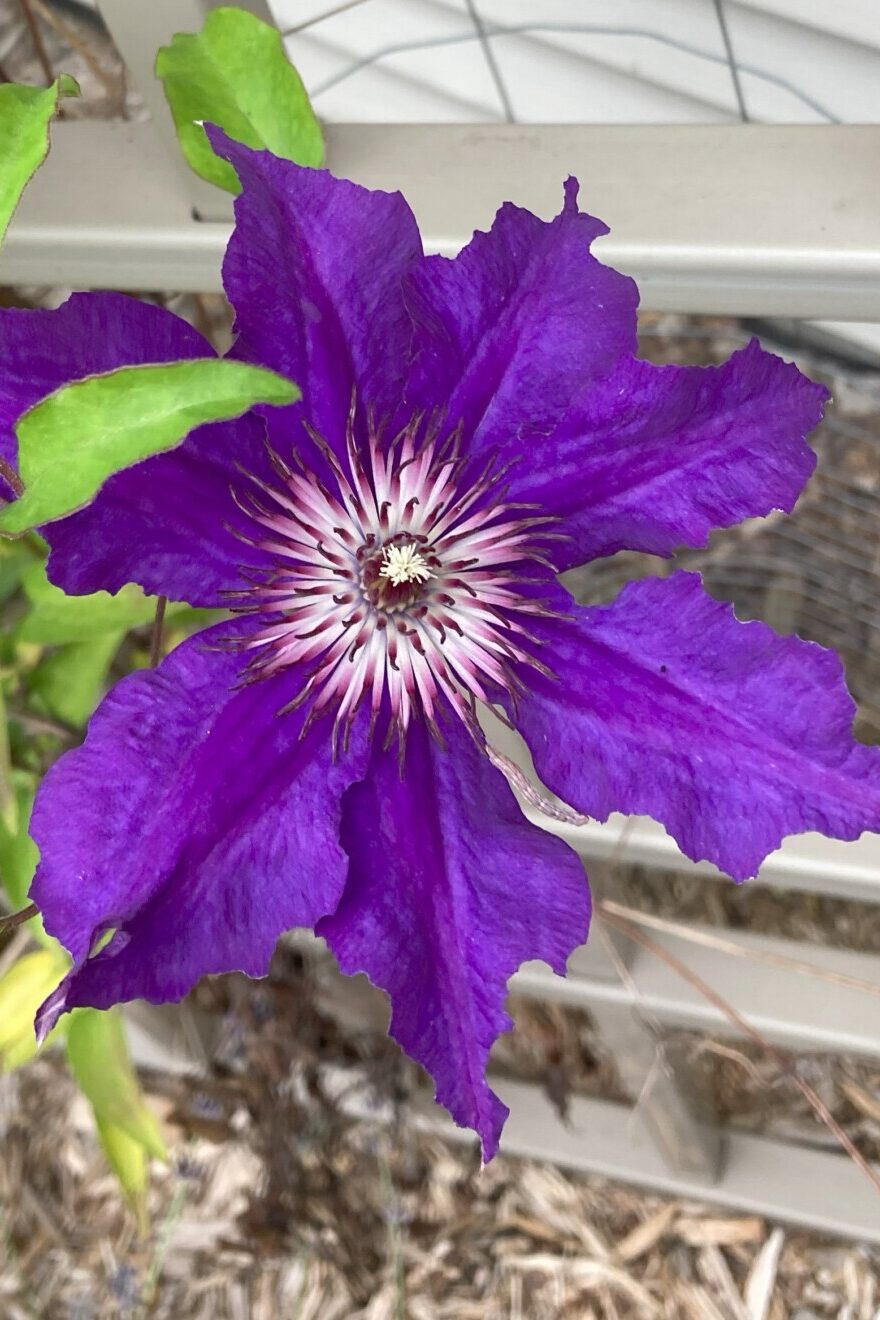
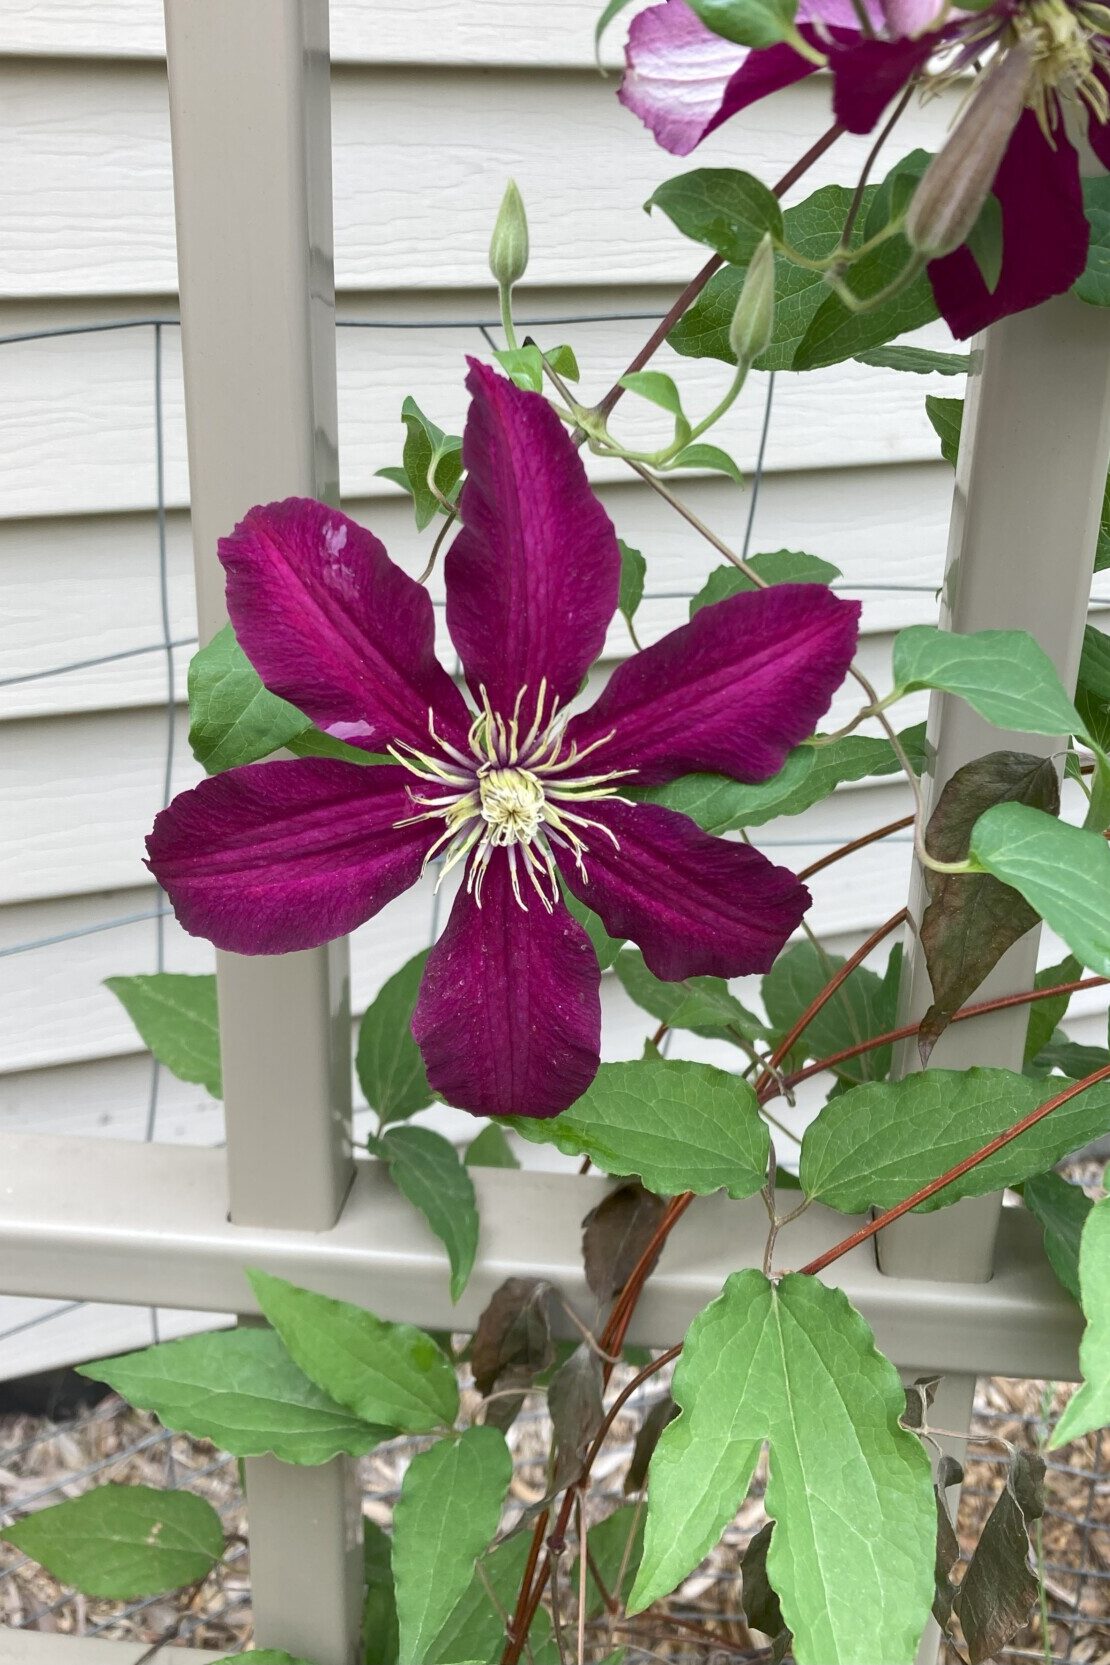
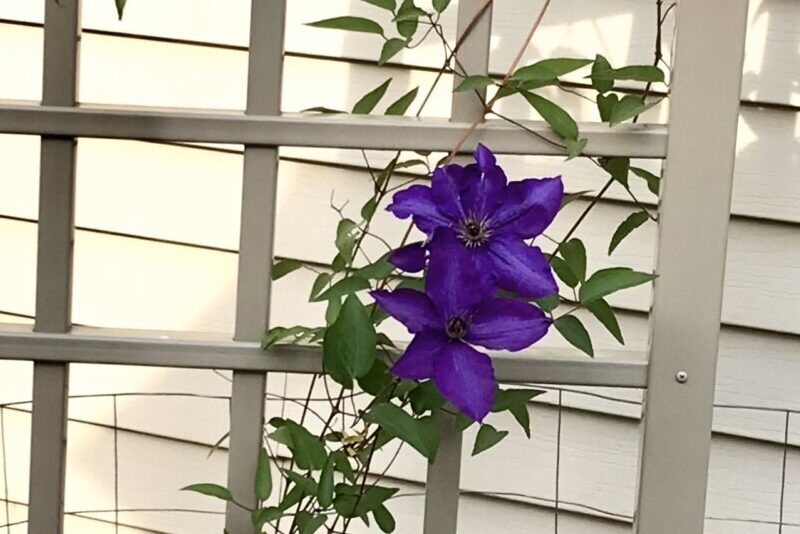
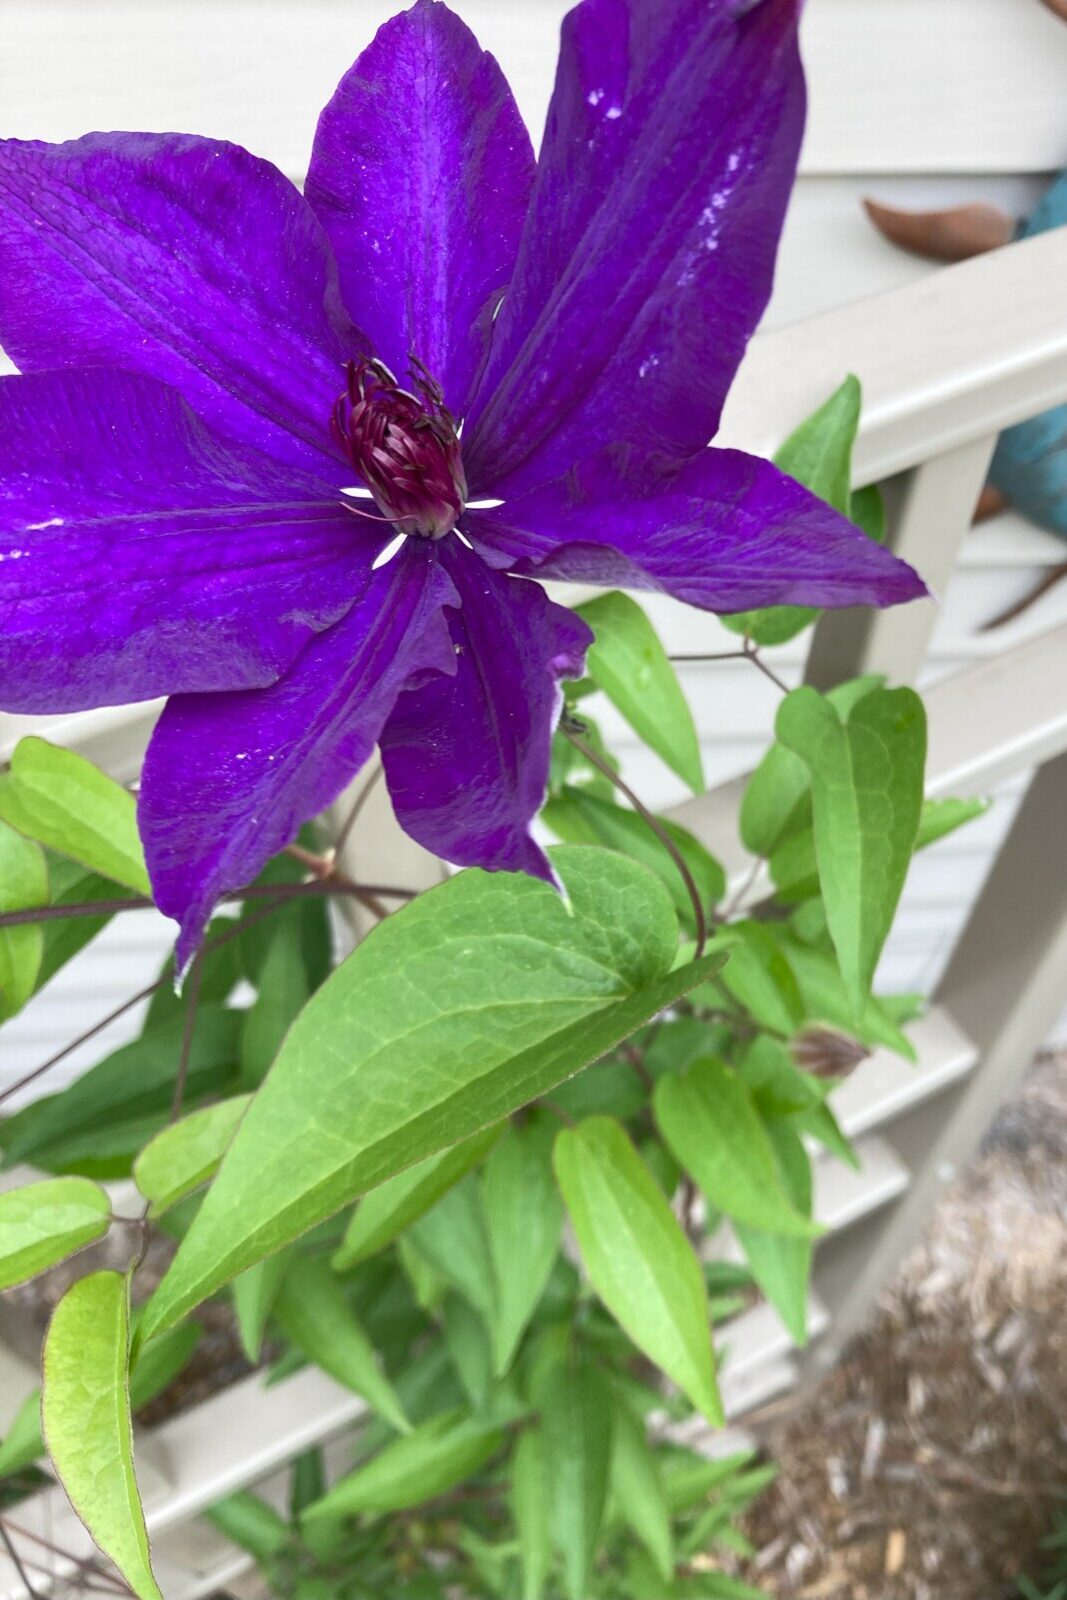
Clematis, the queen of the vine, makes a statement in every garden it inhabits. The name comes from the Greek word klema, meaning climbing vine. This showy perennial produces giant flowers over a long growing season.
Best of all, once you establish the vines, they can keep producing for decades—even up to 50 years!
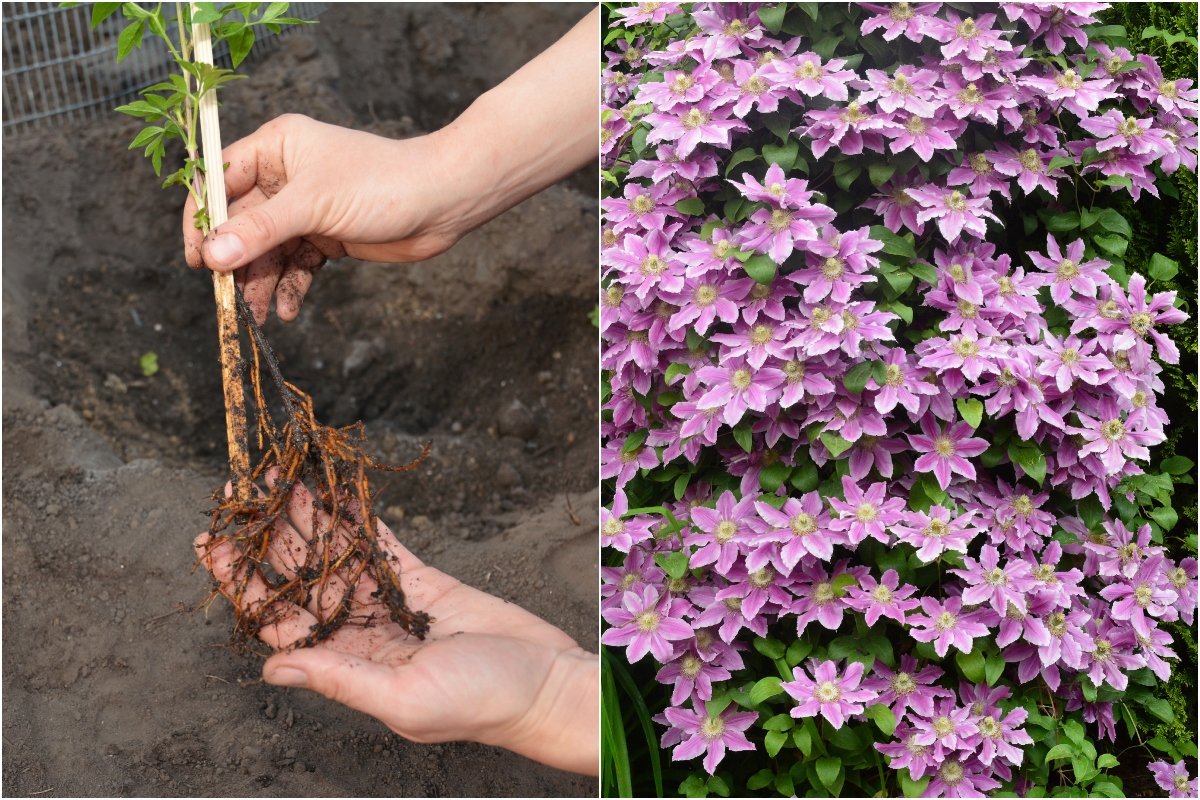
They remain among the most popular flowering vines in home gardens due to the variety of available colors, growing habits, and blooming frequency. It’s possible to plant clematis as a border plant, as a privacy screen on fences or trellises, or even in containers.
Clematis can be contrary.
They are hardy plants that can quickly take over a corner of your garden, but at the same time, are delicate enough that less-than-optimal growing conditions can prevent a plant from ever getting established. Dieback is common, and there tends to be a lot of confusion around pruning requirements.
If you love this trellis favorite and want help establishing it, this article will walk you through the details. Put in the work right now, and you’ll be rewarded with rambling vines filled with showy blooms for years to come.
About Clematis
A member of the buttercup genus, clematis are native to North America and belong to a family of more than 300 unique species that also includes hundreds of hybrids.
Despite this variety, just a handful of popular ones are used in most gardens.
Most are hardy throughout USDA zones 4 through 8. With proper pruning, they will bloom throughout the summer and produce decorative seed heads adorned with silken threads in the fall.
While most are unscented, several clematis varieties, including C. armandii, C. montana, and C. terniflora produce a light vanilla aroma.
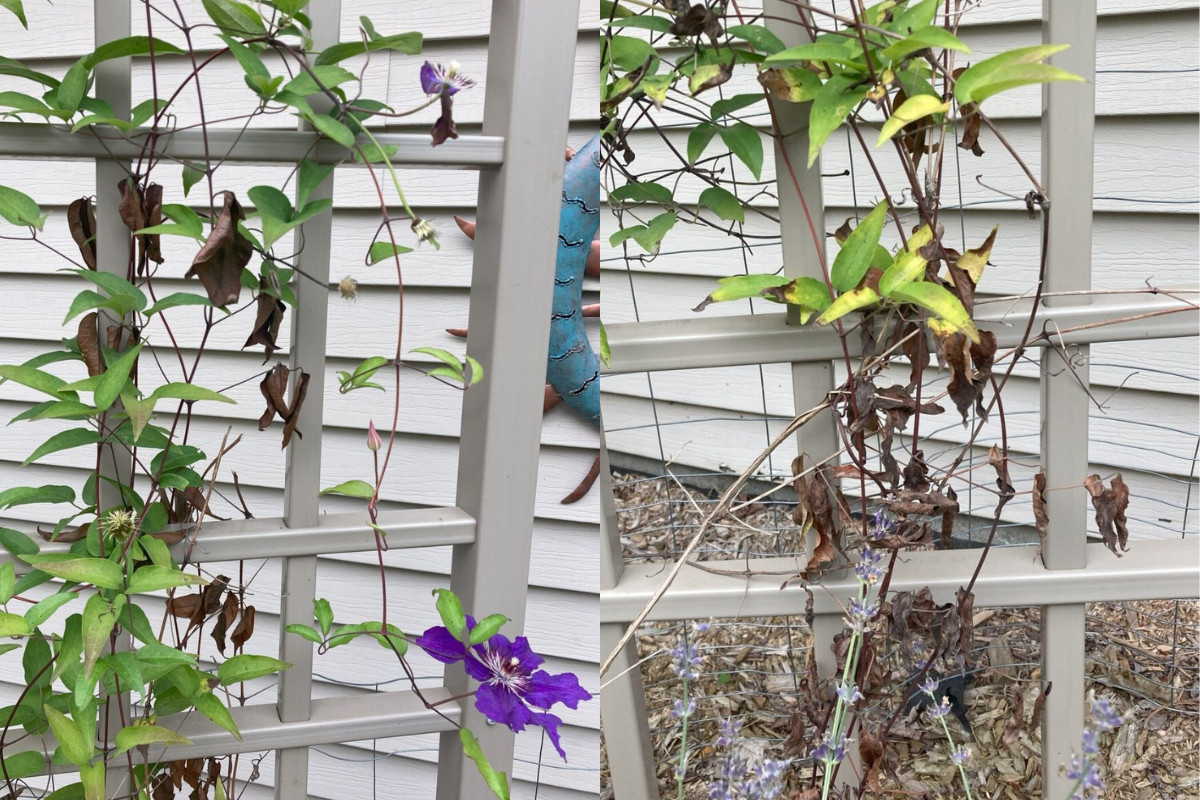
Some grow as herbaceous shrubs or sprawl around as ground cover, but most are woody vines. Best of all, the vines are non-clinging and won’t damage building exteriors. They support themselves with leaf tendrils that twist around trellises or other supporting structures.
The most popular varieties reach between eight and 15 feet high, while some of the largest can stretch 40 feet or farther.
Clematis Cultivation History
Clematises have been a popular garden plant since the 16th century when a showy purple variety known as C. viticella was cultivated in the garden of Queen Elizabeth I.
The purple-centered C. florida became popular in Japan throughout the 17th century and was featured prominently in calligraphy and lacquer work.
There are also many native North American clematis varieties that grow just as well in sunny patches in the woods as a trellis in your garden.
Clematis Groupings
All clematis varieties are divided into three groups based on flowering time and pruning requirements.
- Group 1: early flowering varieties that bloom in late winter and spring
- Group 2: reblooming summer varieties
- Group 3: flower in summer and fall
*Note: the earlier a clematis variety blooms, the less pruning it requires long-term.
Where To Plant Clematis
The best way to set your clematis up for success is through a proper planting location. They do best in well-drained, slightly acidic soil with a pH between 6.5-7.
These plants are picky, requiring at least six hours of sun a day to bloom, but need their roots kept cool and moist.
Put another way, you must keep their “heads in the sun, but feet in the shade”.
This means the plant’s base needs a healthy cover of mulch, low-growing plants, or other cover that maximizes moisture retention. Ideally, you want them to receive afternoon shade to prevent overheating.
It’s important to choose the clematis variety that suits your space visually. Bushy types like C. integrifolia work well as a border plant or in containers, while large varieties like C. armandii can overtake pergolas and other large trellises.
How To Plant Clematis
Planting works best before the first frost of fall or after the last frost of spring so the vines have ample time to get established.
If you plan to plant a transplant, make sure you cut it back before planting to reduce shock and push all the plant’s energy toward root growth.
Make sure you dig a planting hole that’s approximately three times the width of the root ball and several inches deeper. The plant’s crown needs to be about four inches below the soil surface to encourage branching and stem development.
After you refill the hole around the roots, water thoroughly and add a layer of mulch to keep the roots cool.
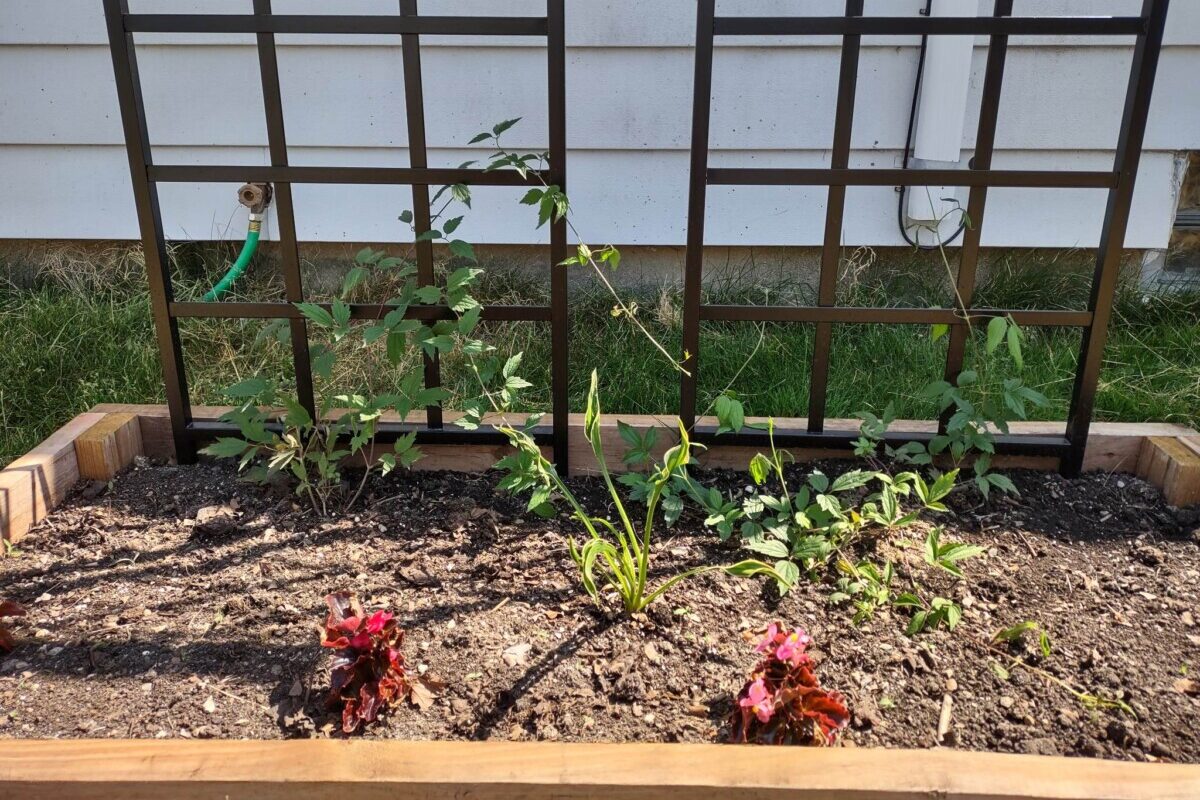
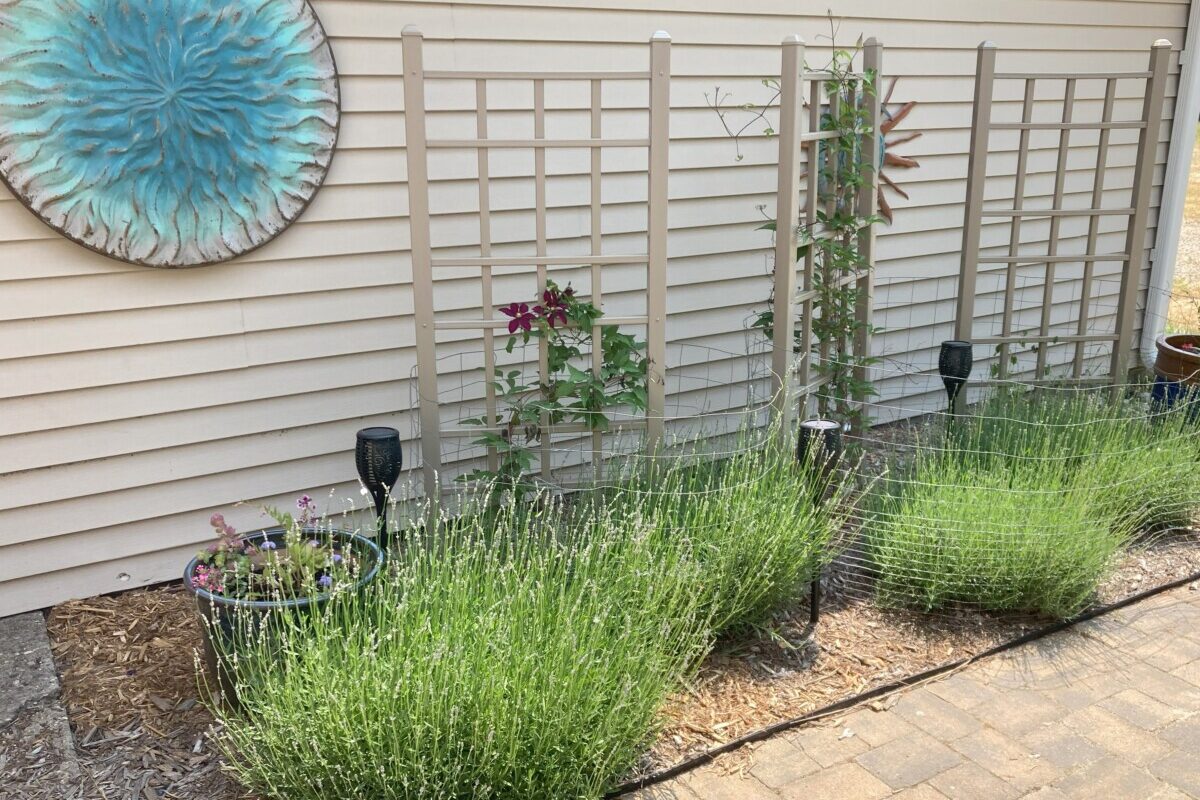
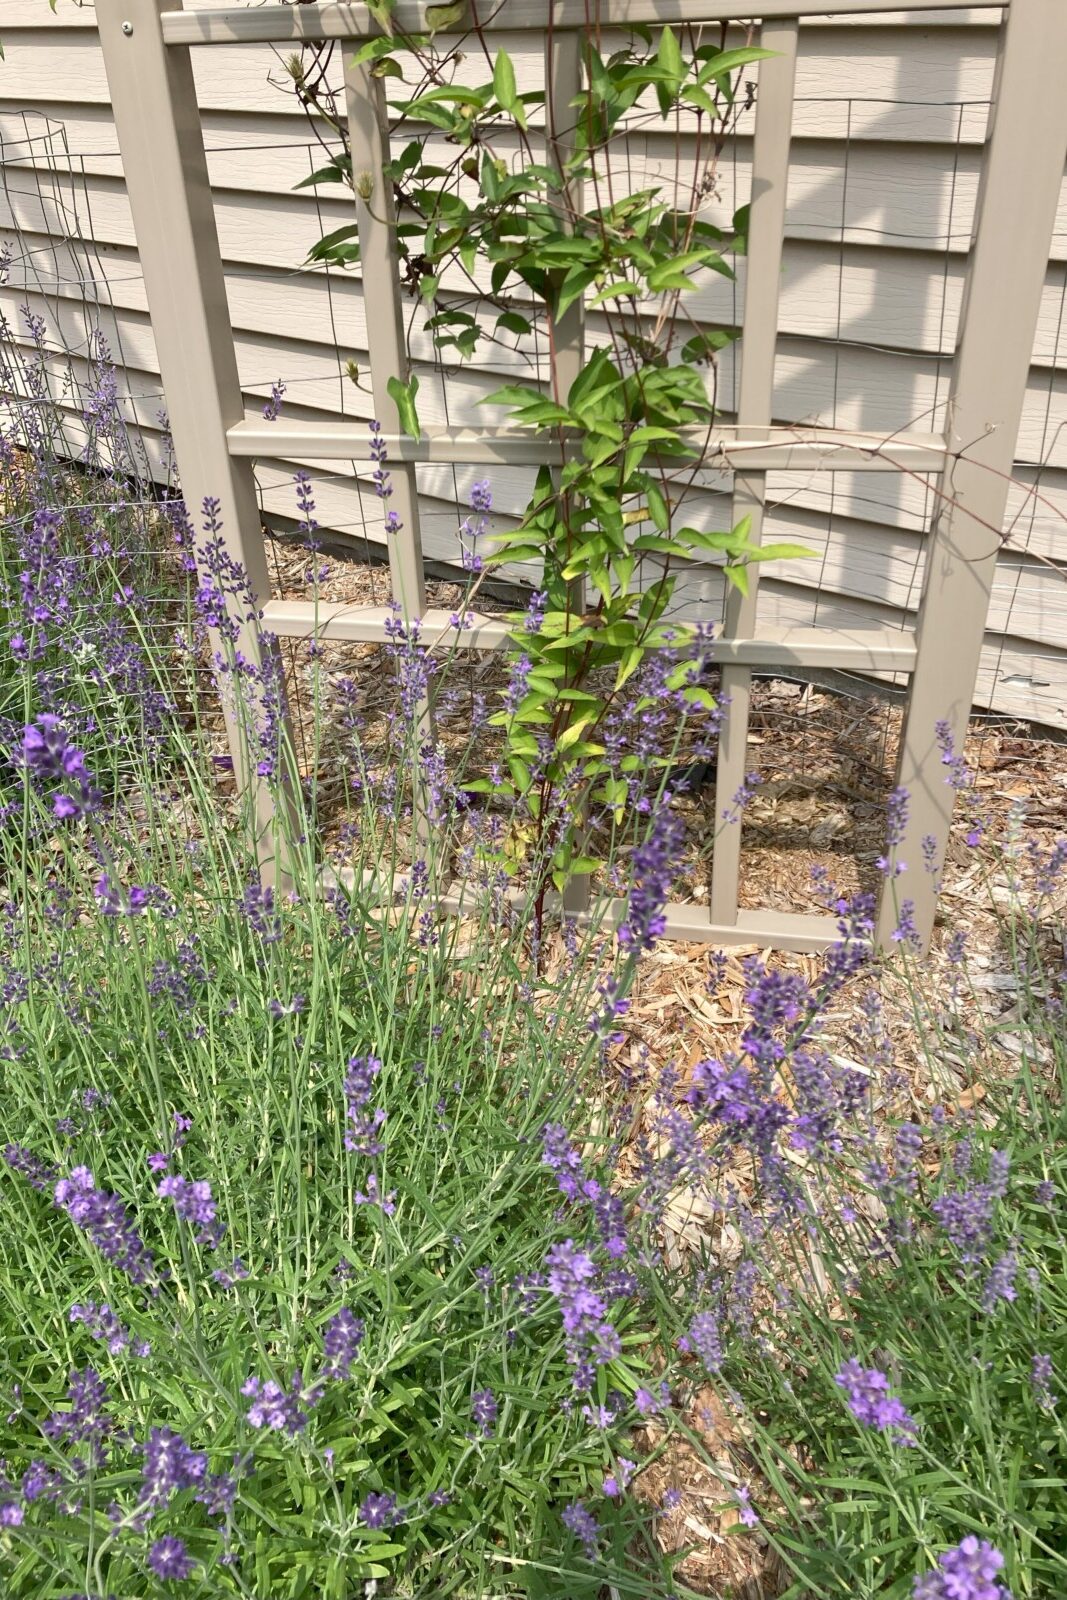
Beyond mulch, consider placing a shallow-rooted plant near the clematis’s base to offer extra shade protection. We have our vines interspersed with lavender for this reason.
Don’t plant too densely. You always want to ensure the plants get airflow from all angles to prevent bacteria or fungal spores from spreading disease.
It’s also possible to grow clematis as a ground cover. Given the space to sprawl, it will quickly overtake bare areas and unsightly problem spots.
Choosing a Trellis
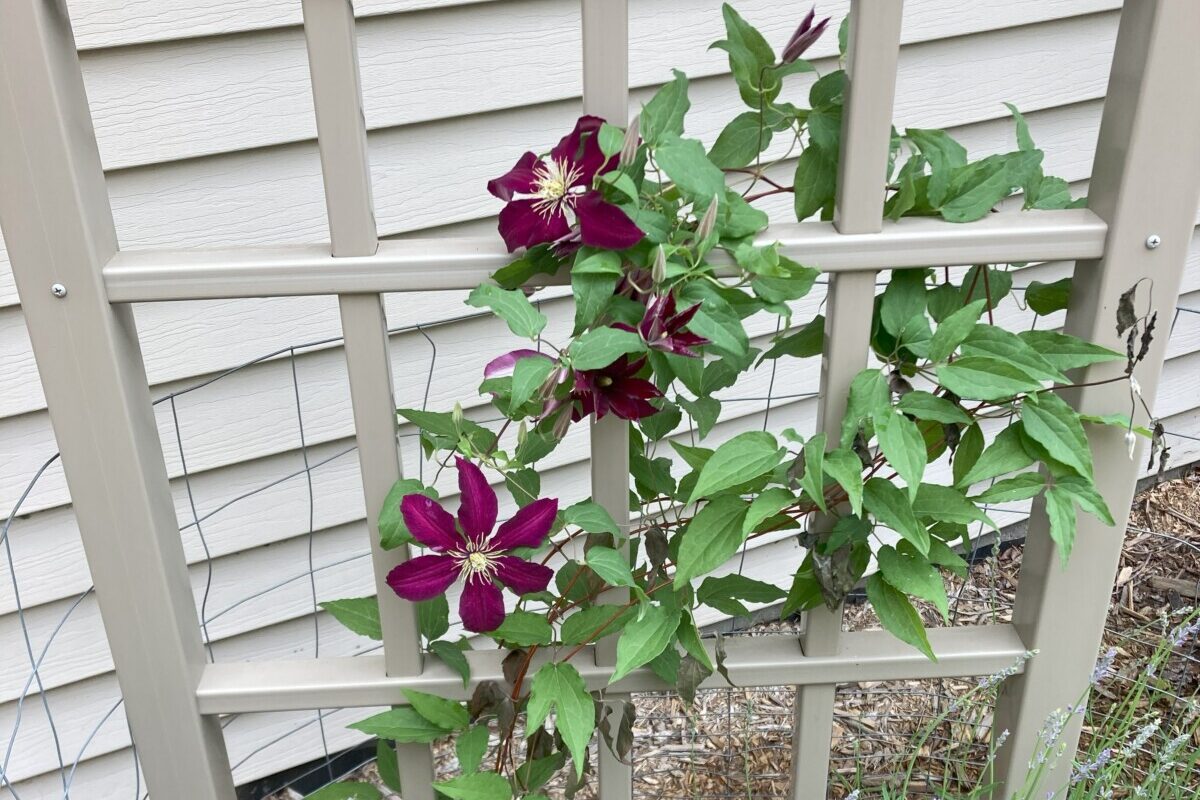
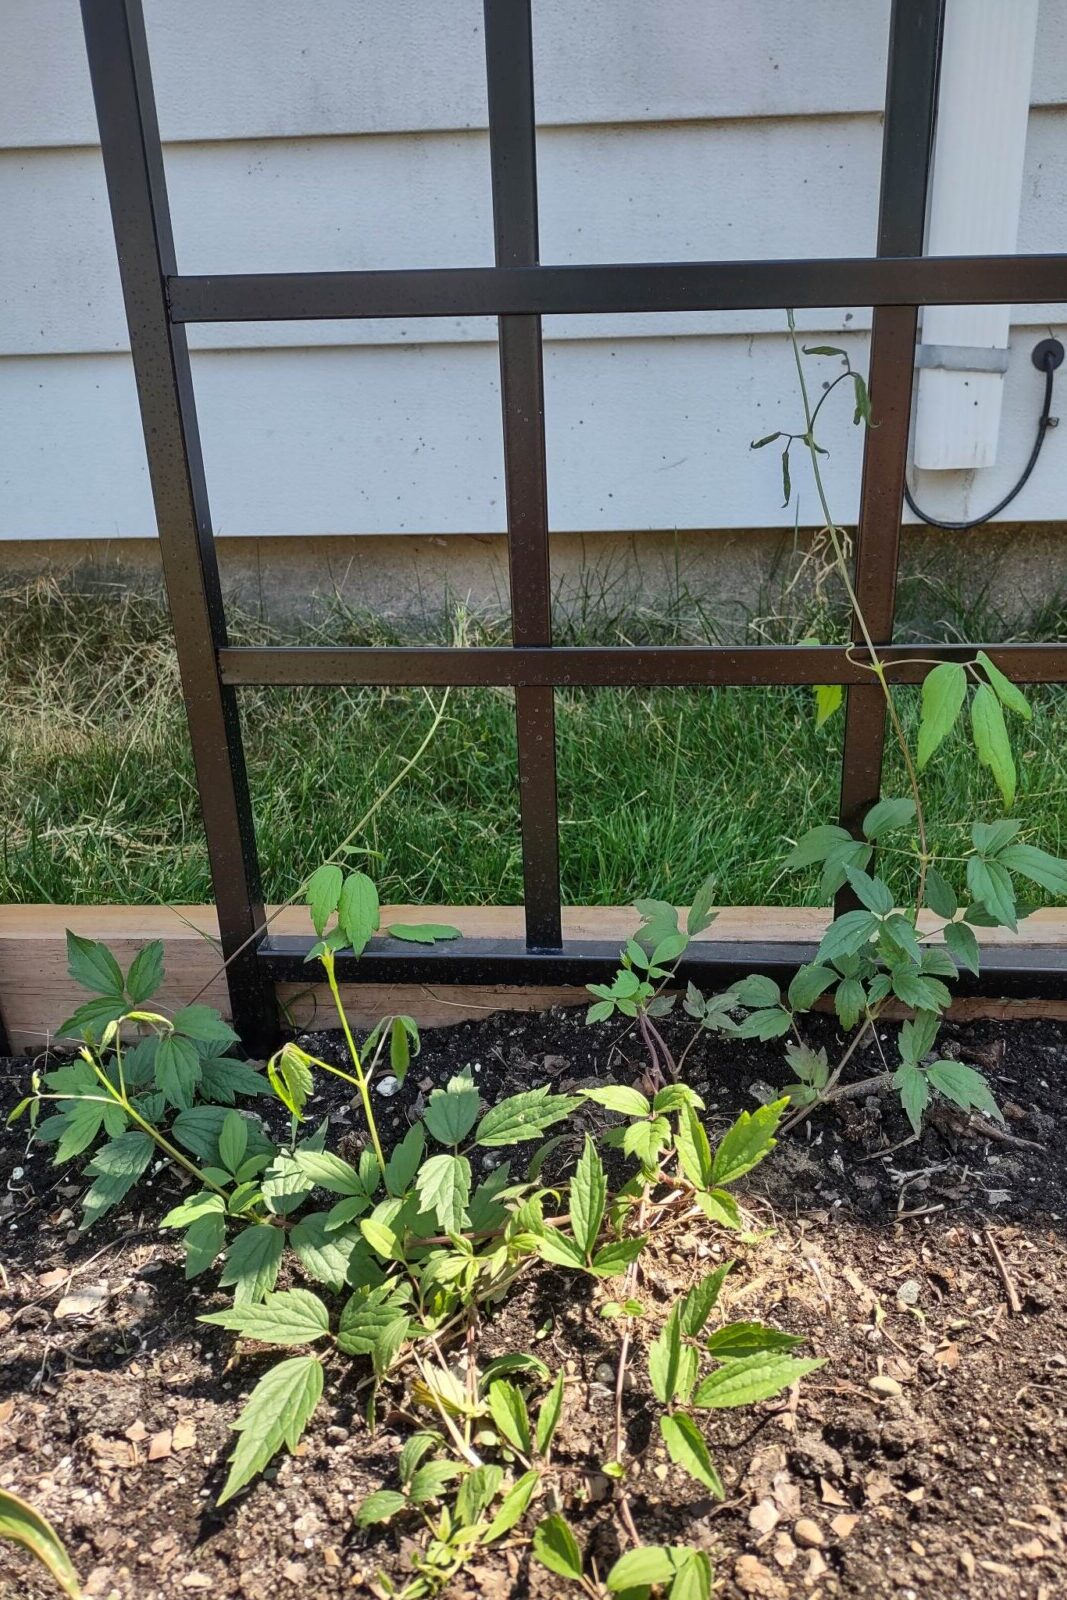
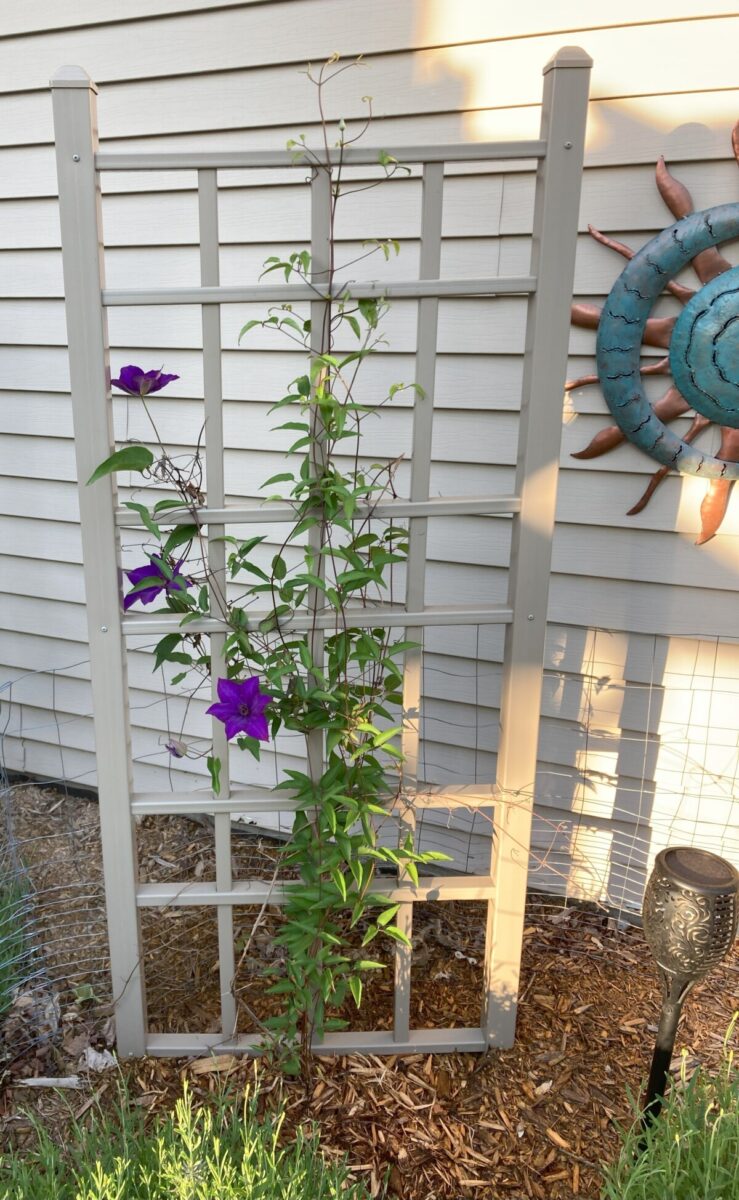
As a vertical climber, most clematis varieties grow best on a support structure like a trellis, fence, or arbor. Without it, the plant will sprawl over the ground.
The overall height depends on the variety you’re growing. Smaller clematises can grow on poles ranging from 2-5 feet, while arbors are better for larger types that often reach 12 feet or taller.
Ensure the trellis contains slats that are small enough for clematis leaf tendrils to wrap around. Otherwise, you’ll need outside support to prevent the vine from slipping out. Plant clips, twine, and even Velcro can all work.
Caring for Clematis
During the first season of growth, it’s best to occasionally pinch out the growing tips over the first summer to encourage branching and ensure the plant puts its energy towards root development. This is most important for spring plantings.
The plants are finicky until they get established, so refrain from messing with the roots or attempting to transplant them. They also tend to be a favorite of rabbits and rodents, so consider protecting your plants with a wire fence.
Clematis can be heavy feeders and will appreciate a dose of liquid seaweed, fish emulsion, or all-purpose fertilizer in the spring before the buds have formed. From spring on, you can add a monthly dose of 10-10-10 fertilizer.
Clematis Water Requirements
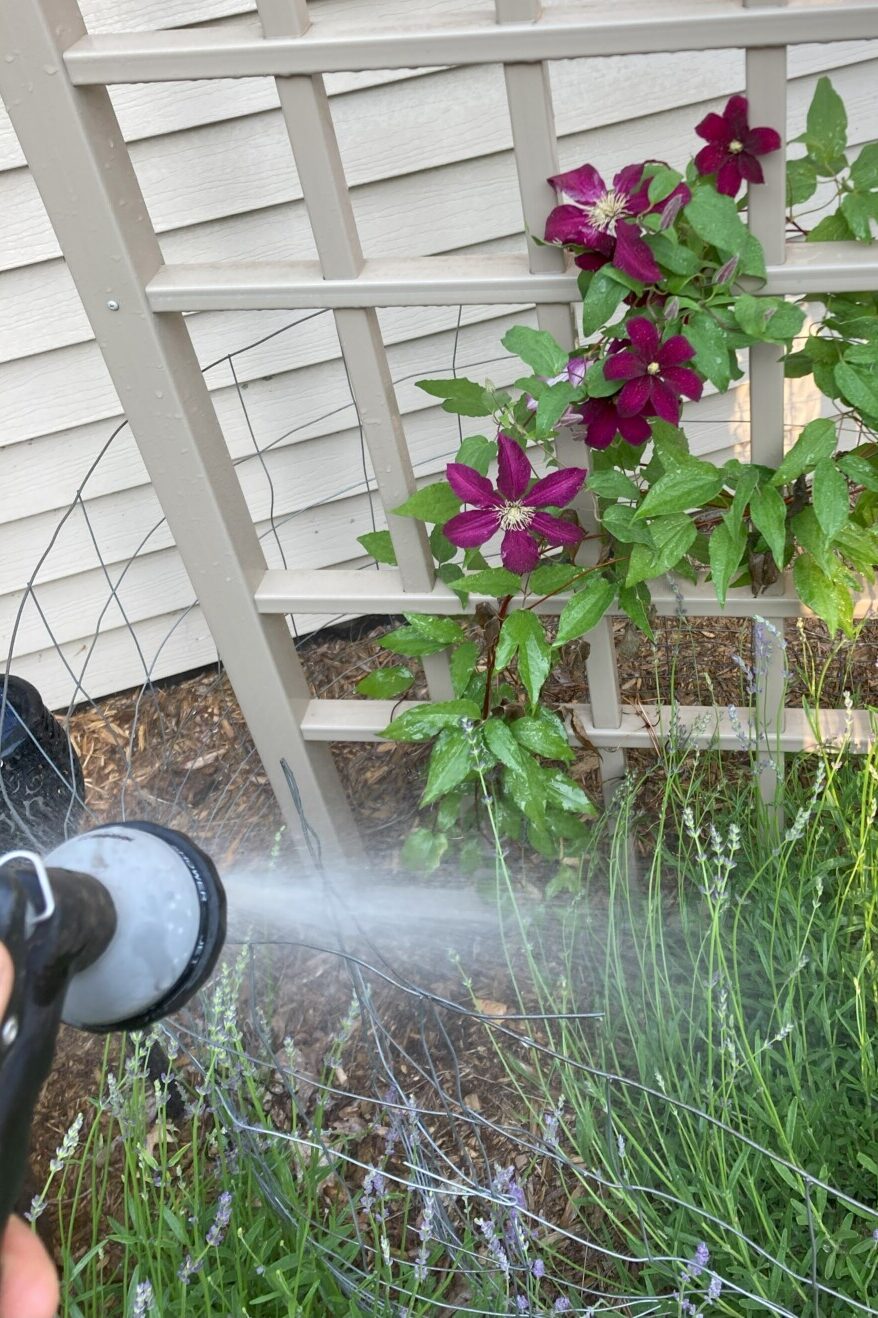
Ensure the soil stays moist with weekly watering sessions throughout the first growing season. Clematises require consistent amounts of moisture to develop a robust root system.
After this point, they will need at least one inch of water weekly. Use a garden rain gauge to monitor how much you need to add.
Clematis Winter Care
While most clematis varieties can handle winter conditions, continuous freezes and thaws can cause problems. Protect the crown with a layer of thick mulch.
Prune back dead wood in the spring to make room for new buds. It’s also smart to remove any stems over three years old.
Pruning Clematis
Pruning clematis promotes branching and encourages flower formation. How you prune will depend on which group the variety falls into, based on flower size and bloom time.
Group 1: Early flowers that appear on last year’s stems. Prune after flowering to remove deadwood.
Varieties: C. armandii, C. alpina, C. montana, and C. macropetula.
Group 2: These double and semi-double flowers bloom in late spring on last year’s growth and again in late summer on the new shoots. Prune after the spring flowers and remove dead wood in late winter.
Varieties: Miss Bateman, Nelly Moser, Henry, and Elsa Spath.
Group 3: Produces large flowers on the current season’s growth. Prune hard in the late winter, leaving just two pairs of buds on each stem.
Varieties: C. viticella, C. recta, and C. x jackmanii.
Fellow Rural Sprout contributor, Mickey Gast, has written a brilliant guide demystifying clematis pruning by type which you can read here.
Clematis Pest and Disease Problems
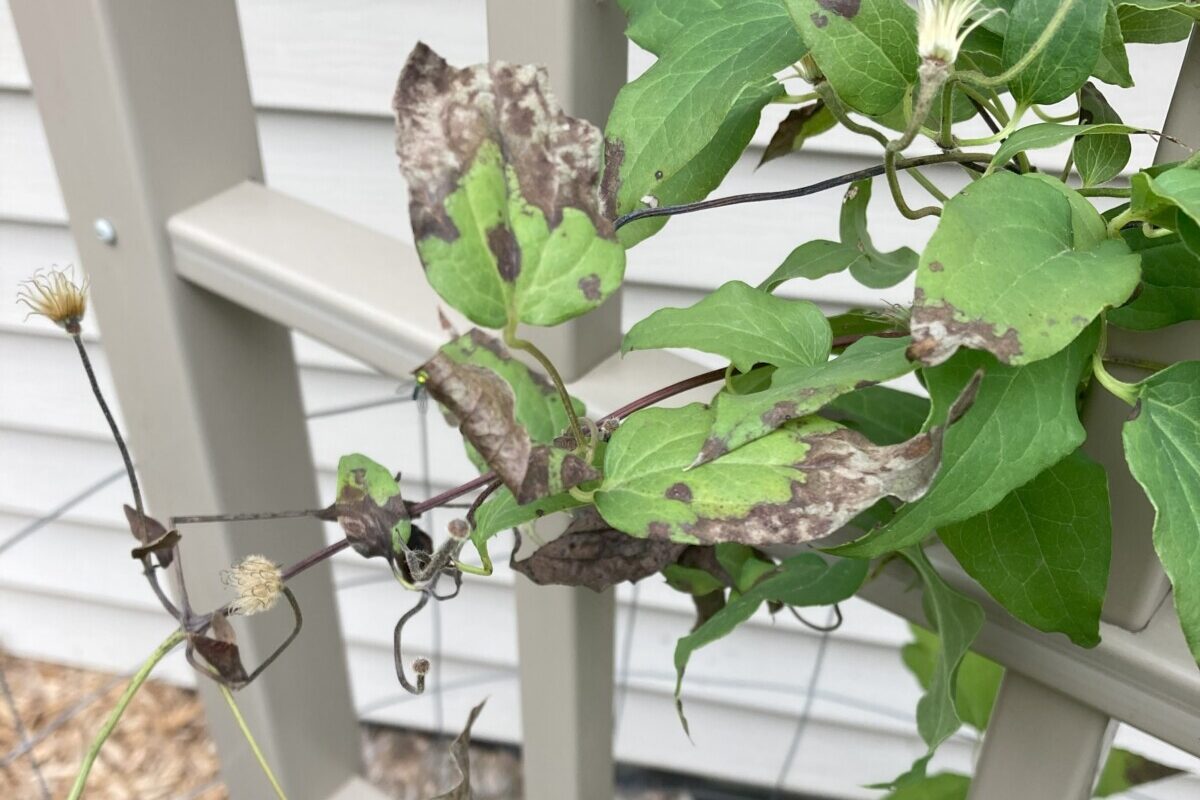
While clematis can be tenacious once it takes off, the plant is prone to many disease problems.
Clematis wilt is a stem rot disease that shows up as blackening foliage and stems and collapse of the infected vines.
A plant will look perfect and then wilt just as the flower buds begin to open. It’s caused by the soilborne fungus Calophoma clematidina, which spreads slimy spores that can infect pruning cuts.
Thankfully, affected plants can recover on their own within a few years. Avoid contamination by removing diseased stems at the first sign of problems. You can prevent issues by choosing resistant varieties like C. alpina, C. montana, and C. macropetala, and avoiding any damage to the stems and roots.
Keeping clematis mulched or in the shade can also attract slugs and snails to new growth at the soil line. Protect plants with a barrier of crushed eggshells or diatomaceous earth that renders the ground unpleasant to travel over.
The plants are also suspectable to fungal issues like powdery mildew. Ensure the soil dries out between water sessions and that they have plenty of air circulation to prevent it.
In the spring, clematis can develop slime flux, a smelly white substance that oozes from the damaged stems. Cut infected stems below the ooze and dispose of infected material to prevent decontamination.
Clematis Propagation Strategies
While it’s possible to grow clematis from seed, the germination process takes up to three years. Propagating from stem cuttings will get you results far faster. It’s best to take cuttings from the softwood of vines in the spring before there are flowers or flower buds.
Choose a long section of healthy vine that has several sets of leaves. This allows for multiple cuttings. Allow this new growth to mature for a few weeks before cutting to ensure the stems are hardy enough to withstand the shock.
Use clean, sterile scissors to cut off sections three to four inches long, cutting half an inch above a leaf joint on both ends. Dip the bottom into a rooting hormone and place up to four prepared stems into a four to six-inch pot filled with starter soil.
Place chopsticks into the pot and cover it with a plastic bag secured on the bottom to retain moisture. The chopsticks prevent the bag from touching the cuttings. Keep the pot in a place with bright, indirect light and ensure the soil stays moist.
You can expect roots within four to eight weeks. At this point, it’s possible to transplant the vines to their permanent location.
Clematis for Cut Flower Arrangements
Though most gardeners grow clematis for a blooming vine, it’s also possible to harvest the flowers for bouquets. Shrubby and herbaceous types work best, including Dutchess of Albany, Little Ducklings, and Alionushka. The short stems can make them hard to work with, so keep the flowers near the bottom of the arrangement so they have extra support.
When harvesting, select blooms that aren’t fully mature, as they will last the longest in your vase.
Ideally, they should be half open with stamens that haven’t unfolded.
Harvest early in the morning or evening so the flowers aren’t wilting from the heat. Use a sharp knife to cut the ends of the stems and remove any leaves that would sit in the water.
Consider adding a hydration solution to the water to encourage the blooms to open fully and prolong their lifespan.
In Summary
Clematis aren’t the easiest flower to grow. It takes planning and preparation to get established. But once they do, they reward you with showy flowers all growing season for years to come. Take the time to start yours off well, and the long-term maintenance should be minimal for this garden centerpiece.

Get the famous Rural Sprout newsletter delivered to your inbox.
Join the 50,000+ gardeners who get timely gardening tutorials, tips and tasks delivered direct to their inbox.