


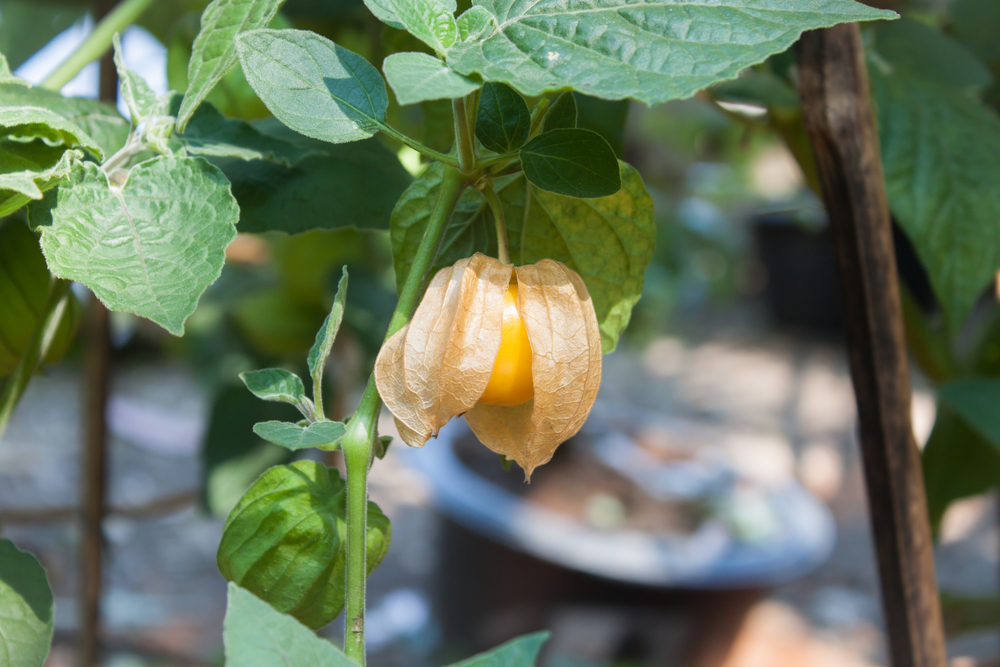
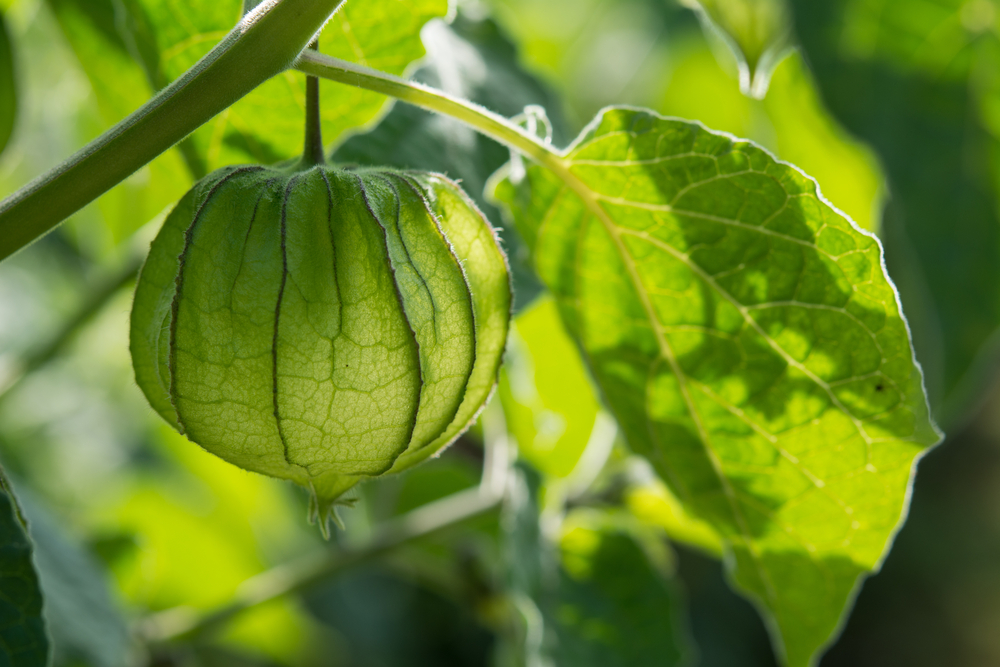
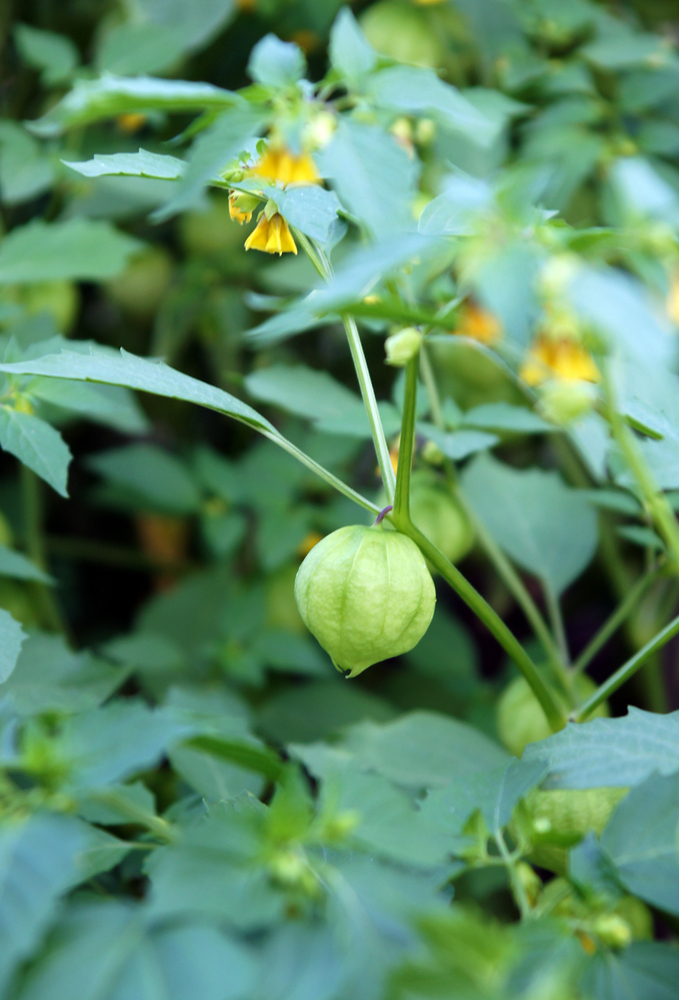
While visiting a friend a few summers ago, she gave me a tour of her vegetable garden. As we walked, we came upon this weedy looking plant that was covered in what appeared to be green Chinese lantern flowers. Dried ‘lanterns’ littered the straw underneath it.
Seeing my puzzled expression, my friend smiled and said, “It’s a ground cherry, have you ever seen one?”
I hadn’t. To me, it looked like a scraggly upstart rather than something planted on purpose.
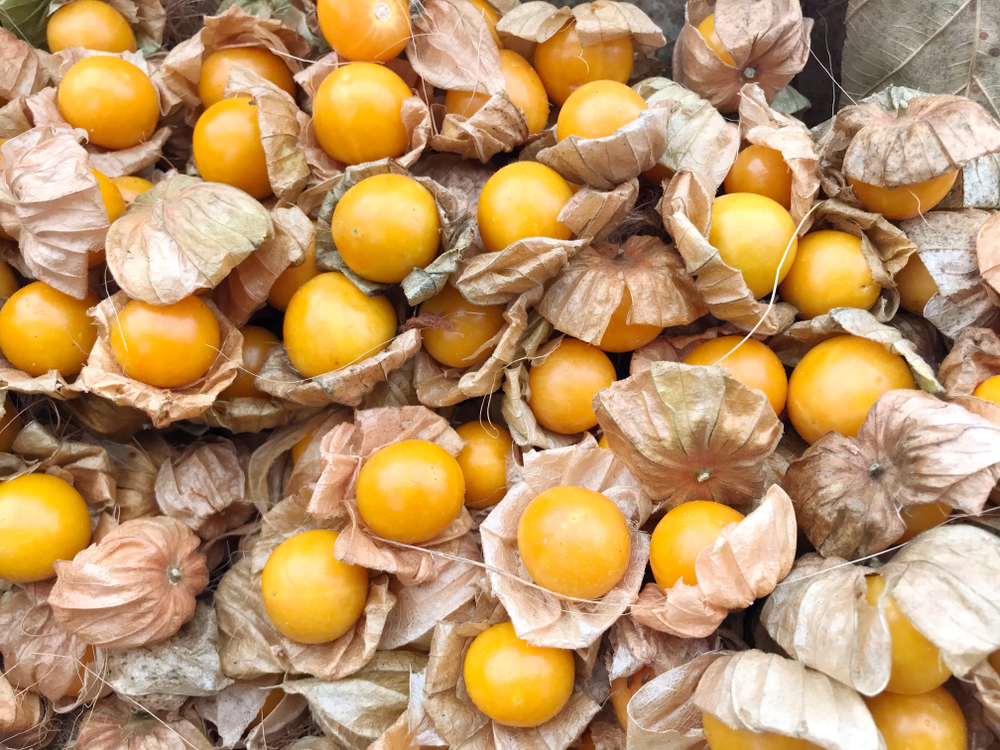
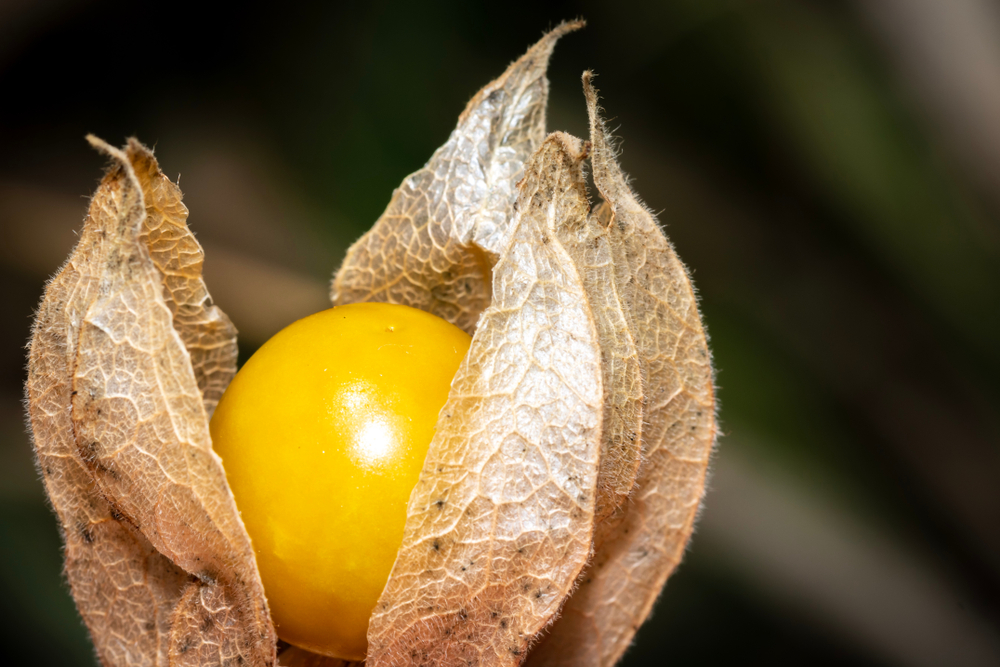
She reached down and picked up one of the husked fruits from the ground, deftly shucked the husk, and handed to me what appeared to be a tiny, apricot-colored tomato about the size of a marble.
“Try one,” she said. Not knowing what to expect, I popped it into my mouth.
“Wow! It tastes like some sort of pie!”
I couldn’t believe the flavor, it was sweet and creamy, with the smallest hint of tomato. Most surprising was the buttery-vanilla finish. The flavor is hard to describe, it’s a bit like a pineapple, but without the acidic bite.
I stand by my first impression, eating a ground cherry is a lot like bite-sized pie that’s good for you.
I came home from my visit with a small paper bag full of these delicious fruits. Every time I would pass the bag on my counter, I would grab a couple and pop them into my mouth.
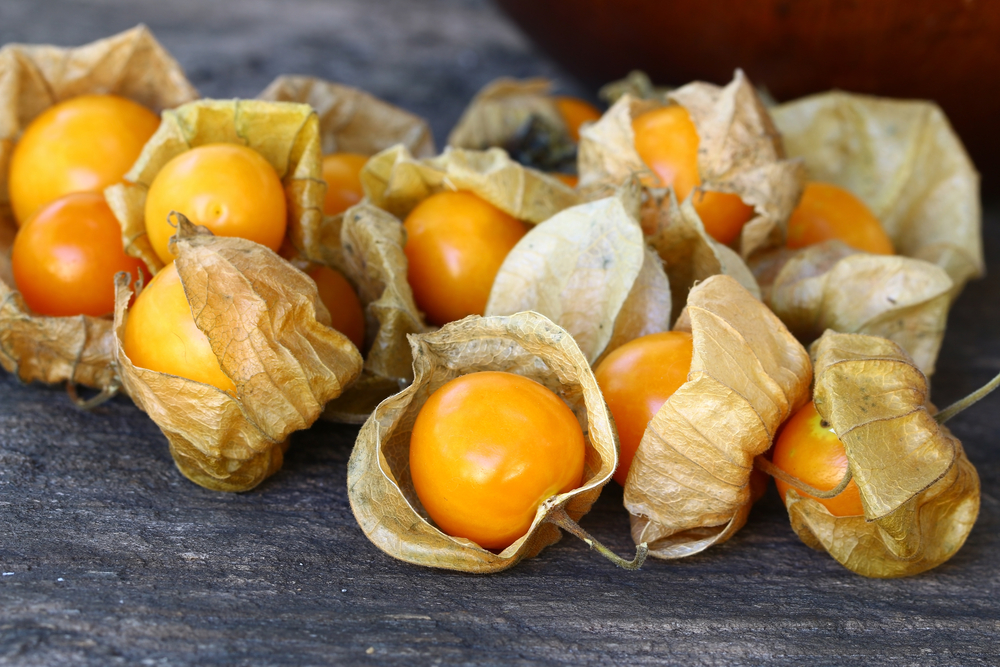
These little orange berries are one of nature’s most snackable fruits.
If you want to try something new in your garden this year, give these easy-to-grow plants a go!
Making a comeback
Ground cherries used to be quite commonplace. However, over the years, their popularity dwindled as people began to buy their food rather than growing it themselves. Because the fruits didn’t ship well, ground cherries never found their way into stores, so they fell out of fashion. (Mother Earth News 2014)
Foragers have known about the delights of ground cherries for ages, as the plant can commonly be found growing in fields or in ditches.
And for gardeners everywhere, these tasty little fruits are making a comeback. Due to their weed-like and self-sufficient nature, ground cherries are an easy addition to your garden if you’re looking for something different.
Ground cherries are part of the Solanaceae family, similar to their husked cousins, tomatillos. And they grow a lot like their other cousins – tomatoes.
Depending on where you live, they are known by a number of other names – poha berry, strawberry tomato, cape gooseberry, or husk tomato.
Several popular varieties can be easily found to start from seed – Aunt Molly’s, Goldie, and Cossack Pineapple.
These frost-tender plants need a long growing season. For those of you in the U.S., that’s USDA Plant Hardiness Zone 4 or above.
Starting Ground Cherries Indoors
While they are getting easier to find in nurseries, you’ll probably need to start ground cherries from seed. At least for the first year.
Plant your seeds indoors around 6-8 weeks before you intend to transplant them outside. Sow seeds a ¼” deep in a well-draining potting soil mix. For an extra boost mix in a little compost. The seeds should germinate within 5-8 days.
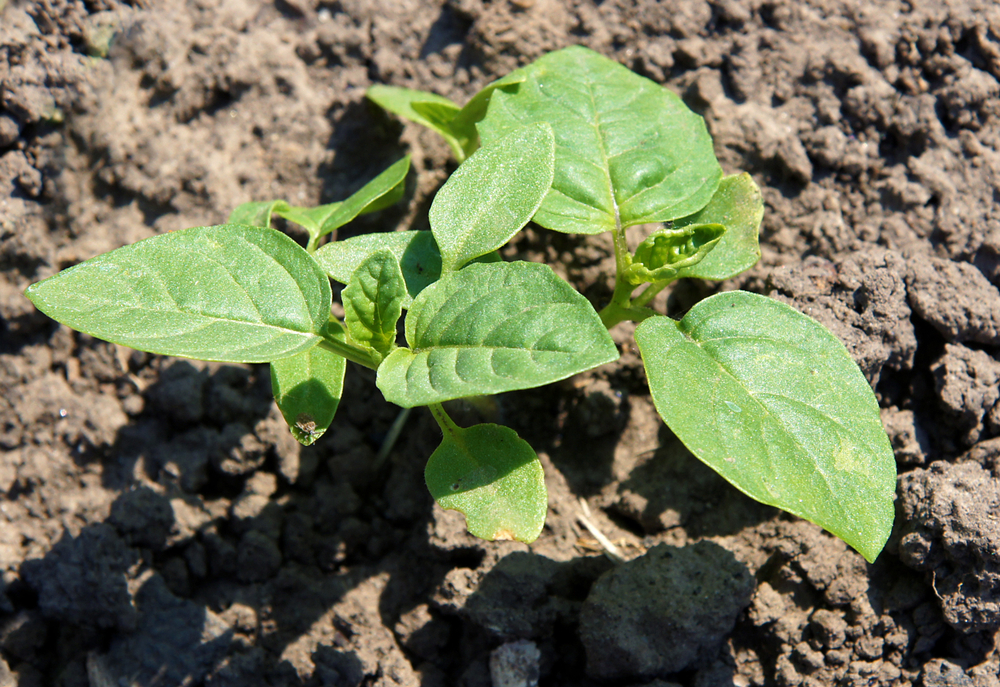
Ground cherry seedlings can take a little while to get off to a good start, so be patient with them. Keeping their soil warm will help, put the seedling pots somewhere nice and toasty. As long as they get enough light, the top of your refrigerator or clothes dryer is a good spot.
You can also try putting a layer of plastic wrap over the top of the seedlings to hold in moisture and heat until they sprout.
When to Plant
Like their other Solanaceae cousins, ground cherries are frost-sensitive plants. You’ll need to wait until all danger of frost has passed and the ground is sufficiently warmed before planting them outdoors.
You can speed up this process by tilling up the dirt and putting down black landscape cloth to help the soil warm up quicker.
The starts will need to harden off before being transplanted outdoors. Start slowly with about half an hour a day and gradually increase their time spent outdoors.
Container Planting
Ground cherries do exceptionally well in containers. They even do well growing upside down. If you’re limited on space and want to try something beyond the usual tomatoes, give them a go.
Be sure to plant ground cherries in a container that is large enough to accommodate their roots, so at a minimum, 8” deep. Because they do tend to creep in a garden, I prefer to grow ground cherries in containers.
Remember that plants in containers will need to be watered more frequently.
Soil, Sun, and Feeding
Ground cherries are a sun-loving plant, so pick a spot that gets at least 8 hours of bright sunlight per day. They prefer well-drained soil.
These little guys require a lot of nutrients to grow and produce fruit. You’ll be rewarded with an abundant crop if you feed them well from the start. To do this, you’ll want to amend the garden or container soil with compost.
Plant the starts deep in the soil, being sure to leave at least three sets of leaves above ground.
These little guys can get leggy and sprawl if they aren’t contained. Stake them early on and use a small tomato cage to help contain them.
Other than the initial compost, ground cherries don’t need much in the way of fertilizer. In fact, if given too much nitrogen-rich feed, the plants tend to get bushy without producing much fruit. It’s best to provide them with a good start with well-composted soil and then let them be for the remainder of the growing season.
Pests and Disease
Ground cherries are generally healthy with few issues of disease or pests. Flea-beetles and whiteflies can occasionally pose problems, but this is easily remedied by using floating row covers over your plants.
Harvesting
Depending on the variety you choose, you will typically begin to see fruit between 65-90 days after being transplanted.
Ground cherries will produce fruit non-stop until frost kills them. You can extend your growing season by covering your plants before a frost.
Each plant will yield hundreds of tasty fruits, so one or two plants will easily keep you in enough ground cherries for snacking, cooking, and preserving.
Often, the fruit will fall off of the plant before they are ripe. Just harvest the fallen fruit and let them continue to ripen inside their husk. The husk will take on a straw-colored, papery look when they are ready, and the fruits themselves will be yellow to gold in color.
To make harvesting easier, place a layer of straw beneath the plant to catch the fallen fruit. Or, if you used black landscape cloth to prewarm the soil, leave it in place, and plant your starts directly in the soil by cutting a slit in the landscape cloth. Again, this will keep the fallen fruit up off the ground.
Eating
To eat them, simply remove the husk. If you aren’t going to eat the fruit right away, it’s best to leave the husk on.
The sweet-tart flavor profile lends itself well to both sweet and savory dishes. That is if you can keep from eating them all straight from the garden!
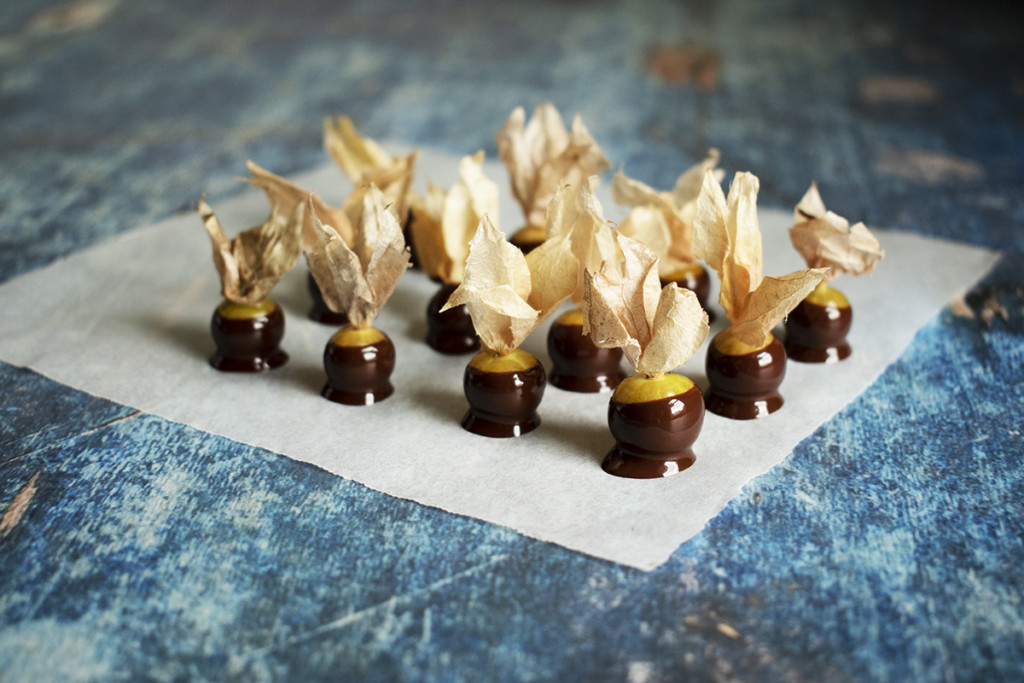
- Dip ground cherries in chocolate, just as you would strawberries
- Change up your salsa by adding ground cherries to it.
- Toss them in a salad.
- Use them to top a pizza.
- Cook up a batch of ground cherry chutney.
- They are scrumptious in pies, cobblers, and even muffins.
Take a look at my nine favorite recipes using ground cherries – including the absolute best way to use them according to a ground cherry farmer.
One of the wonderful characteristics of ground cherries is how long they last after harvest. Store them in a container with proper ventilation like a basket or mesh bag in a cool place (50 degrees).
Kept in this way, your ground cherries will last for about three months. They really are incredible little fruits!
Once you remove the husk and wash them, though, they will only keep for about a week in the refrigerator.
Ground cherries freeze well too. Remove the husks and wash and dry the fruits carefully. Place the fruits in a single layer on a sheet pan and put them in the freezer. Once the ground cherries have frozen solid, they can be put in a freezer bag.
Ground cherries can also be dried, much like grapes. A food dehydrator or placing them on a sheet pan and drying them on a low temperature in the oven does the trick. Once the fruit is dry, store them in an airtight container.
Related Reading: 3 Ways To Dehydrate Fruit At Home
While you can save the seeds, if you plant ground cherries in your garden, you may not have to. It’s quite common for new plants to pop up in your garden the next year. Save a couple and transplant them to an ideal location, and offer a few to friends.
Saving Seeds
Saving the seeds is relatively easy. Mash a few of the fruits into a bowl of water. Swirl vigorously and mash the flesh gently with your fingers to separate the seeds from the fruit pulp.
Let the mixture sit so that that seeds fall to the bottom of the bowl. Carefully pour off the water, pulp, and skin. Rinse the seeds gently in a fine-mesh sieve until they are clean.
Spread out the seeds to dry on a screen or coffee filter. Store completely dry seeds in a clean container until ready to plant.
Are You Ready to Grow Ground Cherries?
If you want to give these delightful little fruits a try, here are a couple of places to get seeds. Once you taste them, I’ll bet you’ll have room for them in your garden year after year.

Get the famous Rural Sprout newsletter delivered to your inbox.
Join the 50,000+ gardeners who get timely gardening tutorials, tips and tasks delivered direct to their inbox.