

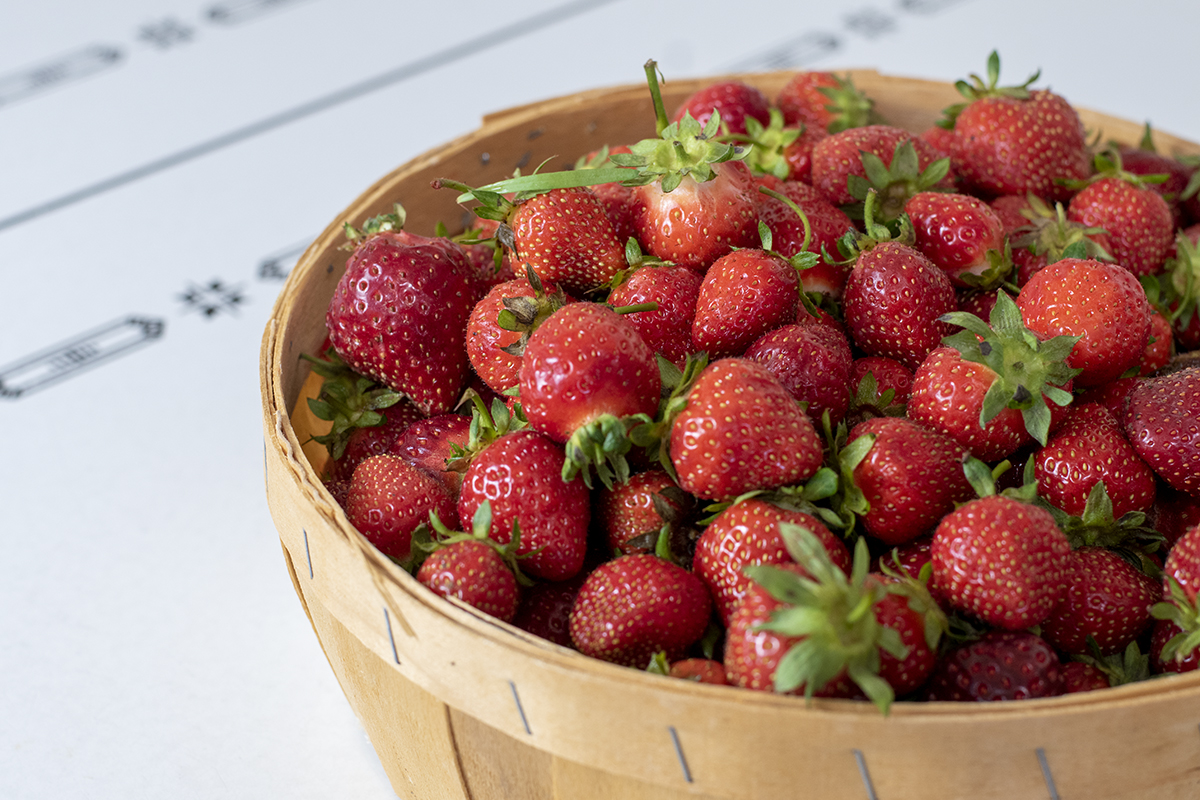
Strawberry season is a quick one. It could be as short as a couple of weeks if it was a cold spring. That’s why as soon as those berries are ready, you’ve got to be ready too. Because if you want to enjoy homemade strawberry jam and other tasty treats, you’ve got to work fast once you pick strawberries.
They spoil quickly.
But freezing them, ah, now that gives you a little breathing room in the middle of your busy summer. Freezing strawberries is quick to do and doesn’t heat up the kitchen.
But freezing berries has its own challenges.
How many times have you tried to freeze strawberries, only to end up with an icy, red block that’s impossible to work with?
Well, not this year. I will show you how to flash freeze your berries so you can reach into your freezer and grab an entire bag of frozen strawberries or pluck out a few individual berries at a time. No icepick necessary.
The Best Reason to Freeze Strawberries
I don’t know about you, but my favorite thing to make with fresh strawberries is jam. You can keep your grape jelly. And don’t even get me started on all the seeds in raspberry jam. Peach jam is pretty great, but in the end, strawberry jam is still my favorite.
Standing in a hot and humid kitchen all day making and canning it, however, is not my favorite.
So, I freeze my berries immediately after picking them and save jam-making for the fall. Jam-making is perfect for those cool days in October when the house is chilly, but you don’t want to turn the heat on yet. That’s the time to make jam, not when it’s 90 degrees out, and the humidity is 80%.
Why Flash Freezing Works
Flash freezing sounds super intimidating, like you need some fancy cryogenic machine that quickly zaps your food into frozen oblivion. While that might be the case in the food industry, you can still achieve the desired result at home using no more than the freezer you already have.
Flash freezing is essentially freezing food before it’s packaged for storage.
By freezing food first, you end up with individually frozen berries rather than that large block of strawberry ice we talked about earlier. And the only “fancy” equipment needed is a few baking trays.
Let’s jump in.
Equipment Needed
- Colander
- Paper towels or clean kitchen towels (preferably ones you don’t mind getting stained)
- Paring knife
- Spoon
- Parchment paper
- Baking sheets
- Plastic zipper-top freezer bags
- Room in your freezer – this one is kind of a biggie. You need room to set up your baking trays in the freezer while the berries undergo their initial freeze.
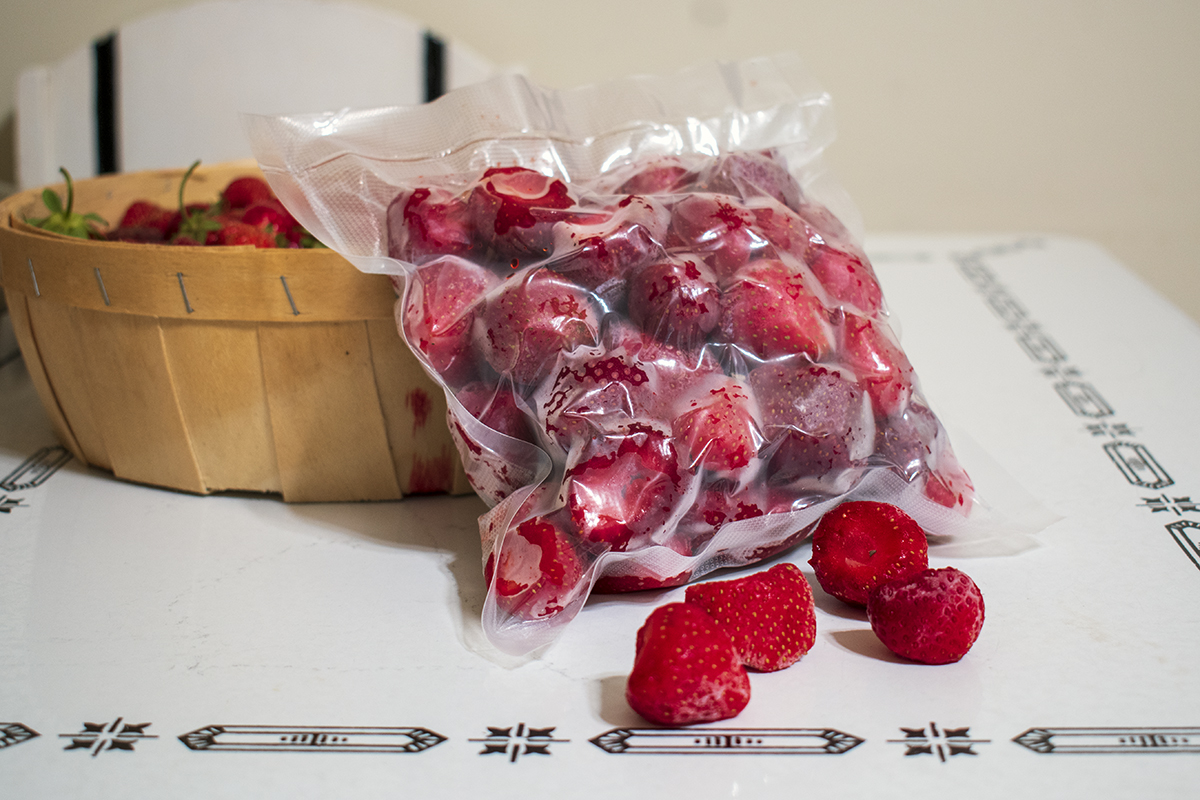
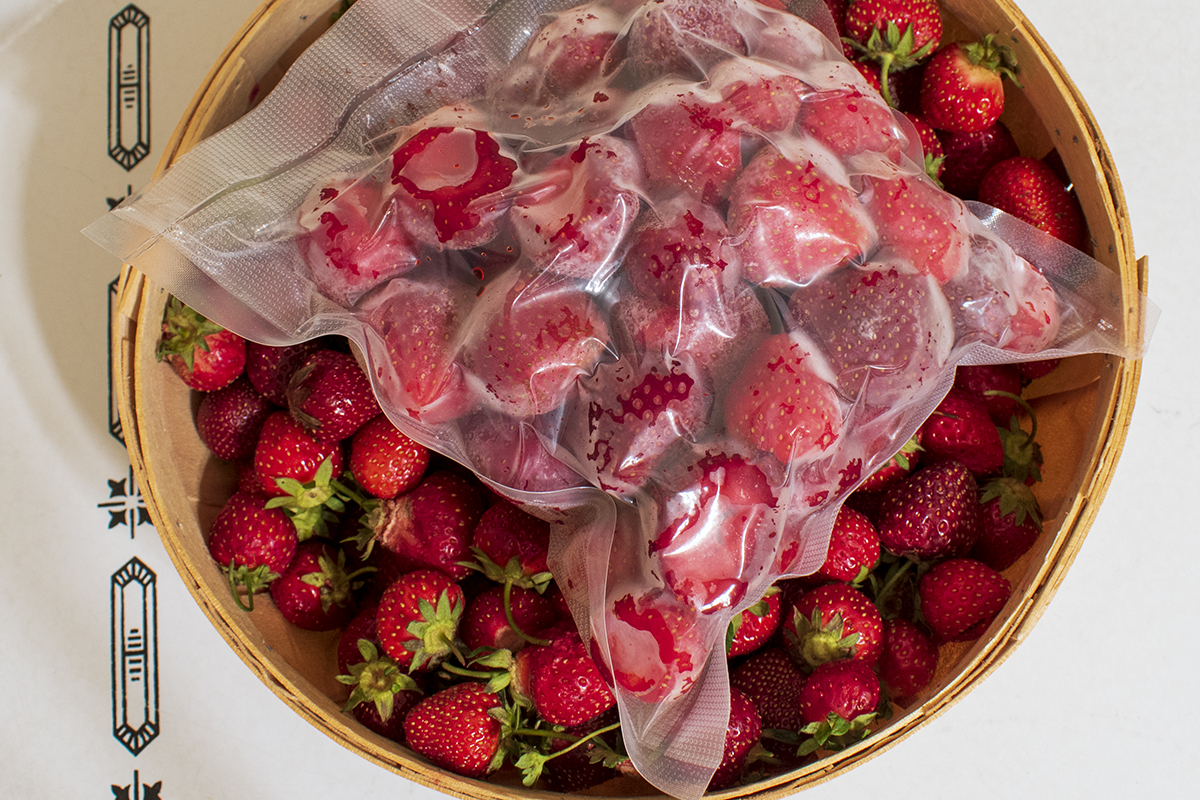
- Optional – Vacuum sealer and bags – this is in no way necessary but is nice to have. Removing as much air as possible from the bag prevents freezer burn and keeps the berries fresh longer.
Preparing Strawberries to Freeze
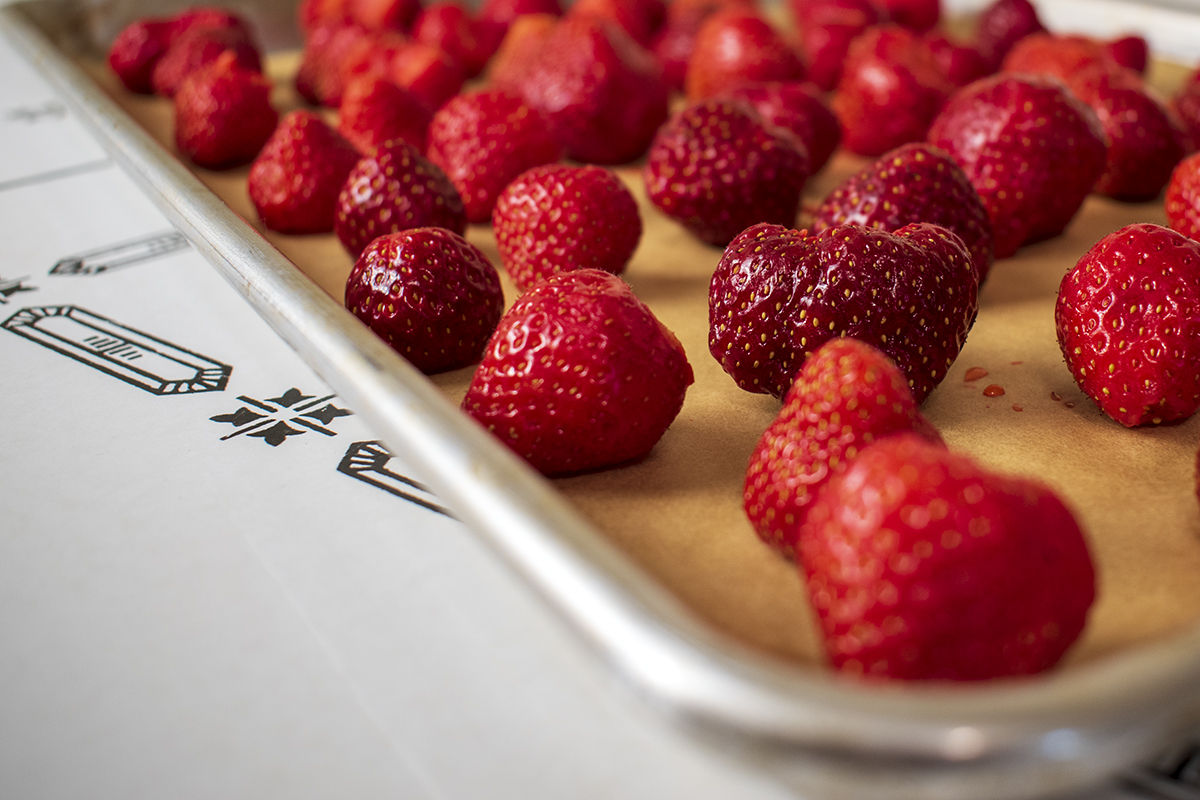
It’s important to rinse the berries well before you freeze them. You only want to freeze clean berries, as once they thaw, it will be nearly impossible to clean them.
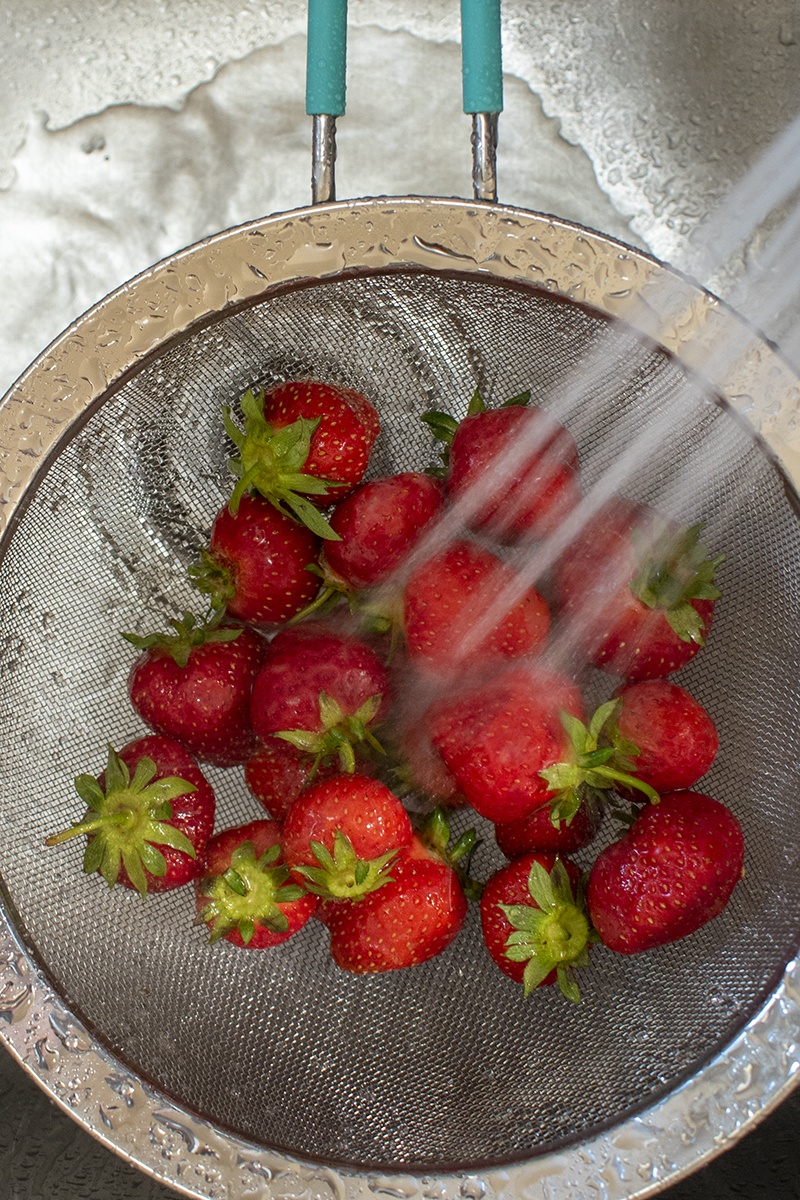
Leave the husks on and rinse the berries in a colander with cold water. If you’re freezing a lot of berries, work in small batches to make sure dirt and debris get sprayed away. Then gently pat the wet berries dry and spread them out on a clean kitchen towel to finish drying while you rinse the rest.
Once your strawberries are rinsed and dried, remove the tops.
There are plenty of gizmos on the market for removing strawberry husks and even more time-saving-hacks on the internet. All of them are a bit silly and useless in my book. The only thing you need to remove strawberry tops is right in your silverware drawer – a plain, old spoon.
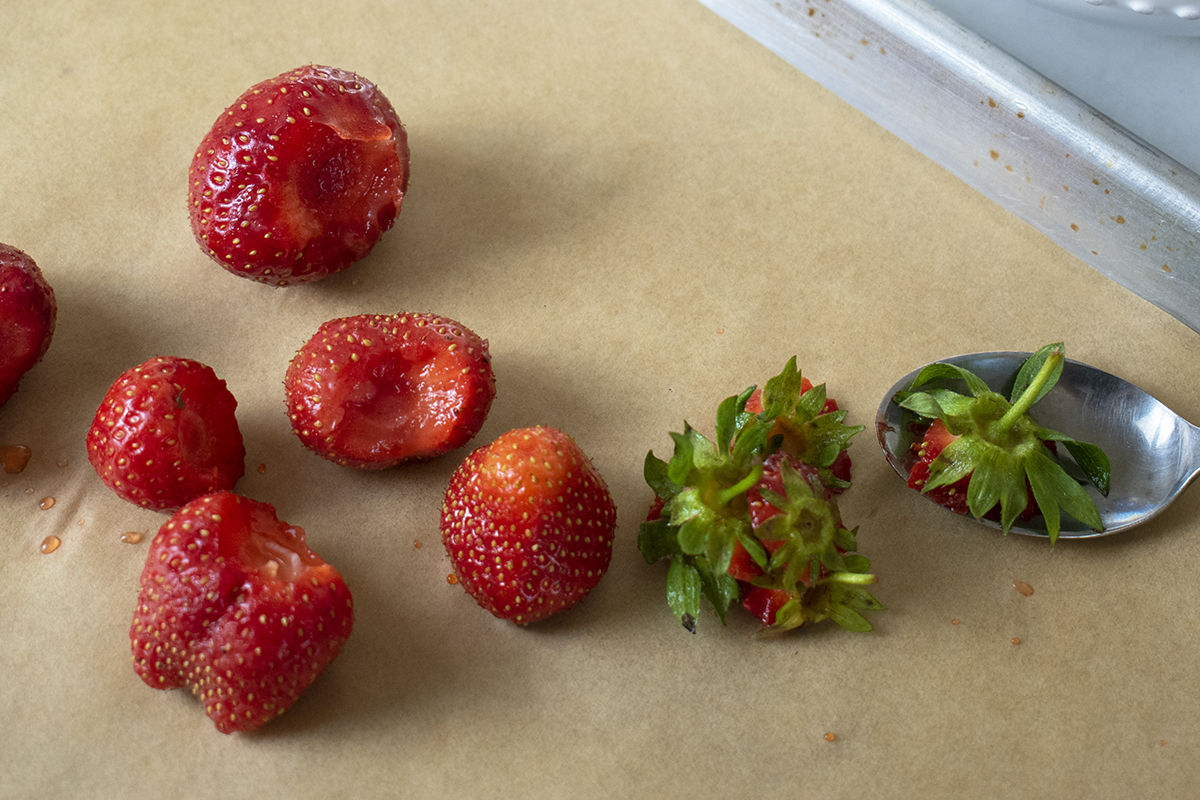
Hold the strawberry and use the spoon to gently scrape/dig off the top, starting right where the leaves end. The husk comes off easily without taking much of the berry with it. Easy-peasy and one less goofy gadget taking up space in your drawers.
Whole or Sliced Berries?
You need to decide whether you want to freeze your berries whole or sliced. Of course, this depends on what you plan to do with them later. We are big fans of smoothies in my house, so most of our berries get frozen whole.
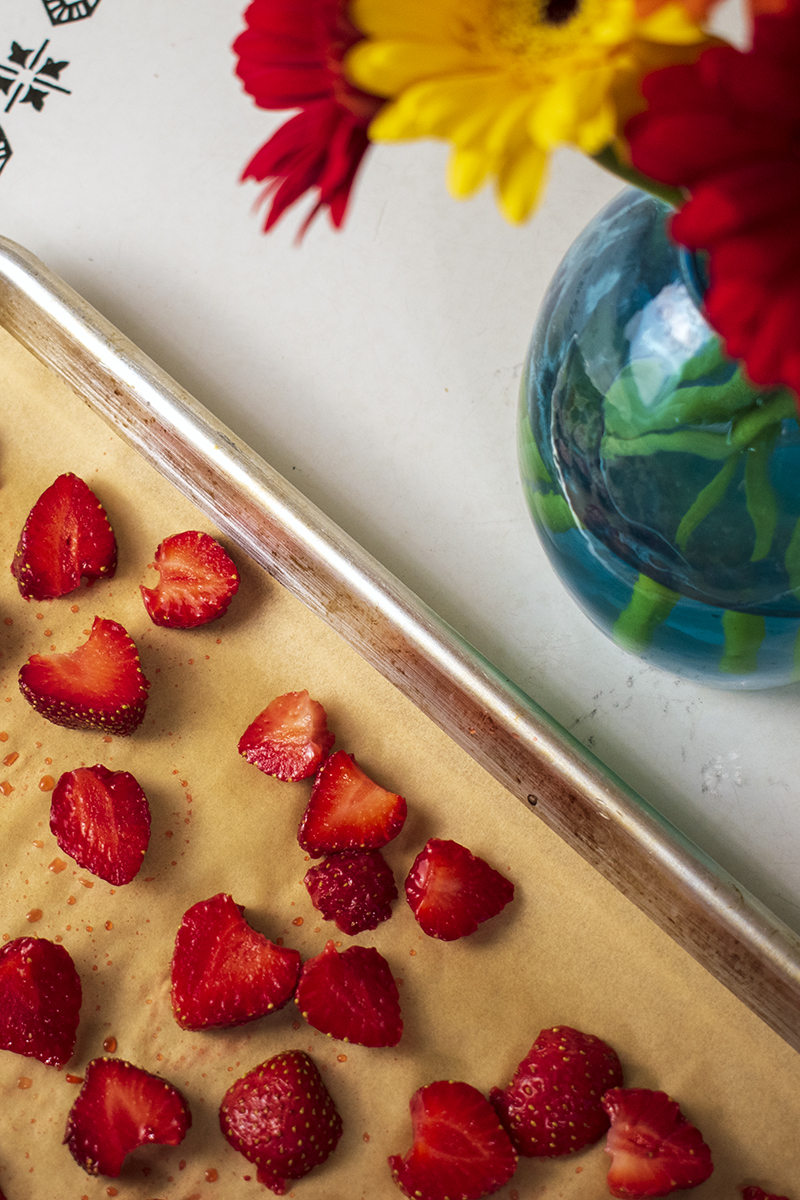
If you like having sliced strawberries as a topping for desserts, slice them first. Slicing them in halves, thirds or quarters is best. You don’t want anything smaller than ¼” as they tend to get icy the longer they’re stored in the freezer.
I think you can already see where this is headed – it’s a good idea to do some berries both ways. It’s nice having both whole and sliced frozen berries ready to hand.
Flash Freeze
Once you’ve washed and dried your berries and decided on whole or sliced, it’s time to freeze them.
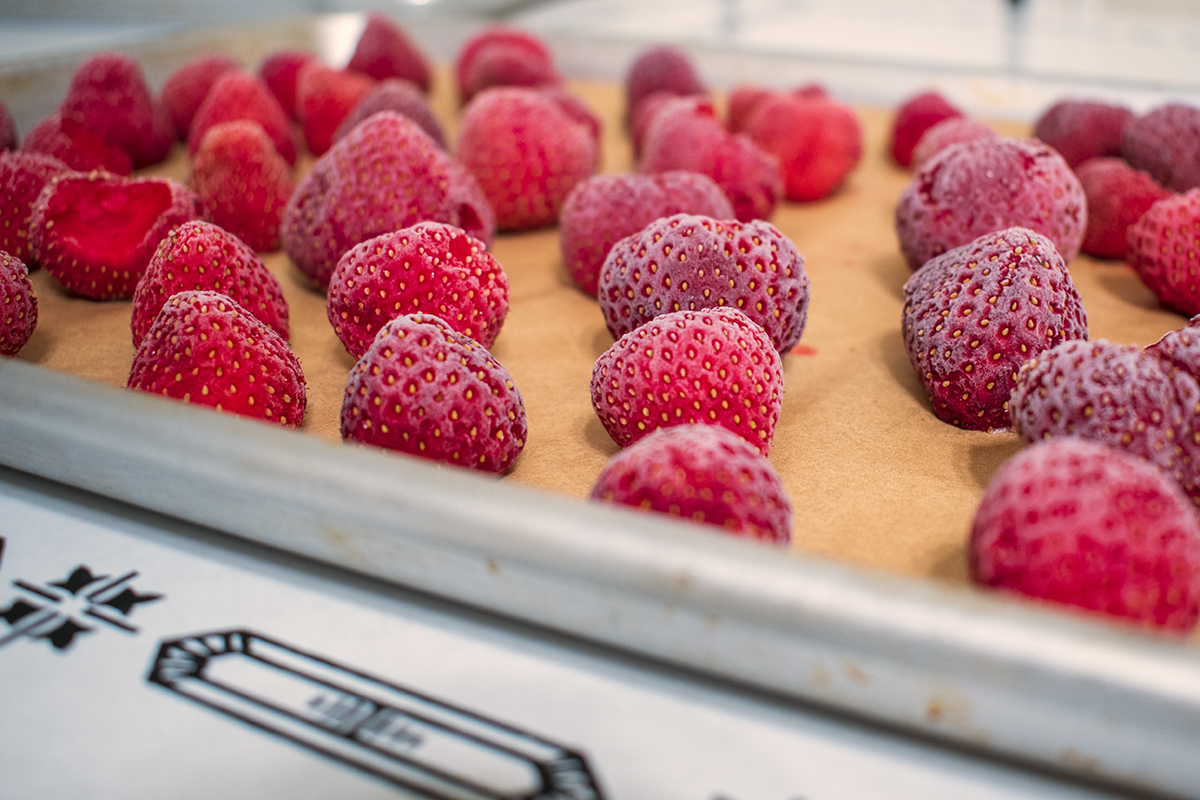
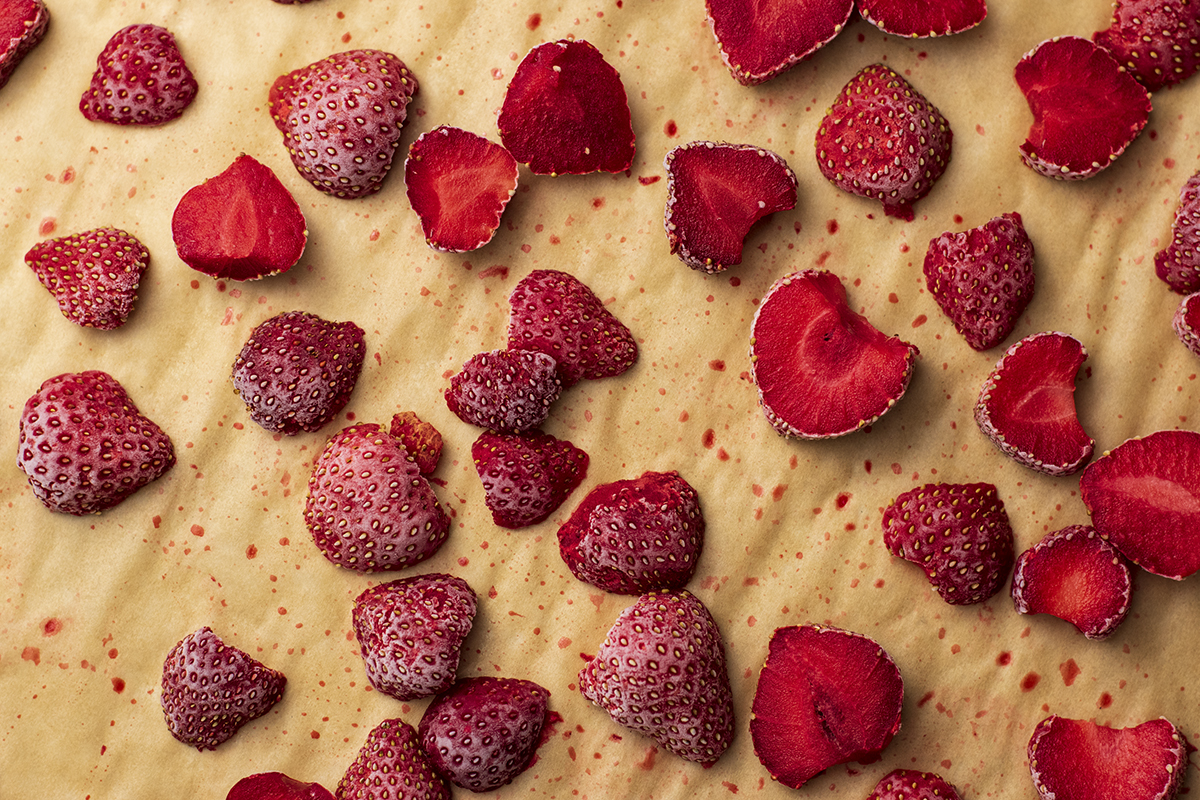
Place whole berries on the baking sheet, ensuring they don’t touch and the cold air can circulate around them. Place the baking sheet in your freezer, keeping it level, so the berries don’t roll to one side. Freeze for several hours until the berries are frozen solid.
For sliced strawberries, you’ll want to lay down a piece of parchment paper on your baking sheet before arranging the berries on it. Be sure the berries aren’t touching, so they don’t stick together once they’re frozen. Again, set your baking tray in the freezer and allow the sliced strawberries to freeze solid. Sliced berries take less time to freeze than whole berries, usually only a couple of hours.
Storing Your Frozen Berries
To prevent the berries from sticking together, it’s important to work quickly to package them. Keep them in the freezer until you’re ready to put them in freezer bags.
While it might take less time to dump them into larger bags, you’ll have better flavor, and the berries will be less likely to stick together if you store them in smaller batches. Quart-sized bags work great for strawberries, both sliced and whole.
Remember, whenever you remove the bag from the freezer to get berries out, they will start to thaw, even if only for a few minutes.
If you use a large bag, over time, this can lead to hunks of berries stuck together as they thaw and then refreeze together.
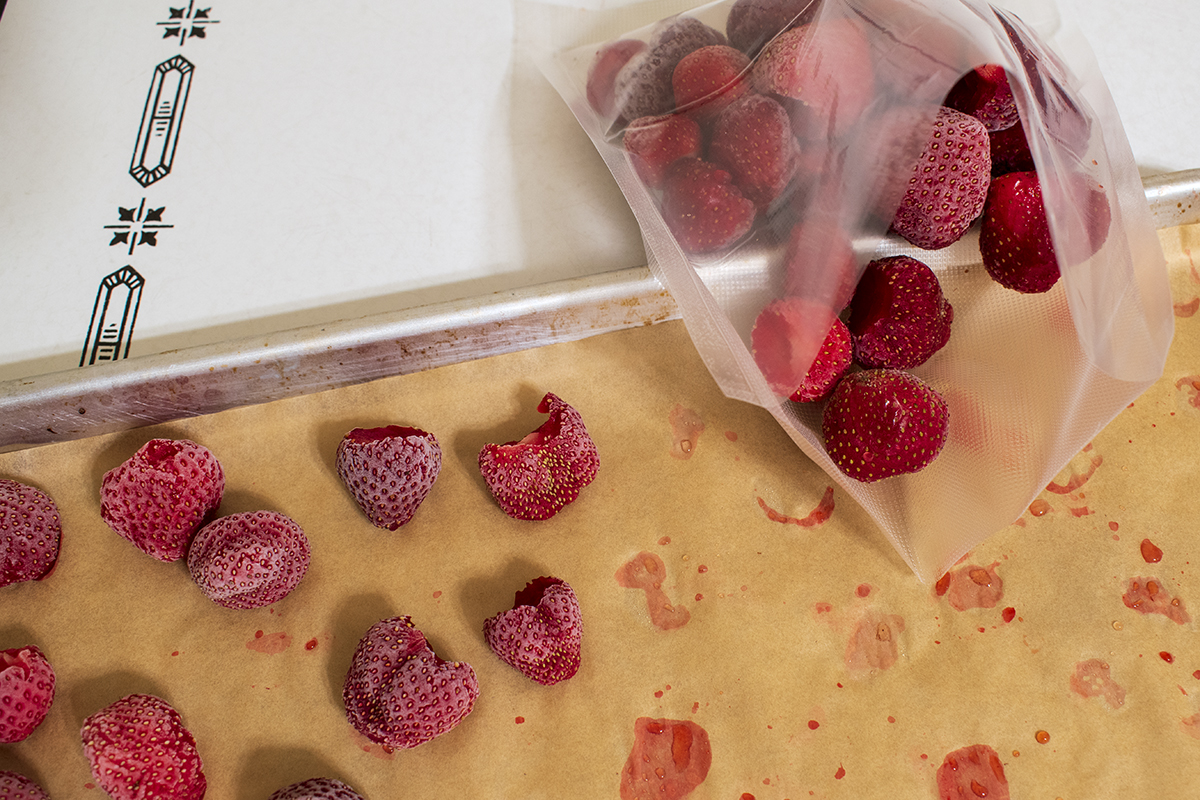
Working quickly, transfer the frozen berries to the freezer bags. Zip them nearly closed, then using a straw or your mouth, suck out the extra air from the bag before sealing it. Label your berries with the date and put them immediately back in the freezer.
If you’re using a vacuum sealer, use the gentle setting. This will remove air and allow room so the berries aren’t crushed together, which can cause a big berry brick. Again, place the sealed bag in the freezer immediately.
Frozen strawberries keep for around eight to twelve months, but for the best flavor, try to use them within six months of freezing them. Once thawed, the berries should be used within a couple of days.
Why Are My Berries Mushy When They Thaw?
If you’re new to preserving foods by freezing them, you may be surprised when that beautiful frozen berry thaws into a mushy blob. Unfortunately, there’s just no getting around this issue.
Strawberries have an exceptionally high water content. When that water freezes, it turns into tiny crystals inside the berry, which pierce the cells of the berry. While it’s frozen, the berry can still hold its shape, but once thawed, the crystals thaw too. What was once a solid berry loses its berry shape.
This in no way affects the flavor, but if you’re expecting to have thawed strawberries on top of your cake that look just-picked-from-the-berry-patch-fresh, you will be disappointed.
If you want some ideas for what to do with those tasty berries, I’ve got some great suggestions.
If you’ve got a bumper crop of berries on your hands, freezing them is a quick and easy way to ensure your harvest doesn’t go to waste. Frozen berries keep well and can be enjoyed all year long.
You might also want to consider dehydrating some of those ruby berries too. Although the strawberry season doesn’t last long, there’s no reason why you can’t enjoy their sweet flavor year-round.

Get the famous Rural Sprout newsletter delivered to your inbox.
Join the 50,000+ gardeners who get timely gardening tutorials, tips and tasks delivered direct to their inbox.