

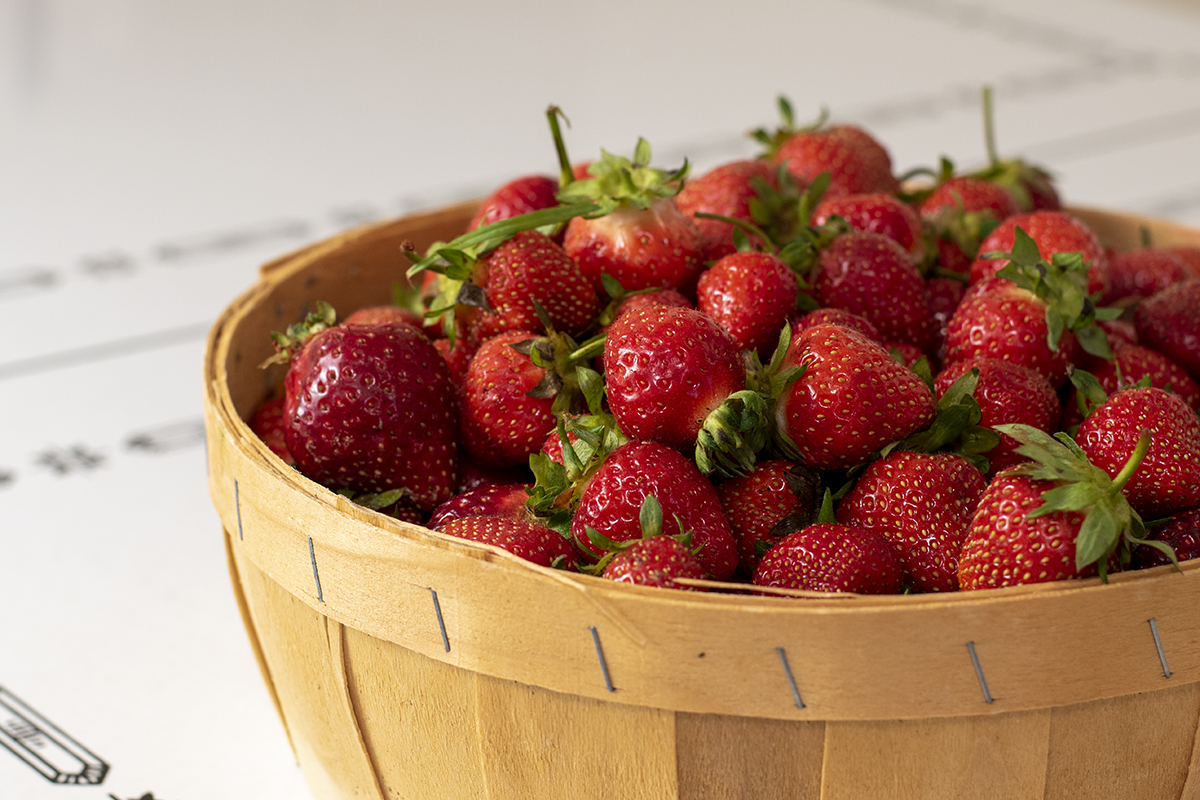
If you’ve followed our secrets for your best strawberry harvest, you’ve probably got a ton of bright red berries on your hands this year.
Finding yourself with a large basket or two of strawberries requires action as they spoil quickly once picked. This year, while canning strawberry jam and freezing bags of strawberries, consider dehydrating a quart or two.
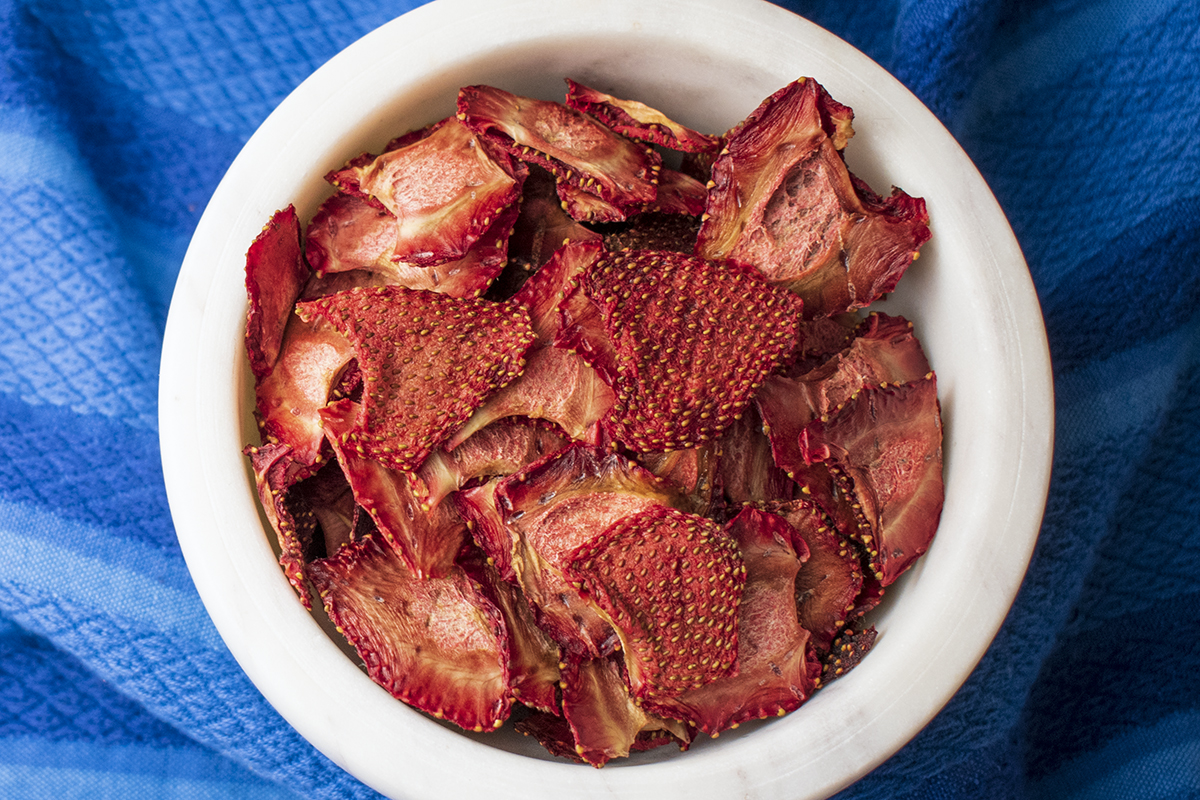
You’ll understand the appeal after just one taste of an extra sweet strawberry slice straight from your dehydrator. While you may be tempted to snack on them immediately, I encourage you to save some for the darkest and coldest days of winter. As dehydrated strawberries are tasty, bite-sized snacks that can transport you back to the dog days of summer with one bite.
Benefits of Dehydrating Strawberries
When you think of the ways you can store strawberries to use later in the year, many folks immediately think of jam. And why wouldn’t you? Strawberry jam is the best! Usually, the second option is freezing the berries whole to be used later when needed.
Few people think of dehydrating their strawberries to save for later. But there are some pretty compelling reasons to choose dehydration over these other methods.
Save Space
If you’ve got limited space, freezing strawberries for long-term storage immediately presents problems. If the only freezer you have is the one built into your fridge, at most, you’ll only be able to store a couple of quarts. Even having a small chest freezer means being frugal with the space in it.
Dehydrating strawberries reduces their size, making storing them less of a big deal. What would normally require several bags can easily be stored in your pantry in one bag, taking up less space than even a batch of jam.
Less Work
I love homemade jam, but I don’t love the day spent in a steamy kitchen over a hot stove and the fuss of canning the finished jam. And once you’re finished, there’s always a sticky mess to clean up. Sure, it’s only one or two days out of the year, but if you find yourself with a busy summer, canning jam is a real hassle.
Beyond the washing and slicing, dehydrating strawberries takes very little hands-on time, leaving you free to do other things while your berries dry. And clean-up is minimal once you’re finished.
Lasts Longer
Hands down, dehydrated food lasts longer than freezing or canning. And once it’s dried, they don’t require any further energy to keep them from spoiling, unlike in the freezer.
Working With Strawberries
If you’ve ever had freshly-picked strawberries, you know how quickly they spoil. My advice when handling these tasty berries is to clear your calendar for the day. Plan to pick and process your berries all on the same day. And I mean for everything – canning, freezing, and dehydrating.
The moment they are snapped from the vine, strawberries begin to decline.
Even waiting a day before you do anything with them can lead to many bruised berries or mold growing among them. They don’t keep well in the fridge, and once you wash them, you must use them right away.
So, it’s best to have a ‘strawberry day’ and plan accordingly, especially if you plan to dehydrate some.
Save the best berries in your basket for dehydrating. When freezing or making jam, it’s okay to have berries with a blemish or soft spot here or there. But when it comes to dehydrating berries, only the firmest, blemish-free berries will do. Even the berries that are blemish-free, but starting to darken with age, should be used for jam or be frozen, as they are already starting to degrade and will have a higher water content.
Firm, blemish-free berries will yield the best results and the fastest drying time.
Prepping Strawberries for Drying
Rinse your berries well with cold water. I let my tap run for a minute or two to ensure the water is extra cold. Use your sink sprayer to blast away dirt from the berries.
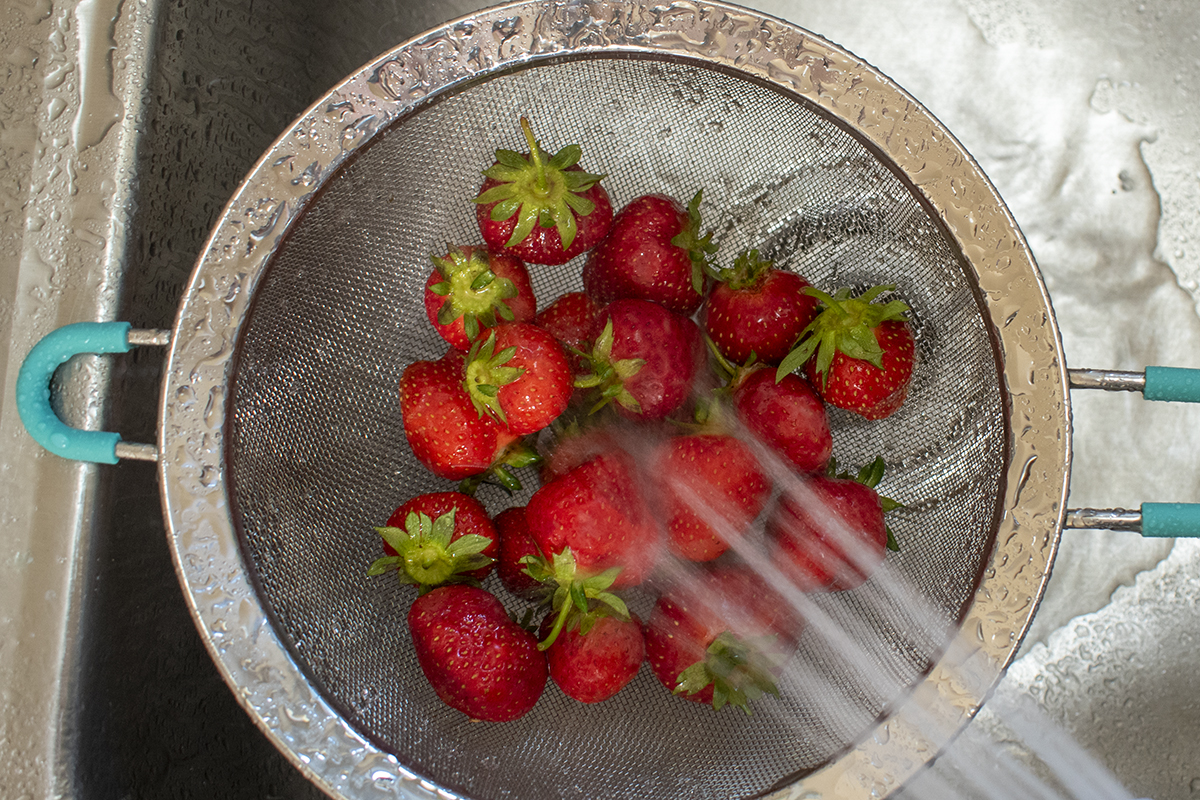
Immediately dry the berries off using paper towels or old towels. (No matter how careful you are, you will have small strawberry stains.) Gently pat the berries dry, laying them out to finish air-drying while you work.
Only after you’ve rinsed and dried them should you remove the husk. If you remove the husk before washing them, then larger strawberries with a cavity inside them will retain water. This can make it harder to dry the berries in your oven or dehydrator.
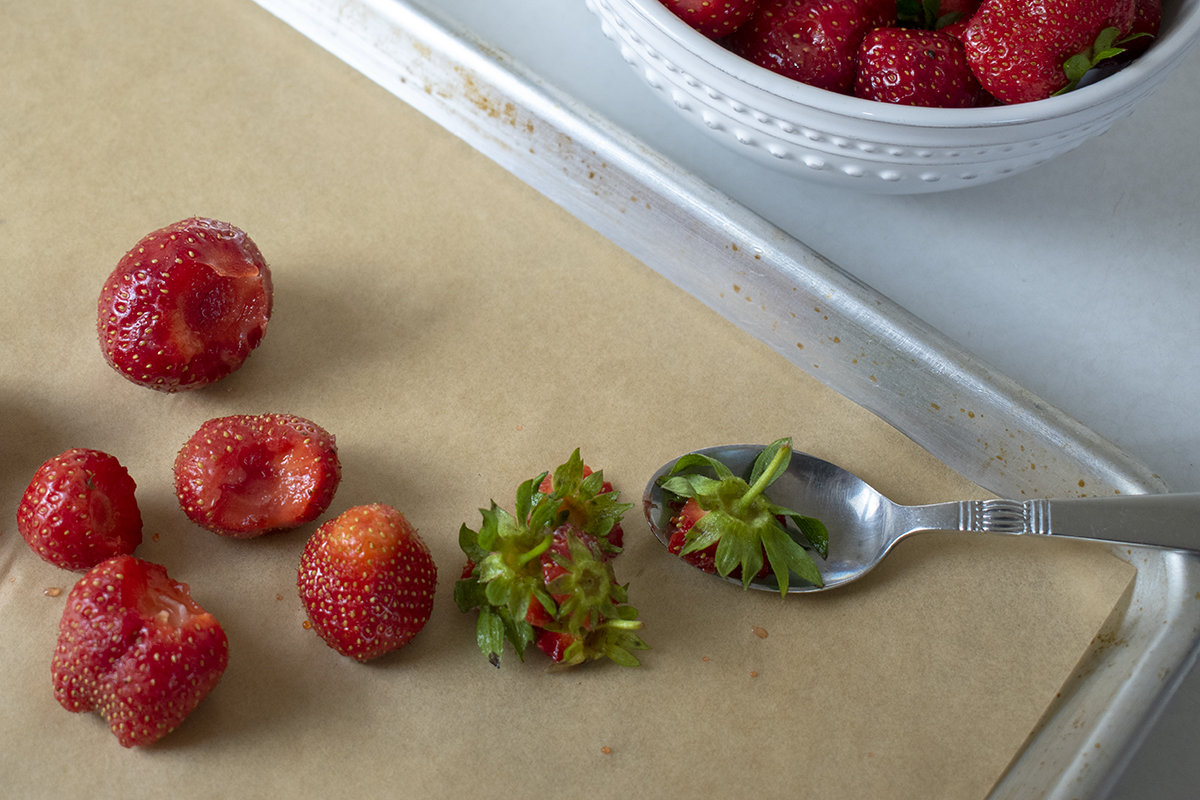
You don’t need any fancy equipment to hull strawberries. Use a spoon to scoop and scrape off the hull from each berry gently.
Depending on the size of your berries, slice them in half or thirds so that they are all relatively the same thickness.
Drying Strawberries in the Oven
The key to successfully drying berries in the oven is proper airflow. You need air to circulate both above and beneath the berries. Lay out your berries on a cooling rack, then place the cooling rack on a baking sheet.
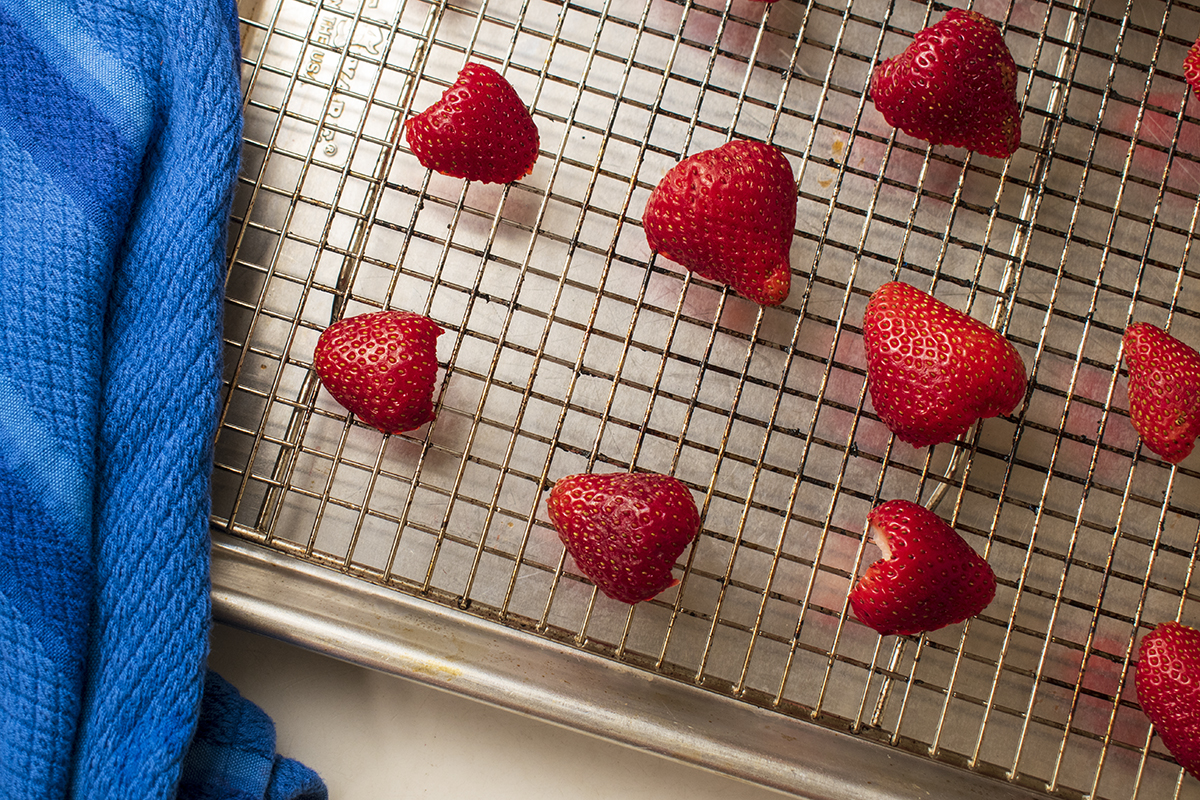
Ideally, you want to set your oven at 135 degrees. Most ovens don’t go this low, so the best work-around is to set your oven on its lowest setting, then prop the door open with a wine cork or a wooden spoon.
Place the berries in the oven on the center rack.
Set a timer for four hours. Begin checking the berries around the three-hour mark. Depending on the thickness and water content of the berries, it can take up to six hours for them to dry. But don’t worry, your house will smell incredible the entire time.
Once your berries easily snap in half, remove them from the oven and allow them to cool on the tray. You may find you have a few berries that are still a little squishy in the middle; remove the finished berries and pop the squishy ones back in the oven for a little while longer.
Drying berries in the oven may not yield the prettiest results, but the flavor is amazing.
Drying Strawberries with a Food Dehydrator
Layer your sliced berries on the racks of your dehydrator. Set the food dehydrator to 135 degrees and dry them until they easily snap in half. This can take anywhere from 4-8 hours, depending on your dehydrator, how thick your berries are and their water content.
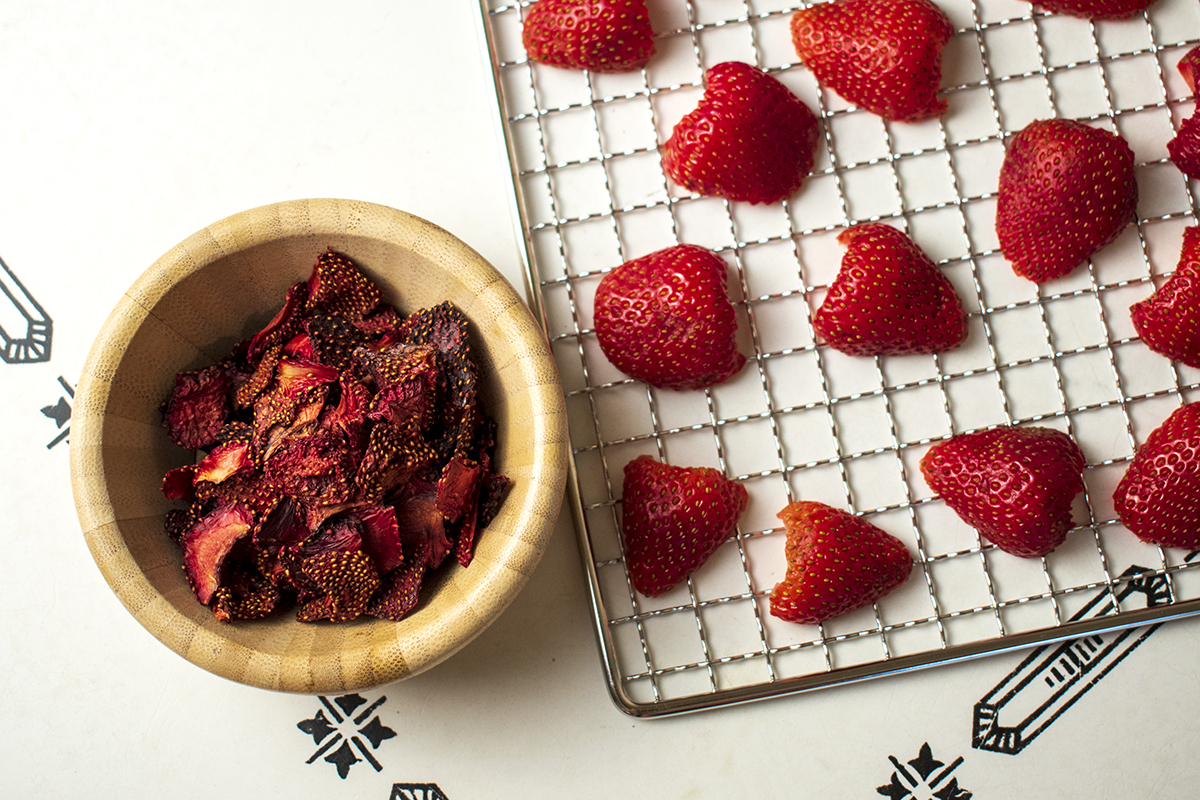
Again, remove the trays from the dehydrator when finished and allow them to cool completely before storing them.
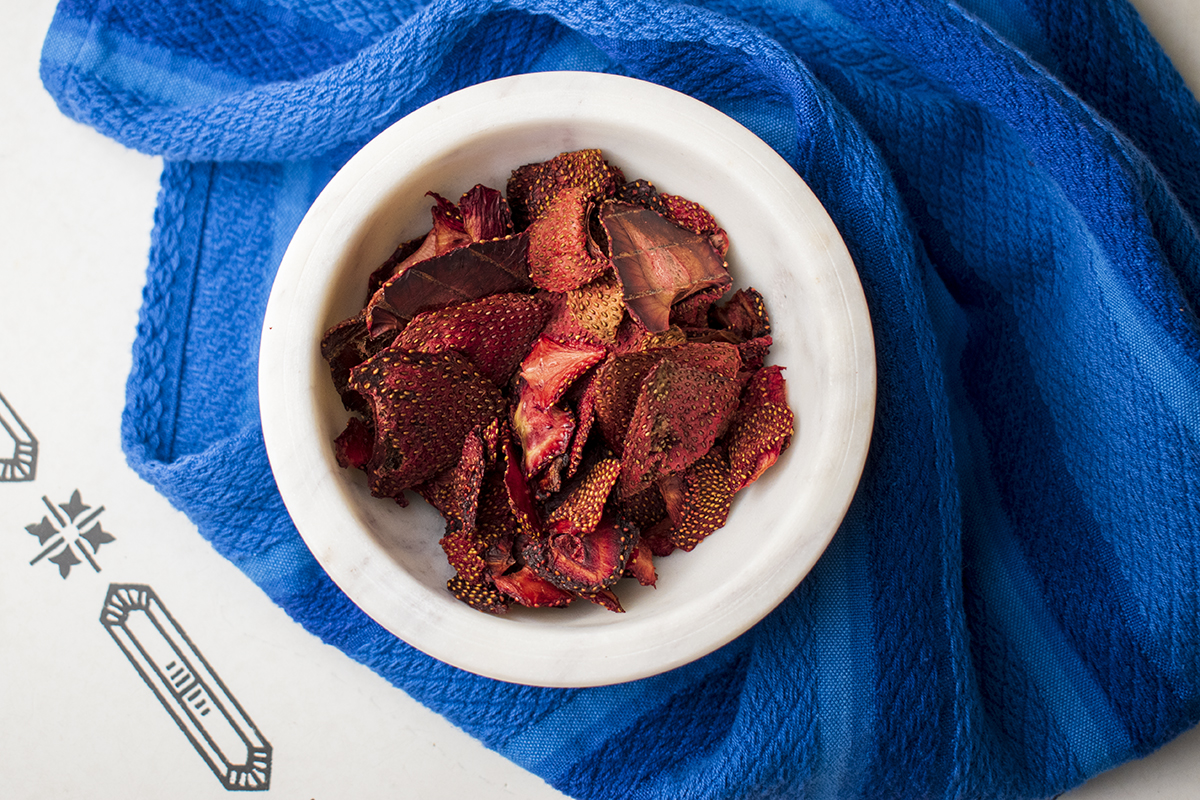
Storing Your Dehydrated Berries
I always add a desiccant packet to the jar for storing dehydrated foods. This ensures any remaining moisture is absorbed.
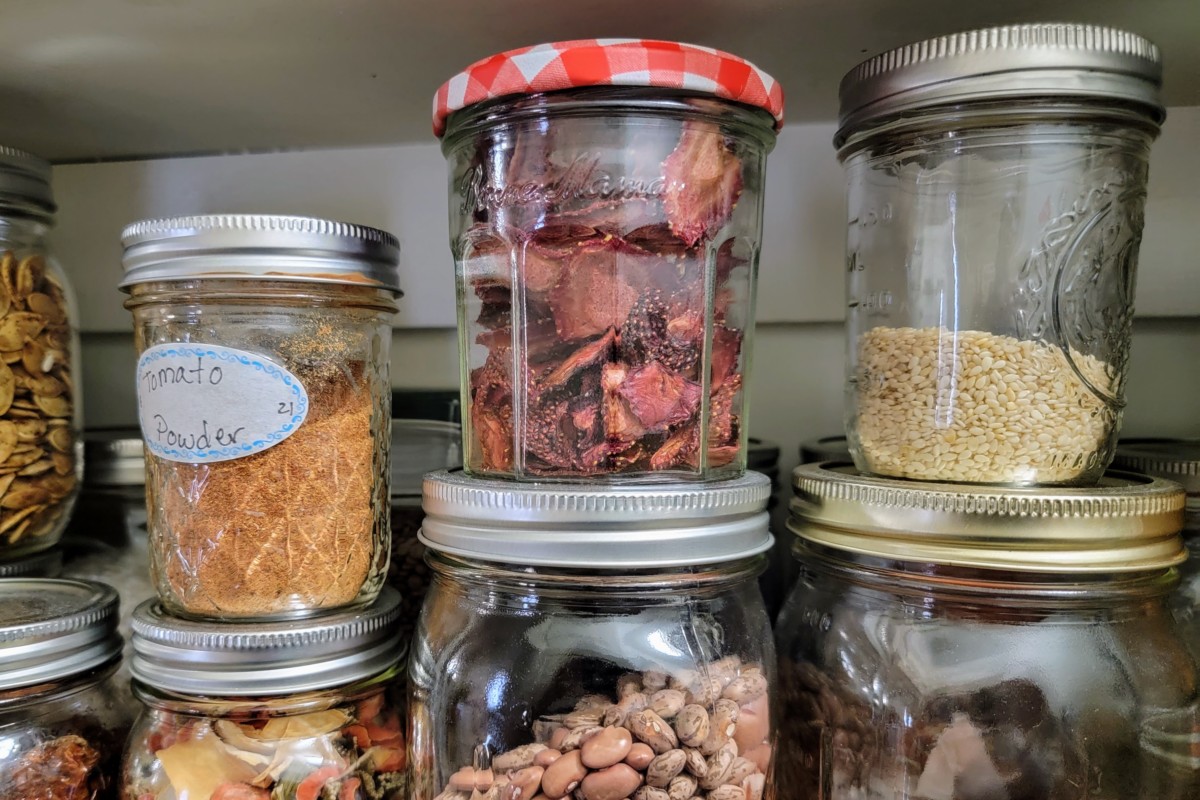
Store your berries in an airtight container in a cool dark place. Mason jars are great for storing dehydrated strawberries.
Your berries will be good for at least a year, longer if you vacuum seal them with a desiccant.
The Key to Getting the Best Results
No matter which method you choose, the oven or a food dehydrator, the way to great results every time is low and slow. I’ve seen plenty of tutorials that suggest drying strawberries in the oven at 200 degrees. This temperature is much too high and will yield browned berries.
The ideal temperature for strawberries is 135 degrees. Most ovens don’t go down that low. If you get serious about dehydrating food, I highly suggest you make the leap and purchase a food dehydrator. You’ll have better, more consistent results in the long run.
It’s better to dry your fruit for a longer time at a lower temperature. This will give you the best color and finished product.
Why Don’t My Berries Look Like the Ones I Bought at the Store?
Something to consider when dehydrating any food at home is how the process differs from a commercial setup. Most dehydrated foods you purchase in a store have been treated with preservatives to maintain a pleasing color.
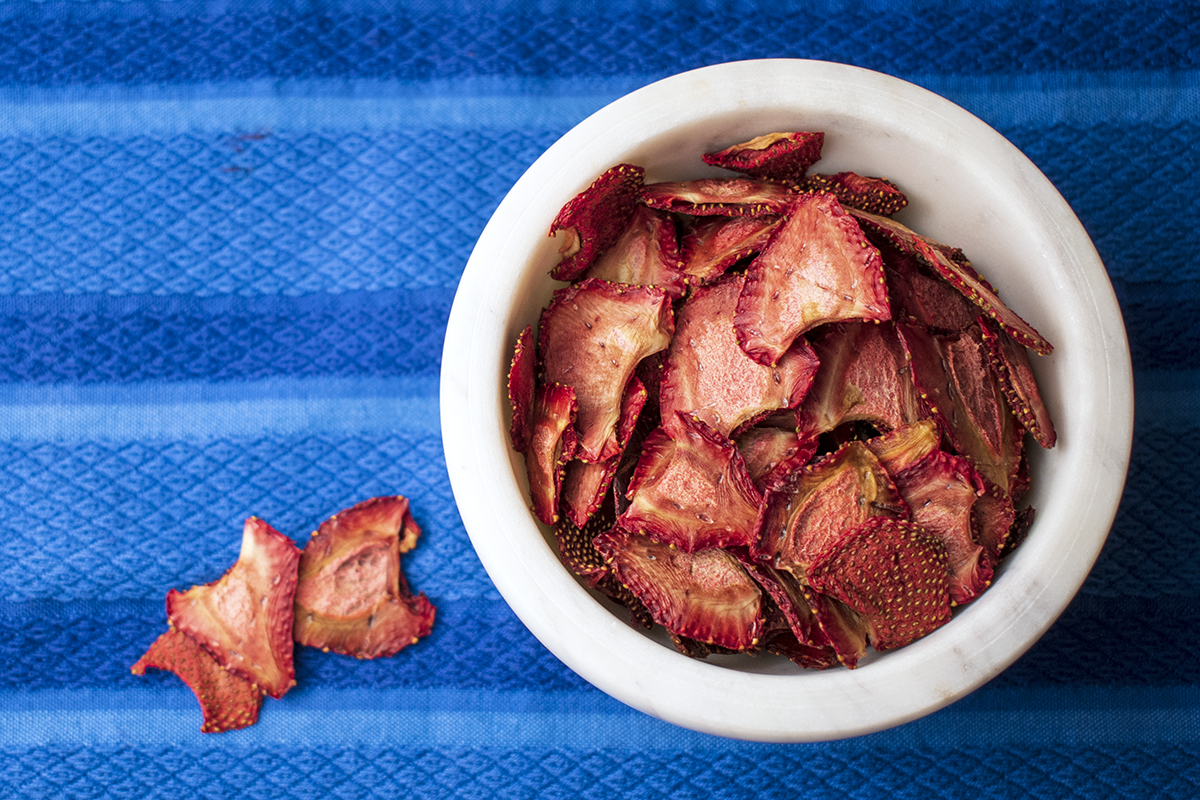
When drying your own food at home, you may notice that your berries are darker or slightly brown. That’s to be expected from the caramelization of the naturally occurring sugars in the fruit. Your berries will be just as sweet (if not sweeter) than anything from the store.
Dehydrating foods is a great way to preserve your harvest in a manner that lasts and saves you space. Once you’ve finished your strawberries, consider making your own dehydrated mirepoix, onion powder or powdered ginger.

Get the famous Rural Sprout newsletter delivered to your inbox.
Join the 50,000+ gardeners who get timely gardening tutorials, tips and tasks delivered direct to their inbox.