

If there is one family of vegetables that gives gardeners headaches year in and year out, it’s brassicas.
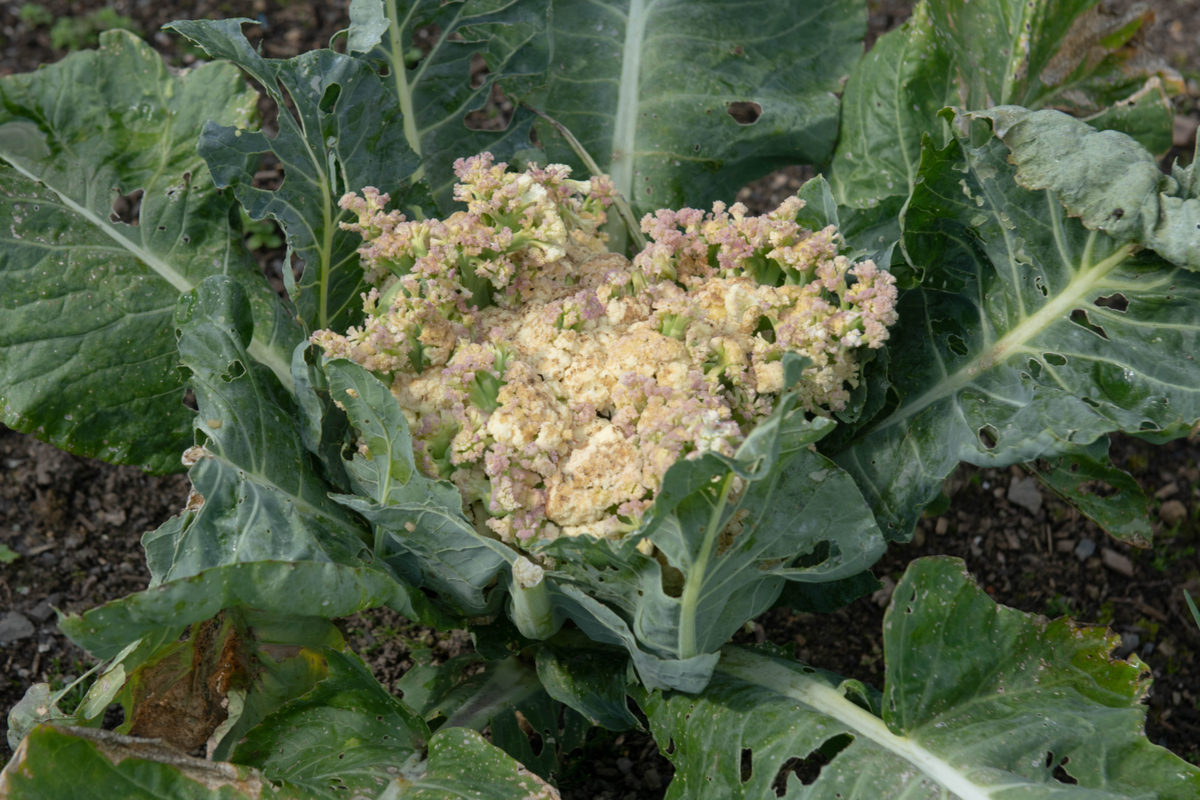
Whether it’s Brussels sprouts that have been defoliated by cabbage moths or broccoli that’s gone to seed before you got a chance to eat it, or tiny, bitter cauliflower heads; brassicas often leave us scratching our heads wondering where we went wrong.
But like nearly any gardening problem, a little reading can help you develop a solution and get you back on the path to success.
And today, we’re going to tackle that last brassica headache – teensy, terribly bitter cauliflower heads.
Cauliflower has become an extremely hot vegetable due to its low-carb ability to replace starchy items such as rice or potatoes. Cauliflower gets subbed for rice; it makes a great gluten-free pizza crust, and when pureed and whipped with butter and garlic, you’d be hard-pressed to tell you’re eating cauliflower and not mashed potatoes.
Although, I still feel some substitutions should never be made. I’m looking at you, cauliflower waffles.
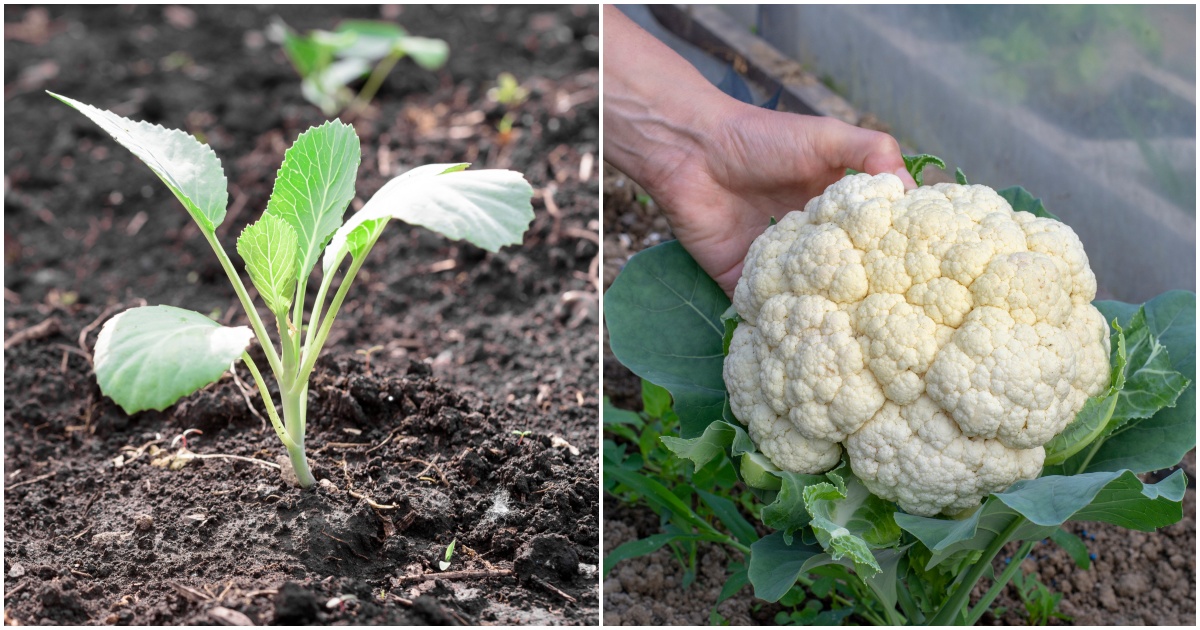
As the low-carb lifestyle grows more popular, so does interest in growing cauliflower in the home garden. And what usually happens is we get all excited watching these massive leaves grow up around the center of the plant, only to be disappointed with what we find inside when it comes time to harvest – a dinky, off-color cauliflower with loose curds.
But not anymore. I’m going to share the secrets you need to grow large, tasty heads of cauliflower right in your backyard.

Cauliflower Basics

As we’ve already mentioned, cauliflower is a part of the brassica family. And there’s something cool about these guys that you need to know because it will improve how you grow all of your brassicas. Cauliflower is a cultivar of the Brassica Oleracea species, and so are Brussels sprouts, kohlrabi, kale, cabbage, broccoli and a few other brassicas.
They all come from the same plant! They’ve just been adapted over the years to grow specific traits.
- Cabbage has been cultivated to form heads of tightly compacted leaves.
- Brussels sprouts have been adapted to form many tiny heads of tightly compacted leaves.
- And cauliflower has been cultivated to grow the flower to be eaten.
Yes, that’s right, we’re eating the unopened buds of the flower when we eat cauliflower; the same goes for broccoli. That’s a pretty tasty flower.
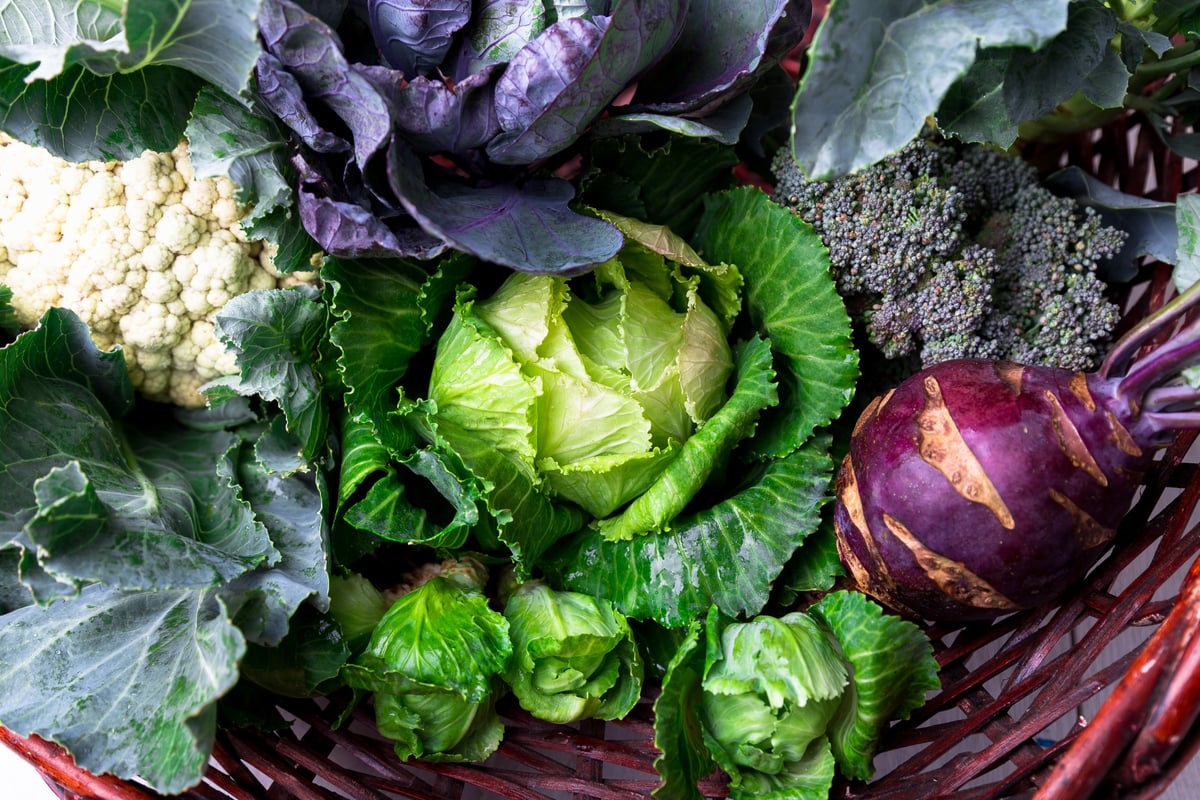
Because all of these ‘different’ vegetables have been cultivated from the same species, once you figure out how to grow one well, you know how to grow all of the others well, too.
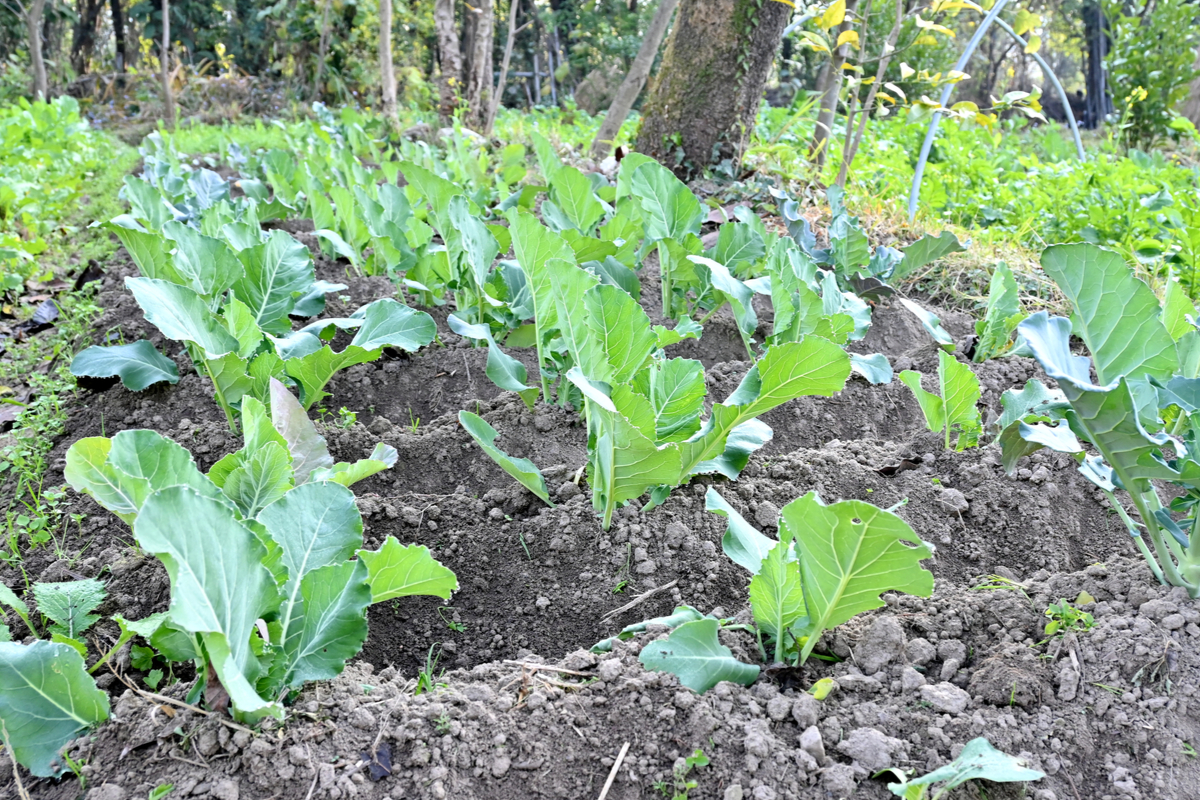
Sun, Soil, Water and Nutrients
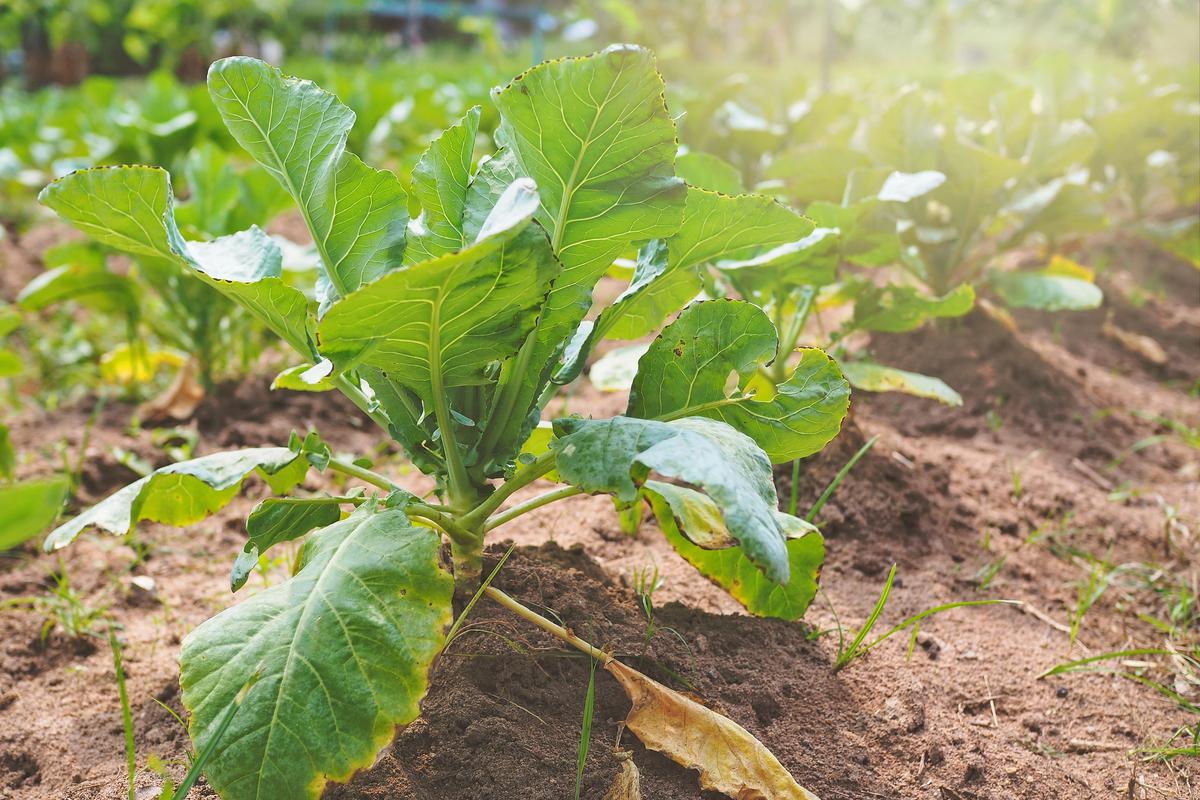
Depending on the variety you choose, cauliflower will mature between 90 to 140 days from when you start the seeds.
Cauliflower prefers full sun; while you can grow them in partial shade, they will do better if they receive at least 5-8 hours of full sun a day, but that comes with a caveat, which we will get to in a bit.
They’re one of the few vegetables that prefer soil that holds moisture. Granted, you don’t want soil with high clay content, but dense soil that doesn’t drain off quickly will keep your cauliflower happy.
Cauliflower needs plenty of water to grow well. Keep the soil moist around it, and you’ll have a happy cauliflower.
All brassicas need nitrogen to do well, as they’re nearly all leaves of one sort or another. We’ll talk about this a bit more later on.
Now that you’ve got the basics down, let’s look at the secrets you can use to grow cauliflowers that will make all of your ketogenic friends jealous.
1. Grow ‘Em Cool
This is the most important part of growing any brassica, so we’re going to start with this first. Brassicas hate the heat. Let me repeat that – brassicas hate the heat. And that goes double for cauliflower.
So while they may prefer full sun, they like that full sun during the cooler parts of the year.
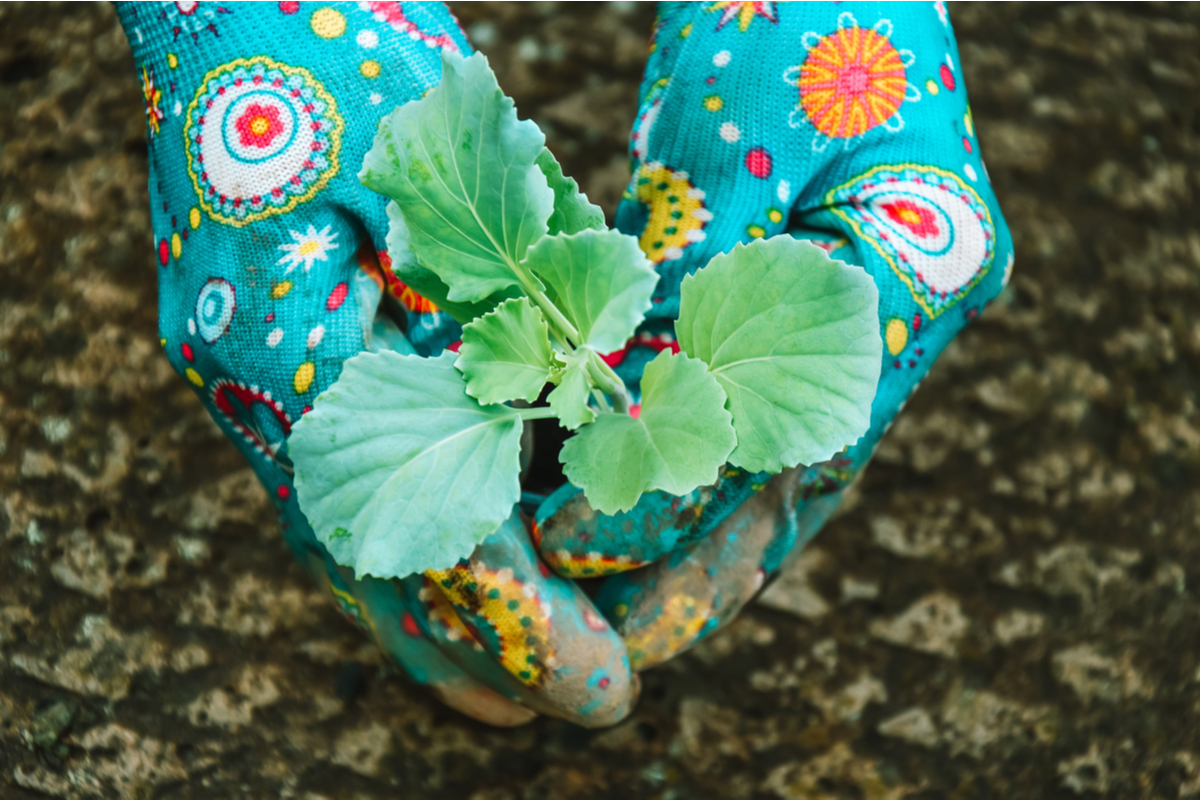
This means you need to plan when to grow them based on your location. Much like with Brussels sprouts, folks in the warmer hardiness zones, like zones 8-11, will want to start cauliflower so that it grows through your mild winter months.
And for zones 2-10, where you get a cold winter, you have two choices; you can start them in the winter and grow them in the very early spring or start them in the mid-summer for a fall harvest.
Choosing the best time to plant your cauliflower lies within their preferred growing temperatures. This cold-hardy vegetable does best when temperatures don’t get much higher than 65 degrees. The longer you can give them at this temperature or lower, the more likely you will have large, healthy heads.
Remember, they can take a few light frosts, so you can push starting them out in the garden to July or August, depending on your zone. Take a look at your first and last frost dates and plan accordingly.
2. Pick the Right Variety

This piggybacks on growing your cauliflower cool, but it’s important to choose a variety that will do well for your growing conditions. If you live somewhere on the warmer side that doesn’t get a lot of rainfall, pick a more drought-resistant variety. If you know mold or mildew is always an issue, choose a mildew-resistant variety.
One final point when choosing the right variety of cauliflower to grow; if you’re looking for huge heads, look specifically for a variety that grows big. There are tons of varieties of cauliflower, even pretty orange, purple and green varieties. Some varieties are grown more for flavor and are on the petite side. Others still are grown, so the leaves curl don’t need to be blanched.
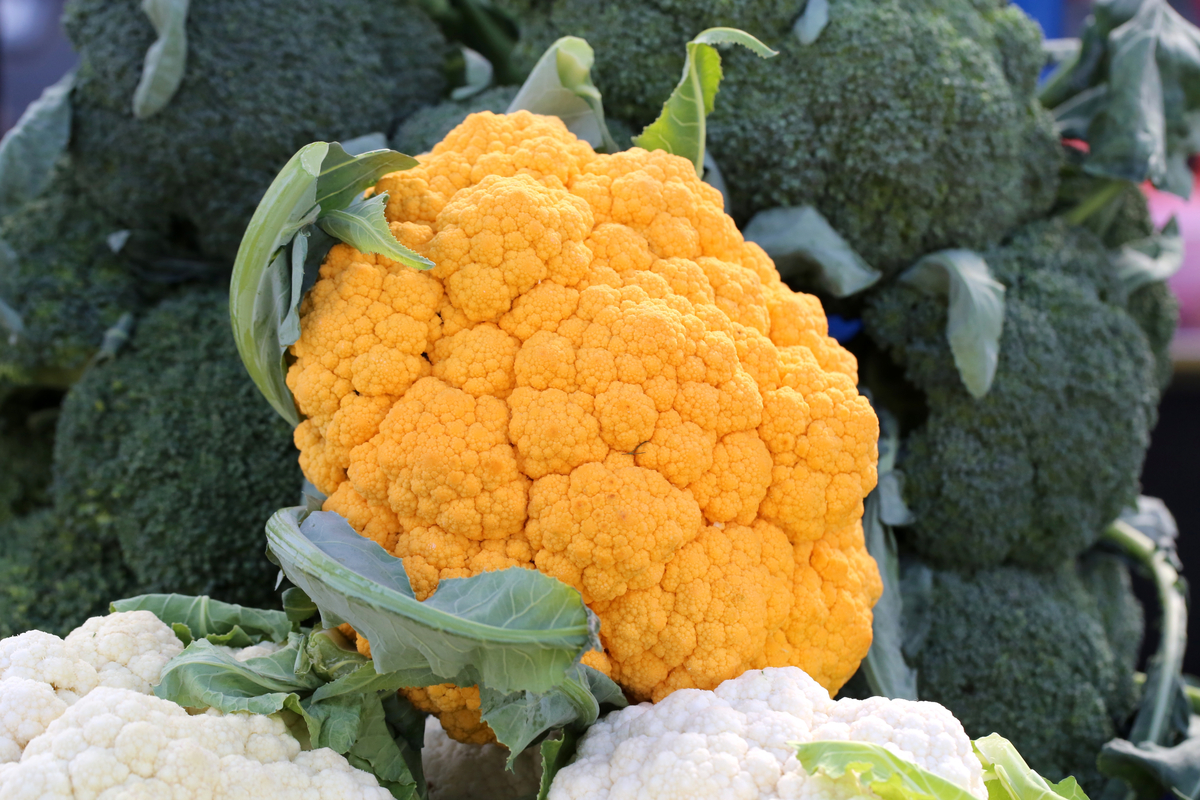
If you want large heads of cauliflower, look for a variety that specifies just that. A couple of recommendations are:
3. Water From Above
This advice seems like it’s breaking all the rules, doesn’t it? Rarely, if ever, do you read that you should water a plant from above. We know that doing so can cause rot and spread disease from the soil onto the leaves. In general, it’s a big no-no.
Except with brassicas.
We talked about how cauliflower really does not like the heat. If you’re planting for a fall harvest or planting in one of the warmer zones, you can bet you’ll get temperatures much higher than a cauliflower likes along the way. Here’s a simple trick that will help your plants keep their cool.
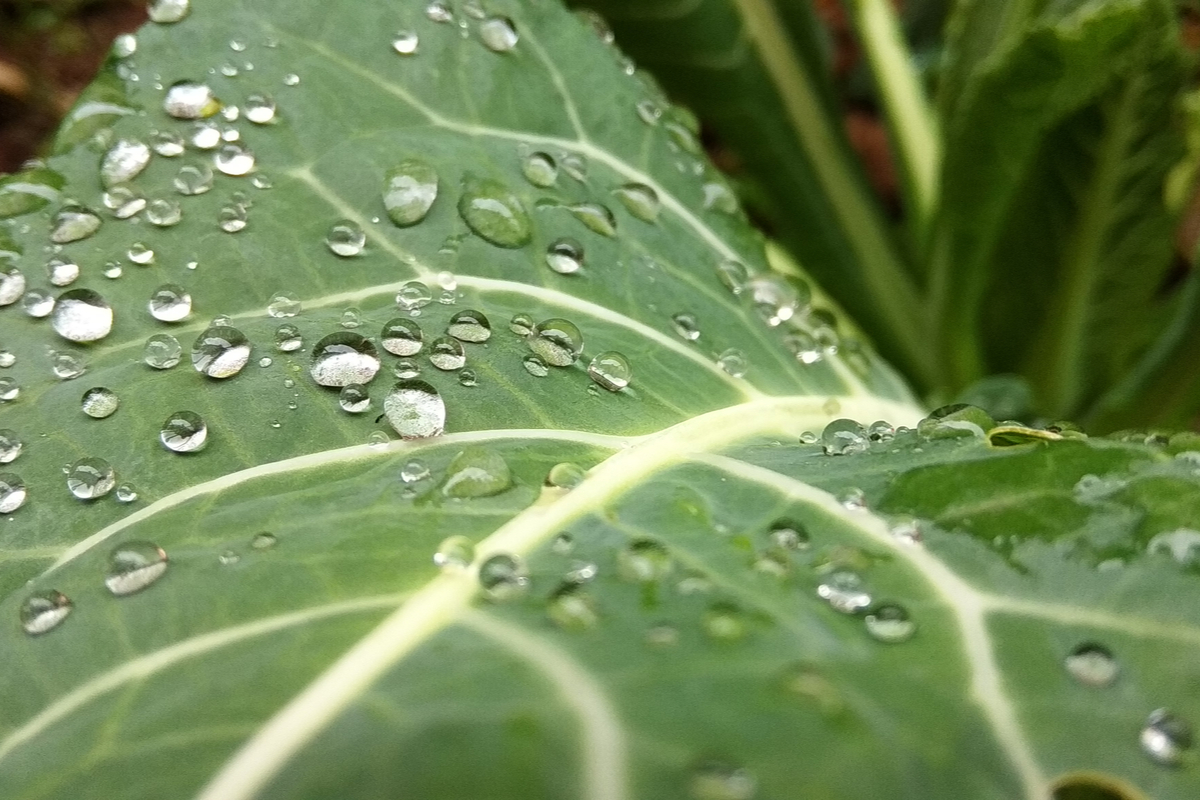
Normally you would water at the base of the plant, but on these hot days, you should also cool down your cauliflower by watering it from above with the hose. Give it a quick rinse using the shower setting on your water wand or hose nozzle. You don’t want to go overboard and drench it.
This light shower will cool down your plant and keep it moist, which will help prevent the plant from bolting while slowing down its growth, so it’s not maturing too fast during these hot spells.
4. Don’t Forget to Mulch
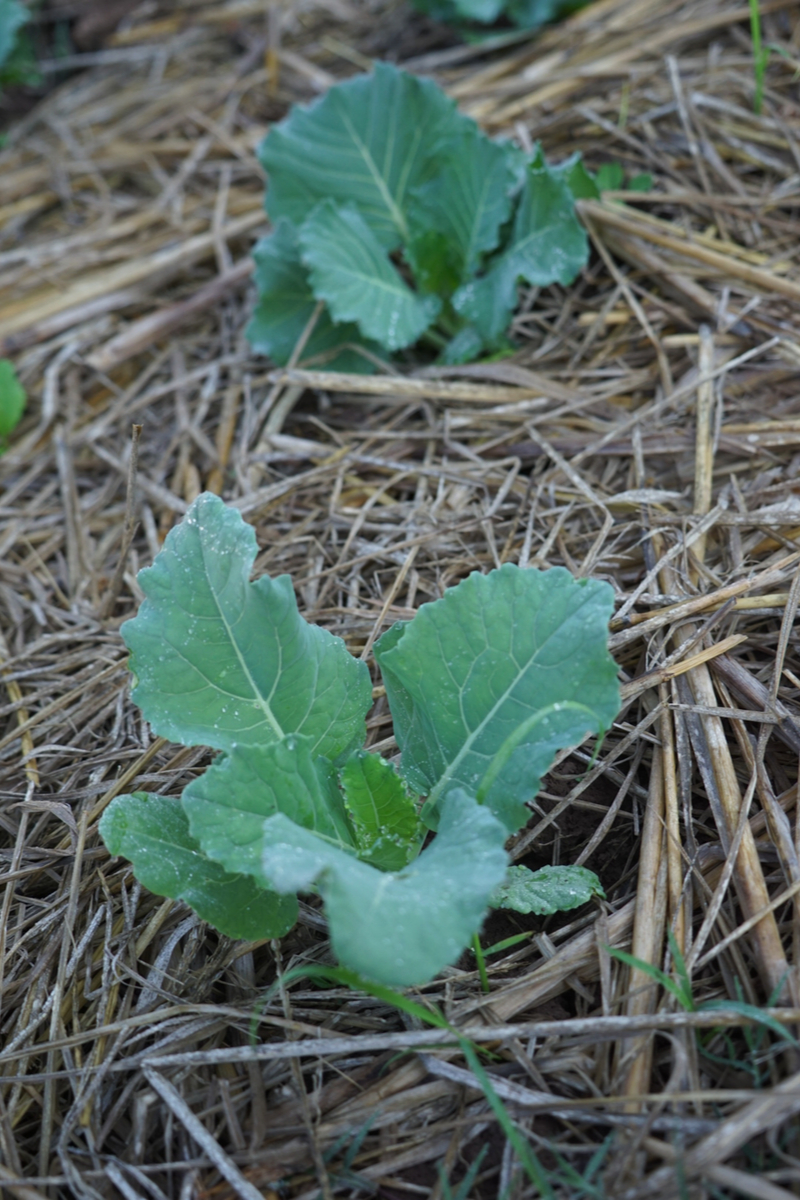
Cauliflower seems to be one of those rare vegetables that’s hard to overwater. Unless it rains, you can water cauliflower almost daily. They really do like to be rooted in cool, moist soil.
And one of the absolute best ways to ensure they get what they want is to mulch the base of your cauliflower plants. Fresh grass clippings make an excellent option, as they add nitrogen to the soil and prevent weeds from growing.
Lock in that moisture for an extremely happy cauliflower plant.
5. Follow This Fertilizer Schedule
As I mentioned earlier, brassicas need nitrogen, and cauliflower is no different. For large, crunchy cauliflower, you’ll want to make sure you fertilize right from the start.
It’s always good to amend the soil at the beginning of the season with compost. Adding in cow manure is a great way to add nitrogen to the soil and create a soil base that will hold in water.
Plan to fertilize your cauliflower every three weeks with a good liquid fertilizer.

Using a liquid fertilizer and watering it in at the base of the plant makes those nutrients readily available to the plant.
Choose a fertilizer that’s high in nitrogen, such as one of these:
You could also use a slow-release fertilizer such as blood meal right at the beginning of the growing season. Add it to the hole before you put your seedling in. Blood meal is a good option for set-it-and-forget-it fertilizing, but it’s harder to gauge when it’s all used up.
But, and here’s the key, stop fertilizing about three or four weeks before you plan on harvesting; this will ensure the plant doesn’t expend all of its energy growing more leaves.
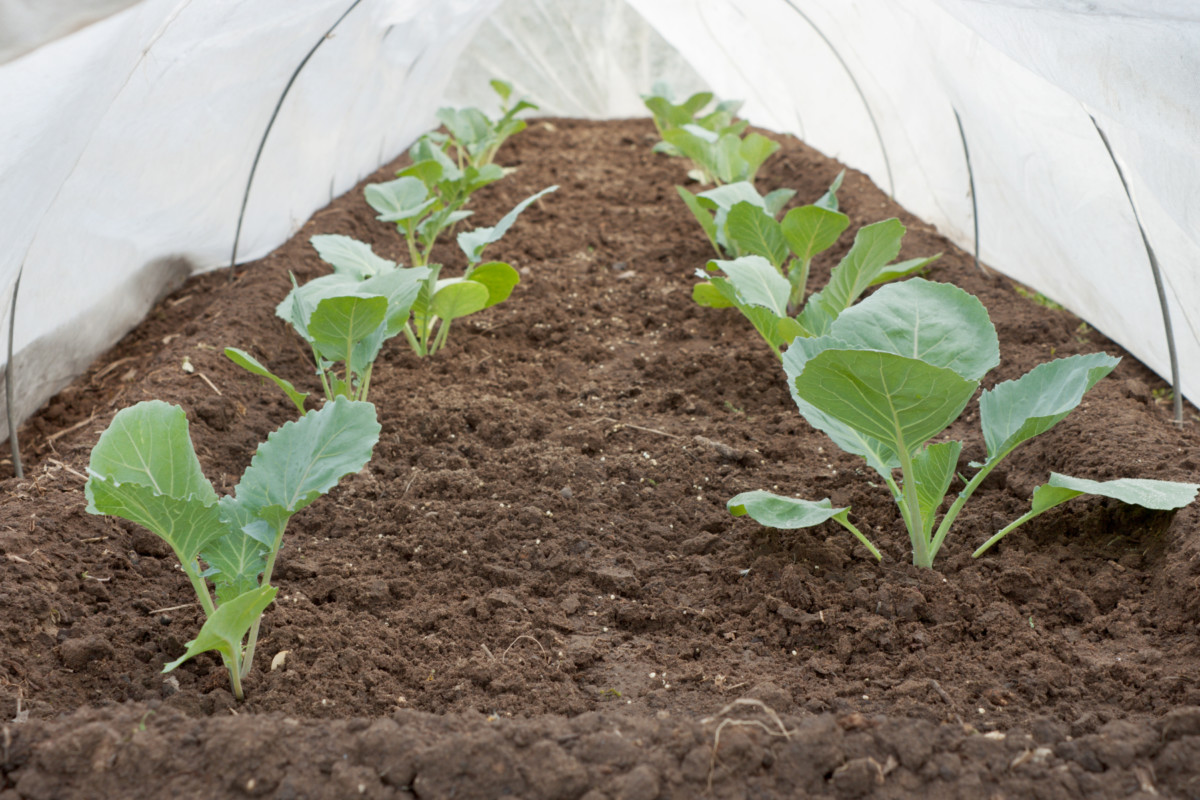
6. Cover ‘Em Up
Brassicas tend to attract wriggly caterpillars that like to feast on their leaves before heading off to turn into moths or butterflies. Inevitably, this generation flies off to create the next generation of leaf-chomping pests. And so the cycle goes until you end up with a stalk full of twiggy-looking stems where healthy leaves used to be.
Those leaves are important in the development of the cauliflower heads.
One of the easiest ways to keep these pests under control is to cover your cauliflower (and other brassicas) with garden netting at the beginning of the season. The netting will still let in sunshine and rain and allow airflow, but it will block cabbage moths and cabbage butterflies from laying their eggs on your cauliflower.
Tulle is another great option for protecting your precious cauliflower. Check out your local fabric or craft store for bargains on tulle by the yard during wedding season and around Halloween.
7. Wrap ‘Em Up
Now, there’s just one last secret to ensure the best-tasting cauliflower you’ve ever eaten. If you’ve put the information in this article to good use, you should be looking at some beautiful cauliflower heads.
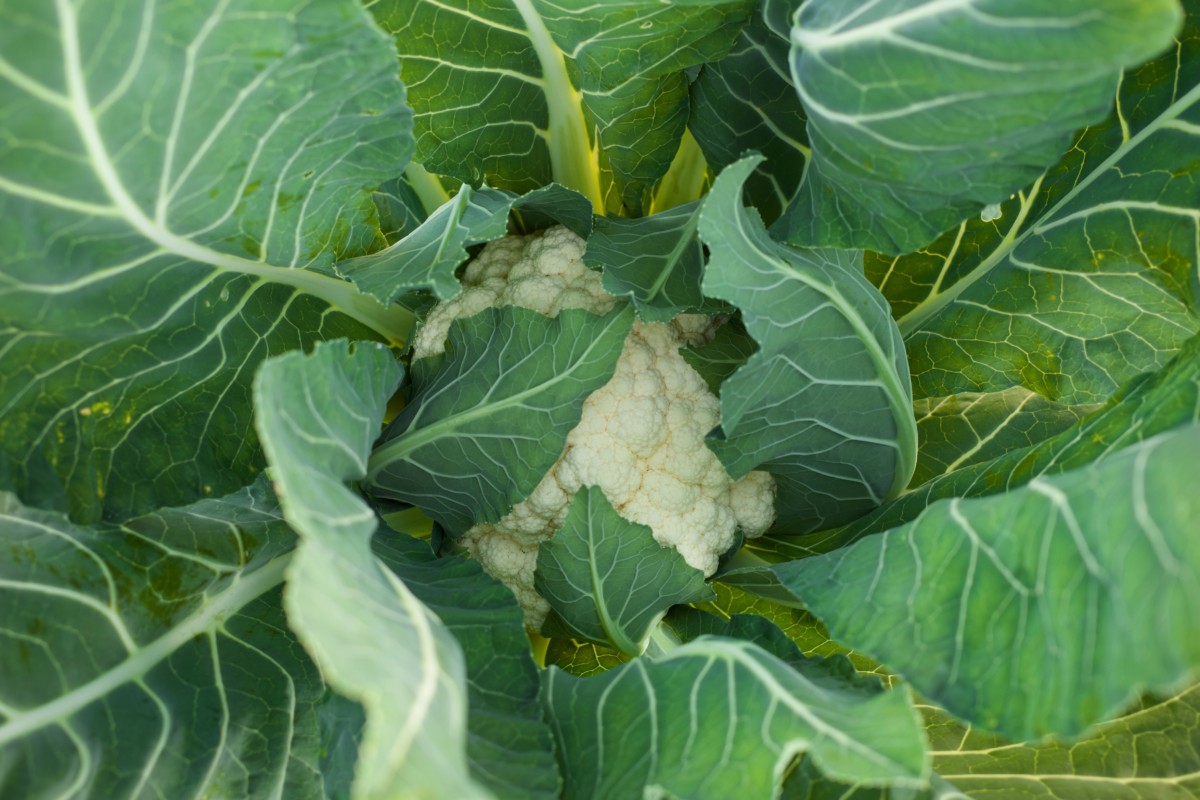
You’re probably wondering, okay, how do I know when they’re ready to harvest? The leaves protecting the cauliflower all this time will begin to pull away from the head.
Check the curds; this is what we call the bumps that make up a cauliflower head.
They should be tight, growing together. You should be able to brush your fingers over the surface of the cauliflower and not have the curds separate. You’ve bought cauliflower at the store before, so you know what you’re looking for. (If the curds are starting to separate, skip this next step and harvest and eat the head right away, as it’s just past its prime.)
You’re going to take the leaves surrounding the head and fold them up together around the cauliflower head to enclose it within. It’s kind of like a tent made from leaves. Use a bit of twine or some strips from an old t-shirt to tie the leaves together. You want them to block the light but not be so tight that the head doesn’t have room to continue to grow.
Don’t do this just after the rain and wait to tie up the leaves during the driest part of the day. Once your cauliflower is tied up, you won’t want to water it overhead anymore either.
Now we wait. We’re blanching the cauliflower for a couple of weeks to preserve that creamy white color and eliminate any bitterness.
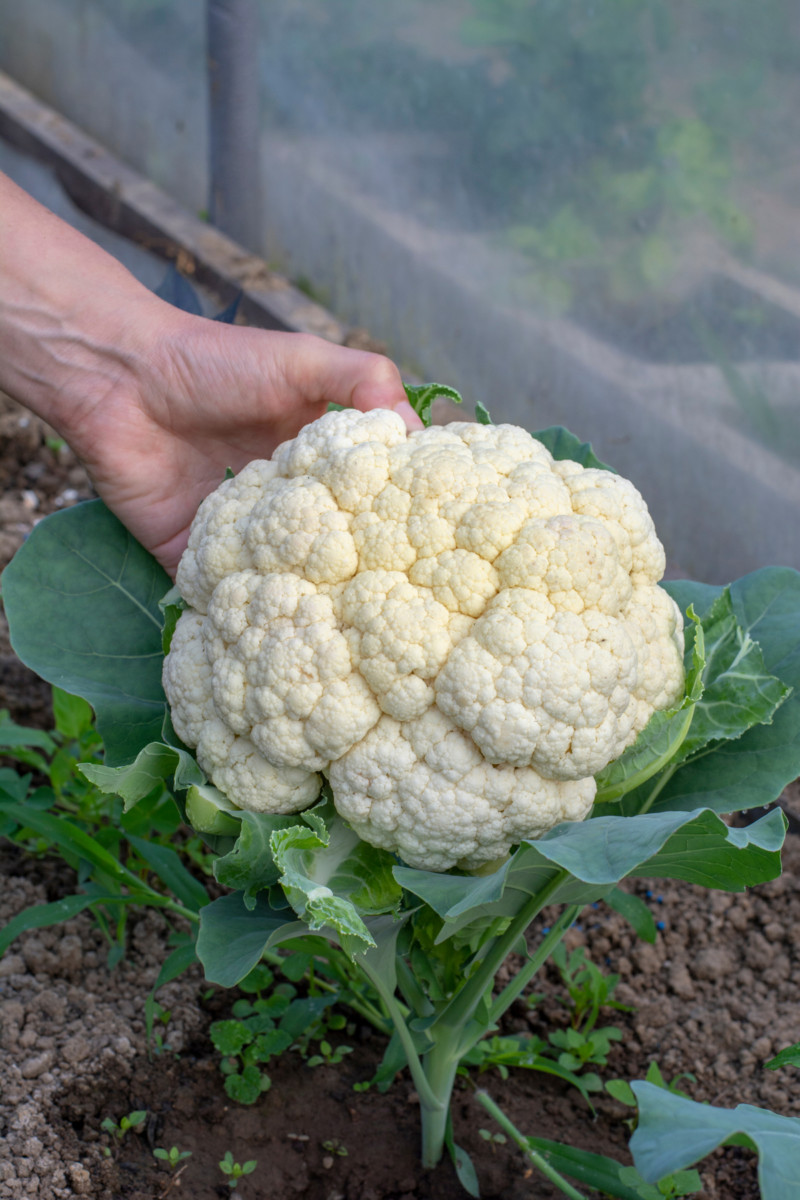
After one to three weeks, unwrap the cauliflower and cut it from the stem. Or better yet, uproot the entire plant and eat both the cauliflower head and the leaves. So many folks throw these out, but they’re jam-packed with calcium! You can use them in salads, stir-fries, fermented into kraut; the possibilities are endless.
If you’ve played your cards right, your cauliflower will have been through a light frost or two leading up to the harvest, which will make it sweeter. There are several vegetables that grow sweeter after a frost.
With these secret cauliflower growing tips, I don’t expect you’ll have too much trouble growing big heads in the future. And as I mentioned in the beginning, once you’ve mastered one brassica, it’s not long until you’ve mastered them all.

Get the famous Rural Sprout newsletter delivered to your inbox.
Join the 50,000+ gardeners who get timely gardening tutorials, tips and tasks delivered direct to their inbox.