

Do you remember when everyone hated Brussels sprouts? Back when the way to eat them was steamed into sulfurous oblivion? (I’ll admit I even liked them back then.)
These days Brussels sprouts have redeemed themselves, or at least we’ve stopped cooking them in the one way that ensures they taste awful.
Now Brussels sprouts are everywhere.
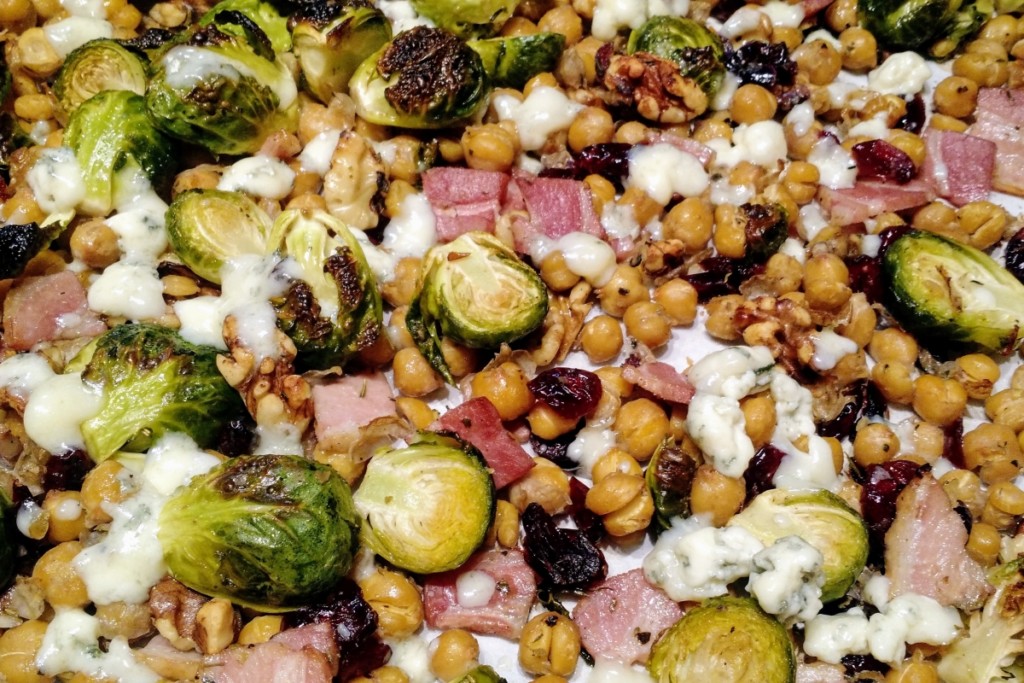
You see them roasted with bacon and topped with craisins and blue cheese, or eaten raw, sliced thin and tossed into a tangy dressing to make crunchy coleslaw. I recently ordered an appetizer of roasted Brussels sprouts drizzled with cayenne-infused honey. Incredible!
Gone is the stinky steamed sprout; this once shunned vegetable is enjoying its day in the sun.
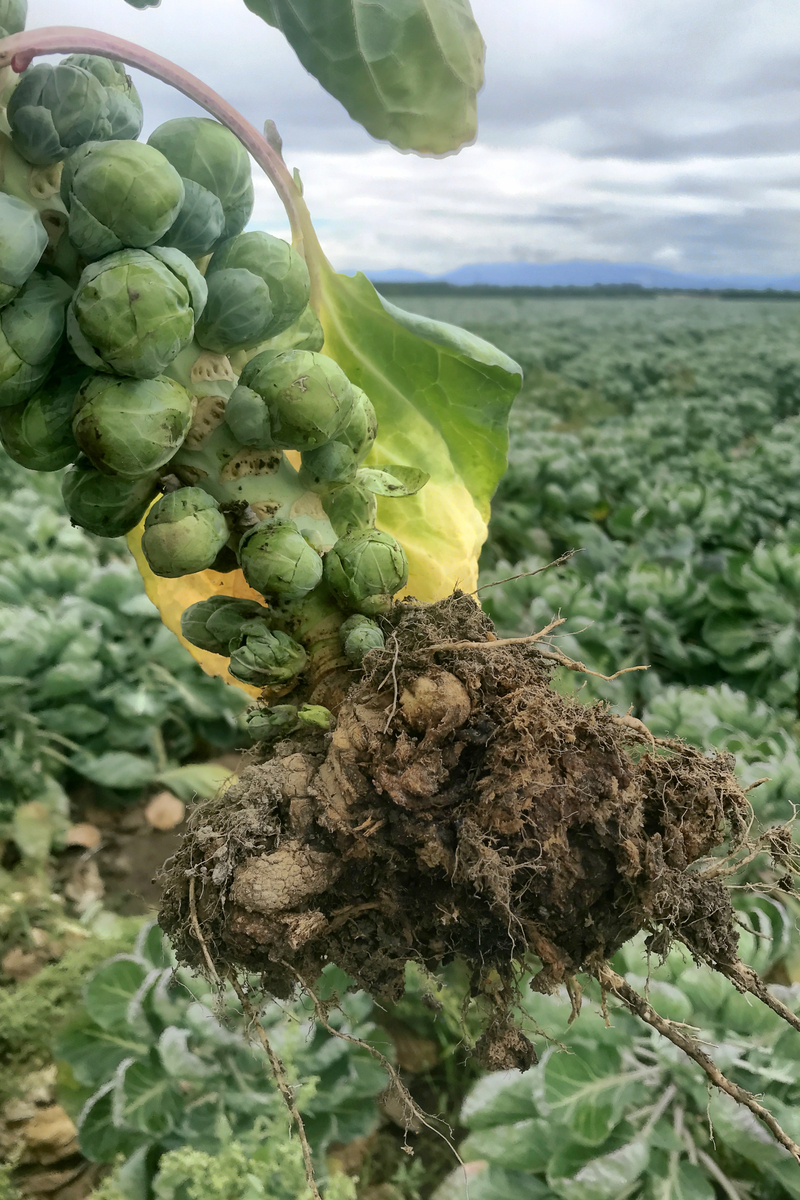
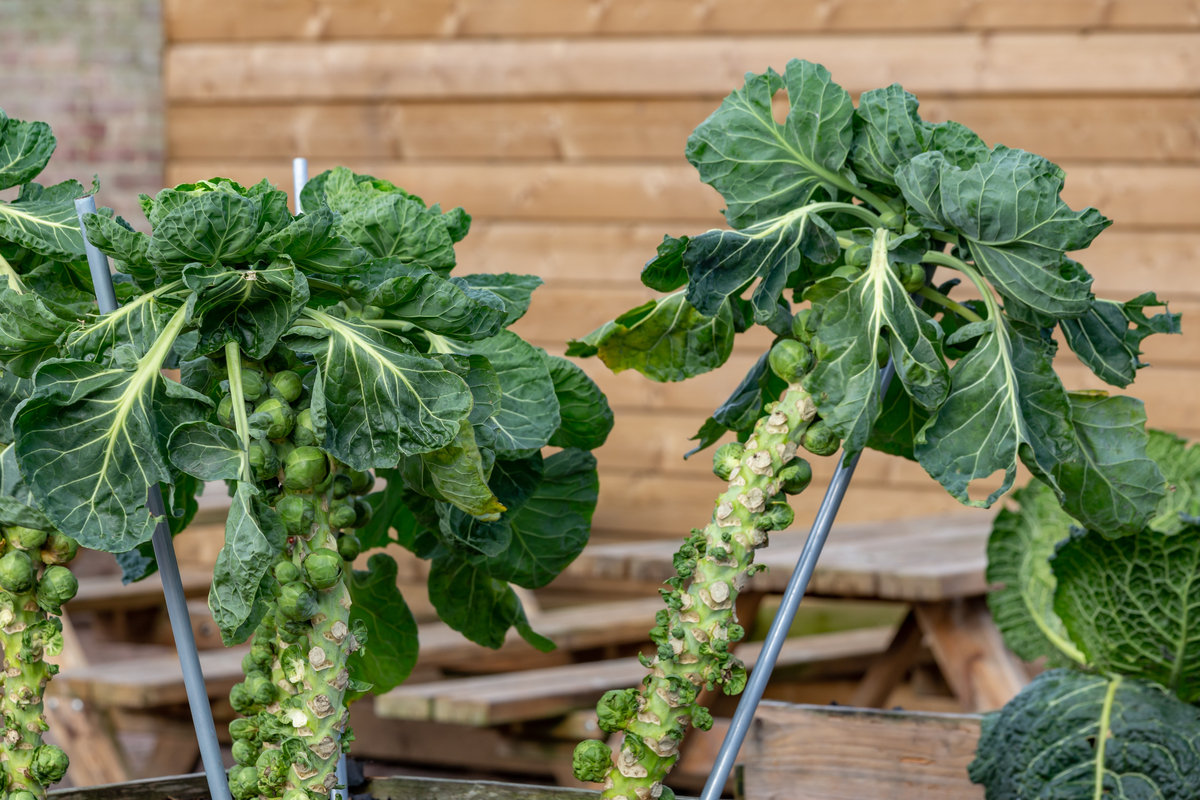
And that means they’re popping up in everyone’s home garden, where they really are getting their day in the sun. But these tiny cabbage look-alikes can be tricky to grow for the uninitiated. We will fix that today and set you up for Brussels sprout growing success.
Brussels sprouts (And yes, for those wondering, it is ‘Brussels’ with an ‘s’. They’re named after Belgium’s capital city, Brussels.) are a member of the brassica family. This cruciferous clan encompasses all cabbage and mustard plants, things like kale, bok choy, broccoli, etc.
So, my gardening friends, let’s make you a card-carrying member of the Brussels Sprout Gardening Gang. Raise your trowel and repeat after me, “I promise to eat all of my veggies.” And, of course, keep reading to learn the ins and outs of growing sprouts.
When to Start Seeds and Plant Outdoors?
I want to start here because this is one of the key reasons people have terrible luck growing Brussels sprouts – they plant them at the wrong time of the season.
When is the right time?
It all depends on where you live. Taking a few moments to figure out when Brussels sprouts do best in your hardiness zone can mean the difference between success and failure.
Brussels sprouts do not like the heat. They’re a cool-weather crop and will not give a good yield if you plant them so that you will harvest at the hottest time of the year.
If you live in a hardiness zone that doesn’t get cold winters, such as USDA hardiness zones 8-11, your best bet is to grow Brussels sprouts starting in the fall as temperatures are starting to cool. The cooler temperatures of your mild winter will ensure a better Brussels sprout crop.
For those living in zones 7-2, we’ll be planting Brussels sprouts for a cool, fall harvest. Depending on how long or short your growing season is, this means planting your sprouts in late spring or mid-summer. You want to shoot for your sprouts to be ready to harvest right around those first few frosts.
Depending on the variety, Brussels sprouts take around 130-150 days to reach maturity from the time you poke that seed in the dirt. Take a look at your projected first frost date of the year and count back 145 days – this is the best time to start your Brussels sprout seedlings.
Starting Seeds
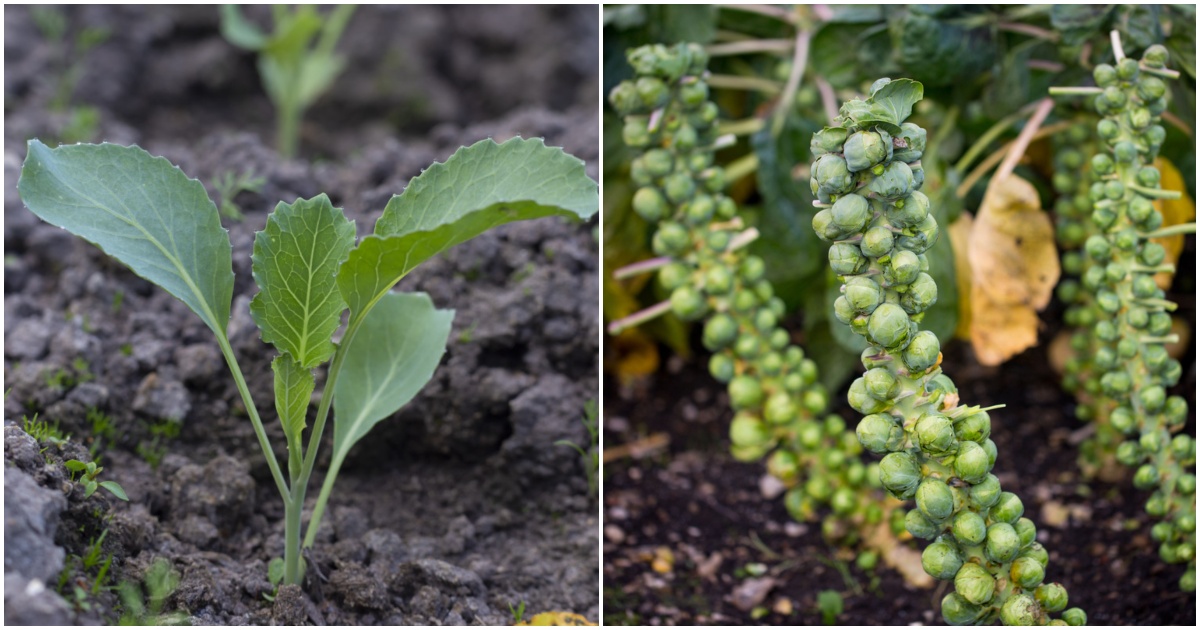
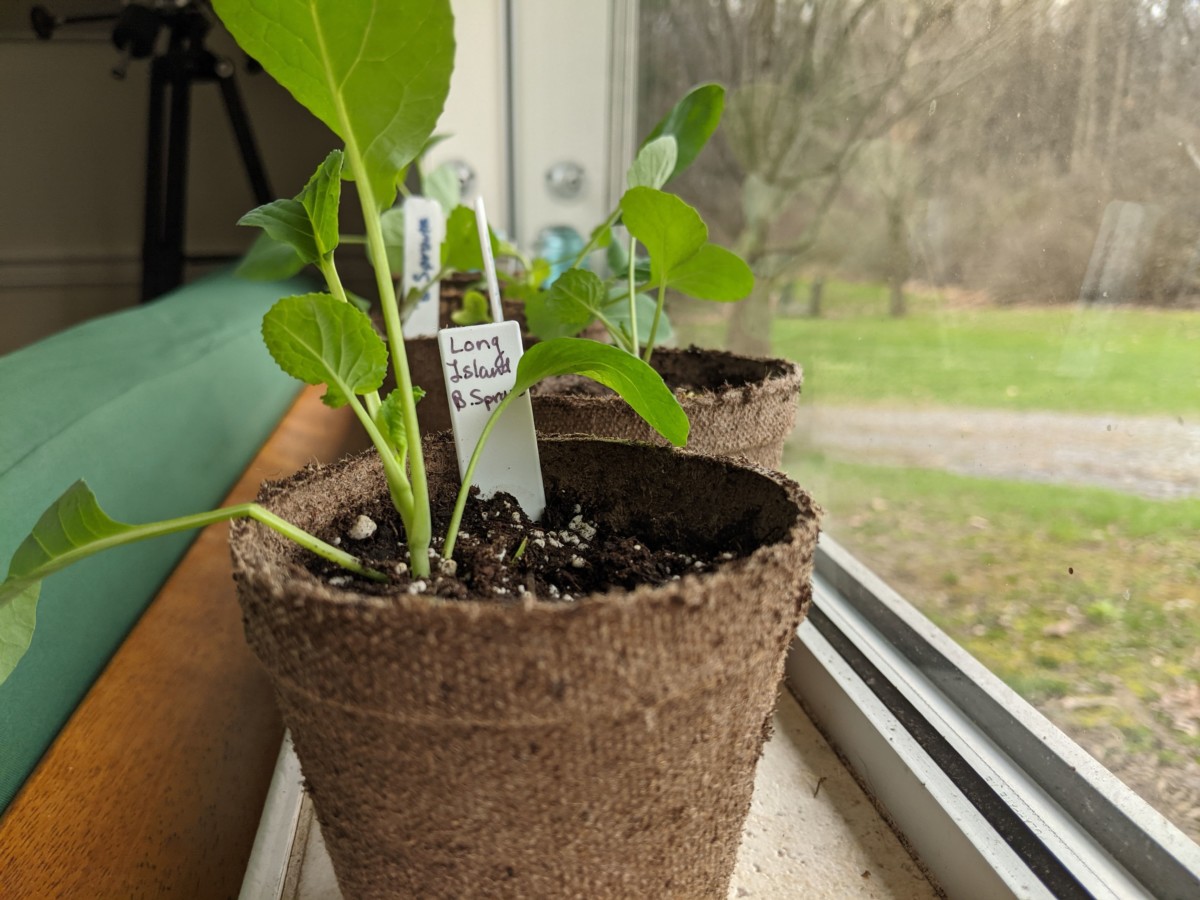
Brussels sprouts are incredibly easy to start inside from seed. Of course, you can always purchase nursery starts if that’s easier for you, but I highly recommend starting your own seeds at least once. You’re less likely to transfer disease-causing fungi to your soil, and you’ll have more options available starting from seed, like these gorgeous Red Rubine Brussels sprouts from Baker Creek Seeds.
It’s not necessary, but I always have better germination rates if I soak my Brussels sprout seeds for 12-24 hours before planting them.
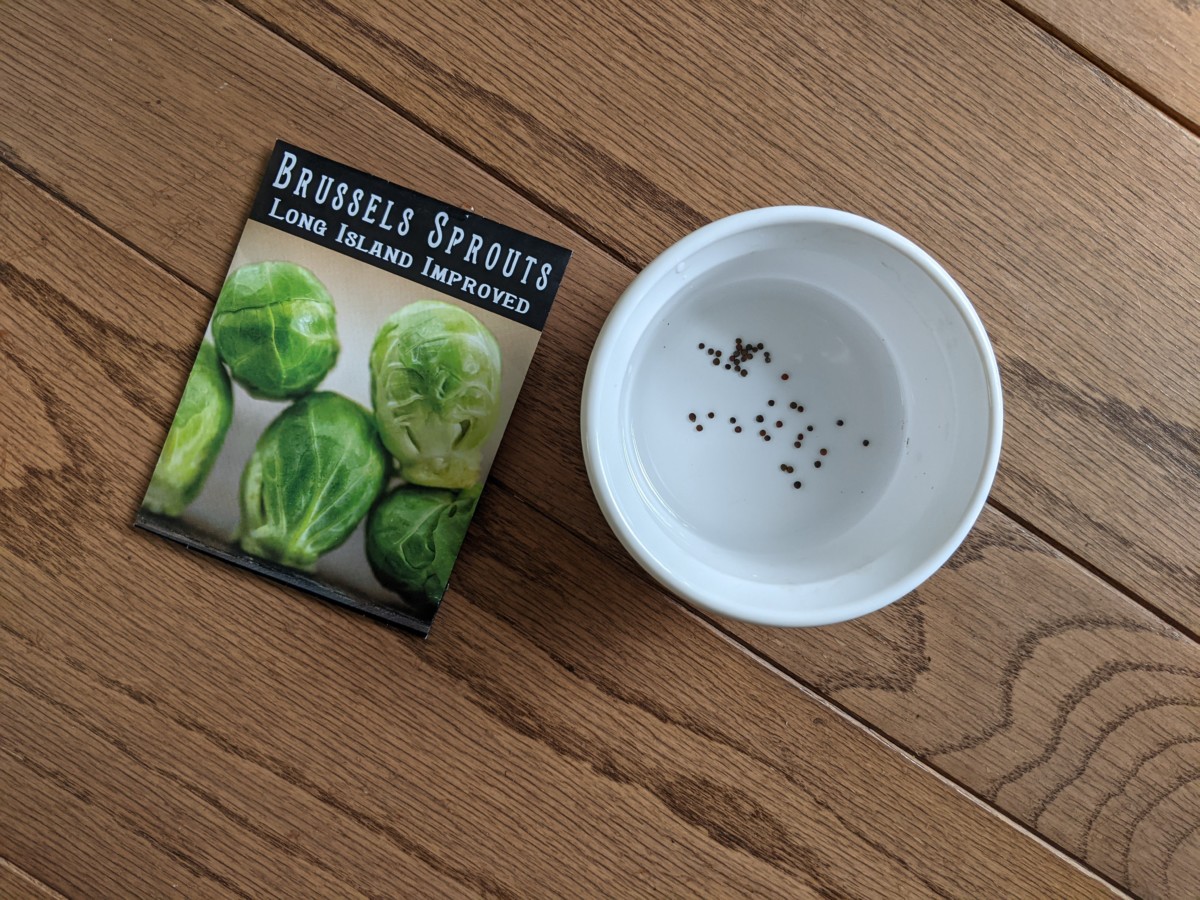
You’d be surprised how many seeds do better with a little soaking before you plant them.
Use a quality, soilless seed starting mix and premoisten it before gently pressing the seeds into the top of the mix. Sprinkle another fine layer of seed starting mix over top of them and press this down as well. Use a spray mister to dampen the top layer.
You may want to use a heated seedling mat to hasten germination. (I love mine.) And if you aren’t using a seed starting tray with a clear lid, cover your container with clear plastic wrap to keep the starting mix moist.
Within 14-21 days, your seeds will germinate. If you’ve soaked your seeds and are using a heated mat, you’ll likely see results sooner.
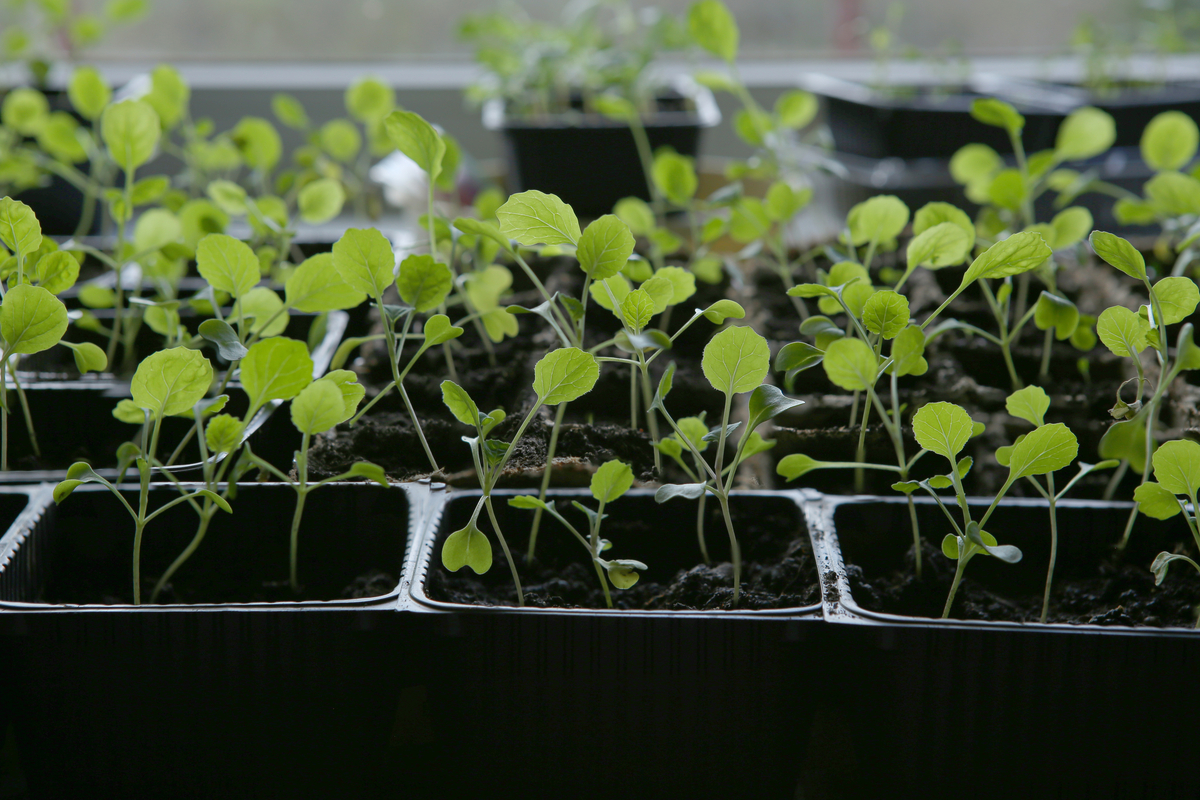
Ensure your seedling gets plenty of sunlight as they require much brighter, direct light than mature plants. If you aren’t using a grow light, make sure your seedlings are in a window that gets southern exposure. Be sure to turn your seedlings every day, so they don’t start to stretch or lean.
When to Plant Outside
When your seedlings are several weeks old, they will need to be hardened off before planting them outside. The entire process is easy to do and only takes about a week. Follow my eleven tips for transplant success, and you’ll be well on your way to enjoying sprouts.
If you’re planting your seedlings later in the summer, don’t forget there are twenty other vegetables you can plant this time of year, too.
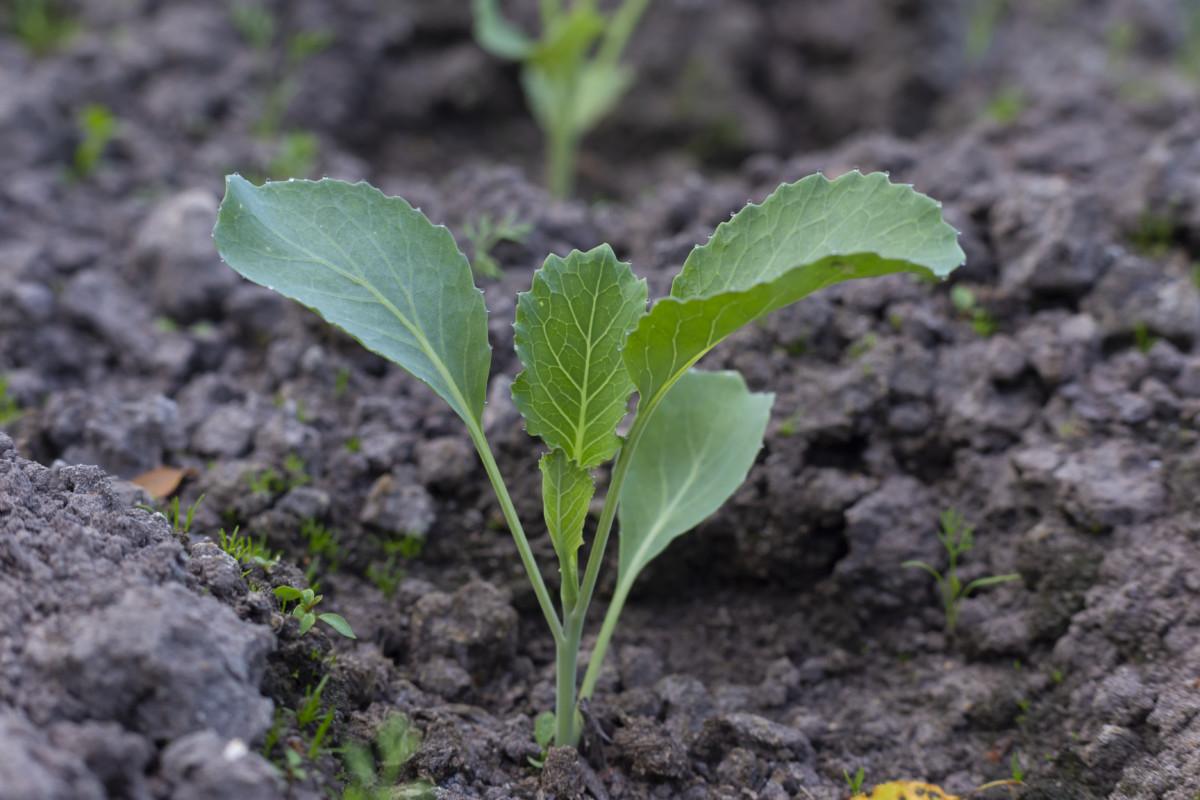
Plant your seedlings outside on an overcast day if you’re able.
Be careful to plant them only up to the level of the dirt in their seedling pot. If you cover too much of the stem, it can rot and kill the plant.
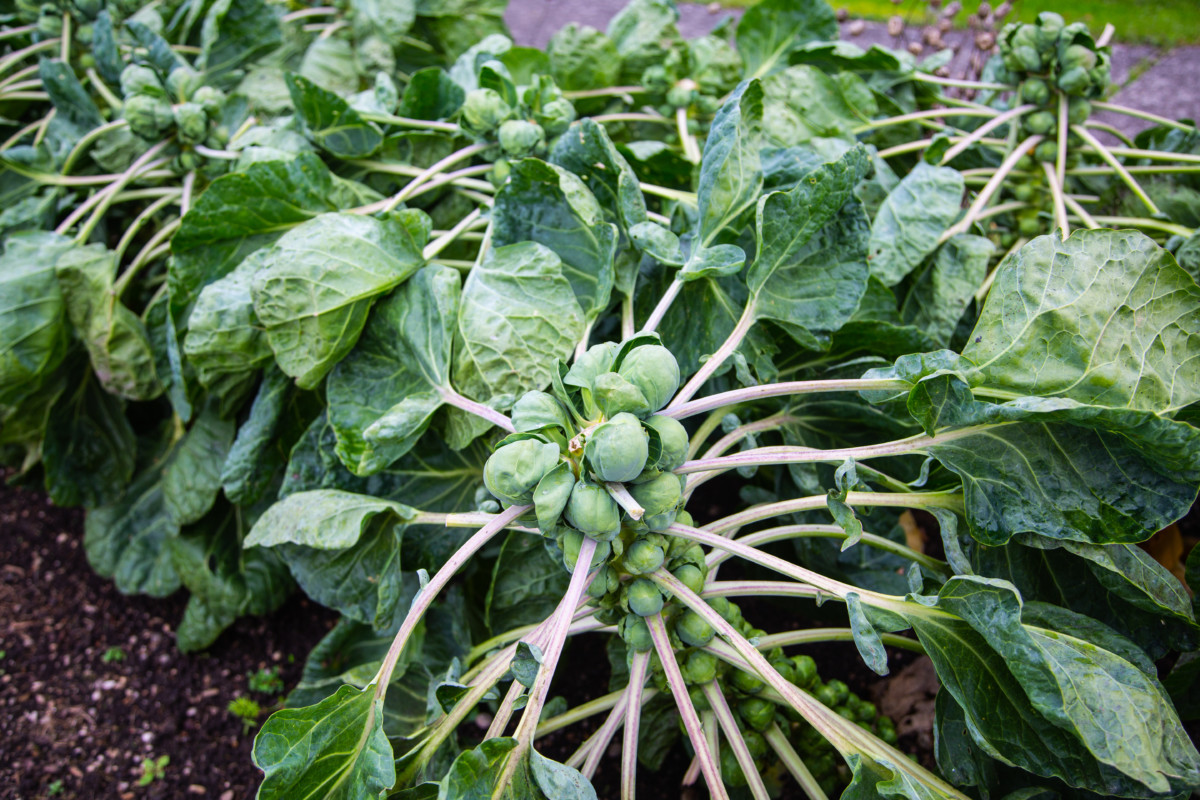
Generally, Brussels sprouts should be planted anywhere from 12”-24” apart, depending on your particular gardening method and whether the plants will shade out neighboring plants.
Water in your tiny Brussels sprouts as soon as you’ve planted them. Keep a close eye on your new seedlings for the next week or so, especially if you’re in the midst of a hot spell. Seedlings can dry out and die before you can say, “Steamed sprouts are terrible.”
Brussels Sprout Soil, Sun, Water, and Nutrient Needs
Brussels sprouts need well-draining soil. They prefer full sun, provided it’s not during the hottest part of the growing season. Sprouts don’t need a lot of water and do just fine with regular rainfall. However, if you need to supplement their water due to a dry spell, plan on giving each plant around half a gallon of water per week.
The only nutrient you need to worry about when growing Brussels sprouts is nitrogen. As the plant is mainly leafy foliage, it’s easy to see why they need so much nitrogen to grow a bountiful crop of teeny, tiny cabbages.
If your soil lacks nitrogen, add some compost to each hole when you plant your seedlings and a nitrogen-heavy fertilizer, such as blood meal.
Growing In Containers
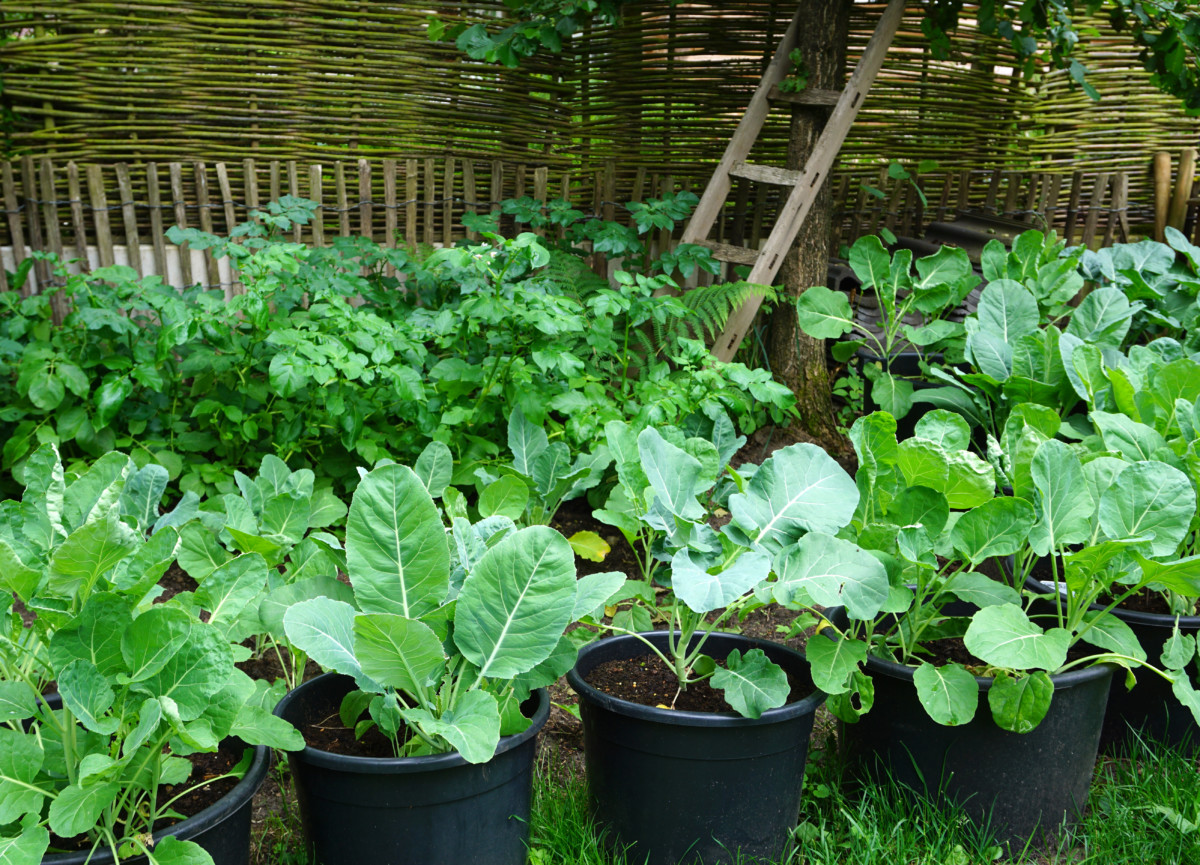
Brussels sprouts also do quite well when grown in containers. Just be sure to choose a sturdy pot that’s large enough to support these massive and often, top-heavy plants when they reach maturity. The brilliant part of growing Brussells sprouts in containers is that you can move them someplace cool during hot spells in the later months of summer.
Pests and Disease
Brussels sprouts are pretty hardy and don’t have many diseases. Clubroot is generally the only disease that can be problematic. Clubroot is caused by a fungus in the ground that causes the plant’s roots to expand. This disease can stunt the growth of the plant and ultimately kill it.
Clubroot can be nasty, staying in your soil for around ten years.
However, clubroot fungi can’t survive in pH neutral or basic soil, so as a measure of prevention, test your soil’s pH. If the soil is on the acidic side, add some lime to bring the pH up.
Brussels sprouts might be disease-resistant, but we aren’t the only ones who like to feast on their leaves. If not taken care of early, cabbage moths and aphids can turn into full-blown infestations.
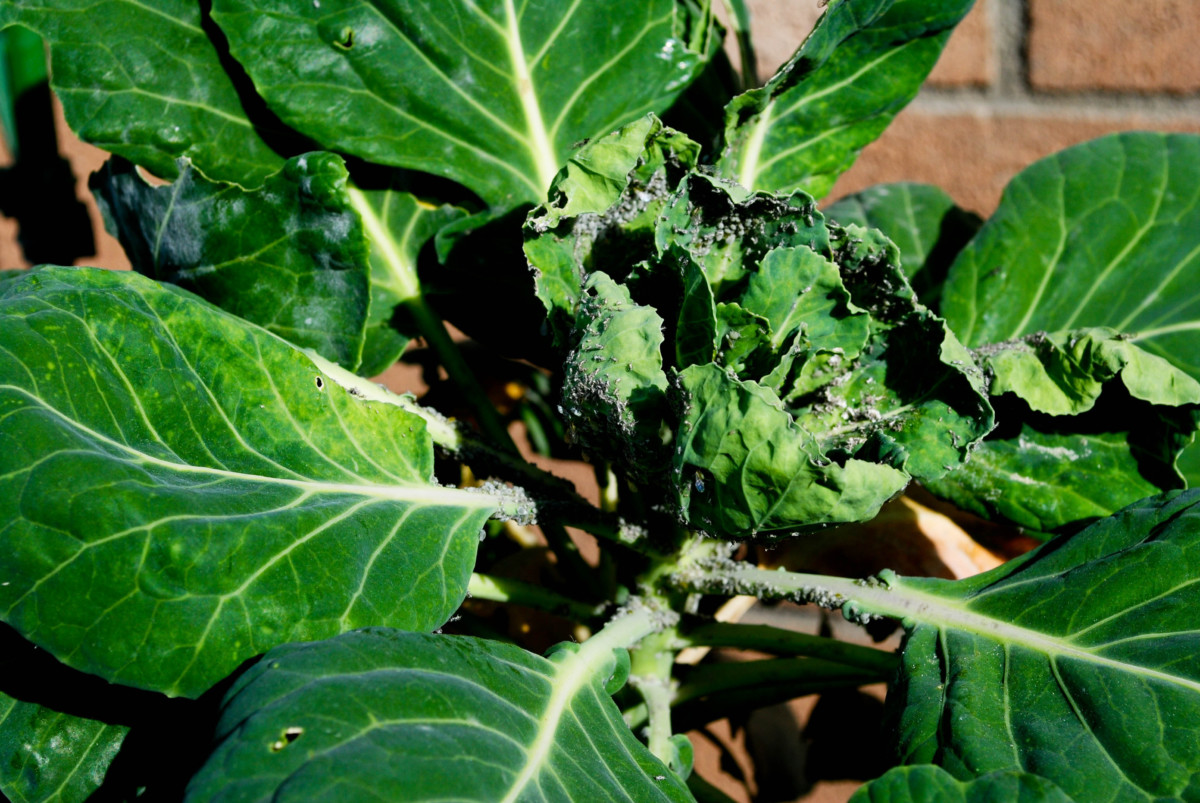
Because Brussels sprouts are pretty tough plants, the easiest way to deal with aphids is to spray the leaves with the ‘jet’ setting on your garden hose. You can also try releasing ladybugs in your garden. The friendly beetles will happily eat up those pesky aphids.
Cabbage moths and white cabbage butterflies can easily defoliate entire plants in their caterpillar stage.
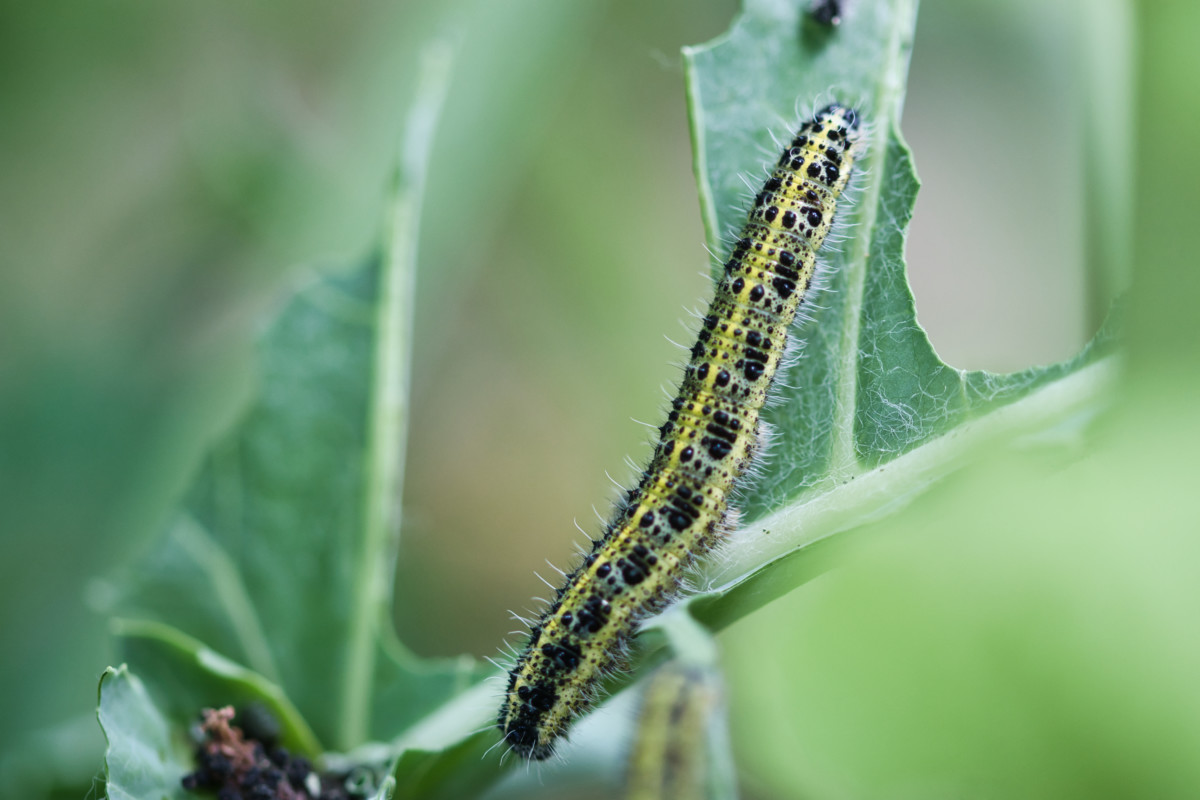
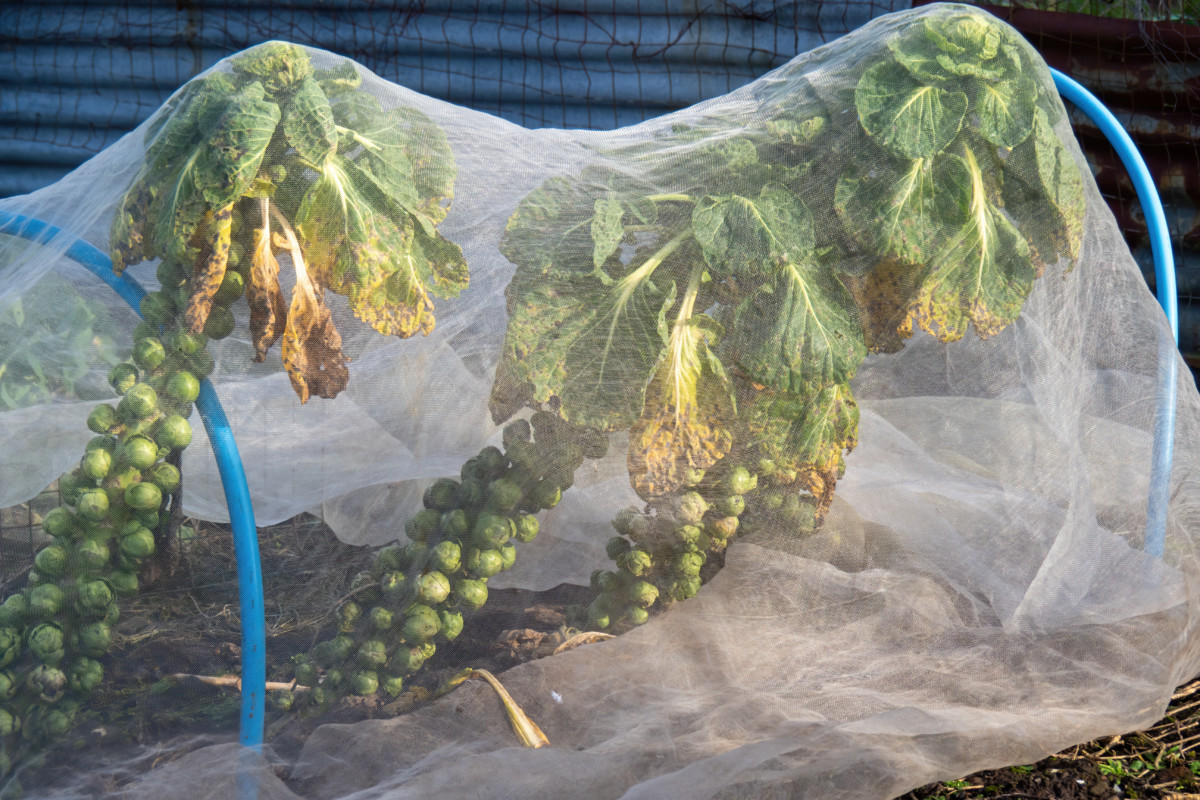
One of the best ways to combat these hungry caterpillars is to cover your brassicas with netting or row cover fabric as soon as you plant them. You can also enlist the help of companion plants to befuddle these pests.
Companion Planting with Brussels Sprouts
Some great companion plants to grow amidst your Brussels sprouts are carrots, beets, onions and garlic, but avoid tomatoes and strawberries. Grow nasturtiums as crop traps to lure aphids from your sprouts. Or try growing more fragrant herbs, like dill, chamomile, mint or basil, to disguise the smell of brassicas and keep cabbage moths away.
These are only a few suggestions, Cheryl is our Companion Planting Queen and she’s written a full article on the best companion plants for brassicas as well what plants to avoid planting next to your Brussels sprouts.
A Couple of Tips for Big Brussels Sprout Harvests
To Stake or Not to Stake
Depending on the variety and how big your stalks get, you may wish to stake your Brussels sprouts later on in the growing season. They tend to get top-heavy as you prune and harvest them.
Tame your floppy Brussels sprouts with a sturdy stake and gently secure them with string or soft strips of fabric.
Trimming
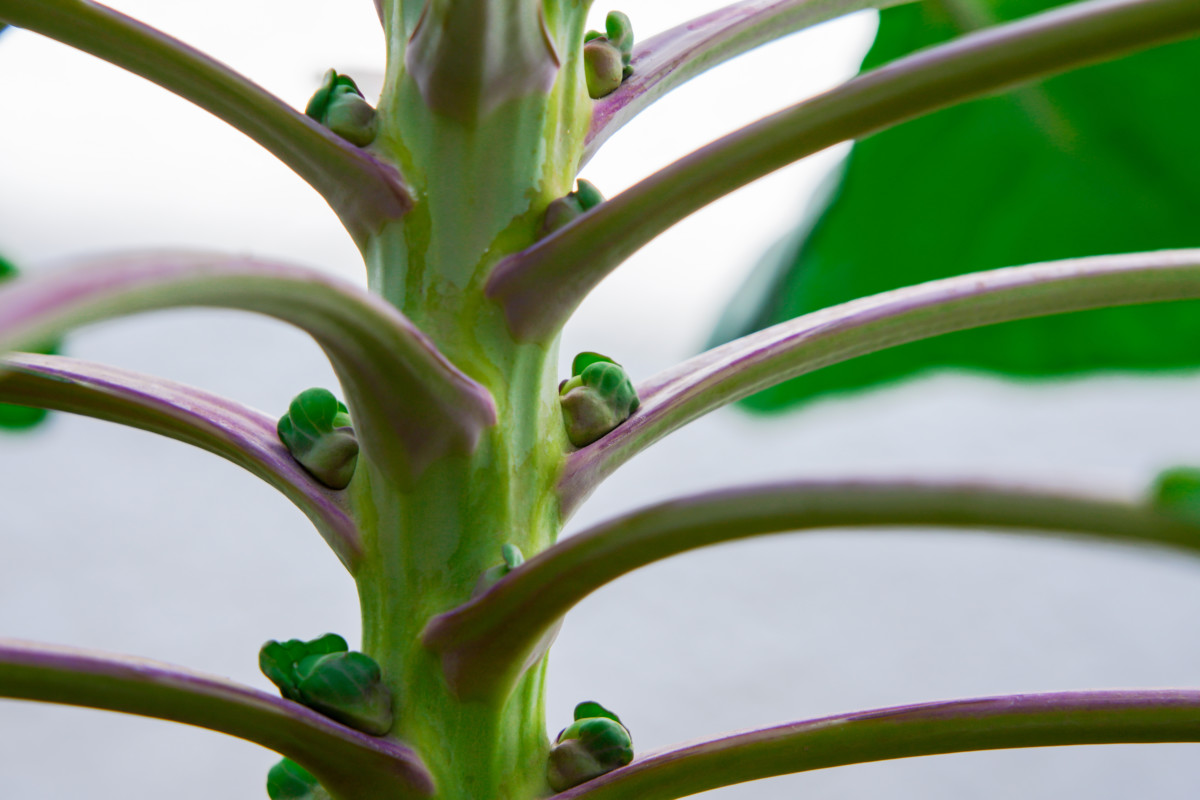
About 35-45 days before your sprouts are ready to harvest, go through and trim off the leaves from the bottom of the plant, leaving the top 6” of leaves. Be careful not to rip off the leaf too close to the stem, as that’s where the sprouts will grow. Cut off the top 2” to 3” of growth at the very top of the plant.
By cutting off the leaves and topping the plant, it will put all of its energy into the sprouts rather than maintaining the leaves or growing taller.
When to Harvest and Where
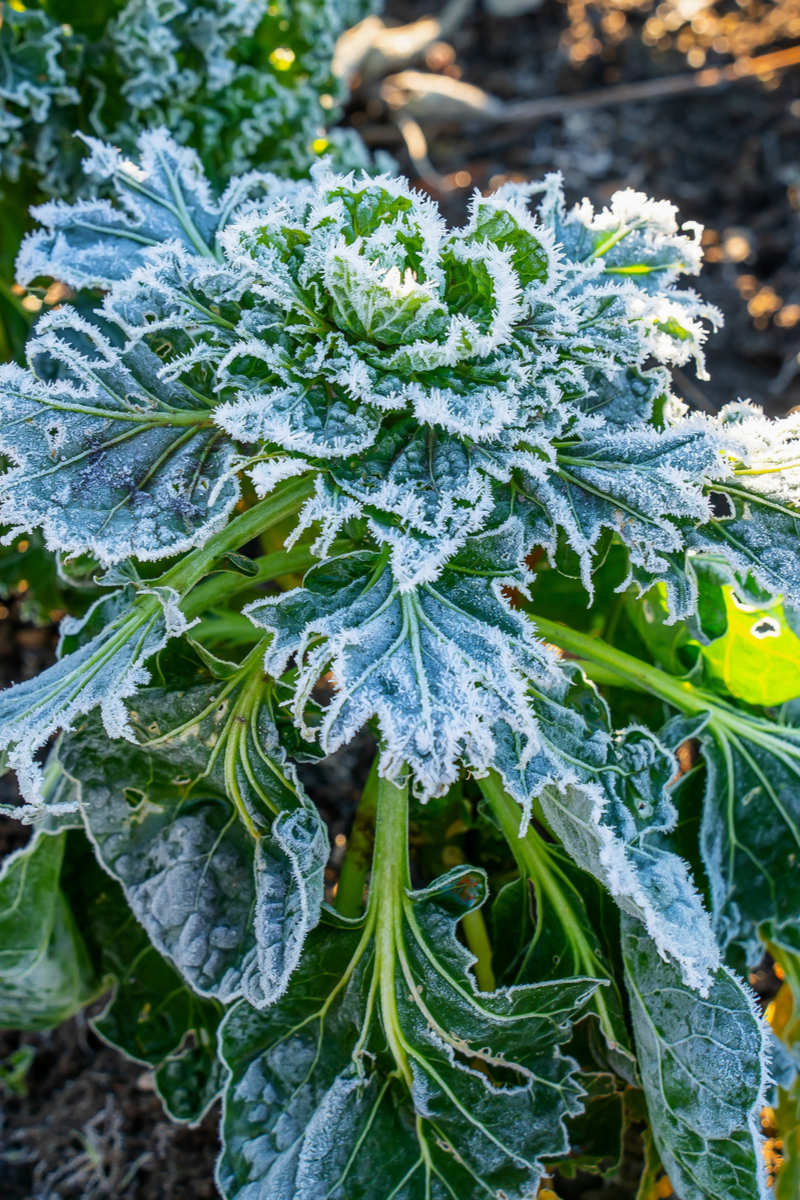
Believe it or not, the best time to harvest your Brussels sprout crop is after a frost or two; the sprouts actually become sweeter. Hold off on harvesting your sprouts until they’ve experienced a frost if you’re able.
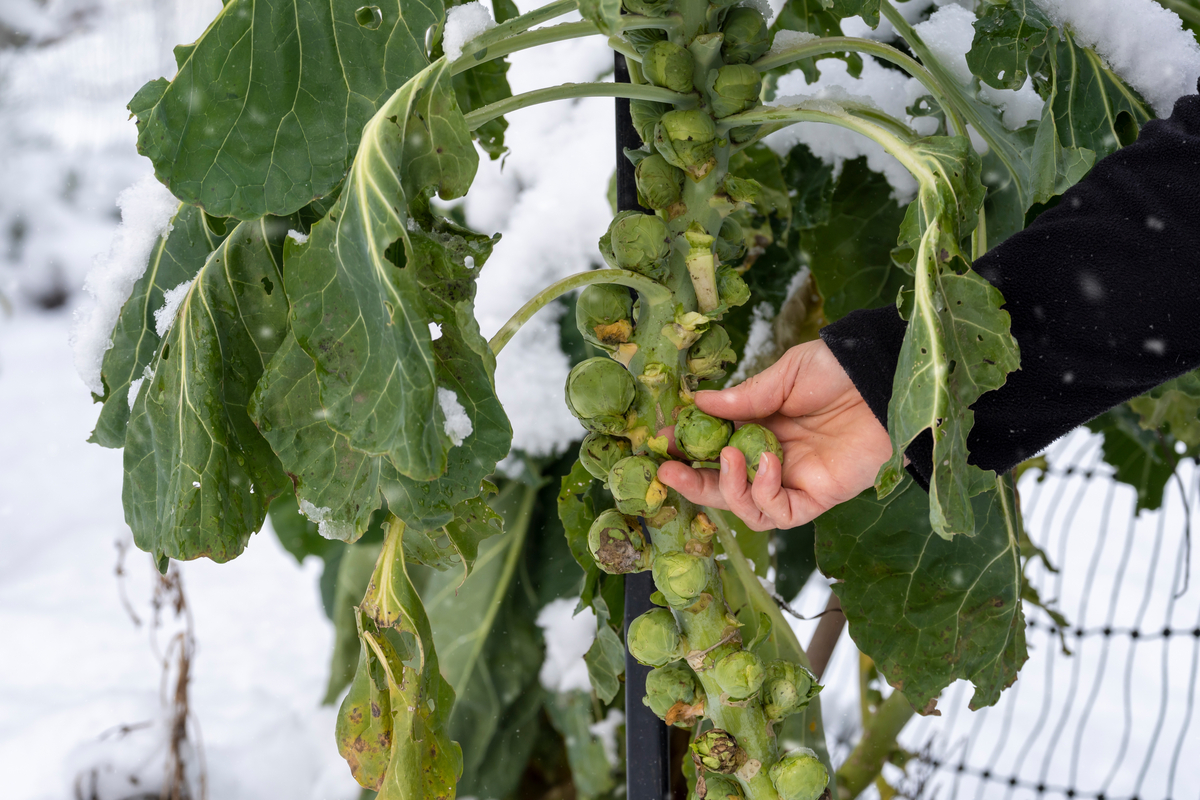
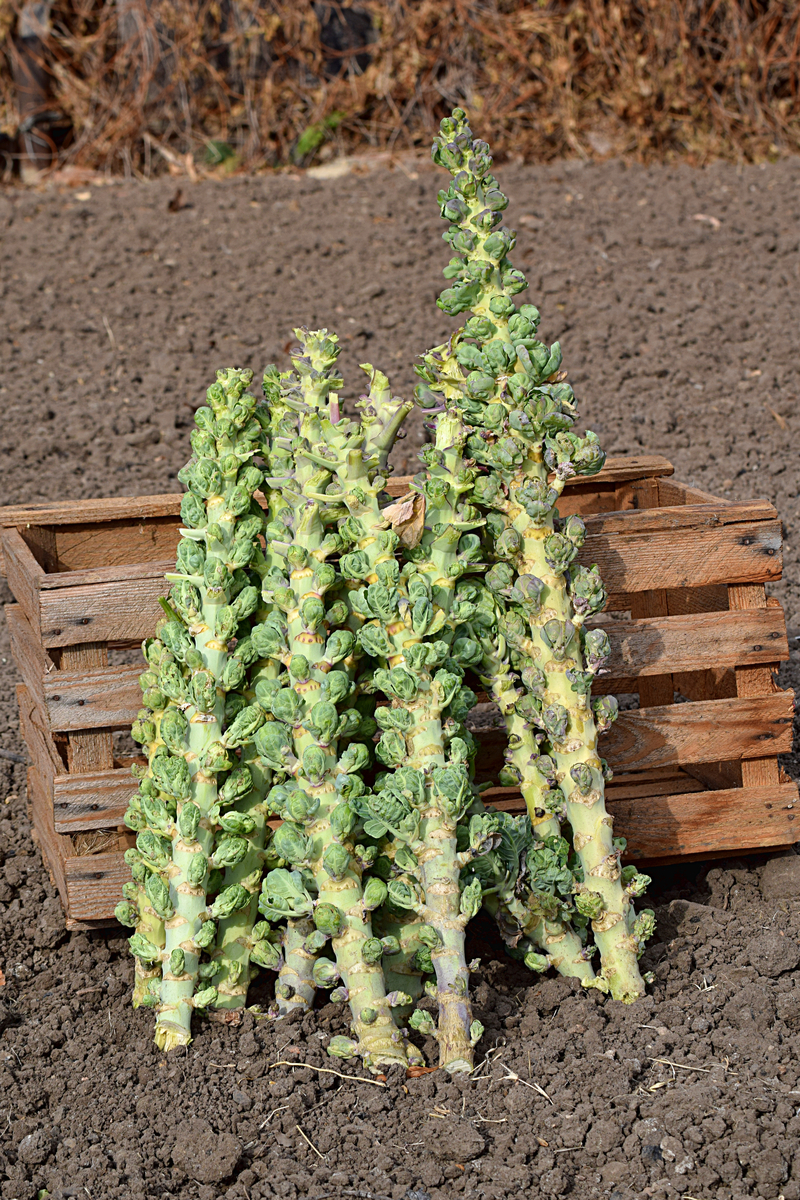
Harvest sprouts from the bottom of the plant, working upward; this will give smaller sprouts at the top of the plant the chance to mature and grow larger before you eat them.
You can twist off individual sprouts, or if the entire stalk is ready, you can cut the whole thing down. You may need a machete or hatchet to cut through the tough stalk.
Storing Those Beautiful Sprouts
Brussels sprouts are pretty great because the easiest way to store them is right in the garden. Leave them right where they are and harvest them as needed. It’s best to protect them from a hard freeze by hilling them up to the top with straw. You can pull the straw back anytime you need to grab a few sprouts for dinner.
Brussels sprouts can also be stored right on the stalk; just be sure to wrap the bottom stump in damp paper towels and then foil. Place the stalk in the fridge or keep it in a cool, moist part of your basement; if you’ve got a root cellar, even better.
What to Do with All Those Sprouts
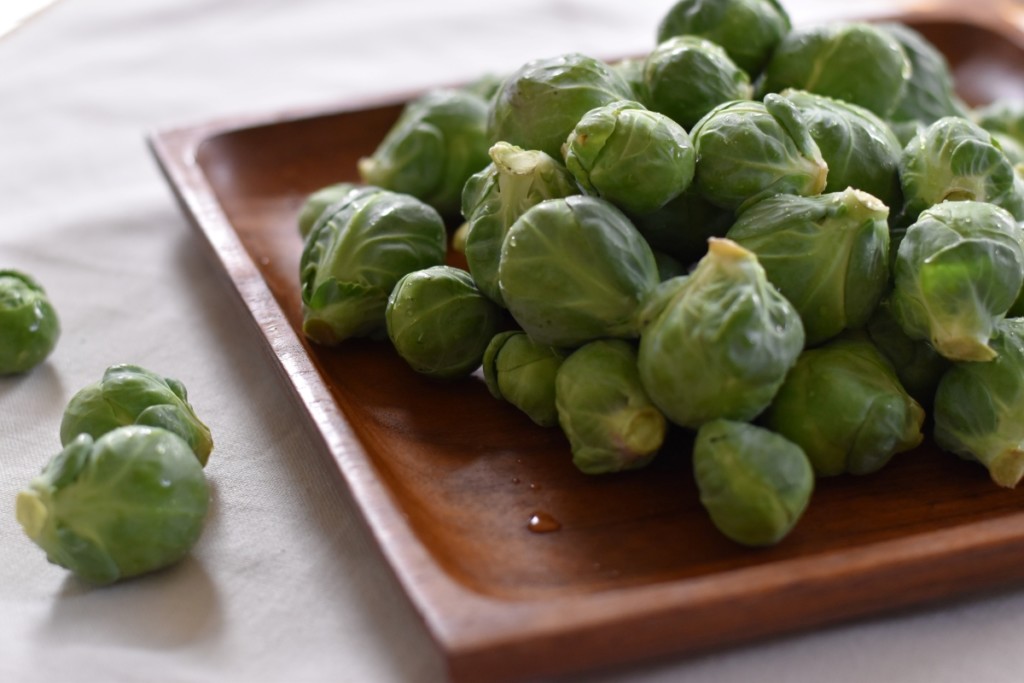
If you grew up eating those awful steamed or boiled sprouts, it’s time to branch out and try something new. I think you’ll be quite amazed at how delicious Brussels sprouts are when cooked well. Here are eleven different ways to eat Brussels sprouts.
See? Growing Brussels sprouts isn’t hard when you know how to take care of them and when to plant them. Be sure to make some room in your garden for this delicious and versatile vegetable this year.

Get the famous Rural Sprout newsletter delivered to your inbox.
Join the 50,000+ gardeners who get timely gardening tutorials, tips and tasks delivered direct to their inbox.