

When it comes to improving your self-sufficiency, learning how to brew your own beer tops many lists.
It’s not as hard as you think.
However, lots of people are put off because they assume mastering homebrew requires a degree in chemistry and hundreds of dollars worth of equipment. But there’s good news; you can start brewing your own beer with only a few basic supplies, some of which you likely already own.
Keep reading to learn how unintimidating brewing your own beer can be, and for a basic recipe to get you started.
8 Benefits of Brewing Your Own Beer
If you aren’t convinced that homebrewing is for you, these benefits might convince you otherwise.
1. You Will Save Money
A lot of people question whether homebrew is cheaper than bottled beer. While the cost will vary based on your chosen style and ingredients, the result will almost always be less expensive than buying craft beer. You won’t beat out the prices of Bud Light at home, but your final beer will likely cost you between $3 to $6 per six-pack for the ingredients.
Saying that, beginners likely won’t save money right away because of the upfront costs for equipment. You’ll start to see some savings once you make a few batches.
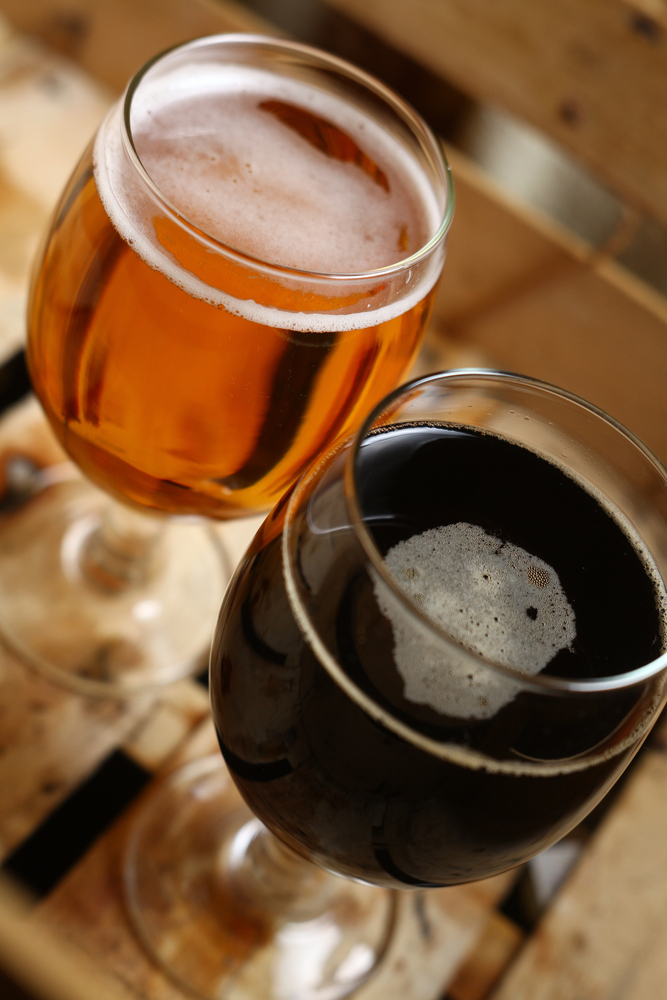
2. Learn To Appreciate Beer
Do you struggle to differentiate between an amber and a porter? Learn to brew your own beer, and this will cease to be a problem. Gaining hands-on experience with homebrew will teach you about the nuances between different types of beer, and give you a greater appreciation for the flavors, ingredients, and brewing methods available.
3. Control What Goes in Your Drink
Commercial beer is made on the cheap, and as such, the companies responsible may take some shortcuts to keep costs low.
This might include questionable preservatives that extend shelf-life and even yeast-killing additives designed to protect the bottles from exploding during transportation. Likewise, many commercial brewers use a lower proportion of grains in the recipe which leads to fewer nutrients for you. Brewing your own beer lets you control what winds up in your bottle.
4. You May Experience Fewer Hangovers
Because home-brewed beer contains lots of yeast and vitamin B, compounds that purportedly prevent you from getting drunk, and reduce the severity of your hangover after an evening of indulging. As commercial beers are both filtered and pasteurized, they are stripped of their vitamin B content.
5. Only Basic Equipment is Needed
Learning how to brew your own beer is intimidating for a lot of people because they expect that they need to drop hundreds of dollars on equipment.
The truth is that you only need some basic supplies to begin, and it’s possible to purchase beermaking kits with everything you need for getting started for about $50. It’s even smart to start with small-batch, one-gallon brewing at first to ensure this is a hobby you’d like to continue. Once you commit, you can choose whether to invest in costlier equipment.
6. Endless Opportunities to Experiment
Forget accepting what’s conventional; learning how to brew your own beer opens up a limitless world of flavor experimentation. Curious what orange peel and peppermint would taste like in a stout? Want to dump a dozen pumpkin donuts in a porter?
Brewing your own beer is a license to create.
With a little practice, you’ll learn to consider recipes as merely starting points for developing your own personalized brews.
7. Makes An Impressive Gift
If you want to impress the beer-lover in your life, a personalized brew is hard to beat. Brew up a winter ale with warming spices for the perfect Christmas gift, or customize a beer to your friend’s preferences for a perfect birthday gift.
You can even scale up your production to provide unique beverages for a dinner party or wedding reception.
8. Beermaking Can Be Social
Making beer can be a unifying activity and a great way to make new friends. Whether you invite some beer enthusiasts on the brewing and tasting days or join a local homebrewing club, making your own beer is a great way to connect with other hobbyists.
If you can’t find any local comradery, there are lots of online communities that support beermaking, including BeerAdvocate, RateBeer, TalkBeer, and UnTapped.
About Homebrew Ingredients
Before we talk about the basic steps of beermaking, let’s look closer at the key ingredients you’ll need. While recipes will vary, all that’s necessary for basic beer is hops, grains or malt extract, yeast, and water.
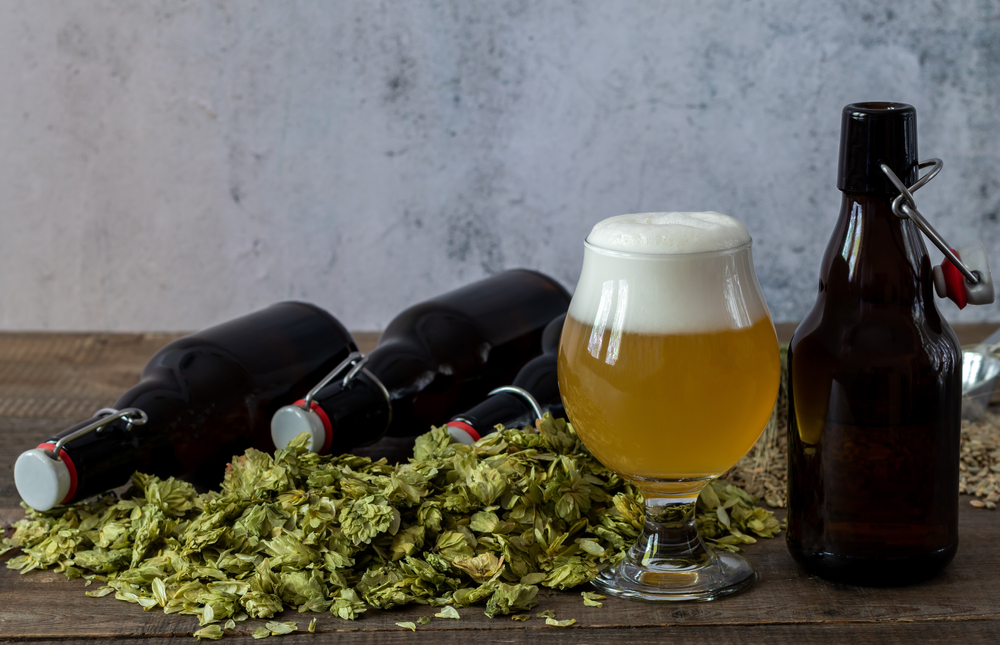
Hops
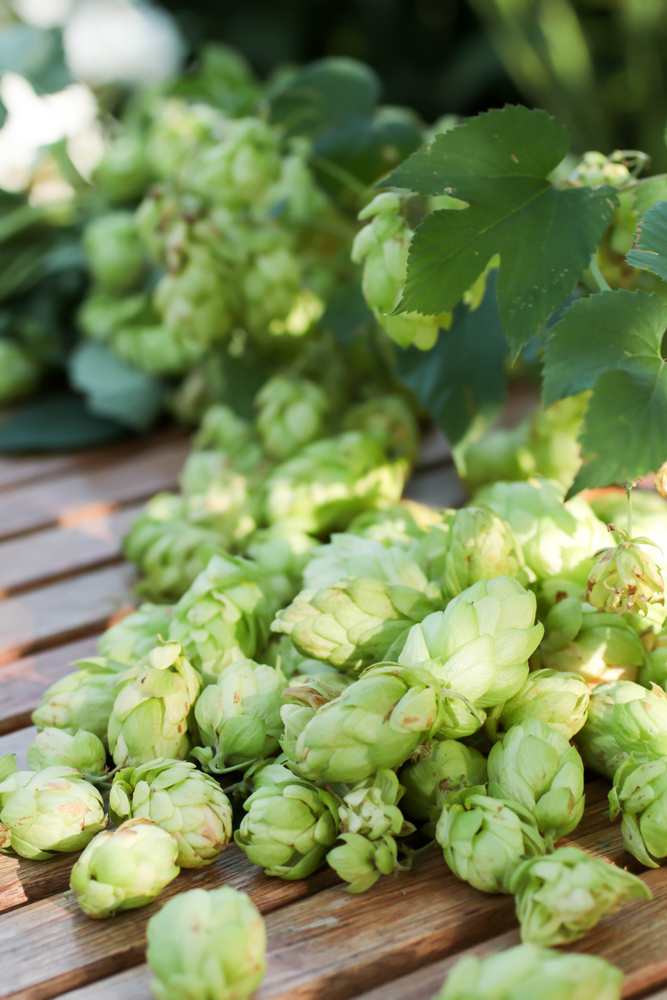
You’ll need the flowers produced by female hop plants for beer production. These cones are used to enhance beer’s aroma and fragrance, and they contain alpha acids that create the bitter taste of IPAs and other beers. The amount of acid depends on both the hop variety and where they are grown, and certain hops are associated with different beer types.
Grains
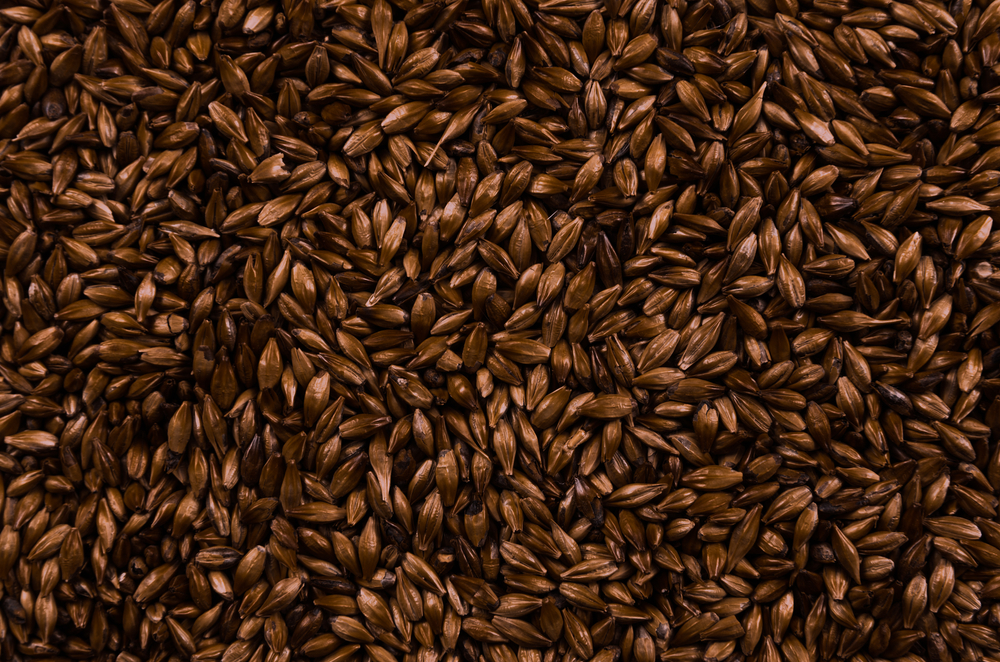
Beer is traditionally brewed with grains like barley, wheat, maize, or rice. Even if you’re using malt extract, many recipes call for a small amount of “specialty grains” to further enhance the flavor and aroma. If you’re using grains, it’s best to mill them at home with a grain mill so that they’re as fresh as possible before you use them.
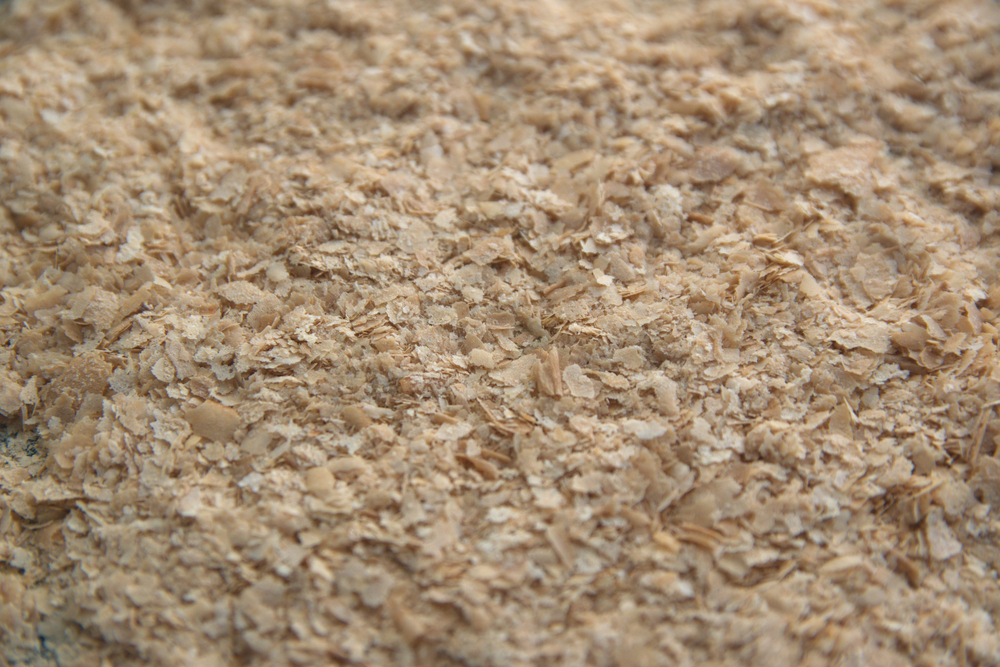
Malt Extracts
The quickest, most straightforward way to brew beer, especially for beginners, is to use malt extract. This naturally sweet liquid is produced from malted barley, and it saves you the step of cooking and mashing fresh grains yourself. You can purchase either liquid or dry malt extract for most recipes.
Yeast
Yeast is the crucial ingredient for beermaking, as this single-celled fungus feasts on the malt sugars to ferment them into alcohol. Similar to malt extract, you can buy both liquid and dry yeast. While dry yeast has a longer shelf life, liquid yeast comes in more varieties for more creative brewing.
Water
Water quality is an important consideration for brewing beer, as the final beverage will be more than 90% water. Make sure you use clean, filtered water that is moderately hard and has low alkalinity.
Step By Step Guide To Brewing Beer for Beginners
While there are dozens of homebrew recipes available, the following instructions, adapted from the American Homebrewer’s Association, offer a no-nonsense approach for beginners without much equipment. It’s a smart starting point for your first home batch. It’s an all-extract recipe, so you don’t need to mess with procuring grains.
1. Gather Supplies
You’ll need to have the following equipment and ingredients on hand for this recipe, which creates five gallons of Weizen, a Bavarian wheat beer:
- Large boil pot (2+ gallon capacity)
- Kitchen thermometer
- Stirring spoon
- 5-gallon fermenter and airlock
- Bottling bucket
- Bottling equipment (pre-used beer bottles will work, so long as you buy new bottle caps and a bottle capper)
- Siphon and tubing
- Hydrometer
- Two cans (3.3lb each) of wheat liquid malt extract
- 1oz Liberty hop pellets
- One packet of Wyeast Activator 3068
- Priming sugar (dextrose)
Note: You can purchase most of this equipment in beginning beermaking kits.
2. Sanitize Your Equipment
Before you even think about beginning the brewing process, you need to clean and sanitize all your equipment. Even traces of bacteria can spoil a batch, so thoroughly clean everything you will use with a sanitizer.
3. Add Malt Extract to Boiling Water
Begin by heating one gallon of water in the pot and remove it from the heat as soon as it boils. Stir in both cans of malt extract until completely dissolved, taking care not to let it collect on the sides or bottom.
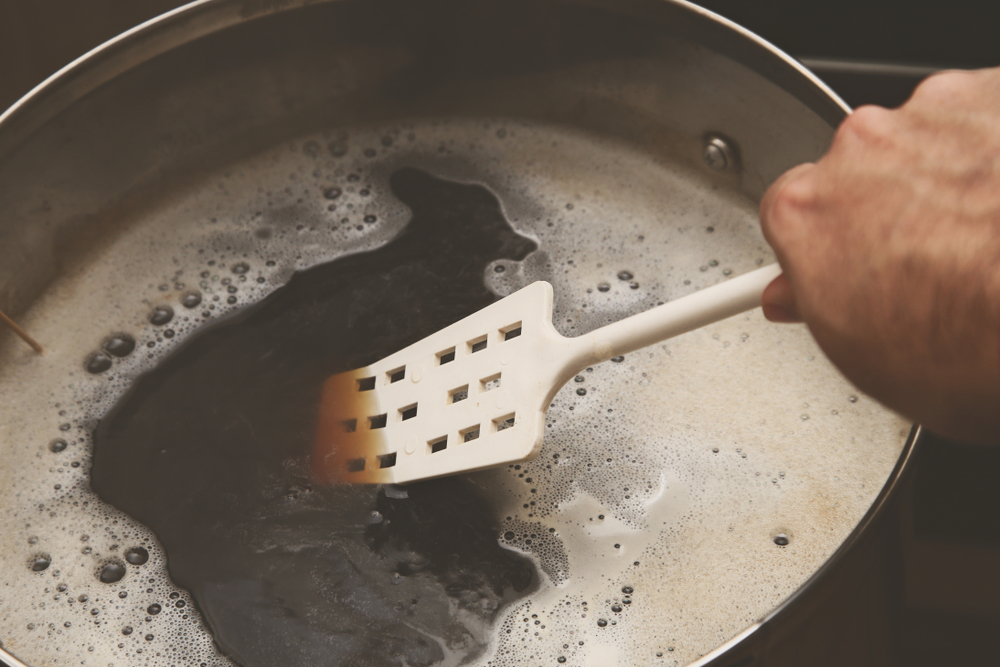
4. Add Hops
Return the liquid to boiling immediately and add the hops as soon as it hits a rolling boil. Let it boil like this for thirty minutes. At this point, you have created wort, an unfermented liquid that will turn into beer.
5. Chill Wort and Add to Fermenter
Once your fermenter is clean and sanitized, fill it halfway with cold water. Pull the wort off the heat and let it sit until the temperature is under 100°F before pouring it into the fermenter. Fill the fermenter the rest of the way with cold water until it reaches five gallons.
6. Pitch Yeast and Seal Fermenter
Let the wort temperature drop to between 70-75°F before adding the yeast. You’ll then seal your fermenter with the airlock. Once sealed, give the fermenter a few vigorous shakes to oxygenate the yeast.
You’ll want to prevent the entire mixture from splashing for the fermentation process after this process.
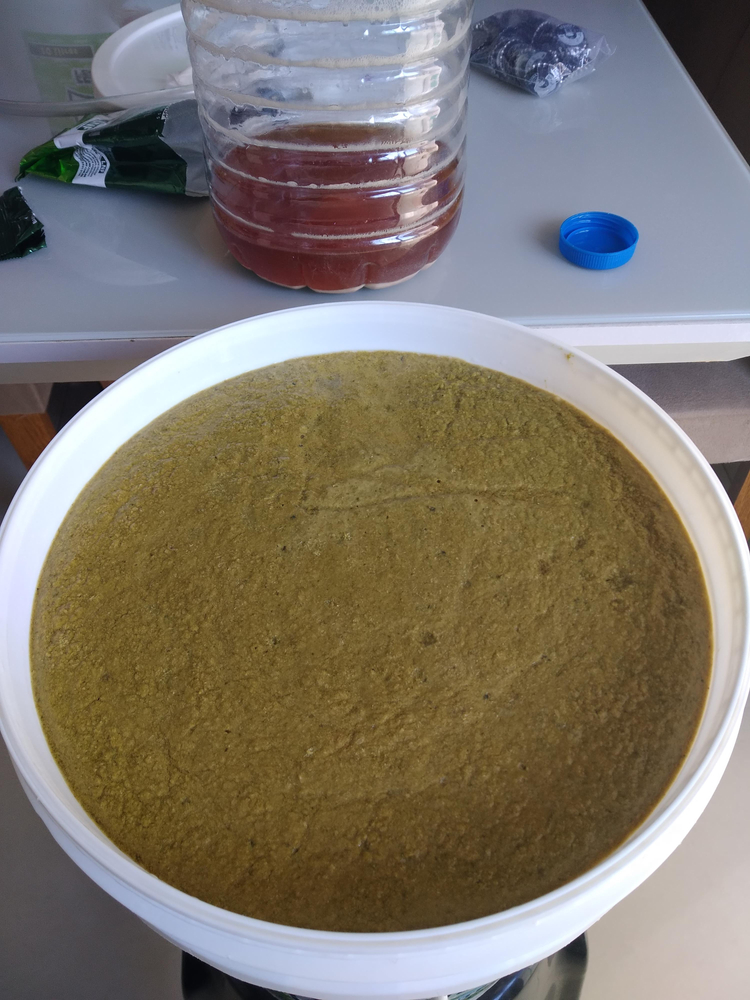
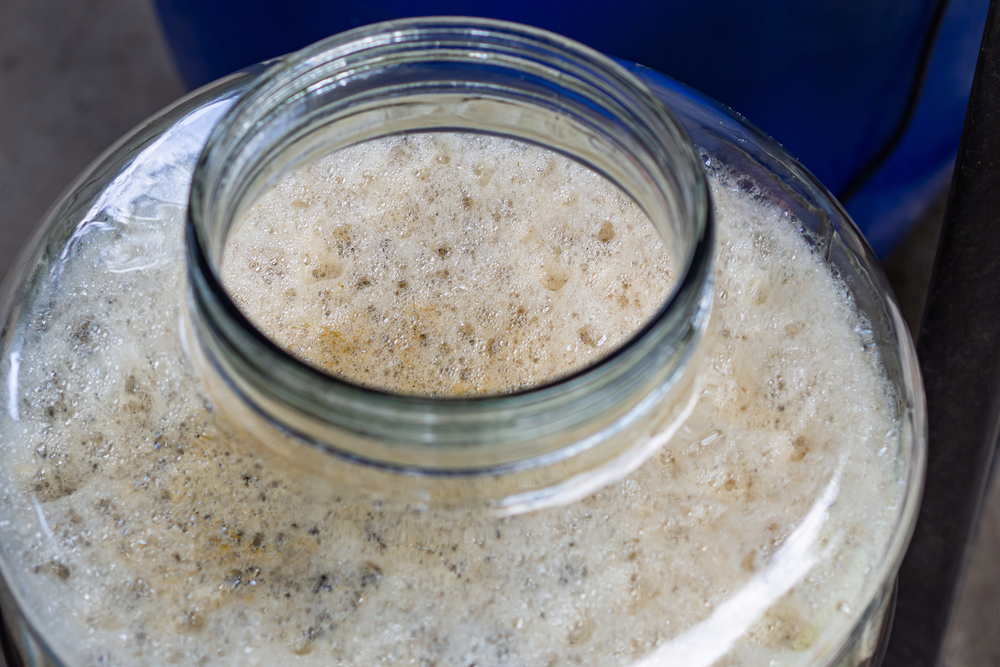
7. Store Fermenter and Monitor Fermentation
Now you’ll need to wait a few weeks for the yeast to ferment the malt extract into alcohol. It’s best to store the fermenter somewhere where without light exposure where it won’t be jostled and will stay at a consistent temperature. (If light exposure is a problem, consider using a plastic fermenter instead of glass).
It’s best to check on your wort within the first two days for signs of fermentation. If things are going as planned, you’ll see bubbling in the airlock due to the carbon dioxide production, and/or a frothy foam starting to form on top of the wort, which is called kaeusen.
8. Prepare the Priming Sugar
The wort should finish fermenting within three to four weeks. You can track this process with the hydrometer, which measures the specific gravity of the wort at different points in the fermentation process (learn how to use one here).
Once you’ve determined that fermentation has stopped, it’s time to prime your beer for carbonation. This requires you to bring two cups of water to a boil and then add one ounce of priming sugar per gallon of wort.
Let it boil for ten minutes before removing the liquid from the heat and add it to your bottling bucket, which should have been cleaned and sanitized immediately beforehand. The beer’s yeast will ferment this sugar once you bottle the beer, and since the resulting CO2 can’t escape it will carbonate the beer.
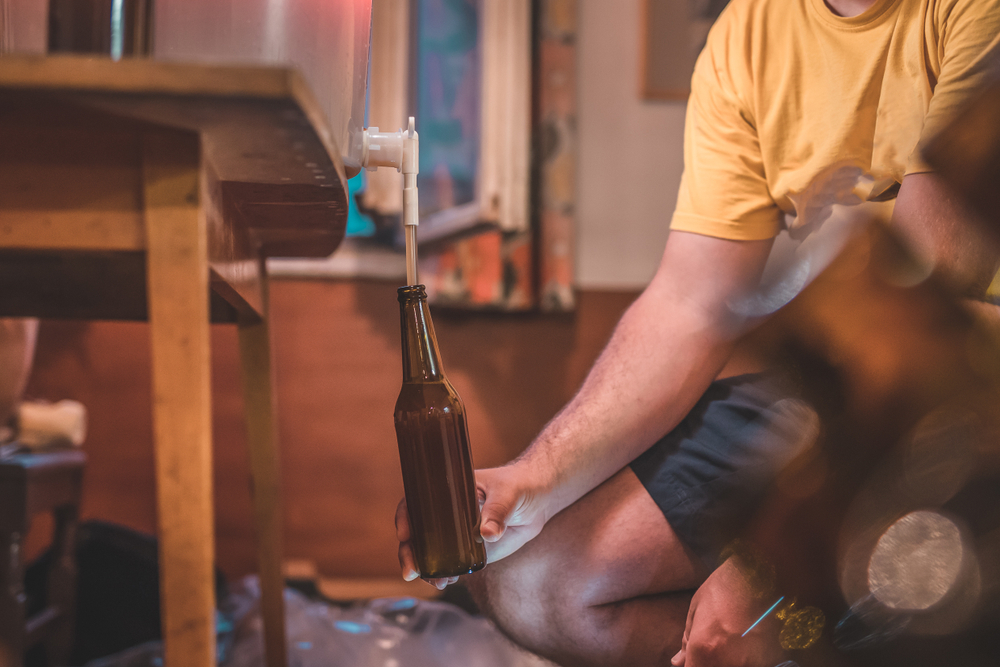
9. Transfer Beer to Bottler
Carefully transfer the fermented wort into your bottling bucket with the siphoning equipment. Don’t mix in any sediment (called trub) that might have collected at the bottom of the fermenting bucket. Once the beer is transferred, swirl it in a whirlpool to evenly blend the sugar.
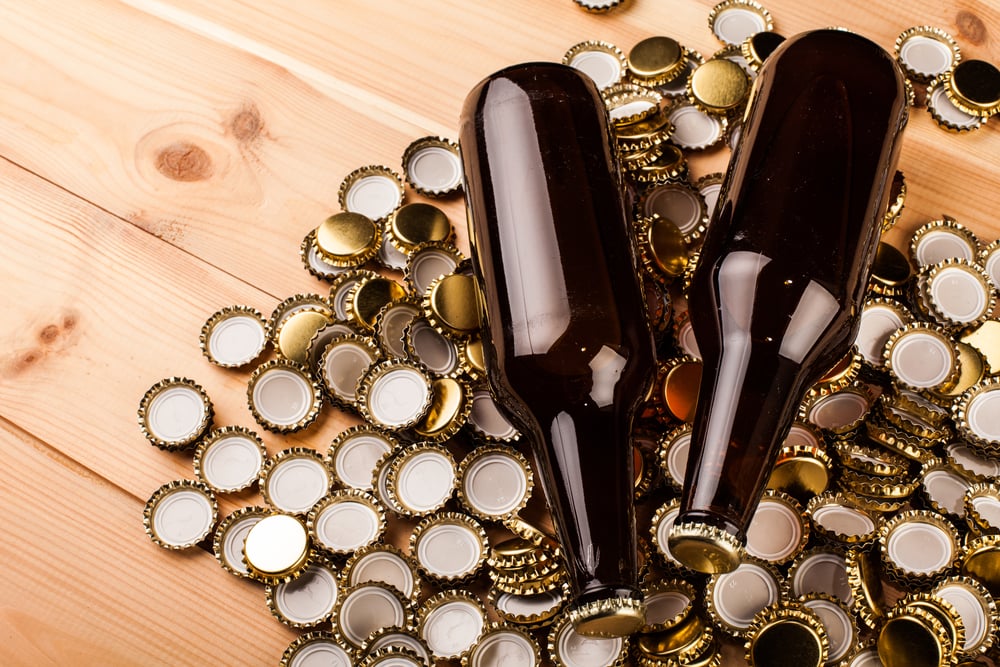
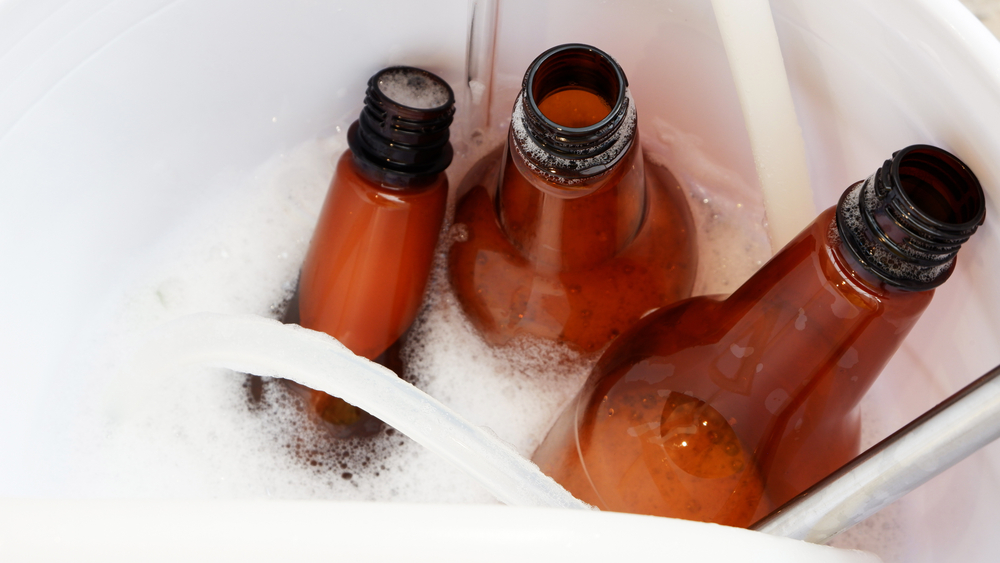
10. Fill, Cap, and Store Bottles
You are now ready to fill your sanitized beer bottles. Most bottlers will come with a bottle filler spigot at the bottom that makes this process easy.
Carefully fill each bottle up to the rim of the bottleneck (one inch from the top), ensuring that this is consistent between bottles. Cap each bottle, either with the included wire swing caps or using sanitized caps and a capper.
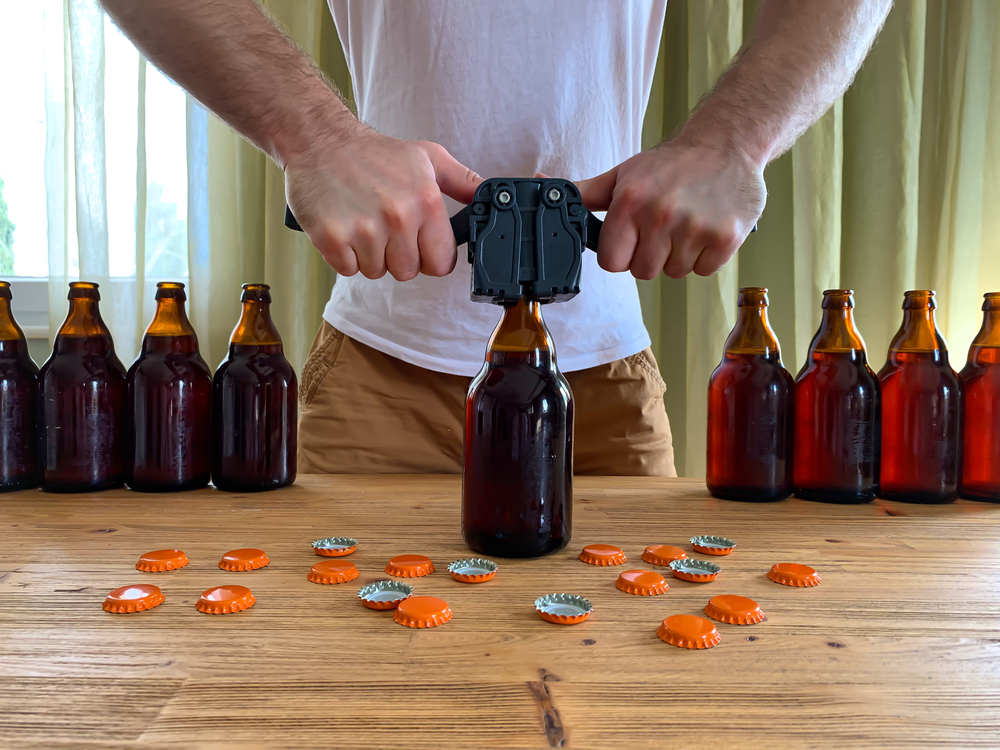
Once completed, store the bottles at room temperature for another two to three weeks so they can carbonate. After this point, you can refrigerate, open, and enjoy!
Other Resources for Learning How To Brew Your Own Beer
This recipe offers instructions for just one type of beer, but there are hundreds of variations available. Once you master these basic instructions, there’s a whole world of homebrewing worth exploring. Below are some resources you can use to learn more and experiment with different flavors and brewing styles.
- Learn the basics of all-natural homebrew with this free course from BeerCraftr.
- Follow this brew in a bag tutorial to learn how to brew beer with grain (no malt extract) without fancy equipment
- Join the Homebrew Academy to sign up for online courses in beermaking
Now that you’ve tackled beer what’s next? Brew your own hard cider? Or how about a tasty dandelion mead?

Get the famous Rural Sprout newsletter delivered to your inbox.
Join the 50,000+ gardeners who get timely gardening tutorials, tips and tasks delivered direct to their inbox.