


We’re still dealing with the heat of summer, but chilly mornings promise fall is just around the corner. With so many stone fruits in season now, it’s the ideal time to preserve them to enjoy in the colder months ahead.
If you’ve got a plum tree loaded with fruit or came home with a basket of beautiful plums from the market, this plum chutney is for you.

What is Chutney?
Chutneys are made from fruits, vegetables or fresh herbs and mixed with spices, salt, sugar and vinegar to create a flavorful sauce for dipping and spreading. Yogurt is often added to chutneys made with fresh, chopped herbs, such as mint or cilantro.
I would like to take a moment to personally thank India for the flavorful gift of chutney, where it’s served alongside many meals. Owing to the former British empire, our friends across the pond have enjoyed this spiced condiment for ages. But here in the states, I’ve noticed Americans are hesitant to try it.
Is it the completely nondescriptive name that makes people wary – chutney?
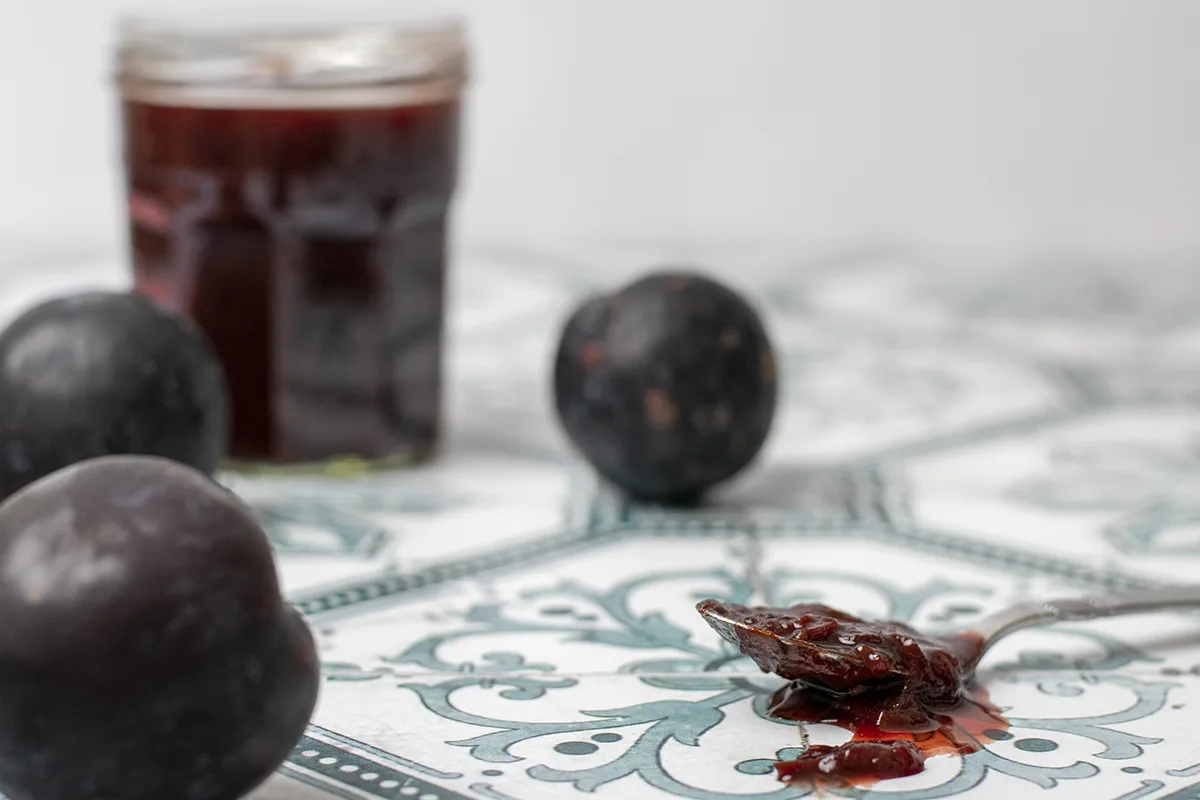
Those who have tried it generally become devotees of the condiment, myself included. I’ve said it before, and I’ll say it again, give me chutney over jam any day. After all, chutney is jam’s more worldly savory cousin.

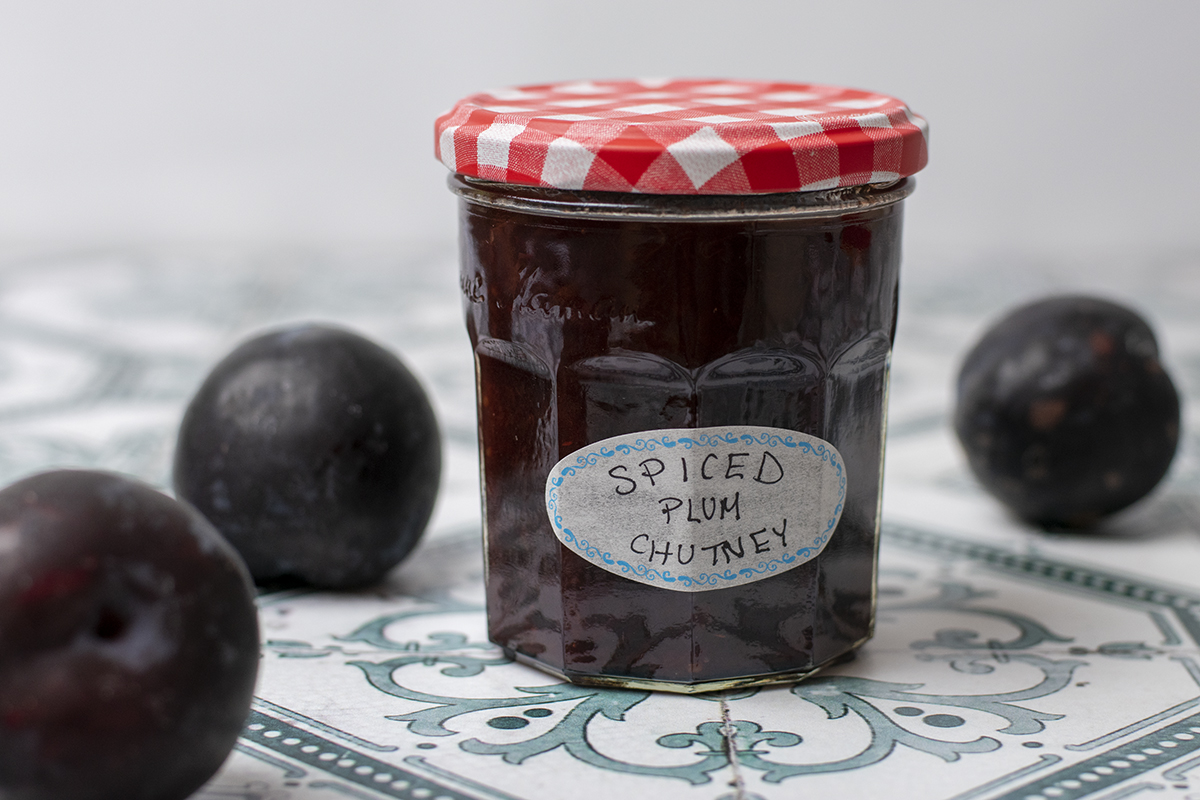
The Best Plum Chutney to Ever Grace Your Table
Whether you’re chutney-curious or it’s already a staple in your pantry, you’ll love this intensely flavored plum chutney. Yeah, I know it’s a bold claim, but this recipe is a favorite of mine, and I might be biased.
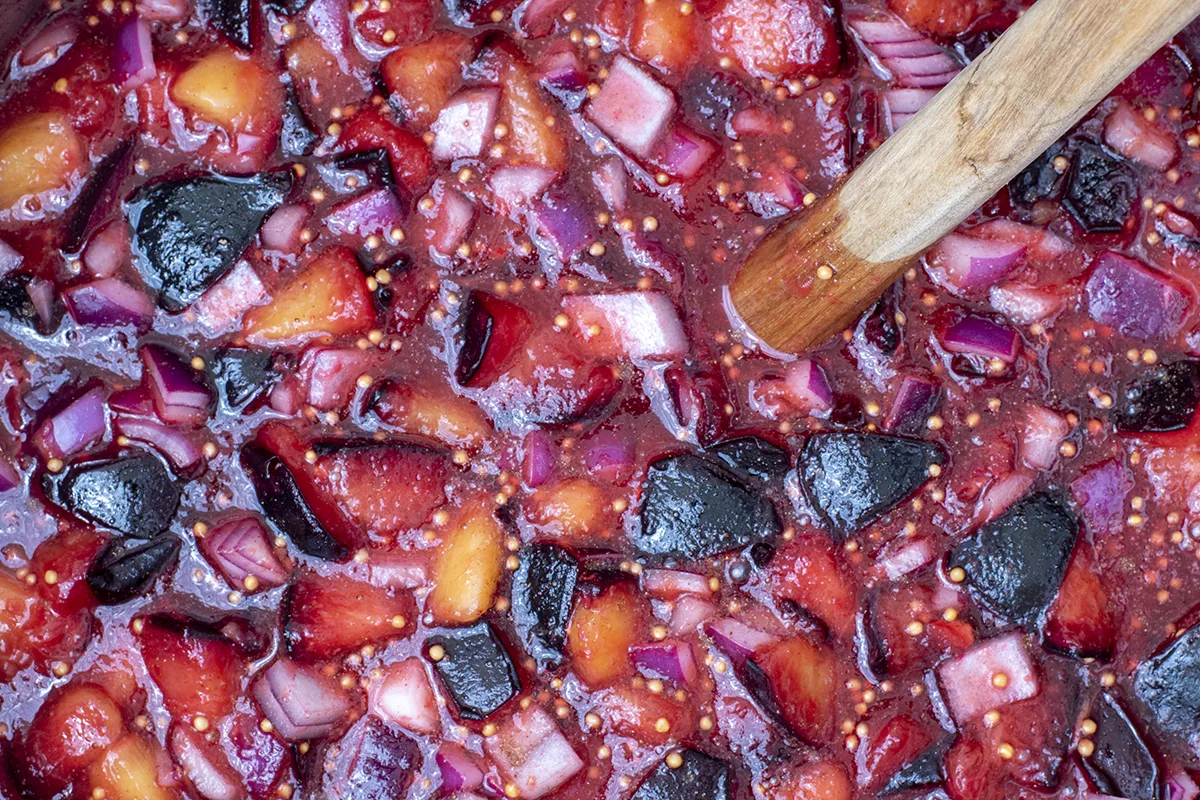
Traditional fall spices like cinnamon, clove and ginger enhance the deep sweetness of plums, rendering a flavor even Georgie Porgie would approve of. Then we take that pie-like base and add mustard seed, vinegar, and a pinch of red pepper to compliment the natural tartness of the plum.
Add in a splash of brandy, and it all cooks down to a wonderfully complex chutney, pairing well with anything from creamy goat cheese to broiled pork tenderloin. It’s a natural on any charcuterie board, charming even the most finicky dinner party guest. (Hi, sweetie!)
And the best part is, it’s as easy to make as jam. Easier, as you don’t have to worry about pectin.
A few notes and alterations for you to consider before we begin.
Brandy
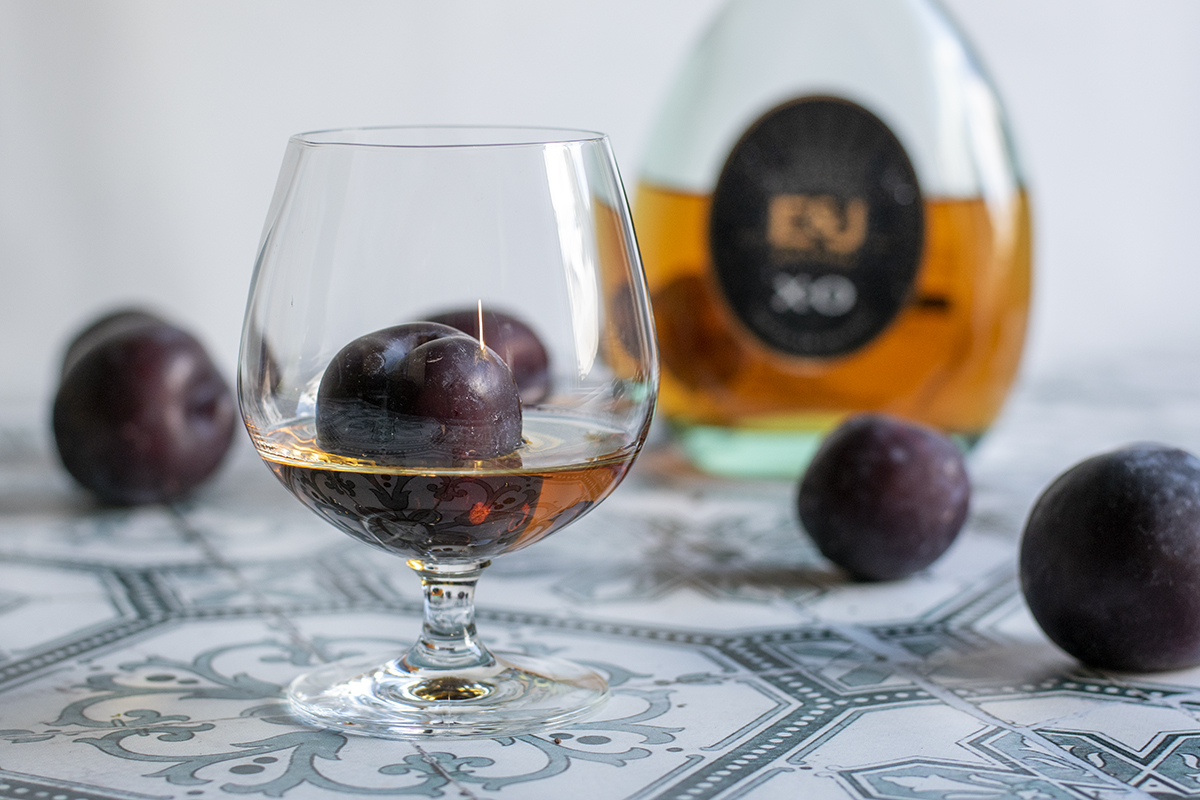

You can skip the brandy if you like. However, it adds depth to the flavor, and the alcohol cooks off, so I hope you’ll leave it in.
Jars
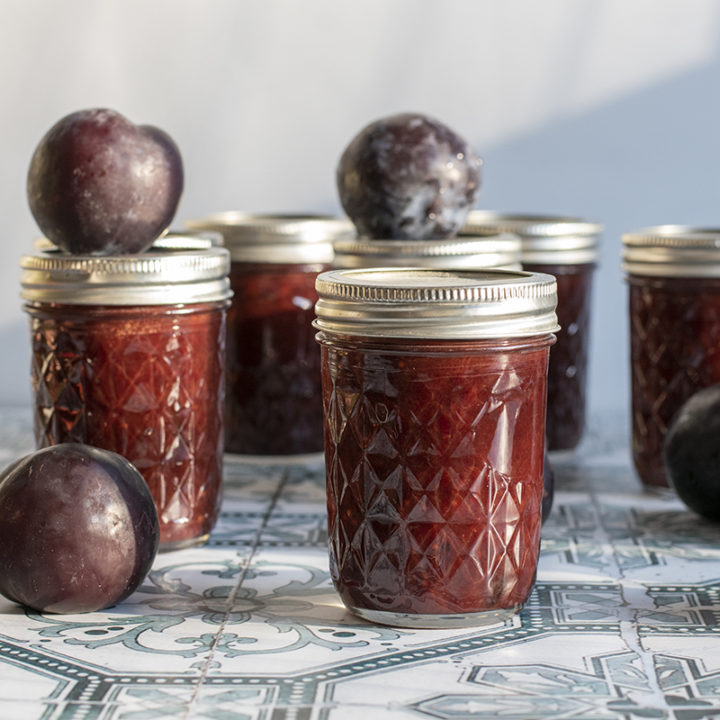
While my recipe calls for half-pint jars, I often preserve some of the chutney in little quarter-pint jars. (The processing time is the same.) I use this smaller size for hostess gifts, tucking into Christmas stockings, and to hand out to relatives who are constantly asking if they can have “one more jar of that incredible stuff you brought to Thanksgiving.”
(No matter how many times I tape a recipe card to the jar, no one seems to take the hint.)
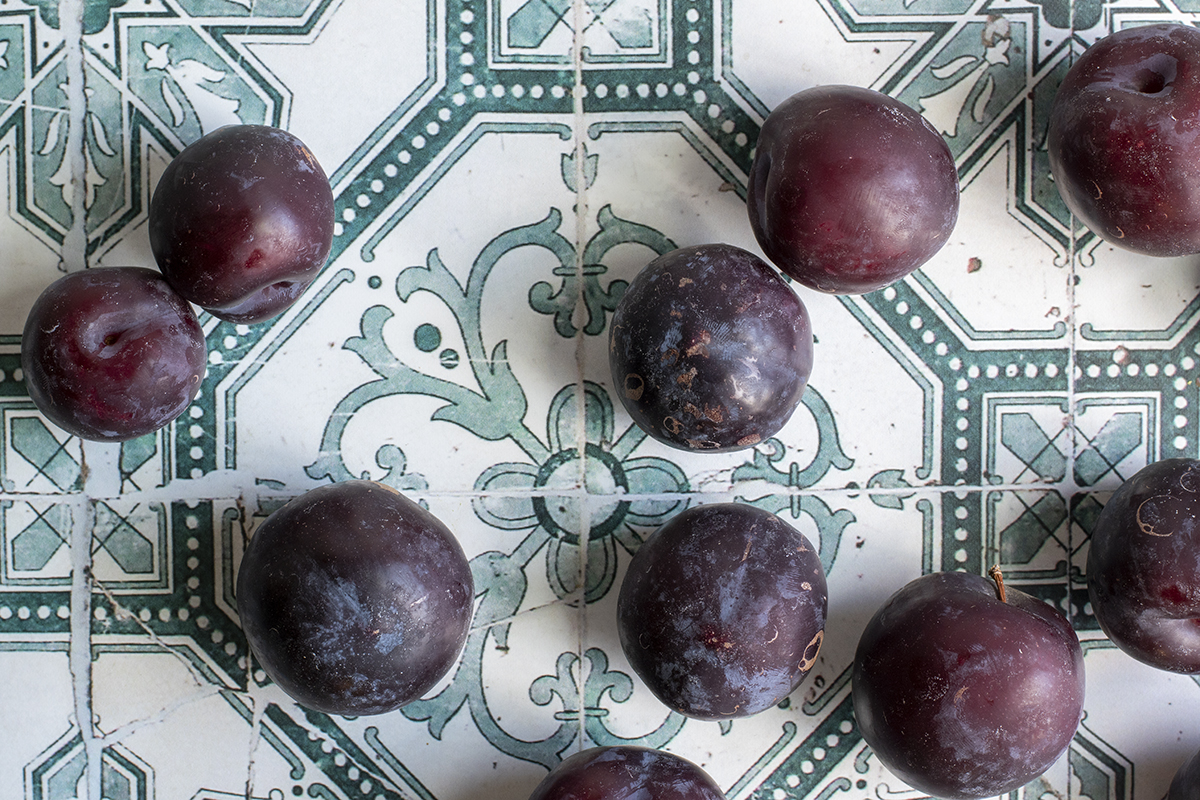
The Best Plums
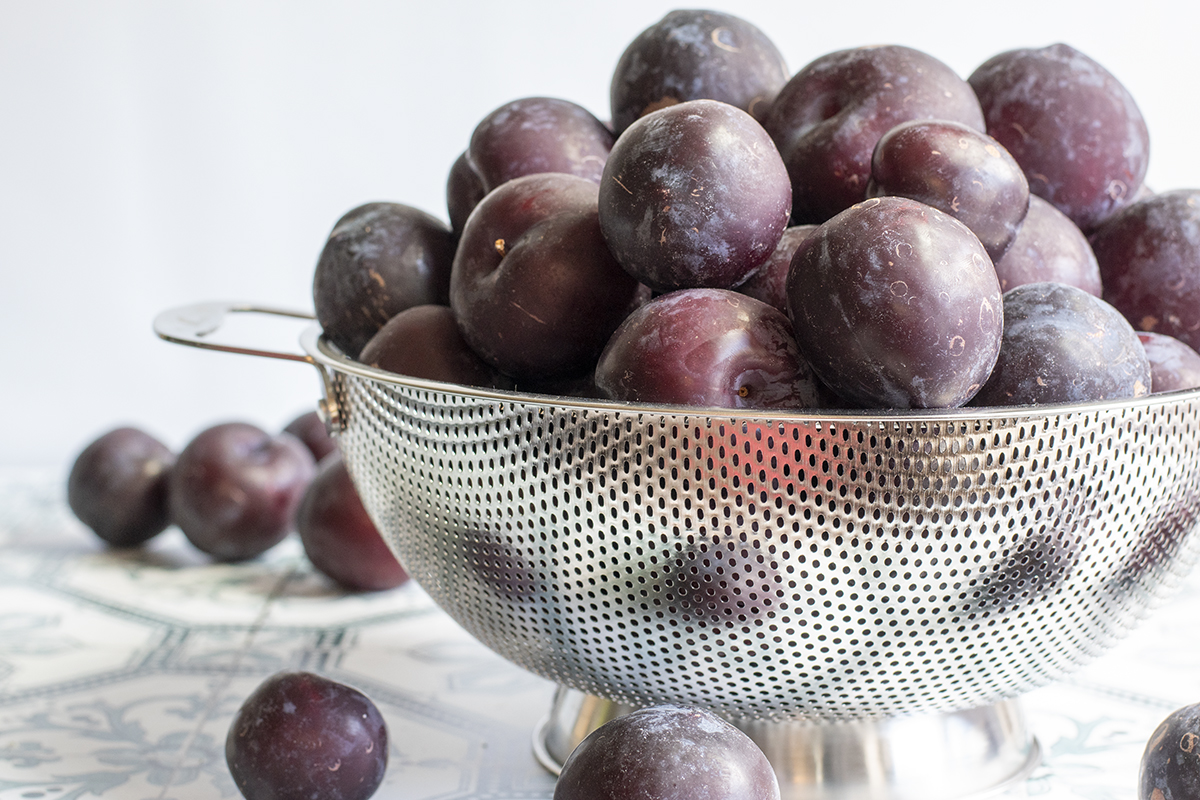

Darker plums yield a richer flavor; lighter plums are brighter and a bit more tart. And Plumcots work here, too. When choosing plums for chutney, I’ve found that my best batches come from a mix of different varieties, so don’t feel you have to use a single variety. If the local farmers market has several to choose from, grab some of each.
Use fruit that has a little give to it but is still firm. You want the best plums, free of blemishes for preserves. If your plums are still a little unripe, put them in a paper bag for a day or two. They’re ready to go when you open the bag, and the sweet smell of ripe plums greets you.
Fresh or Dried Ginger?
If you can get it, I find the flavor of fresh ginger makes for a better chutney, giving it a bit more bite than dried ginger. However, dried ginger has its own merits, creating more of a mellow warmth. Experiment, making a batch of both to see which you prefer.
Vinegar
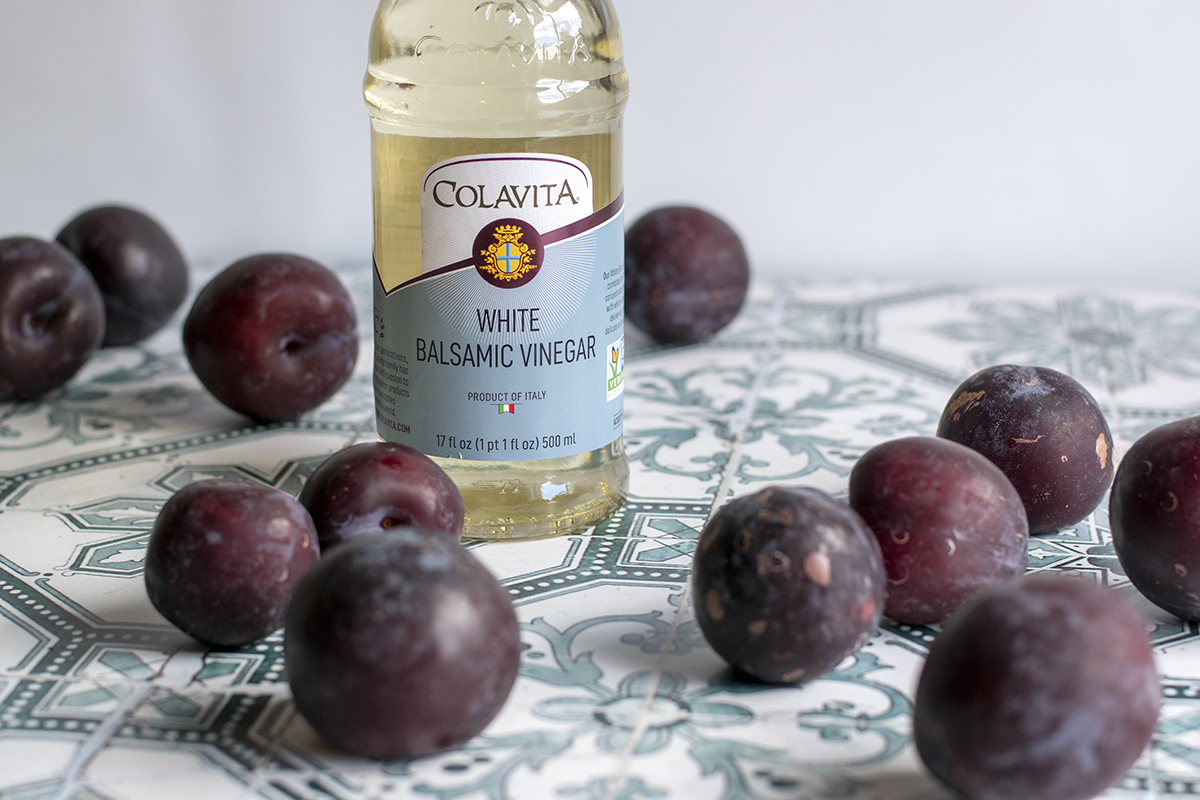

My recipe is written with white vinegar mainly because everyone has it on hand. However, I rarely make this chutney with plain white vinegar, instead opting for a white balsamic. Apple cider vinegar creates a lovely chutney, as well. It’s amazing how much the flavor improves when using something other than basic white vinegar.
If you get into making chutneys, I encourage you to experiment with any number of flavored vinegar, so long as they are at least 5% acidity. (This allows them to be canned safely.)
To Can or Not to Can Your Chutney

This recipe includes instructions for canning the finished chutney. Water bath canning is your best bet if you want to enjoy this delectable treat all year.
However, I completely understand the lack of ambition that accompanies the hot, muggy days when plums are in season. There are times when, despite my best intentions, I look at my canning equipment and say, “Nope.”
To that end, you can ladle the hot chutney into sterilized jars, put the lids and bands on them, and store them in the fridge once they’re cool. It will keep for about four months in the refrigerator.
If you know you aren’t going to be up for canning your chutney, I suggest cutting the batch in half. You’ll have less chutney taking up space in your fridge and less that you’ll have to consume within four months.
Save freezing chutney as a last resort.
The thawed chutney becomes quite mushy and watery. While it still tastes good, it’s much less appealing. If you choose to freeze the chutney, be sure you use an appropriate container.
Yes, you can halve this recipe or even double it, depending on the amount of fruit you have to use.
Well, that’s enough annoying “food blogger” chatter on my part, let’s jump in, shall we?

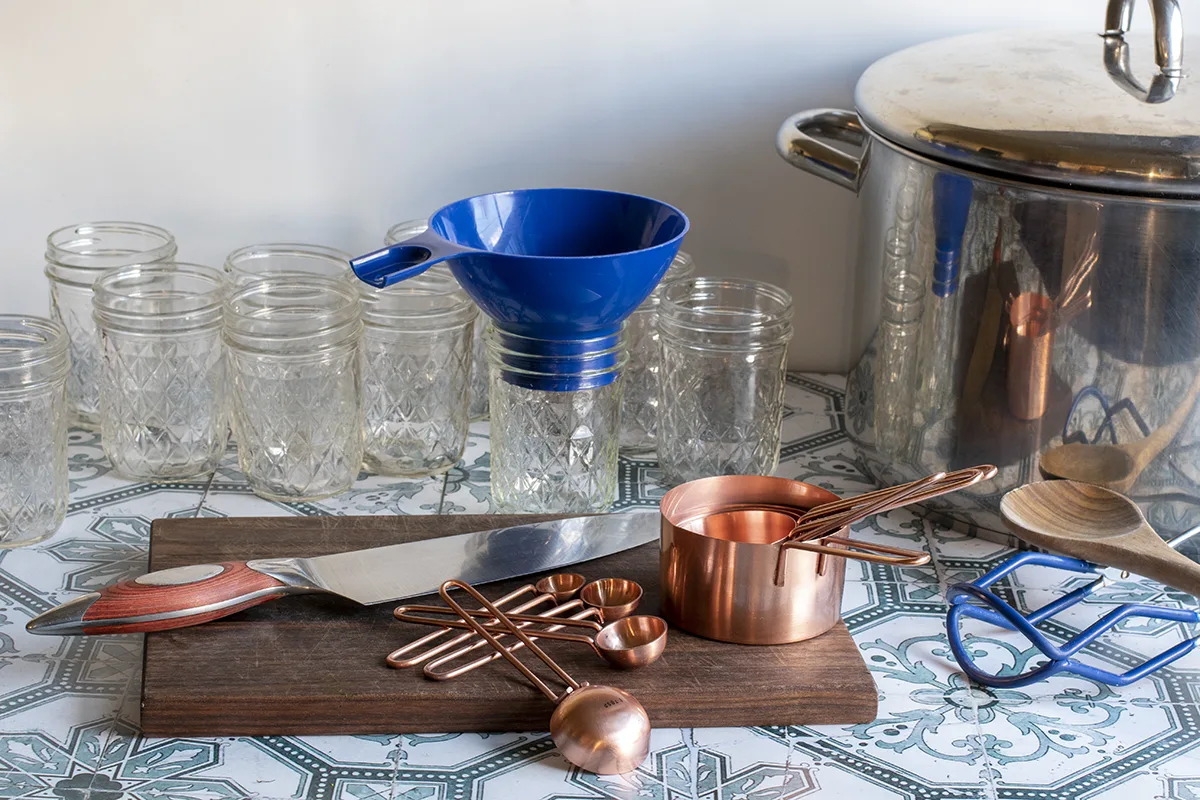
Equipment
Chutney:
- A large stockpot or Dutch oven
- Spoon for stirring
- Knife
- Cutting board
- Measuring cups and spoons
- Half-pint or quarter-pint jelly jars
- Lids and bands
Canning:
- Water bath canner
- Canning funnel
- Clean damp dishcloth
- Butter knife to release air
- Jar lifter

Ingredients – yield: 12 half-pints
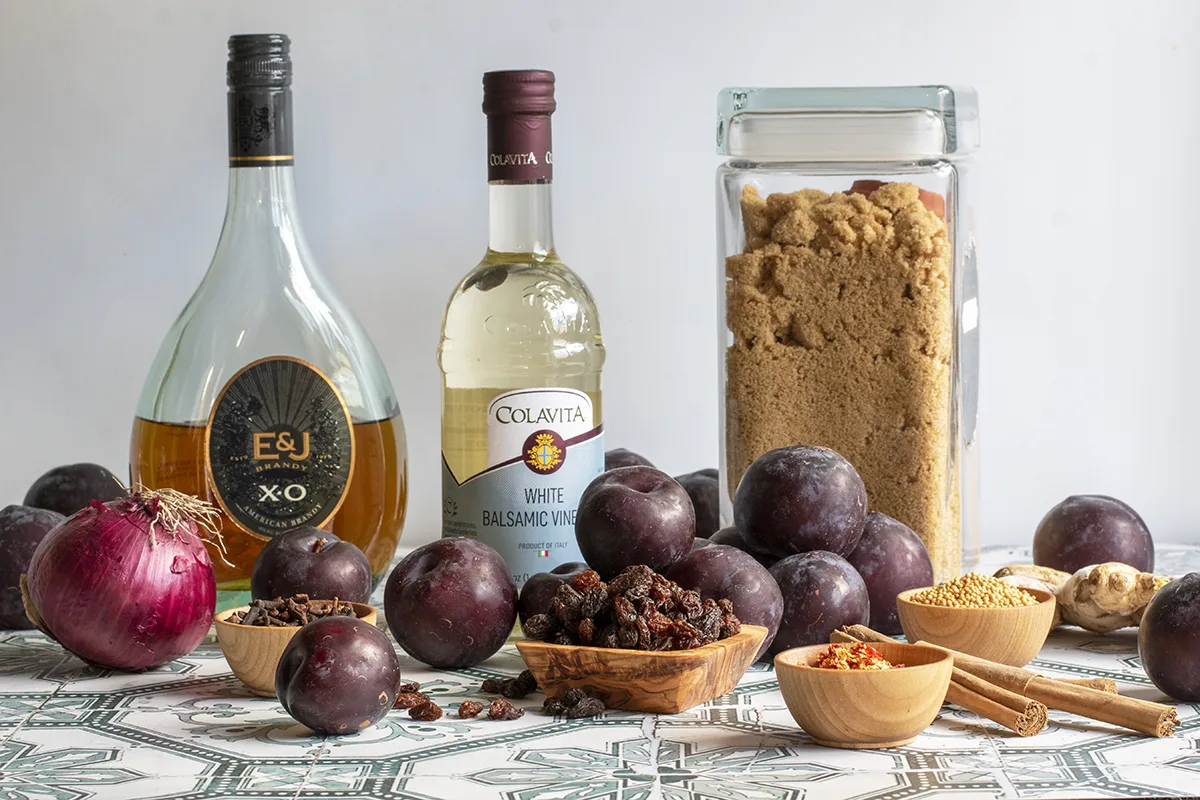
- 16 cups of pitted and lightly chopped plums with the skins on
- 3 cups of lightly packed brown sugar
- 3 cups of white vinegar (for best results, use white balsamic vinegar)
- 2 cups of raisins (if you’re using lighter plums, golden raisins are a nice option)
- 1 cup of chopped red onion
- 1 tsp of fresh ginger, grated (or 2 tsp. dried ground ginger)
- 1 tsp of cinnamon
- ¼ tsp ground cloves
- Pinch of red pepper flakes
- 2 tbsp yellow mustard seeds
- 1 tsp salt
- ¼ cup of brandy (don’t worry, you don’t have to use the good stuff)
Spiced Plum Chutney
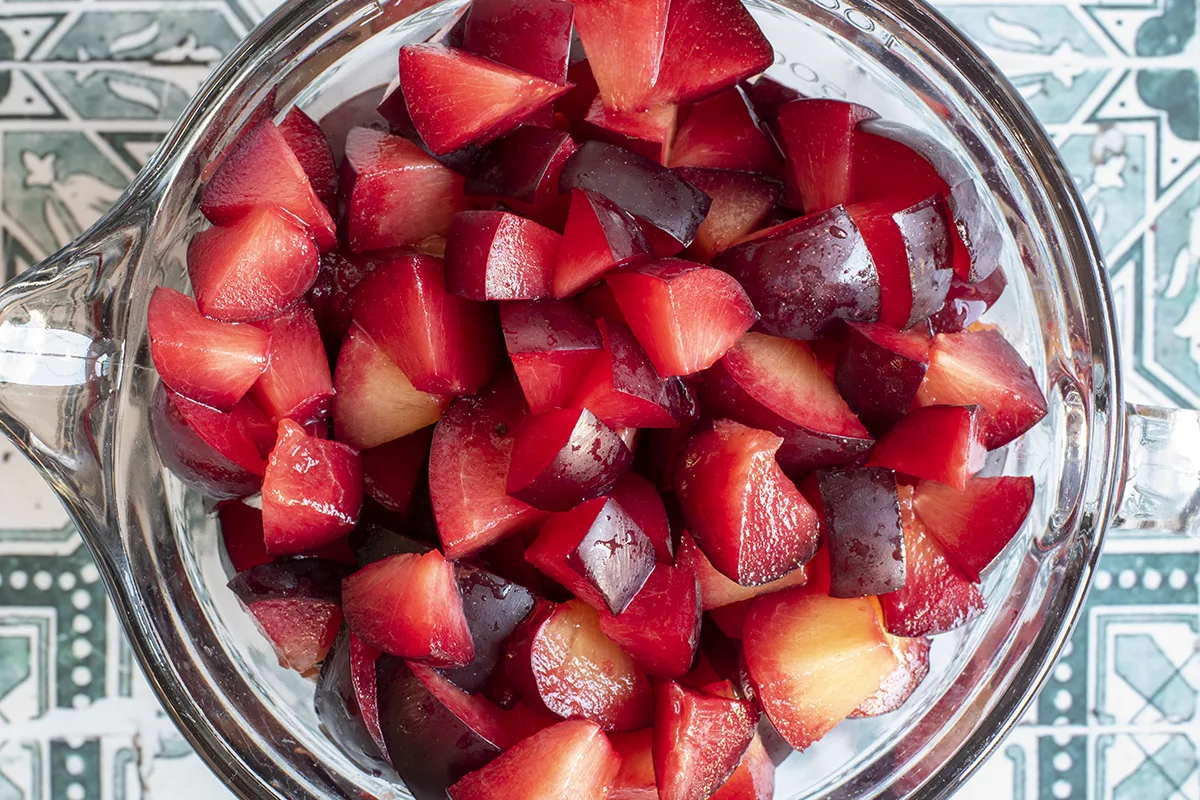
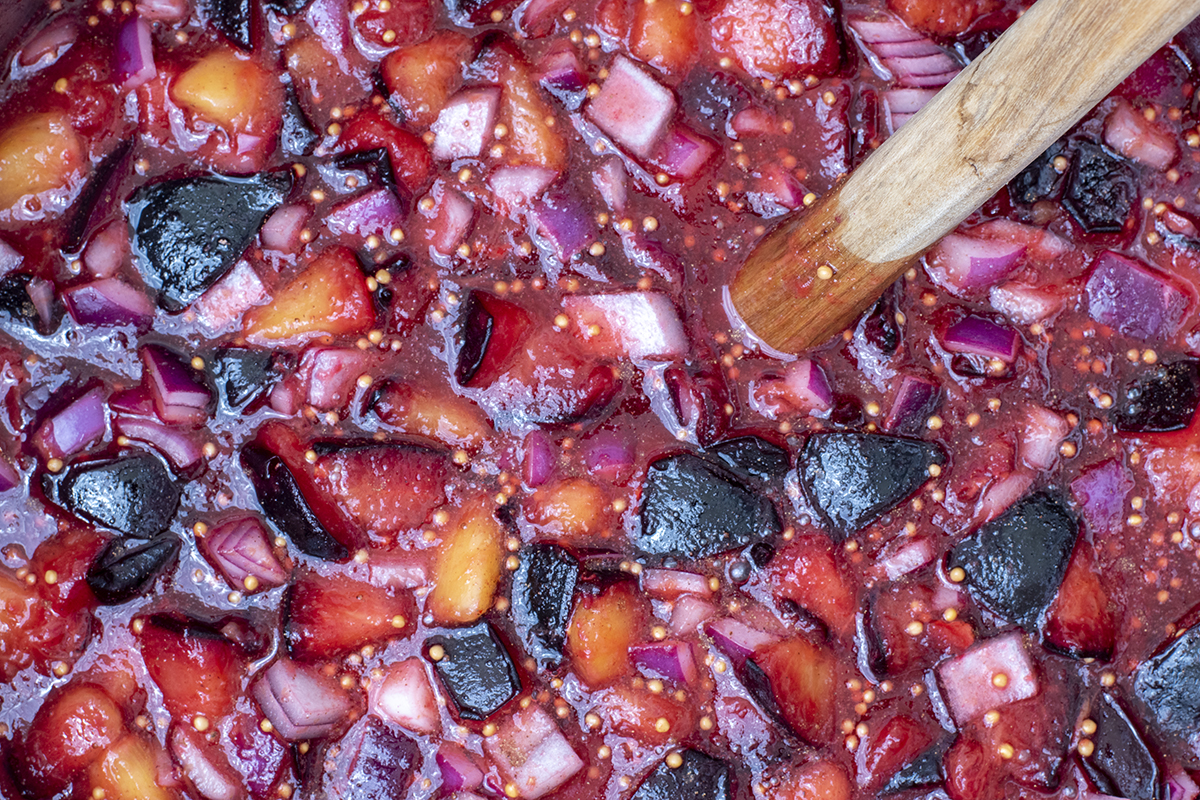
- Rinse, cut and remove the pits from the plums before chopping them to make 16 cups.
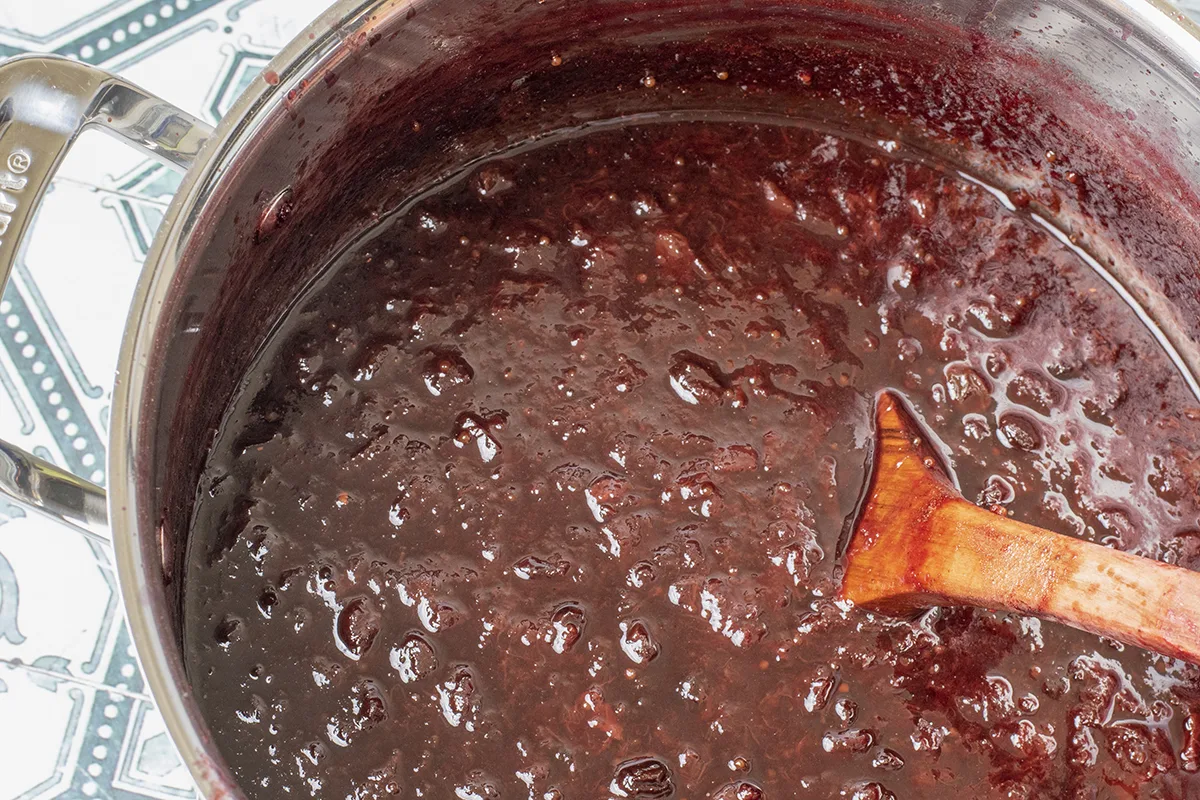
- In the pot, combine all the ingredients, and bring to a boil over high heat, stirring frequently, so the bottom doesn’t scorch. Once boiling, reduce the heat to a low boil, continuing to stir frequently.
- Cook uncovered until the chutney thickens enough to mound on a spoon. Approximately 45-60 minutes.
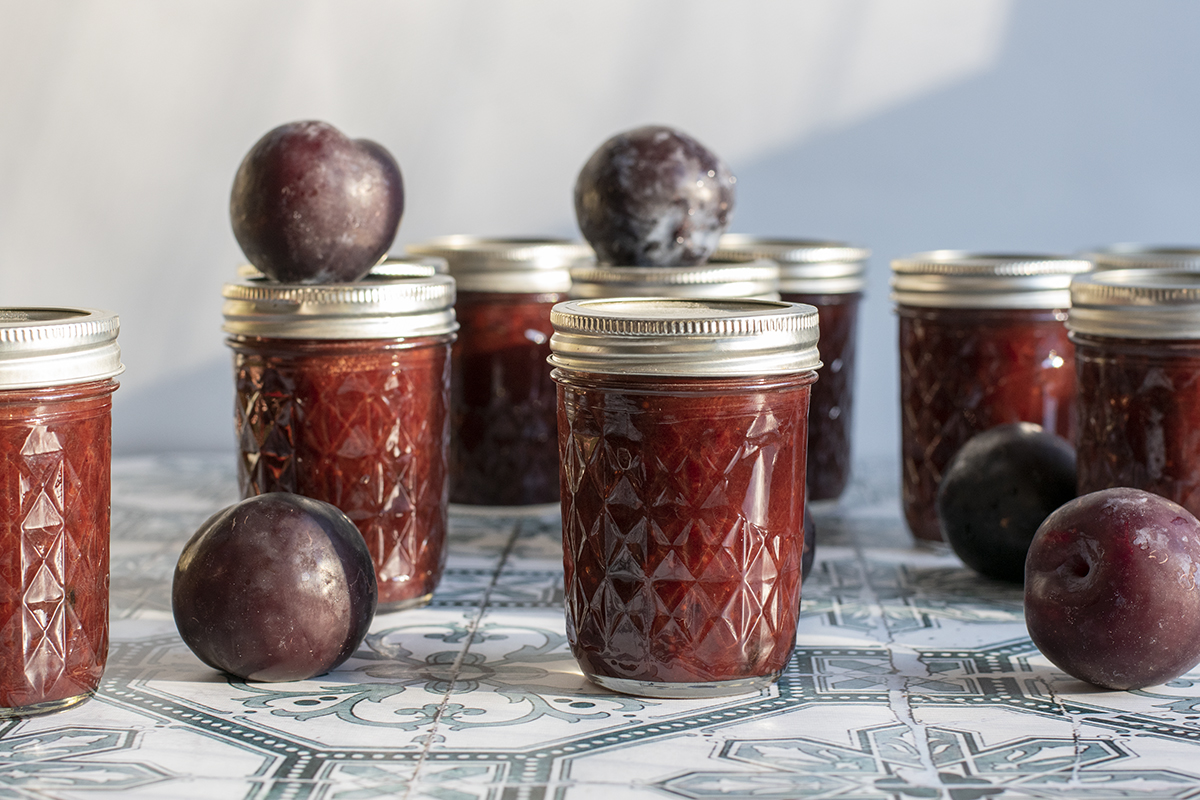
- While the chutney cooks, prepare your water bath canner, jars and lids.
- With a ladle and canning funnel, ladle the hot chutney into clean, hot jars, allowing ½ inch of headspace. Use a butter knife to remove any air bubbles and wipe the rims clean before screwing on the lids until fingertip-tight.
- Process in the canner, ensuring the jars are covered by at least an inch of water. Bring the water to a boil, then cover and set a timer for fifteen minutes.
- Once the timer is up, remove the lid and let the jars sit in the hot water, with the heat off for five minutes before removing them to cool.

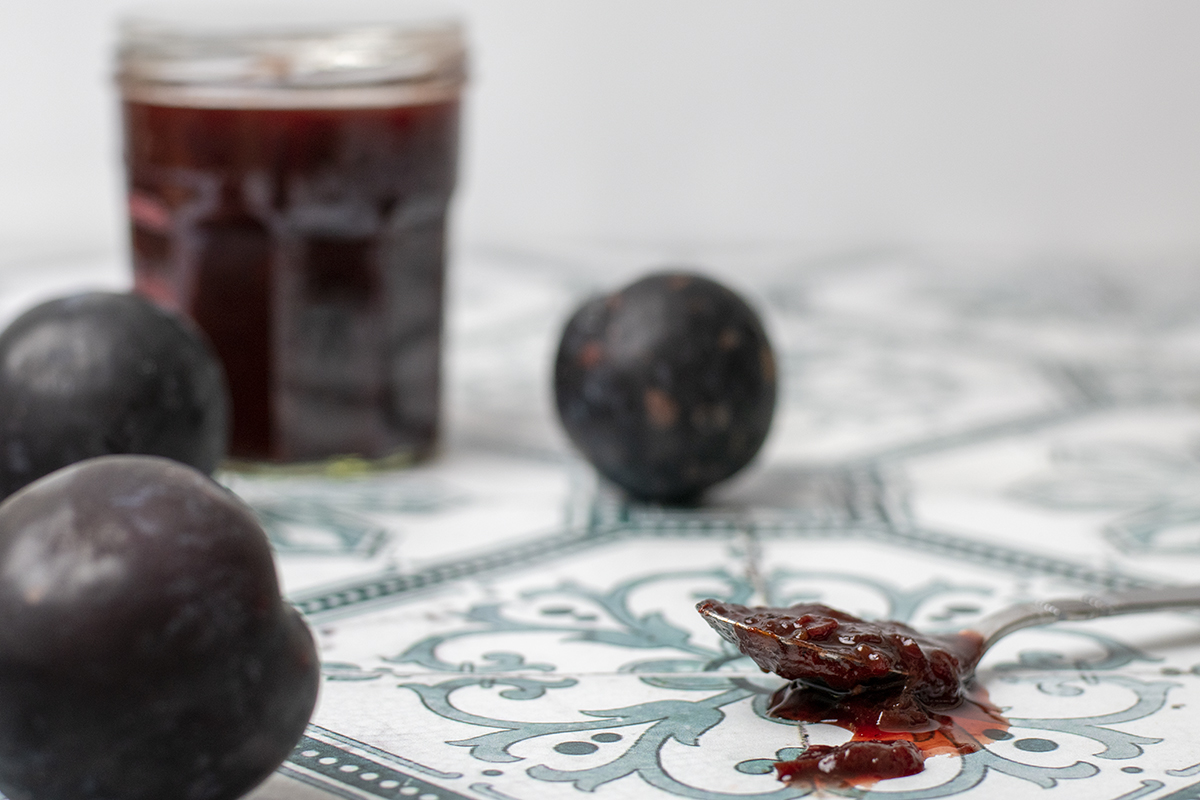
Let your chutney rest
Chutney tastes best when given a little time to rest. Put your preserved jars in your pantry and forget about them for a few weeks. Your patience will be rewarded with a mellow, spiced chutney that will have you licking the spoon clean. If you make it now, it will be knock-your-socks-off good come the holidays.

The Best Spiced Plum Chutney
Whether you’re chutney-curious or it’s already a staple in your pantry, you’ll love this intensely flavored plum chutney.
Ingredients
- 16 cups of pitted and lightly chopped plums with the skins on
- 3 cups of lightly packed brown sugar
- 3 cups of white vinegar (for best results, use white balsamic vinegar)
- 2 cups of raisins (if you’re using lighter plums, golden raisins are a nice option)
- 1 cup of chopped red onion
- 1 tsp of fresh ginger, grated (or 2 tsp. dried ground ginger)
- 1 tsp of cinnamon
- ¼ tsp ground cloves
- Pinch of red pepper flakes
- 2 tbsp yellow mustard seeds
- 1 tsp salt
- ¼ cup of brandy (don’t worry, you don’t have to use the good stuff)
Instructions
- Rinse, cut and remove the pits from the plums before chopping them to make 16 cups.
- In the pot, combine all the ingredients, and bring to a boil over high heat, stirring frequently, so the bottom doesn’t scorch. Once boiling, reduce the heat to a low boil, continuing to stir frequently.
- Cook uncovered until the chutney thickens enough to mound on a spoon. Approximately 45-60 minutes.
- While the chutney cooks, prepare your water bath canner, jars and lids.
- With a ladle and canning funnel, ladle the hot chutney into clean, hot jars, allowing ½ inch of headspace. Use a butter knife to remove any air bubbles and wipe the rims clean before screwing on the lids until fingertip-tight.
- Process in the canner, ensuring the jars are covered by at least an inch of water. Bring the water to a boil, then cover and set a timer for fifteen minutes.
- Once the timer is up, remove the lid and let the jars sit in the hot water, with the heat off for five minutes before removing them to cool.
Ridiculously Easy and Oh-So-Fancy Chutney Canapes
I like canapes, mainly because I like things that are bite-sized. These canapes are quick, easy, delicious and impressive, making them the perfect appetizer for when you want to be fancy without investing a lot of time. But don’t forget to eat a couple before serving them, as they won’t last long.
Ingredients and tools:
- Entertaining crackers of your choice
- Plain goat cheese, room temperature
- Spiced Plum Chutney
- Serving tray
- Butter knife
- Spoon
- Icing bag or small zip-top bag
- Spoon 1-2 tsps of chutney on each cracker, and arrange the crackers on a tray.
- Using a whisk or mixer, whip the goat cheese until creamy and smooth. Fill an icing bag or zip-top baggie with the whipped goat cheese and snip the corner. Pipe small mounds of goat cheese into the center of each dollop of chutney.
- Garnish with a pinch of minced, fresh chive or a sprinkle of nutmeg.
- Pop one in your mouth, groan with pleasure and cancel the dinner party so you can eat them yourself.
Now that I’ve convinced you of the merits of a pantry full of chutney, can I tempt you?

Get the famous Rural Sprout newsletter delivered to your inbox.
Including Sunday ramblings from our editor, Tracey, as well as “What’s Up Wednesday” our roundup of what’s in season and new article updates and alerts.