

Growing up, I have fond memories of my dad making simple but delicious meals. Steak with a side of plain elbow macaroni swimming in butter and salt and pepper. Or a whole roast chicken stuffed with garlic, which we would pull apart and eat with our fingers. (Dad wasn’t a stickler for manners.)
He would always serve the meat on his wooden cutting board. It had a groove around the outside to catch the juices, which we would sop up with dark whole-wheat bread.
Dad would always wash the cutting board after dinner and rub it dry with the kitchen towel. He would often rub mineral oil into it before setting it against the wall for the next time.
The wood was dark from years of being lovingly cared for. And it was satiny smooth; nothing ever stuck to it.
Eventually, after several decades of daily use, it split in two. Frugal as ever, Dad kept right on using both halves.
Years later, as an adult, I began to appreciate a good wooden cutting board’s functionality in my own kitchen. Of course, it never occurred to me that dad’s rituals of washing the board immediately after dinner and oiling were necessary tasks. So, I ruined my fair share of cutting boards and even swore off wooden cutting boards for a while until I finally wised up.
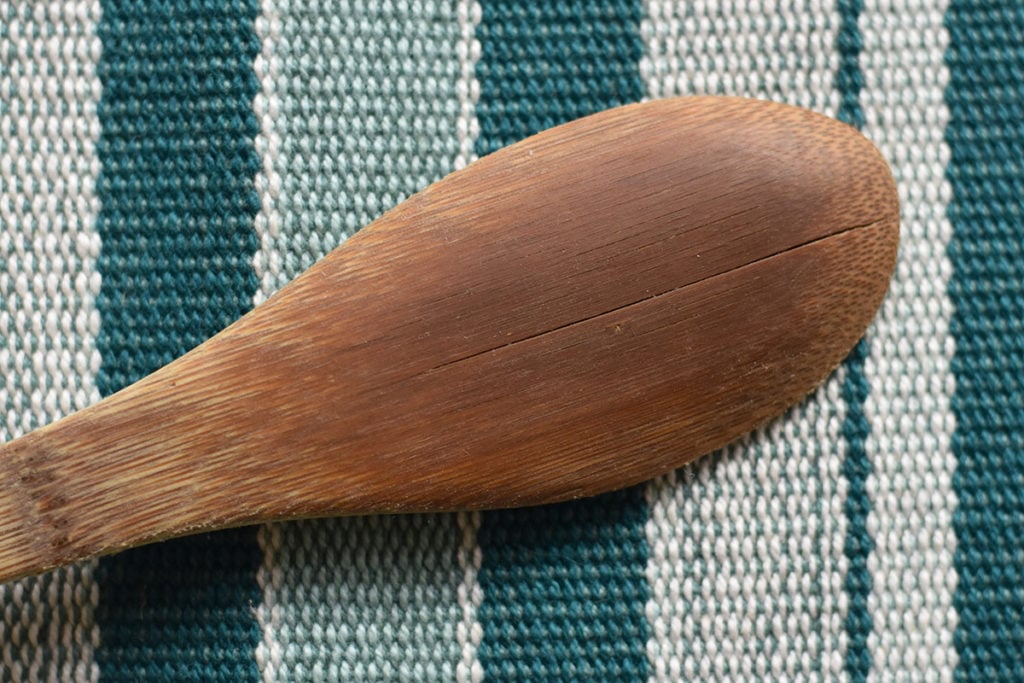
These days I have many beautiful wooden kitchen utensils and a couple of trusty wooden cutting boards. I’ve adapted my own routine to keep them all looking wonderful so that they will last forever.
I’m a firm believer in paying a little extra for good quality and then taking care of things, so they last.
To that end, I think wooden kitchen utensils and cutting boards are a sound investment when you need kitchen tools that will stand the test of time. Yes, they require a bit more effort, but it’s worth it in the end.
You don’t have to worry about wooden utensils scratching your pans. And you don’t have to worry about wooden cutting boards dulling your knives.
Of course, let’s not forget how beautiful these tools are in their own right.
For the longest time, I used plain mineral oil on my wooden cutting boards and tools. But last year, I noticed that there were many different wood care products available, and I began to wonder –
Is plain ol’ mineral oil the best option for wooden cutting boards?

So, I grabbed a few of these fancy-pants wood care products and put them to the test.
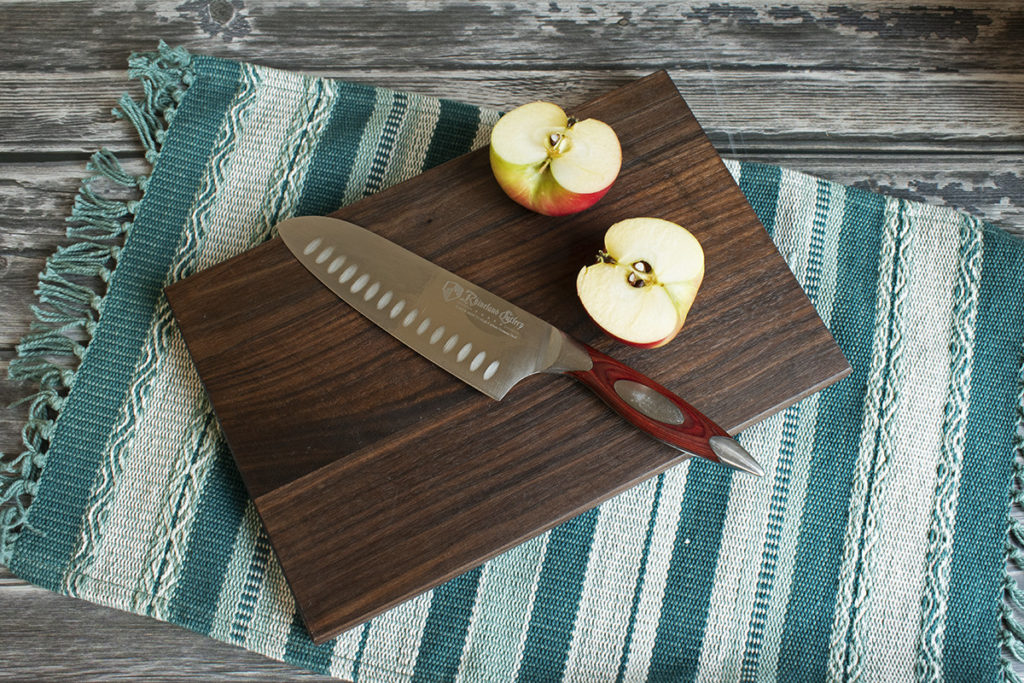
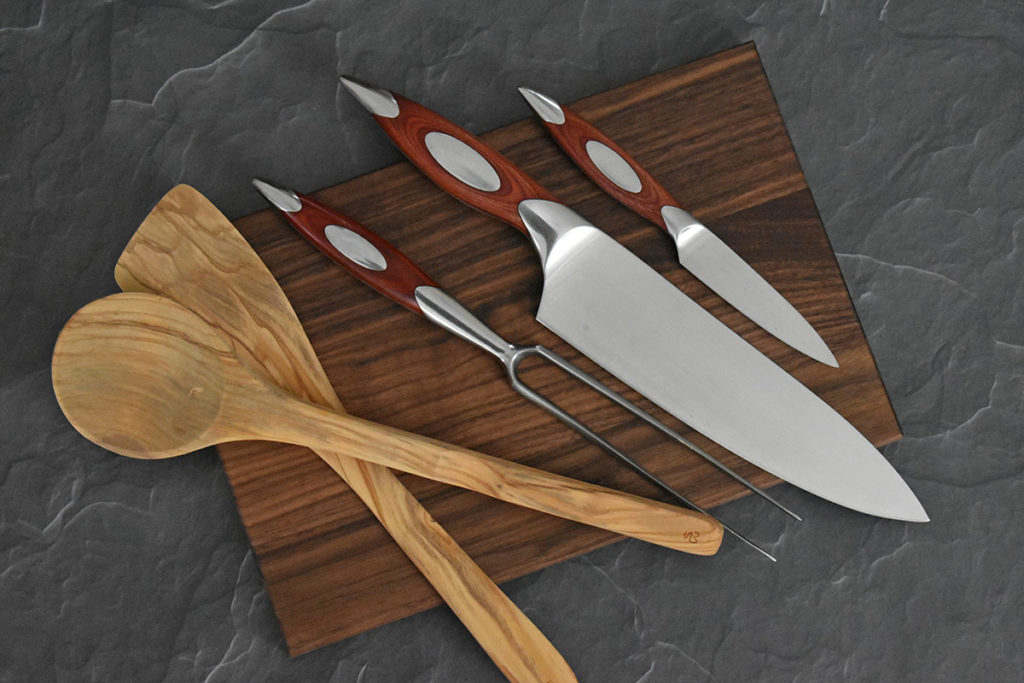
I’ll share the products I tested with you, which ones I loved, and which ones I was ‘meh’ about. And I’ll show you my wood-care routine. It’s kept all of my favorite cutting boards and wood-handled knives from Rhineland Cutlery looking as beautiful as the day I bought them.
But first, it’s important to discuss the do’s and don’ts of wooden cutting board and kitchen tool care.
Let’s jump right in, shall we?
9 Do’s and Don’ts of Wooden Cutting Board Care
1. No dishwasher
When it comes to wooden cutting boards and wooden utensils, the dishwasher is a big no-no. Everything stays too hot and wet for too long, and then it’s all dried very quickly. The result is wood that’s parched and often cracked or warped. This leads to cracks where food can get lodged, and bacteria can grow.
2. Don’t submerge
Don’t submerge and soak your wooden items. You know, like when you skip the dishes and go to bed, and now the food is stuck on there good. The wood becomes waterlogged and can warp easily. This leads me to number three.
3. Wash immediately
Wash your cutting boards and utensils immediately after use. This is especially important when you’re cutting raw meats. And it makes the job easier to do.
4. Towel-Dry
Always towel-dry your wooden cutting boards and wooden kitchen utensils after you wash them. It’s important to remove excess water right away. Otherwise, you can end up with warped tools or water stains on your cutting boards. (I might have a cutting board that shows I’ve been guilty of this in the past.)
5. Air Dry
Even after you dry wooden cutting boards with a towel, don’t lay them flat to finish drying. One side of the board will remain damper than the other side. You’ll end up with a warped board that rocks whenever you cut on it, which can be dangerous. It’s best to dry them and store them upright where they will receive airflow around each side.
6. Use a Mild Soap
Wash your boards and tools with a mild soap. Don’t use harsh detergents or kitchen cleansers, especially heavily-perfumed dish soaps. They’ll dry out the wood. Later on, I’ll discuss this particular soap and whether or not it was good for my boards.
7. Rinse Both Sides
Whenever you’re rinsing off your wooden cutting boards after washing or using them, always rinse both sides. If you’re only wetting one side each time you rinse it, the board is more likely to warp.
8. Raw Meat Only Board
While you can cut raw meat on a wooden cutting board, it’s suggested that you have a dedicated cutting board just for that task. It’s also recommended that you avoid using a wooden cutting board with raw fish and poultry. Do your research and decide what’s best for you in this case – wood or plastic.
9. Oil Your Wooden Cutting Board
Of course, don’t forget to oil your cutting board as needed. Many swear by mineral oil, which is what I’ve used for years. You should never use animal-based oils, like lard, as the fats will go rancid. For that matter, vegetable-based oils aren’t great either.
Extra Tough Gunk and Funky Smells
Look, I get it, you’re not always going to have a chance to clean up immediately after you use your cutting board. There’s going to be times when it sits there crusty and gunky until the next day.
Or maybe you’re making honey-fermented garlic, so you just got done chopping up two whole heads of garlic, and now your cutting board reeks of it.
In either case, the solution is simple and the same – lemon and coarse kosher salt.
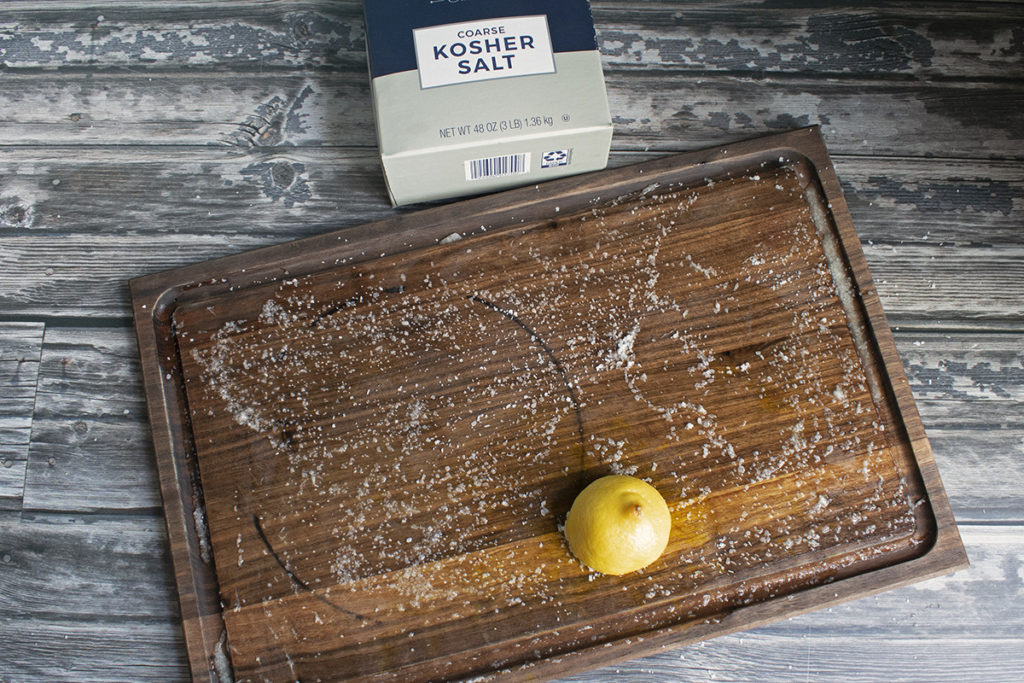
Cut a lemon in half and rub the cutting board down with the juice. Now liberally sprinkle the wooden cutting board with coarse kosher salt. Using the lemon, scrub the salt and juice into the board. Use a little elbow grease; you want to give it a good scouring.
The lemon juice’s acid will pull the scent out of the board and help break down crusted food.
Let the board sit for a few minutes and then wash it as you usually would. However, if you have a particularly stinky or crusty board on your hands, go ahead and let it dry completely. Once it’s dry, scrape the salt off, along with any remaining food, using a metal spatula.
Then wash the board as you normally would. Once it’s thoroughly dry, oil the board.
My Wood-Care Routine
Once or twice a month, all of my wooden cutting boards and kitchen tools get a trip to the day spa. I usually do this the day after everything has been washed, so it’s good and dry.
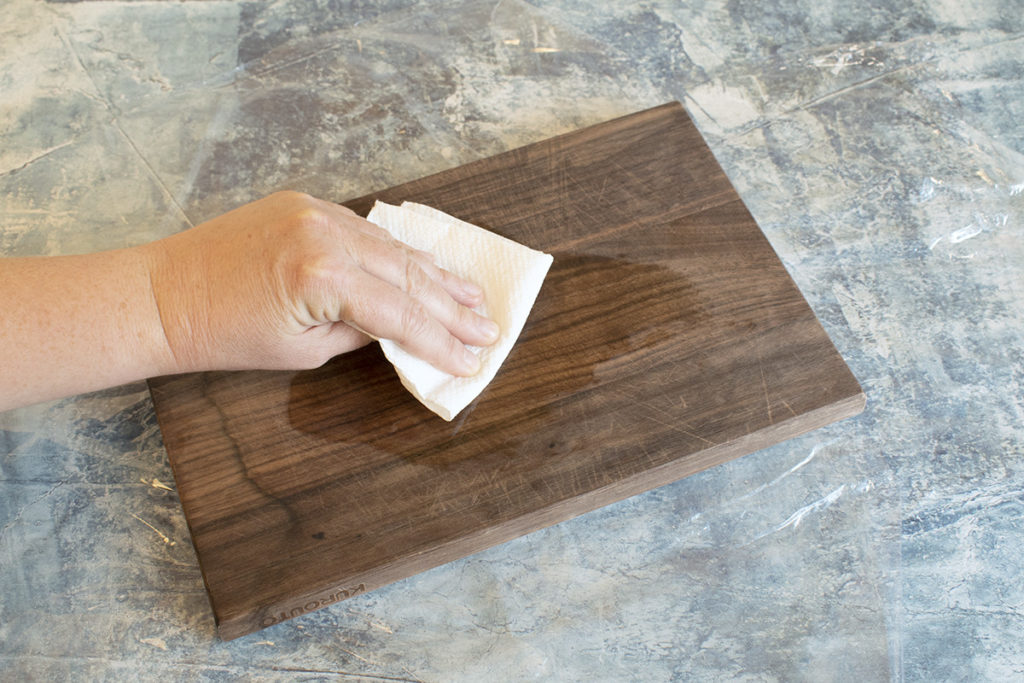
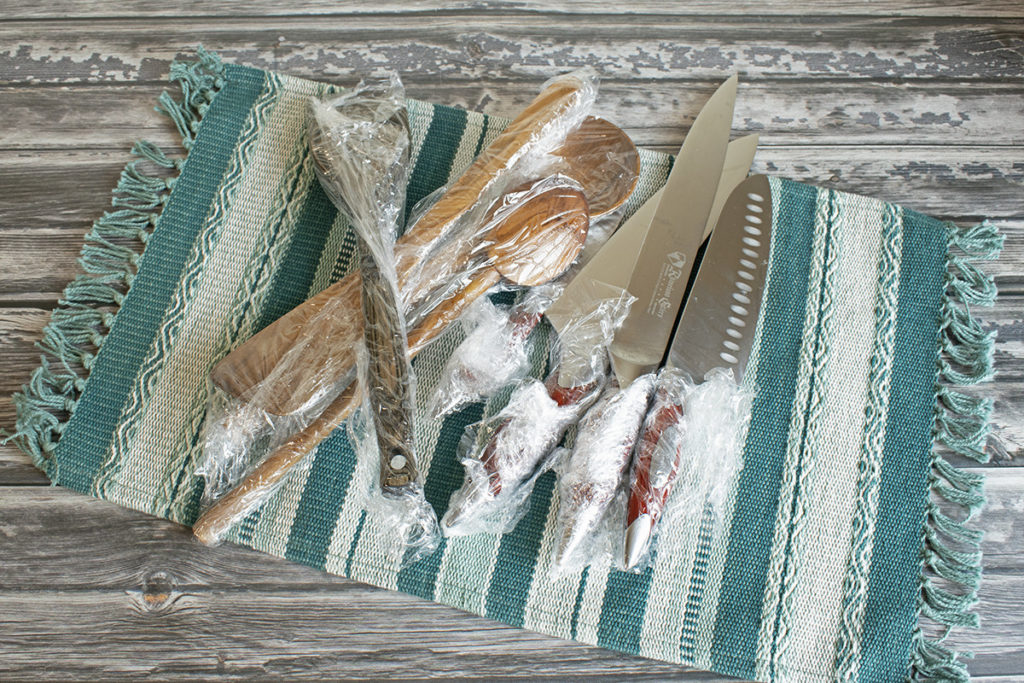
I start with oil and rub it into the wood with either a clean paper towel or a scrap piece of flannel cloth. You don’t need to go crazy, putting a lot on. Just make sure every surface gets oil on it. Apply it to both sides, the corners, nooks and crannies, you get the idea.
Then, I wrap everything in plastic wrap and let the boards and tools sit overnight or even a day or two if I’ve been remiss and haven’t oiled them in a while.
After that, I remove the plastic wrap and wipe off any excess oil. There’s usually very little left, and everything looks like new.
Finally, I apply wood wax, buffing it into the wood with a paper towel or clean cloth. A little goes a long way. Usually, I’ll let the wood sit for a few hours before using it again.
You don’t have to use wax after you apply oil, but I have noticed since I started using one, that my wooden cutting boards stay nicer longer and don’t dry out as quickly.
Mineral Oil or a Fancy Wood-Care Product?
I kept seeing products specifically formulated for wood-care. I wondered if they were any better than straight mineral oil. Curiosity finally got the best of me, and I decided to try them out. The top three wood-care products that I kept seeing in kitchen stores and online were:
- Clark’s
- Howard
- And Walrus Oil
I pushed my mineral oil to the back of the cupboard and tried out all three of these brands. I used each for about two months, which meant roughly 3-4 oil-treatments per brand.
Here’s my two cents.
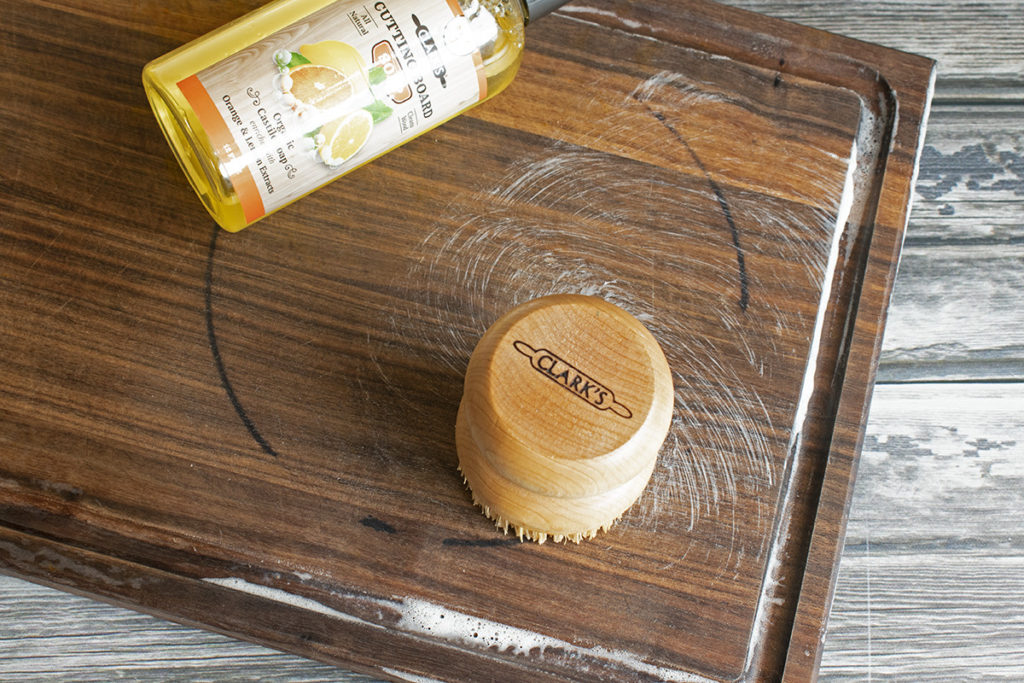
Clark’s
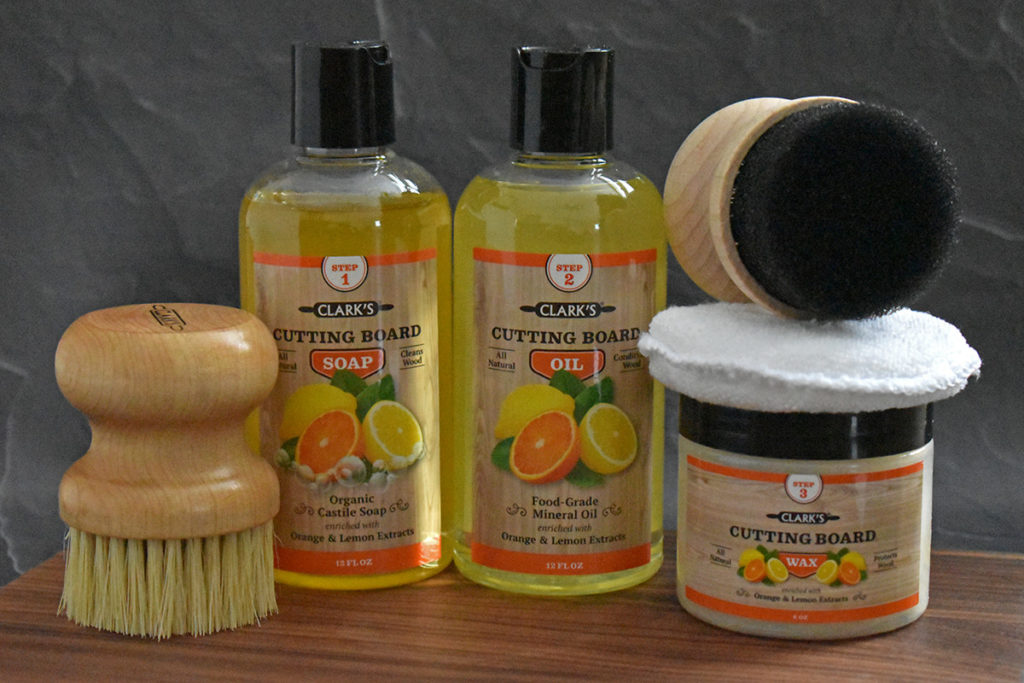
I went ahead and bought their Clark’s Complete Cutting Board Care Kit. I liked the idea that it had an applicator for both the oil and the wax, as well as the scrub brush. It had everything I would need to keep my boards in tip-top shape – oil, wax, and soap.
It’s a bit spendy, and in the end, I wish I had saved my money. Both the wax applicator and the oil applicator got pitched after the first use.
The sponge applicator was too heavy-handed for applying the oil; I couldn’t get it to spread evenly. And I felt like I was wasting too much of the product just trying to get it on the cutting board.
Using it to apply oil to wooden kitchen utensils, the shape didn’t lend itself well for that kind of precise application. In the end, I opted for a paper towel or a scrap of flannel cloth.
The little buffing pad they give you for the wax was useless in the end too. It seemed to absorb more of the wax than it applied to the cutting board. So, it was back to trusty paper towels or flannel cloth when it came to applying and buffing the wax too.
As for the actual cutting board oil and wax? I didn’t notice a huge difference between Clark’s and plain mineral oil.
In fact, that’s all Clark’s cutting board oil is – mineral oil with the addition of lemon and orange oils.
The wax did a decent job of protecting the boards. It’s made of beeswax and carnauba wax with the addition of the citrus oils.
While I didn’t think these were oh-my-gosh-amazing, I would consider purchasing both again, simply for the scent and the addition of the lemon and orange oils, which are good for the wood.
The real winner in the Clark’s line was the soap.
It’s a castile-based liquid soap with both lemon and orange oils. Again, these are good for wood and found in many natural cleaners. I did find the Clark’s Citrus Soap to be much better for cleaning my cutting board than using plain dish soap. It did a good job without stripping the wood.
And the little scrub brush is perfect for giving my cutting boards a good scrub. Even after my testing of the Clark’s conditioning products was over, I continued to use the scrubbing brush and soap. It’s really good at getting heavy-scented food smells out of my boards – Hello, garlic.
That said, you can easily pick up a wood-handled scrub brush for a few bucks nearly anywhere without having to buy the whole kit.
In the end, the only thing I’ll probably purchase again is the soap.
Howard
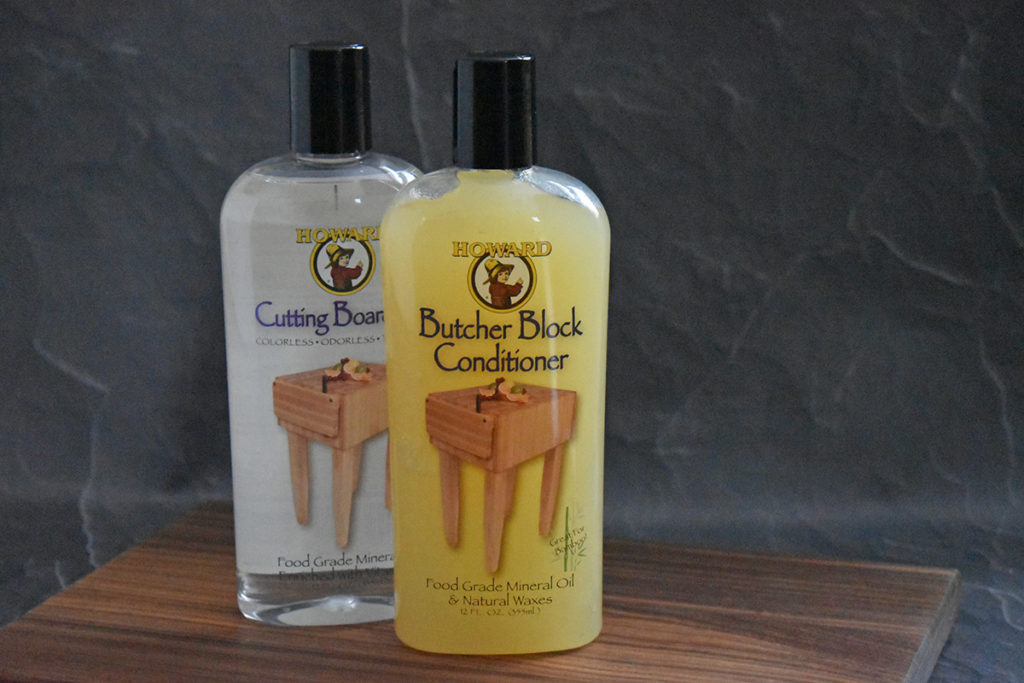
Next up was the Howard Cutting Board Oil and Butcher Block Conditioner.
Both had simple ingredients; the oil being a mineral oil “enriched with vitamin E” and the conditioner being more mineral oil, the vitamin E, and beeswax and carnauba wax.
These were unscented and very simple products.
Both worked fine, but I didn’t notice any vast improvement over my usual use of mineral oil.
The conditioner is supposed to lock in the oil and protect the wood, and repair knife marks. It did a pretty decent job of doing what it’s supposed to. But in the end, there wasn’t a vastly noticeable difference in how my cutting boards looked.
And as quite an expensive product, I just don’t think the result is worth the money spent. Sorry, Howard!
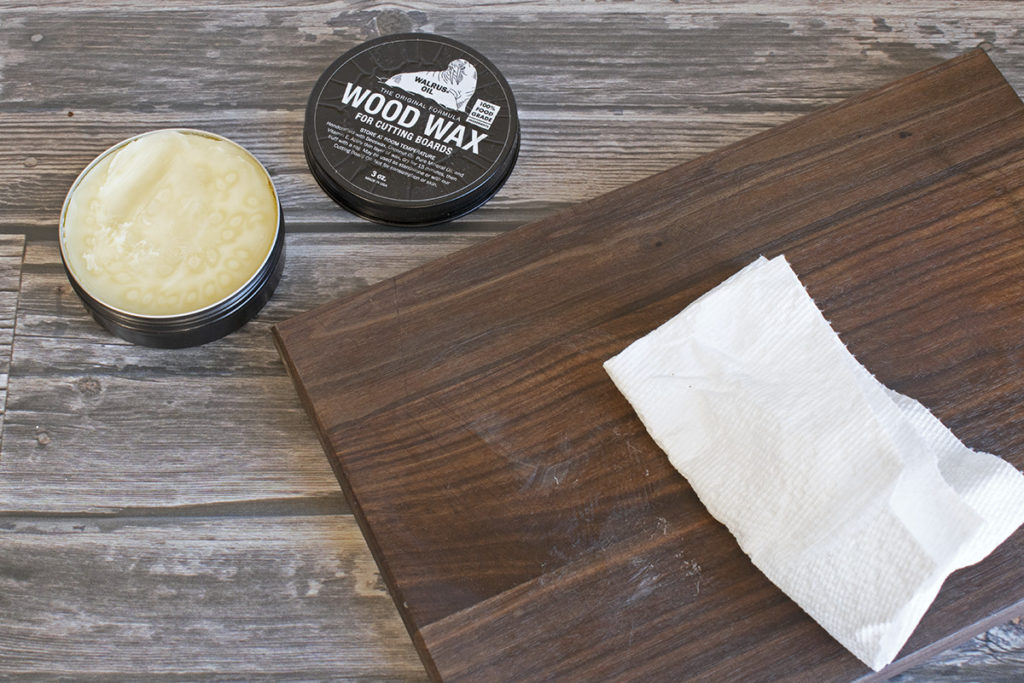
Walrus Oil
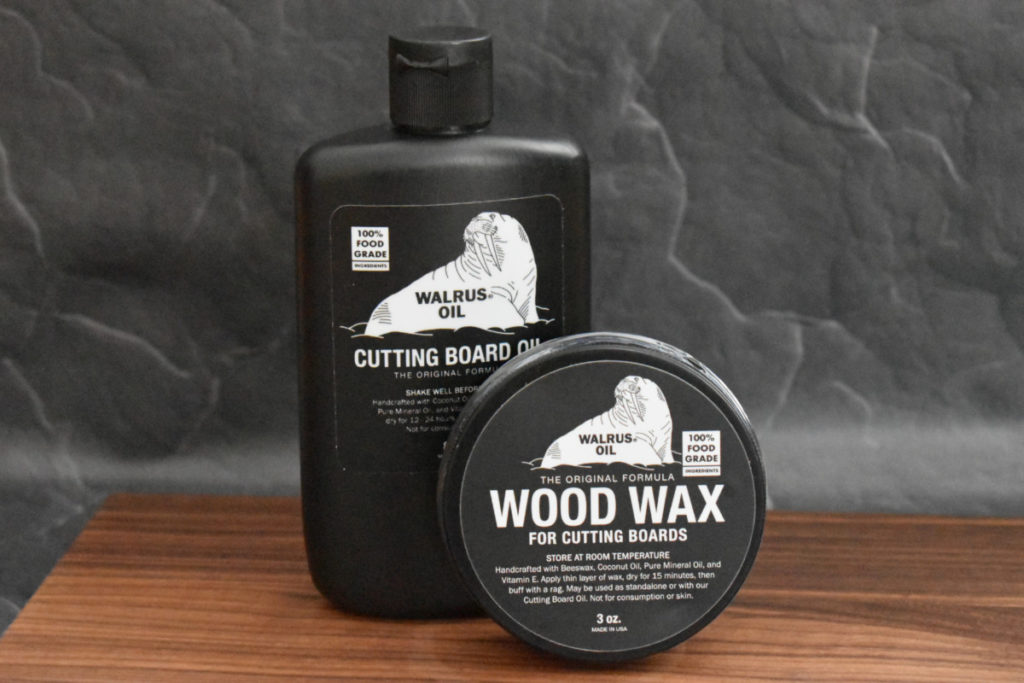
Finally, I gave Walrus Oil a try.
Don’t worry; it’s not made with walrus.
I was a little hesitant to use this because the first ingredient is coconut oil. And I just got done telling you not to put vegetable-based oils on your wooden cutting boards. It also has beeswax, mineral oil, and vitamin E, making Walrus Oil the most ingredient-heavy cutting board oil on our list.
But I went ahead and did it anyway.
And for once, I noticed a difference in the wood compared to just plain mineral oil.
Because the oil is thicker, as you can see in the picture below, it’s much easier to apply. It also leaves less residue behind. It actually sinks into the wood, and there’s minimal excess left to wipe off.

As for the wood wax, the ingredients are the same as the cutting board oil. Which, again, made me skeptical. It’s much thicker than the cutting board oil. However, it does make a difference.
I buffed it into my wooden cutting boards, and I didn’t have to reapply oil as often as I did with the mineral oil heavy products. Knife marks seem to absorb better too.
All in all, the Walrus Oil products seemed to do a better job at conditioning my cutting boards and wooden utensils for longer.
I have to say – I’m impressed.
And the price point isn’t too bad, either.
In the end, I think it’s a personal preference. What matters most is that you use something to condition and protect your wooden cutting boards and kitchen utensils.
It only takes a few minutes once or twice a month to care for your wooden kitchen items. By spending a little extra time on these hard-working tools, you’ll be using them for decades to come.

Get the famous Rural Sprout newsletter delivered to your inbox.
Join the 50,000+ gardeners who get timely gardening tutorials, tips and tasks delivered direct to their inbox.