

Winter can be tough on chickens, and it’s coming soon.
If you take the proper steps to winterize the chicken coop right now, it will mean a much more comfortable cold season for your flock.
Chickens are truly hardy creatures that are perfectly capable of living in the coop through the winter without heat, but you must take the proper steps to make sure they stay happy and healthy during the long cold winter.
Related Reading: 10 Things Nobody Told You About Raising Backyard Chickens
1. Insulate the coop
Insulating the chicken coop will help to make your chickens more comfortable and happy during the winter.
A well insulated coop will be significantly warmer than the temperatures outside in the winter, and will even help to keep the coop cool during the summer. Insulation also helps to regulate the humidity in the coop.
A dry coop is a happy coop!
You can use any number of methods to add insulation to the chicken coop.
Spray foam insulation is ideal, though expensive, as you’ll need to hire someone to install it. Fiberglass insulation will work just as well and can be a great DIY solution. If you choose either of these routes, make sure you cover the insulation with plywood afterward, as the chickens will peck at it if given the chance.
If it’s not possible to insulate the chicken coop, hanging wool blankets on the walls will help a small bit in the winter to keep the heat in the coop.
2. Eliminate drafts
Eliminating drafts in the chicken coop is absolutely essential to keeping your chickens warm in winter.
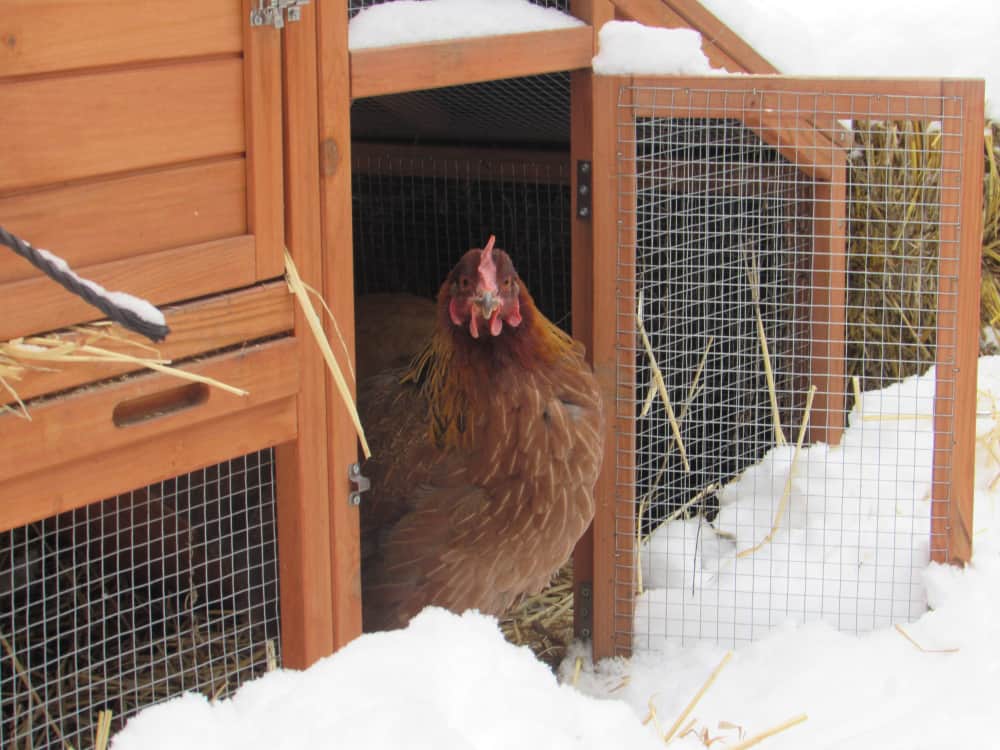
Chickens keep warm in winter by puffing up their feathers and creating a pocket of warm air between their feathers and their skin. Drafts that blow on your chickens will disrupt their feathers, causing them to lose that warm pocket of air and catch a chill.
To eliminate drafts, check windows and doors for gaps and close them up with caulk. If you must leave a door open in the winter, like the door to the run, hang a wool blanket over the door, leaving only a small gap at the bottom for the chickens to go in and out.
This will significantly cut down on drafts in the coop. On bitterly cold days, keep the chickens in the coop with the door closed.
3. Add proper ventilation
While you must eliminate drafts in the coop, you also don’t want it to be air tight. Trapped dirty air in the coop will lead to illness in your flock. The goal is to keep constantly flowing air, but not blowing air.
What’s the difference between drafts and ventilation?
Ventilation is the constant circulation of air. It means stale air that’s full of dust, ammonia, and carbon dioxide can leave the coop, and fresh clean air can get in. Ventilation is a gentle flow of air, not harsh blowing air, like a draft from an open window.
Ventilation holes should always be placed at the top of the coop, where the wall meets the ceiling. This location is far away from roosting or roaming chickens, and won’t be blowing on them.
Ventilation doesn’t need to be complicated, a few small holes drilled into the wall near the ceiling on two opposite sides of the coop will keep air moving through the coop without hurting your flock.
If you want to get fancy, you can install vents in the walls of the coop in the same location.
4. Do a deep clean of the coop
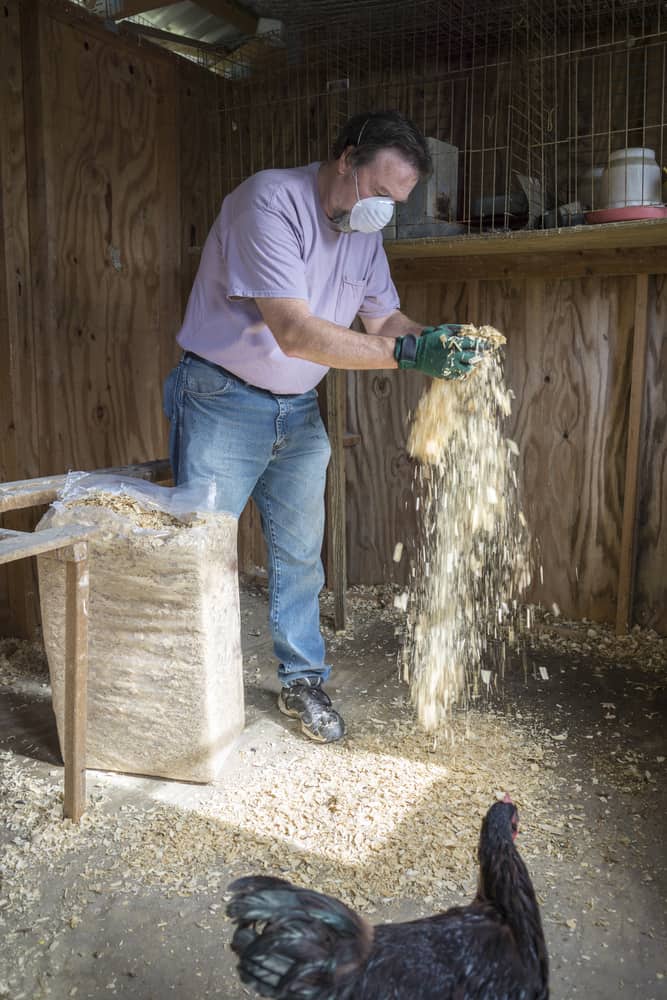
Fall is the perfect time to give your chicken coop a deep clean in preparation for the winter.
Deep cleaning is almost impossible in the depths of winter as you can’t easily haul away dirty bedding or use a hose in freezing temps.
We usually take advantage of a warm, breezy fall day to clean the coop. We let all the chickens out to free range early in the morning and start cleaning right away. This way the coop has time to dry before the chickens go back in to bed.
To deep clean the coop, first remove all soiled bedding, including what’s in the nesting box and in the chicken run. We like to make a large compost pile outside of the chicken coop and let this waste decompose over the winter, then we use it to amend the gardens in the spring.
Once all the bedding is out, get out the hose and some scrub brushes, it’s time to clean!
Use hot, soapy water to vigorously scrub down every part of the coop, especially the roosts and nesting boxes, where chickens like to hang out. These are the spots that are most likely to have manure and parasites like mites on them.
After everything has been scrubbed, rinse it down with the hose and let it dry. To speed up the drying, you can set up box fans to circulate the air.
While the coop dries, take the time to scrub down the chickens water founts and feeders, as well as any chicken toys you have in the coop.
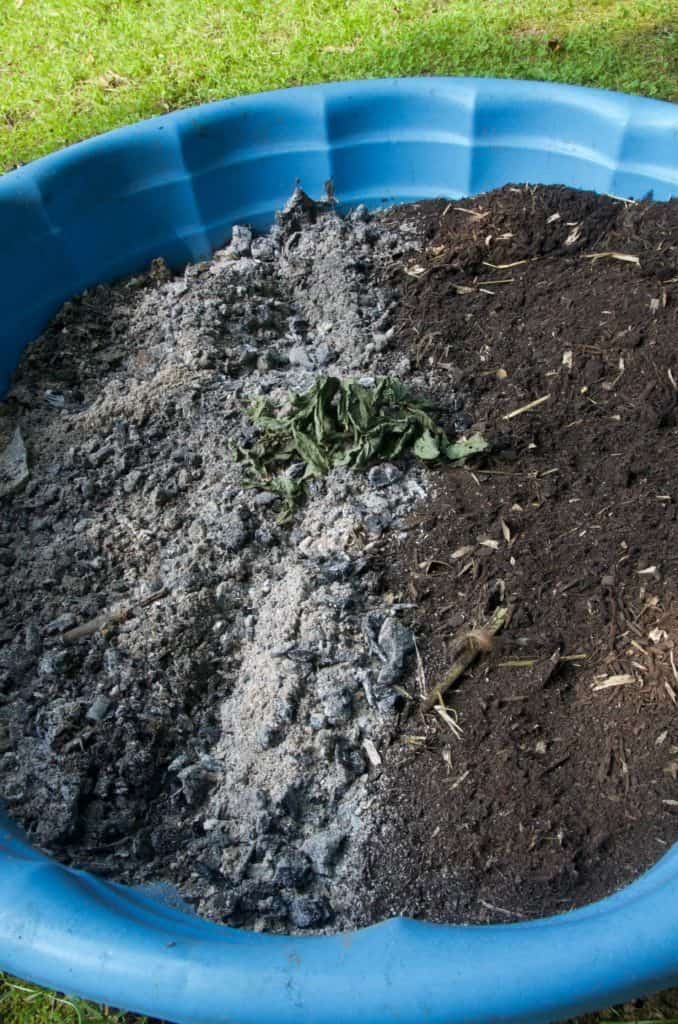
Once the coop is dry, sprinkle a thin layer of Diatomaceous Earth or wood ash on the floor, roosts, and nesting boxes. If there are any insects left in the coop, this will kill them off.
Layer fresh bedding on top of the DE in a thick stack. We like to layer straw at least six inches deep in the winter. This adds insulation to the coop and makes it more comfortable for the chickens in cold weather.
5. Make a dust bath for the winter
Winter can be tough on chickens for a lot of reasons, and one of the biggest ones is lack of access to their usual dusting areas.
Chickens need to take dust baths daily to help them shed dead skin, parasites, and old feathers. If the ground is frozen or covered in snow, they don’t have the ability to bathe properly in the winter.
You can make an easy dust bath for your chickens, it only takes a few minutes. Keep it in a covered area, either in a corner of the coop or in a covered chicken run.
If you do plan to keep the dust bath in the coop, take every measure to make sure you have proper ventilation so dusty air can quickly escape the coop after the chickens bathe.
6. Stock up on chicken supplies
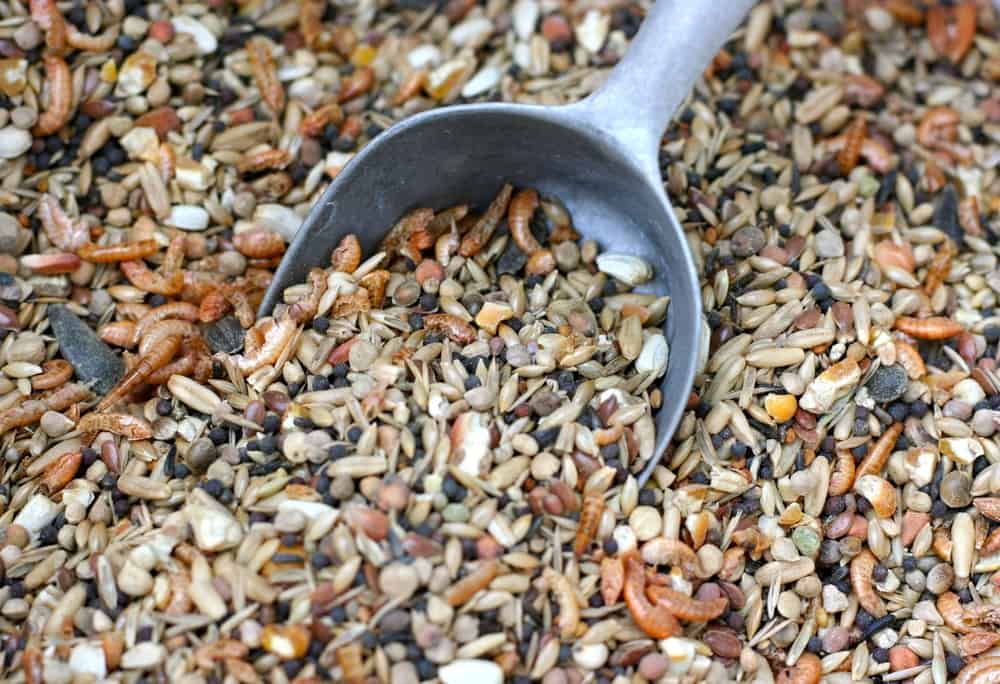
Winter can be unpredictable, you just never know when snow, ice, or cold will keep you indoors for several days. Fall is a great time to stock up on chicken supplies so you know you’re set just in case of bad weather.
We always fill our stock room with extra bales of straw, chicken feed, chicken treats, and first aid supplies for the winter.
7. Put together a chicken first aid kit
Everyone needs a chicken first aid kit, no matter what season it is, but you definitely want to have one on hand in the winter.
Injuries and illnesses happen in all sorts of weather, but dealing with a chicken emergency during a winter storm is no picnic. It’s best to keep all these supplies on hand at all times.
Our chicken first aid kit includes:
- Nutridrench
- vetwrap
- vetericyn
- neosporin – make sure it is neosporin without pain relief – the pain relief version contains an ingredient that can be toxic to chickens.
Getting through everything on this checklist before winter is quite a task, but it’s sure to make the cold, harsh winter a lot more tolerable for your flock.
Read Next: Raising Chickens On A Dime: 14 Ways To Save Money On Your Flock

Get the famous Rural Sprout newsletter delivered to your inbox.
Join the 50,000+ gardeners who get timely gardening tutorials, tips and tasks delivered direct to their inbox.