

As outspoken as I am, I’m rather unconfrontational. When it comes to causes I believe in; I’m more of a quiet revolutionist. And that’s why I’m on board with guerilla gardening.
I love the rather romantic notion of someone with a spade in hand and seeds in their pocket tiptoeing around urban spaces under the light of the moon. And romantic imagery aside, the guerilla gardening movement has been happening for over a decade.
Whether it’s the intrepid group at L.A. Green Grounds bringing healthy food to sidewalk gardens or the anonymous gardener of Park Slope in Brooklyn, NY – guerilla gardening is here to stay.
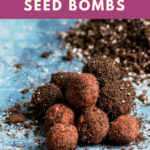
If you want to get in on this quiet revolution, I’ve got an easy DIY tutorial for you today – wildflower seed bombs.
I’ll show you how to mix them up in two different ways.

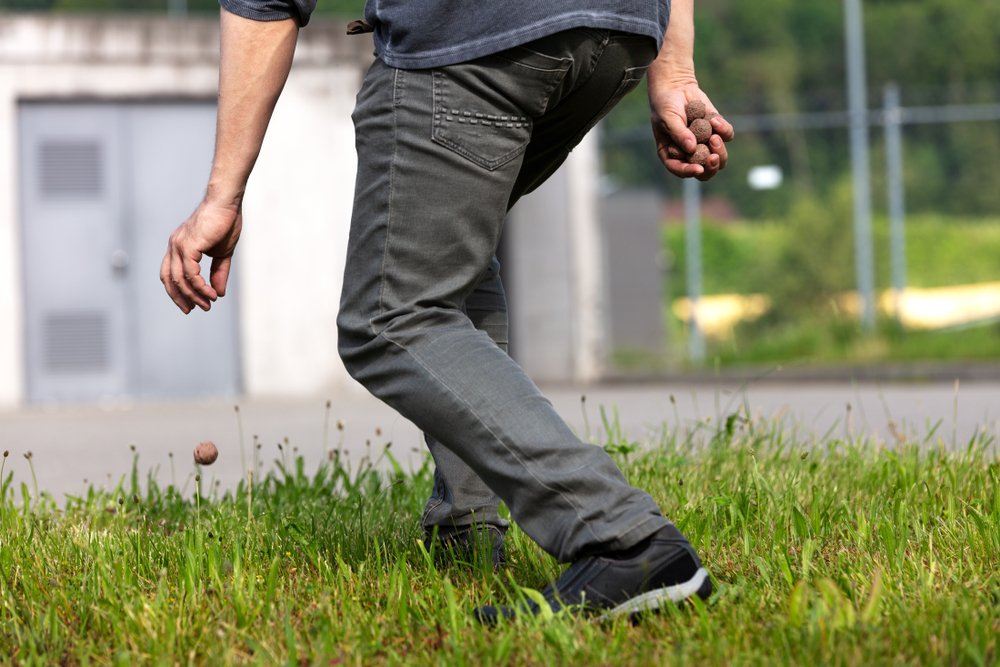
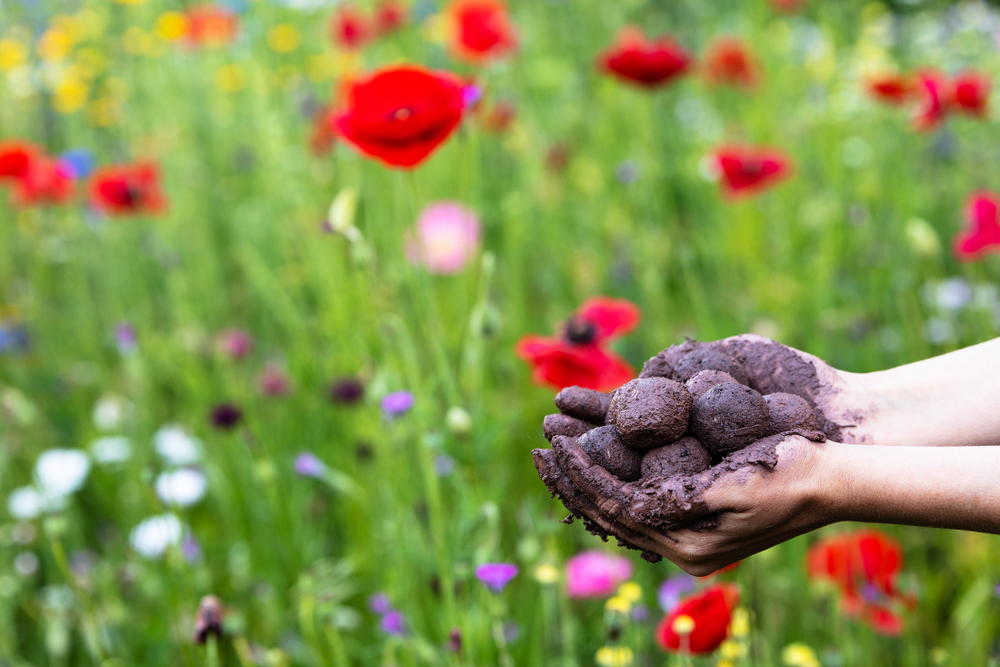
These fun little bombs can be tossed from a pocket while you’re out walking the dog, pitched out your car window, or even tucked lovingly into that forgotten cement planter by the bus stop in the middle of the night.
If you spy a spot that could use some cheery flowers, then it’s bombs away.
Be responsible bombers, please.
I’m sure you already know better, but it bears repeating. You shouldn’t bomb private property or protected parks. Stick to civic spaces that have long since been neglected or local public areas that could use a bit of rewilding. And check local ordinances before bombing around your town.
Unfortunately, we don’t have the bail money to get you out if you misbehave. So be good guerilla gardeners. Remember, this is supposed to be a positive thing.
Making Your Own Wildflower Seed Bombs
All it takes is three ingredients and some good ol’ fashioned getting your hands dirty to make wildflower bombs. Which, you know, most of our Rural Sprout readers are okay with anyway. Let’s talk about what we’re putting in our bombs, and then we’ll move on to the making.
Choosing Seeds
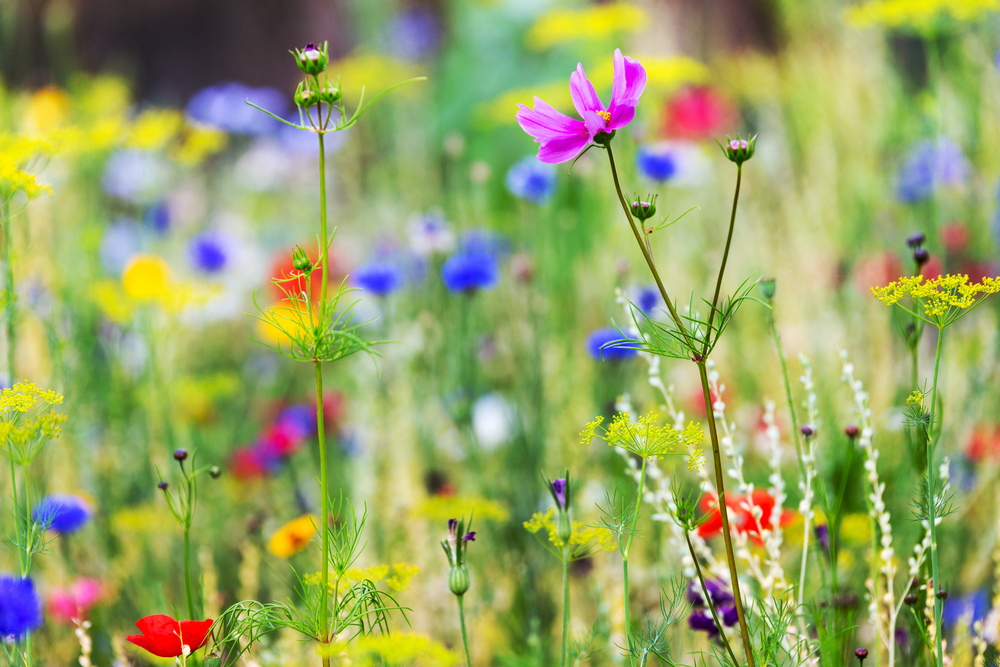
Aside from your target, this is the part that requires the most thought. Your first choice for flowers should always be native species. This way, you’re not adding invasive species to an area, and you’ll help out your local pollinators.
As always, if you need to know something about growing things where you live, my first suggestion is to reach out to your local cooperative extension office. These folks are excellent resources for native plants and gardening. They may even have some great suggestions on where your wildflower bombs could be put to good use.
If you’re looking for native species, it’s easier to purchase individual seed varieties and mix them together rather than purchasing a wildflower mix.
There is plenty of commercial ‘Wildflower’ seed mixes out there, but just because they say wildflower doesn’t mean they are wild where you live. If you’re going to use a wildflower mix, don’t choose your seeds based on the pictures on the packet. It’s important to take the time to read what varieties of plants it contains.
Seeds for Urban Wildflower Bombing
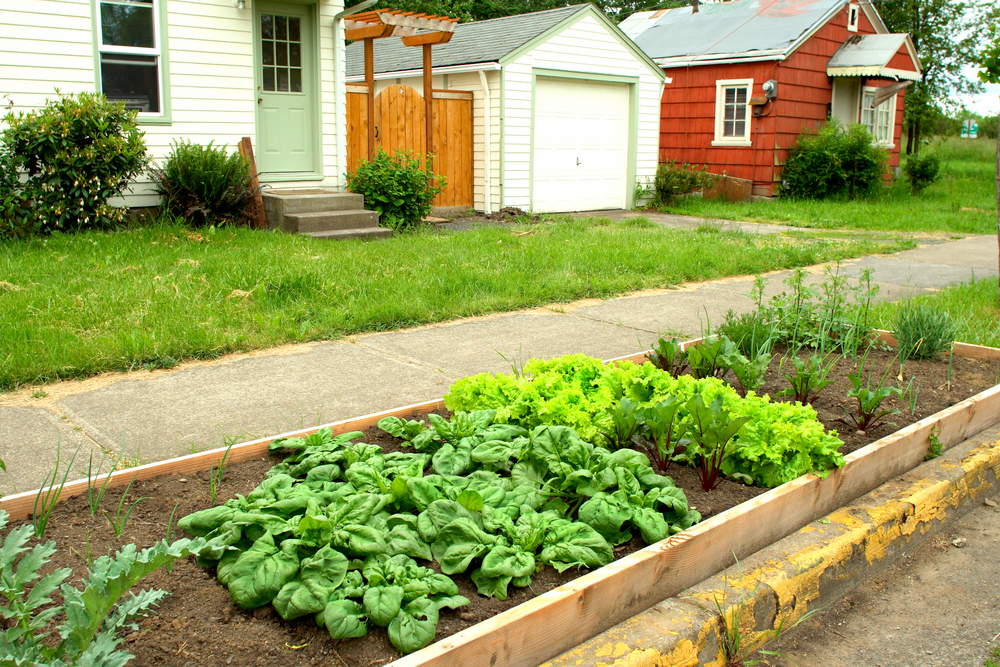
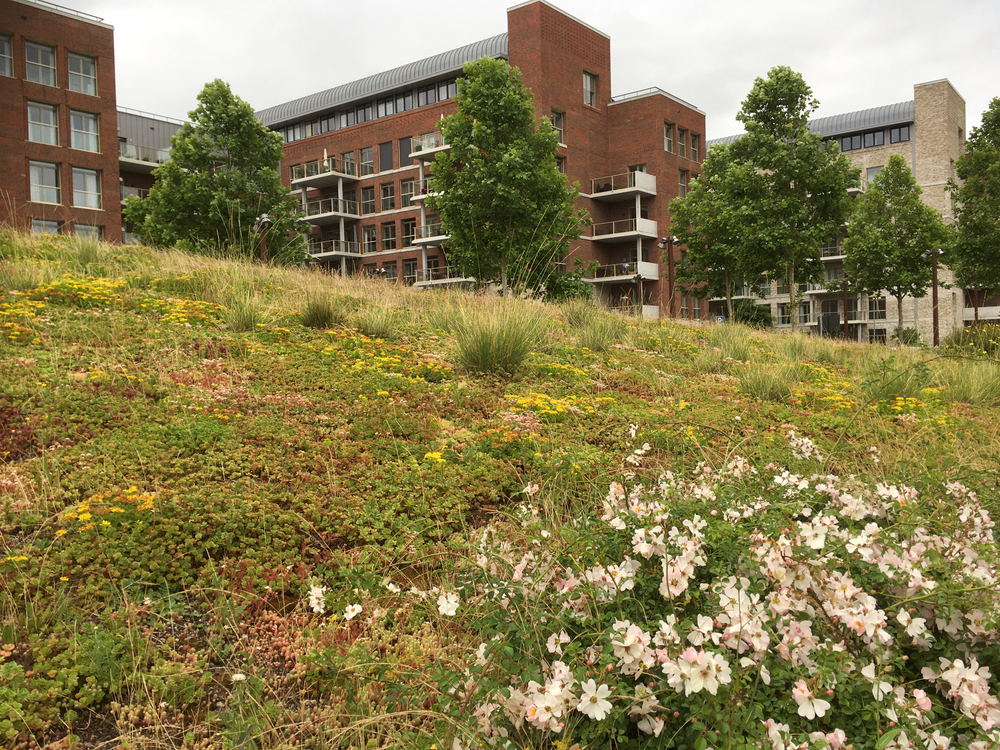
If you live in the city, as in a true city where green spaces are limited to a highly curated park, then most of the area hasn’t seen a native species or wildflower in decades. This is a good place to use those wildflower mixes, especially ones that attract birds and bees. Some green is better than no green in a land of skyscrapers and concrete.
(Again, we aren’t going to throw them in the highly curated parks, though, are we?)
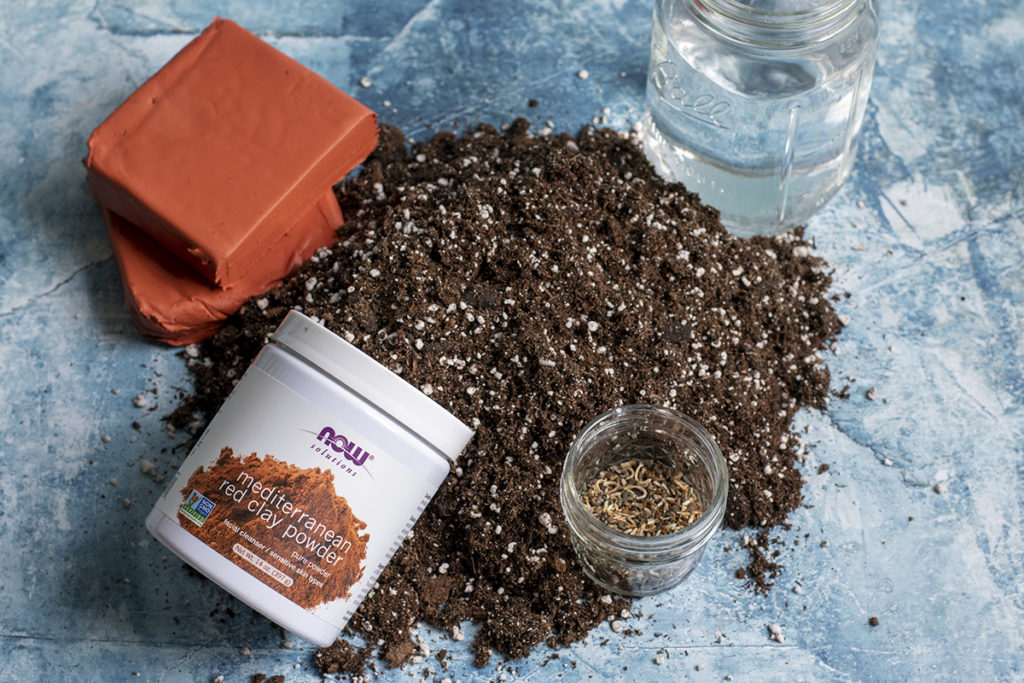
Clay
Most tutorials for seed bombs simply state clay, some go so far as to say clay powder, but beyond that, you’re left wondering what kind of clay. It seems there’s a lot of variation on what you can use for wildflower bombs when it comes to clay.
Here’s a list of a few options:
- Pottery clay
- Air-drying modeling clay (not the plastic stuff)
- Paper modeling clay
- Kitty litter – the super cheap unscented kind
- You can even use the clay that’s beneath your very feet
- Bentonite clay powder
- Red clay powder
If you use either of the last two, you can give yourself a face mask while you’re making wildflower bombs. If you want to get really crazy, smash some seeds in your face mask and lay in the sun.
Or not. Yeah, better not; you’ll scare the neighbors.
The pottery clay and modeling clays are both easier to find locally but require a little more elbow grease when making your bombs. The powdered clay is a little tougher to find without ordering online, but it’s much easier to mix.
I’ll show you how to work with both in the tutorial.
Compost or Potting Soil
You need some sort of substrate to get your tiny seeds off on the right foot. You can use either compost or potting soil. Just be sure whatever you choose, it’s fine-grained; you don’t want a lot of larger substrate in the finished media.
I’m always a big fan of using what you have on hand, rather than making a special purchase. This activity is great for using up those bags of potting media with only a cup or two left in them. Dump in what’s left from that African Violet mix, add the rest of that bag of mushroom compost, and top it off with whatever’s left in the bag of moisture control potting soil that’s now dry as a dessert.
If you go this route, you may need to pull out the odd twig or bit of larger potting media as you mix your wildflower bombs up.
Voila – now you have more room in the gardening shed and a mix of nutrient-rich soil for your wildflower bombs.
Tools
You’ll need a few tools to make these wildflower bombs
- Large mixing bowl
- Baking sheet
- Water
- In addition to the above items, you’ll also need a chopstick or wooden spoon for the clay powder bombs.
Okay, now that you’ve gathered everything you need, let’s make some wildflower bombs.
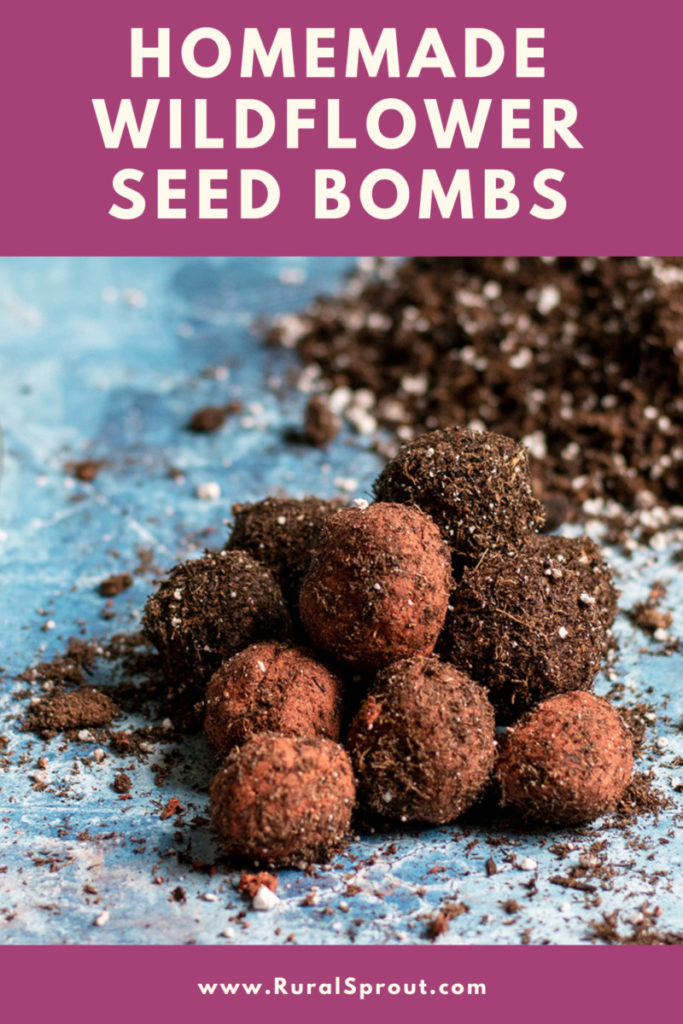
Wildflower Seed Bombs Using Wet or Modeling Clay
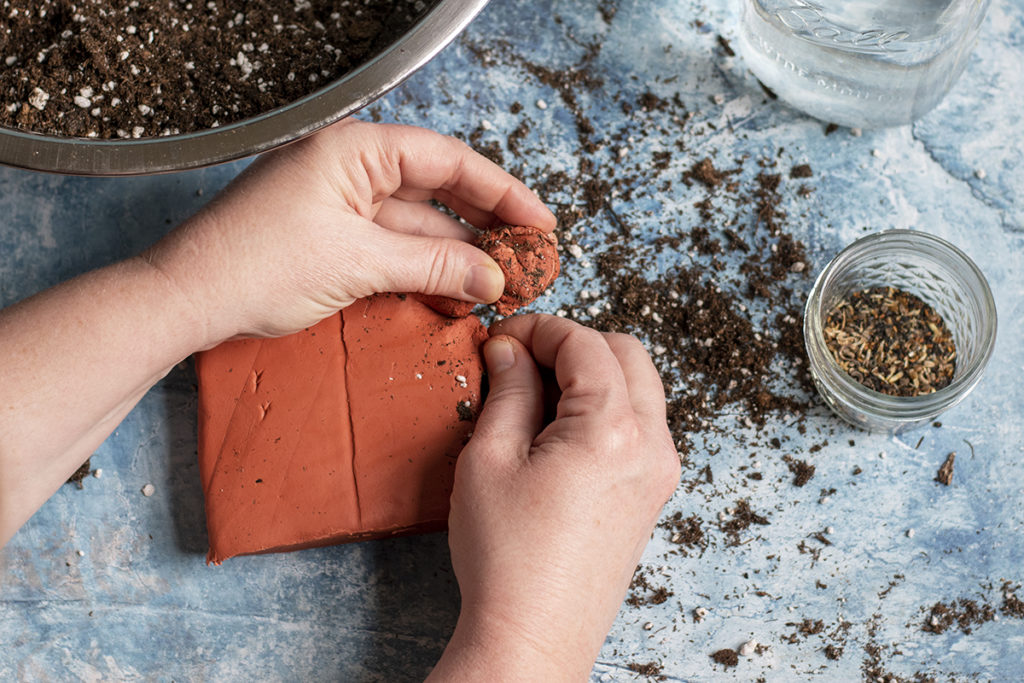
- Pinch off a wad of clay slightly larger than a golf ball; anything bigger than that will be hard to handle.
- Smash the clay flat to ¼” thick.
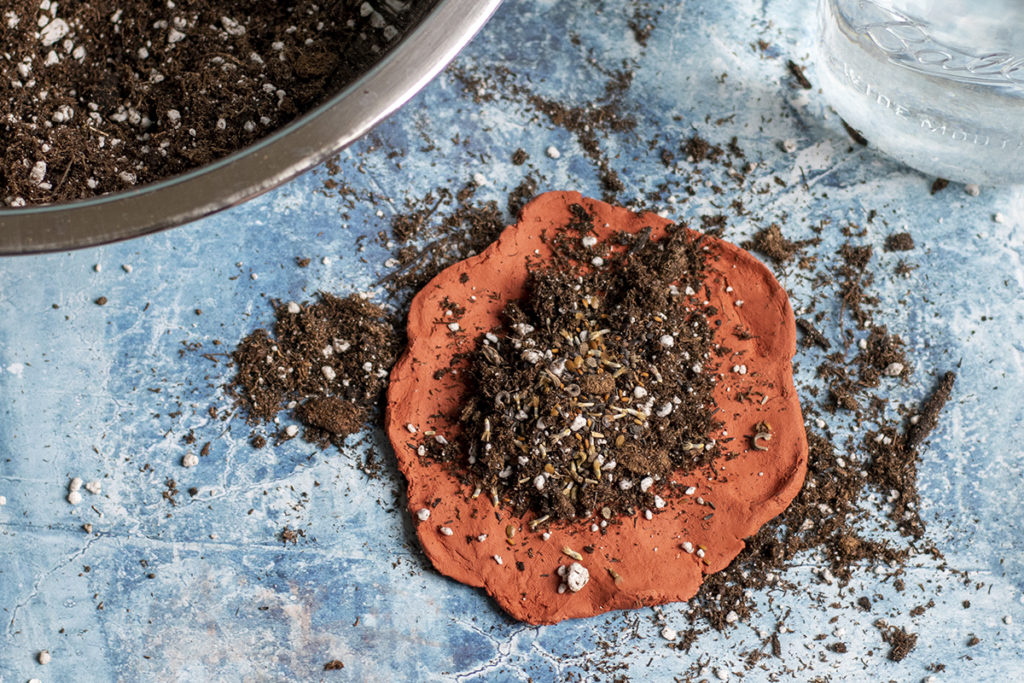
- Now spread about two tablespoons of your growing media and ½ teaspoon of seeds onto your little clay pizza.
- Sprinkle on a few drops of water. You don’t want a lot; otherwise, it will become a soppy mess. You can always add more.
- Roll up the mess and begin working it together, incorporating the soil and seeds into the clay.
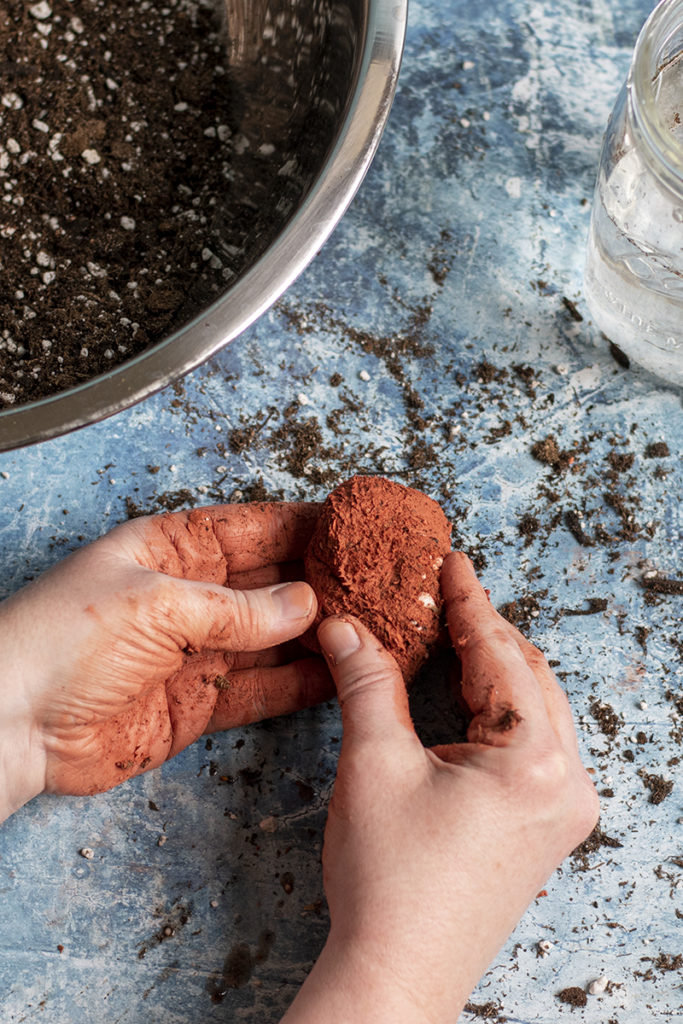
- Keep adding more soil and working it into the clay until the clay loses the damp, sticky feel and starts to feel mostly dry.
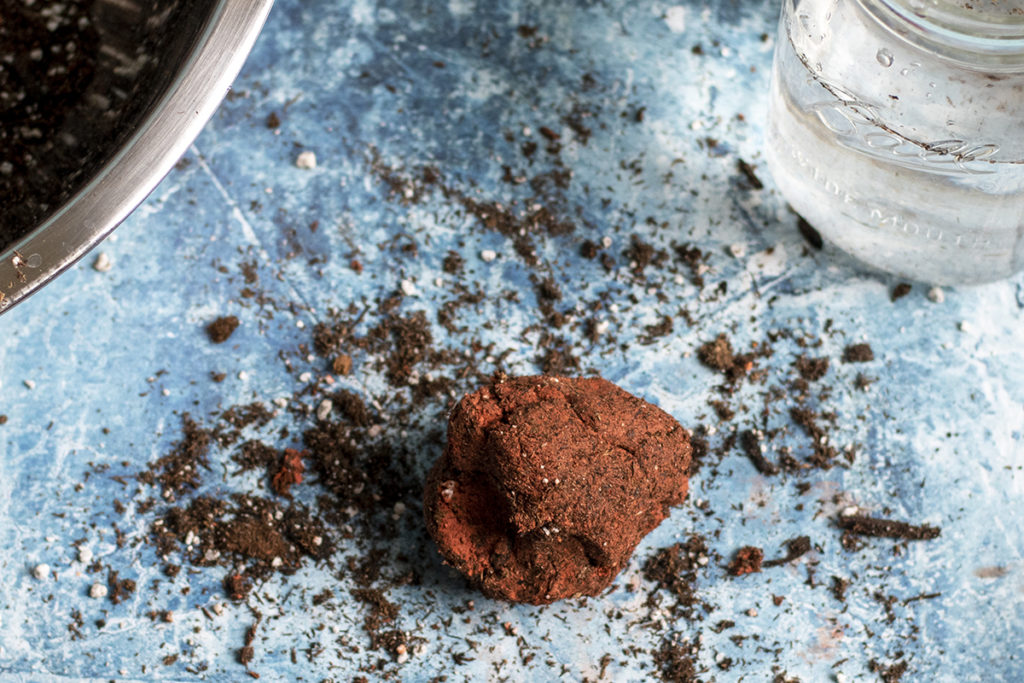
- Then pinch off golf ball-sized pieces of the mixture and roll it into spheres. Firmly press them into the growing media again to push more of it into the clay.
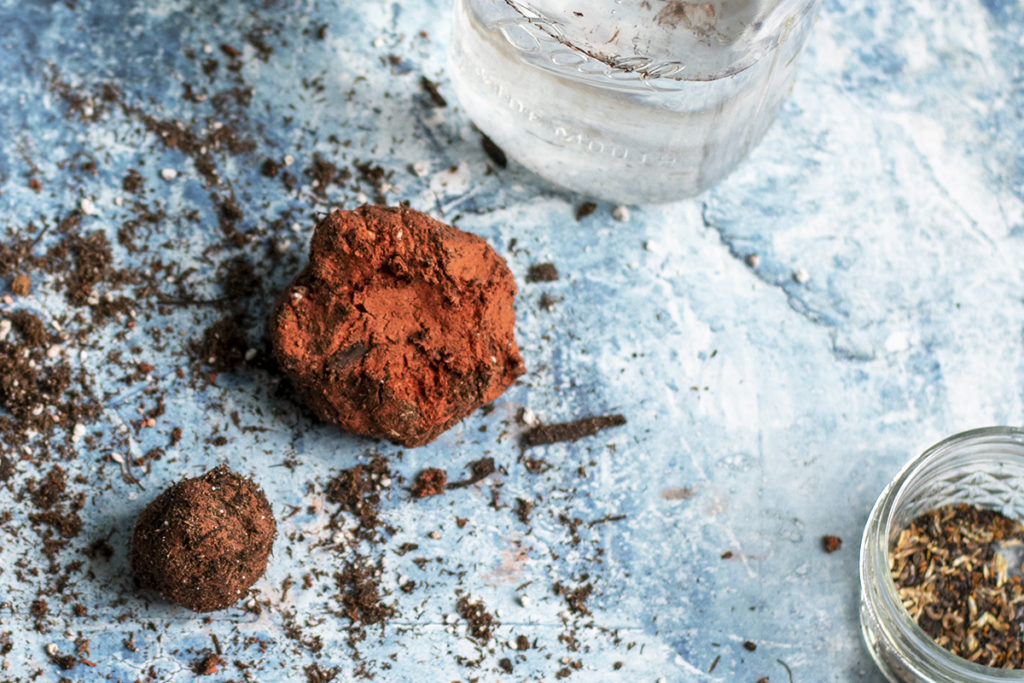
- Let the wildflower bombs dry for 24 hours, and then get gardening.
Wildflower Seed Bombs Using Clay Powder
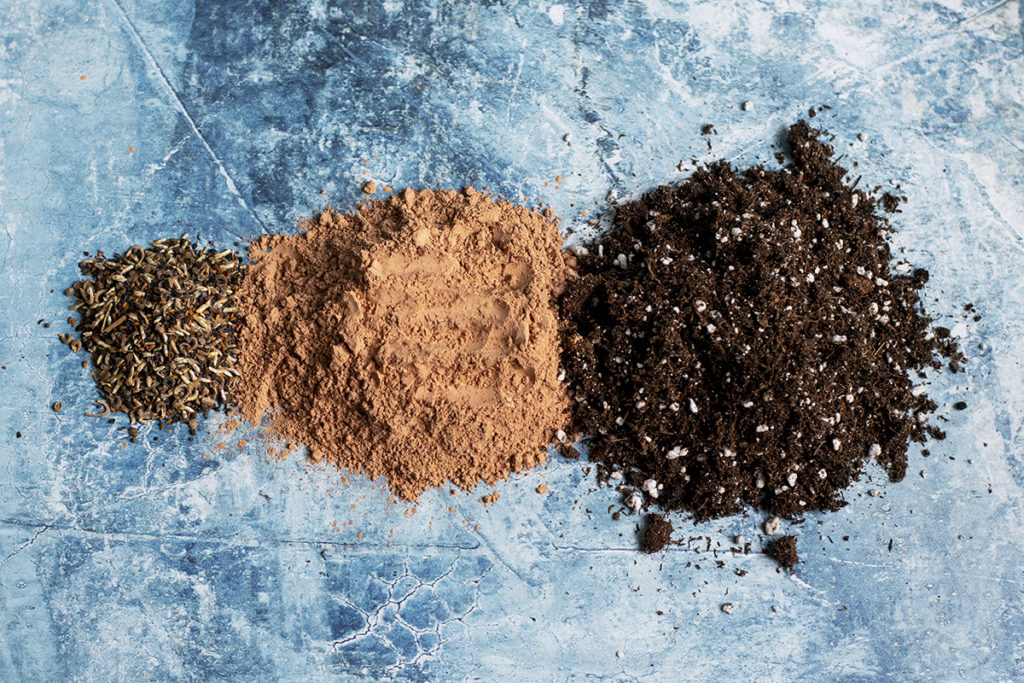
- Since we’ll be reconstituting the clay powder by adding water, we’ll be using a ratio for the basis of our mix – 1 part seeds – 4 parts clay powder – 5 parts soil.
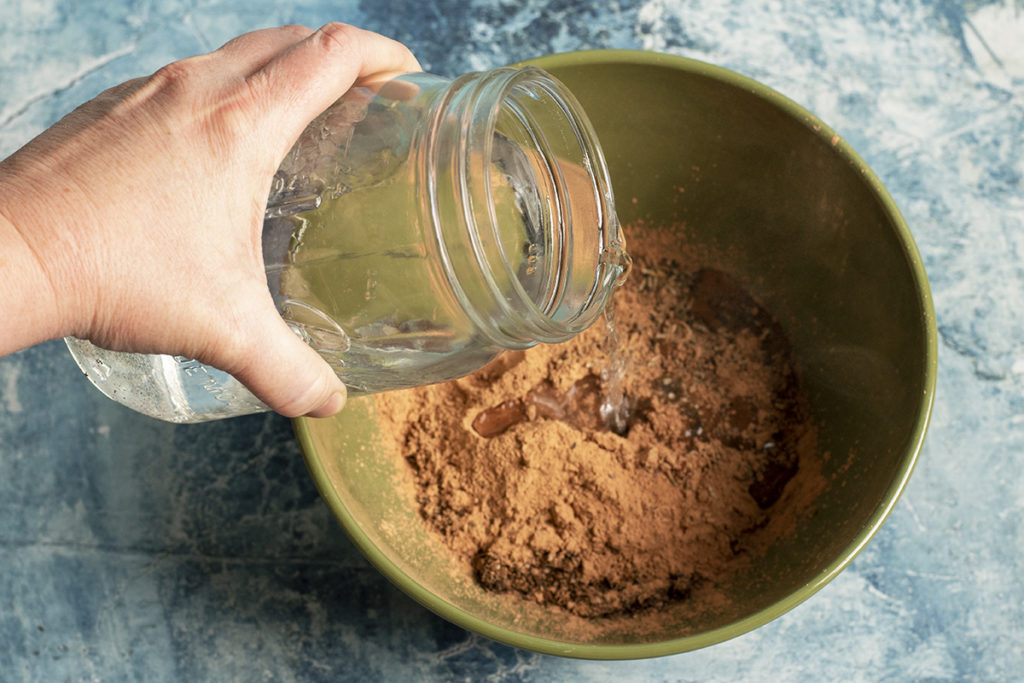
- Mix the above in a bowl and slowly stir in a few splashes of water at a time. You want a slightly sticky, but not sopping wet, ‘dough.’
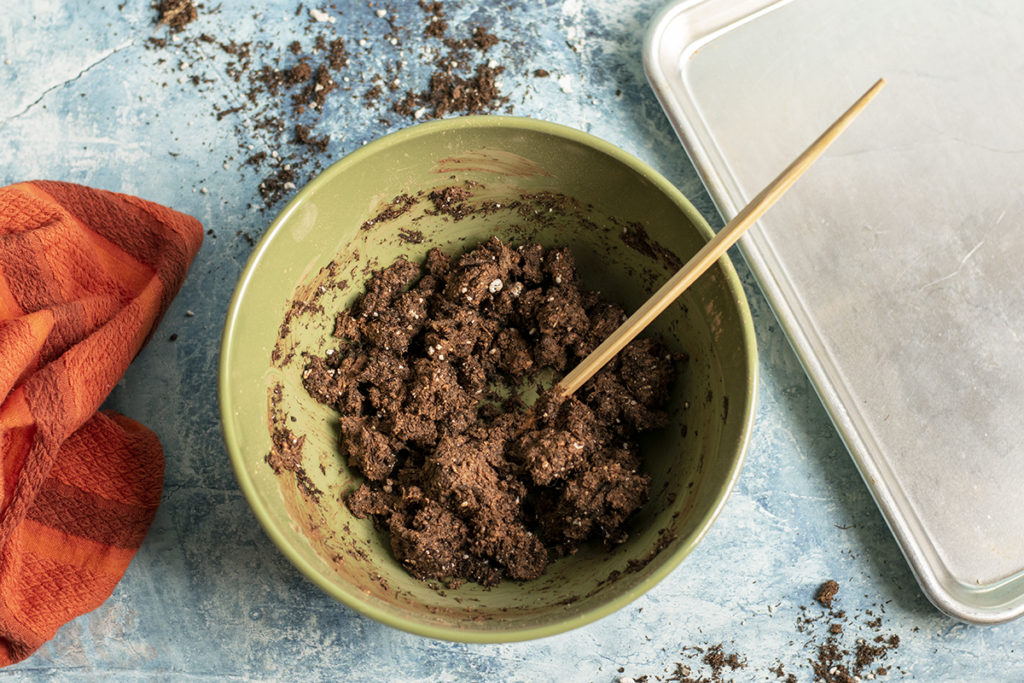
- If you overshoot your water, add more soil, stirring it in until you achieve the desired consistency. If you’ve ever made bread or pizza dough, you’ll know what I’m talking about.
- Now you simply roll into golf ball-sized bombs.
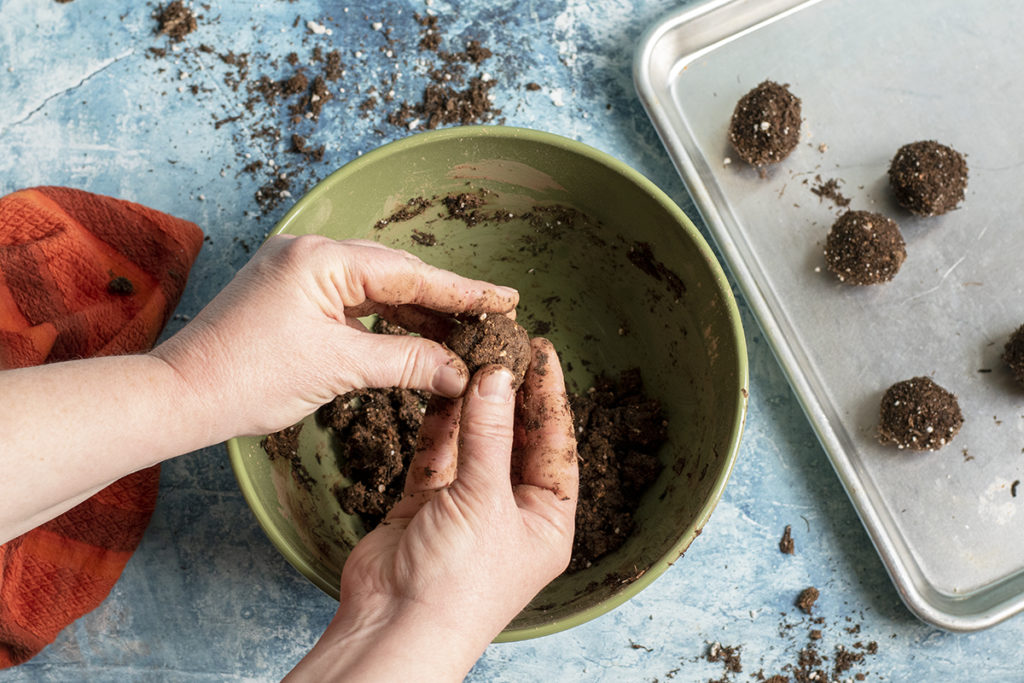
- Dip them back into the soil or potting media to coat with them. A bit like dipping balls of cookie dough in powdered sugar. (Only, please don’t eat these, I guarantee they’ll be the worst cookies you’ve ever eaten.)
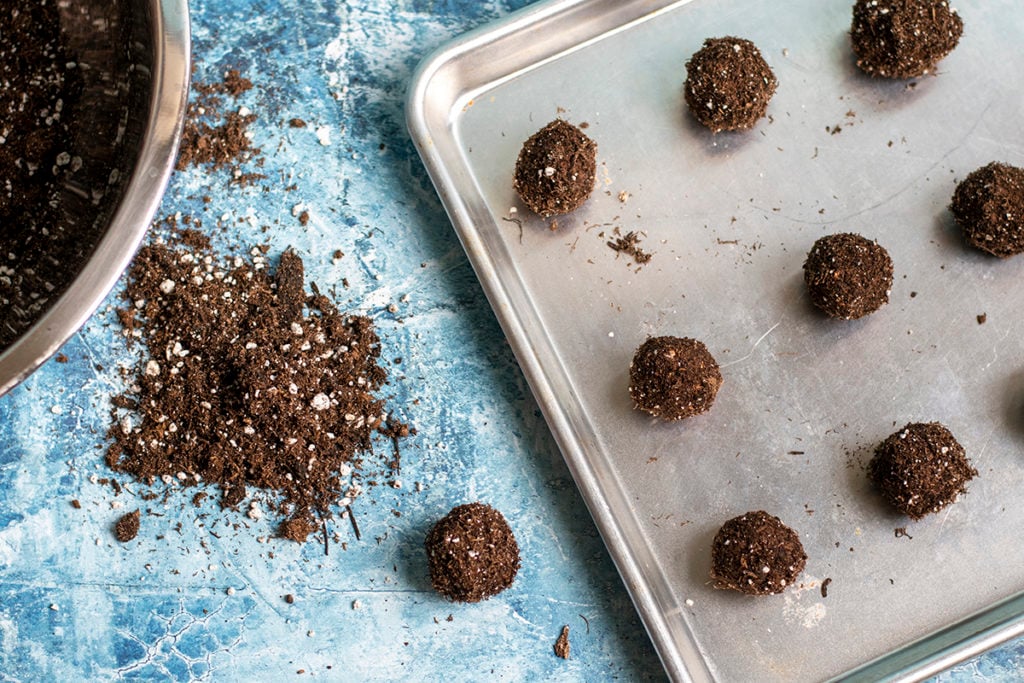
- After they’ve received their final coating of compost or potting soil, place them on a baking sheet to dry for 24 hours.
And that’s it, pretty simple, right? If it isn’t obvious, this is a fantastic activity to get the kids in on, from making the bombs to the actual bombing. Every part of the process appeals to kids, from getting dirty to doing something sneaky.
Don’t Fancy A DIY?
Maybe you don’t want to get your hands dirty, or perhaps you can’t get your hands on all of the ingredients you need.
Don’t fear, we have you covered. You can purchase this pack of 50 US native wildflower seed bombs from Seed-Balls on Amazon.
When to Garden
It’s best to get out there and start slinging your wildflower bombs in the spring and fall. Check your local weather and try to get them out just ahead of some rain.

Now that you’re armed with your cheerful, brown ammo, where will you strike first? What forgotten corner of the world will be brightened by your wildflower bombs?

Get the famous Rural Sprout newsletter delivered to your inbox.
Join the 50,000+ gardeners who get timely gardening tutorials, tips and tasks delivered direct to their inbox.