

There are many fence ideas to consider for your garden. Making a wattle fence with branches is one interesting and attractive choice to consider.
One of the most eco-friendly choices is to use materials that are free and readily available where you live. Making use of natural materials makes sense because it allows you to avoid the cost (both in terms of finances and the environment) of buying new materials.
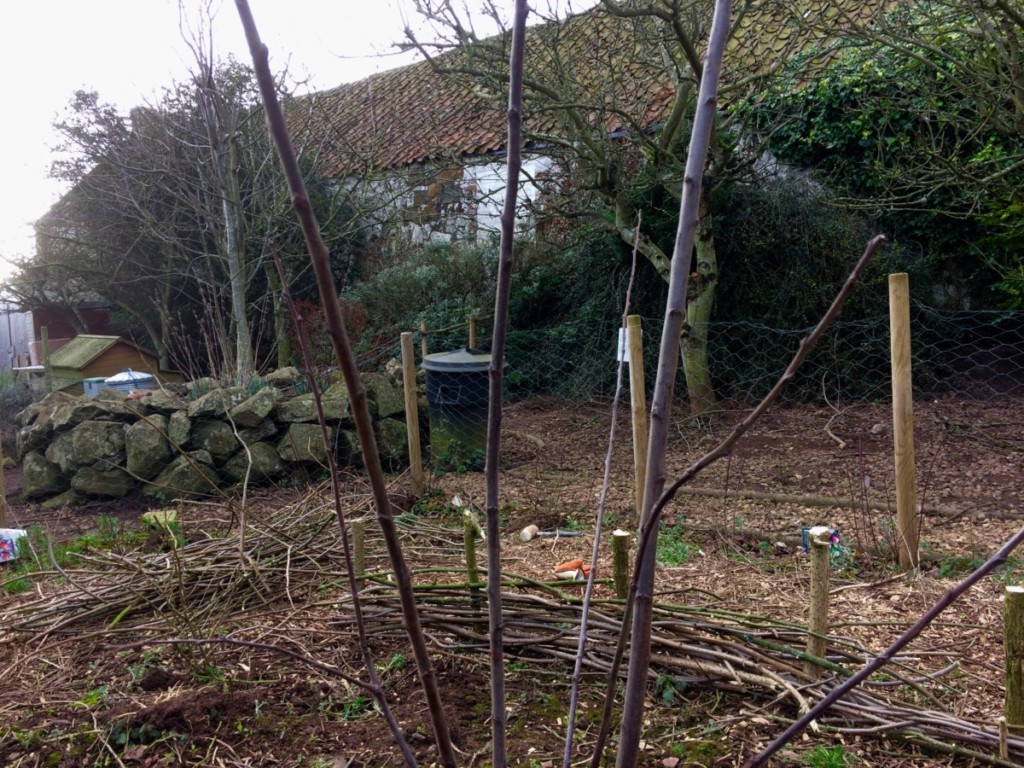
Where I live, we have plenty of pruned branches from our trees, so it makes sense to make use of these where we need new fences on the property.
Of course, there are plenty of ways to turn branches into a fence. You could build a brush boundary, for example, or make some sort of picket fence, but a wattle fence is one of the best options.
What Is a Wattle Fence?
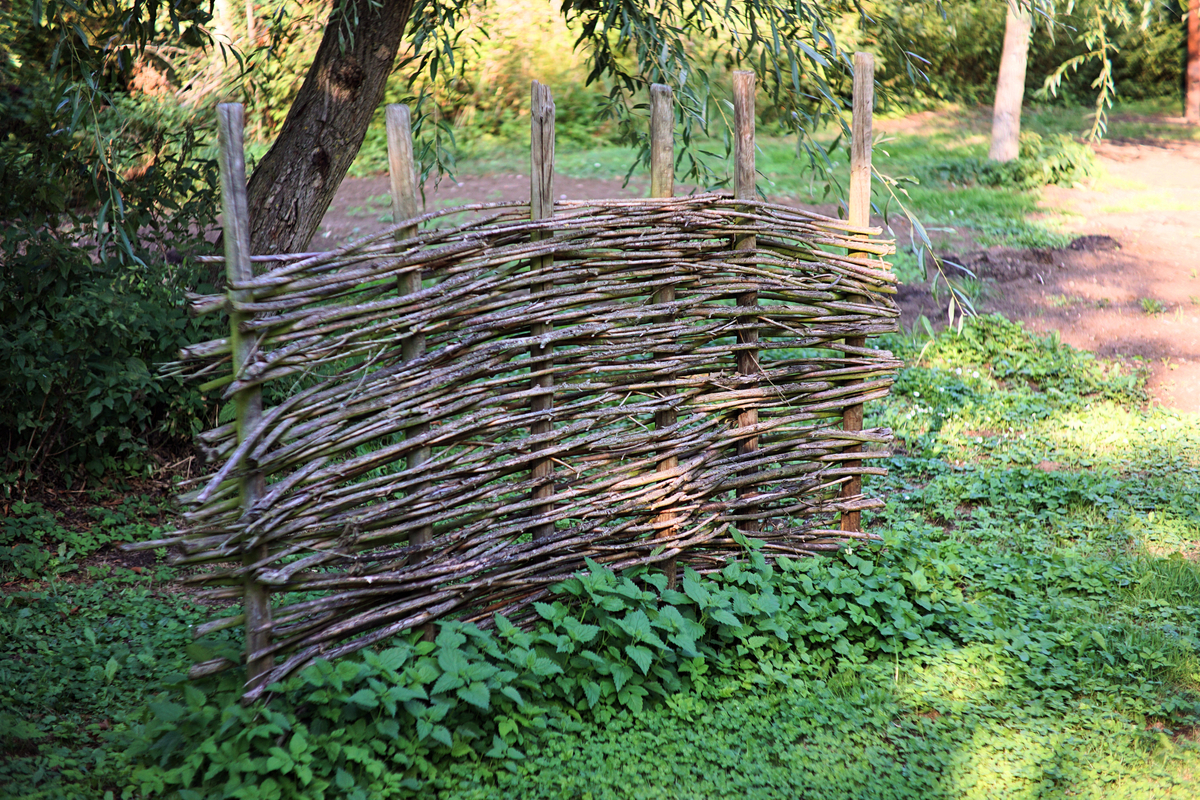
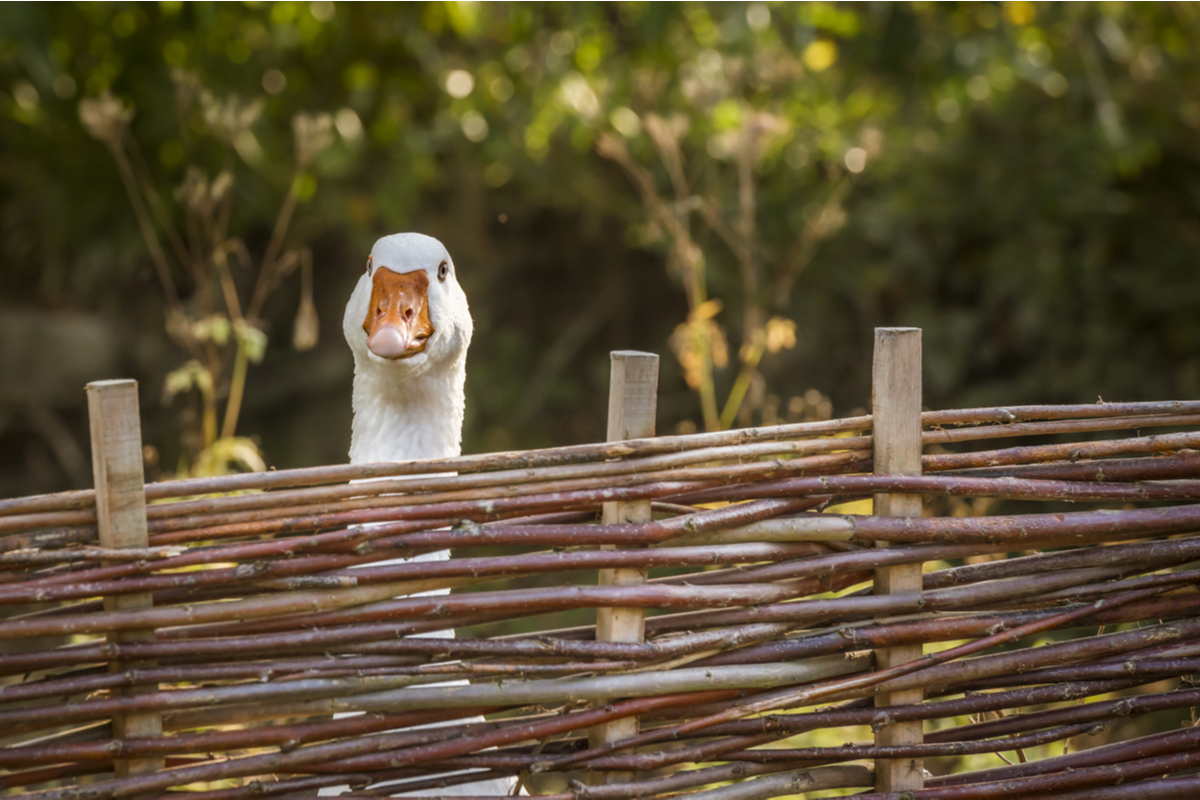
A wattle fence is a lightweight construction. It is made by weaving thin branches (or strips of wood) in between upright stakes to form a woven lattice. This is an old form of building that is traditional in the British Isles, Ireland and other parts of Europe. This traditional technique dates back to Neolithic times. It has commonly been used to make a wide range of hurdles or fencing enclosures.
A hurdle is the name given to movable sections of fencing, that are often used in livestock handling. These loose panels of wattle are placed within timber framing. In this article, however, we’ll focus on wattle fencing – which is made in situ as a construction affixed to stakes placed in the ground.
Wattle fencing is also the internal structure of an old composite building material called wattle and daub. The wattle skeleton forms a framework for walls that are daubed with a thick mix of soil or clay, sand, sometimes animal dung, and straw. This is a building technique that is at least 6,000 years old. It is also still an important construction material in many parts of the world.
There is also a resurgence of interest in this method of construction in sustainable building in the developed world. Many eco-builders are seeking to return towards this natural and low-impact technique to construct their homes – not only their garden or livestock fences.
Why Build a Wattle Fence?
A wattle fence can find a wide range of uses. For example, you might build such a fence:
- To mark the boundary of your property.
- For creating attractive division between different areas of your garden.
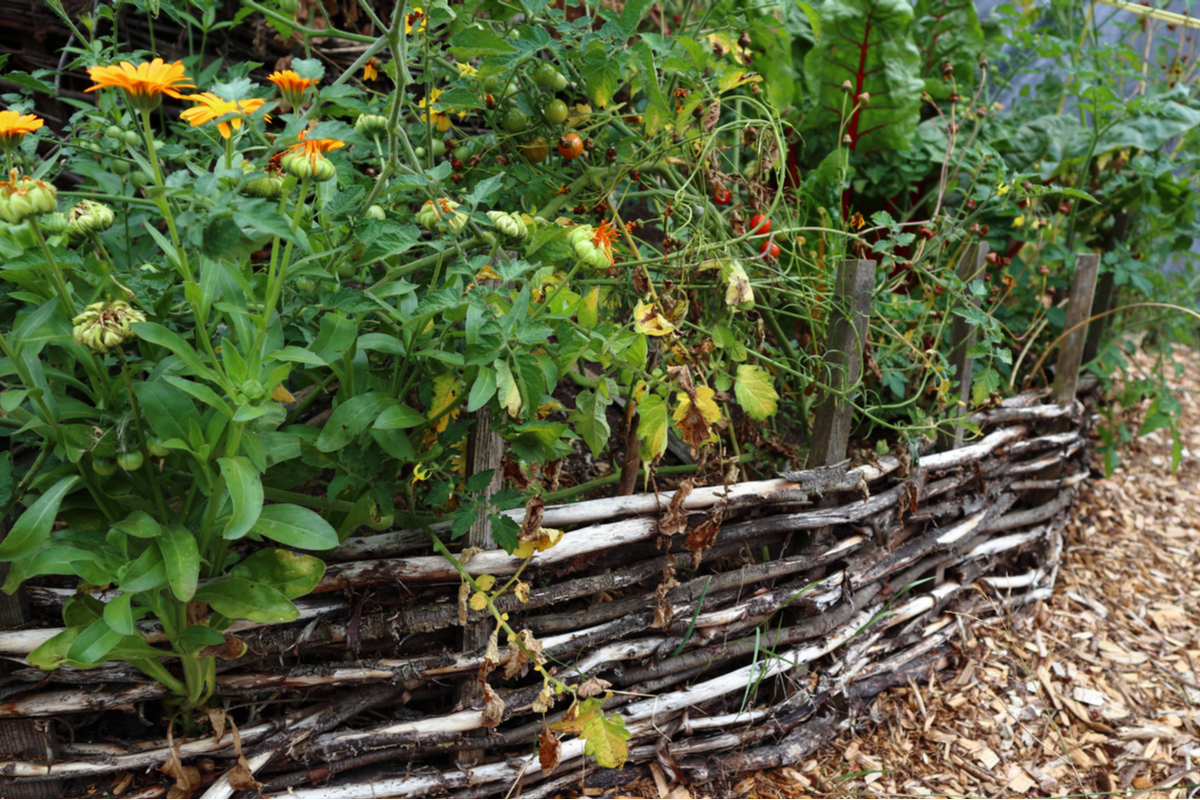
- To provide some shelter or wind-breaking for a vegetable plot or other growing area.
- As wind-breaking or a privacy screen for an outdoors seating area.
- As a low decorative fence to surround raised beds or other growing areas.
- To make a higher fence to keep out pests or keep in pets.
- As a safety feature to keep children or pets away from a pond, for example.
- As a sturdy fence to contain livestock.
As you can see from the above, these are very useful and versatile structures. You might choose to construct them for a range of reasons around your homestead.
Which Wood To Choose
Of course, one of the first steps in making a wattle fence is choosing your wood. The wood you choose to use will have an impact on how strong and sturdy your fencing will be.
Traditional woods used in hurdle construction include hazel, willow and alder. However, you can make use of a wide range of different woods from your property or the surrounding area.
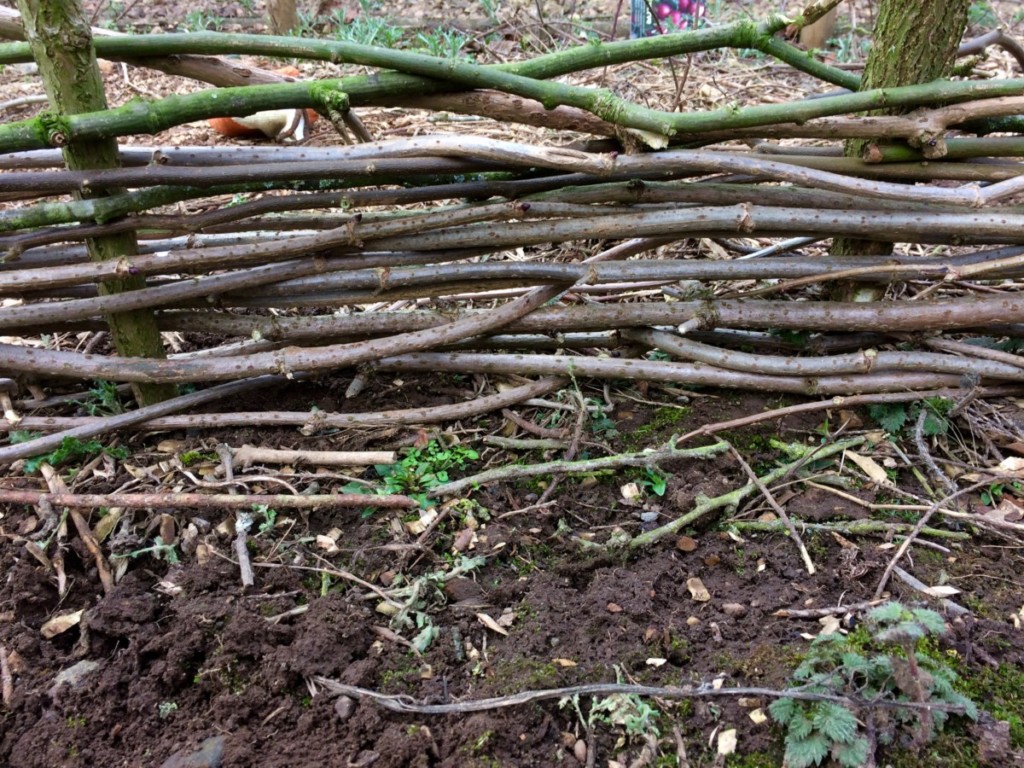
My wattle fence utilises a wide range of woods from our property, including elder, ash, apple and plum branches.
Whichever wood you choose, the stakes (sometimes called sales), or uprights, should be strong. Hard wood is usually a better choice. Note that if you choose to use willow for the uprights, the cut stakes will live on, re-root and grow. You will need to trim them each year to keep your ‘fedge’ in shape.
The weavers, which are woven between these uprights, must be pliable enough to bend back and forth through the structure. You can use whole, thin branches, or split sections. Splitting the branches will be far more time-consuming. But it might allow you to create a closer weave and a lighter weight construction.
It is best to choose green, freshly cut wood, which will be pliable and more easy to weave through your structure.
Making Design Decisions
As well as deciding which type of wood or woods to use, you will also have to make a number of other decisions. Before you even start preparing to build your fence, it will be crucial for you to make a number of design decisions.
Of course, one important consideration will be where exactly your fence will be positioned and how far it will run. Think about the primary purpose or functions of the fence. The way in which you are using your fence will determine how tall it must be, and how sturdy and thick a construction it will have to be.
If the fence is purely decorative, thinner branches can be used. Thicker branches will be required for a fence that must withstand larger livestock, for example. The required height will also often be dictated by the purpose and position of the fencing.
As well as thinking about the practicalities, you may also wish to think about the aesthetics. For example, consider whether you want straight fencing, or would prefer a curving and organic design.
You should also consider how ‘rustic’ you would like your fencing to look. Personally, I like the rustic look. I therefore decided to keep the bark on, and use a range of different wood types. If you prefer a neater and more streamline look, you may prefer to remove the bark and/or opt for just one or two wood types. You may also look for greater uniformity in the branches that you choose.
A Step By Step Guide To Building Your Wattle Fence
Once you have a good idea in mind of what exactly you would like to construct, and where, it is time to get started. Make sure that you have set aside enough time for the project. While it is a relatively easy project, it can be quite time consuming. Ideally, have some helpers on hand.
To make your fence, you may need:
- A wood saw or pruning saw (to cut thicker branches for stakes).
- Some loppers (to cut larger branches).
- Some secateurs or pruning shears (for smaller branches)
- A mallet or post-driver (to drive uprights into the ground)
Unless you already own them, power tools will not usually be required for this simple garden project.
1. Mark Out the Position of Your Fence
First, mark out exactly where you would like your fence to go. Remember to think about factors like sunlight, wind and views. You should also be sure to think about the needs of you, your family, and any pets, livestock or wildlife involved.
To mark out the fence, use natural twine and sticks, or create a line to mark the line of your new fencing. One idea is to mark out the fence line using flour, so you can clearly see where the fence should go. This can be easier than using string if you are creating curved or wave-like shapes. Another idea for creating sinuous forms is to lay out a garden hose to mark where the fencing should go.
2. Gather Your Materials

Next, gather your materials. How many stakes and weavers you will need will, of course, depend on how long and how tall your fence will be. Think first about how many stakes you will need, planning how far apart these should be placed.
Collect the requisite number of sturdy uprights for your fence and cut them to the required height. (Remember that a certain proportion of their length will be buried in the ground.)
Next, collect long and bendy branches that can be woven between these stakes. Gather as many as you can, and keep them as long as possible to make the work easier. How many you will need will depend on their thickness, and the required height of your fence. It will also depend on how tight a lattice you would like to weave.
You might not currently have enough branches to make a fence of the desired height. But you could still start construction, and as long as the stakes are long enough, you will be able to build up your fence as you are able to gather more branches over time.
3. Create and Position Your Stakes
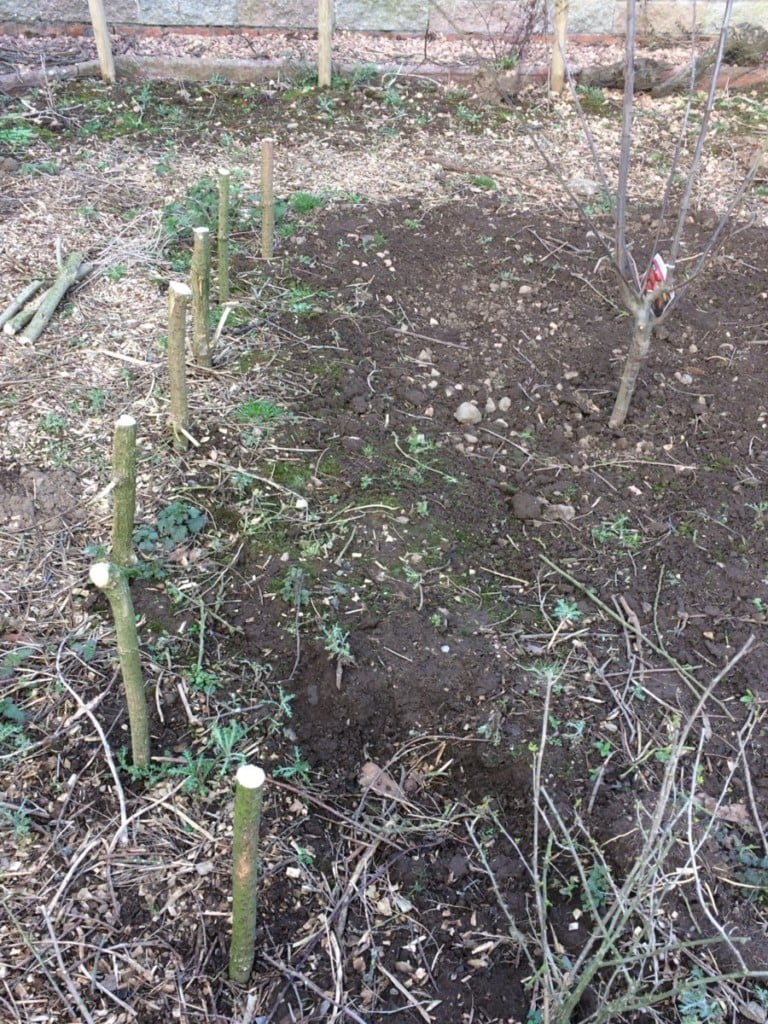
Once you have your stakes and have cut them to the length required, it is time to ready them for placement. Cutting the bases of your uprights to form points will make it easier to drive them into the ground. However, this may not be necessary if you are creating your fence where the ground is relatively soft and easy to work.
Next, take your stakes and insert them along your fence line. Use a post driver or mallet to insert them firmly into the ground. Try to make sure that each stake is as vertical as possible.
Optional: Remove Bark from Some or All Branches
At this point, you may wish to remove the bark from some or all of your weavers. Removing the bark from some and leaving it on others would allow you to create a range of interesting decorative effects. If you are splitting your branches, this is also a good time to undertake this work.
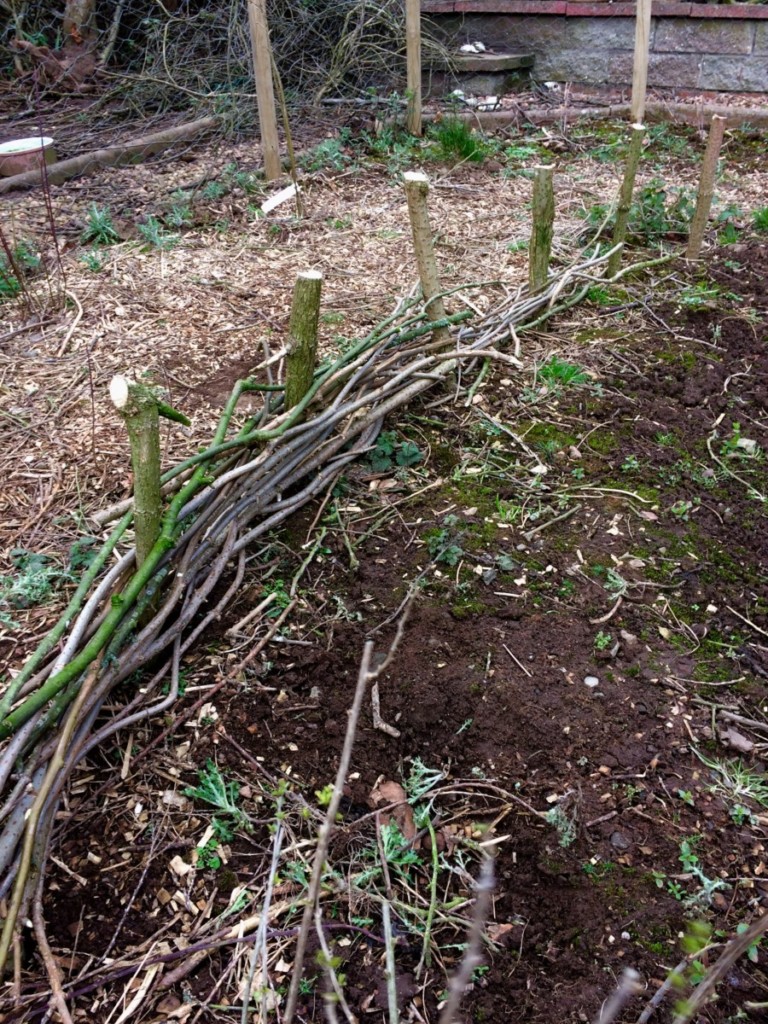
4. Begin Weaving Your Branches Between The Stakes
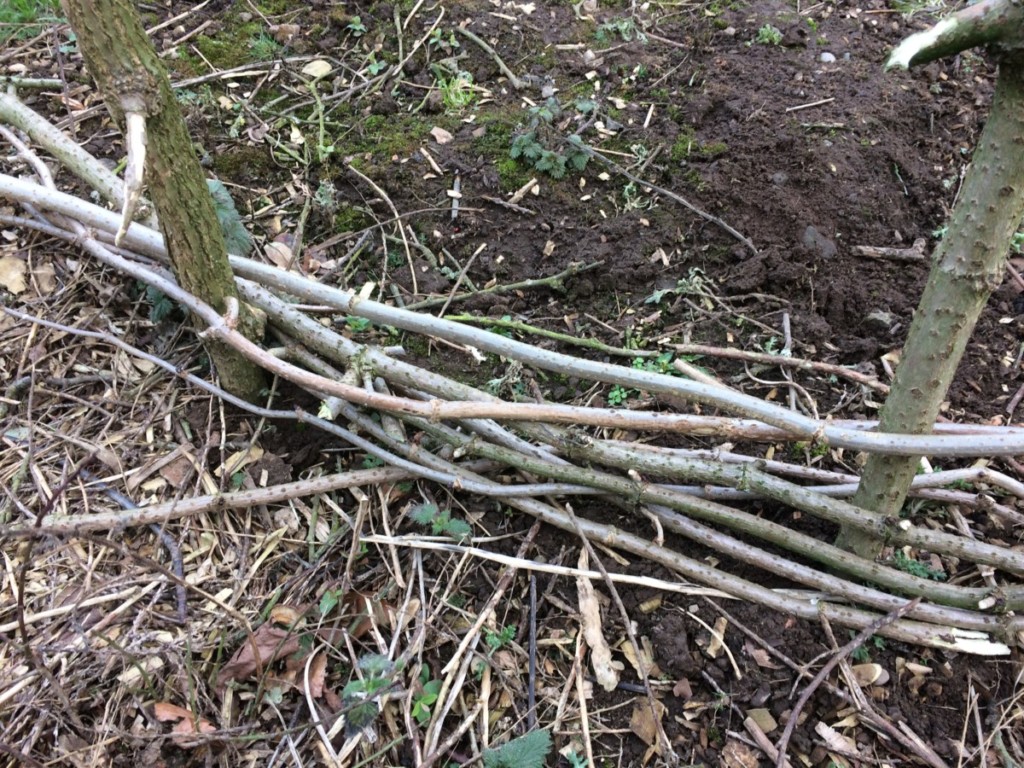
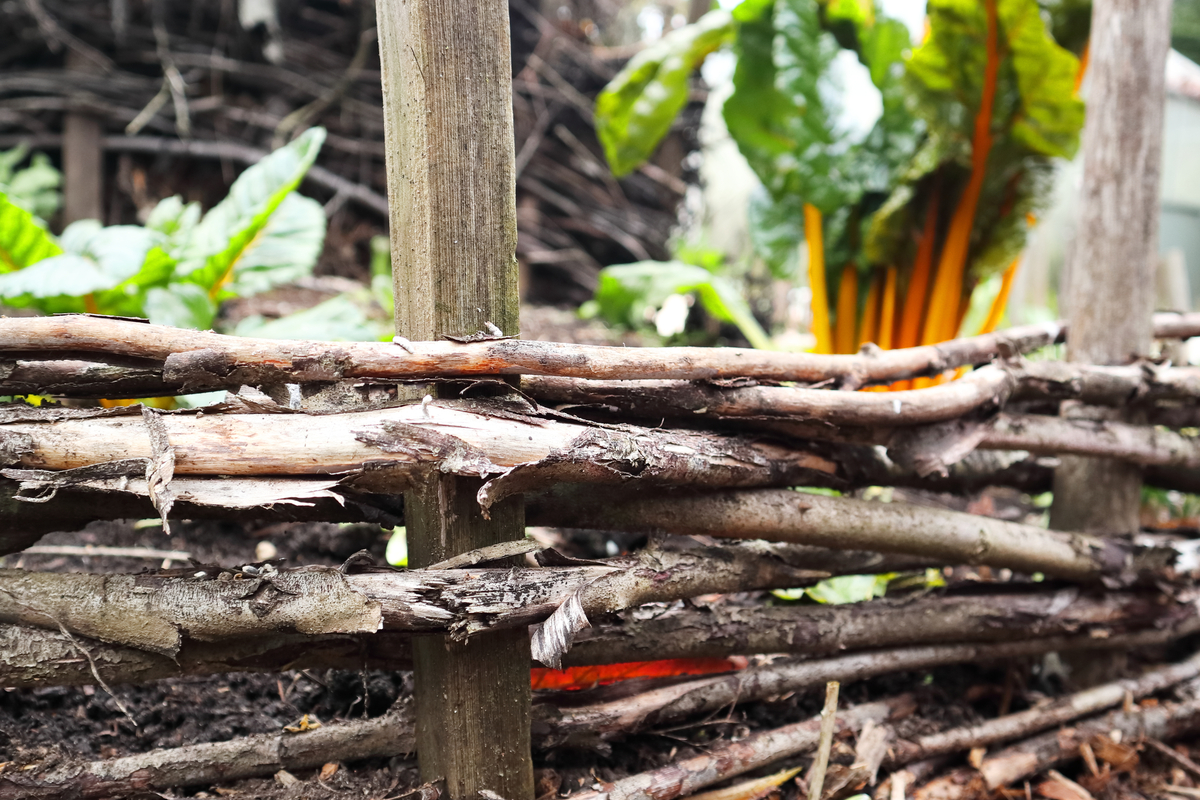
Next, take the first of your weaver branches and begin to weave it in and out between your stakes. Then take a second branch and weave it in and out. Make sure that you go on the opposite side of each stake. So if the first branch went on the outside of the first and third stake, and the inside of the second, then the second weaver should go to the inside of the first and third stakes, and the outside of the second.
If your fence run is longer than the weavers you are using, stagger the start point of each row. This will ensure that there is not a break line in the fencing and the weave continues over the whole structure. Since branches are naturally thicker at one end than the other, be sure to alternate their direction so your fence is not higher at one side than the other.
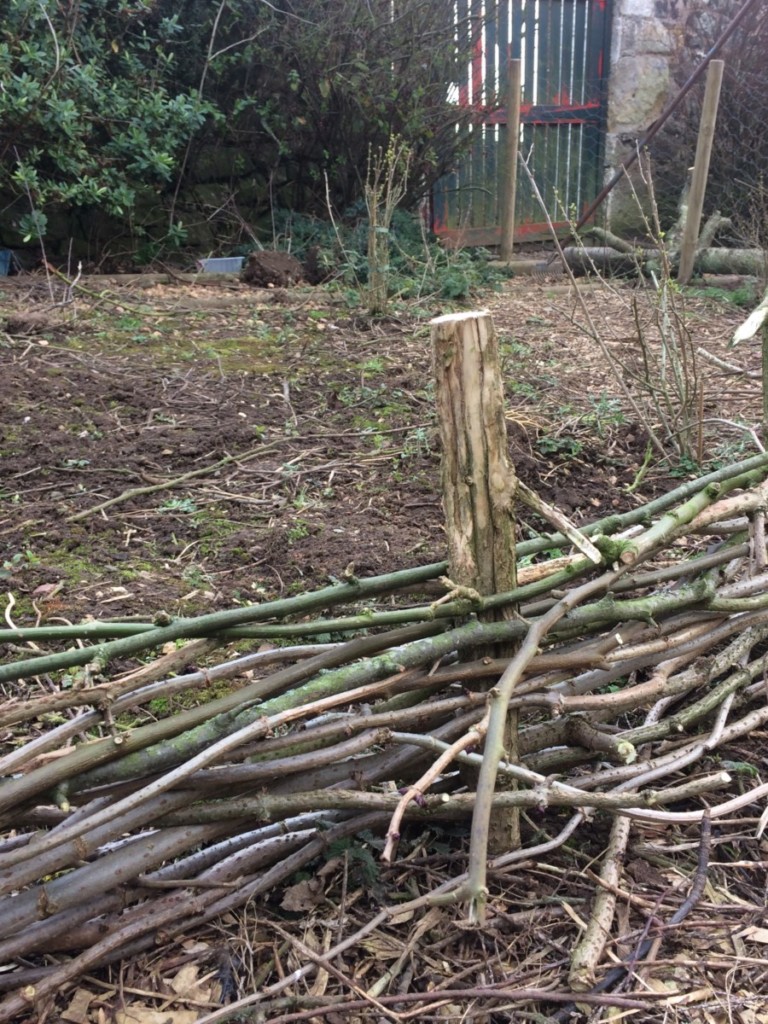
5. Continue Weaving Until Your Fence Reaches The Required Height
Simply continue to weave the branches between the stakes until your fence is as tall as you want it to be, or you have run out of materials. Push the weavers down as you go, to create a lattice of the required spacing. The more firmly you push down the weavers, the more sturdy and solid your fencing will be.
Finally, neaten off your fencing by cutting off any branch ends that are sticking out and stand back to admire the result of your hard work.
A well-built wattle fence can last for a long time. No matter how large or small a fence you create, you can rest assured that it will continue to do its job for many years to come.
Read Next: How To Make A Rustic Trellis With Branches

Get the famous Rural Sprout newsletter delivered to your inbox.
Join the 50,000+ gardeners who get timely gardening tutorials, tips and tasks delivered direct to their inbox.