

Kitchens are the one room in the house that never seem big enough.
Have you ever moved into a new home with a bigger kitchen, only to find you quickly ran out of space? It seems that no matter how much cupboard space we have, we always seem to fill them up.
Because of this, I’ve never been a fan of clunky gadgets that only serve one purpose. When it comes to kitchen electronics, if it’s going to be in my kitchen, it had better slice, dice, make dinner, and do the dishes.
That’s why I was a little hesitant to pick up a vacuum sealer.
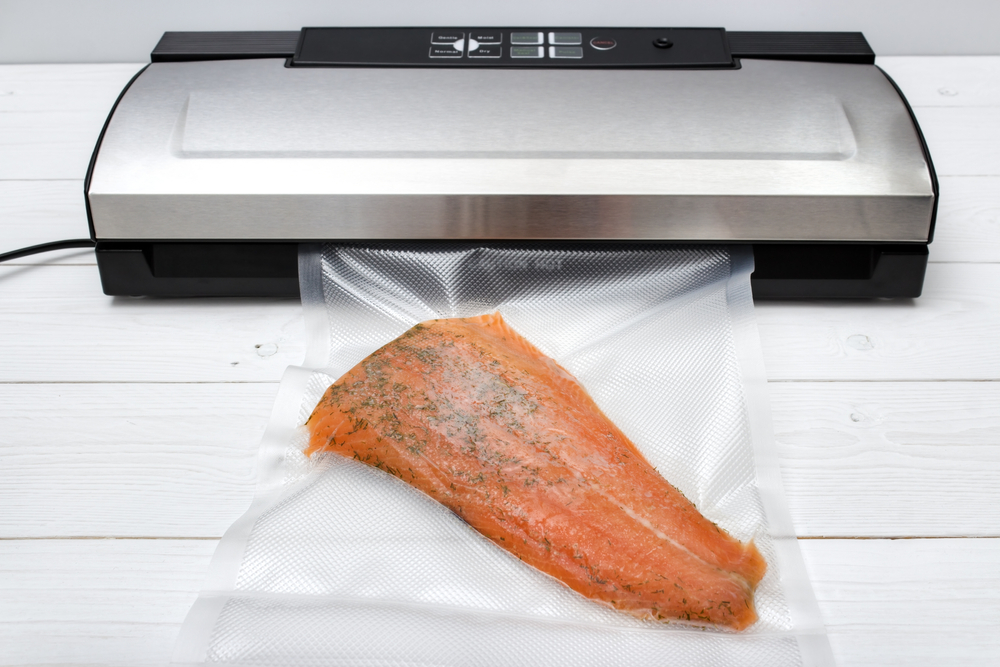
Yes, they’re great for keeping food fresh in the freezer and saving money when you buy food in bulk. But other than that, what else can it do?
It turns out, quite a bit.
I’ve got 20 tips and tricks to put your vacuum sealer through its paces and make it earn that spot in your cupboard.
In the Kitchen
1. Keep Potato Chips and Cereal Fresh, Longer
For all of my talk about eating homegrown veggies and making your food my guilty pleasure is Reese’s Puffs cereal.
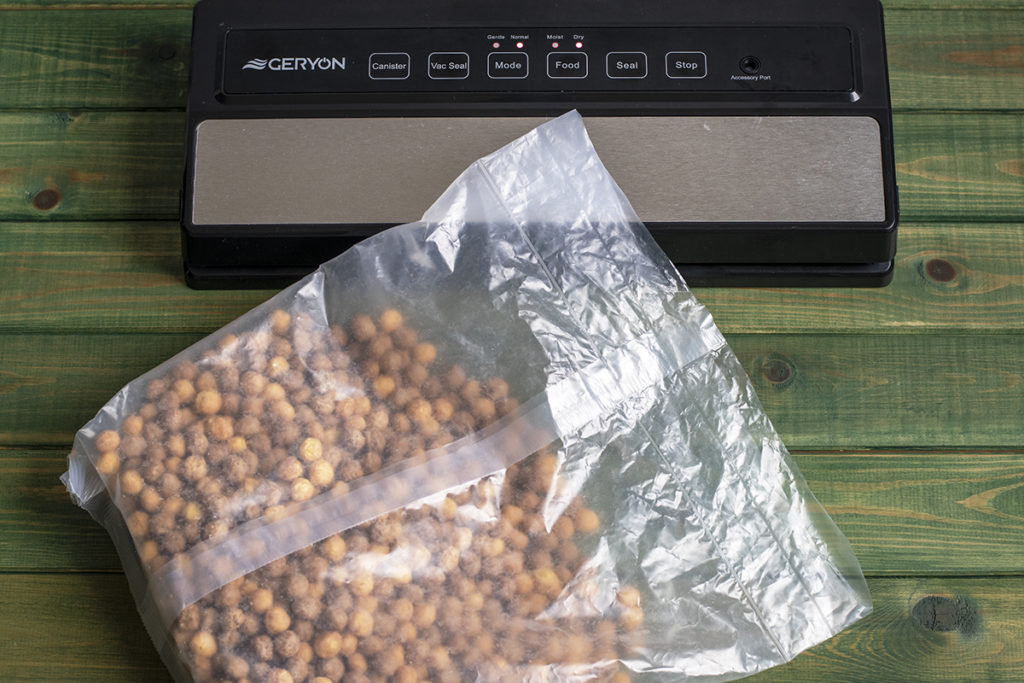
You can use your vacuum sealer to reseal potato chip bags and cereal bags. While I wouldn’t recommend you vacuum seal them (unless you want to eat potato chip dust), you can reseal the bags to keep these foods fresher in your pantry.
And resealed potato chip bags keep smaller snackers in the house from sneaking chips when you aren’t looking.
2. Quickly Marinate Meats and Veggies
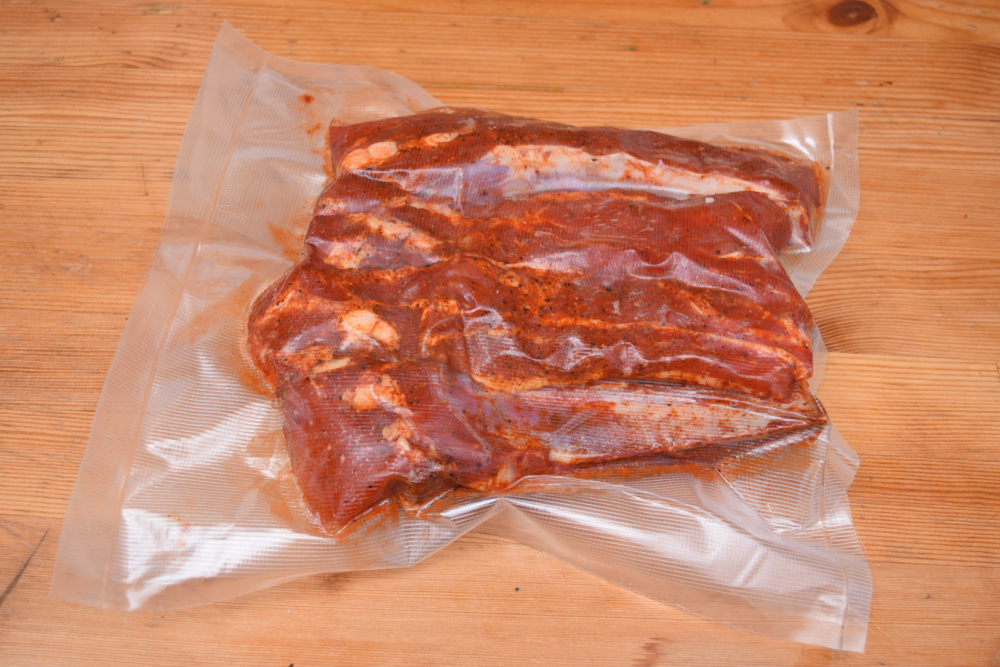
I can’t tell you how many times I’ve gone to make dinner only to find the recipe I’m using says, “Marinate meat for 24 hours…” Hmm, now what?
Use your vacuum sealer to marinate meats and veggies in an hour or two. Mix your marinade right in the bag and toss your meat in next. Now vacuum seal the bag, effectively pushing all of that flavor into the meat as the air is removed.
Of course, this is a great way to marinate even if you aren’t short on time. If I get a family pack of meat when it’s on sale, I like to split it up and seal it for the freezer.
When I’m on the ball I’ll even throw some marinade in those bags before sealing them. It makes busy weeknight dinners much easier.
3. Keep Dried Herbs and Spices Flavorful
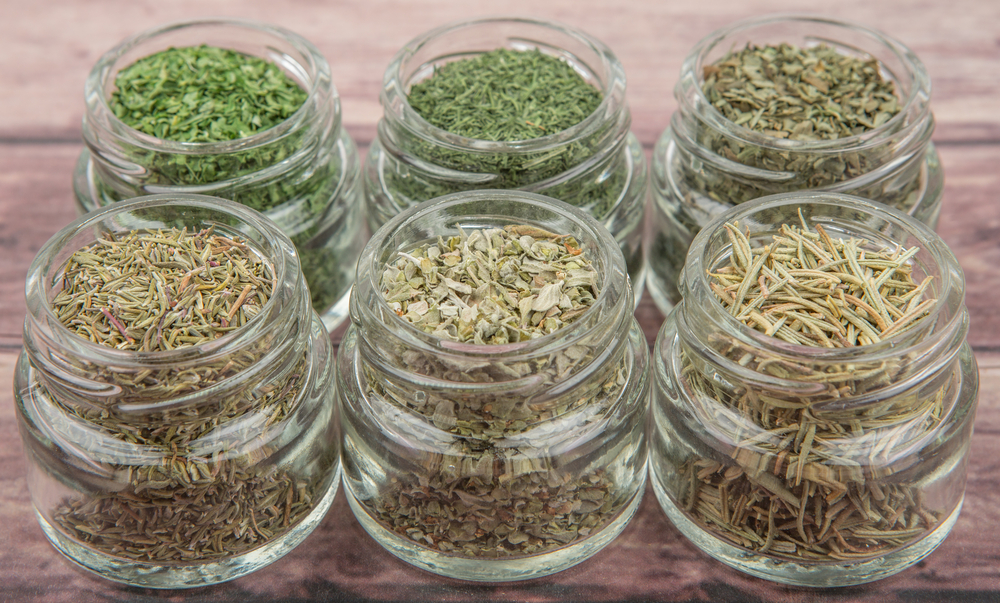
Growing and drying your own fresh herbs for cooking is incredibly rewarding as you get so much more flavor than store-bought dried herbs. If you want to get started, here are 10 Culinary Herbs for a great culinary herb garden.
Or maybe you purchase spices in bulk to save money.
In either case, if you don’t protect them from the air, they’ll lose their flavor.
Save money and protect all your hard work by storing your dried herbs and spices in jars and using the mason jar attachment to remove the air from them.
You’ll be sealing in all that flavor and wonderful aroma. Then all you have to do is transfer a little to your smaller herb and spice jars that you use for cooking, as you need it.
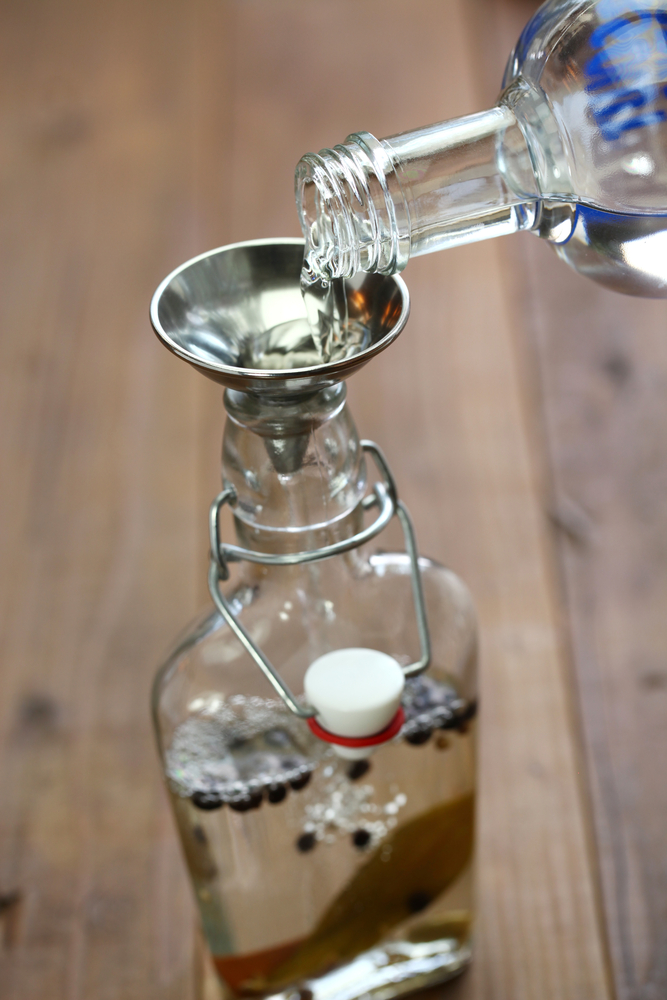
4. Keep Wine, Oil, and Vinegar Fresh
As essential as oxygen is, it sure does wreak havoc on food. The minute a little air gets in, everything starts going downhill.
Save wine, infused oils, and bottles of vinegar with a vacuum sealer bottle attachment.
![]() This handy little attachment removes air from bottles ensuring the last glass of wine is just as tasty as the first.
This handy little attachment removes air from bottles ensuring the last glass of wine is just as tasty as the first.
5. Make Tinctures and Macerations Like Fire Cider Faster
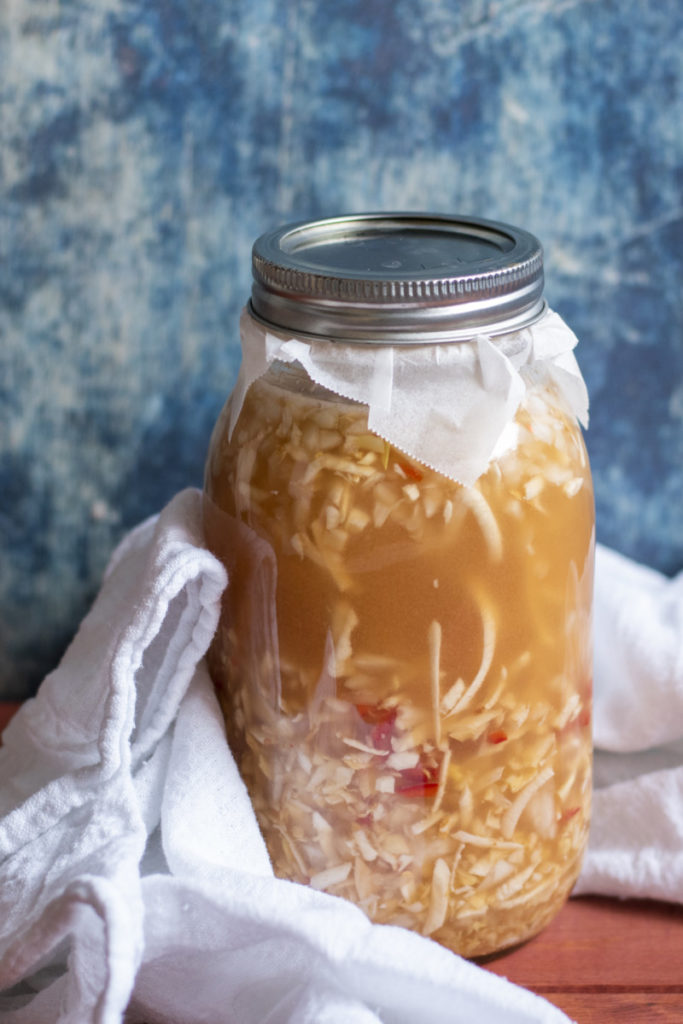
Herbalists can create tinctures and macerations in half the time by vacuum sealing the jars. Not only does this cut down on the time it takes, but by removing the air, you’re forcing the liquids into the solids. You’ll be getting all of the ‘good stuff’ out of your ingredients and into your finished liquid.
6. Keep Avocado Fresh

Once you cut into that avocado, we all know you’re on the clock to eat it up before it turns brown.
Unless, of course, you seal the other half in a vacuum-sealed bag.
This is incredibly handy if you buy avocados by the bag because they always seem to ripen simultaneously. Simply scoop all of the avocados into a bag and vacuum seal it to enjoy fresh, green avocado longer.
7. Make Crunchy Pickles Quickly
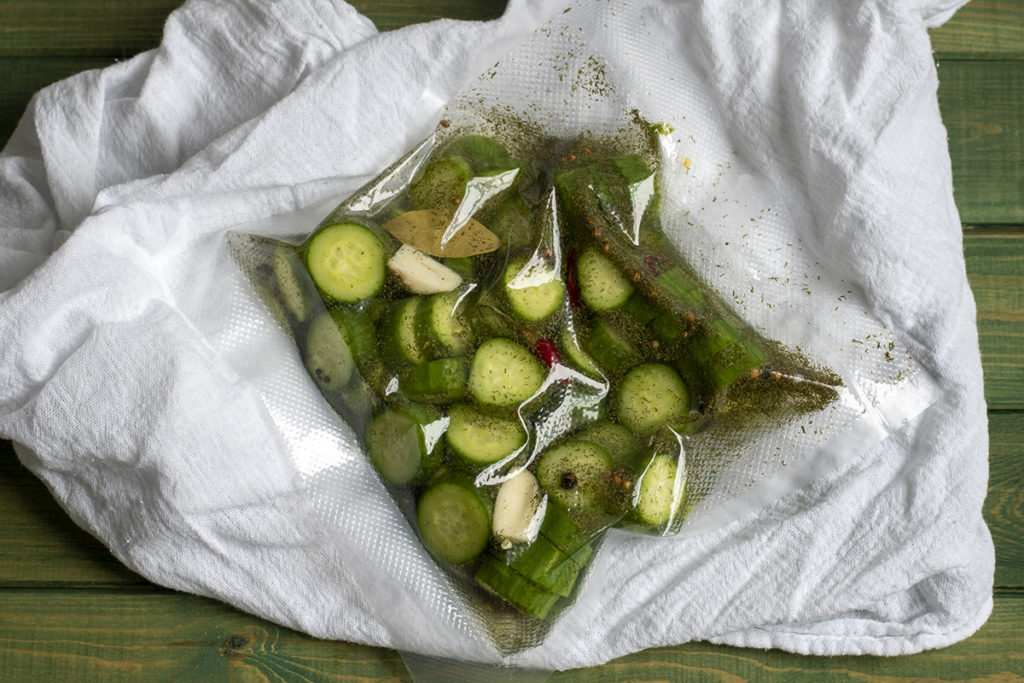
If you love the taste of a crispy pickle but hate waiting for them to be ready, mix up your favorite refrigerator pickles and then seal them in a vacuum sealer bag. By removing the air, you’re forcing the liquid into the pickles and infusing them with that fantastic flavor.
Because you’re pulling the air out and pushing the liquid into the veggies you can use much less brine too. About 1/4 of what you’d normally use.
Instead of weeks or days, you can be eating crunchy, delicious pickles in a matter of hours. I recommend giving Meredith’s 5-Minute Fridge Pickles a go with this method. Make them in the morning and be eating them by dinnertime.
You can always transfer the finished pickles and brine to a jar once they’re ready.
8. Infused-Alcohol
It seems like everyone and their brother is a home mixologist these days. Even if you aren’t a master bartender, you can make some pretty tasty spirits by infusing your alcohol with fruit or herbs. Normally this process takes a few days to a week.
However, if you vacuum seal your infusion first, you’ll be sipping your fancy cocktail the next day. It’s best to do this using a mason jar attachment. Most vacuum sealers come with one these days, but if yours didn’t, you could order this one.
Some great infusions to try:
For a killer vodka and soda with a kick, try peppercorn infused vodka. Crush the peppercorns first. Or, for a perfect hot toddy, infuse bourbon with a Ceylon cinnamon stick. And if your garden is kicking out cucumbers faster than you know what to do with them, make some infused cucumber gin. Once you’ve infused the gin, use the cucumbers to make pickles.
9. Coffee Beans
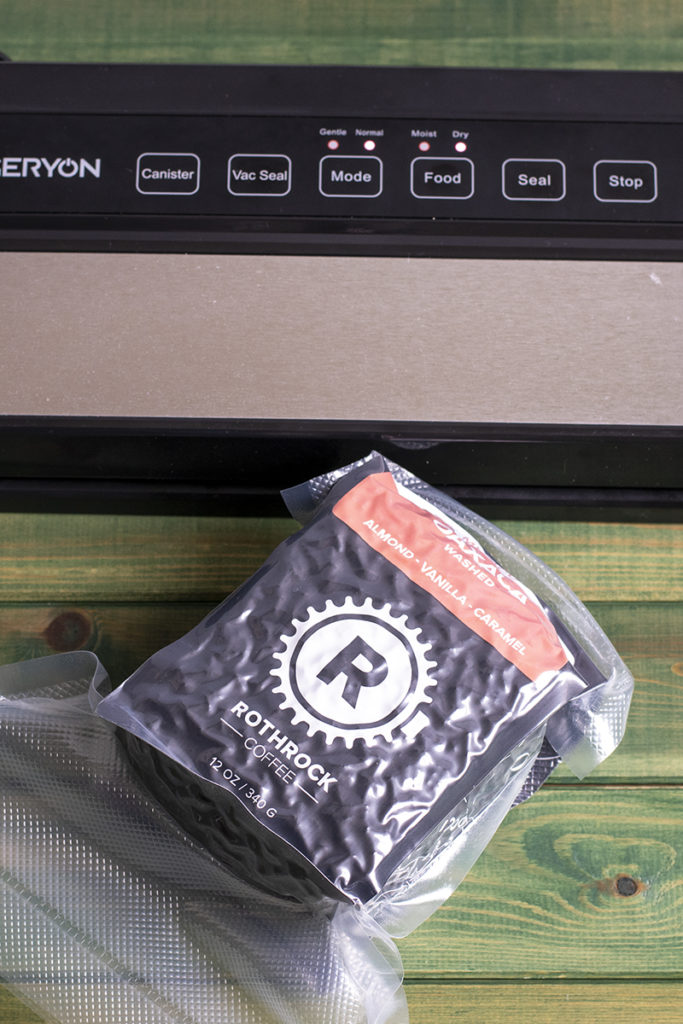
As a certified coffee snob, I’m asking that you don’t go sealing your coffee beans if you’re going to put them in the pantry.
Coffee off-gasses carbon dioxide after being roasted; this is why good coffee comes with the tiny one-way valve built into the packaging. It lets the gas out while preventing oxygen from getting in.
However, if you can’t get to that bag of beans for a while and you’re afraid it’s going to go stale before you can drink it, go ahead and vacuum-seal it and toss it in the freezer.
10. Vacuum-Seal Cookies and Baked Goods to Mail
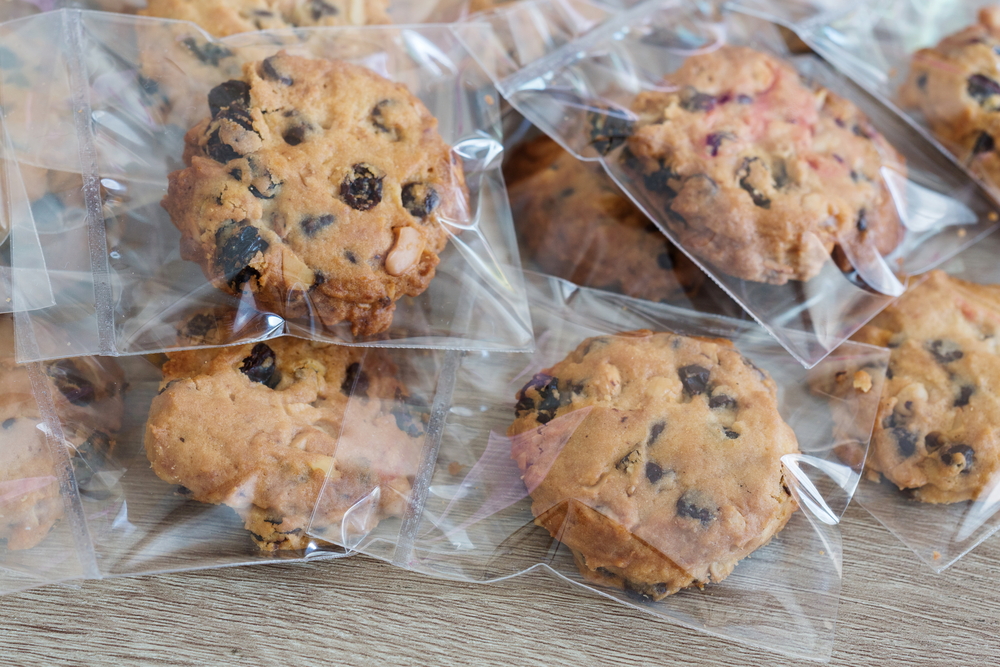
There’s nothing like receiving a box of homemade goodies from home unless you open the box to find that the good ol’ USPS played football with your package.
Mmm, mom’s homemade chocolate chip crumbs.
Seal cookies and other baked goodies to prevent them from shifting and being battered on their way through the mail.
11. Sous Vide
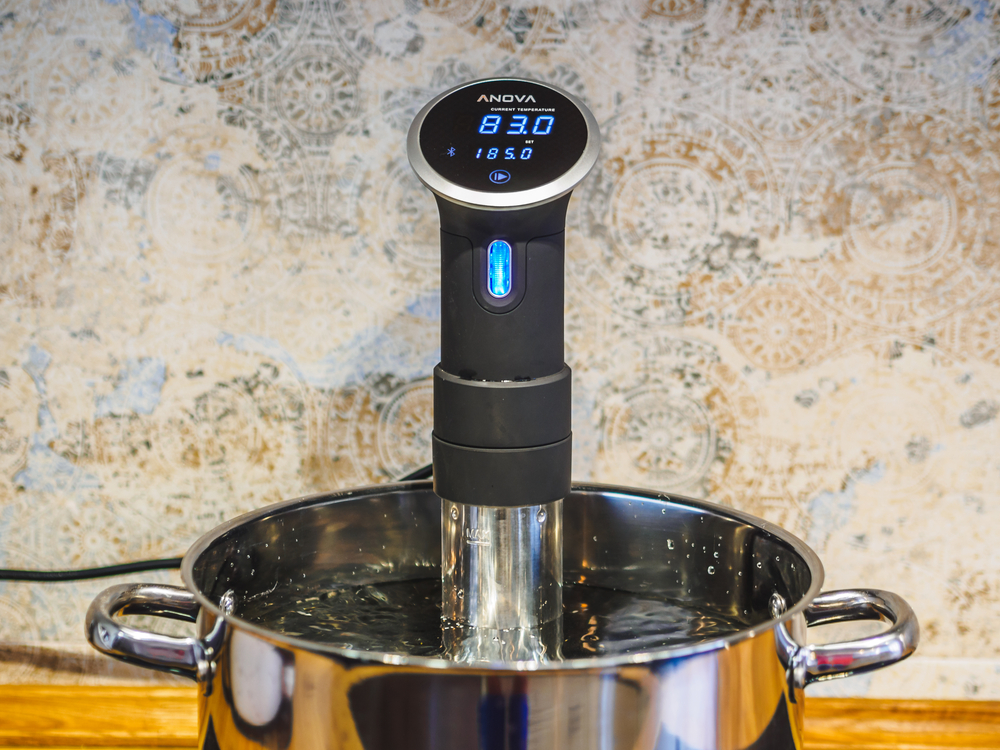
I received an immersion cooker for my birthday five years ago and fell in love with sous vide. I use it several times a week because everything sous vide tastes better.
If you’ve never heard of sous vide before, you are cooking by immersing food (vacuum-sealed in a bag or other container) into a hot water bath and holding it at a specified temperature until done. It makes for the most tender meats you will ever eat in your entire life, and don’t even get me started on the risotto.
If you’re going to get into sous vide cooking, you need a vacuum sealer. It makes everything easier.
And you should get into sous vide cooking by the way, your taste buds will thank you.
Around the House
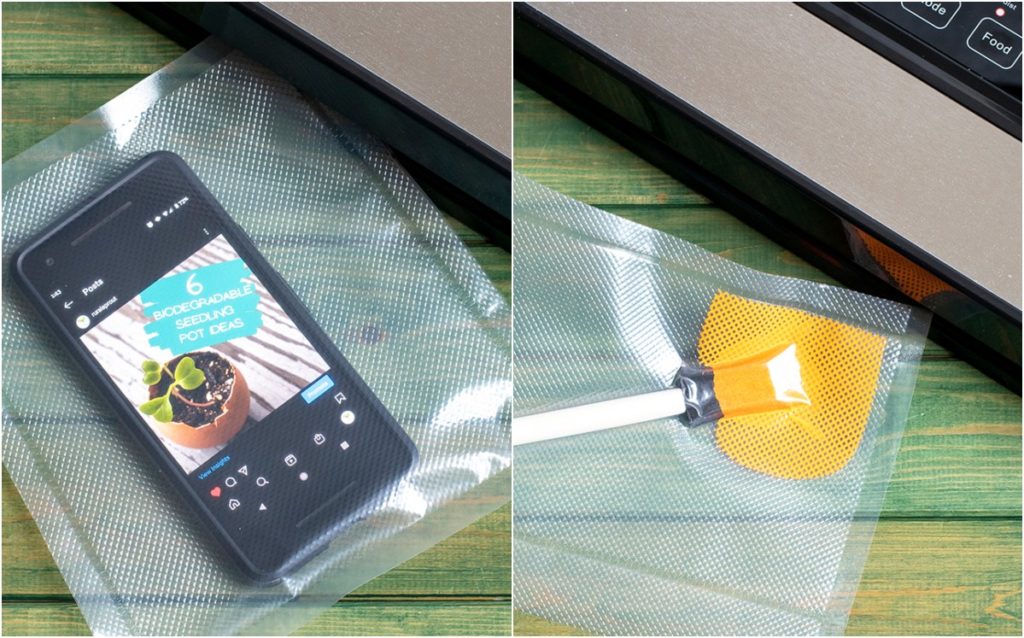
12. Seal Your Paintbrush
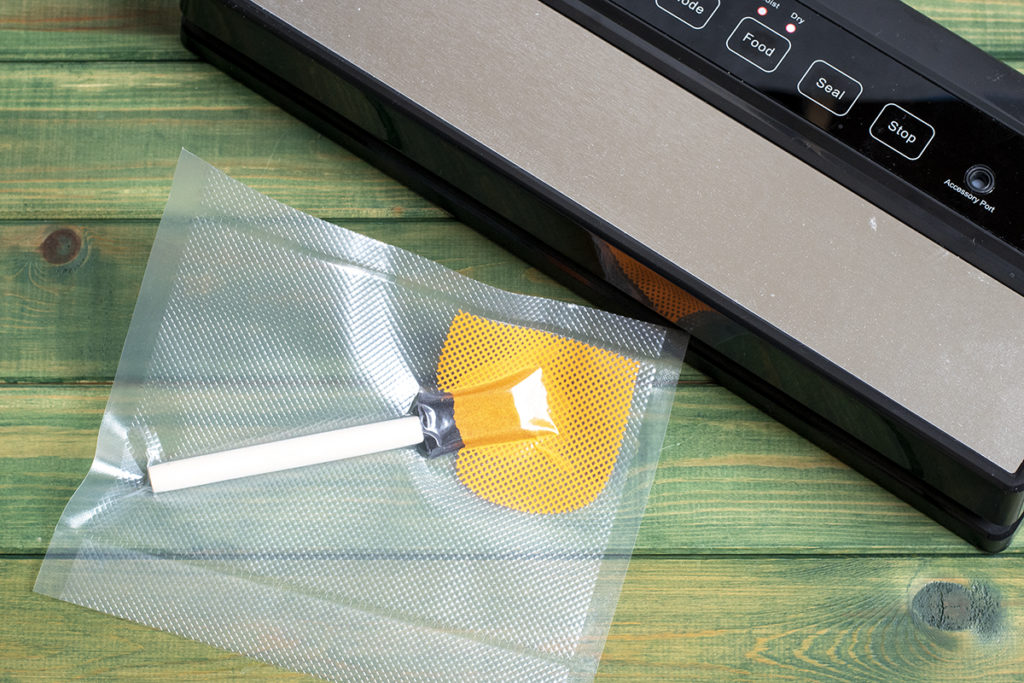
Everyone loves a home improvement hack. For your next paint job, rather than washing all of your brushes and foam rollers at the end of the day, place individual brushes in vacuum bags and seal them. The paint will remain liquid, and the brushes will be soft and ready to use the next day.
13. Create Custom-Sized Gel Ice Packs
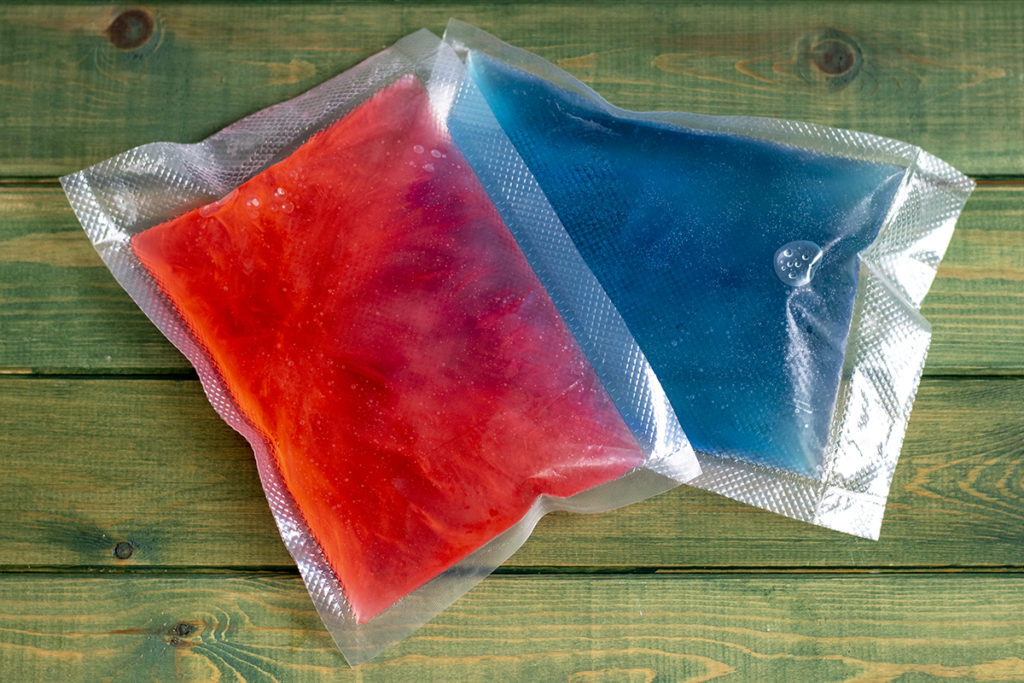
Whether you need an ice pack for the kiddo’s lunchbox or your sore back after a long day, you’ll have the perfect sized ice pack for the job.
Simply cut and seal a bag into the size you want. Then add water and rubbing alcohol in a 2:1 ratio. The alcohol will prevent the water from freezing completely solid, giving you a gel ice pack.
You can even add food coloring if you wish. Seal the open end and pop it in the freezer.
14. Save Seeds
Gardeners rejoice; whether you purchase seeds or save them from your plants, you can easily vacuum-seal them to keep them viable for years.
Of course, if you save your seeds, make sure they’re completely dry before sealing them. And for more delicate seeds try to lay them in a flat layer, rather than a bunch at the bottom of the bag.
15. Waterproof First Aid Kit for Camping/Backpacking

Put all of your first aid essentials in a bag and vacuum-seal them. This makes them easier to carry and keeps them from getting wet.
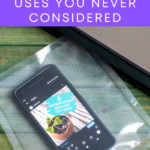
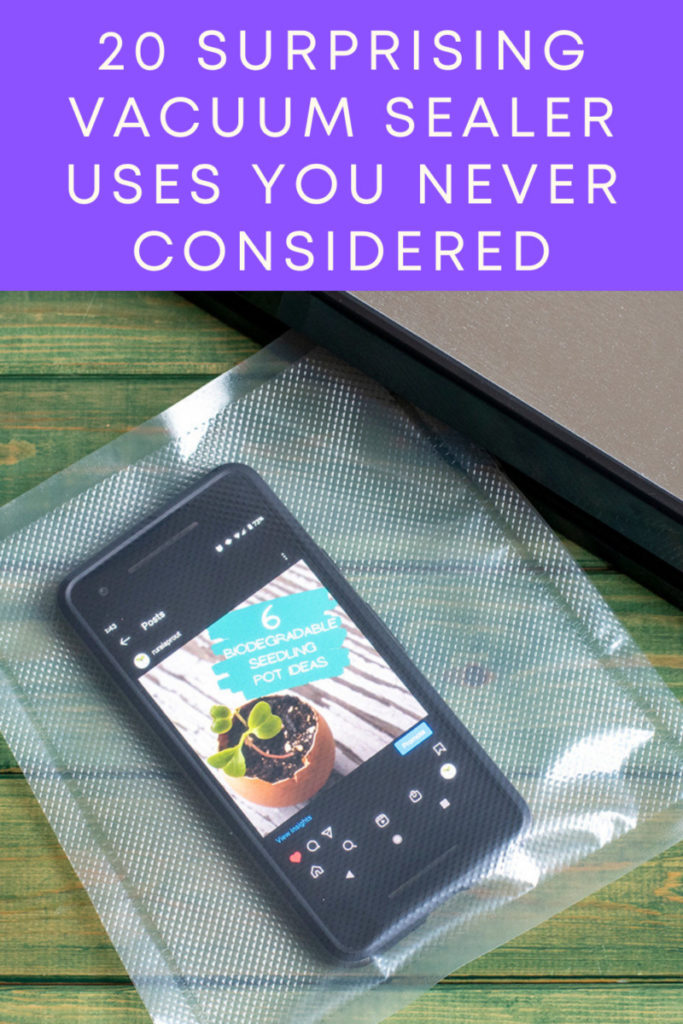
16. Waterproof Your Phone or Tablet
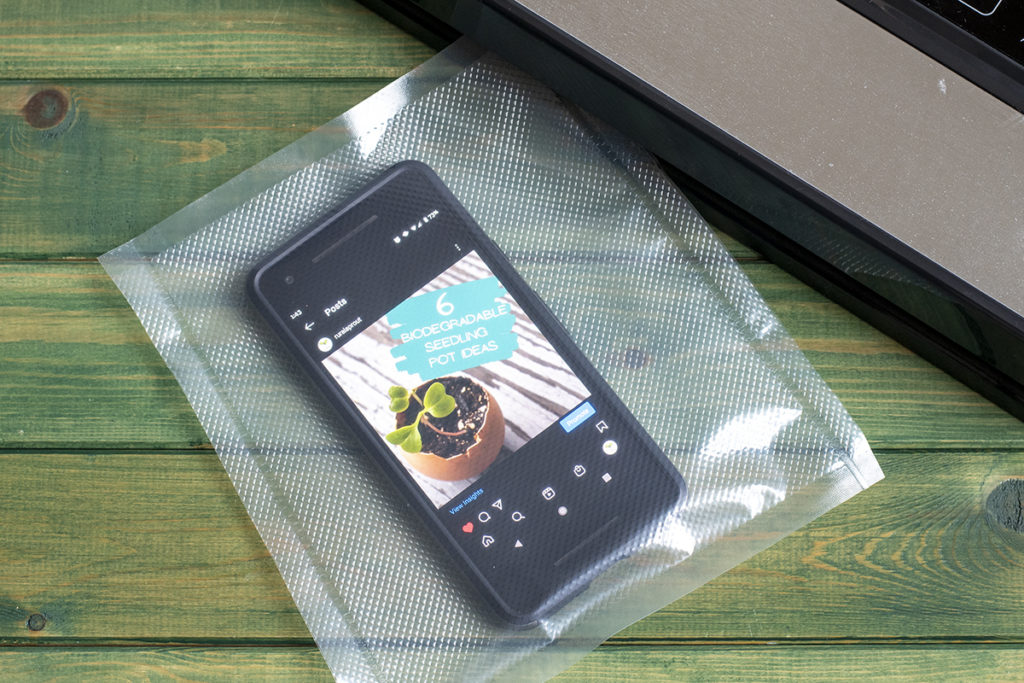
Going to the beach? Hanging by the pool full of splashing kids? Or even better, reading a book on your tablet while relaxing in the pool?
Keep your electronics safe by sealing them in a bag. To keep them afloat, seal the bag with air in it.
17. Preserve Scented Candles and Wax Melts

I’m a Christmas nut. It’s my favorite time of year – the snow, the lights, the food, the family, and the smells. I especially enjoy Christmas-y scented candles.
If you love holiday scented candles but don’t want to burn them throughout the year, you can seal them in a vacuum-seal bag to preserve their lovely scent for next year. If you store the bags of sealed candles in a freezer they will burn longer too.
18. Prevent Silver from Tarnishing
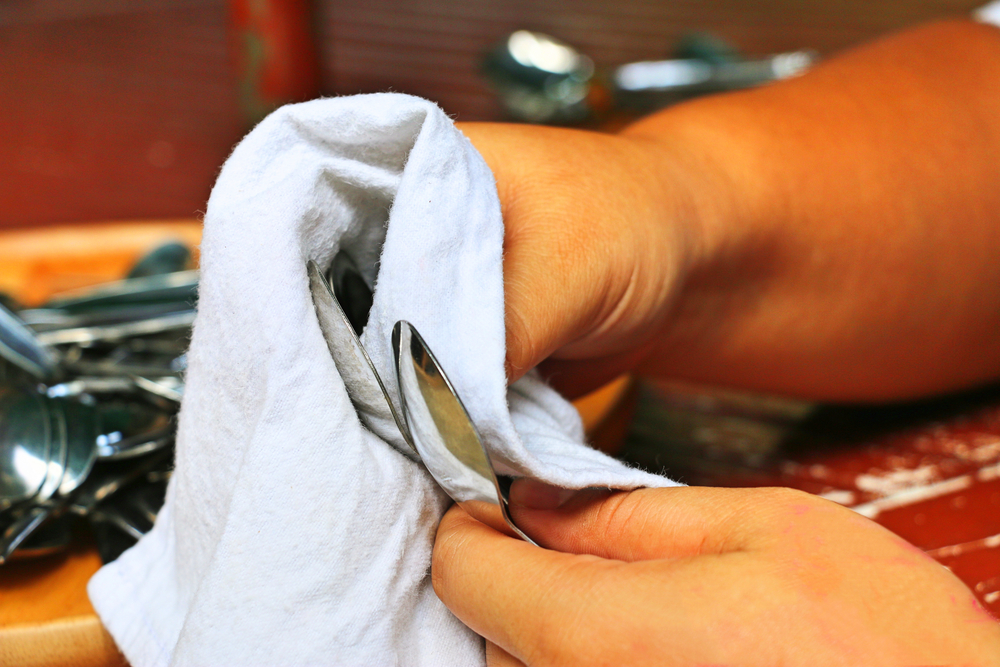
Exposure to oxygen is what causes silver to tarnish, so even if you keep your good silver in the box it came in, it’s going to tarnish after a while.
Skip all the polishing and wrap your silver in flannel pieces, place them in a vacuum-sealer bag and seal it, removing the air.
You can do this with jewelry as well.
19. Seal Important Documents
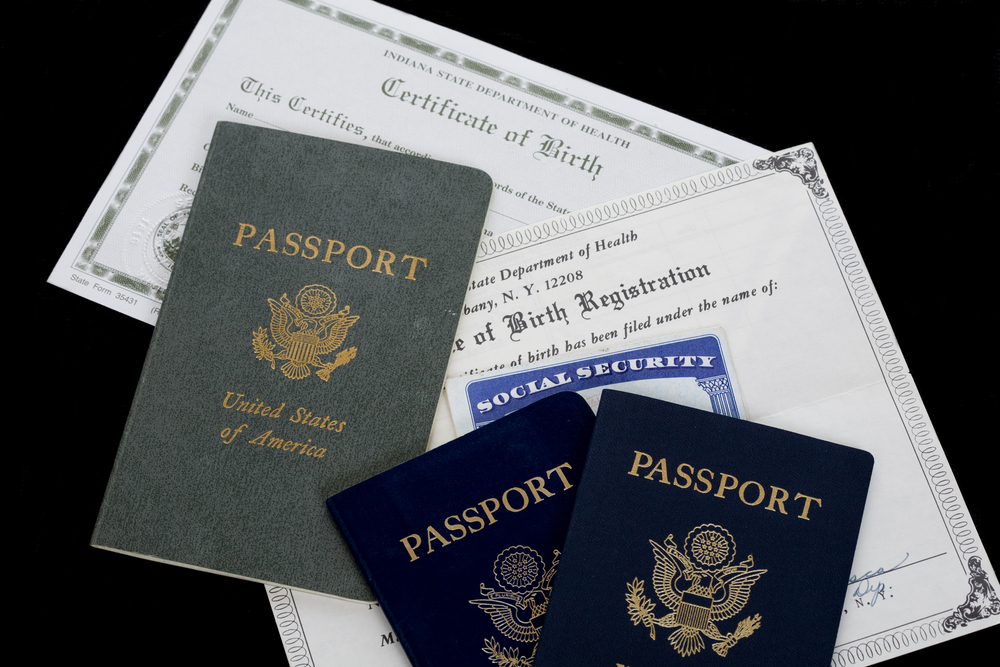
Keep important documents like birth certificates, and passports sealed to prevent them from being damaged by water or mold. If your home has moisture issues or if you keep these items in a damp basement, this is a great idea for you.
20. Wash and Reuse the Bags
One of the biggest reasons I resisted a vacuum sealer for so long was the use of plastic bags. I hated the idea of all that single-use plastic. However, I haven’t thrown away a single bag yet. I simply wash them and reuse them. Not only is it better for the environment, but it also saves me money too as I don’t have to buy more bags.
Who knew there was so much this humble little device could do? Perhaps with all of these great tips, you find you appreciate your vacuum sealer more. Maybe even enough to move it onto prime kitchen real estate – the counter.
Watch out, stand mixer; the vacuum sealer is coming for you.

Get the famous Rural Sprout newsletter delivered to your inbox.
Join the 50,000+ gardeners who get timely gardening tutorials, tips and tasks delivered direct to their inbox.