

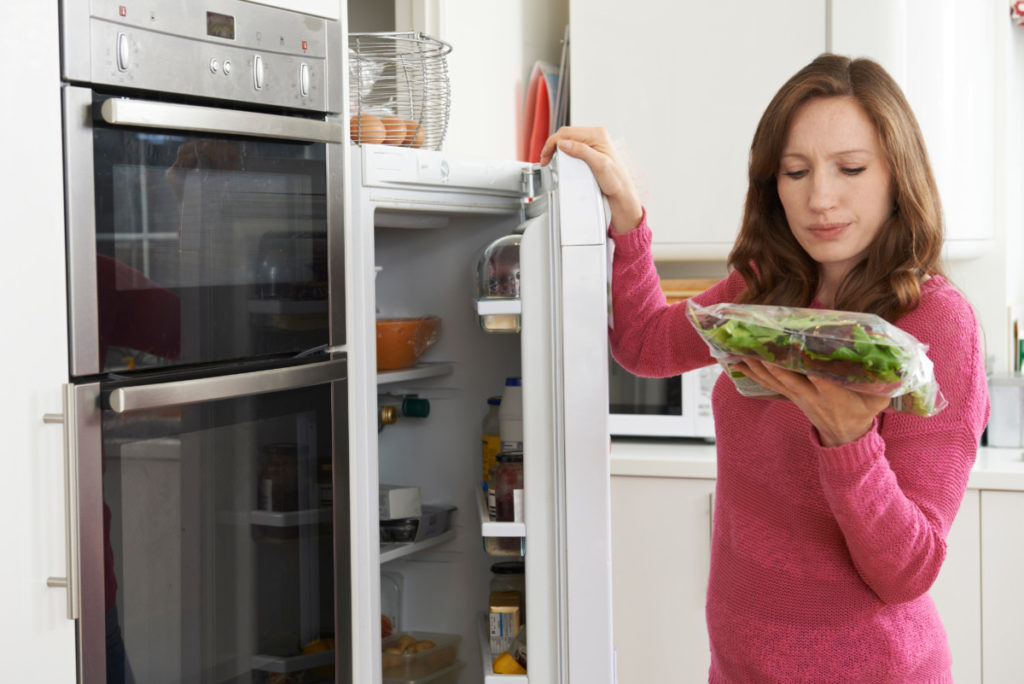
I’ve said it before, and I’ll say it again; if there’s one kitchen offense that makes me feel guilty, it’s food waste. I could eat an entire bag of Milano cookies in one sitting and not feel as guilty as I do pitching spoiled food in the garbage.
For many of us, we’re so used to an abundance of food that we don’t even notice the amount of food we throw away.
Tossing that spoiled package of lettuce we bought (and didn’t eat a leaf of) doesn’t even cause us to pause. Sure, we may feel guilty, but it’s easily replaced, no matter the season, with a trip to the grocery store.
At least, that’s how it was for me for a long time. Until…
The Challenge
We may not be aware of what’s going on in our pantry all the time, but there is one area most of us are constantly aware of, and that’s our bank accounts.
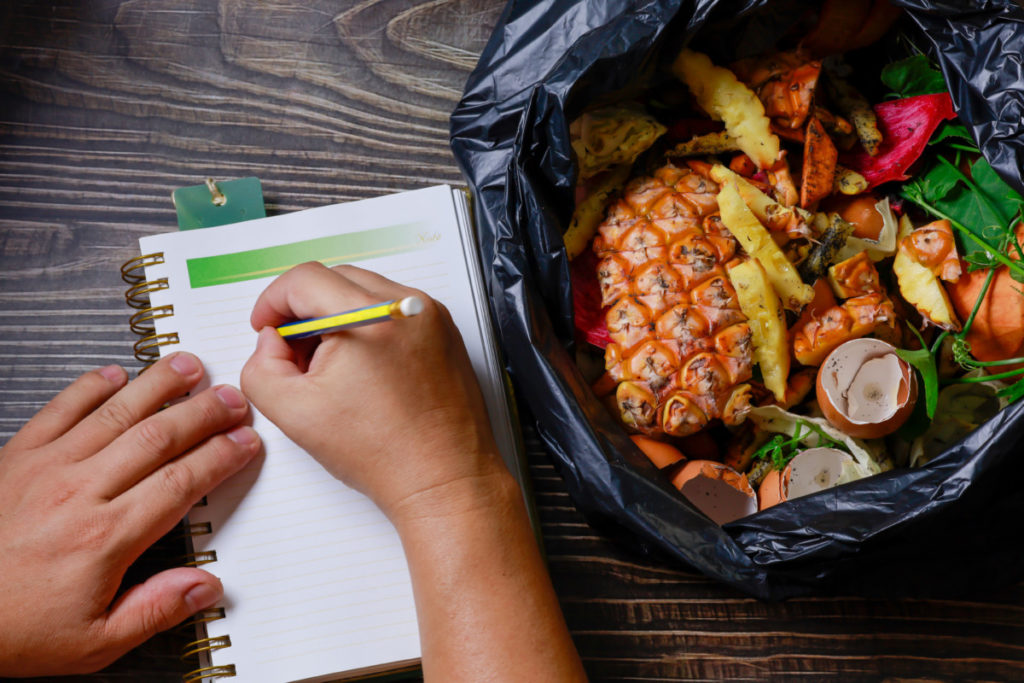
I knew I was wasting money by throwing away spoiled food, so I challenged myself to keep a log of how much that wasted food cost for an entire month.
I included perishables that spoiled before I got around to using them, like yogurt, fresh fruits and vegetables. And I took stock of pantry items, things that had gone out of date just sitting there unused. I even included leftovers that sat in the fridge uneaten.
At the end of that 30 days, I was shocked to see I was throwing away nearly 1/10 of my monthly grocery budget. That’s like throwing away a month’s worth of groceries a year. Ugh!
I encourage you to take the same challenge and see what your food waste situation looks like. You may be pleasantly surprised, or you may find yourself not so pleasantly surprised like me.
This little financial reality check convinced me that things needed to change.
I tackled this in two ways. First, I figured out how best to shop for and use my perishables. Then I concentrated on my dry goods, the stuff you keep in your cupboards and pantry, how they were stored and organized. And that’s what we’re going to talk about today.
When it comes to pantry staples, most folks bring them home from the store and toss everything in the pantry. And there it sits until we’re ready to use it.
But if you want to get the most bang for your buck from your groceries, if you want the freshest, best-tasting food, if you want to stop throwing away food, then there’s something missing in this practice.
It all revolves around packaging.
Nearly all of the packaging our food comes in is meant to protect the food during shipping. That’s all. Those boxes and bags are supposed to keep your food stable from wherever it’s manufactured or grown until it reaches you, the consumer, in the grocery store.
And let’s face it, plastic bags and cardboard boxes leave a lot to be desired when it comes to keeping things fresh and tasty.
I adopted a new strategy that revolves around one rule for storing dried goods –
Repackage, Repackage, Repackage
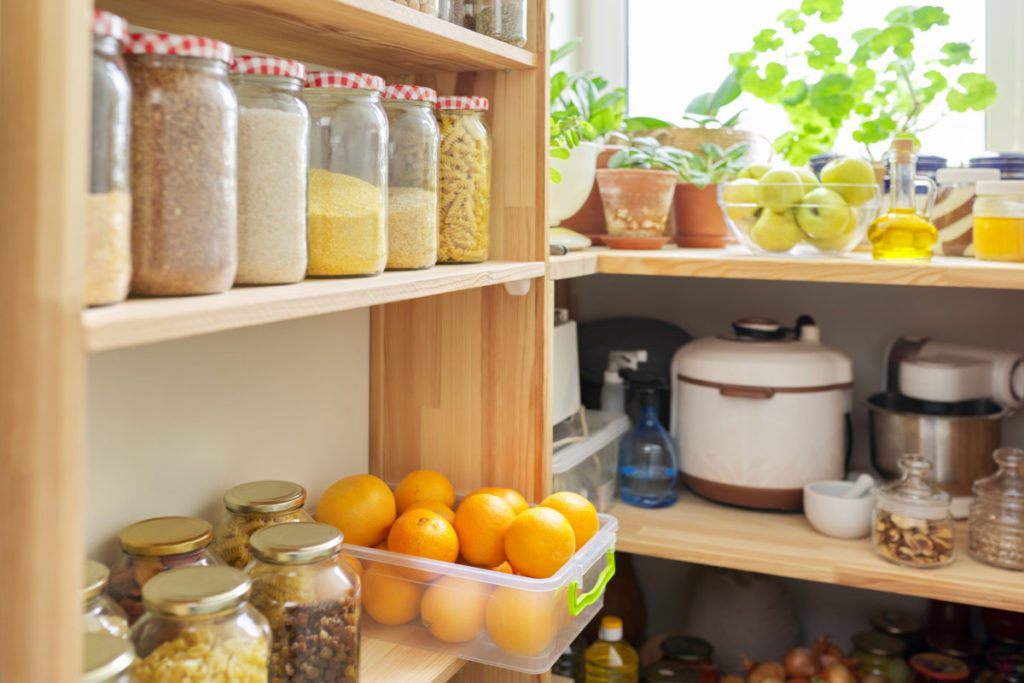
You should always repackage dried goods in a container that’s better suited for storage when you bring them home.
I’ll cover what packaging and storage looks like for many common dried goods. But before we dive in, it’s probably a good idea to discuss spoilage.
What Causes Spoilage?
When it comes to food spoilage, four main culprits affect the shelf-life of your food – temperature, air, moisture and light.
Temperature
The world is filled with microbes; bacteria and yeast are everywhere. While we’re only beginning to understand our relationship with many of these bacteria, we’ve known for quite some time that many of them cause food to break down and spoil. These bacteria thrive in warm environments. If food isn’t stored at the proper temperature, these naturally occurring bacteria can cause spoilage in a matter of hours. Some of them can even make us sick if we eat spoiled food.
We owe a lot of how we live today to inventions like refrigeration and pasteurization; these processes allow us nearly unlimited access to foods that would otherwise spoil in a matter of hours.
You wouldn’t necessarily think so, but temperature is just as important to storing many dry goods as it is for perishables. Even foods with small amounts of fats or oils in them, such as flour, can go rancid quickly if they aren’t stored at the proper temperatures.
Even if they don’t make you sick, they can taste funky and ruin whatever you’re making.
Air
Or rather, oxygen. It’s everywhere, and while it’s kind of important for, you know, breathing, its presence causes a slow chemical chain reaction called oxidation in nearly everything, including food. In food, oxidation can cause funny smells, flavors and discoloration over time.
As well as oxidation, exposure to air causes moist foods to dry out, making them stale and inedible. Things like bread, homemade cookies or coffee are good examples.
Moisture
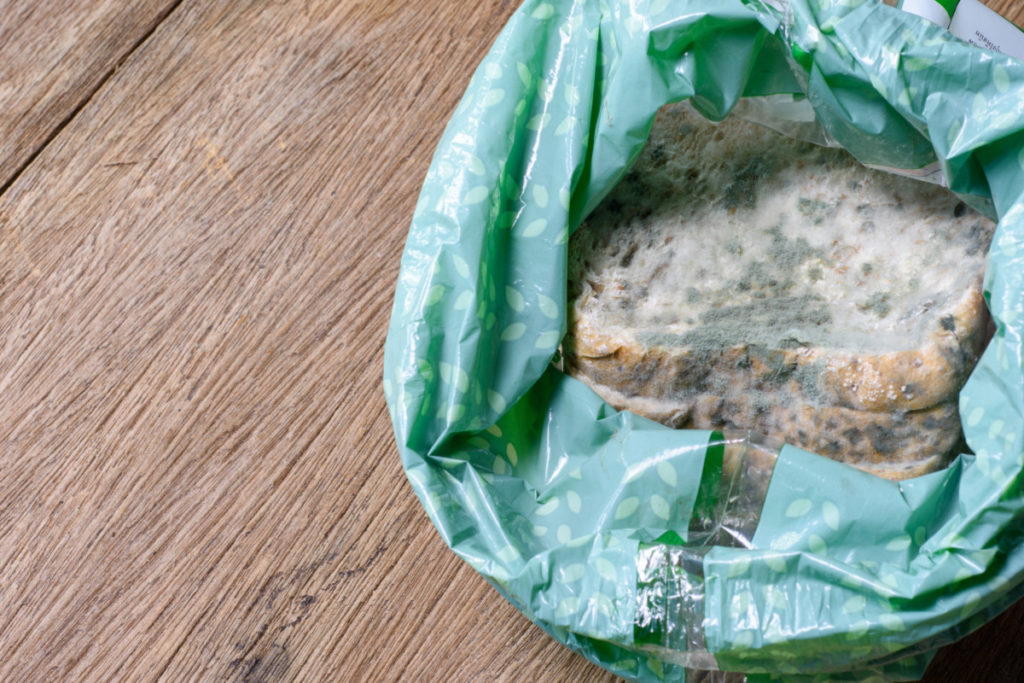
Food that’s become too moist can grow mold and other funky microbes that will cause it to spoil faster. A great example of this is bread, especially during the humid days of summer. While some food needs to remain moist for the best texture and flavor, too much moisture can quickly turn things into a slimy mess, like the way lettuces or spinach break down when they’re too wet.
Light
Both natural and artificial light causes food to discolor. Natural light can cause vitamin loss and change the flavor of the food. If your food is sitting in natural light, then you can bet that heat comes into play too. Even minor temperature changes can encourage the growth of harmful microbes that will speed up spoilage.
Naturally, we want to protect our dried goods from these spoilage culprits. As we’ve already established, for nearly all pantry items, preventing spoilage and getting the best flavor depends on how you store them once you bring them home from the grocery store.
Optimize Conditions in Your Cupboards and Pantry
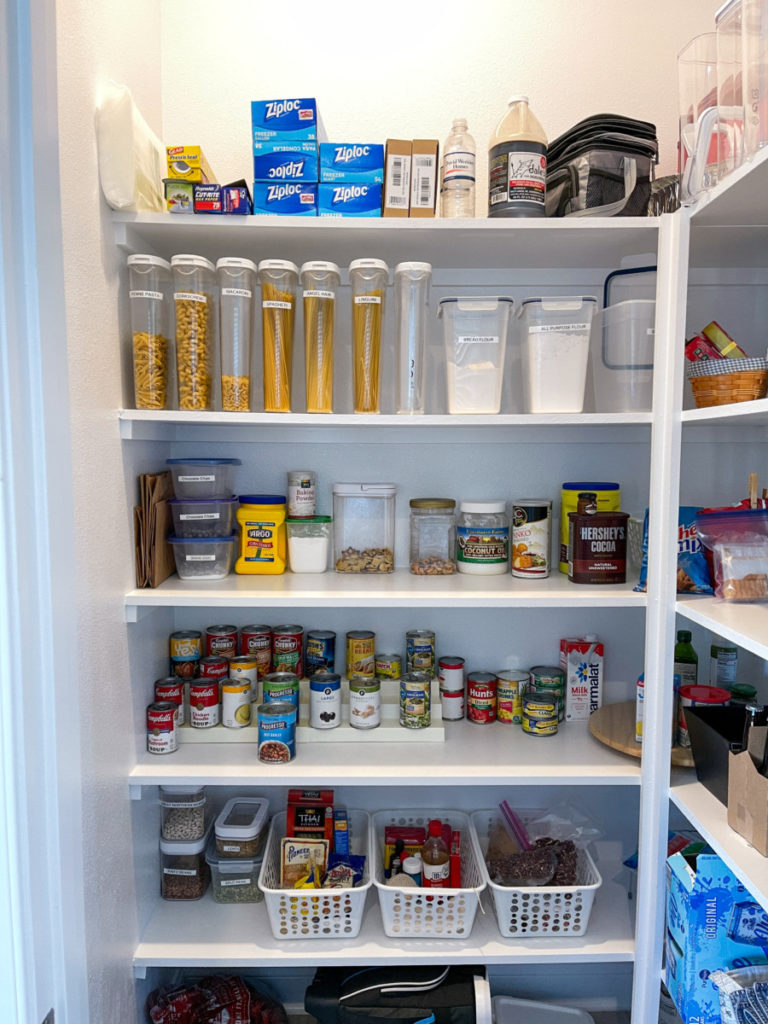
When it comes to where you store your food, remember, food that’s seen is food that’s eaten. Whether you’re using cupboards or a pantry, you’ve got to be able to see everything you have easily.
I’ve got a few tips and tools that will help you get organized.
Puck Lights
Storing food in cupboards isn’t my first choice. While it’s good to keep food stored someplace dark, it sure makes finding it harder. Often, cupboards have deep shelving or shelving above eye level making it hard to see what’s actually there. And that’s not a good combination when you’re trying to keep food where it’s easy to see what you have on hand.
If the shelves in your pantry or cupboards are dark, get a couple of packs of LED puck lights. You can easily stick them on the underside of the shelves; no hardware is necessary.
Yes, they’re battery operated, but as long as you get the LEDs and remember to turn them off when you’re done getting what you need, the batteries last quite a while. (I’ve got some on some shelving in my living room, and I’ve only had to change the batteries twice a year.)
Tiered Shelving
Make food easy to see by stacking it in tiers.
Have you ever opened a cupboard looking for a can of beans and had nothing but a sea of gray can tops looking up at you?
You start grabbing them one at a time, trying to find the pinto beans you bought for chili. Instead, you grab diced tomatoes, coconut milk, canned carrots, hash? I don’t even remember buying corned beef hash. You get the idea.
This is how food gets lost and forgotten. Stack food in tiers, so it’s easier to see.
And don’t feel like you have to run out and spend a ton of money on fancy little shelves or baskets. Do you know what makes great tiered shelves? Small cardboard boxes, I’m looking at you, Amazon. And shoe boxes with the lids. Reuse those boxes by putting them at the back of the shelf to raise food that would generally get lost in the dark up where it’s visible.
You can fortify the boxes a bit by stuffing them with newspaper, plastic grocery bags, or even the plastic bags of air used for shipping. Stuff the box full, and then tape it shut and stack away.
You don’t have to spend a dime; get creative by reusing items you already have.
Of course, you can buy fancy tiered shelves for your cupboard and pantry. But before you run out to the store, take the time to measure your cupboards and shelves. Figure out how many shelves you’ll need before you make a purchase; otherwise, you may come home with a bag full of shelves that don’t fit your space or your needs.
Mason Jars
There are so many fancy containers and canister sets on the market for storing food, but at the end of the day, I still reach for a mason jar. They’re inexpensive, you can see what’s inside them, they wash and wear well, and they never go out of style.
And if you’re trying to minimize plastic use in your home, you can’t beat good ol’ glass jars.
I use every size of jar you can find for my food storage needs, from the tiny 4 oz jars up to the half-gallon jars.
Mason Jar Vacuum Sealer Attachment
If you have a vacuum sealer, this little guy is worth its weight in gold. It’s not a necessary item, by any means, but if you’re in this for the best flavor, then it’s certainly worth picking one up. Vacuum sealing things like baking powder and corn starch can make them last longer too. And vacuum sealing something like cocoa powder will help lock in the flavor.
Whenever you’re sealing anything powdered, place a clean paper coffee filter in the jar on top of the food item, baking soda, for example. This will keep the powder from getting sucked up into the sealer and causing damage.
Labels
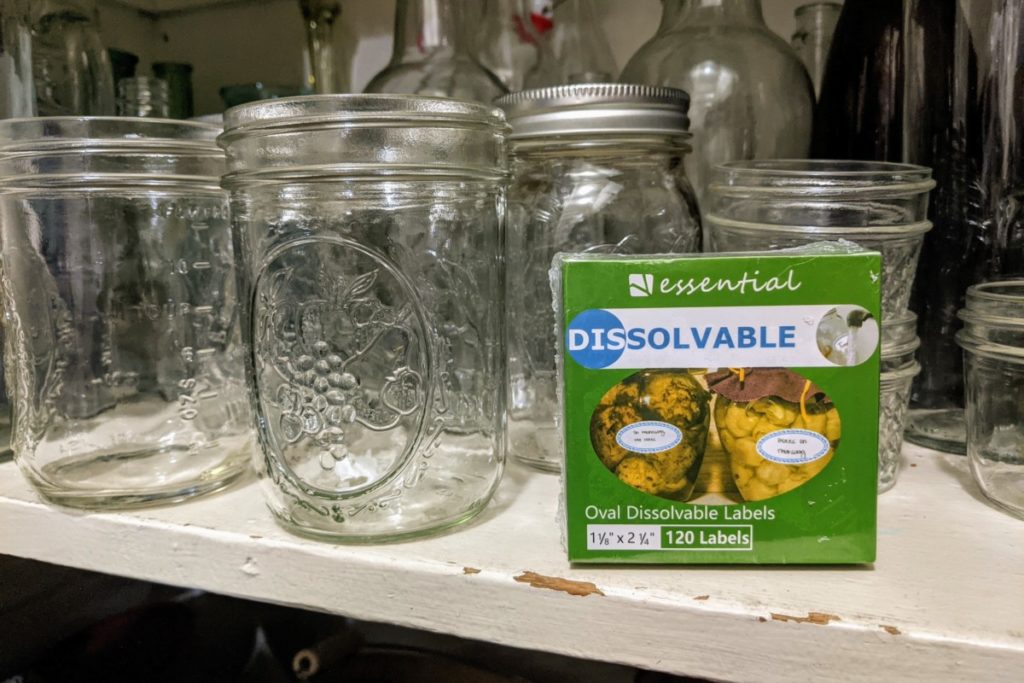
If you’re repackaging items into a container more suited to storage, you’ll want to label what it is and when you bought it. Labeling the lid and the side of the container makes it doubly easy to recognize what’s in your jars.
I found these dissolvable food labels a few years back, and I use them for everything from canning to labeling bottles of homemade mead, and of course, my storage jars in my pantry. If you want to get fancy, you can even find them in fun shapes.
Your Freezer
But we’re storing dried goods, Tracey.
Yes, we are! And your freezer is probably the most underutilized space in your “pantry.” I think you’ll be amazed at how many items you can store in the freezer and nearly double their shelf life.
On to the dried goods! Let’s see how each of these commonly used pantry staples should be stored for optimum flavor and shelf-life.
1. Flour
And speaking of your freezer, let’s start with flour. You might be shocked to know that your freezer is the best place to store any kind of flour. While flour, especially white flour, has a pretty decent shelf-life, 3-6 months, you can easily store flour in your freezer for two years.
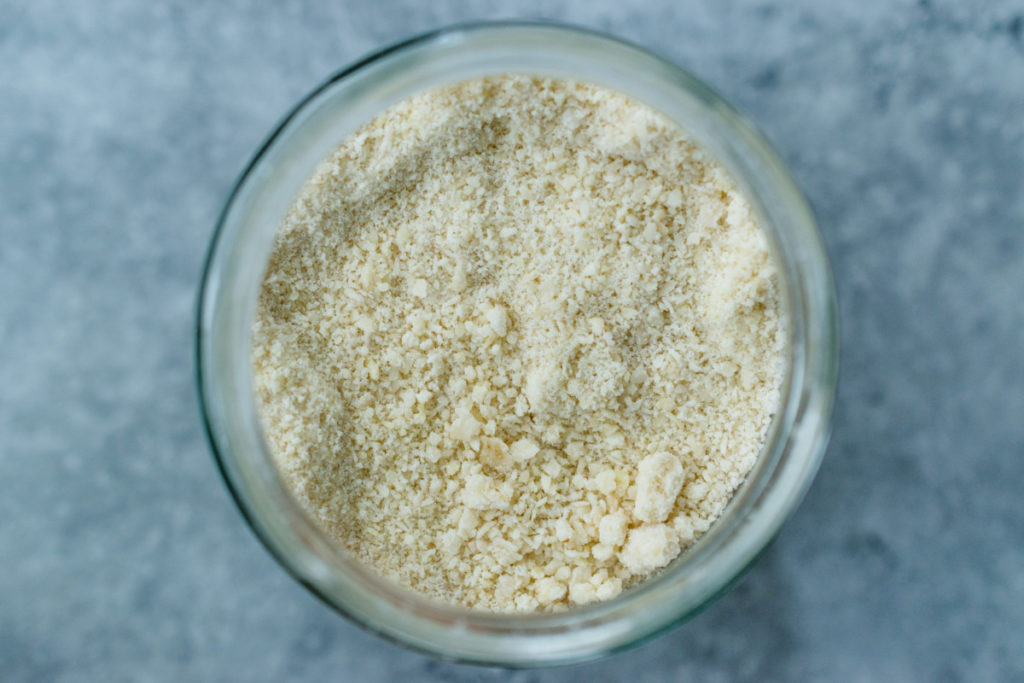
White flour lasts the longest on the shelf because of its low fat content, but flours with higher fat can go rancid pretty quickly. These include whole-wheat flour, almond flour and coconut flour.
For the longest shelf stability and the best flavor, store your flour in a labeled, airtight container in the freezer.
You can freeze bags of flour as they are, but you run the risk of it picking up smells from your freezer if you don’t use it right away. If you’re looking to store flour for a long time, it’s best to store the unopened bags in another container, like a large freezer bag or a small plastic tote.
Obviously, this is easier if you have a chest or standing freezer. Even if you only have the freezer on your fridge, storing one bag at a time this way is a great way to keep flour fresh.
Let frozen flour come to room temperature before you use it for baking. I find it’s easiest to measure what I need and let that portion come to room temperature rather than waiting for the entire container to warm.
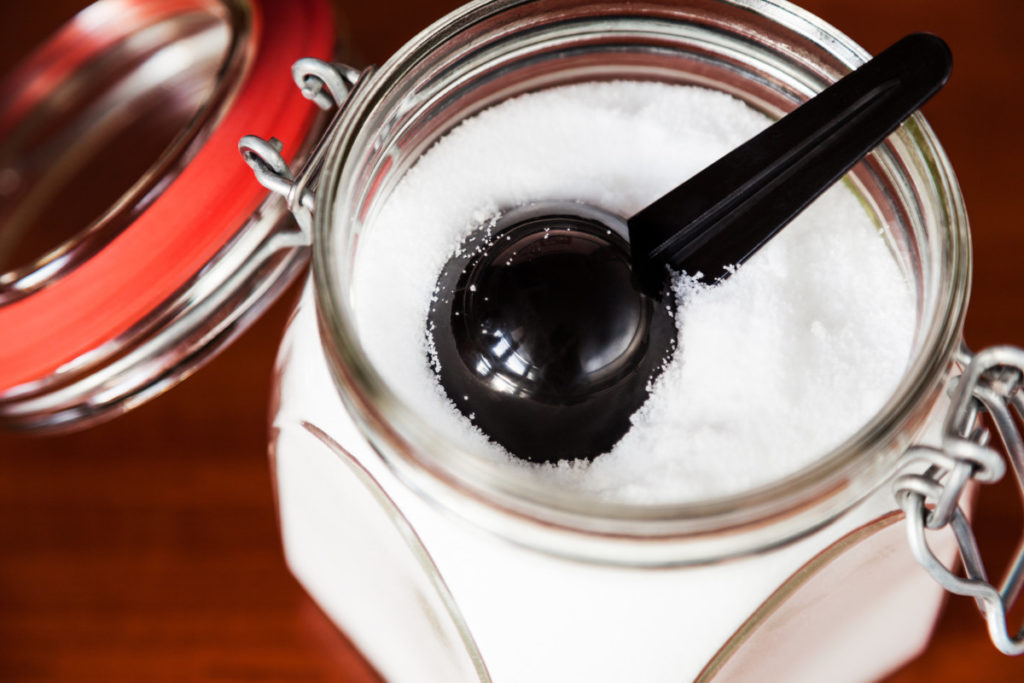
2. Sugar
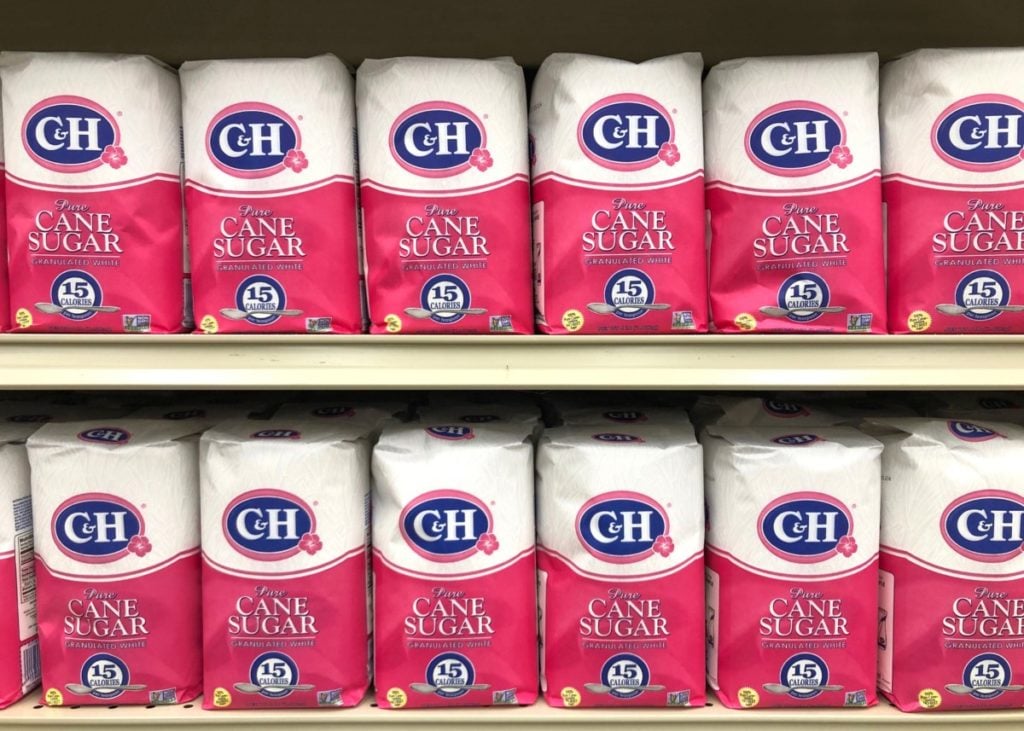
Sugar does best when stored someplace dry and cool. Even a little moisture can cause clumps to form, making it hard to measure and use.
For this particular pantry item, the freezer or fridge isn’t a great spot. It only takes a little bit of moisture to cause lumpy sugar.
The half-gallon size mason jars work great for storing sugar. For easy measuring, I bought a Rubbermaid cereal keeper years ago with a pour-top, and it’s where I store my sugar. Cereal keepers are amazing for sugar because you can pour the sugar as well as scoop it out.
Whatever airtight container you choose, make sure it’s big enough to hold an entire bag of sugar. Most canister sets available leave you with a full sugar canister and a few cups left in the bag defeating the purpose of the cannister.
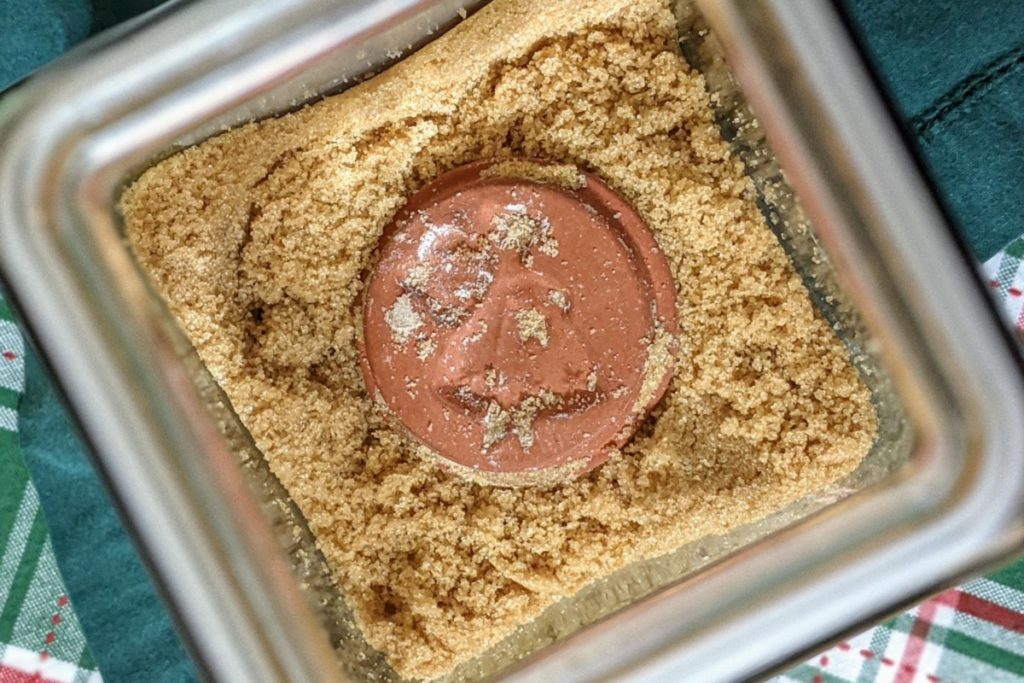
3. Brown Sugar
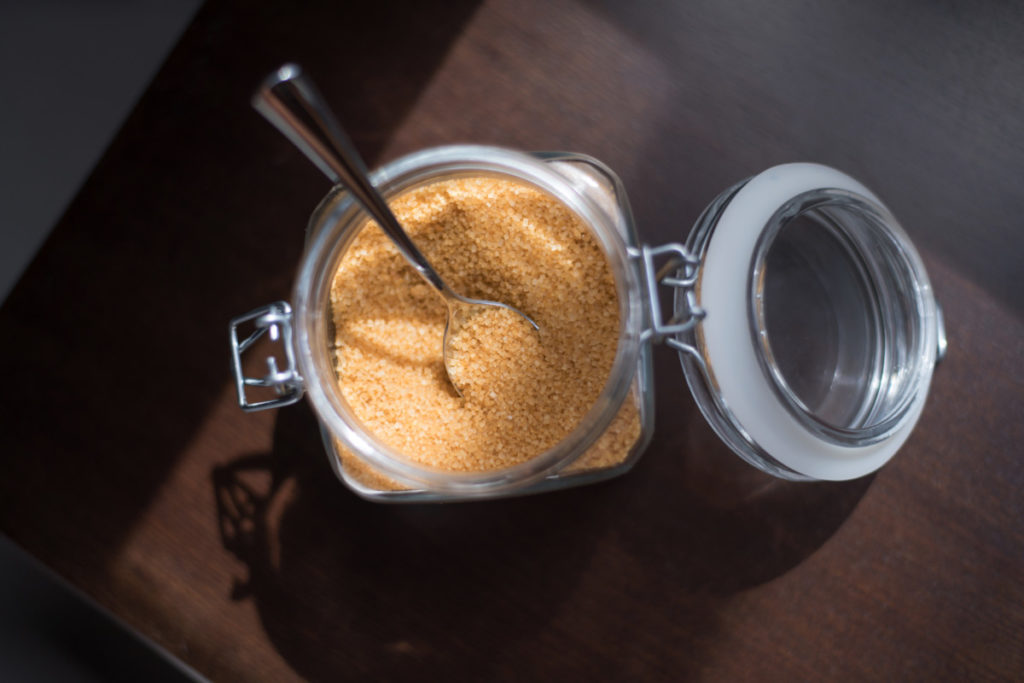
For the freshest brown sugar, you should always store it in an airtight container. Leaving it in the bag or box it comes from in the store is just a recipe for a brown sugar brick. Again, a mason jar works great for this purpose. Wide-mouthed jars make scooping much easier.
For the absolute best way of storing your brown sugar, you’ll also need a brown sugar keeper. They come in some seriously cute shapes and designs. Usually made of terracotta, these little clay pieces keep just the right amount of moisture in your container, so the brown sugar remains soft and easy to scoop.
4. Rice
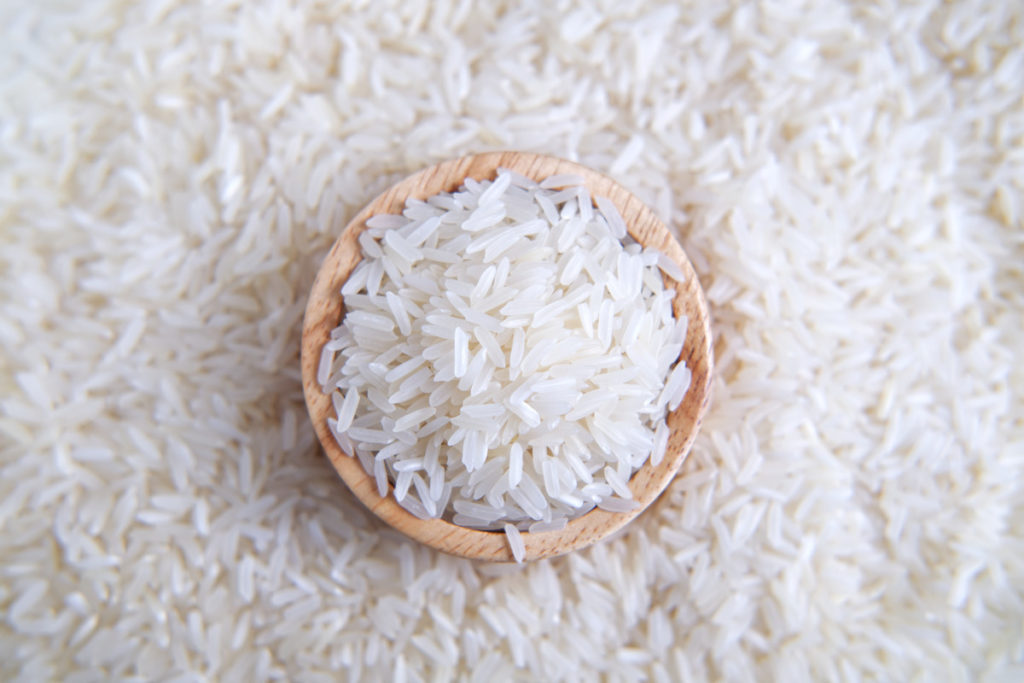
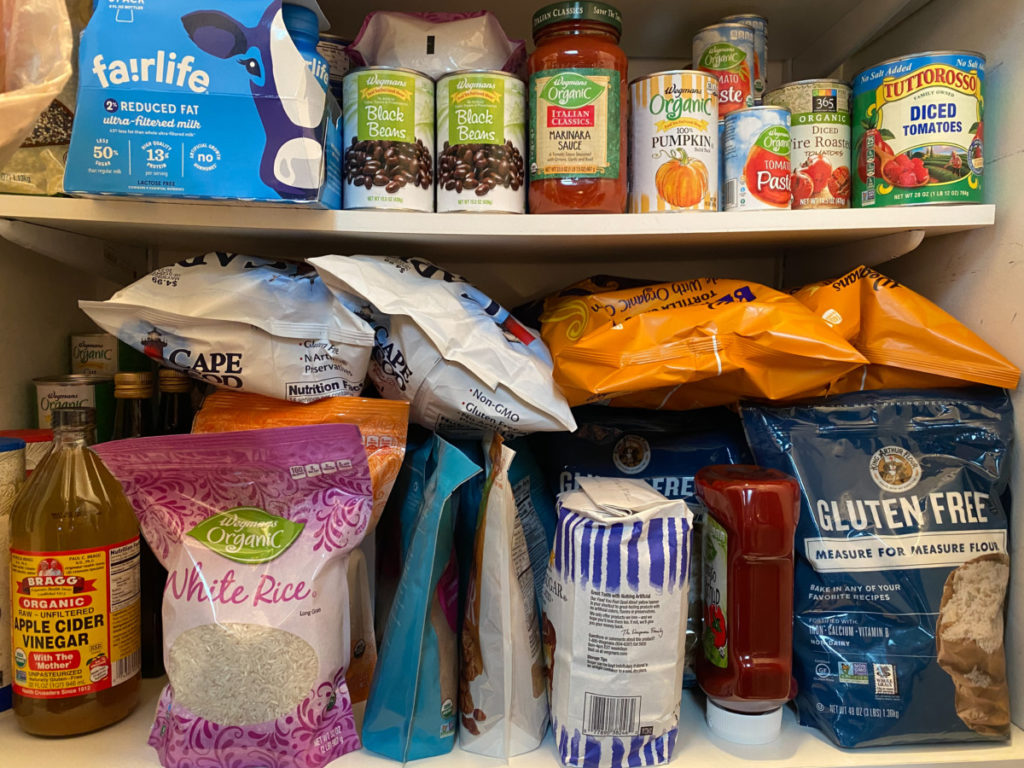
Rice is an incredible pantry staple because if it’s stored properly, its shelf-life is basically forever. So, you know what I’m going to say next. Rice needs to be stored in an airtight container. Remember, the packaging it comes in is only to protect it during shipping.
Ideally, rice should be stored in a vacuum-sealed container, making that vacuum sealer attachment a great idea. You can always vacuum seal rice in individual bags and open them as needed, pouring the unused portion into a mason jar.
If you purchase 25lb or larger bags (always a great deal), then it’s important to store it properly, which is definitely not the bag it comes in. A food-grade bucket with a locking lid is a good option for large bags of rice.
If you want to get serious about extending the shelf-life of rice, opt for mylar food storage bags with some oxygen absorbers.
5. Dry Beans & Lentils
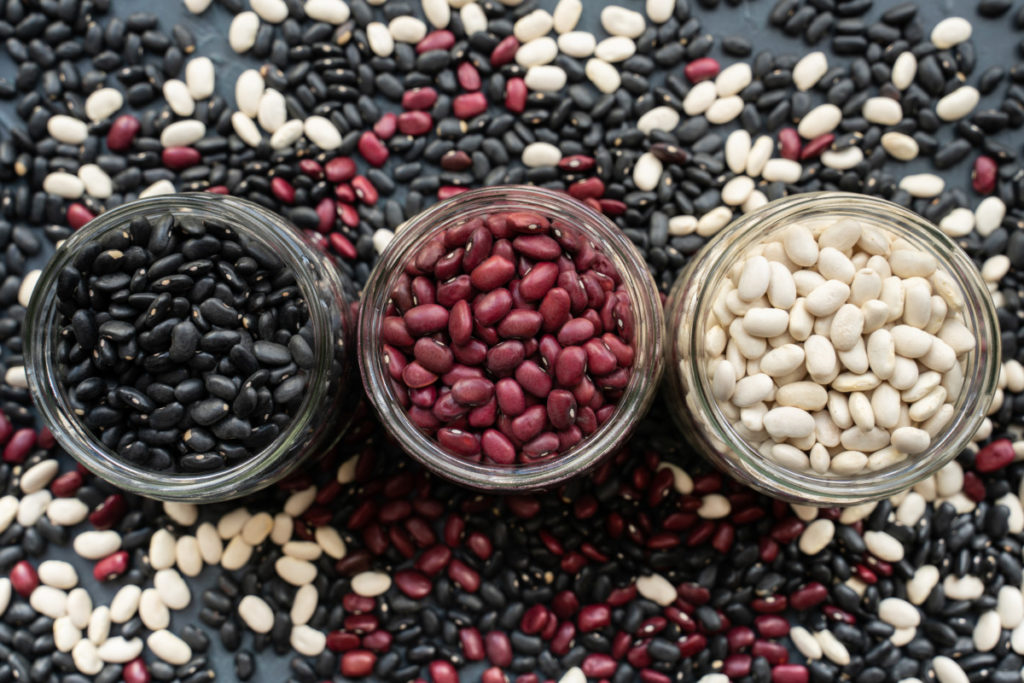
Much like rice, dry beans and lentils have a nearly indefinite shelf-life when stored properly. If you leave them in the bags they come in from the store; you’re just inviting mice and bugs to help themselves (and make a big mess). At the very least, you’ll want to put them in a sealed container. Even storing them in a zip-top plastic bag is an improvement over the thin bags they come in.
The best way to store beans and lentils is in clear containers that allow you to see at a glance what’s in them. (Provided you’re storing the containers somewhere dark.)
6. Baking Powder/Baking Soda
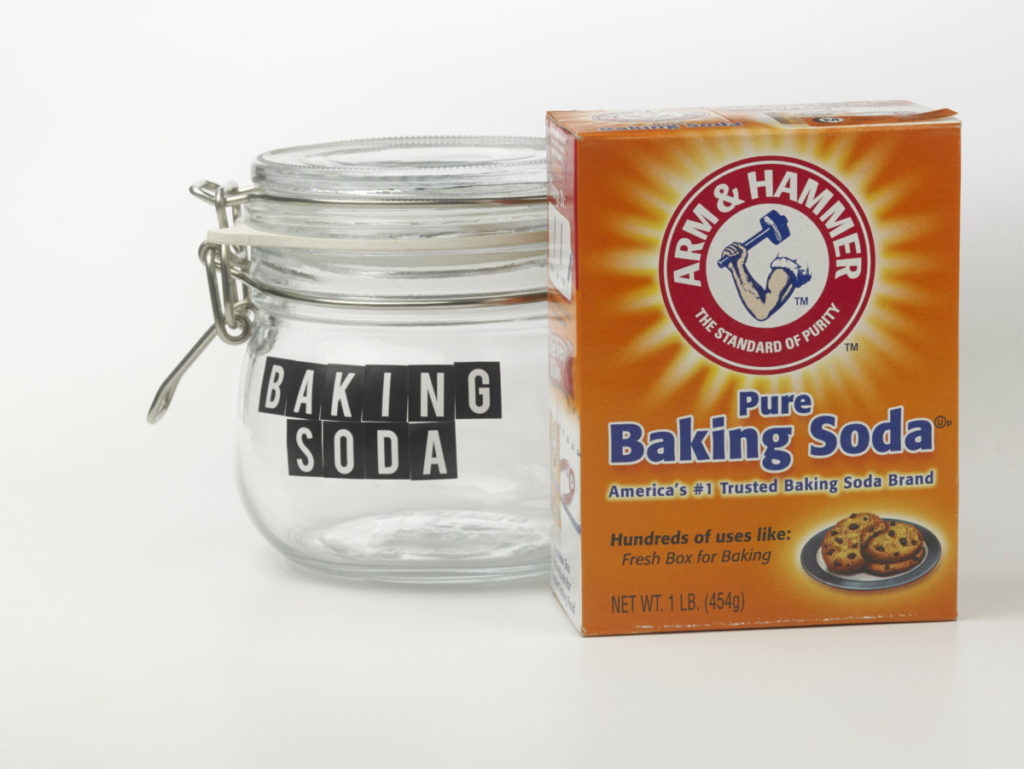
Both baking powder and baking soda are leavening agents that give your baked goods that light, fluffy texture they need. If they aren’t stored properly, baking powder and soda will lose their effectiveness, causing disappointingly flat muffins, pancakes and bread.
Air is the biggest culprit for spoilage when it comes to these leavening agents.
For the most part, baking soda comes in boxes, not exactly airtight. Store your baking soda in an airtight container, preferably one that can be vacuum-sealed.
Another reason we need to store baking soda somewhere other than its porous cardboard box is because it’s a natural deodorizer. Once the box is opened, your baking soda will begin absorbing odors from the environment it’s stored in. Keeping baking soda in a jar or other sealable container means you won’t be left with baking soda that has a funky smell.
Most baking powder comes in a sealed can. It’s okay to leave it in this container as long as it’s sealed. However, once you open it, you’ll want to store it the same way you would baking soda, again, opting for vacuum sealing if you can.
7. Grains & Seeds
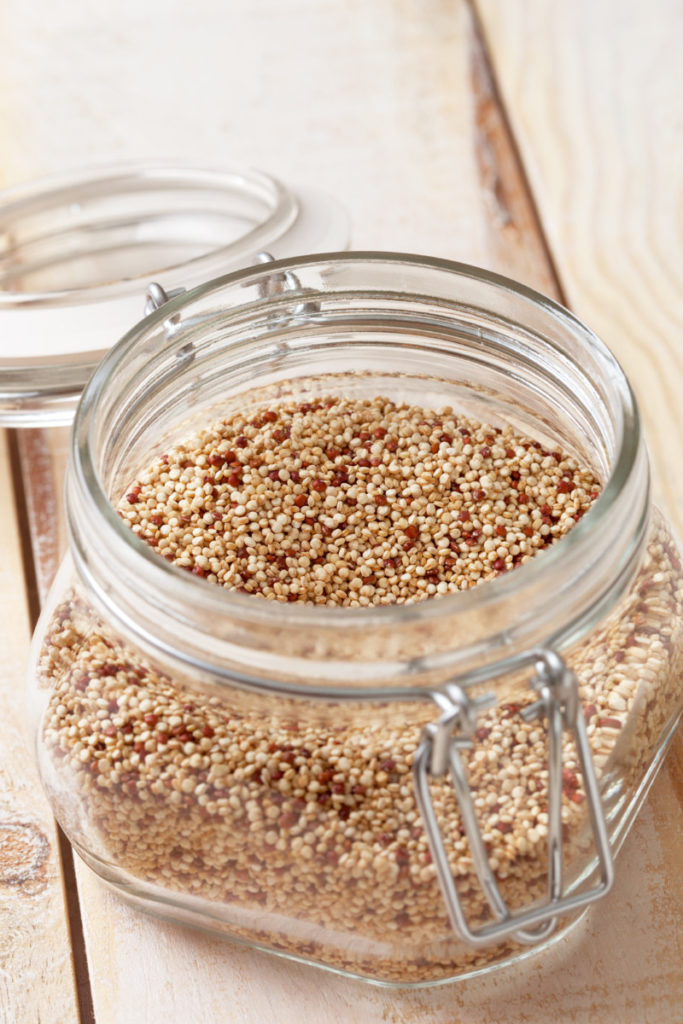
At the end of this article, you’re going to be sick of reading the words “airtight container,” but that’s because it’s the best way to store dried goods. Quinoa, millet, barley, farro and bulgar wheat are all tasty grains and seeds that have grown in popularity recently. To get the best flavor, keep them stored in…yeah, you know what I’m going to say.
It’s important to store grains and seeds somewhere cool and dark as well. Kept this way, they will last about a year. You can also freeze them in airtight containers and double that shelf life.
8. Pasta
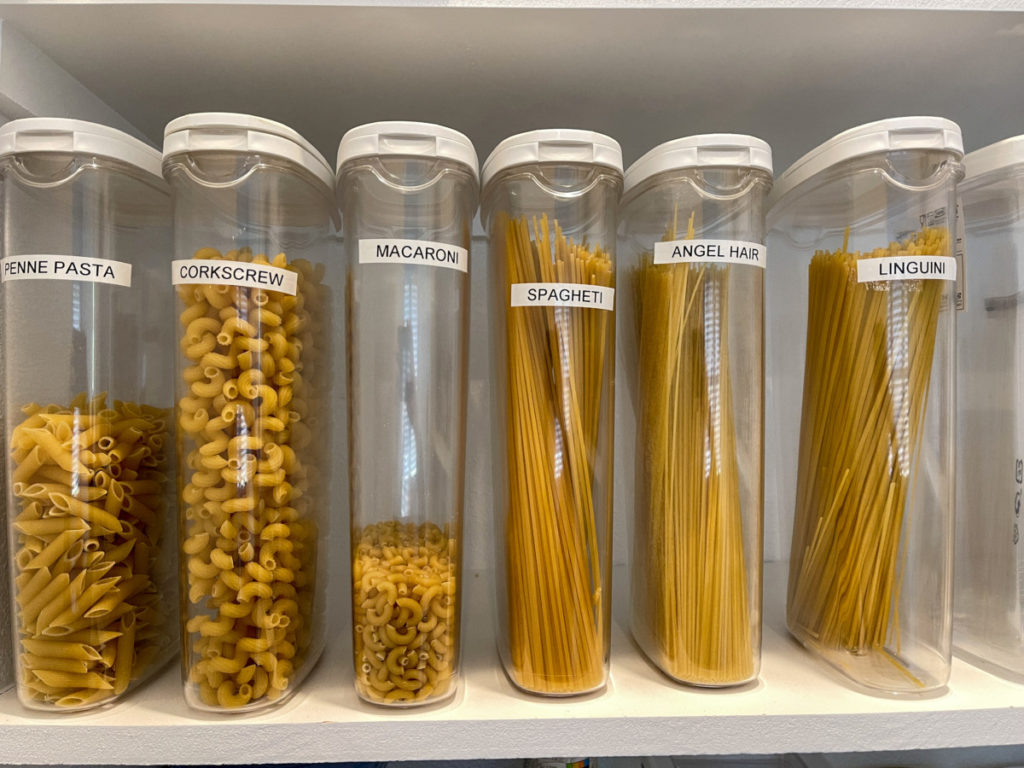
In general, pasta can be stored for a year in your pantry as is. But if you want to extend the shelf-life and flavor, dry pasta should be stored in an airtight container. When we’re talking about spaghetti, fettuccini or other longer pasta, it can be challenging to find a container they will fit in.
This is one case where purchasing an airtight container specifically designed for pasta is helpful. Amazon has quite a few to choose from. Click here to check them all out.
9. Dried Fruits

Have you ever grabbed a box of raisins from your pantry only to find tiny hard pebbles instead of soft, chewy raisins? Yeah, let’s put a stop to that. Dried fruit needs to be kept in ideal conditions to maintain that balance between chewiness and rock hard.
An airtight container in a cool, dark place goes without saying. But I learned a little secret that comes in handy if you enjoy lots of dried fruits, especially raisins. Do you know that brown sugar keeper I mentioned above? It does a great job of keeping raisins, dried cranberries, and shredded coconut soft and chewy too!
10. Nuts
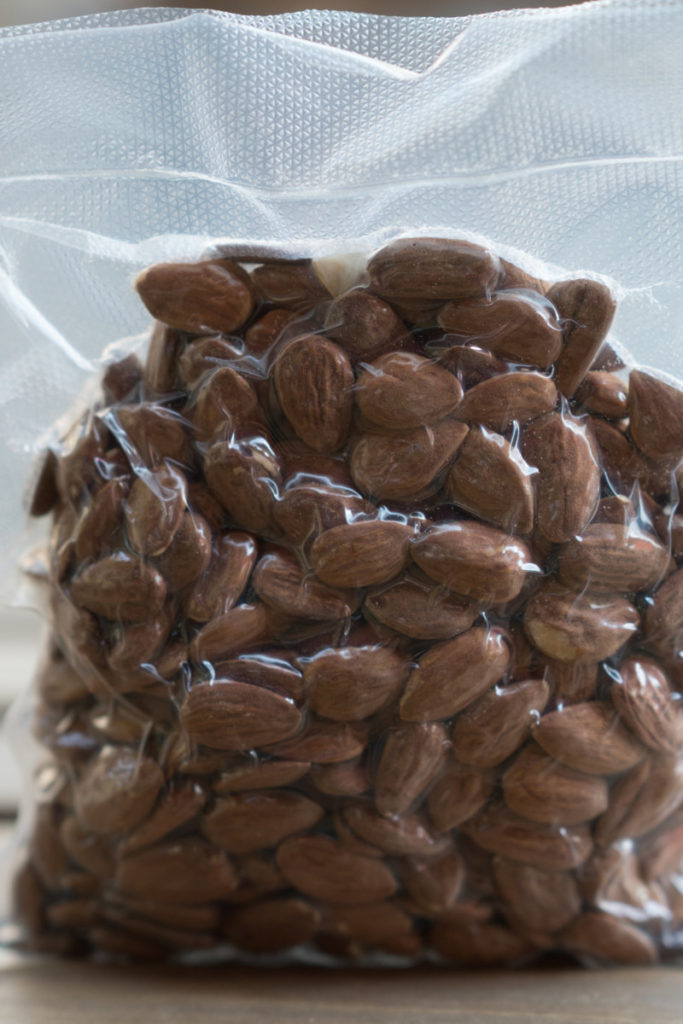
Nuts are a little tough to crack. (Sorry, I couldn’t help myself.) They can be stored both in and out of their shells. As nature intended, nuts stored in their shells have the best shelf-life, but that means a lot of work when you’re ready to use them.
Nuts (in or out of their shells) need to be stored in an airtight container as they tend to absorb the odors of other items around them. For this reason, it’s best not to store nuts near strong-smelling foods.
Nuts have lots of healthy fats in them; this means they will go rancid quickly if stored in places that are too warm. Nuts that have gone off have a sour flavor to them.
For the best flavor, store your shelled or unshelled nuts in some sort of airtight container in the fridge or freezer. (Let them thaw before you use them, and once thawed, they shouldn’t be refrozen.)
11. Popcorn
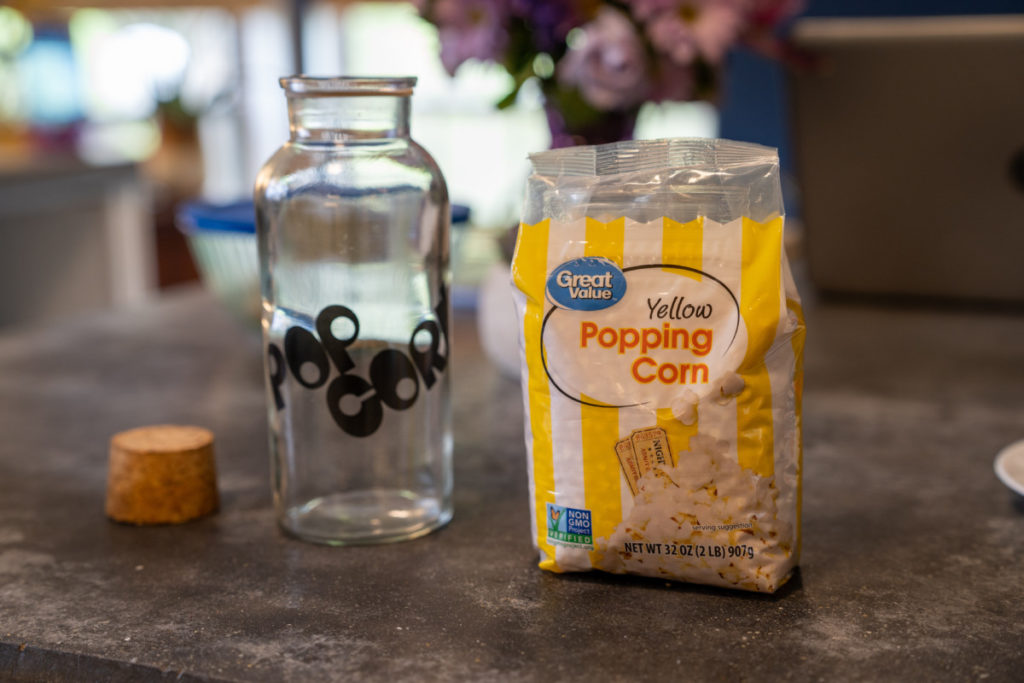
First of all, if you aren’t already growing popping corn, you’ve got to check this out
Grow Your Own Popcorn + 6 Varieties to Try
It’s far superior to the store-bought stuff and worthy of extra special handling. But regardless of whether you grow it yourself or have a favorite brand, you buy at the store, for the best, fluffiest, popped kernels, you should always store popcorn in airtight jars. Keep your popcorn someplace cool and dark, and it will last around two years. And yes, you can even freeze it and really stretch the shelf-life.
12. Oatmeal
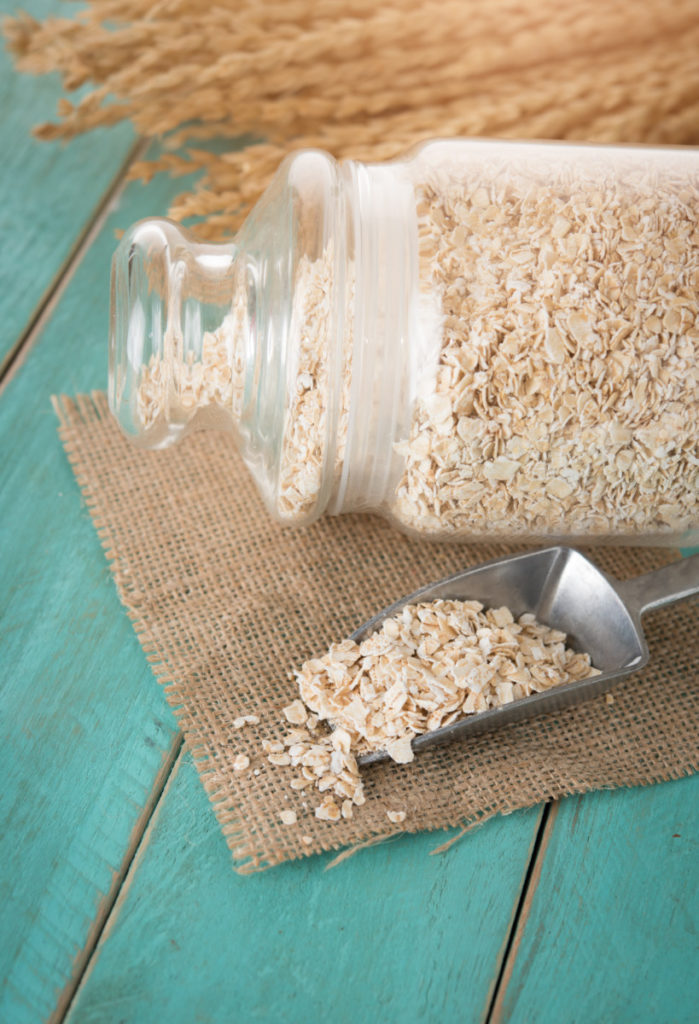
Cool, dark and dry is the motto for oatmeal. If you go through a lot of oatmeal relatively quickly, those cardboard canisters it comes in are just fine. But if you prefer to buy your oatmeal in bulk, or it’s not a regular breakfast at your place, you’ll want to store it in something else.
Because it’s a tasty grain, oatmeal is prone to getting nibbled on by pests, both the insect and tiny rodent variety. For this reason, it’s always a good idea to store oatmeal in a (you guessed it) airtight container. Those mason jars are always a great option. You can also freeze or keep it in the fridge in jars or plastic freezer bags too.
13. Yeast
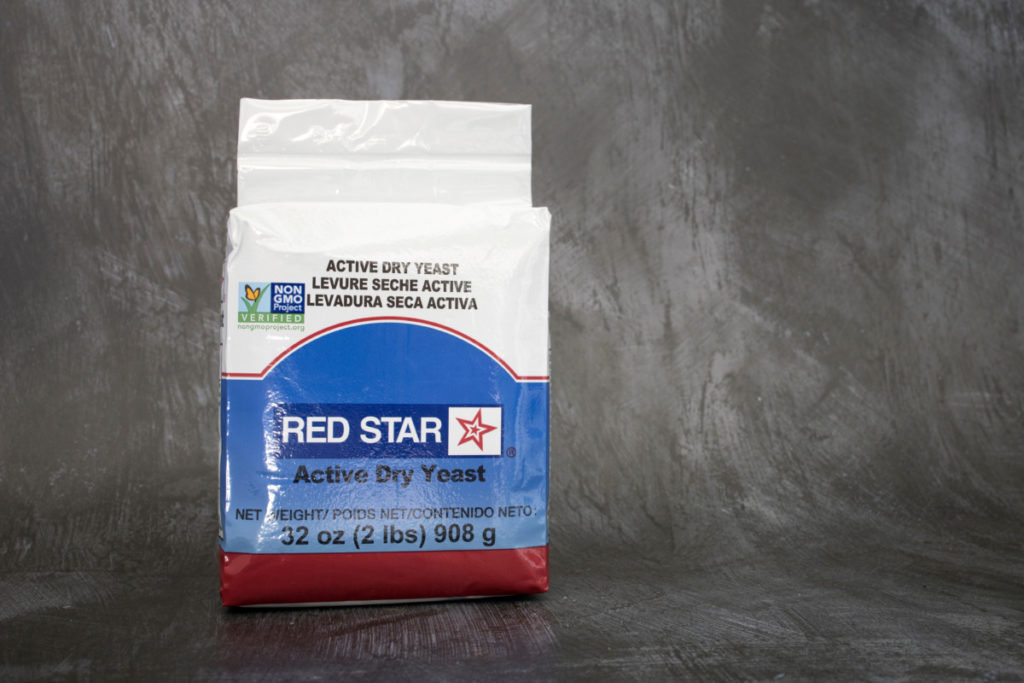
Yeast in its original packaging can be stored in a cool, dark place; once opened, though, it definitely needs to be stored in an airtight container. The freezer is a great place to store yeast, again, nearly doubling its shelf-life. Once you’ve opened the package, though, you will need to store it in the fridge.
Or you can store it in a mason jar in the freezer and just measure it out as you need it. If you decide to go this route, that handy vacuum sealer jar attachment will ensure your yeast stays viable.
If you’re using frozen yeast, let it warm up a bit before using it, or it may take longer to activate.
14. Salt
Salt should not be stored in a metal container. You may wish to use a clay or ceramic container or any other container without a metal lid. If you decide to use a mason jar to store your salt, use a plastic lid or place a piece of parchment paper between the lid and the jar to prevent it from rusting.
15. Tea & Coffee
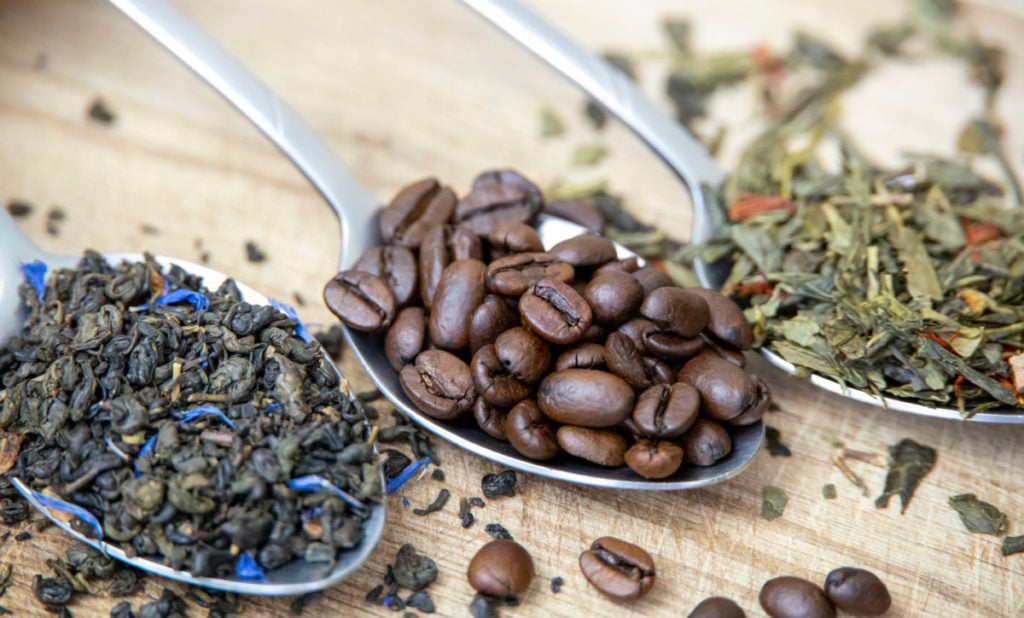
Tea and coffee can easily lose their flavor when exposed to air and light. It’s important to put them in some sort of container that will protect them from both.
Tins are a good option for tea, provided they have a snug fitting lid, anything that will keep air and light out will work. Thrift stores are a great place to find pretty tins.
As a self-professed coffee snob, I can say that coffee does best in a specialized coffee container. Coffee beans off-gas carbon dioxide once they’ve been roasted; for the best flavor, you want to store them in a container that has a one-way gas valve. I have two of these canisters that keep my coffee tasting delicious every morning.
And if you want the best flavor, it’s not a good idea to store the beans in the freezer. Coffee contains natural oils that don’t freeze well. You can end up with some weird flavors if you store beans in the freezer.
Wrapping It All Up
I know there’s a lot of information here, but don’t feel like you have to overhaul your entire kitchen in one go. (Unless you love big projects like that, and that’s how you roll.)
Start small with your next grocery trip. Just repackage the items you bring home with you. And then, as you run out of ingredients in your pantry, you can begin storing them in containers that will extend their usefulness.
The nice thing about organizing your cupboards or pantry is that you can always make adjustments or reorganize it again until you find the layout that works best for you.
Cooking should be fun!
Unless you hate cooking, and then at the very least, cooking shouldn’t cause you additional stress with items past their best-by date or funky smells coming from your pantry. This whole process is about making your time in the kitchen easier and more enjoyable. Also, airtight container. Okay, I’m done now.
Related Reading
How To Store Salad Greens So They Last Two Weeks Or More
21 Brilliant Ways To Reuse Glass Jars
12 Simple Steps to Create a Plastic-free Kitchen
32 Brilliant Ways to Reuse Plastic Grocery Bags
22 Kitchen Storage & Organization Hacks For Homesteaders

Get the famous Rural Sprout newsletter delivered to your inbox.
Join the 50,000+ gardeners who get timely gardening tutorials, tips and tasks delivered direct to their inbox.