

Where I live in zone 5b, the final vestiges of winter are – at long last – behind us.
Days past the last frost date, we had some very cool nights and a few frost warnings still. Now it’s hot (too hot!) but I’m free to expand my garden – one week behind schedule – and get my warmth-loving tomatoes and peppers in the ground.
This method for creating new vegetable beds on lawn is so unbelievably simple – and yet so very effective – that I’ll never go back to the old way of doing things.
As a no-dig technique, it involves far less back-breaking labor. There’s no need to lift the sod, do any weeding whatsoever, or till the earth.
At the bare minimum, all you need to get started is cardboard and compost. And these materials can usually be sourced for free.
Once set up, you don’t have to wait for the new beds to cure and can get planting in them right away.
And – most importantly – it gets great results. My crops are always healthy and amazingly productive.

Materials You’ll Need:
Cardboard
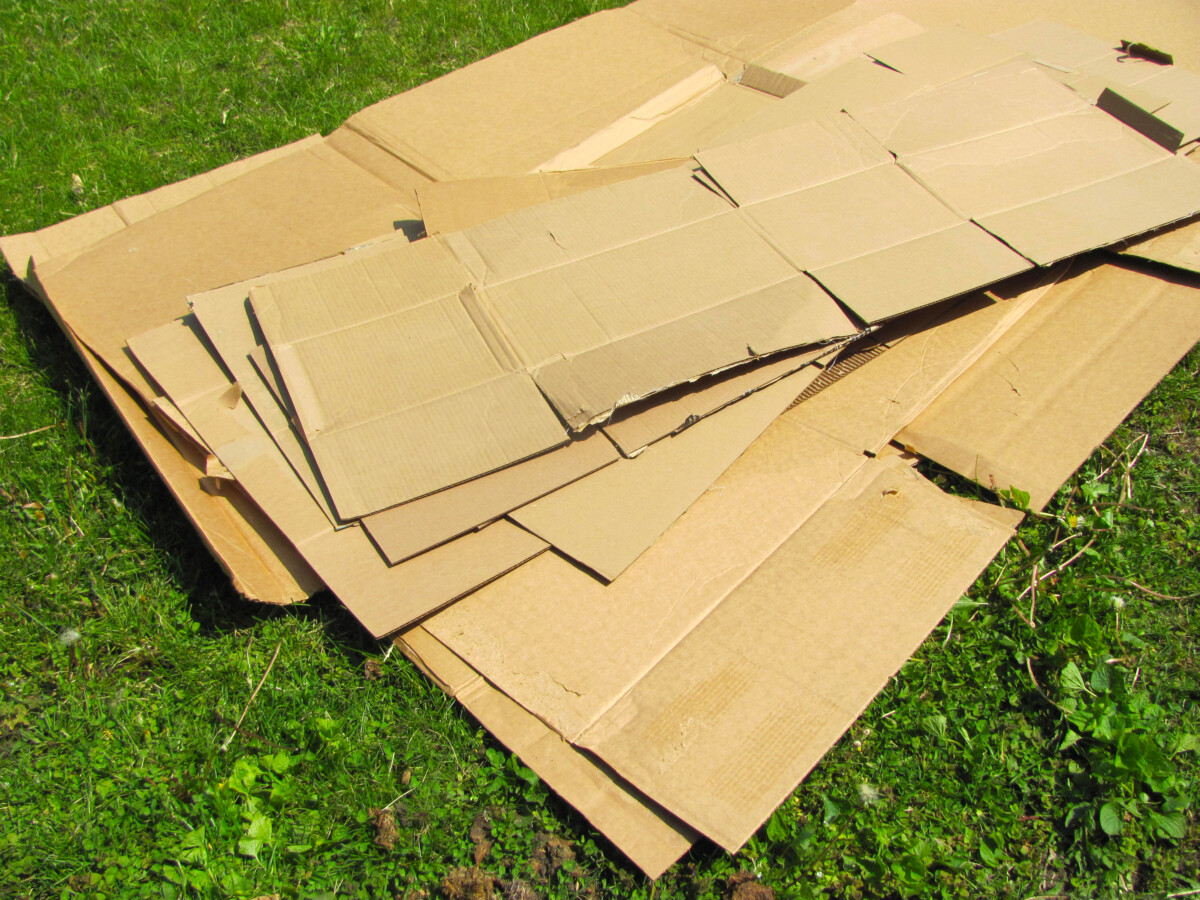
Cardboard can be so very useful in the garden, and I’ve been amassing my collection since last autumn.
Serving as a temporary base for the new garden beds, cardboard placed over the lawn will smother the grass and weeds. As it composts in place, the carbon-heavy cardboard will break down alongside the nitrogen-rich greens and give the beds a flush of nutrients.
As with all cardboard applications for the garden, select only plain brown boxes. Prep them first by flattening them and removing all labels, tape, stickers, and staples.
ProTip: The largest boxes – like those from big appliances – will make it so much easier to lay out the sheets. Big box stores frequently leave cardboard that’s good for the taking around back. Also be on the lookout for big cardboard boxes on recycling day in your neighborhood.
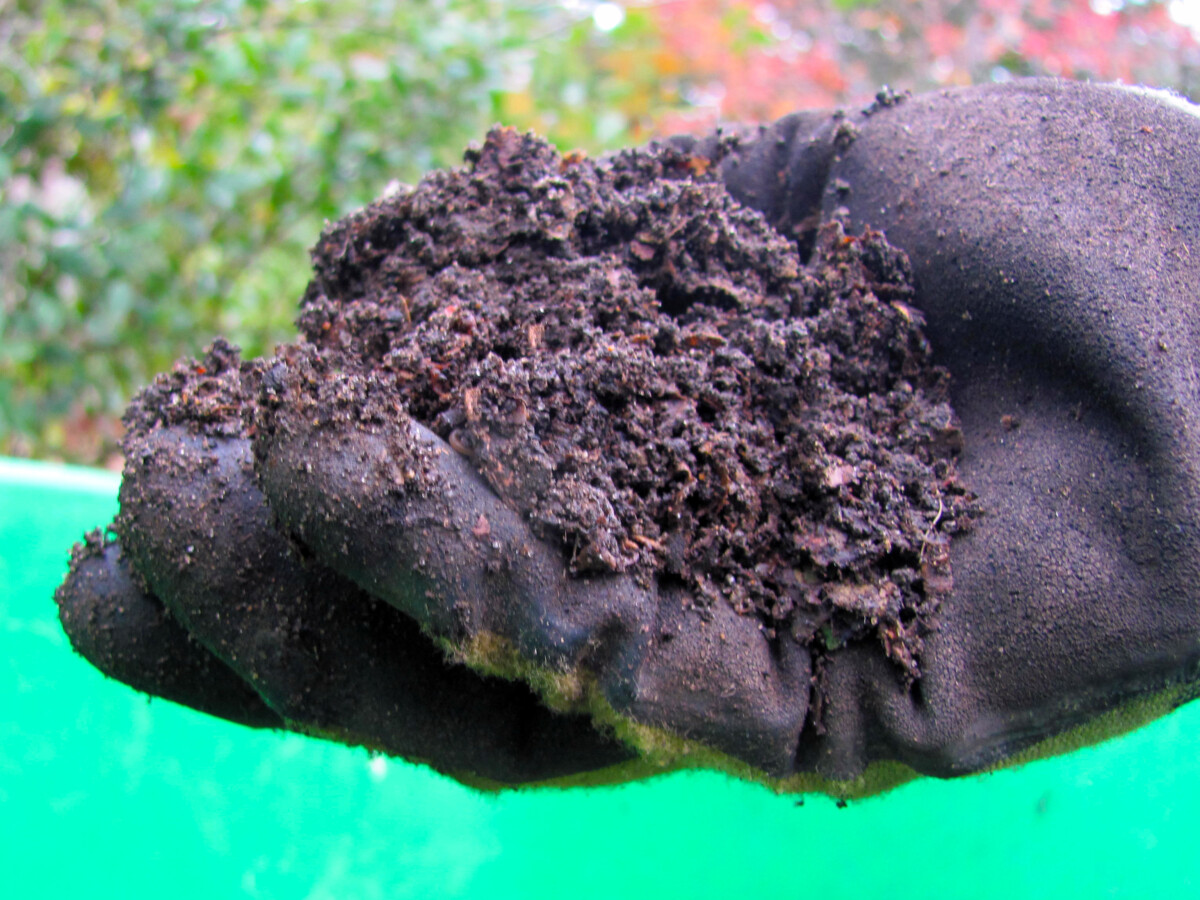
Compost

The next thing you’ll need is compost – lots and lots of compost.
It’s difficult to gauge just how much compost you’ll need, and it all comes down to the size of the bed you’ll be creating.
To give you some idea, my garden expansion area is 12 feet by 7 feet. I had five bags of homemade compost and ten bags of yard waste compost I got for free from my local landfill – and I still ran out mid-way through the project. To finish the job, I had to scurry to the garden center and purchase eleven more bags of composted cattle manure.
So, yes, it’s a good idea to have loads of compost on hand – much more than you think you might need.
Optional: Edging
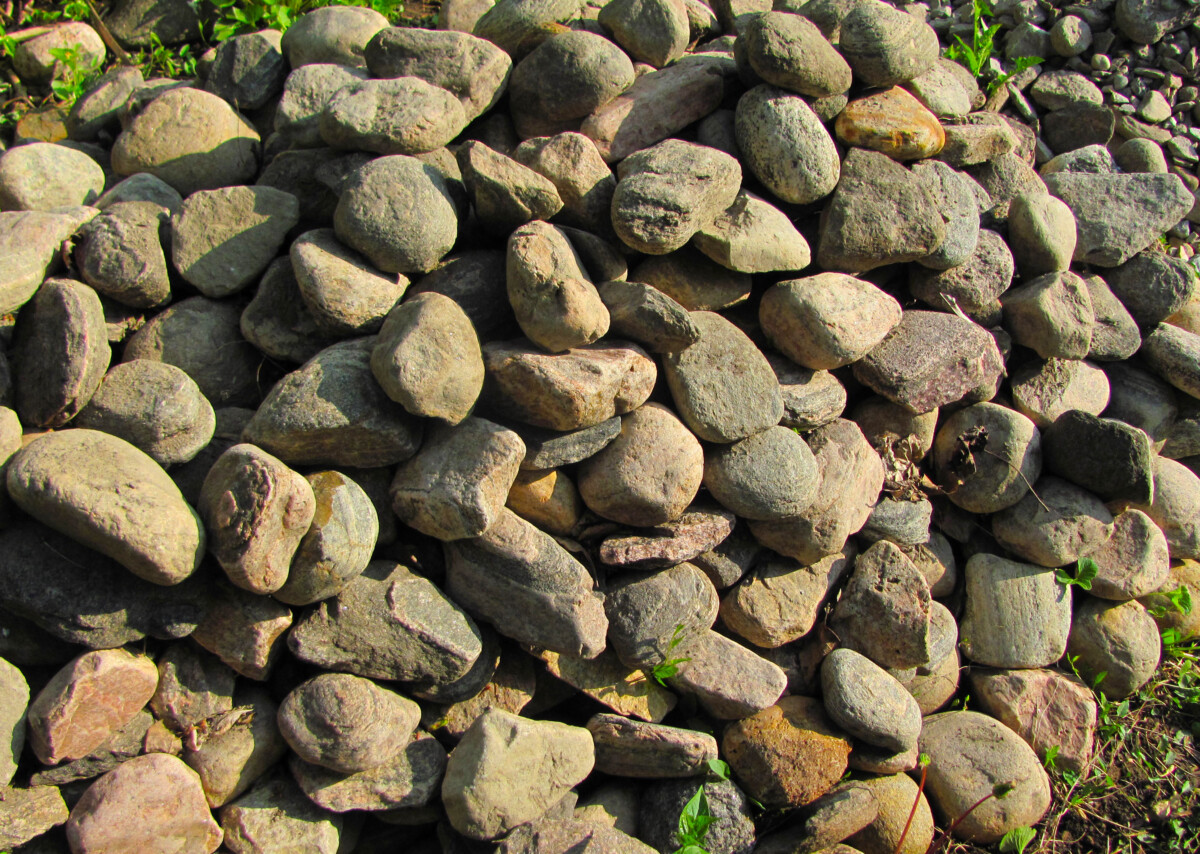
Because this vegetable garden is being built from the ground-up, it can be helpful – but not essential – to have some sort of edging around the border of the bed.
A low-profile barrier will stop the compost from spilling over the sides as you work it into shape. Over the long-term, a border will keep the fertile soil mix inside the bed and prevent wind and rain from carrying it away.
Raised bed materials, like stones, bricks, untreated lumber, wood logs, or concrete blocks, are useful for this. The garden bed itself will only be raised above ground level by 4-inches, so whatever edging you choose shouldn’t be too tall.
If you don’t have a suitable edging material to use right now, you can always add it to the beds later on.
Optional: Pathway Material
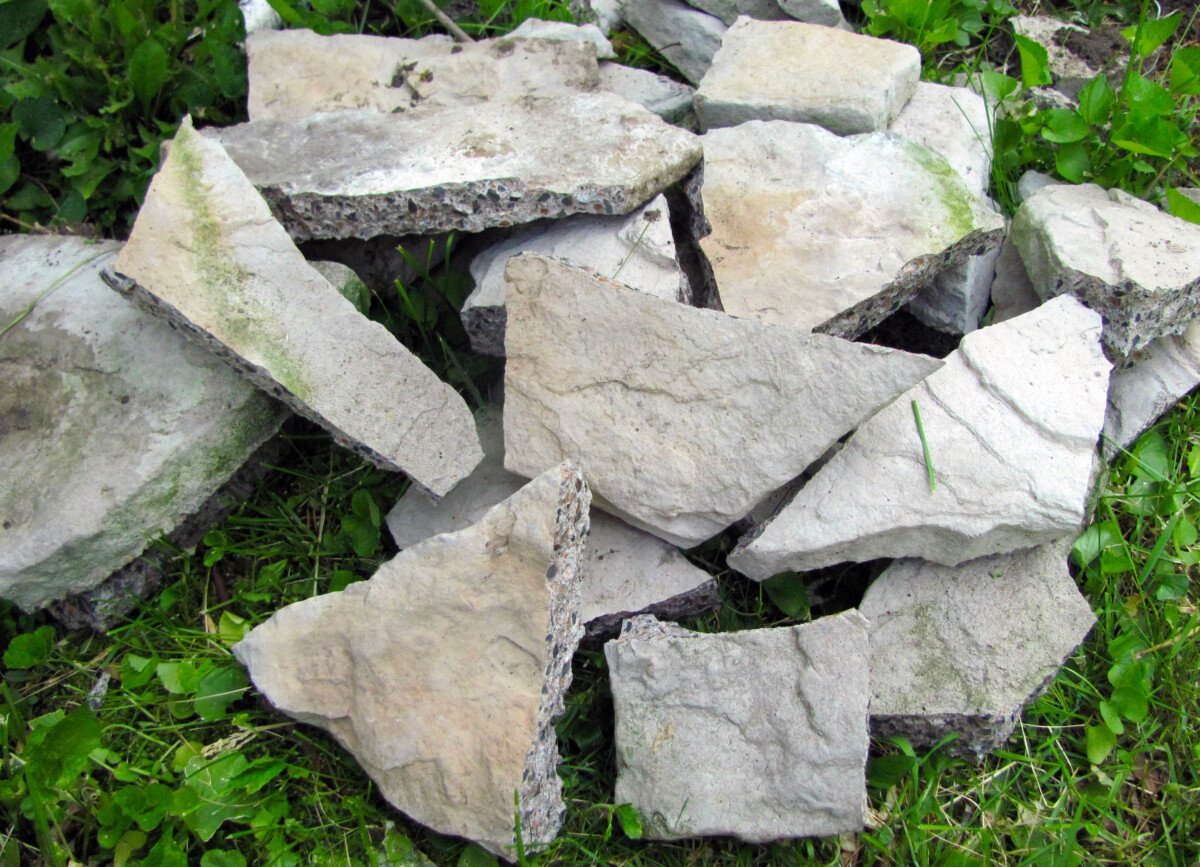
These veggie beds can be created in any size or shape you like.
The tried-and-true dimensions for many vegetable beds are 6’x4’ rectangles. Space each bed a couple feet apart and you won’t need to concern yourself with making pathways.
Since I’m adding on to my existing beds to make one ginormous vegetable garden, having some sort of pathway between the beds is quite necessary. I had some faux fieldstone on hand so I’ll be using these as my stepping stones.
Alternatively, you could use mulch to make pathways between beds. Wood chip mulch is great for pathways since it won’t stick to your feet. Since wood chips will break down over time, the pathways will need to be topped up every spring.
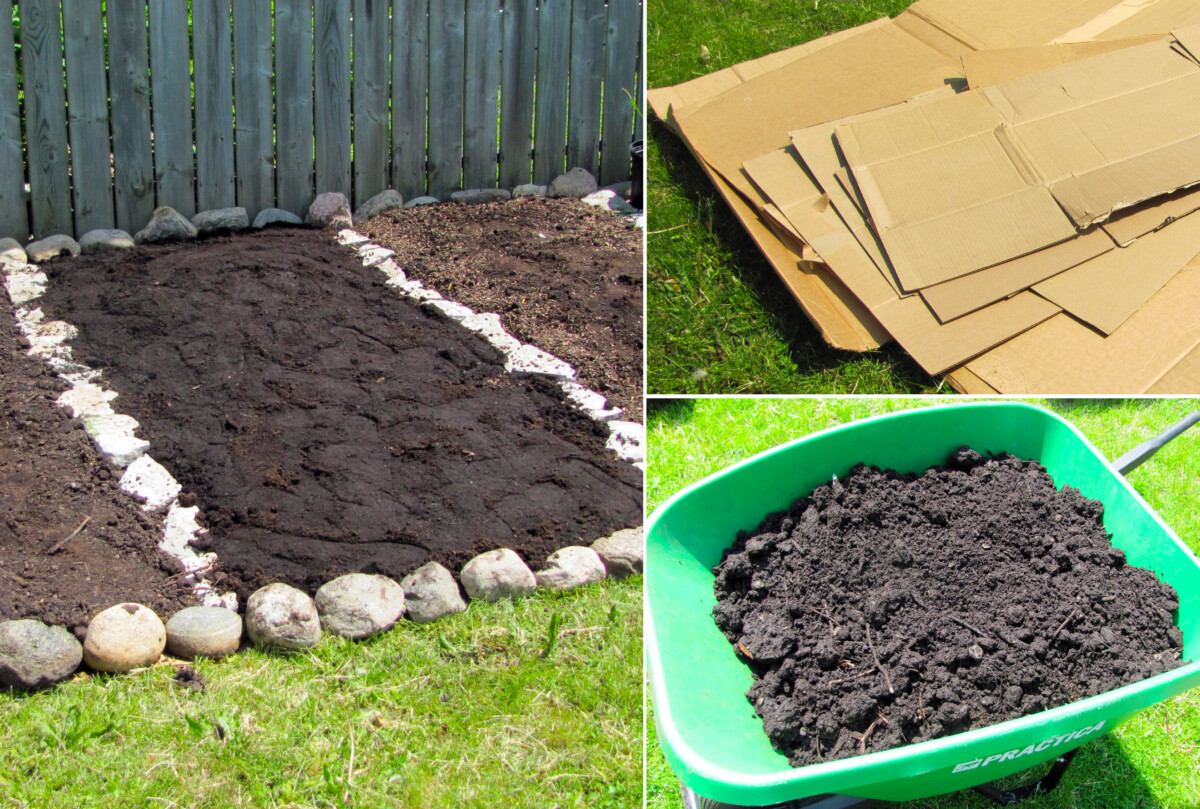
How to Make a New Vegetable Bed on the Lawn
Step 1 – Mow the Grass
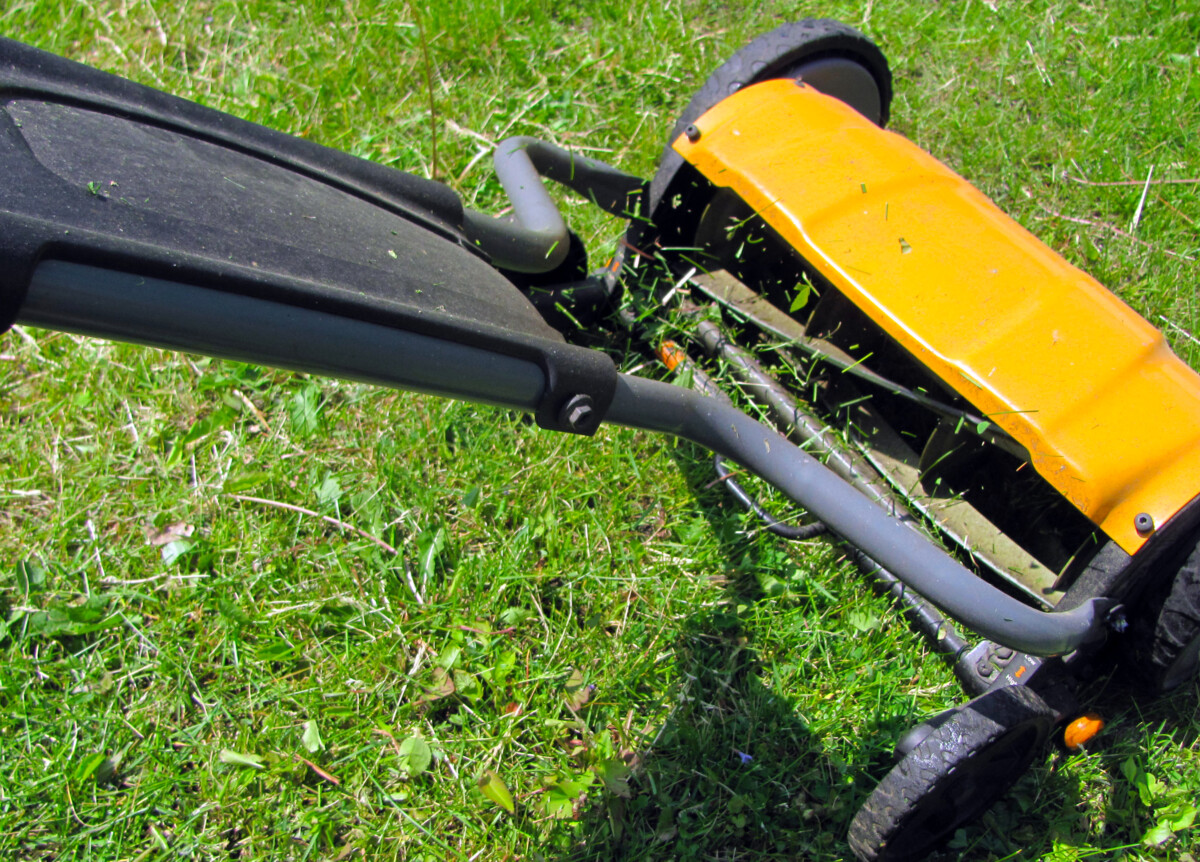
After measuring and marking out my area for the new beds, I hauled out the mower cut down the grass and weeds.
Adjusting the mower blade on the lowest setting will make the cardboard we’ll be laying down sit mostly flat on the ground.
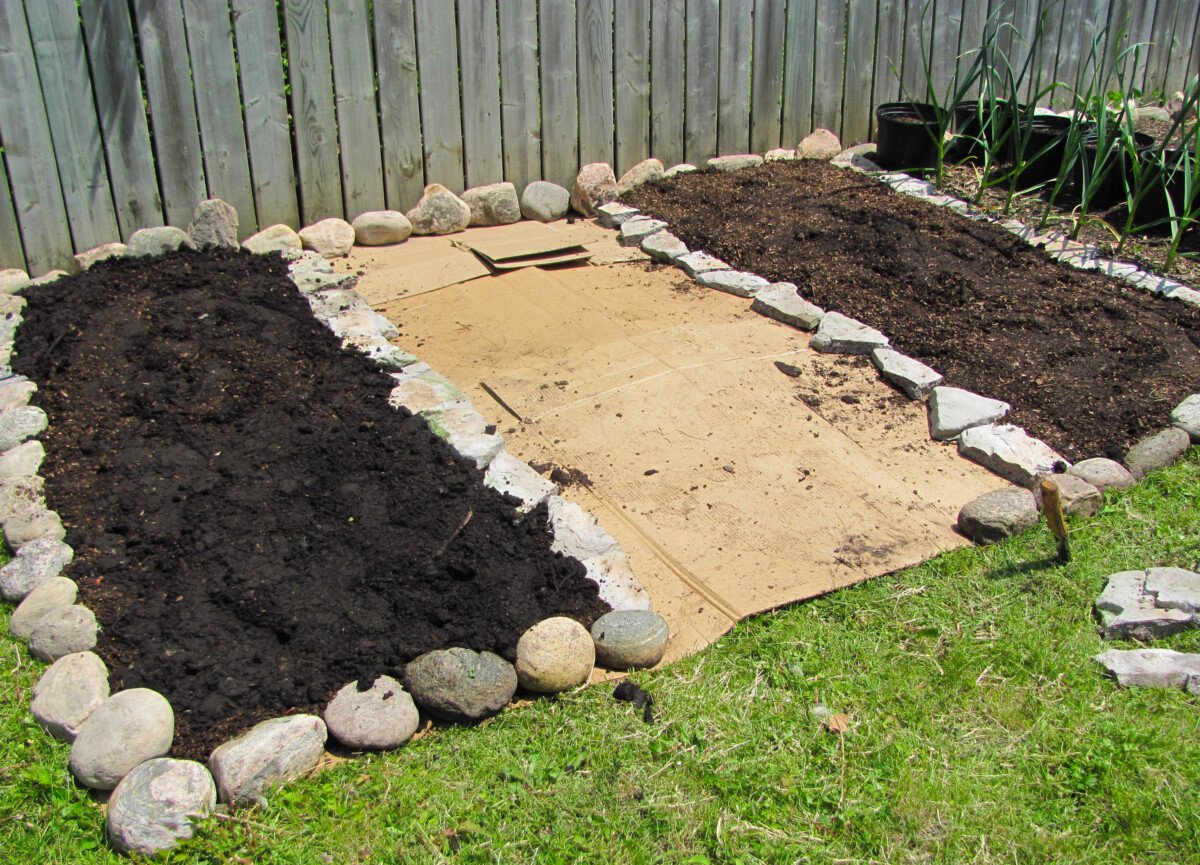
Step 2 – Lay Out the Cardboard
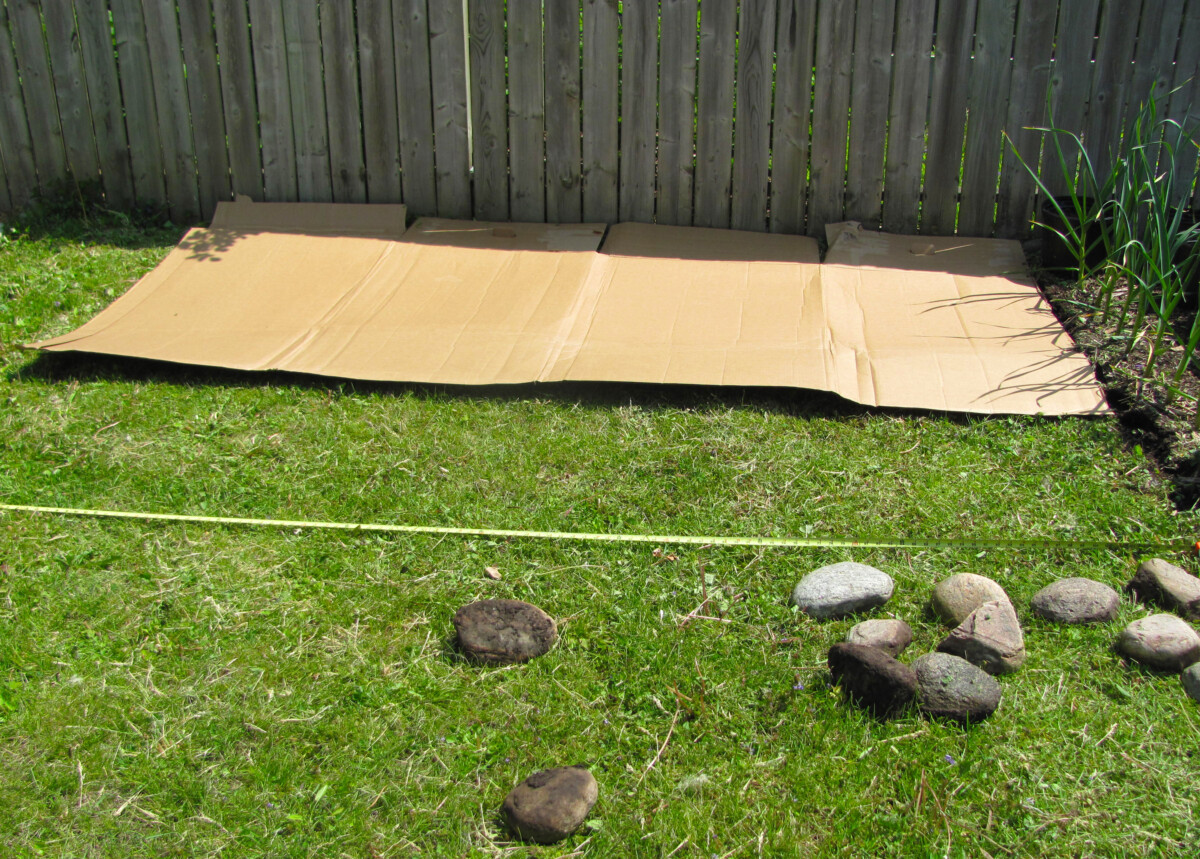
With the lawn freshly shorn, we can start laying out the sheets of cardboard.
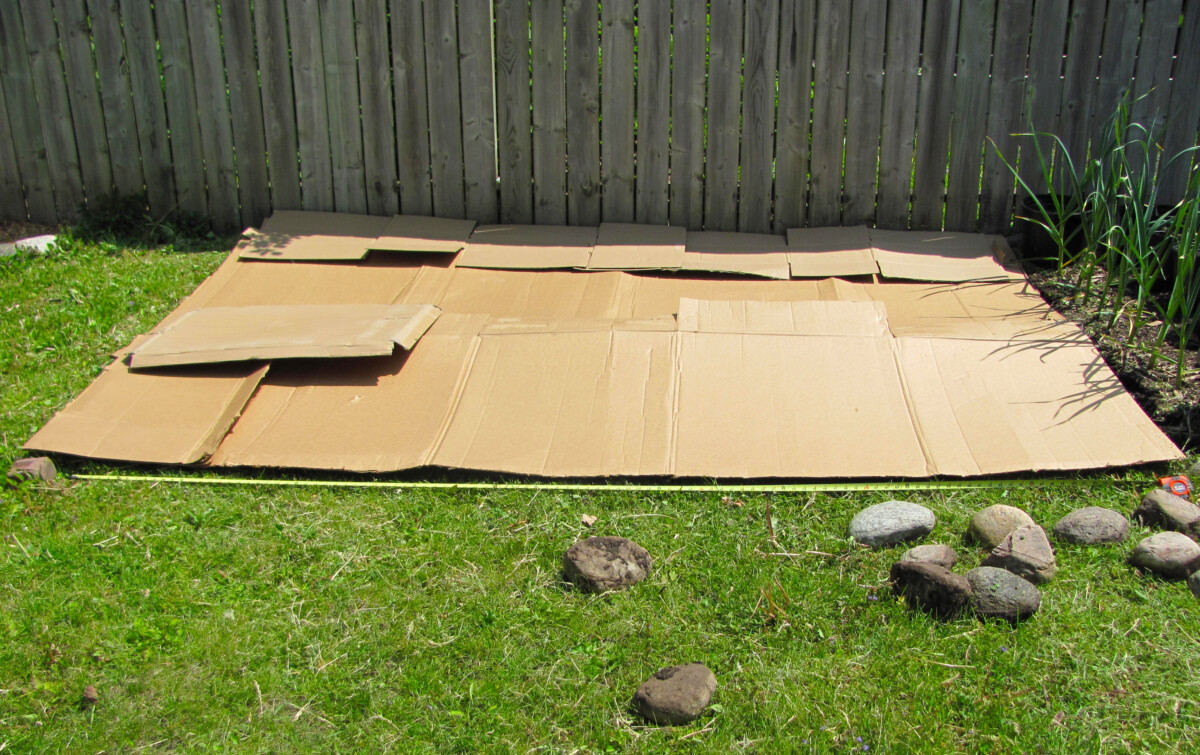
Use the largest cardboard sheets to cover the widest area first. If you only have smaller cardboard pieces, you’ll need to overlap the seams by several inches to ensure the grass doesn’t push up between the sheets.

The cardboard flaps at the tops and bottoms will create small gaps. Cover these up with more cardboard too.
Take your time to layer and overlap the cardboard to plug up all holes and gaps. The more layers of cardboard you add now, the more effective it will be as a weed and grass barrier.
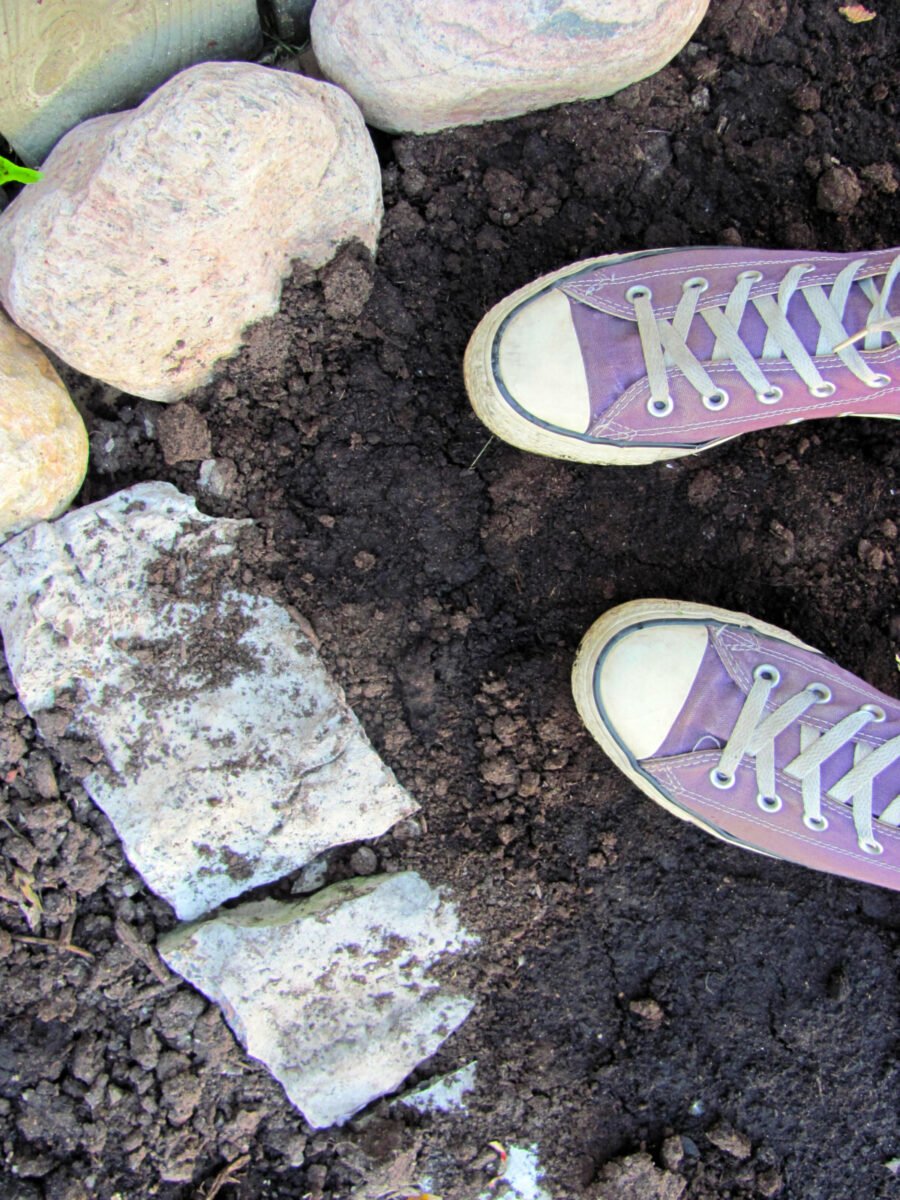
With the cardboard situated, arrange your edging around the perimeter. Place the edging material on top of the cardboard to block the grass and weeds from growing up between them.

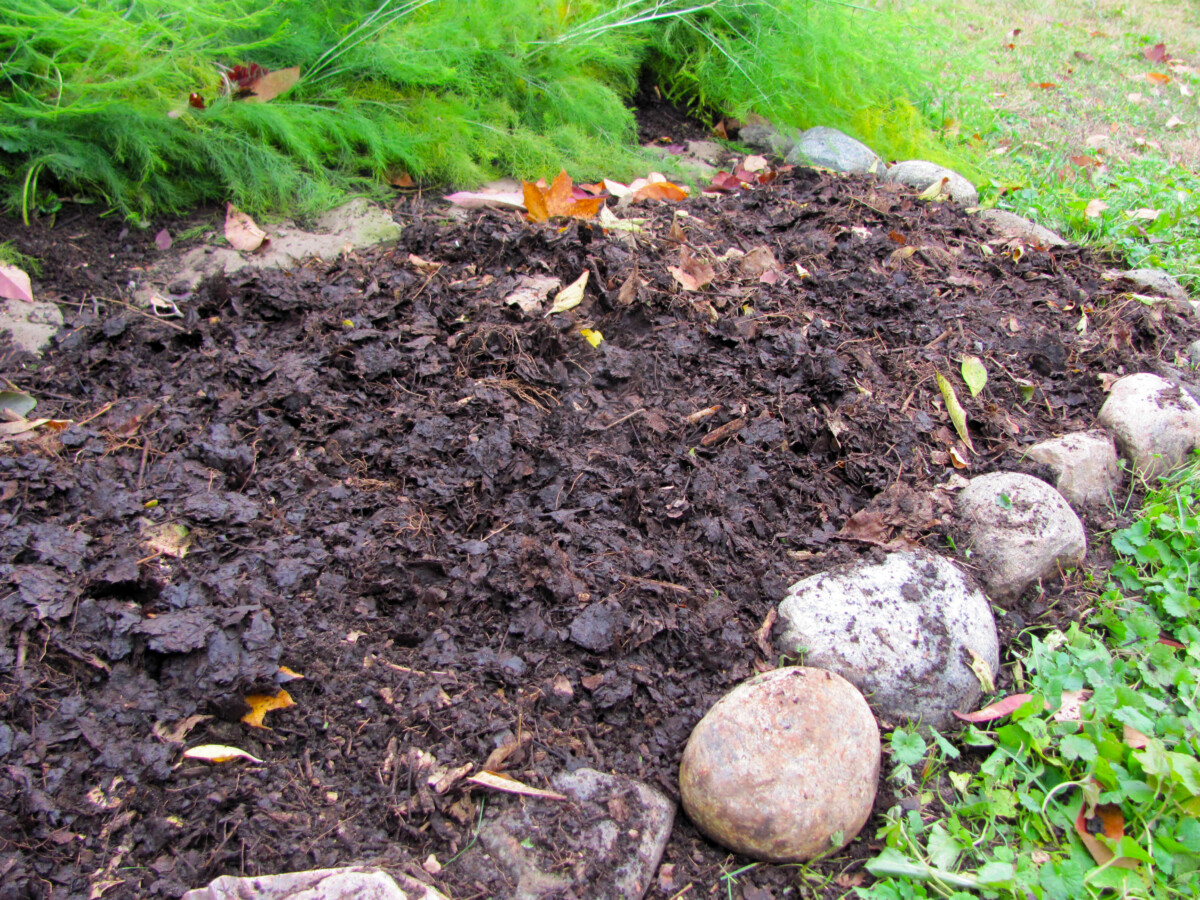
Step 3 – Spread a 4-inch Layer of Compost

Starting at one corner, begin dumping compost onto the cardboard layer.
In between loads, push and pile the compost into the corners and along the sides with your hands. Once these areas are fairly deep, you can start to pile it up in the center.
When you think the beds have reached a 4-inch depth, tamp the compost down with your feet.
That’s right – step all over your bed to firm up the compost. Don’t worry, this won’t cause the soil to compact. Rather, it will level out the bed and press down the compost so it won’t blow away.
Next, measure the depth.
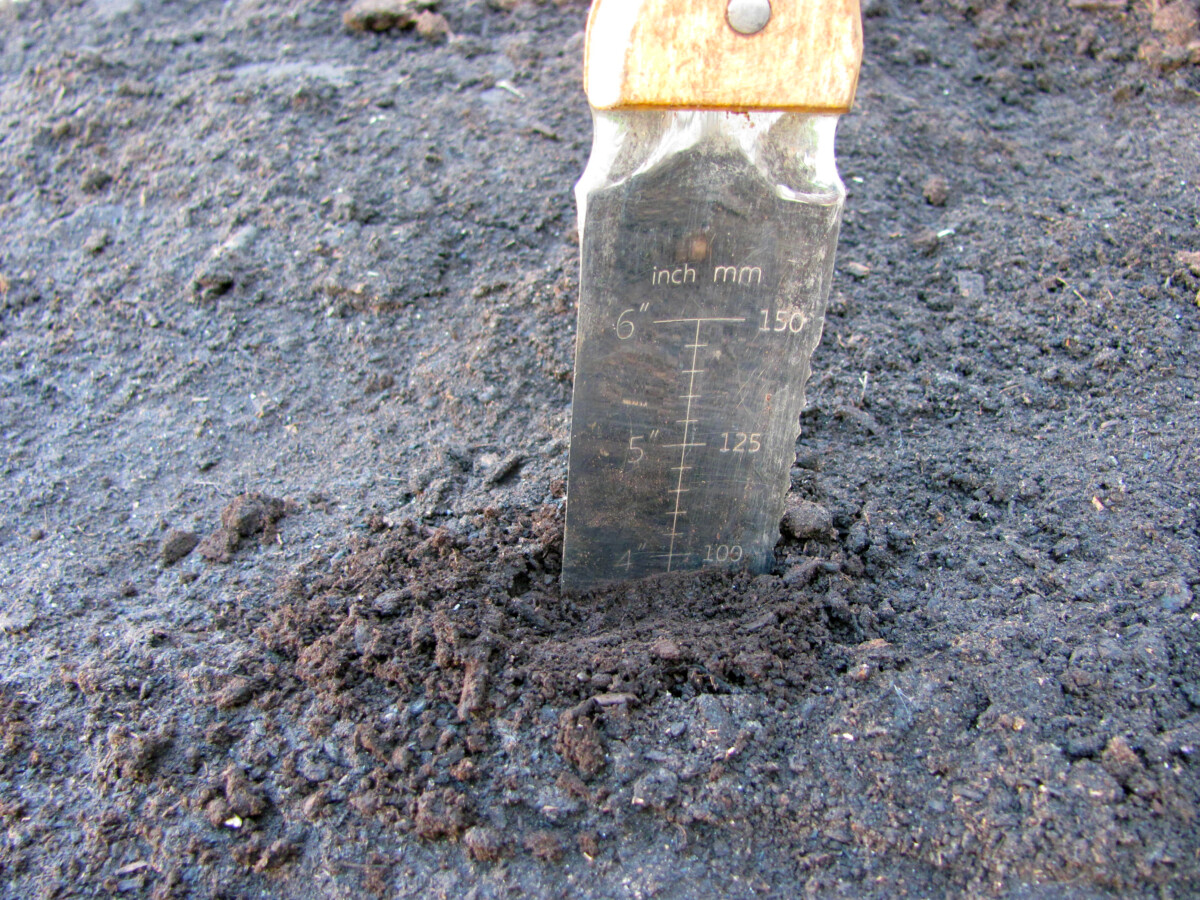
If it’s less than 4-inches in depth, scatter more compost onto the beds. Tamp it down again and re-measure until you hit the 4-inch mark.
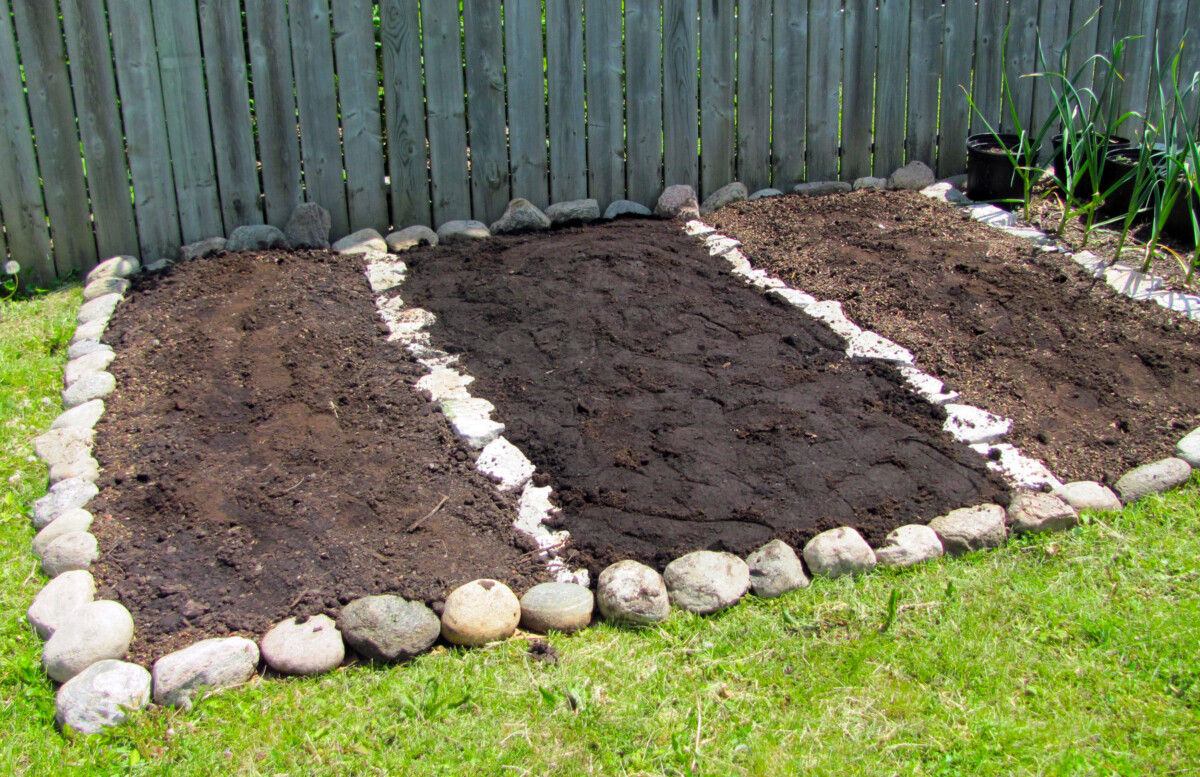
I’m making three beds, so I added the stepping stones as I went along, treading all over the compost.
I love a good garden experiment, so it’ll be interesting to see how the plants will grow using different compost sources. Only time will tell!
Step 4 – Sow and Plant
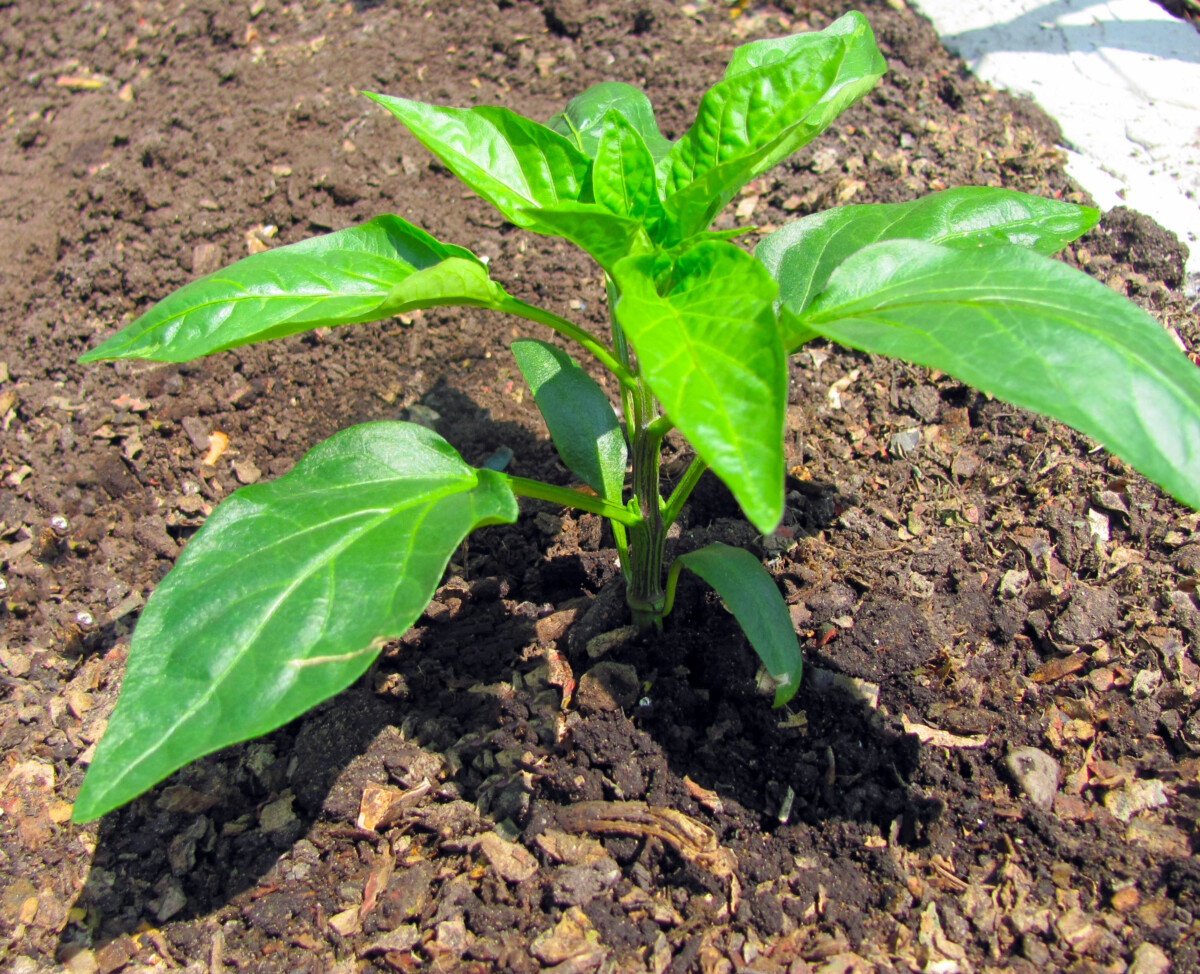
One of the things I love the most about this method is there’s no waiting period before you can plant it up. As soon as the bed is built, I transplant my seedlings and sow my seeds.
When the compost is properly cured, it won’t burn the roots of young plants. As plants mature, their roots will poke through the cardboard layer and grow into the native soil.
Get your veggie starts in the bed by creating a planting hole, only as large as the root ball.
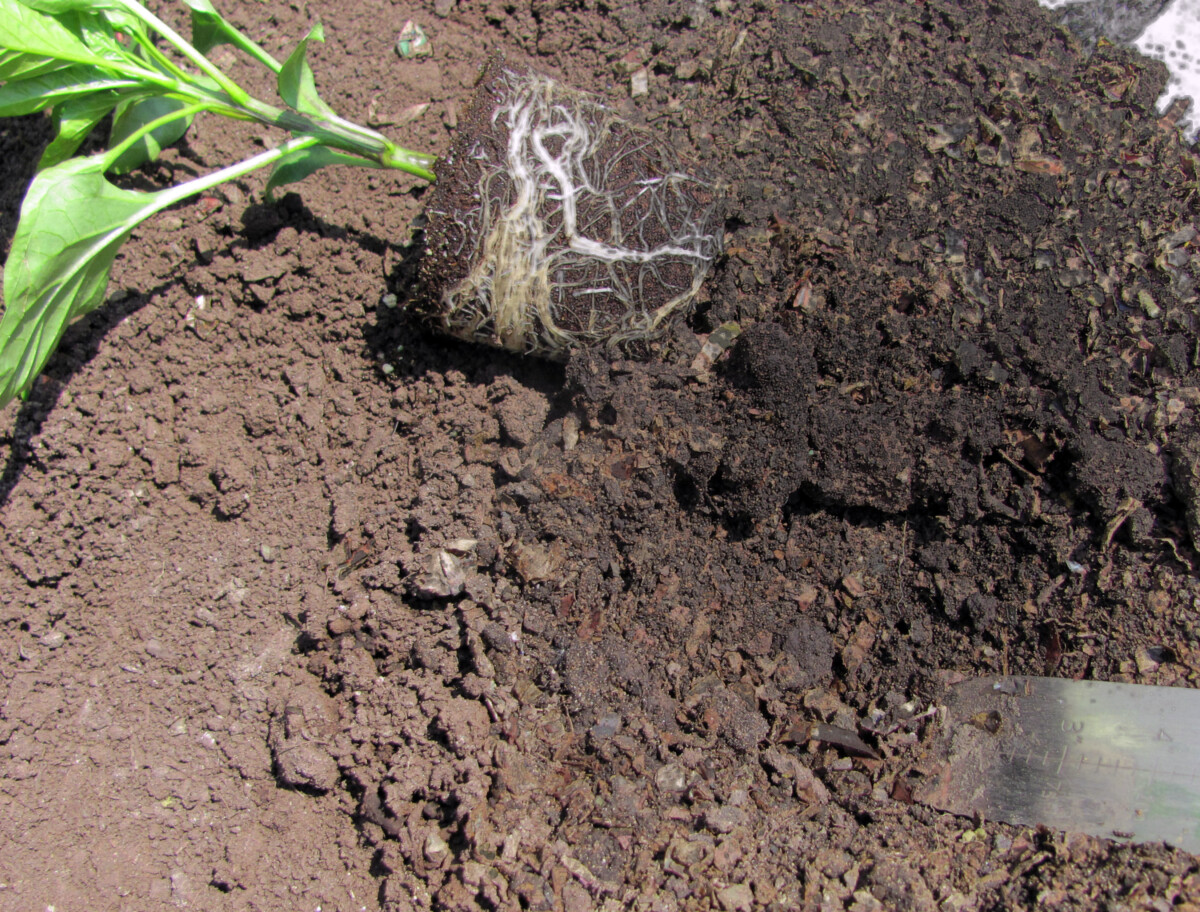
The compost above and the native soil below will all meld together in time. Soil microbes, appearing wherever there is organic matter like compost, will quickly get to work. These garden allies will cycle nutrients and create tiny tunnels in the earth so that water and air will flow through the entire bed.
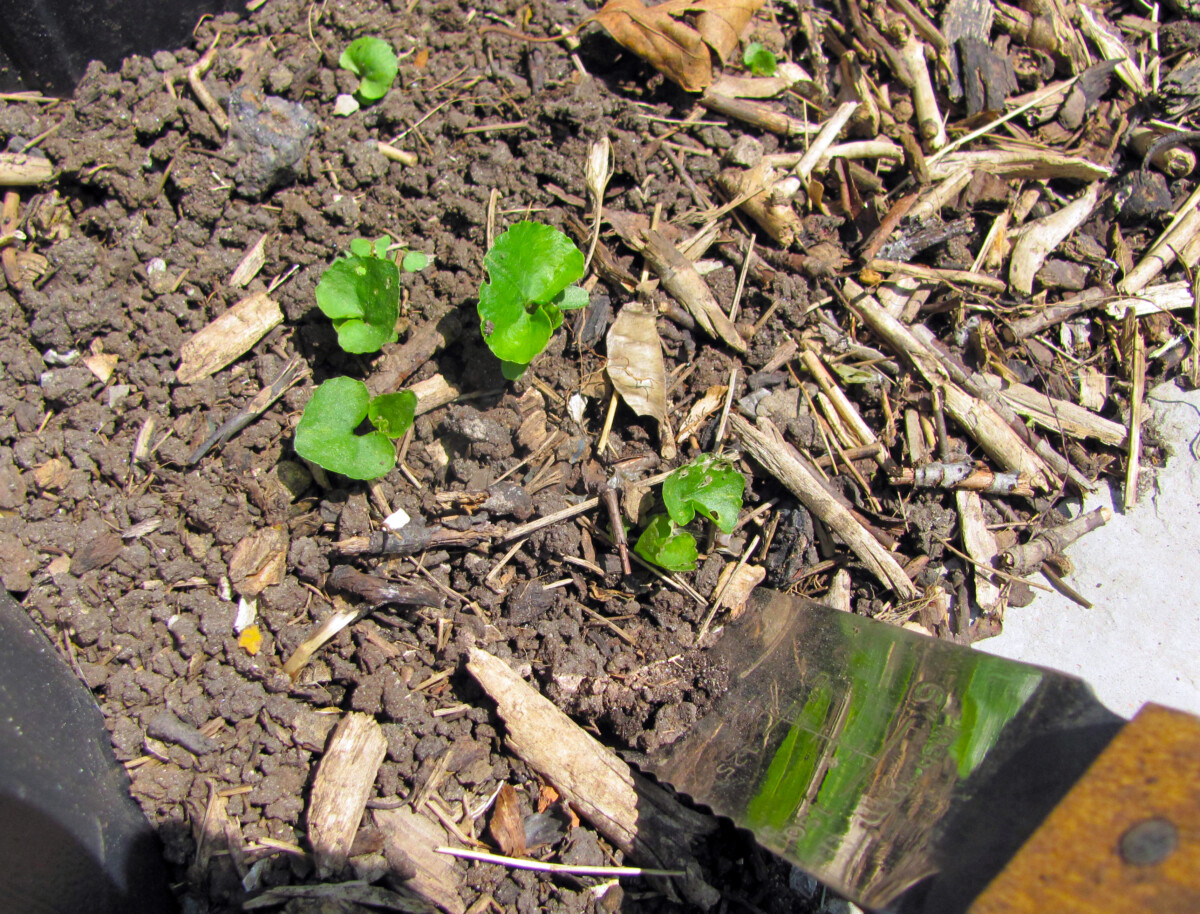
To direct sow seeds, I make trenches with my garden knife. Drop the seeds into the crevice, and then gently push the compost back in place.
Once things are planted, give the entire bed a thorough watering.
Caring for Your Vegetable Beds
Weeds
It takes roughly a season for the cardboard to break down and disappear – and by that time the lawn turf will have rotted away completely.
Still, there are always weeds to contend with. Most of the weeds that take to my beds come from above, blown in with the breeze. These weedy outcrops are tiny seedlings that are easy enough to pull.
Some especially stubborn weeds will make it through the cardboard barrier and come up from below.
To leave the contents of the bed as undisturbed as possible, I gently loosen the soil around the roots to pull them up.
Replenishing Nutrients
In freshly made beds, you shouldn’t need to fertilize at all for the rest of the growing season.
The next spring, I will topdress the established beds with about an inch of fresh compost.
Mulching
In late autumn, I apply a winter mulch to protect the beds from the eroding effects of intermittent freeze and thaw cycles.
Mulching for winter will also preserve our soil microbiome. As a layer of protection against harsh temperatures, mulch will create a habitat for overwintering insects and keep things a little warmer for the rest of the inhabitants of the rhizosphere.

Get the famous Rural Sprout newsletter delivered to your inbox.
Join the 50,000+ gardeners who get timely gardening tutorials, tips and tasks delivered direct to their inbox.