


I’ve spent the past couple of months (basically since the end of the holiday season) counting down the days until I could do outdoor jobs again.
But once the weather turns warmer in spring, my gardening to-do list turns from a blank sheet of paper to a full list rivaling the length of a drugstore receipt.

It’s a pleasure and somewhat of a thrill to decide what to tackle next. This year, I’ve chosen my roses as the first ones due for a spring clean-up. Here’s a quick run-through of the tasks to tackle this spring if you want healthy roses full of flowers this summer.
1. Pick any remaining rose hips.
During the fall cleanup, I make sure to stop deadheading my roses early enough for them to enter dormancy before the temperatures drop.
In a nature-friendly garden, this practice also has another desired side effect. The rose hips stay on the plant throughout the cold months and serve as food for any birds visiting the garden.
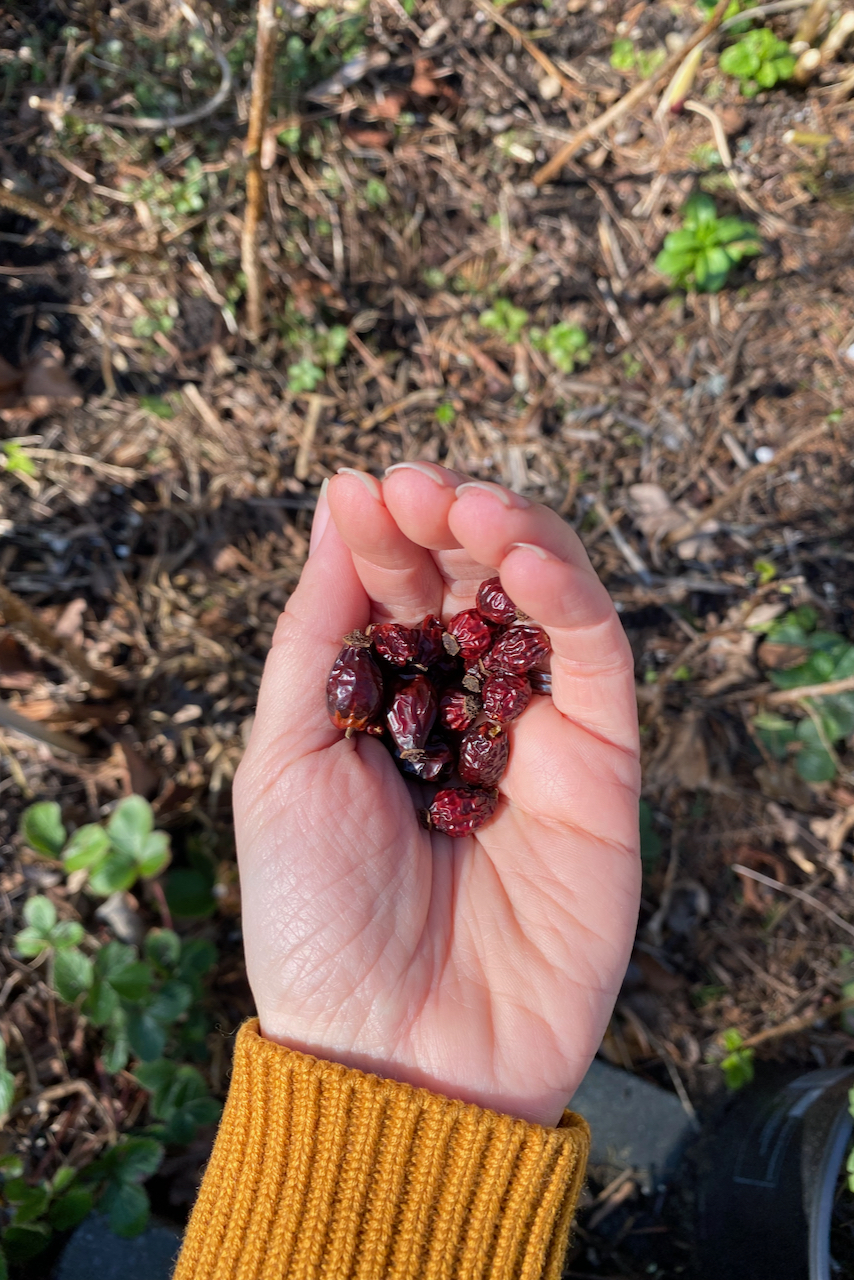
In spring, right before pruning, I pick any remaining rose hips and store them in a jar. By this point, they’ve already naturally dried on the plant. I could, theoretically, start roses from the seeds in these pods – and I’ve done it successfully in the past. This year, I’m content to save them for eating since rose hips are very high in vitamin C.
Rugosa roses and dogwood roses (Rosa canina) have especially delicious rose hips. I try not to eat the hips whole (they have diuretic properties), but use them to make tea infusions, syrups and lemonades.
Related Reading: 25 Brilliant Reasons To Collect Rosehips
2. Give your roses a prune, if needed.
I think of pruning roses in spring as a balancing act of faith. We have to prune them while they’re still dormant before they’ve started to grow again. But at the same time, we shouldn’t prune them if there’s a chance the canes might freeze soon after. Some gardeners prune roses in late winter, but I prefer to wait a bit longer and not hop on the pruning bandwagon until spring.
Whether your roses need spring pruning will depend on several factors, such as the type of rose, its location, age, and size.
I wrote an in-depth guide to pruning roses in spring. The article also includes the exceptions – roses that we prune in summer, right after flowering. But in a nutshell, here’s an easy way to remember how to prune that will apply to most roses.
Pruning roses 101
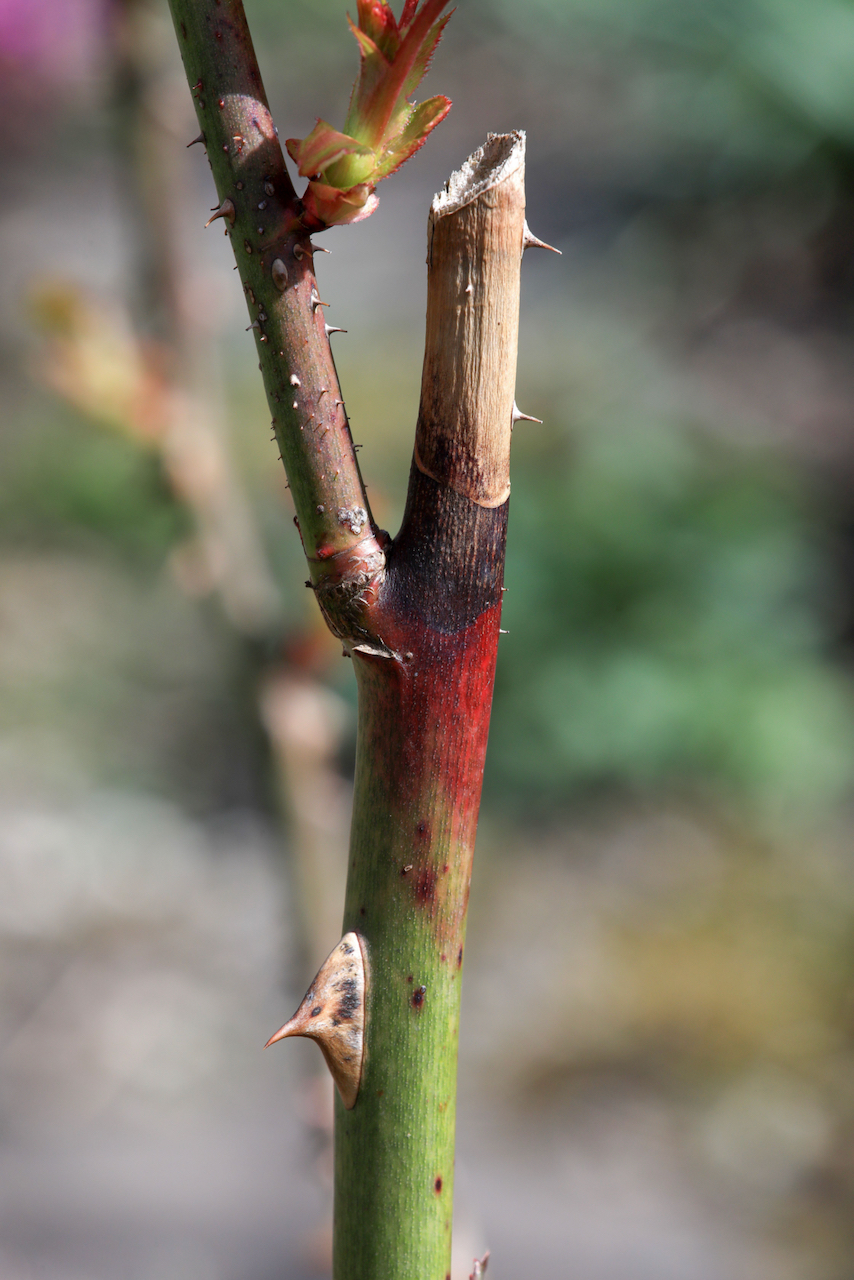
- Remove the 3D branches (dead, diseased and damaged). Basically, cut away everything that looks brown, black, cankerous or damaged by winter windrock.
- If two or more branches are crossing, keep only one of them. When the branches rub against each other, they cause lesions that may let in disease and weaken the plant over time. The best practice is to remove crossing stems that are growing inwards. If none of them are pointing towards the center, keep the one that looks stronger and remove the weaklings.
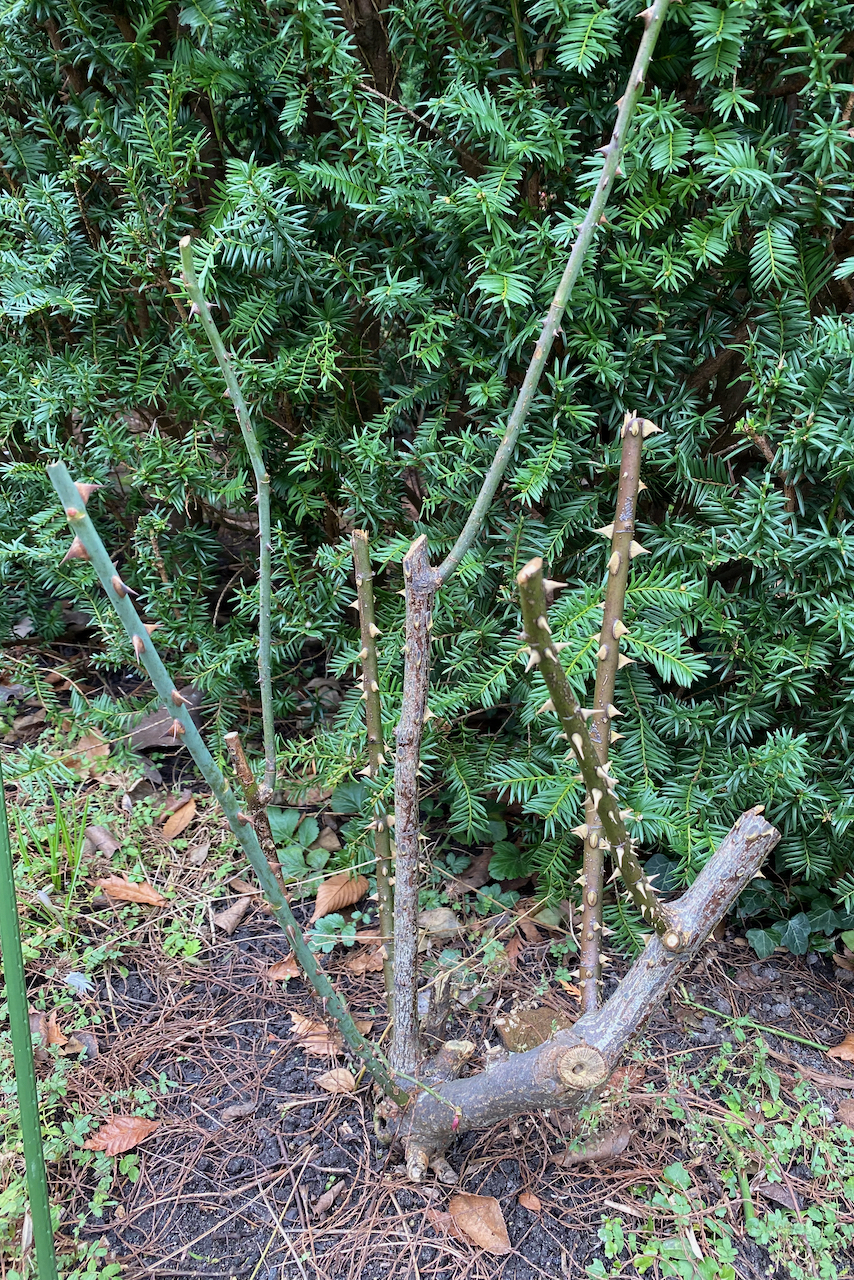
- Remove a couple of old branches to open up the plant. This advice only applies if your roses are mature enough to have old branches.
- Reduce the remaining stems by about a third to half in height, aiming to leave at least 4-5 inches (10-12 centimeters) of the previous year’s growth in place. The final height of the rose largely depends on personal preference, as well as the type of rose and its location. In my garden, I keep the canes around 25 inches tall (that’s roughly 70 centimeters), although you could certainly go lower for a harder prune.
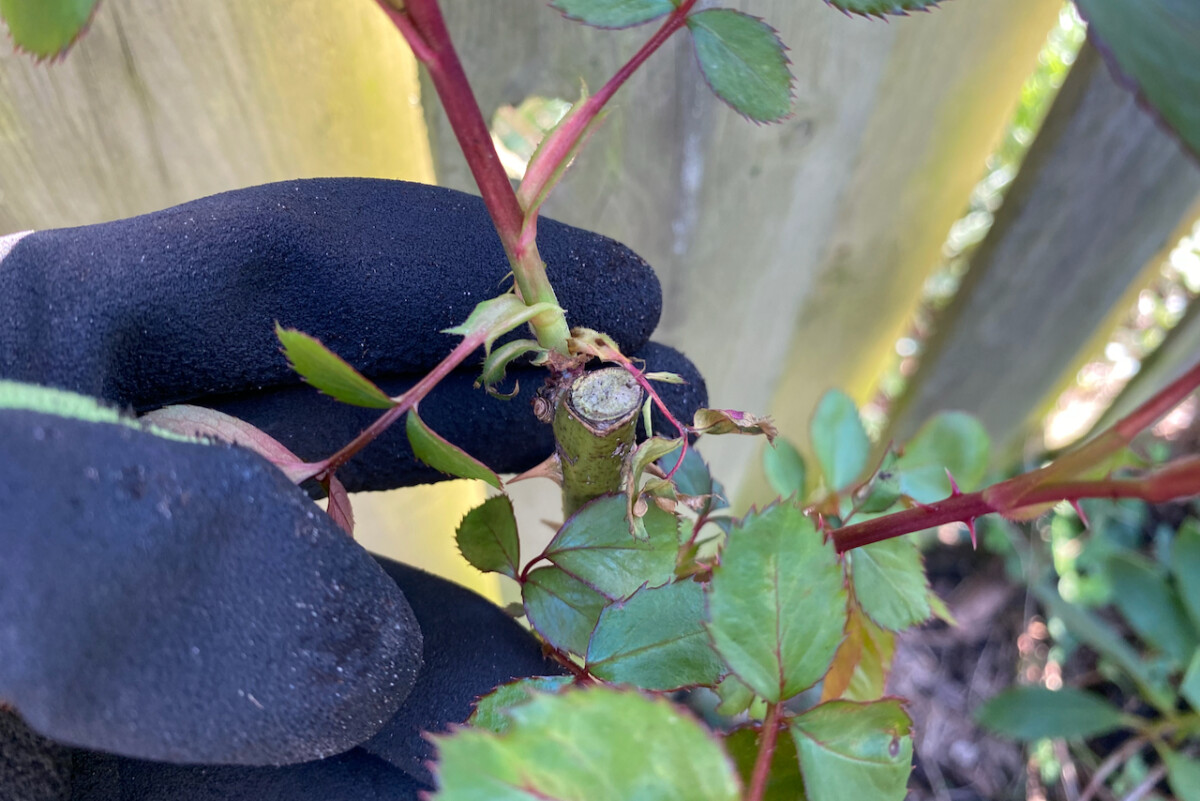
Remember that when you prune a rose, you must always cut right above an outward-facing bud. This ensures that the new growth will shoot outward, which, in turn, keeps the plant open. An open framework is not only aesthetically pleasing, but it promotes good airflow and quick drying, thus reducing the risk of fungal infections.
3. Propagate your pruning cuttings.
I know that we gardeners truly hate waste. We’ll take every opportunity to “see what grows.” So in the interest of salvaging some of our rose prunings, spring would be the best time to try to turn them into new plants.
Obviously, only work with the strongest branches you’ve removed from your rose shrubs.
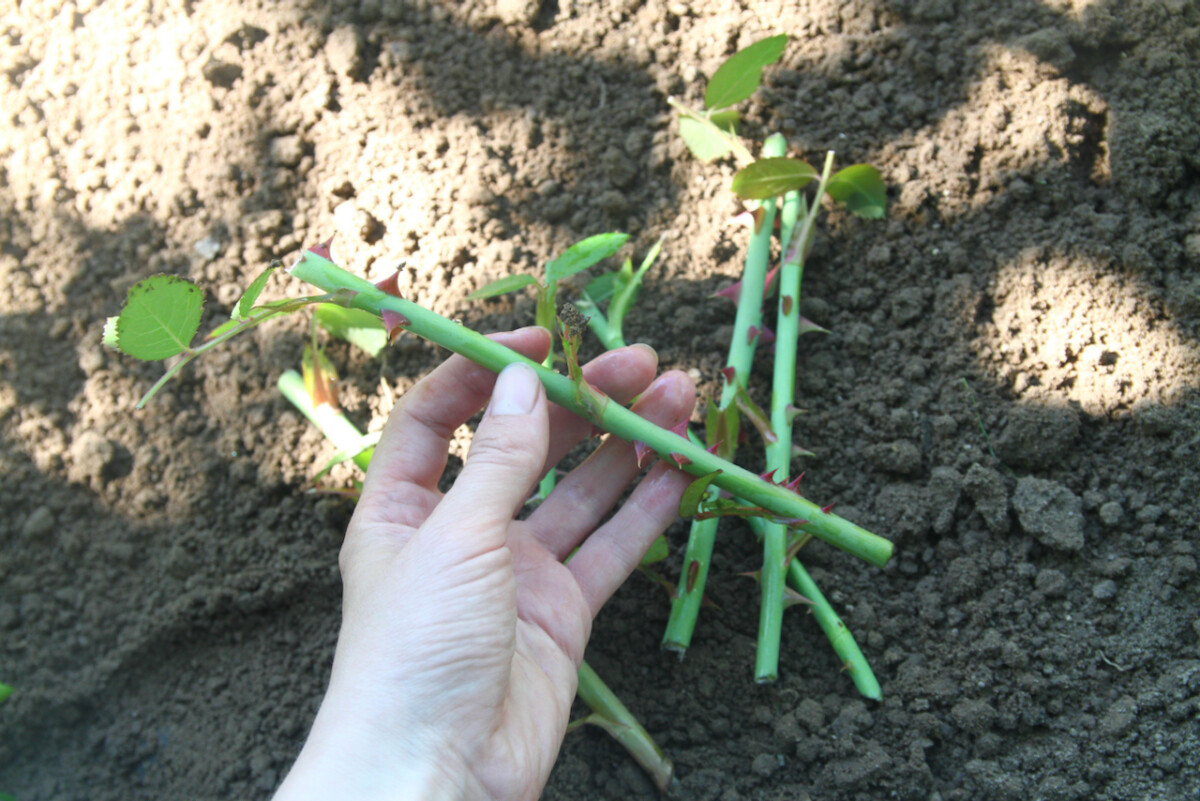
Choose semi-hardwood stems to serve as cuttings.
Then trim them down to about 20 inches, cutting right above a node at the top and right below a node at the bottom. You can remove most of the leaves or new growth from the plant. You want to encourage the cutting to direct all its energy on developing a root system, rather than on continuing to grow new leaves.
You can dip the bottom of the cuttings in rooting hormone (or go without), then stick them in a pot with free-draining soil. Depending on how late in spring you’re doing this, you could also plant the cuttings straight into the ground.
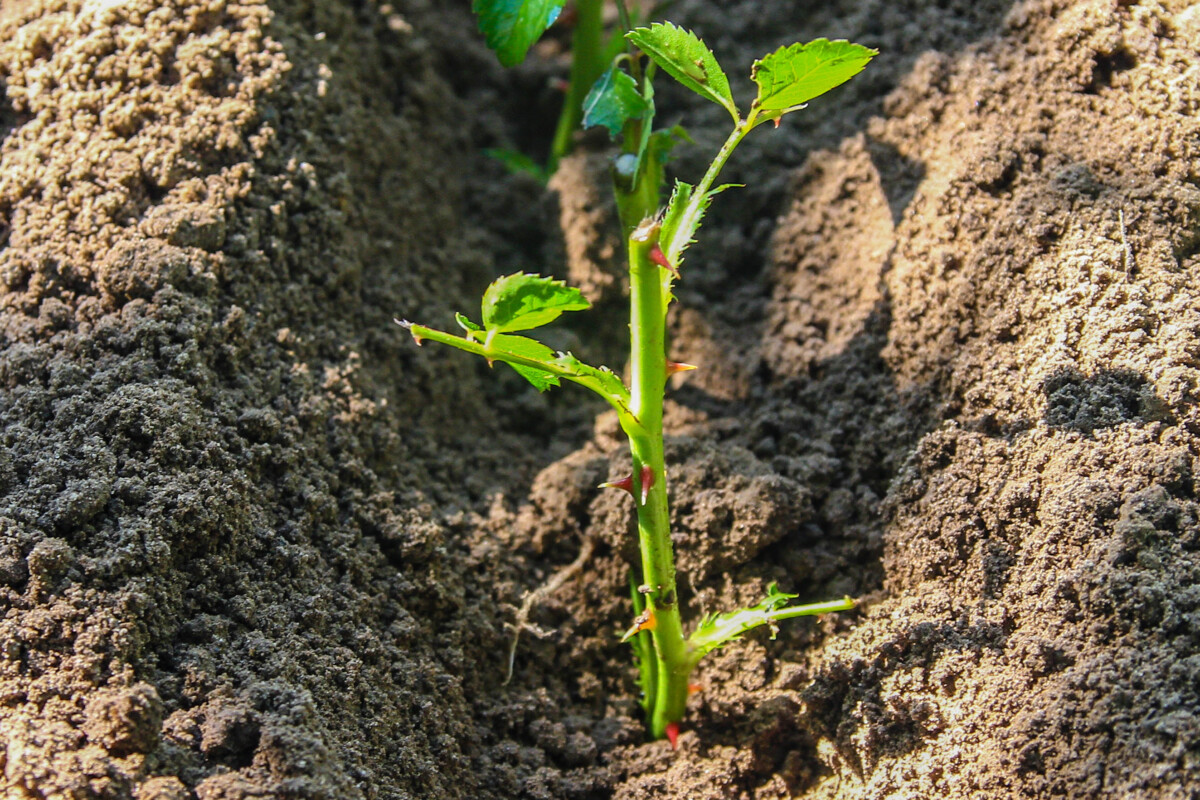
The trick with rooting straight in the garden is remembering to keep the cuttings moist over the coming months in order to encourage root production.
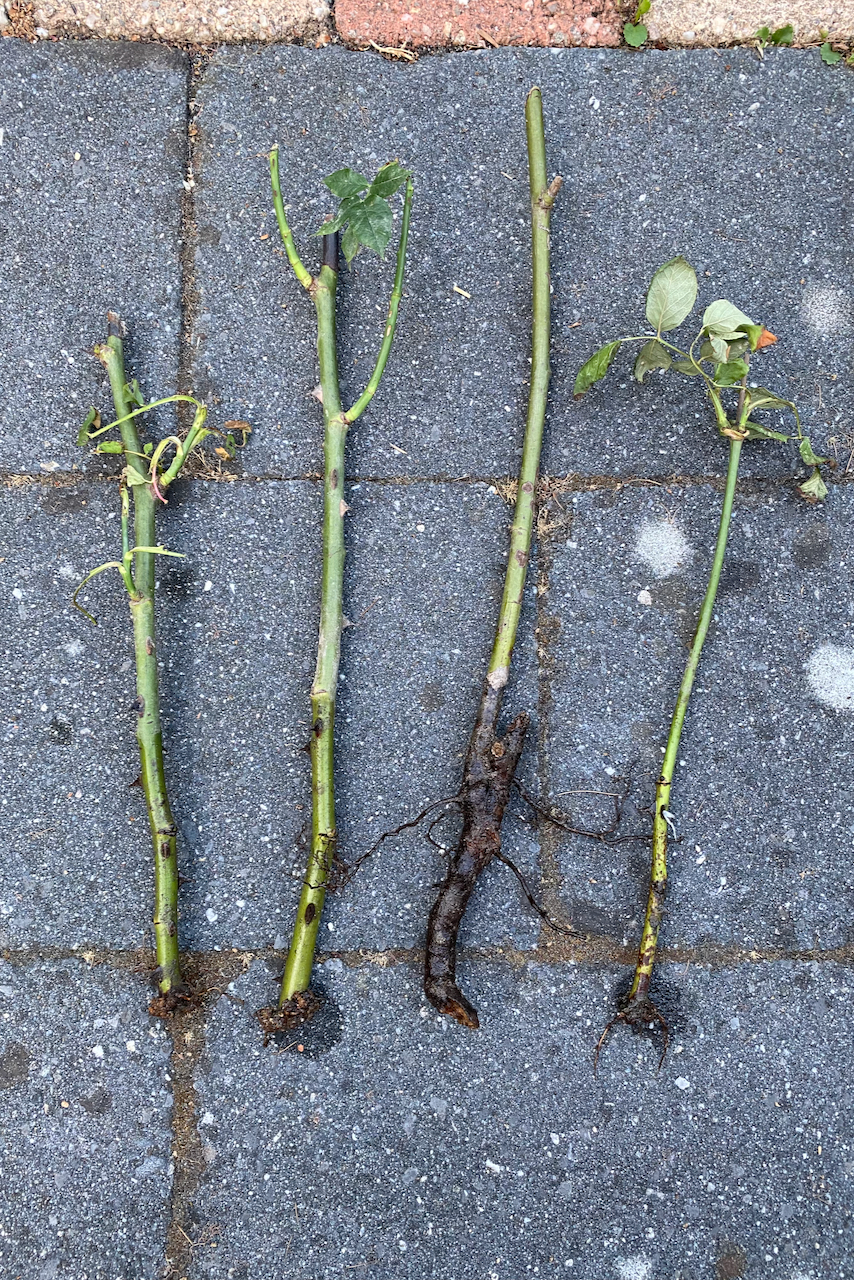
I’ve never had a one hundred percent success rate with cuttings, especially with roses, so I tend to propagate extras. If one in five cuttings makes it into a new fully-fledged plant, then I’d consider that a success.
4. Clean up the soil under your roses.
Now that the roses are pruned and we can see what we’re doing without getting poked in the eye, it’s time for some soil maintenance.
I start by removing all the dead leaves around the base of the plant. They were serving as mulch over the winter months, but it’s time to get rid of them in spring. This is especially important if you’re dealing with fungal infestations in your rose beds.
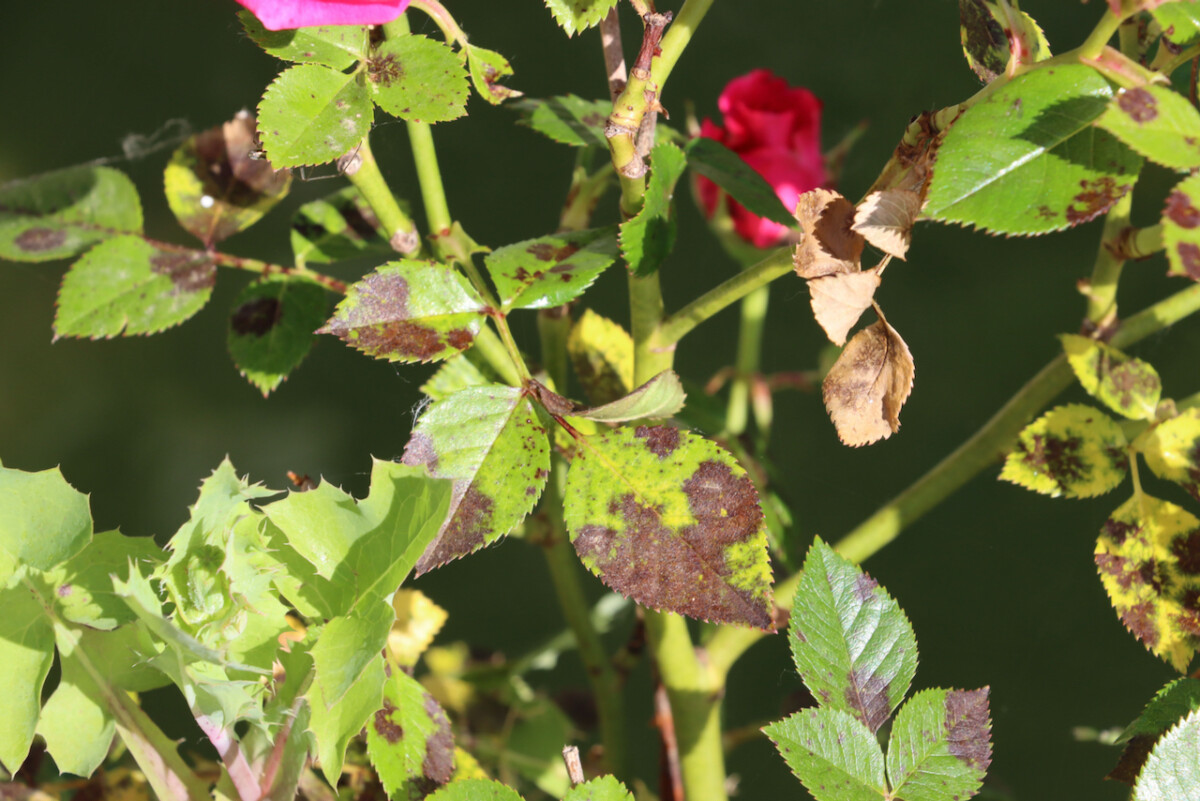
The very common blackspot spores will generally overwinter on the leaves (even on the fallen leaves). There’s a high chance it will reinfect the new growth if we don’t clean them as much as possible. So in spring, I collect all the debris under my roses and dispose of it with the household waste. Adding it to my compost would just be asking for trouble.
5. Dig in fresh compost and add mulch.
Now that the ground has been cleared, it’s time for a little refresh. This is when I spread some fresh compost around the base of the rose. I don’t pile it up too high on the stems, just lightly dig it in all around.
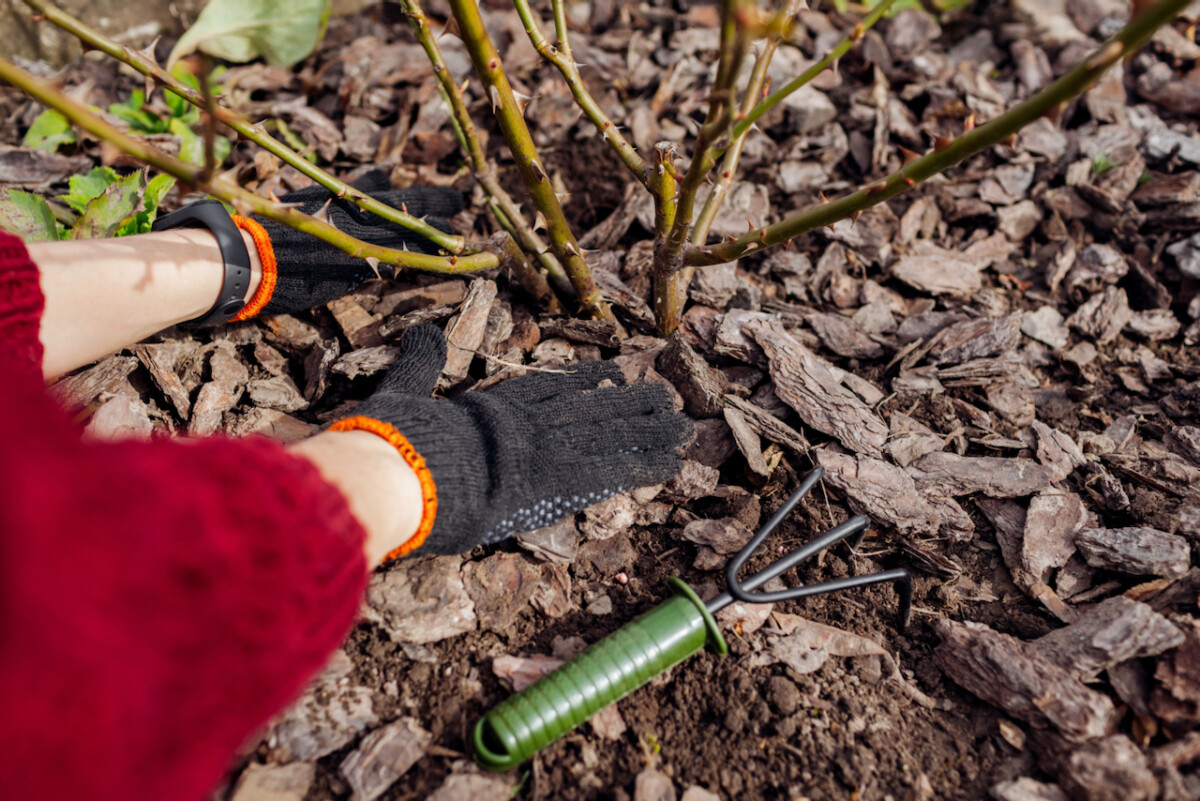
You can use compost as a mulch; or you can mulch with something else for a more aesthetically pleasing look, such as bark, pine needles or hardwood chips. Over the course of the growing season, this mulch will serve a few purposes.
- It will insulate the roses if we get any more cold spells this spring;
- It will reduce the fluctuations in soil temperature;
- It will reduce water evaporation during the hot months;
- It serves as a weed suppressant.
6. Tie back climbing roses.
If you’re growing climbing roses, this is a reminder that you should tie them back or retie them every year. If you’ve pruned your climbing rose, that will become obvious.
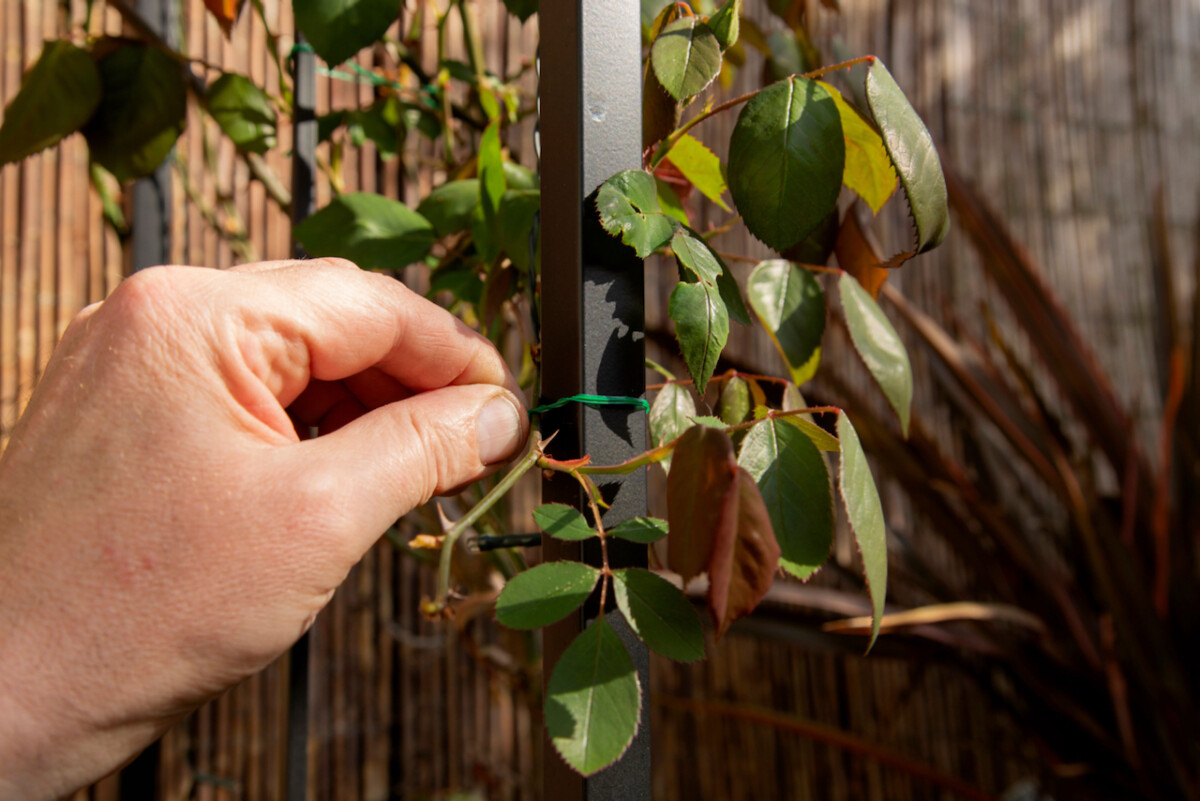
But even if last year’s ties are still in place, it’s a good idea to secure the roses again.
I use twine because it’s softer than wire and doesn’t damage the canes. The downside is that it’s biodegradable, so every spring, I re-tie my climbing roses horizontally to encourage more flowers. I always keep the ties loose enough to allow for the cane to plump up over the growing season.
It may sound overwhelming if this is the first time you’re doing spring care for roses. But remember that you don’t have to do it all in one go. If you spread it over a couple of weekends, you’ll be done in a few hours. And come summer, all those roses in bloom will make up for your spring efforts.

Get the famous Rural Sprout newsletter delivered to your inbox.
Join the 50,000+ gardeners who get timely gardening tutorials, tips and tasks delivered direct to their inbox.