

I wrote this post after many, many years of failing at making sourdough bread and maintaining a sourdough starter. It took me years, tons of research, and experimentation to find out where I was going wrong and how to fix it.
And I’m happy to report I have finally fixed it.
I’m finally to the point, after more than 10 years of attempting sourdough, that I’m getting great results every time, and have been keeping my sourdough starter alive and thriving for more than a year.
All those failures have inspired this post. I hope you can learn from my years of mistakes so you can get to the point of making delicious sourdough bread at home much quicker than I did.
Maybe you’re making just one or two of these mistakes, or maybe you’re making all of them like I was. Either way, these tips should steer you in the right direction.
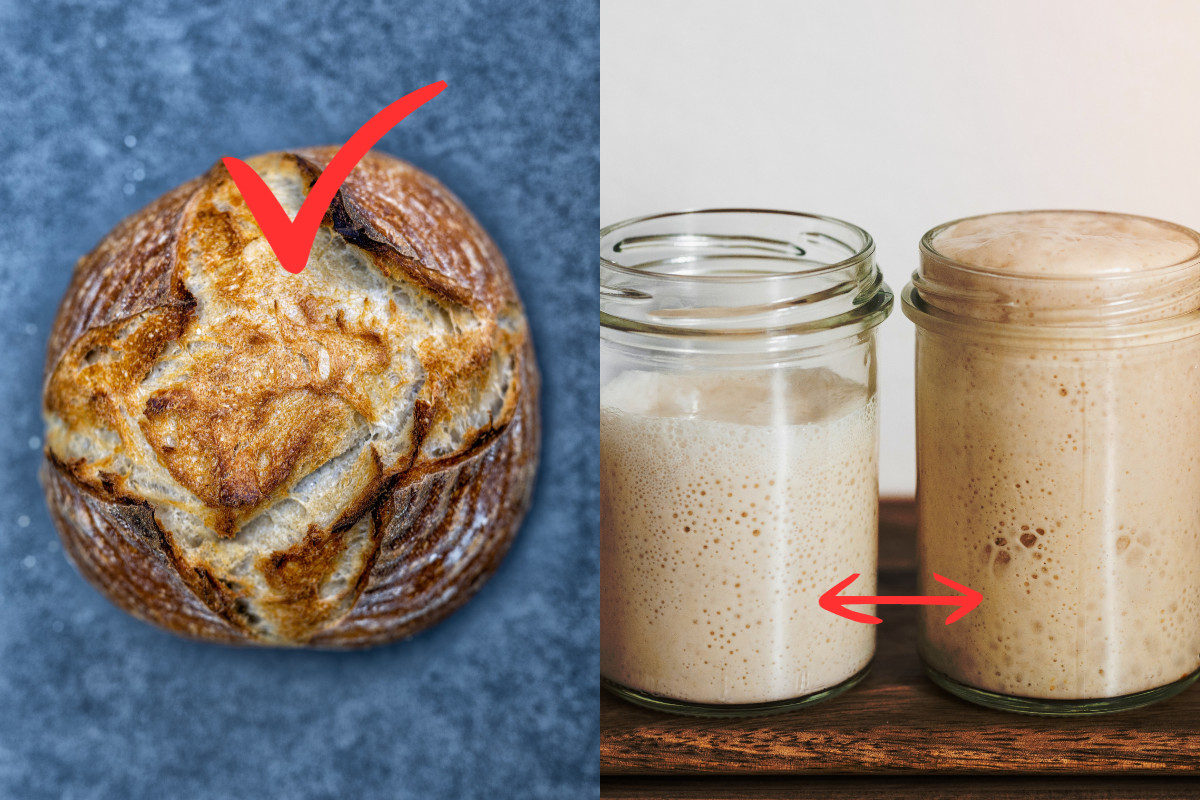
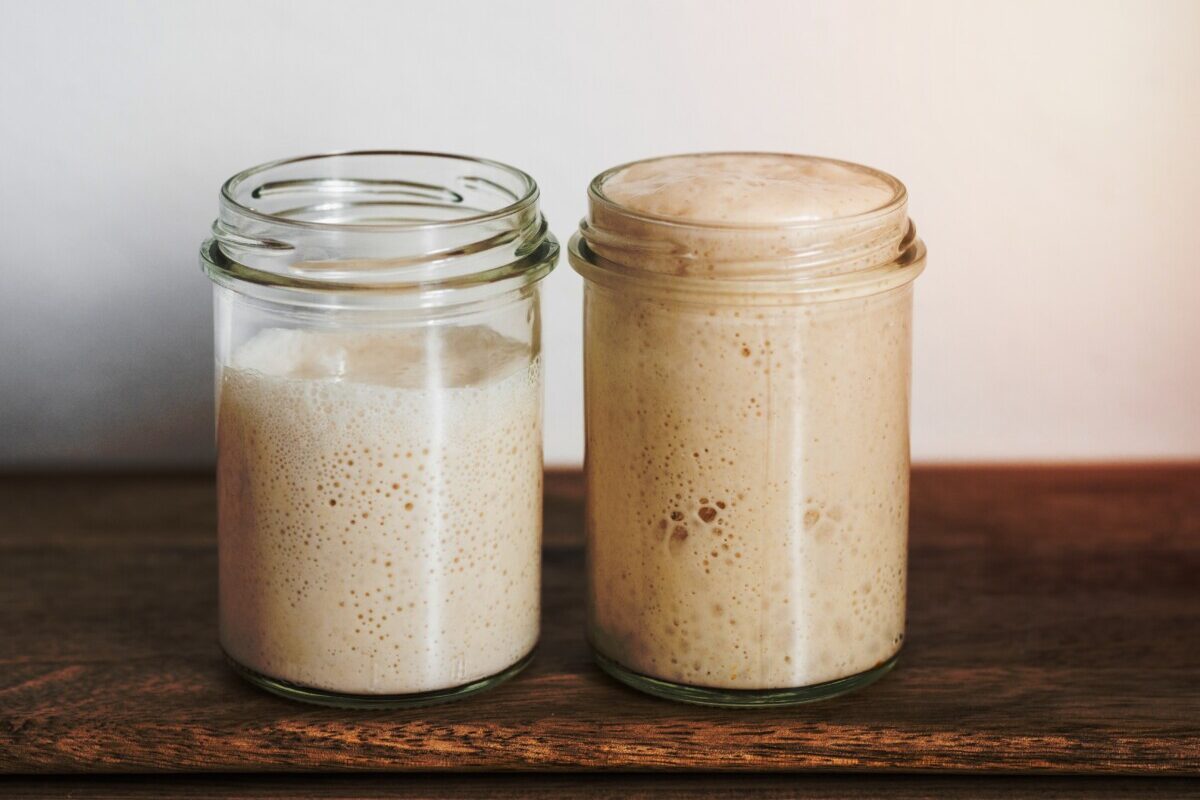
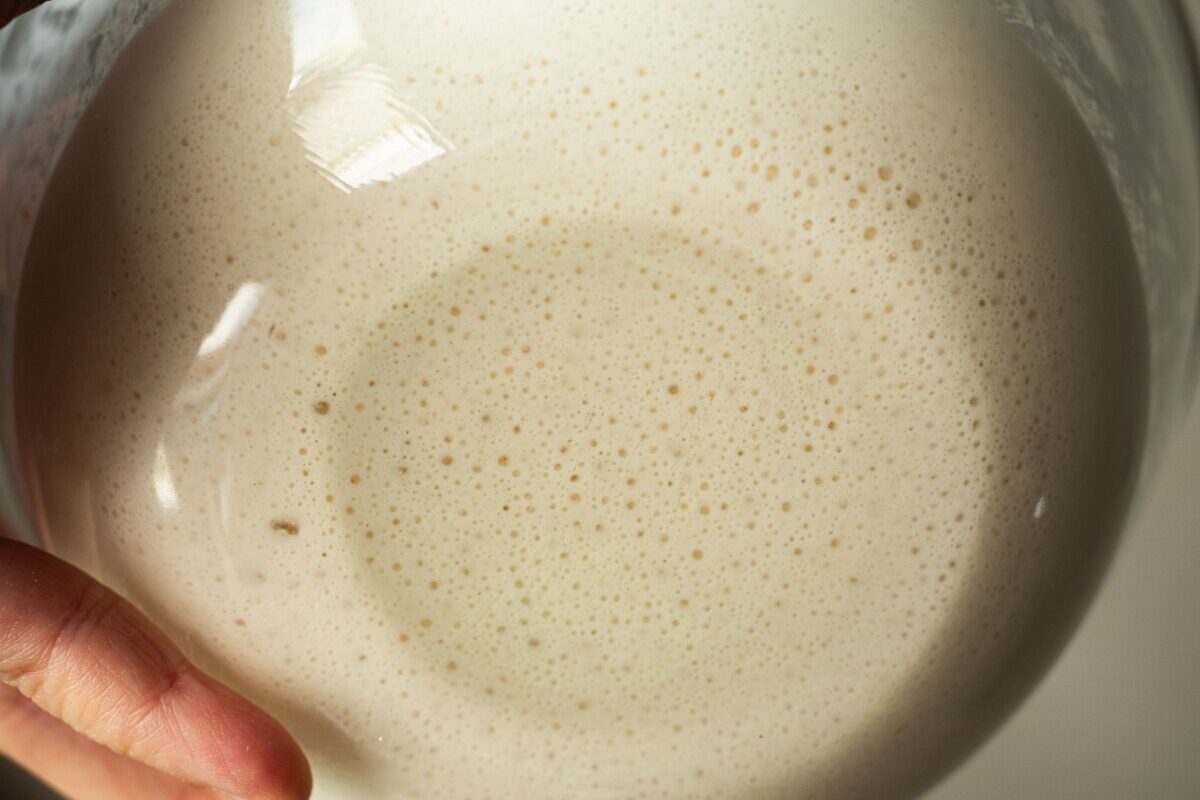
1. Your Starter is the Wrong Consistency

I used to make my sourdough starter the consistency of a thin pancake mix, and it was always going bad, getting too sour, and not rising when I’d make my dough.
Then I learned that the consistency should be much thicker; you shouldn’t be able to easily pour it out of its container; it should be a halfway mix between pancake mix quality and actual workable bread dough.
Ever since I made this change, things have been going much better. My starter doesn’t get so hungry because it has more flour in the ratio, and it lasts much longer between feeds.
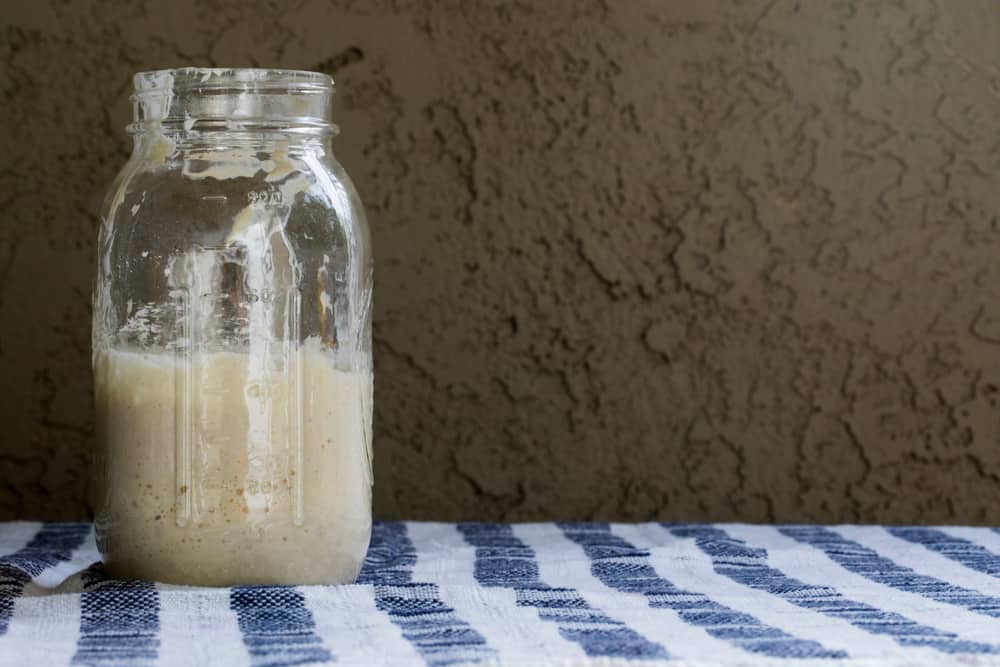
2. Not Feeding the Starter Frequently Enough
Is there a chance you’re accidentally starving your starter?
Sourdough starter, especially in the first few days and weeks, needs very frequent feedings, sometimes multiple times per day. The yeast and bacteria are hungry and need to feed in order for your bread to rise and taste delicious.
3. You’re Making a Sourdough Starter from Scratch
I’m not saying that it’s impossible to make your own sourdough starter successfully, but if you’re brand new to this, it’s way easier to buy a sourdough starter than it is to start from scratch.
There’s such a steep learning curve when it comes to making your own bread, and if you’re skipping the yeast and making your own starter, it’s even harder.
Personally, I found it was really difficult to know if I was doing it right or not.
Having no experience making my own starter, trying to make one with just a bag of flour and some water was a bit too much for me. But if you want to give it a go, here’s how you can make your own sourdough starter.
I didn’t find success until I purchased a sourdough starter online and simply rehydrated it and fed it. I bought my sourdough starter online from Homestead and Chill and followed her blog directions precisely for how to rehydrate it. Then also followed her instructions for baking a sourdough boule, and it worked perfectly.
Speaking of which….
4. Not Following the Directions Exactly
This was a big mistake I made over and over again. I didn’t understand for the longest time that baking is so much different from cooking.
When cooking, you can kind of fly by the seat of your pants, you can experiment, change ingredients, change amounts of ingredients to your taste, and it usually works out just fine.
In baking, not so much. It’s so important to follow the directions on any given recipe exactly. Adding in just the right amount of each ingredient at the right times, following resting and rising times as closely as possible, and following the baking instructions.
Baking is chemistry; it needs to be done with the right things and in the right order to get it just right. Wait until you’re a few years into baking bread before you start experimenting.
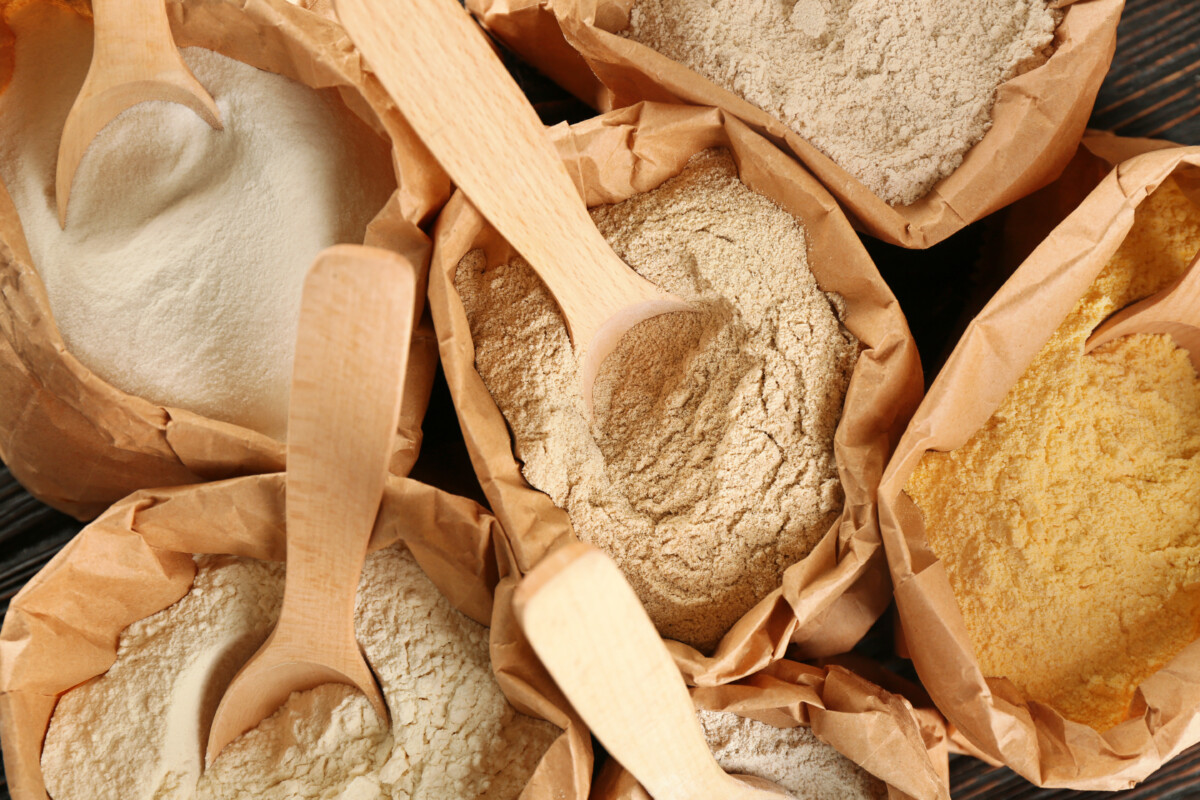
5. Feeding the Starter the Wrong Kind of Flour
I did this one lots of times over the years.
Flour is flour, right? Wrong.
There are so many different types of flour out there, and it does make a huge difference in your sourdough success, especially within the first few weeks.
After your sourdough starter is established, you can play around with adding some different types of flour, but for the first few weeks, stick with the basics. Baby sourdough starters are delicate, fragile little ecosystems that need just the right amount and type of everything in order to survive.
Don’t use bleached flour, wheat flour, rye flour, or any of the other types of flour out there.
Plain white all-purpose flour without any weird additives is the best thing to use for sourdough starter.
If you want some extra gold stars, you can use bread flour, which has higher protein and will help create stronger gluten development. If you want a high five on top of your gold stars, use organic flour.
But truly, all-purpose unbleached white flour will do the trick.
Related Reading: 8 Easy & Delicious Sourdough Discard Recipes
6. Adding Water That’s Too Hot
Many people suggest adding warm water to your sourdough starter or bread dough to encourage it to ‘wake up’ quicker, and it does indeed work, but only if the water is the correct temperature. Adding water that’s too hot can kill the yeast in the starter, meaning your bread won’t rise at all.
I personally like to add room temperature water to my sourdough starter and bread dough, then keep the dough or starter in a warm place while it’s fermenting. That way, I know I haven’t killed off the yeast with hot water, and I’m still giving it the warmth it needs to thrive and help my dough rise.
7. Not Weighing Your Ingredients
All the best sourdough books and blogs have the ingredients listed in weights for a reason. It’s so easy to over or under-measure using measuring cups.

Flour easily gets compacted, and you can add way too much without realizing it. Get a simple kitchen scale and keep it handy; weigh all of your ingredients while adding them so you’ll know you have the right ratios.
This one simple thing has made the biggest difference in my success with baking sourdough bread.
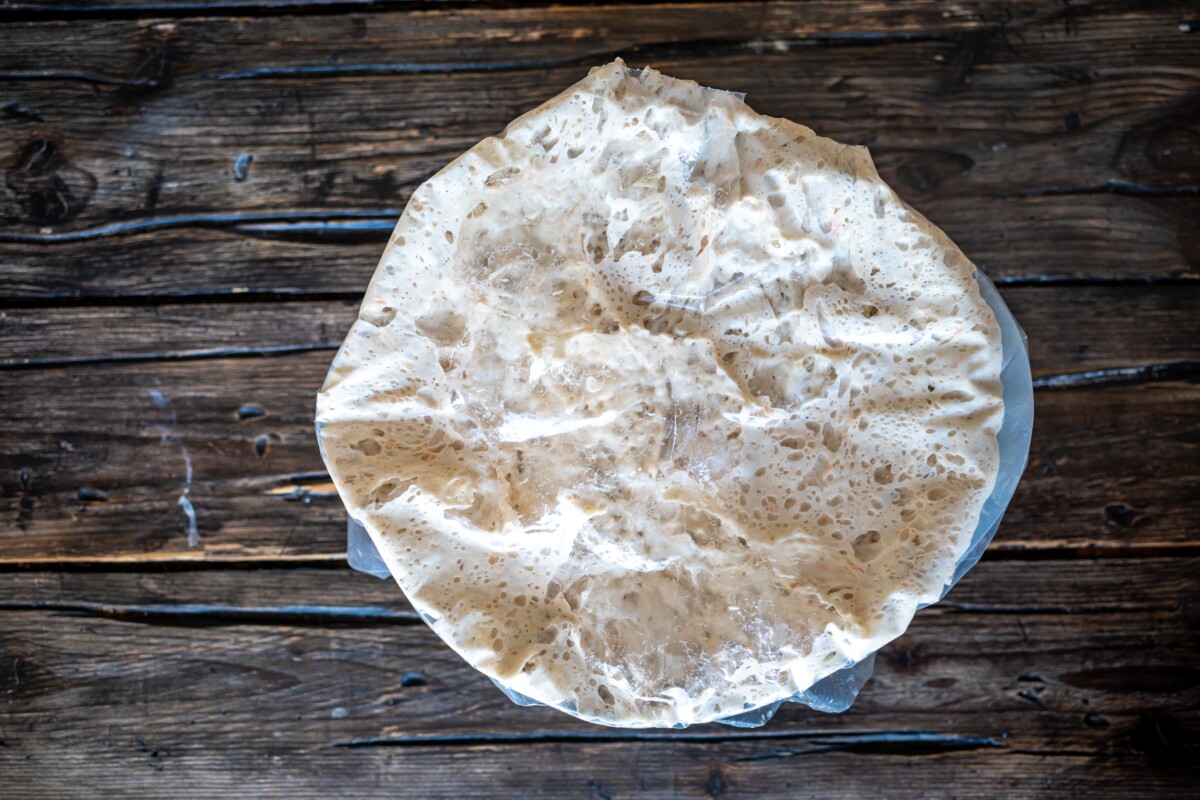
8. Adding Too Much Flour
Most sourdough breads are made with a very wet, high-hydration dough. This dough can be so wet when you first mix it that you can’t even touch it without it completely covering your hands in a sticky mess.
For many years I saw this sticky mess and thought, there’s no way that this is correct; it needs more flour so I can knead it. And I’d keep adding flour until it was workable, which resulted in dense bread that didn’t taste great.
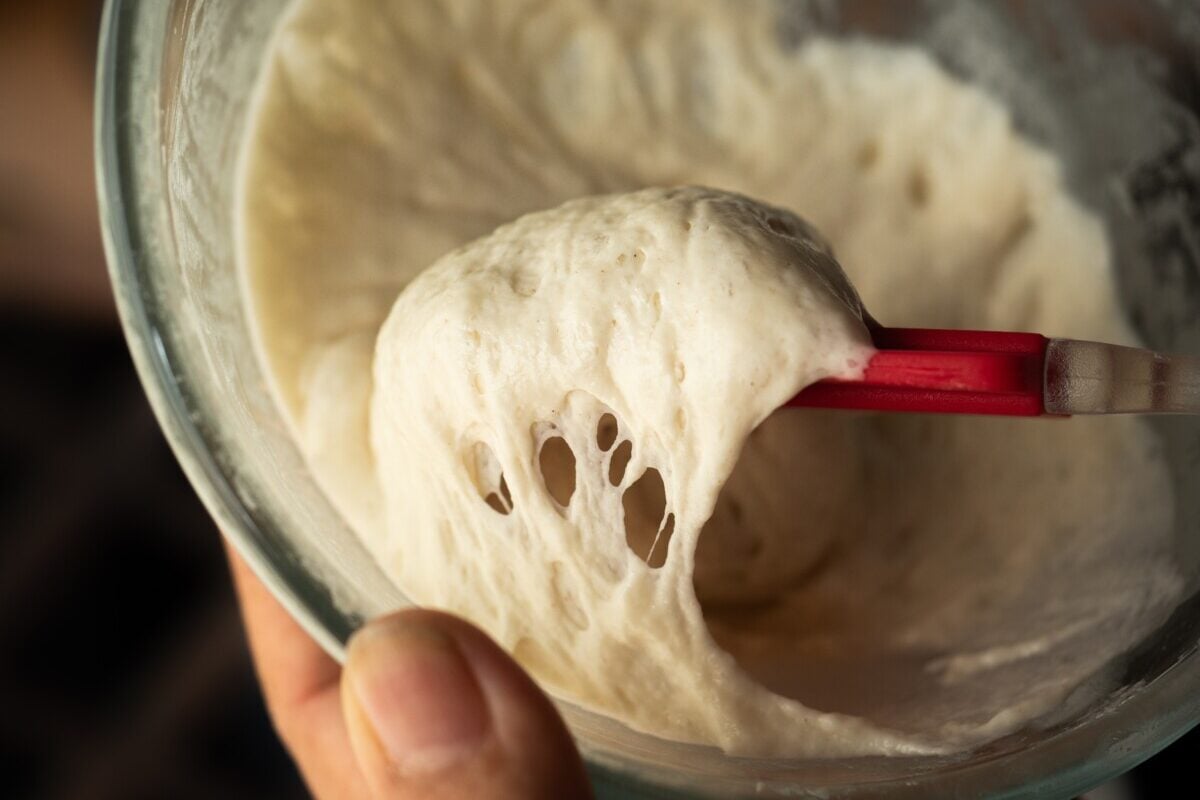
After watching many a YouTube video and reading several books on sourdough, I discovered that you truly do want the dough to be very wet, and you really don’t need to handle it much right after mixing it. Instead, doing a series of dough stretches helps the dough to develop gluten without you getting all messy and having to knead it.
Giving the dough time to sit and doing stretches with it while it sits all help the dough to come together and not be so unmanageable.
Don’t give in to the temptation to keep adding flour until you can easily work with the dough; this will lead to the resulting bread being very dense.
9. Baking In the Wrong Container or No Container at All
I tried for years to bake my bread on a pizza stone, sliding it into the hot oven on a pizza peel, like the pros do.
But what I didn’t realize? The pros have professional ovens.
Their ovens get super hot, heat evenly, produce steam, and blow air. Mine just blows. My oven is 10+ years old; I’m working with old technology that can’t even heat a casserole properly.
After I failed so very many times baking on a pizza stone, I switched to baking in a cast iron dutch oven, and it changed everything.
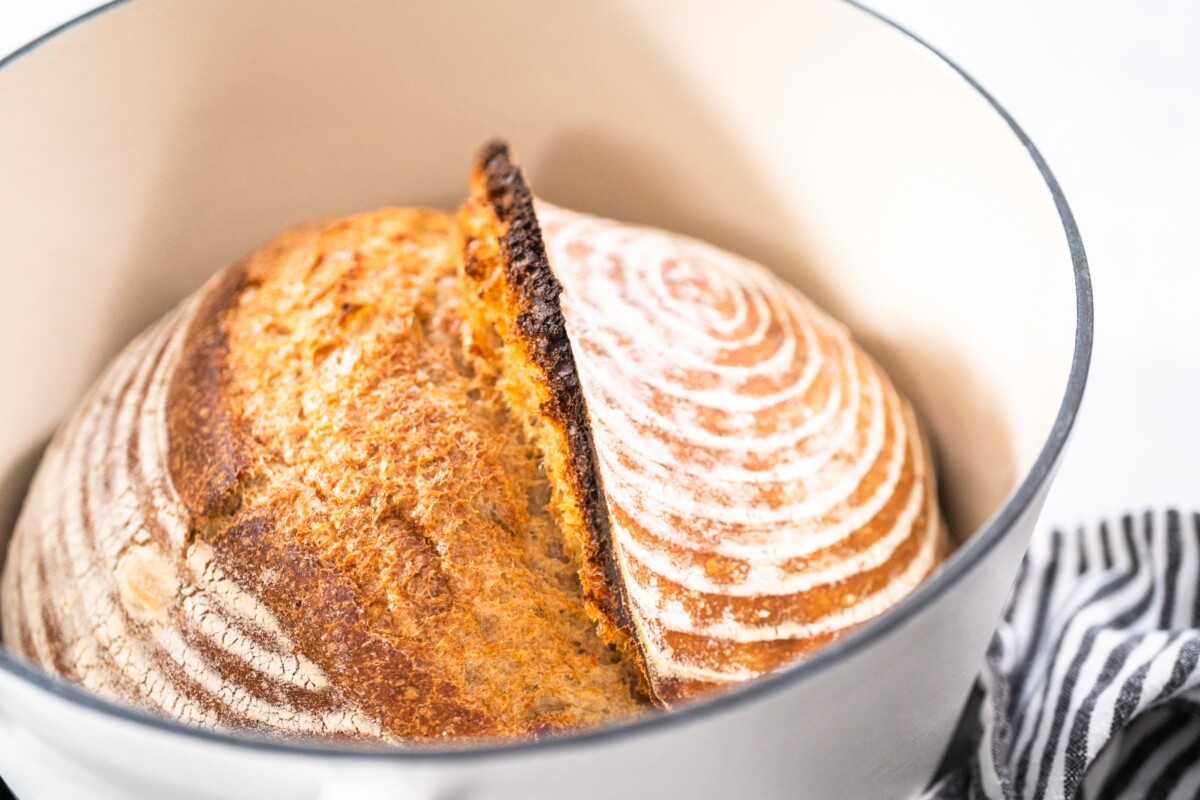
Many sourdough recipes call for this style of baking because it works so wonderfully. Sourdough boules need moisture and steam during baking in order to achieve the perfect oven spring and for the crust to get that perfect consistency. Baking in a dutch oven creates a space full of steam without any real effort from you.
Pro tip: if your bread is getting burnt on the bottom in the dutch oven, try putting a cookie sheet on the oven rack directly below the dutch oven toward the end of baking.
10. Not Making an Autolyse Before You Bake
I skipped the step of making an autolyse for many years. It seemed such an unnecessary hassle to make a dough before I made the dough. But really, it makes a huge difference, and now that I know the reasons behind making the autolyse, it makes way more sense to do it every time.
What’s an autolyse?
To make an autolyse, you mix the flour together with some or all of the water in the bread recipe, but leave out the sourdough starter and the salt. You let the flour and water mixture sit for a minimum of 10 minutes, and as long as overnight, so the flour can fully hydrate and the gluten gets a head start on developing.
This makes for much better-tasting sourdough bread with a perfect structure.
The purpose of the autolyse:
- Gives the flour time to fully hydrate
- Increases elasticity of the dough
- Makes less kneading work for you
- Helps gluten develop
- Improves the flavor of the bread
This is really such a magical step when you think about it; it’s a tiny bit of work upfront to save you lots of work later. And really, you need to mix these ingredients together no matter what. You’re just doing it earlier in the process.
11. Not Using Trusted Recipes and Techniques
Every bread baker has their own way of doing things, and all of them believe theirs is the best.
Strong opinions run rampant in the sourdough bread community. The good thing is these bakers have spent years, some even decades, perfecting their craft, and many of them are kind enough to share their tips with you.
I’ve found one of the best things I did to step up my sourdough game is to really take a deep dive into these resources and read, read, read.
It pays to take some time to research and think about which style might work best for you. Whichever one you choose, follow their schedules and recipe exactly. They do it a certain way for a reason. You may not think it matters if you let the dough sit for 10 minutes before working with it, but it definitely does.
These are the books and websites that helped me the most during my sourdough journey. I hope they’ll help you too.
The Perfect Loaf by Maurizio Leo
Artisan Sourdough Made Simple by Emilie Raffa
Homestead and Chill – Blog
Now that you know all the mistakes that I made with my bread-baking adventures, you can avoid them and hopefully not make any of your own. Have fun with this new adventure; baking with sourdough is so versatile and delicious. It’s really one of the most rewarding homesteading hobbies.
I hope this post helps you to finally master sourdough bread baking!

Get the famous Rural Sprout newsletter delivered to your inbox.
Join the 50,000+ gardeners who get timely gardening tutorials, tips and tasks delivered direct to their inbox.