

Important author’s note: This method works! When I wrote this piece, I didn’t have anything planted in my garden yet as we’re still weeks away from my zone’s last frost dates. However, with the impending weather, I knew it was the perfect time to show that my method works.
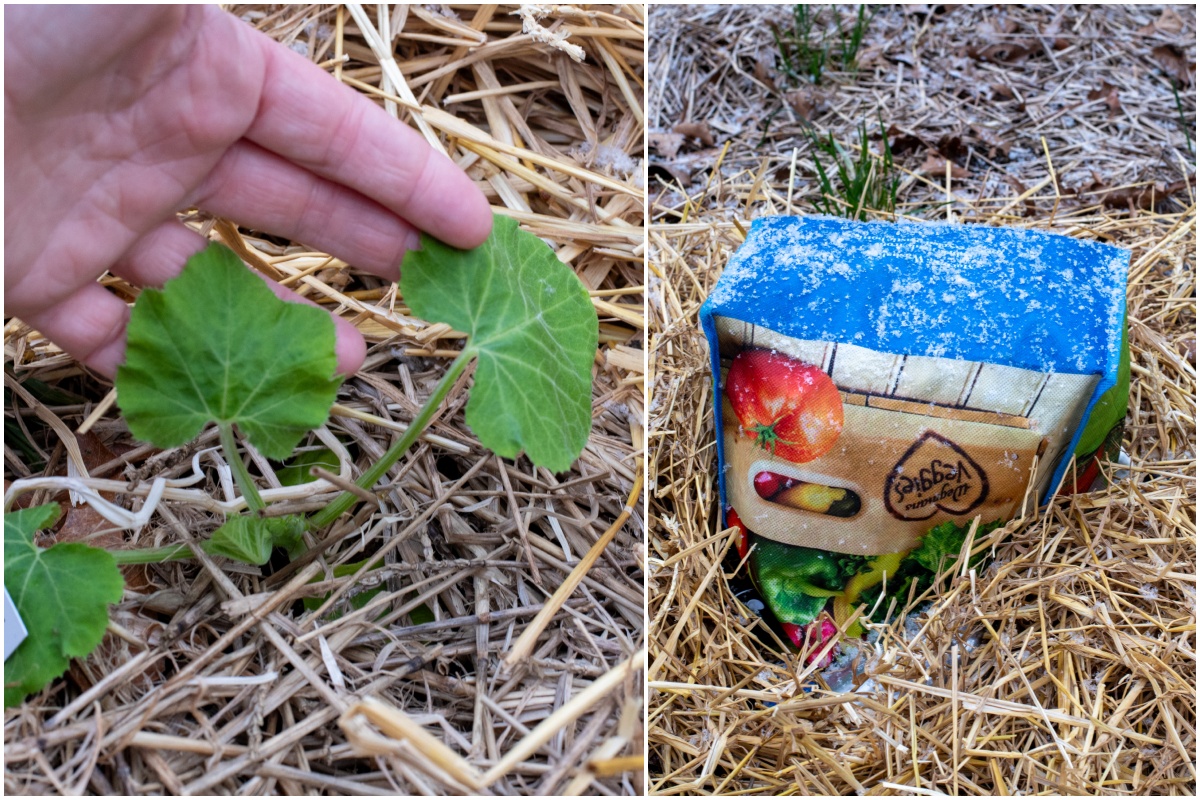
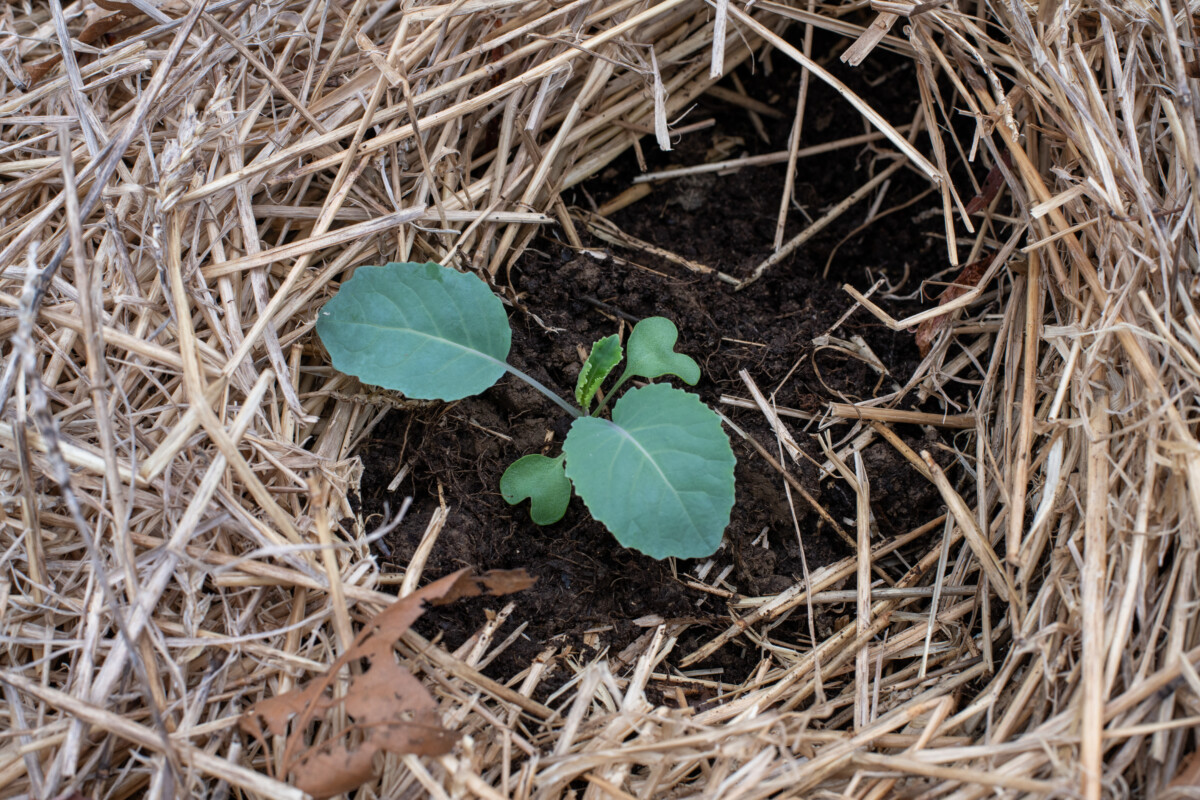
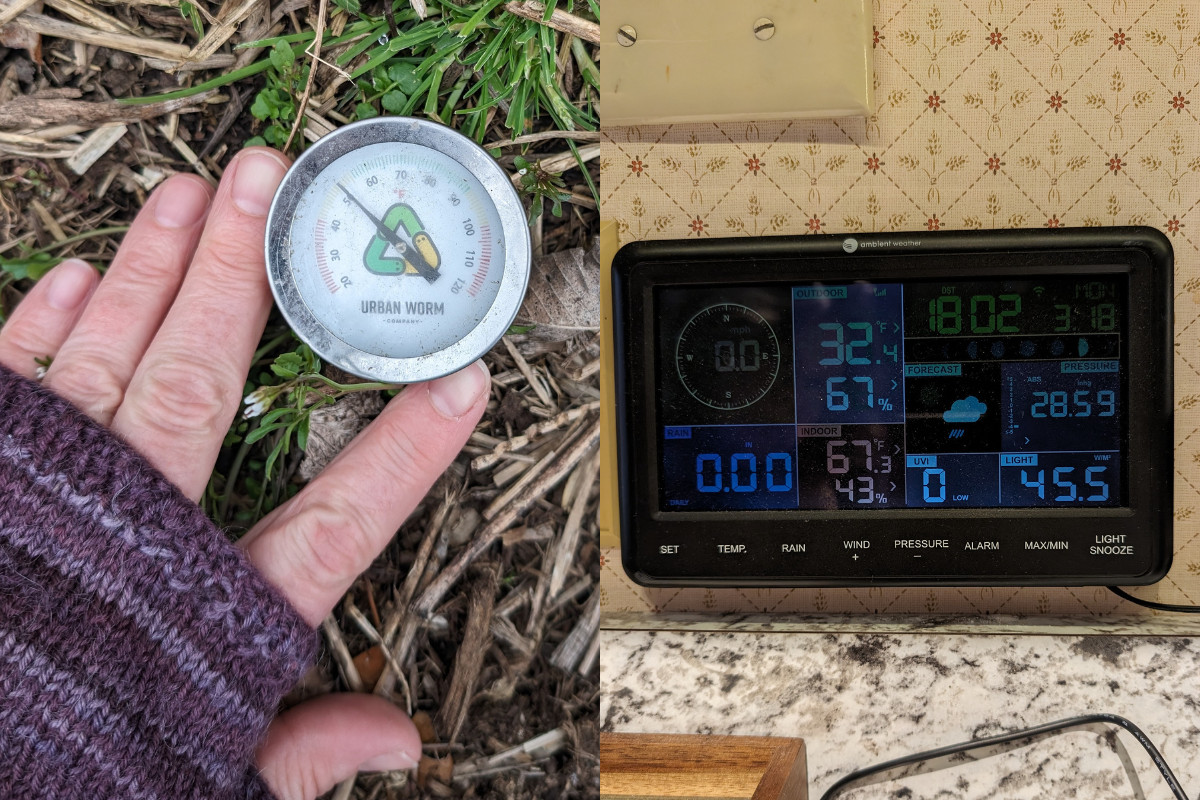
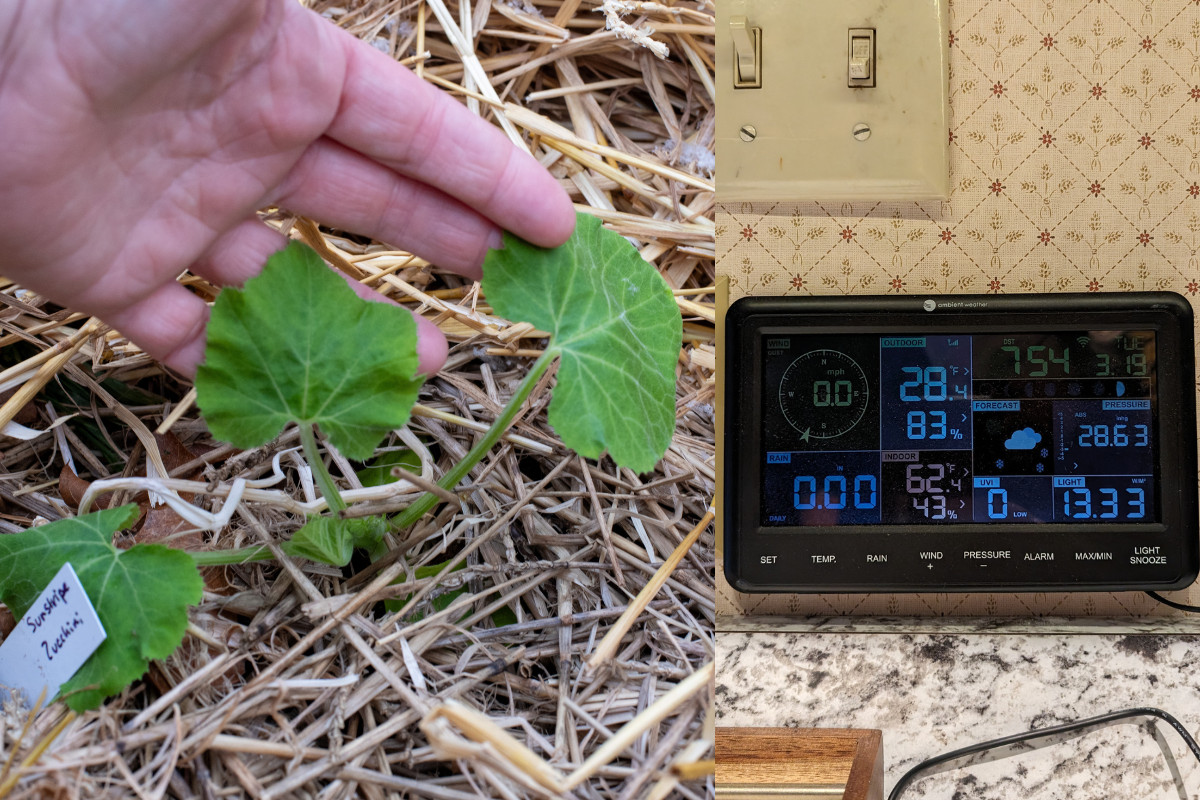
The cabbage and zucchini seedlings photographed in this piece were both fresh from my indoor greenhouse, planted in the garden at 33 degrees F, hours before sundown, with no hardening off. Both survived 28 degree F and high winds beautifully. (Don’t worry, they’re both tucked back in the greenhouse now, waiting until May.)
It’s one thing to have your garden hit by a frost in the fall. You’re expecting it. The season is winding down; your pantry is likely stuffed to the ceiling with preserved produce. By that point, having your tomatoes knocked out by a frost might come as a relief rather than a disappointment.
But losing plants to a surprise spring frost is nothing short of devastating.
And if you’re one of the millions of gardeners who takes the time to sow and grow your own seedlings…ugh, I don’t even want to speak of it. I will unashamedly admit I have cried over seedlings I have lost to a late spring freeze. So much hard work – gone – before the season even gets underway.
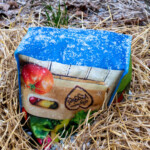
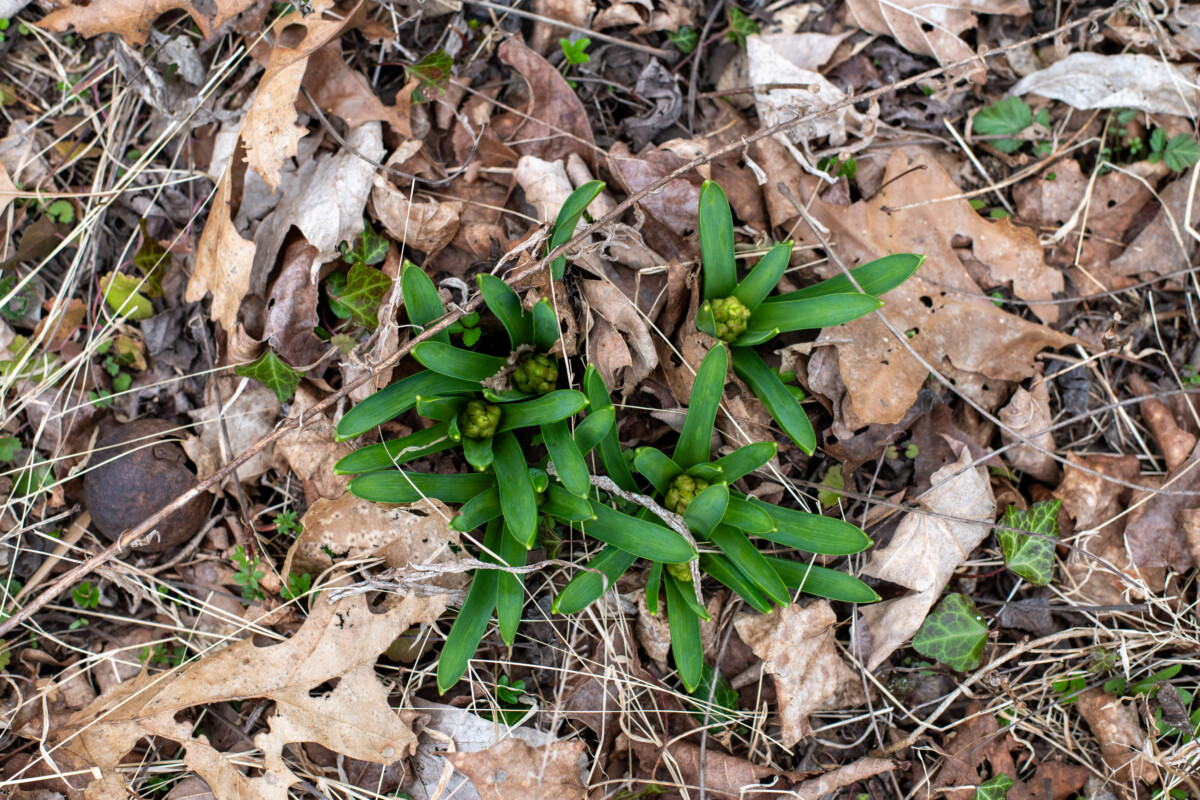
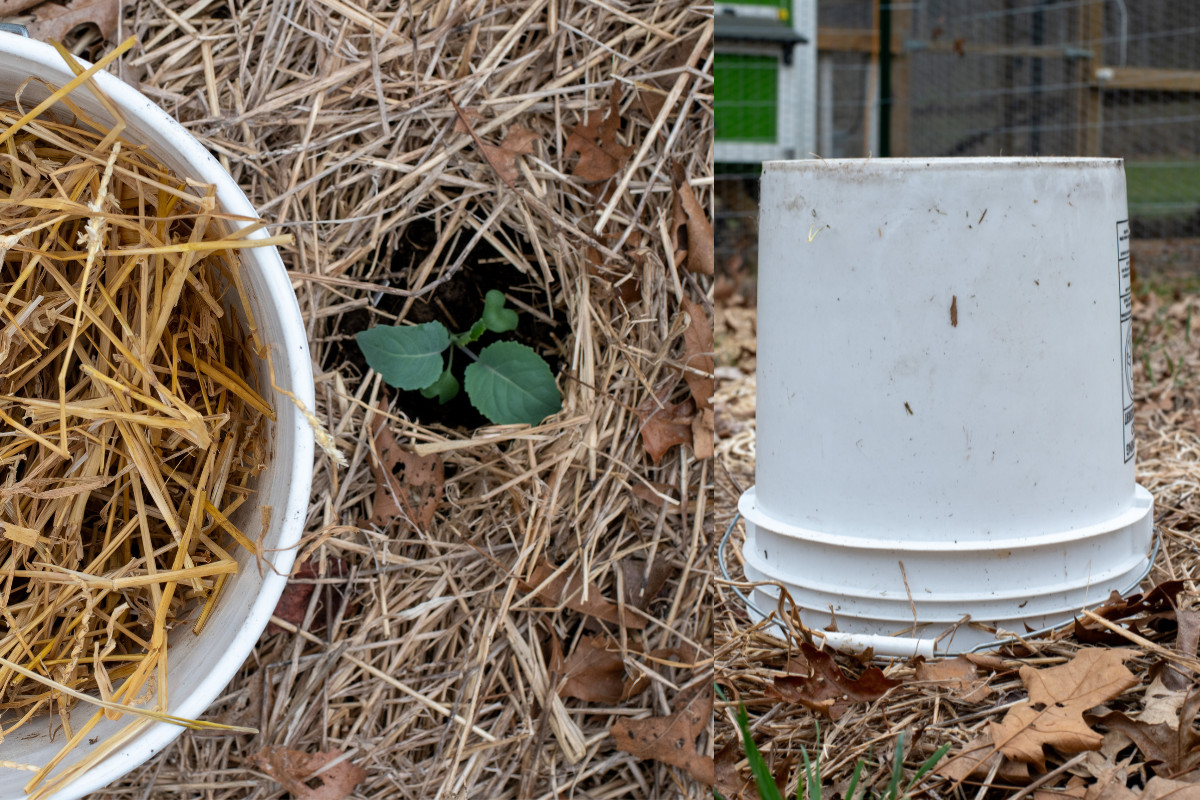
(Planting my cabbage seedling a month early on the night of a freeze.)
Out of Season Advice
I think it’s important to point out that the advice given to protect garden plants from frost is often the same. It usually leans more toward the end of the season rather than the beginning. But protecting your plants in the spring looks much different than it does in the fall. It’s a different ballgame altogether.
Mother Nature Doesn’t Care What NOAA Says
As gardeners, we rely heavily on knowledge gleaned from previous seasons. One important tool we use is first and last frost date calendars. NOAA has a great map that makes it easy to find those for your area. You can find it here.
These are not hard and fast dates. They encompass a window of a few weeks to give the weather a little wiggle room.
Even so, Mother Nature doesn’t really care about NOAA’s map; as every gardener knows, she makes her own rules.
I found this out firsthand when we had a freak, late frost in the first week of June one year. The median last frost date for my zone is May 1st.
So, it’s no surprise that she catches plenty of gardeners off guard each spring. But not you, this year, you’ll be prepared. First, there are a couple of points that need to be clarified.
Is It a Freeze or a Frost?
As gardeners, we tend to use these two terms interchangeably – a freeze and a frost. However, they are different from a weather standpoint, and knowing which is headed your way can help you prepare.
A frost is simply frozen dew. Frosts occur when evening temperatures fall between 33-36 degrees F.
For the most part, the damage is milder, although it can still be enough to bring your garden grinding to a halt.
New growth (such as buds, flowers, stems, and leaves), is most susceptible to frost damage. Often, the plant will bounce back from light frost damage.
A freeze occurs when nighttime temperatures drop to 32 degrees or lower.
Unprotected plants freeze and rarely bounce back.
The damage that occurs from a frost or a freeze is similar, but with varying degrees of severity.
When the water inside plant cells freezes, two things are happening simultaneously. As we all know, water expands when it freezes, so the frozen water inside the plant’s cells expands and causes them to rupture. At the same time, the crystals formed by the ice can pierce the plant’s cell walls, causing damage when the ice thaws. (Interestingly, this is also why frozen vegetables are mushy once they thaw.)
With a freeze, the damage is much more severe, and often, that’s that for the affected plant. But in the spring, both weather events can be a real headache.
What Works in the Fall Won’t Work in the Spring
As I already mentioned, most frost advice is generally the same and talks about protecting plants in the fall from that first frost of the season. Unfortunately, what works in the fall doesn’t work as well in the spring.
The main difference between preparing for a frost in the spring and preparing for the fall concerns the plants themselves.
In the fall, we’re talking about full-grown plants with mature root systems. Plants at this time of the year are tougher in general. Even tender plants will stand up to a frost or two with a little protection.
In the spring, however, we’re dealing with new seedlings.
These plants are still quite tender. Even if you took the time to harden them off, they still have a lot of growing to do. New plants don’t have large root systems yet, which help to protect more mature plants during a frost by pulling moisture down into the root system as the temps drop.
Keep in mind that even vegetables described as cold-hardy are referencing a mature plant rather than the tender, young sprout.
The other big difference is below the ground.
In the fall, the ground is much warmer. Not only does this insulate roots better, but warmth radiating up from the ground will help to warm the plant overnight when it’s covered. In the spring, the ground is still quite cool.
Both aspects make spring frosts much more damaging than a fall frost. But once you know that, you can prepare the right way.
My Sure-Fire Method of Spring Frost Protection

When it comes to protecting my little green babies in the spring, be it from a frost or a freeze, I have one method that never fails – overkill.
It took me far too many instances of uncovering plants the morning after a frost that were protected with something “that should be good enough” only to find dead seedlings to realize I needed to go all in in the springtime.
That means covering and insulating.
In the fall, you can generally get away with covering plants, and they will be fine. In the spring, those plants need a layer of insulation around them before you cover them, and sometimes around the covering.
Prepare Now – Here’s What You Need
Make sure you have what you need to protect plants from a frost before they go in the ground, and you won’t be caught with your plants down. (Ha, that was a good one.)
Insulation
My frost protection kit always includes a straw bale. I mulch heavily with straw when it’s going to be cold and use it to help insulate plants before and after they’re covered.
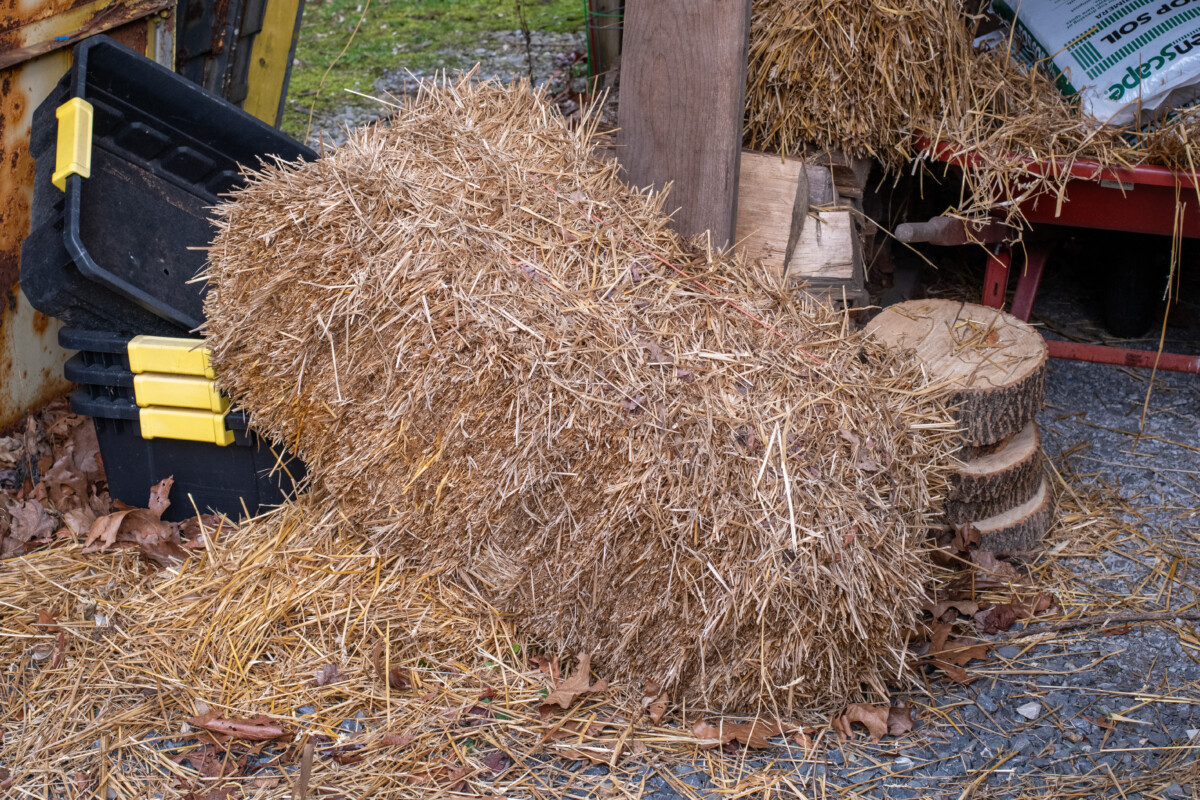
The nice thing about having a bale of straw on hand for frost protection is that once the frosts are truly over, you can use it to mulch around your plants and cut down on watering and weeding.
If you have a smaller garden or don’t have access to straw by the bale, you can purchase smaller packages at pet, farm, and landscaping supply stores.
Whether it’s straw or some other mulch, you need something to insulate plants from the cold air.
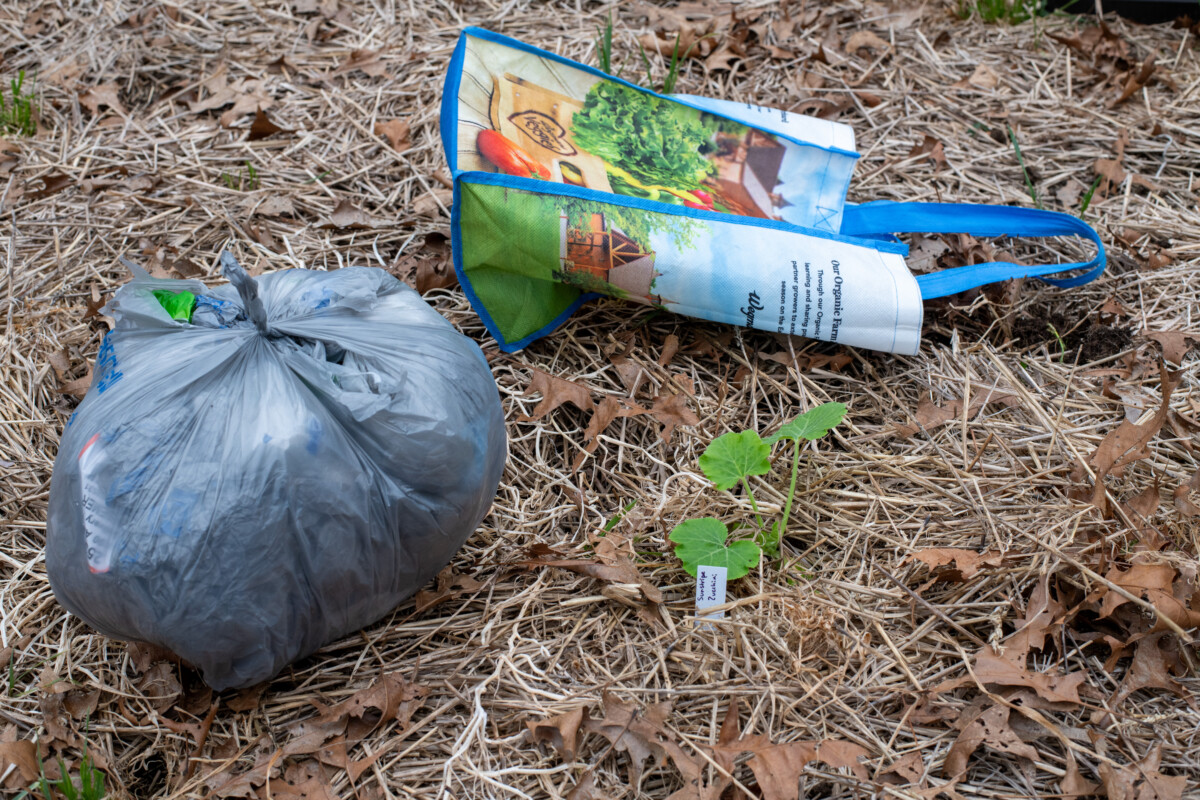
Use what you have on hand if you can. A great option that many of us always seem to have – grab all those plastic grocery bags you keep meaning to recycle. They make excellent insulation, whether they’re loosely wadded up as stuffing or layered two or three bags thick and used as a cloche.
Covering
Choose substantial materials to cover plants in the spring that will keep out the wind.
I like row cover cloth for keeping pests off my plants, not so much for protecting them from a frost in the spring. Most of the poly-row cloth fabric isn’t thick enough to offer good protection.
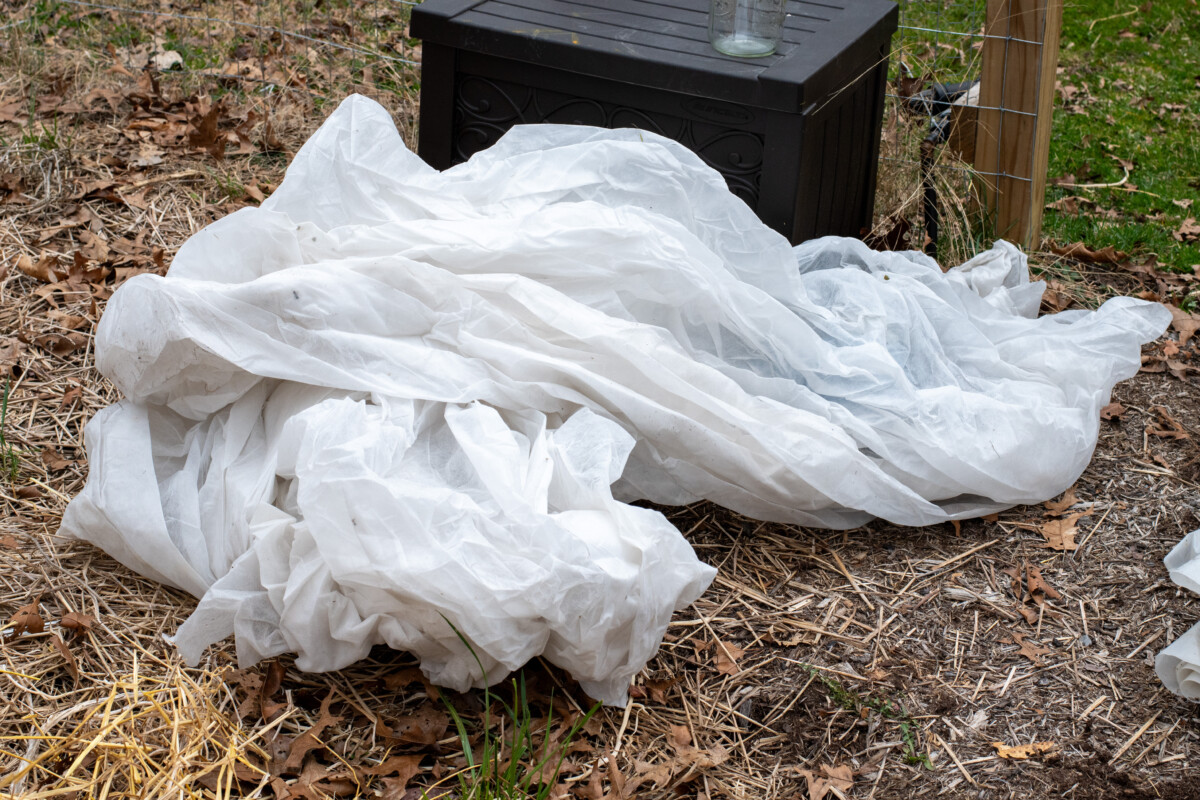
I use the same thick 6mil plastic sheeting that covers my polytunnel to cover my rows against frost in the spring. If you take care of it, it will last you years. (Which is a good thing, as it’s on the spendy side and it’s plastic. You can easily build my polytunnel for around $50-$75, plastic sheeting dependent.)
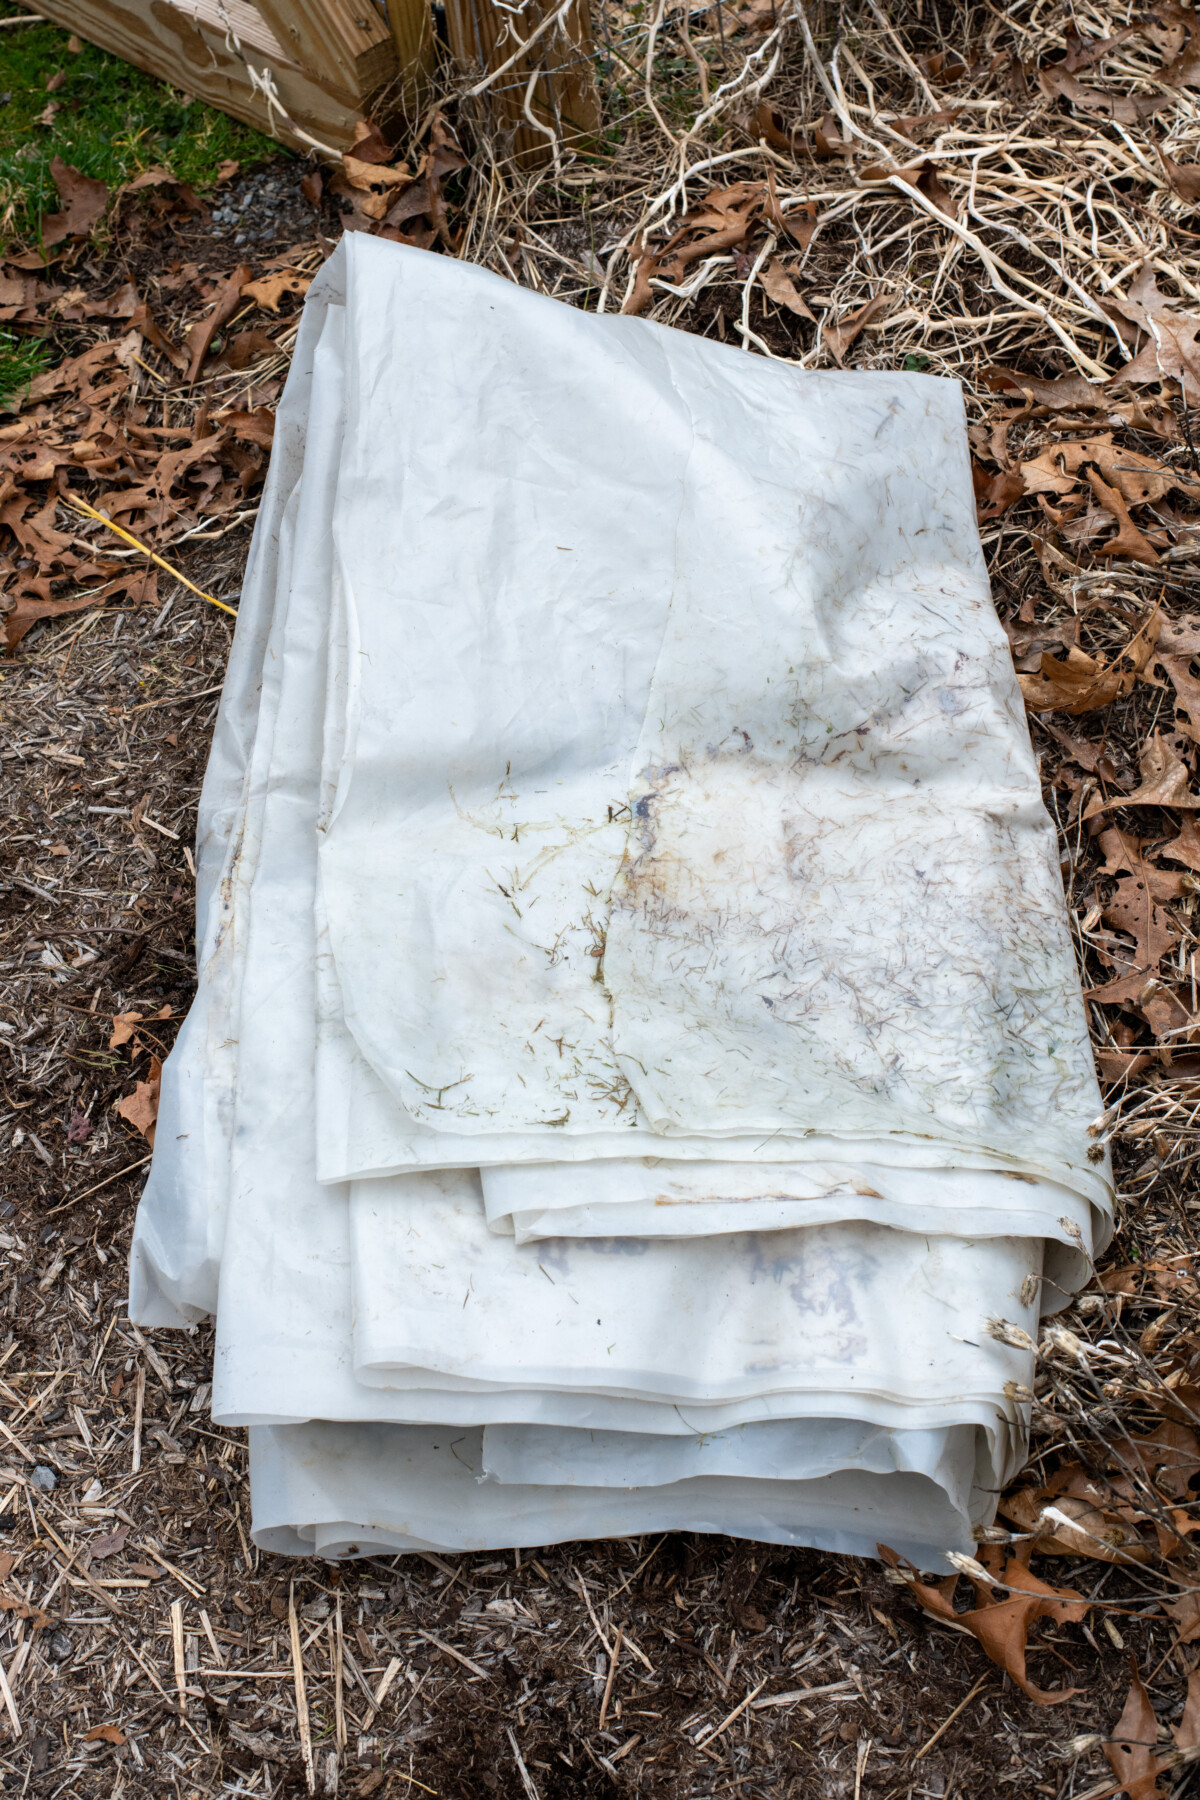
Thick beach towels, tarps, microfiber bed sheets (because of their high polyester content), and even the rain fly from a tent are all good options for covering plants. Anything that can help keep out the wind and cold will work.
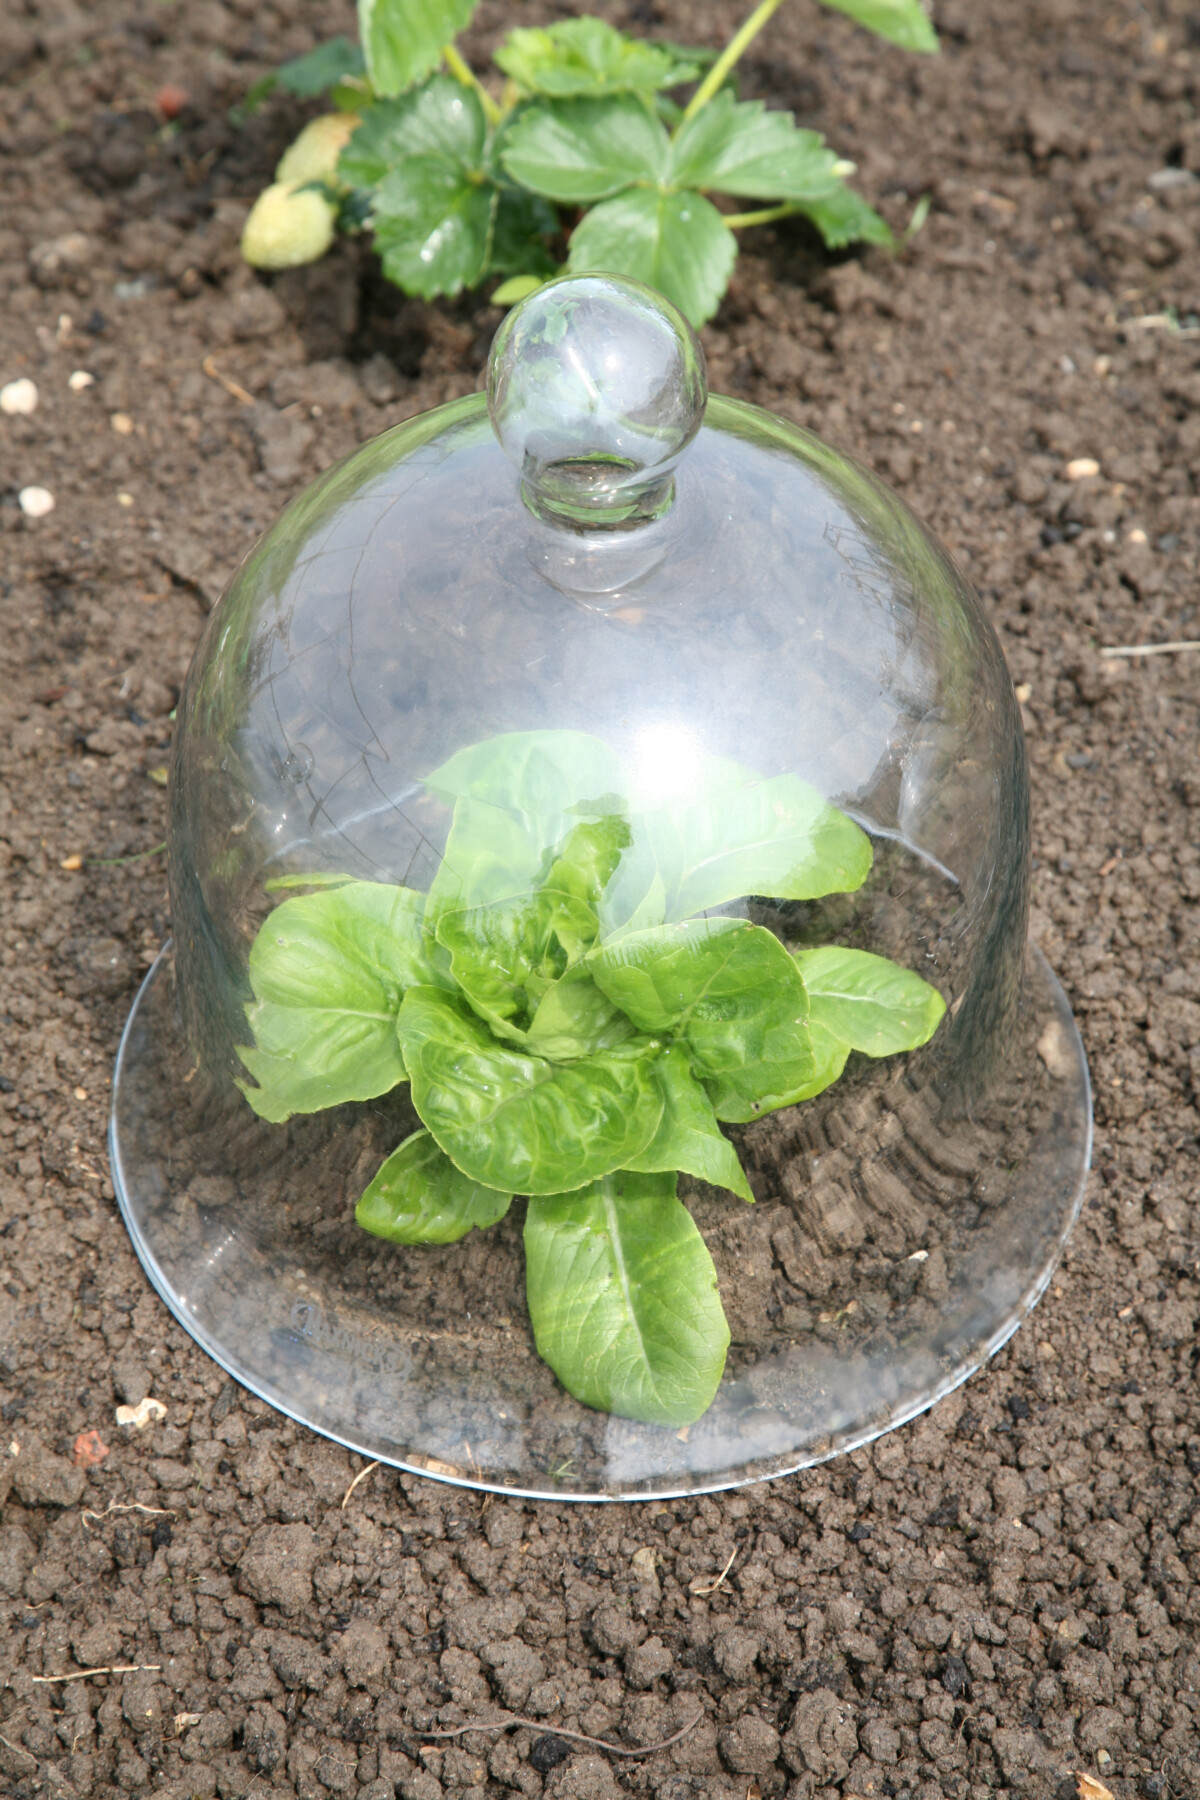
Cloches
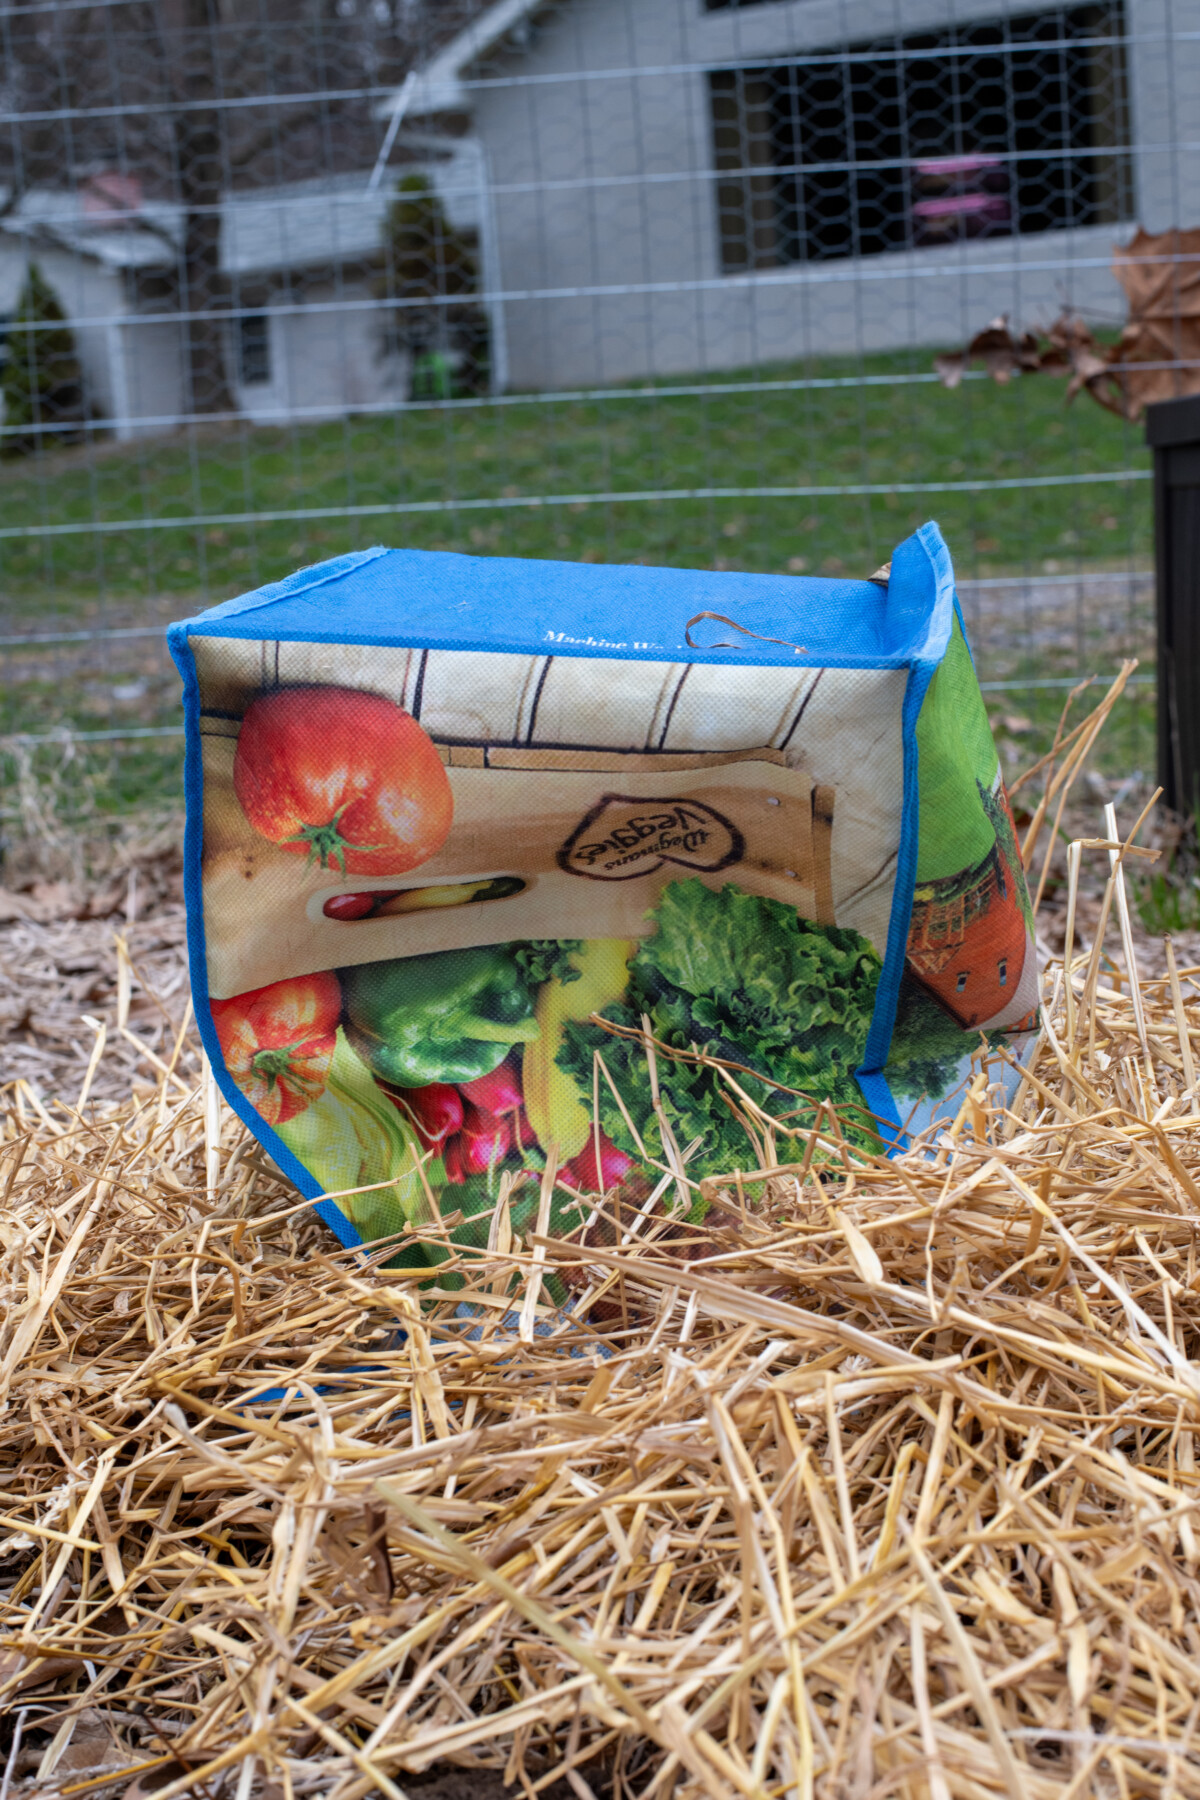
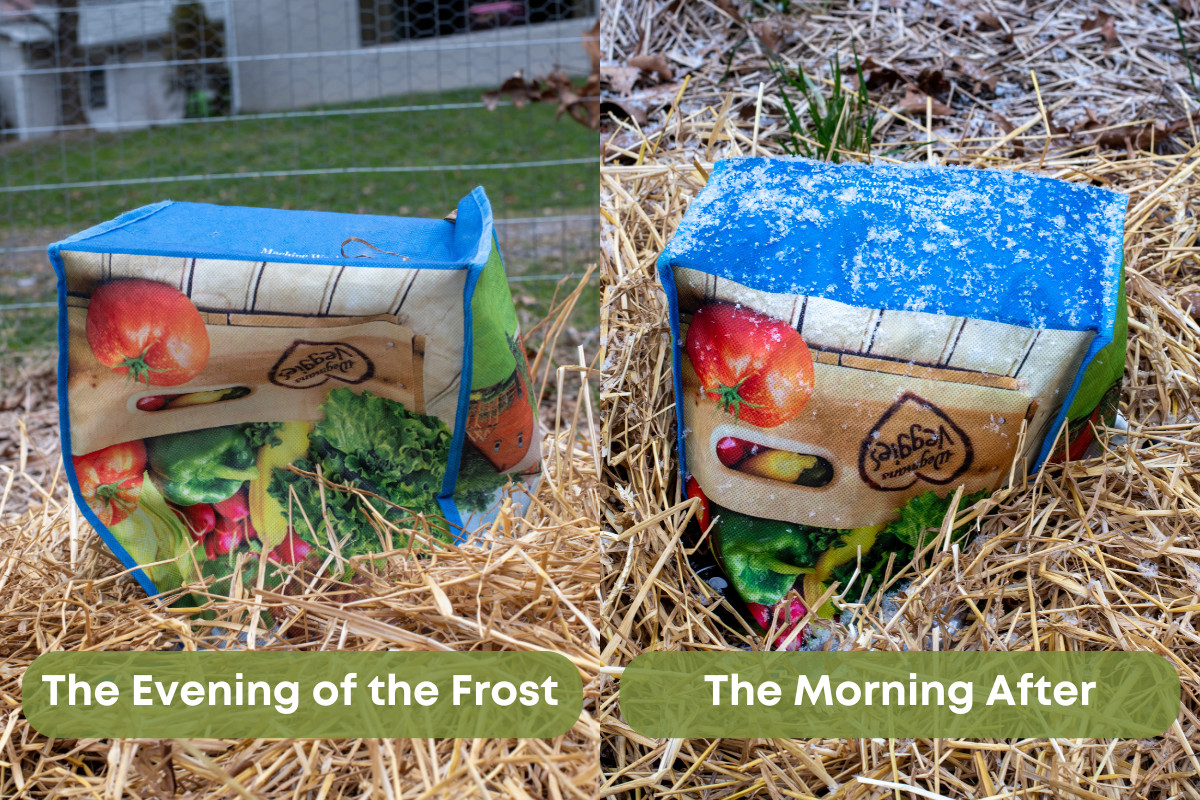
If you’re like me, you probably have a dozen reusable shopping bags at home because you always forget to bring one with you to the store. These are great cloches in a pinch.
Bell jars are a great way to protect new plants. However, they’re quite expensive. In a pinch, a terracotta pot, a plastic jug with the bottom cut off, a five-gallon bucket or even a wide-mouthed mason jar will work.
Being prepared goes beyond having what you need to protect your plants physically.
You also need to stay on top of the weather. As the climate continues to change, Mother Nature throws us more curve balls. That means we have to check the weather frequently in the spring.
I always check out ahead a few days and look at the ten-day forecast.. This lets me know what I need to be aware of coming later in the week as well as what’s coming tomorrow.
Getting Ready for a Frost or Freeze
The Day Before a Frost
Because you followed my advice to be prepared, you checked your forecast often, and know you’re going to have some plant-killing weather tonight. The time to act starts the morning before that frost.
Water new plants at their base in the morning, the day before a frost. Hydrated roots are much less susceptible to cold damage than roots that are on the drier side. You want to do this in the morning to give the plant plenty of time to absorb the water before the temperatures start dropping.
Overkill – Insulate and Cover
The key to making sure your seedlings survive is to make sure they’re insulated well against these cold temps, both above and below ground. Timing helps here. Prep your plants in the warmest part of the day to help trap heat from the air and soil in the ground.
Generally, the warmest part of the day is in the late afternoon, between 3:00 and 5:00 pm.
Even in the spring, the ground has begun to warm up. Put that warmth to good use. Make sure you mulch around the base of your new seedlings to hold heat in. (This is one of those great features of growing a no-dig garden – the built-in mulch.) For a freeze, add extra mulch.
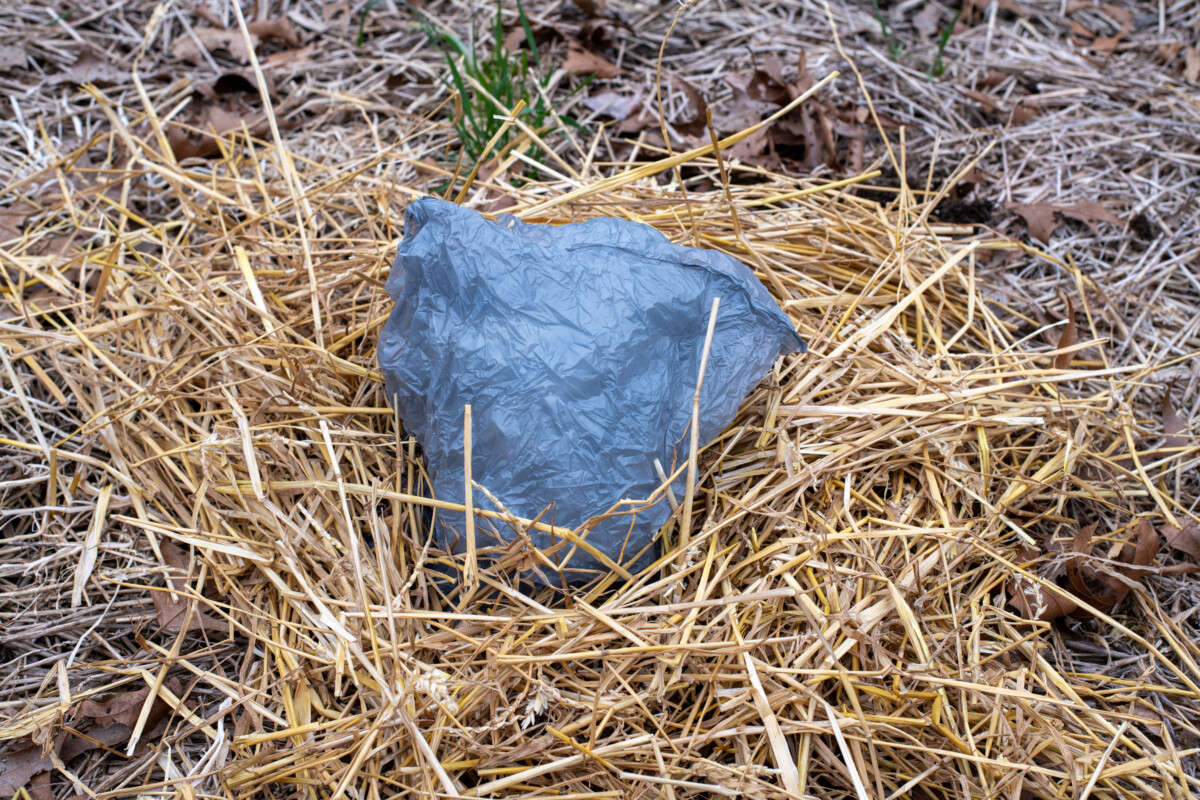
Now, completely cover the plant in a thick layer of mulch (I’ve already said I use straw). Yes, I mean bury it. You want at least 6” of insulating material surrounding each seedling. If you’re using something other than some type of sheeting, such as a bucket, shopping bag or jar, you’ll want to put some of your mulch inside it as insulation.
Cover the plant with your makeshift cloche or plant covering and weigh it down around the edges. This is especially important if it’s windy outside. You might even want to add more mulch, straw or insulation on top.
And Now We Wait
If you’ve done a good enough job on the insulation and tucked your plants in well with a good covering, your seedlings will probably be alright.
Wait until the air temperature is well above freezing before you uncover your plants the next day to check on them. If it’s going to be cold for a few days, leave them covered. They’ll be okay without sunshine for a few days.
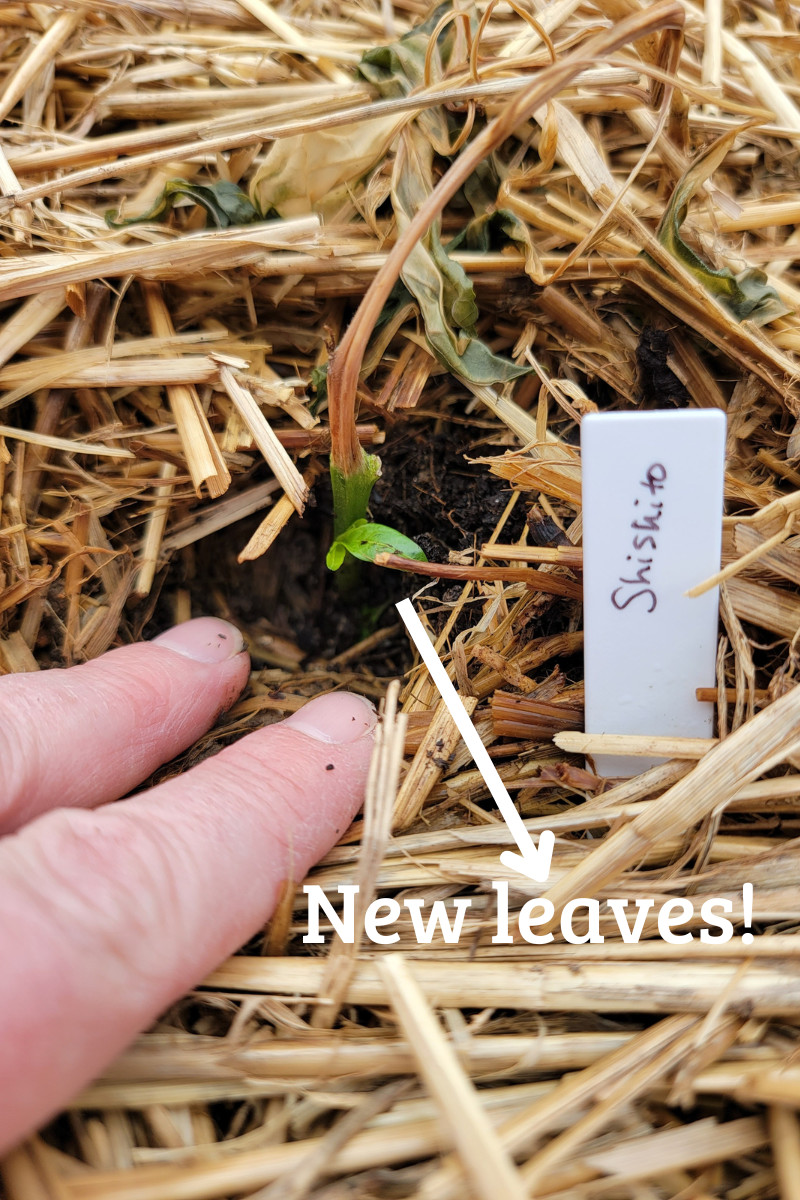
When you uncover your plants, don’t be too upset if there is some frost damage.
Give it a day or two before removing the plant or pruning it. It may bounce back, yet. I’ve had peppers that were nothing more than twigs sticking up out of the ground put out new leaves and do fine.
Even if you end up losing a few plants to a spring frost, you’ve got one advantage over the fall – you can still replace them with new plants from the nursery. Of course, that’s a whole other story if you grew seedlings yourself. But at least you’ll get to grow veggies, even if they aren’t the same variety you started.
Remember, it’s all part of gardening. You win some, you lose some. Luckily, we usually win more than we lose. Don’t forget to bookmark this page and share it with family and friends so they can protect their gardens, too. And join the Rural Sprout newsletter for more of my gardening adventures.

Get the famous Rural Sprout newsletter delivered to your inbox.
Join the 50,000+ gardeners who get timely gardening tutorials, tips and tasks delivered direct to their inbox.