

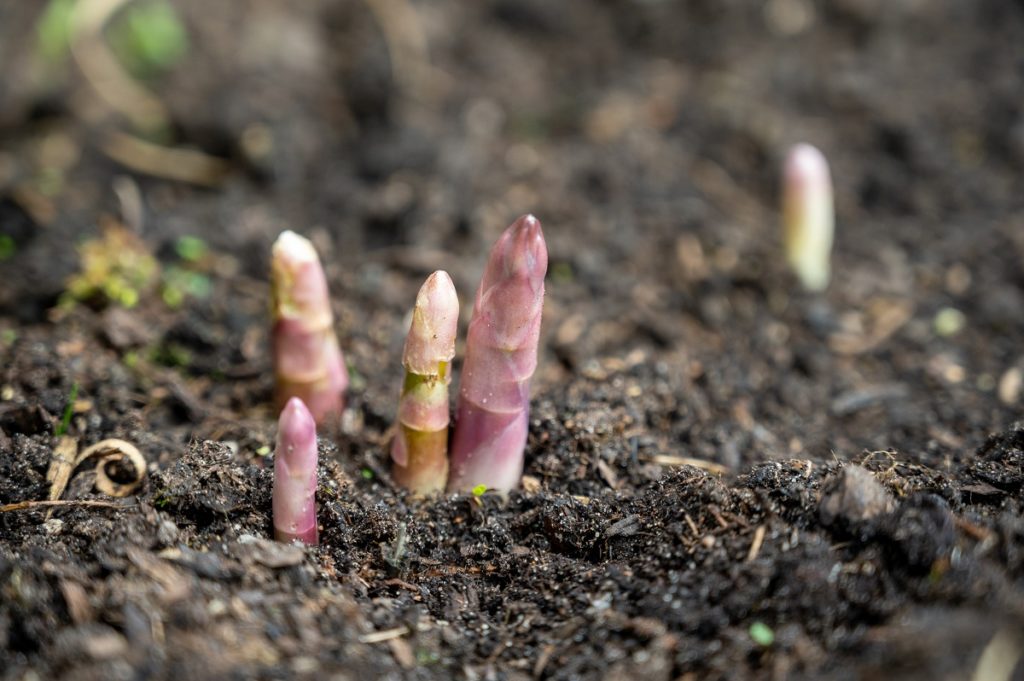
If you’re lucky enough to have an asparagus bed, you’ll benefit from eating home-grown vegetables earlier in the season than almost anyone else.
Crisp and tender stalks make this hardy perennial a popular choice for many gardeners.
Asparagus plants take up minimal space, require little maintenance after the bed is established, and boast a long harvest period from early spring to early summer.
Planting an asparagus bed is a lesson in patience, but put the effort in now, and you’ll enjoy a decade or longer of abundant harvests.
Here’s how to plant an asparagus bed at home.
Best Asparagus Varieties
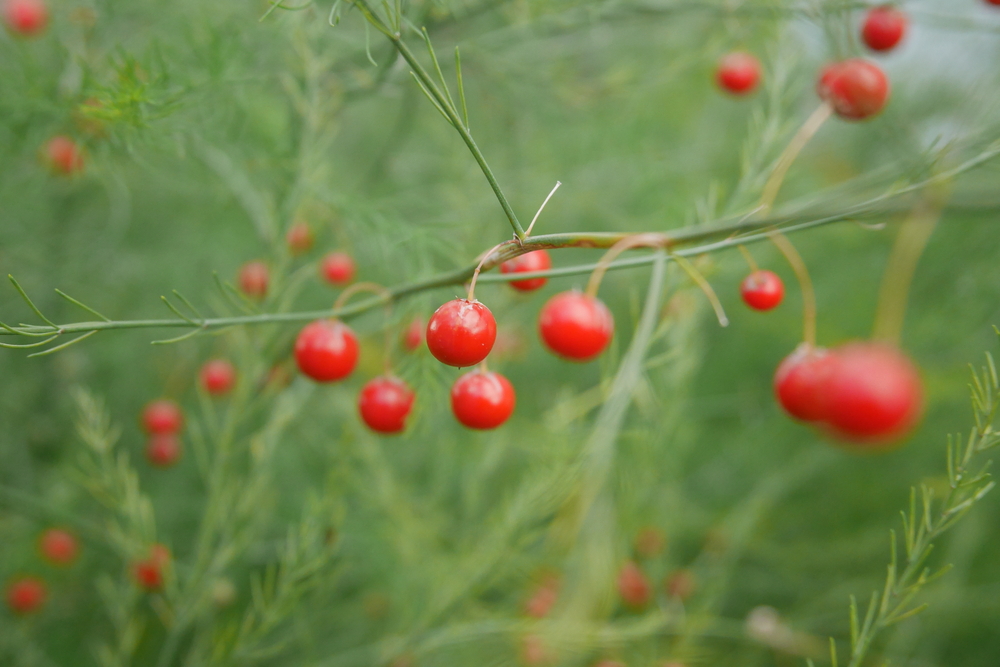
All asparagus plants are monoecious, which means that each individual is either male or female. Only the female plants produce inedible red berries (which make for beautiful fall décor), but male plants can be up to three times as productive as female ones and are the preferred choice.
Older heirloom varieties like Mary Washington remain popular and produce both male and female plants.
However, most gardeners today grow hybrid varieties that only produce male stalks, such as Jersey Giant and Jersey Supreme. I chose to plant Jersey Knight in my asparagus patch because it tends to be hardy and less prone to disease than the other Jersey cultivars.
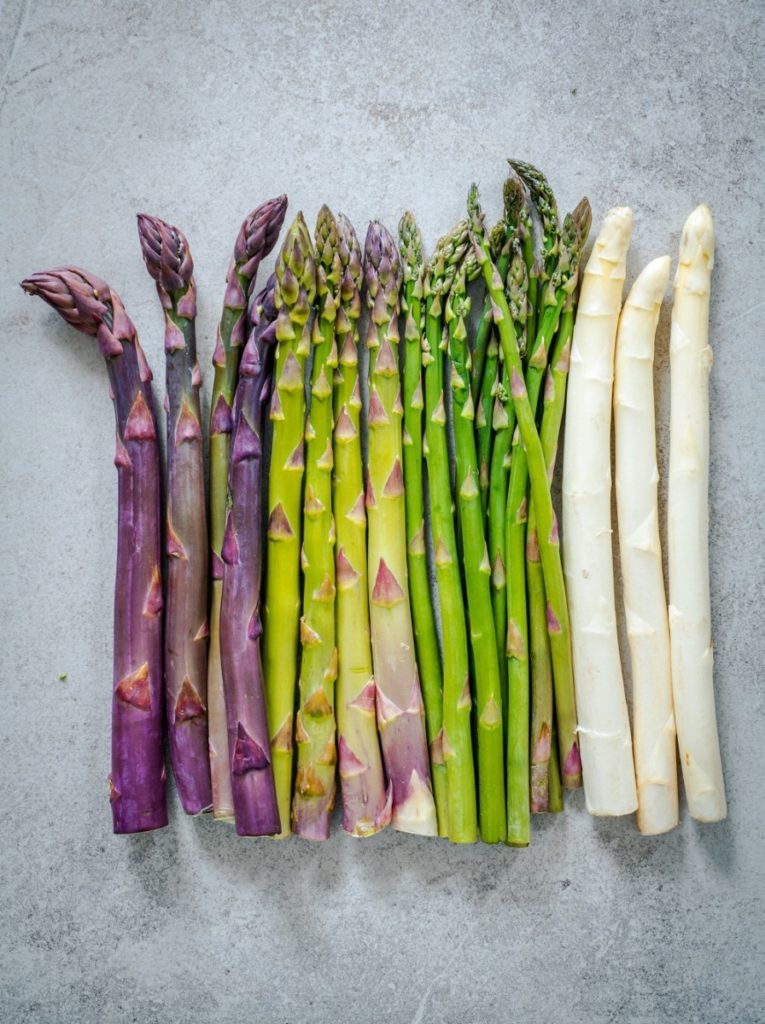
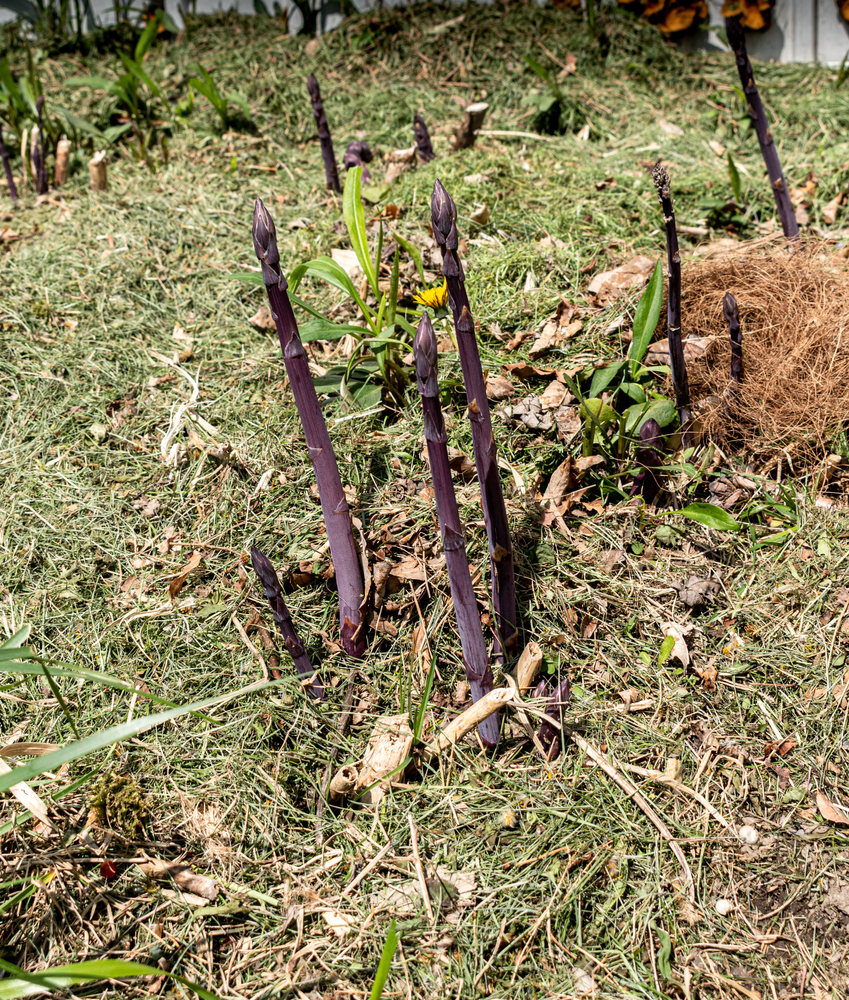
It’s also possible to plant purple asparagus varieties like Purple Passion or Purple Pacific. Just note that their vivid indigo hues will fade after cooking.
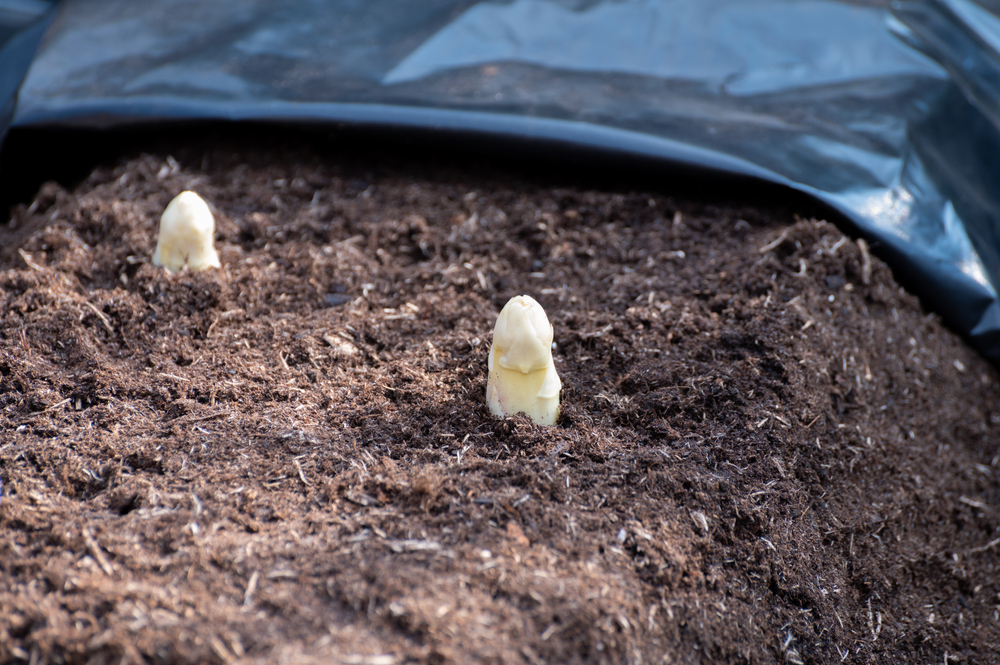
What about white asparagus? This coloring isn’t the result of genetics, but rather your cultivation strategy. If you cover asparagus with mulch, you prevent it from getting exposed to sunlight and halt the green chlorophyll production. The result? Delicate white spears with a mild taste.
How Much Asparagus to Plant?
Only you can determine how much asparagus your household will eat, but the general rule is to plant five to ten plants per person (and double that if you opt for a variety with both male and female plants). This means a family of four will do well with 20-40 plants.
If you plan to preserve or pickle any spears, consider tripling this amount. My family is made up of big asparagus lovers, so we planted fifty crowns for three of us.
Asparagus Crowns or Seeds?
Deciding whether to plant asparagus by seed or as one or two-year-old “crowns” comes down to timing. Planting crowns will eliminate tedious weeding at the beginning stages and lets you harvest the spears one season sooner.
However, starting asparagus from seeds is cheaper and eliminates the chance of transplant trauma that’s common with older crowns. Most asparagus plants planted out from seedlings will also out-produce crowns over their lifespan.
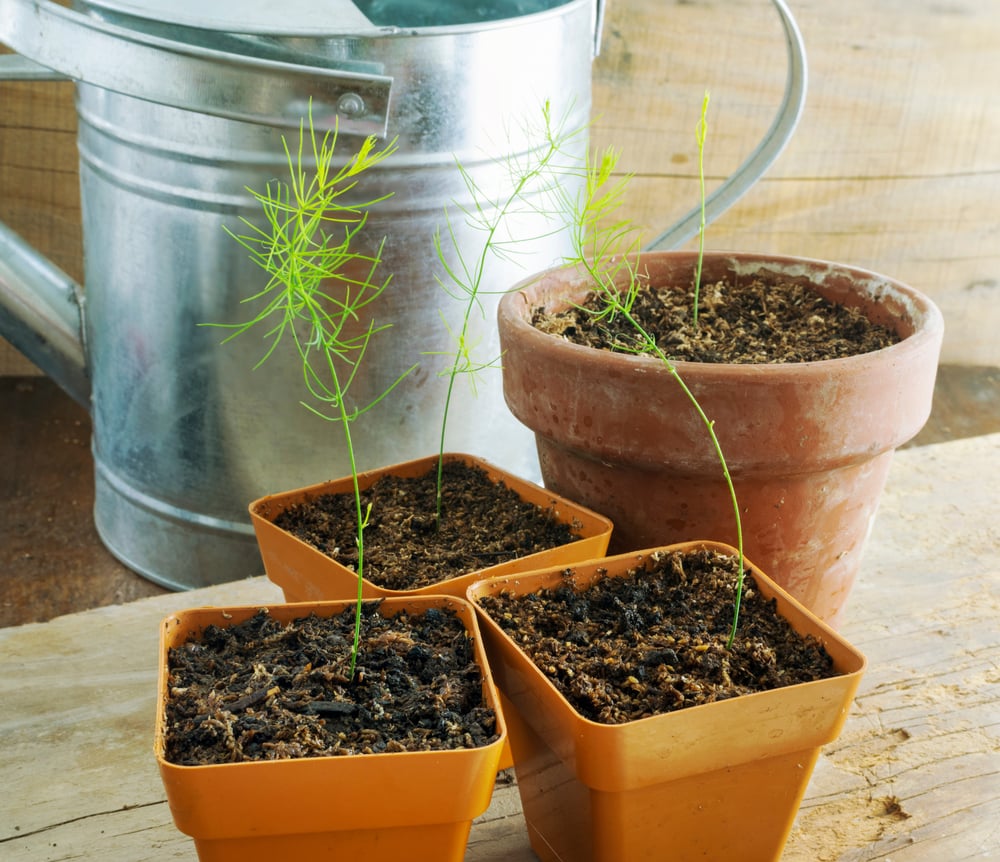
For seeds, you want to start them indoors approximately 14 weeks before your last frost date.
Soak the seeds in water for up to 24 hours before sowing them into moistened peat or potting soil. Keep them indoors and under grow lights until they reach a foot tall, at which point you can start to harden them outdoors with the goal of planting them into a temporary bed after the last spring frost.
The seedlings will grow throughout the summer, and female plants will produce small red berries in the fall. Find each plant without berries, as these are the more productive male varieties you will transplant to your permanent asparagus bed.
Ashley over at Practical Self Reliance has a really amazing tutorial for growing asparagus from seed. But for planting asparagus crowns, keep on reading.
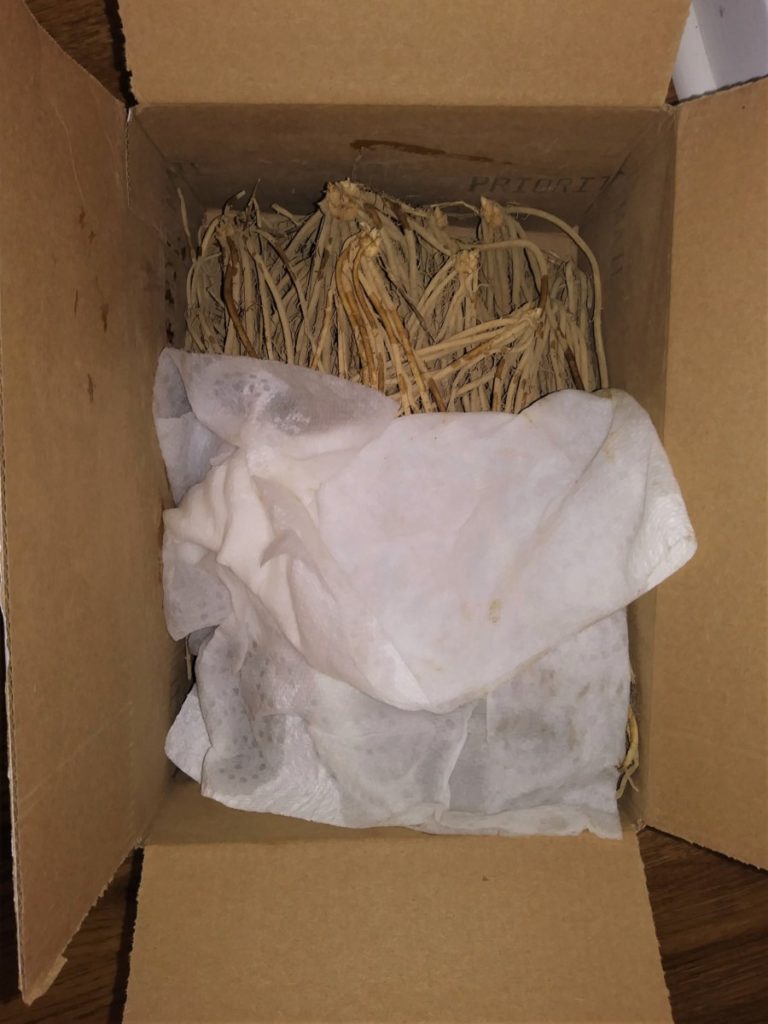
If you instead commit to crowns, most nurseries will ship them out in the early spring. These pale white root heads can be planted outdoors as soon as temperatures are above freezing. If you need to wait, store them in the fridge with a wet paper towel on top to hold in moisture.
Choosing an Asparagus Planting Site
Asparagus plants spend up to 30 years in one garden bed, so it’s essential to choose their location carefully.
Select a fertile, sunny spot with soil that drains well. You want the ground to warm up quickly in the spring, so avoid low-lying places where water would collect, as this can rapidly rot the roots.
If possible, keep asparagus on the north side of your vegetable garden so that the tall ferns won’t shade out other plants over the summer.
How to Plant Asparagus
Planting asparagus primarily comes down to digging a trench and slowly filling it over the summer as the spears grow taller.
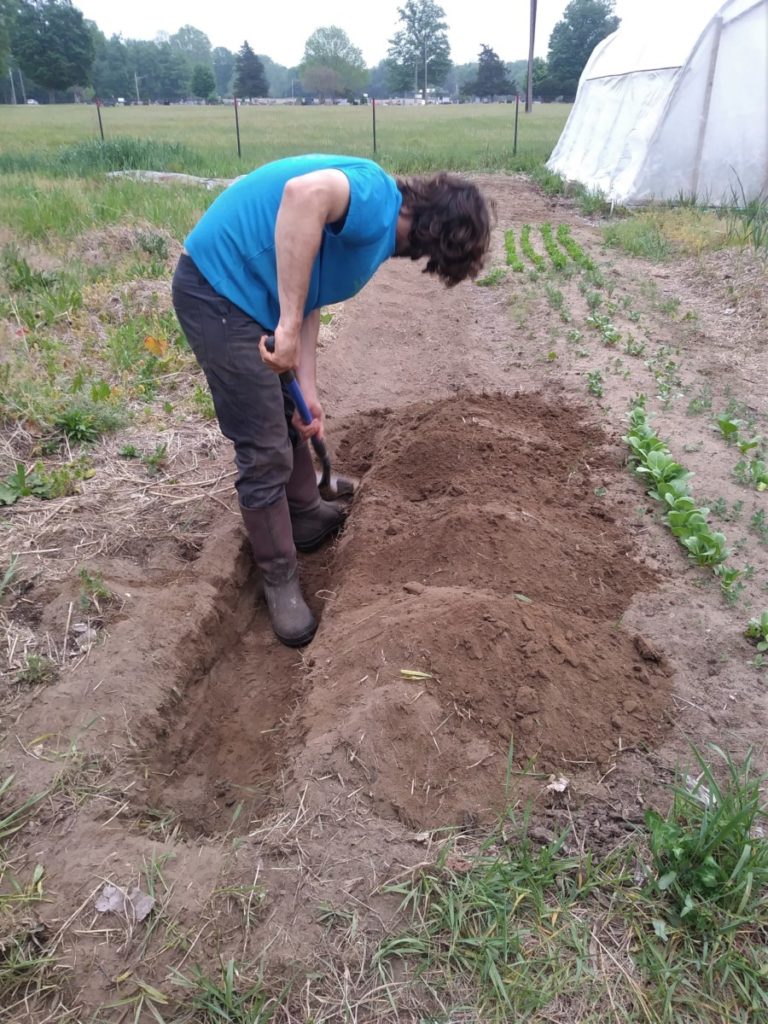
You’ll begin by digging a trench about 12 to 18 inches wide and eight inches deep. Plan for each plant to have a foot of spacing, with at least three feet between rows. Sprinkle a thick layer of compost into this trench and intermix it with the soil at the bottom.
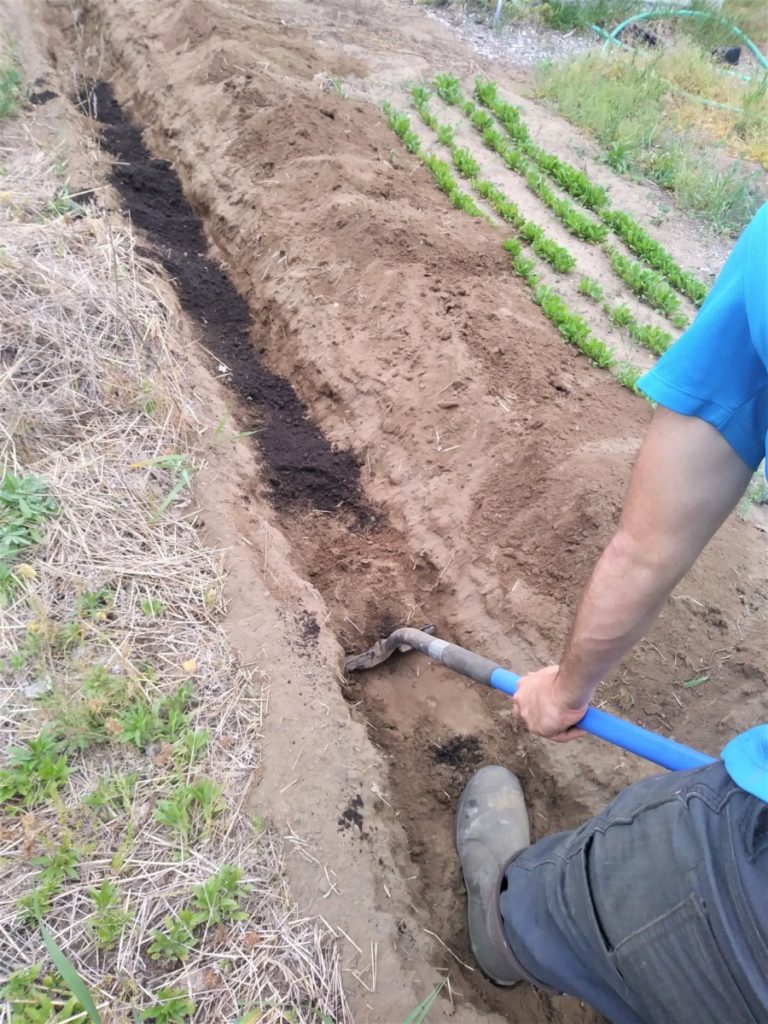
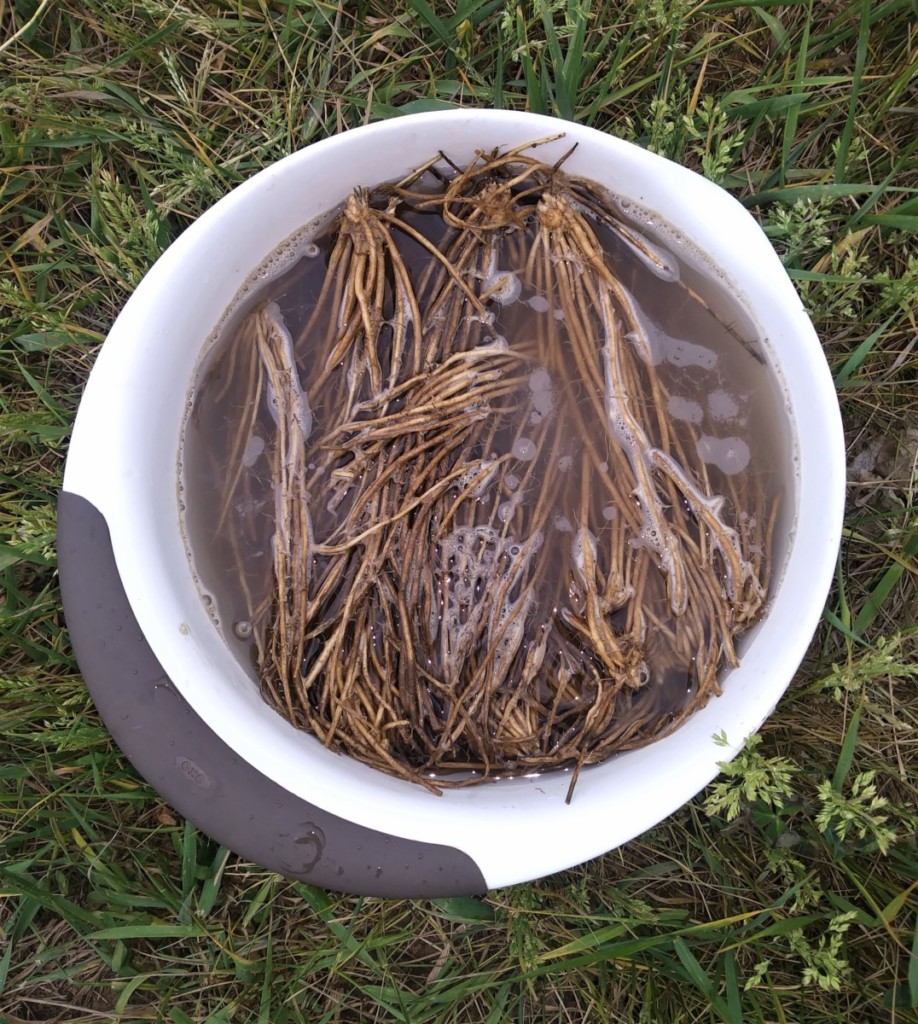
Before planting, soak the crowns in lukewarm water or compost tea for at least fifteen minutes. Use a post hole digger to make a depression at the bottom of the trench for each crown and place them in it, ensuring that the roots are pointed down with the stem base on top. Cover the crown with two inches of soil.
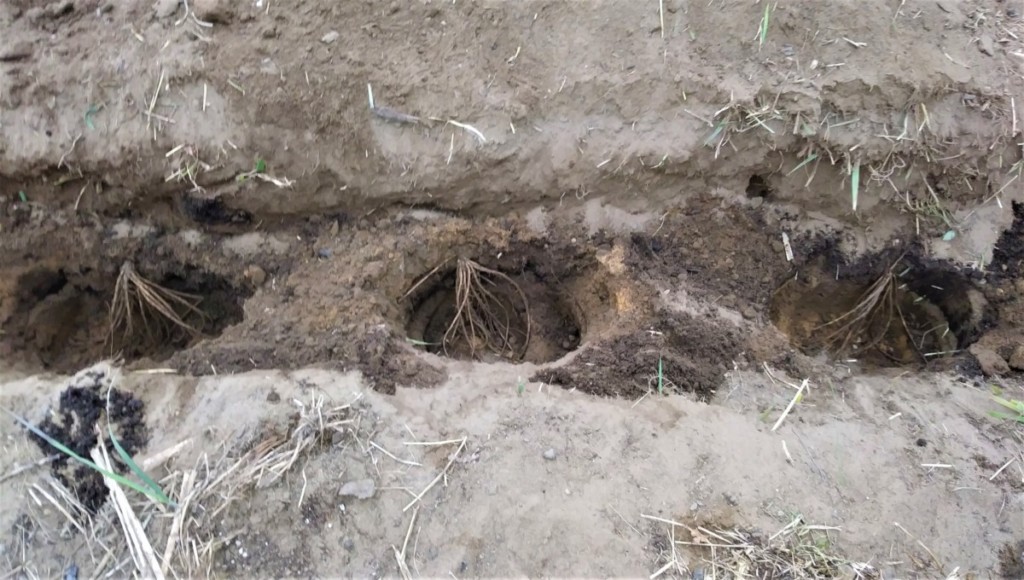
When done correctly, you’ll end up with a shallow trench with asparagus planted along the bottom.
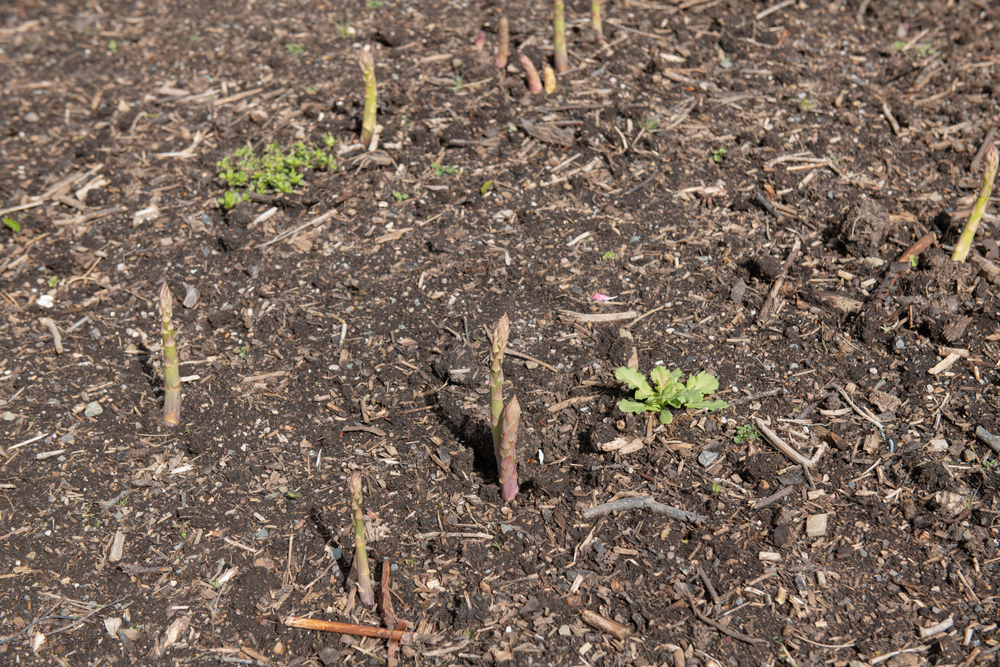
The first signs of growth should show within three weeks as small, narrow spears, at which point you’ll add another inch or two of soil to the trench to mound the soil and prevent water from pooling within it. Do this throughout the growing season until the bed is slightly mounded above surface level.
Alternatively, you can fill the entire trench at once with loose soil. Many gardeners believe the gradual method results in stronger plants in the long run, but your choice of method might not make much of a difference so long as the spears can successfully push through the soil.
Caring for an Asparagus Bed
Weeds are the most crucial maintenance concern for an asparagus bed. You don’t want to disturb the immature roots, so it’s best to gently hand-weed the bed whenever they appear.
Add a six-inch layer of organic mulch to the mounds once they are filled to suppress weeds and help retain moisture. As the plants fill in, you’ll have less pressure from weeds.
Asparagus plants need about two inches of water per week for their first two years. Drip irrigation works well if you don’t get enough rain to meet this level.
The plants are heavy feeders and will appreciate a topdressing of organic fertilizer over the growing season and at the start of spring.
Once you’re finished harvesting for the season, leave the feathery foliage in place so that the plant can complete its reproductive cycle. However, it’s smart to remove old foliage in the spring before new growth appears so this dead plant material can’t transfer disease or insect eggs to the new growth.
Note: If you need to transplant established asparagus to a new garden bed, move the crowns when they are dormant, either in the early spring or late fall before the first frost.
Dig up the crowns with a garden fork, being careful not to disturb the roots. Water thoroughly after transplanting in a prepared bed and refrain from heavy harvesting in the upcoming season.
Asparagus Pest and Disease Problems
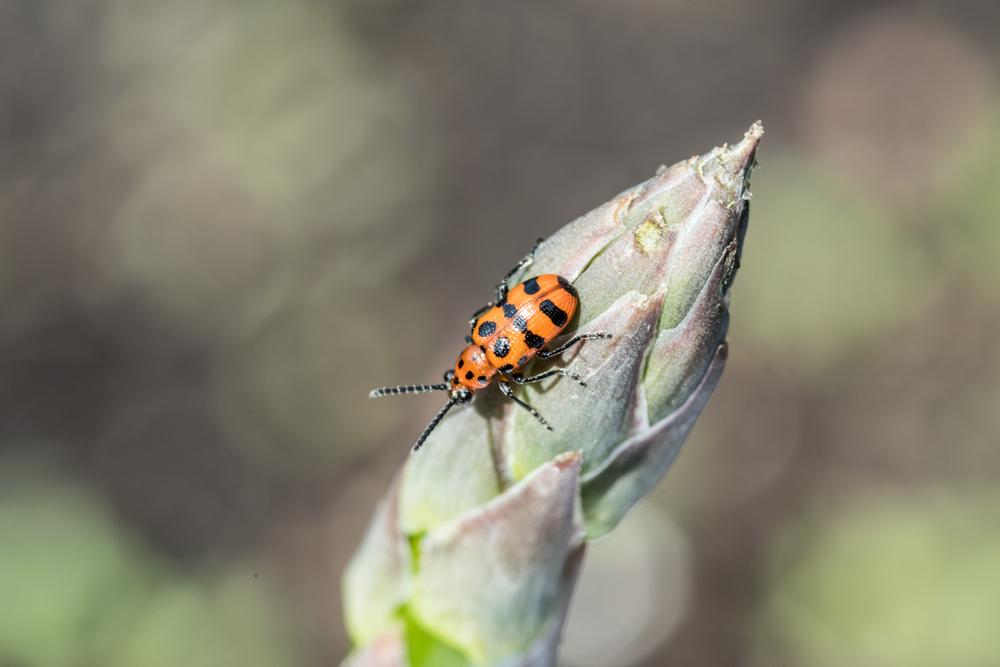
While asparagus tends to be a hardy grower, asparagus beetles are a frequent problem.
There are two common types of asparagus beetles. One an orangey-red with black spots and the other a metallic blue-black with creamy light spots on their back. Both love to feast on baby spears.
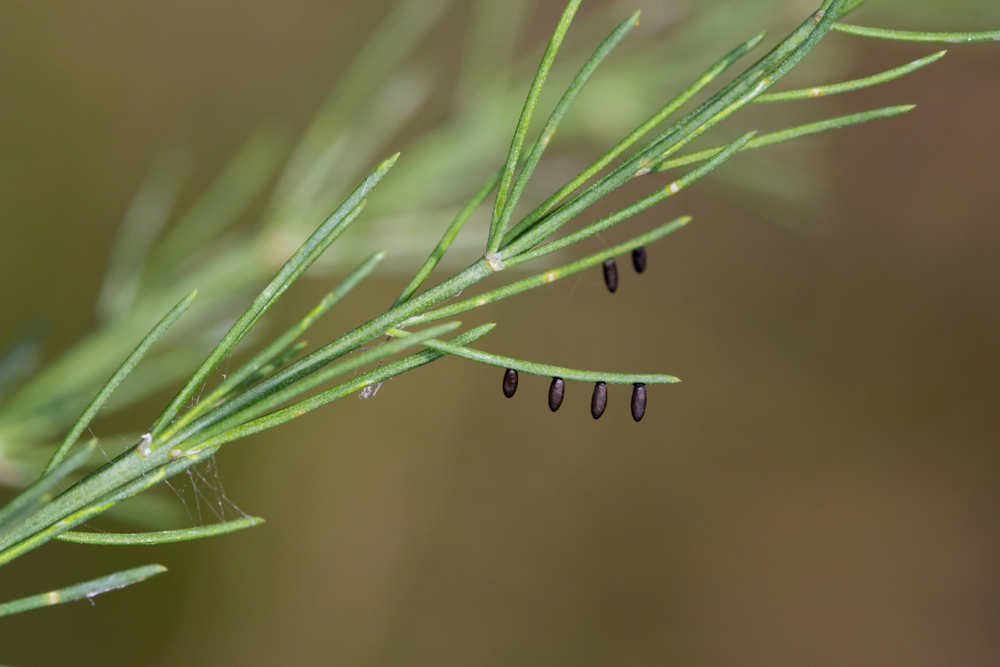
You can spray infested plants with insecticidal soap, though it’s usually best to hand pick the beetles off the plants, taking care not to miss the patches of dark eggs they lay under the leaves.
If young spears turn brown and soften early in the summer, they likely experienced frost damage. Cover them with newspaper or frost cloth for weather protection until the temperature warms up.
While asparagus is considered resistant to deer and rabbits, creatures are more than willing to try some if they get hungry enough. You may want to protect young plants with fencing so that they can’t get gnawed on to the point they stop growing altogether.
When Can You Harvest Asparagus?
Now here’s the hard part—you need to wait two full growing seasons after planting before you can taste your asparagus. The plants need this time to put their energy towards establishing deep roots, and plucking off the young spears will stunt them.
By the third year, you can enjoy a four-week harvest period, which expands to up to eight weeks for the fourth. From the fifth year on, your asparagus will be at full capacity, and you can enjoy three months or longer of fresh spears.
To harvest, cut the spears with a sharp knife at the base of the plant, right at the soil line. Make sure you don’t harm the roots in the process.
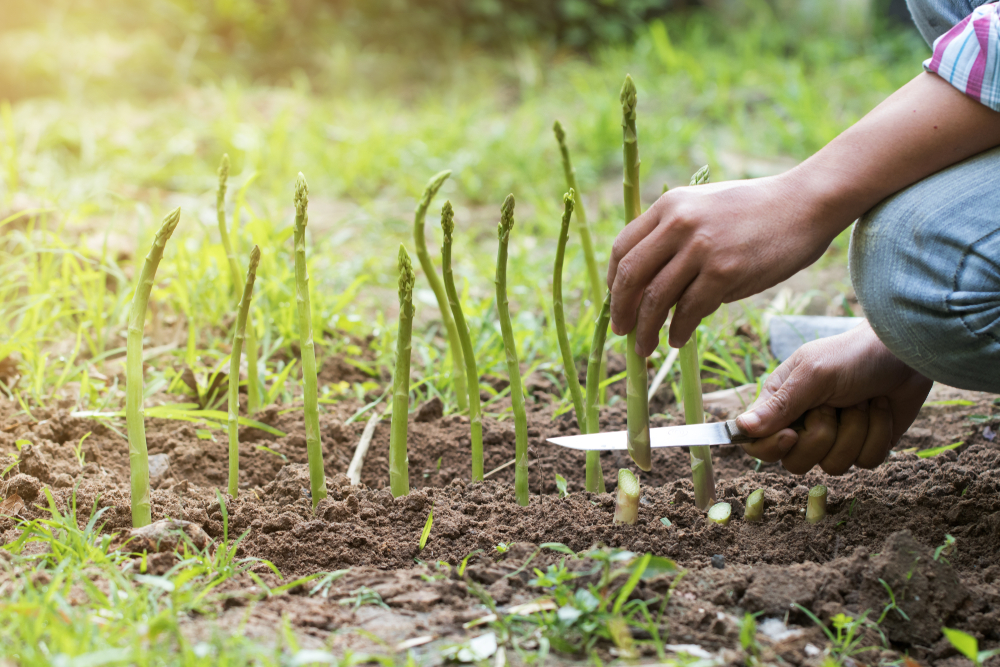
During the peak season, you’ll need to harvest asparagus every few days—possibly even twice a day. The spears can grow two inches or more per day and can quickly become tough and oversized. They are past their prime once the buds on the head open up and flower.
Let the spears sit undisturbed once you are finished for the season so the plant can go to seed and restock energy for next year. You don’t want to cut back any foliage until the plants have turned brown and died back.
Storing and Using Asparagus
Asparagus spears have a high water content, which means they won’t last long after picking and should be eaten within a few days.
After pulling them from the garden, give the spears a light rinse in cold water and dry them thoroughly. You can then bundle them together with a rubber band, wrapping the cut ends in a moist paper towel before placing them in a plastic bag and storing them in the fridge.
An easier method, if space allows, is to store the spears upright in the fridge within a cup with an inch of water on the bottom.
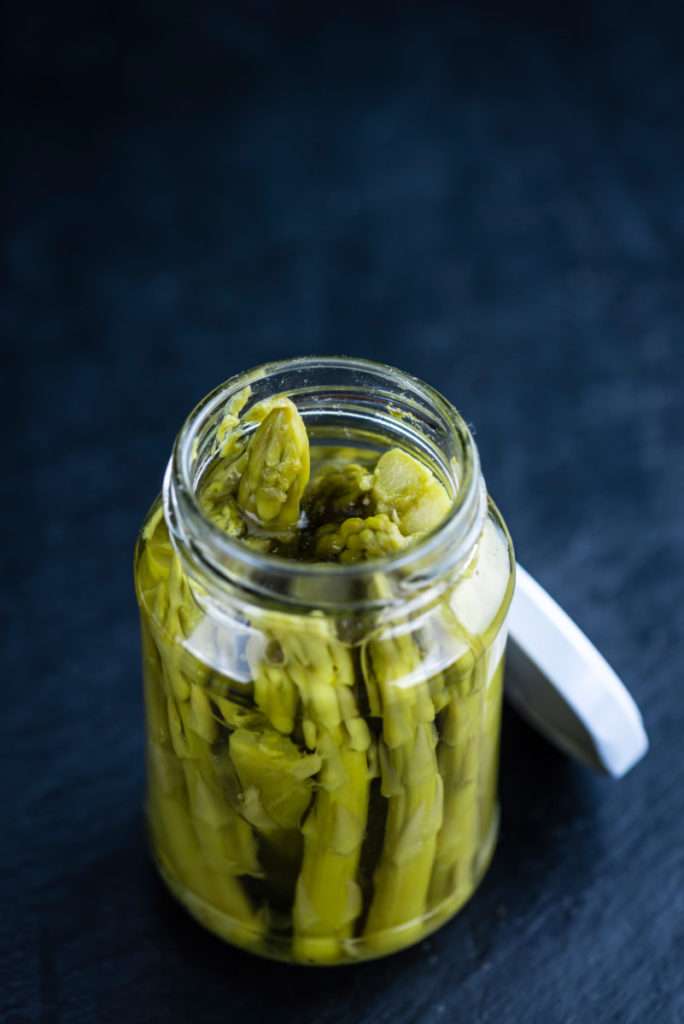
Asparagus is a spring treat with an all-too-short growing season. If you want to enjoy the spears longer, consider preserving them.
It’s possible to blanch and freeze them for future recipes, but I find that frozen spears tend to lose their form when they unthaw. This means they usually only work well for soup.
I prefer to pickle them with apple cider vinegar and garlic. Use a blend of green and purple spears for gorgeous coloring you can’t easily find in the grocery store.
Growing asparagus at home takes both time and patience, but you’ll thank yourself for every second of effort you put in this season for the ease of harvesting your own spears at home for years, even decades, to come.

Get the famous Rural Sprout newsletter delivered to your inbox.
Join the 50,000+ gardeners who get timely gardening tutorials, tips and tasks delivered direct to their inbox.