

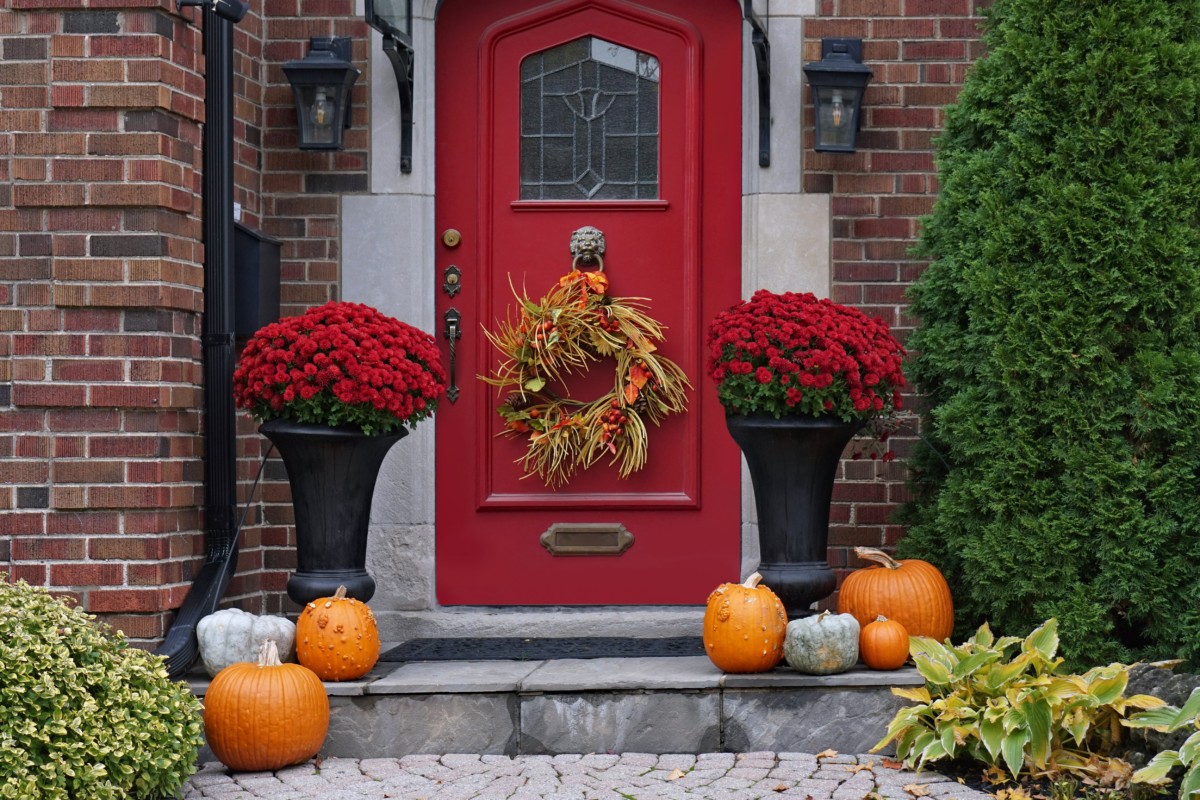
Whether you ascribe pumpkin spice lattes to the arrival of fall or not, it’s hard to deny that pumpkins are the harbinger of Autumn.
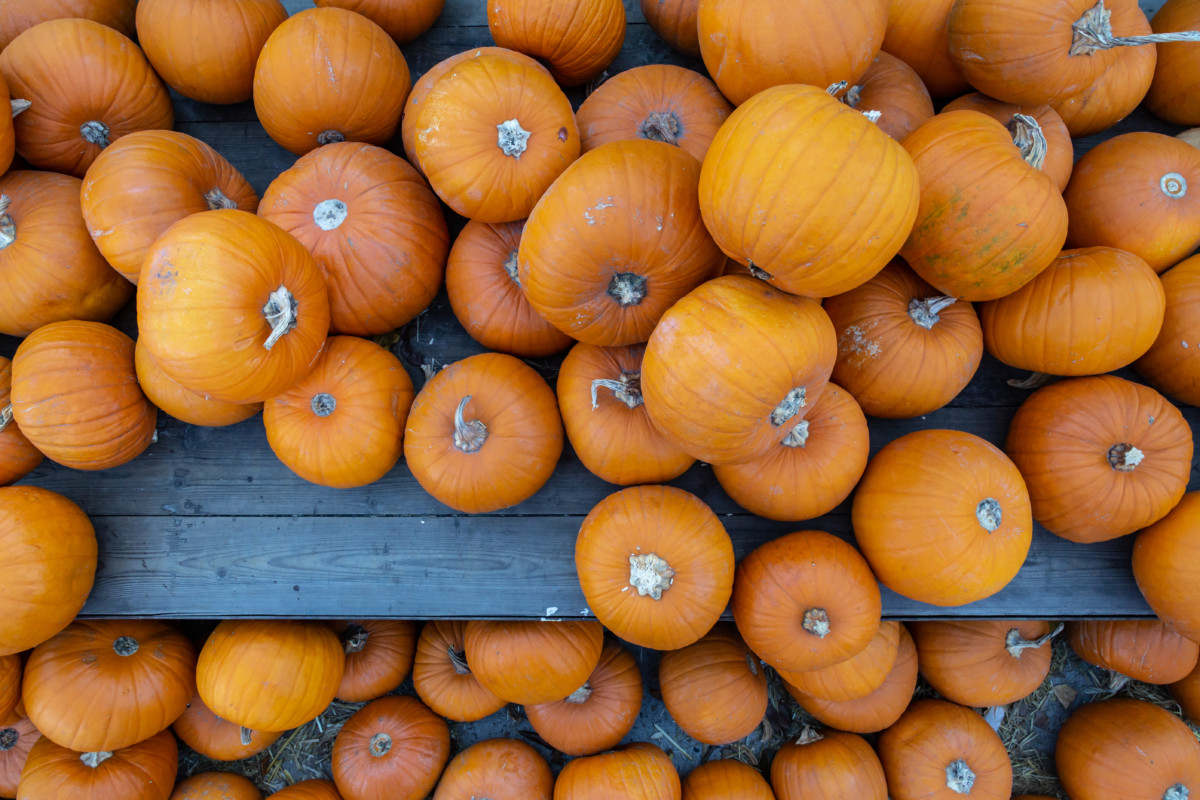
When cooler weather is finally on its way, your neighborhood is suddenly dotted with bright orange globes on every doorstep. They show up in stores and farmstands, whether for sale or as seasonal decor. Much like pumpkin spice, pumpkins are everywhere.
But as a gardener, it can be confusing to gauge when those fall gourds are ready for harvest, especially if you aren’t growing your typical orange pumpkin. Luckily, some tell-tale signs make picking your pumpkins at peak ripeness easy to do.
And it is important to pick pumpkins at the right time.
Harvesting too soon can leave you with a mealy, underdeveloped squash with little flesh and even less flavor. Probably not what you had in mind when you planted them, especially when there are so many delicious ways to enjoy pumpkin.
If you’re growing pumpkins hoping to store them, harvesting at the correct time becomes the difference between delicious pumpkin pie with your Thanksgiving and Christmas meals or pitching moldy squash onto the compost heap in October.
Winter squash need to mature on the vine to a point where their skins harden, protecting them during storage. Additional curing, once picked, can easily have you eating squash well into the coldest months of the year. But we’ll get to that later.
Let’s take a closer look, and discover how pumpkins signal their ripeness.
For the best results, it’s a good idea to use several signs rather than relying on one. After spending an entire growing season nurturing your pumpkins, you don’t want to pick them too soon and waste all that hard work.
1. What Time of Year Is It?
For the most part, winter squash takes the entire growing season to mature, anywhere from 95-120 days. So, if you’ve got a pumpkin that is turning orange in July, that should give you pause. While the outside might say ripe, there’s still plenty developing inside. Naturally, it depends on your growing season, but most pumpkins reach full maturity in the fall.
Check the ‘Days to Maturity’ on your seed packet to show you when that particular variety will be ready to harvest.
In the spring, I find it helpful to note when I plant something on the calendar and then mark the future day of maturity. This ends up being a timely reminder to start checking on that particular vegetable. I know it seems like a simple trick, but often those work best.
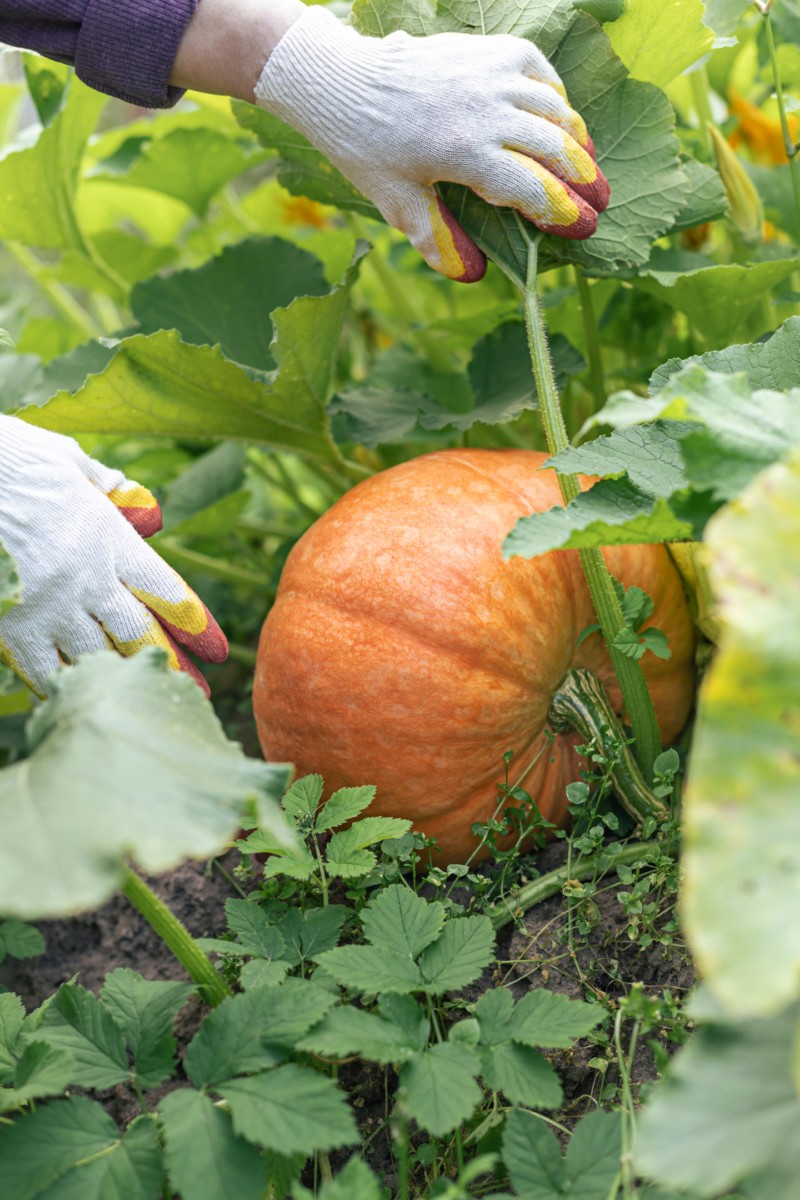
2. Check the Size and Weight of Your Pumpkin
Depending on the variety of pumpkin as well as its intended use, size plays an important role in determining when to pick it. Again, having that seed packet handy will help you note the average size and weight of the variety you chose to grow.
For instance, if you’ve planted Connecticut Field Pumpkins with the intent of carving them, then you already know by sight that those soccer ball-sized pumpkins still have a way to go. Other varieties, such as pie pumpkins, have a more compact shape. These types you may want on the smaller side.
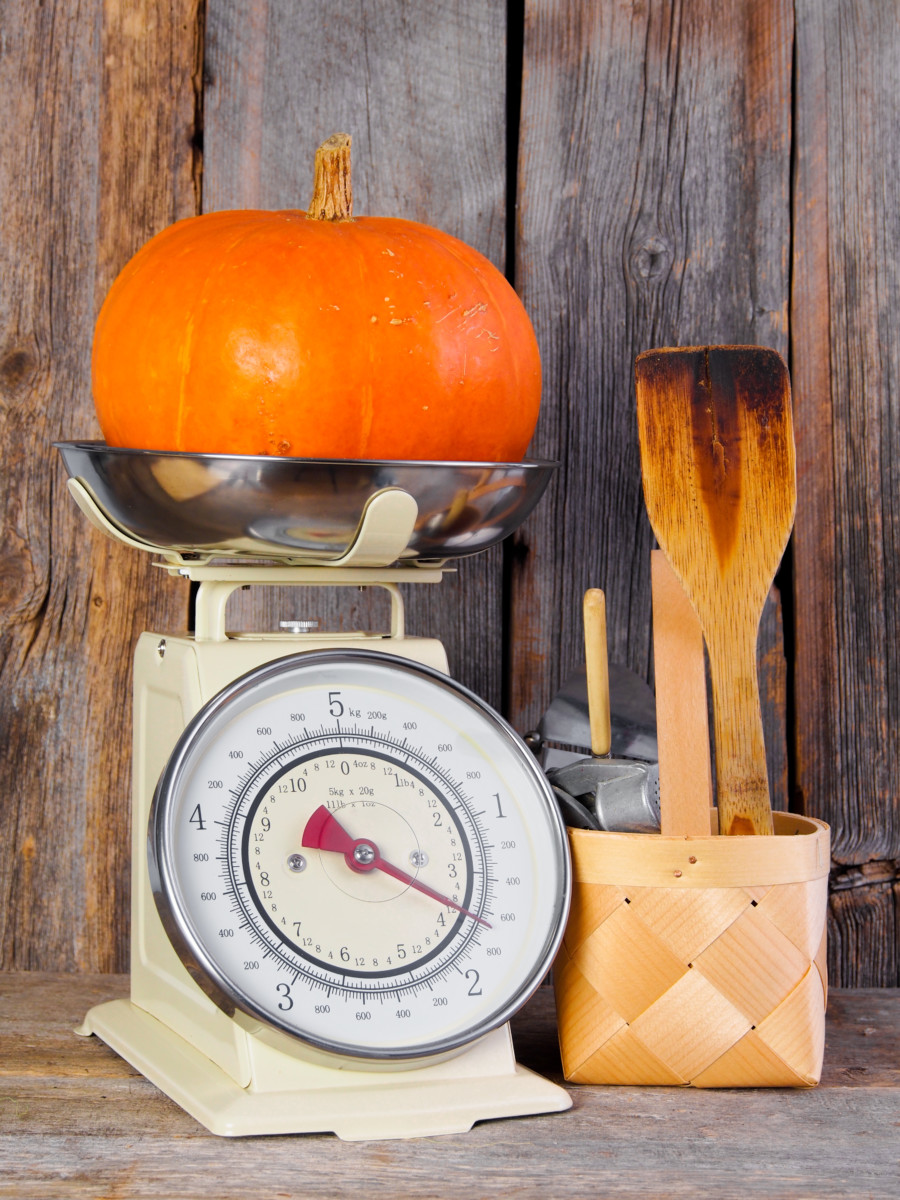
Most seed packets will give you an estimate as to the final weight of your mature pumpkins. While I don’t think you need to haul the bathroom scale out to the pumpkin patch, hefting a pumpkin in your hands can give you a pretty good idea of whether the pumpkin is ready. A notably lighter pumpkin can signal there’s more growing to do or sometimes that the pumpkin is rotting inside.
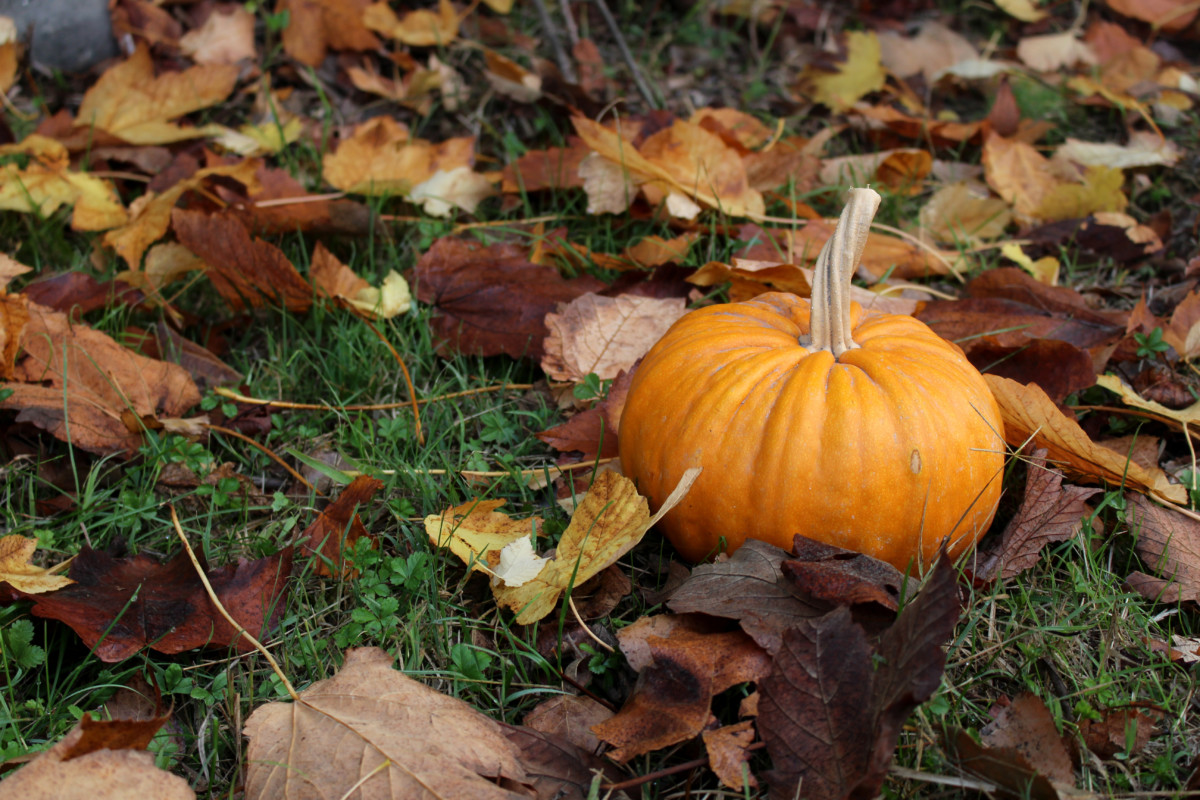
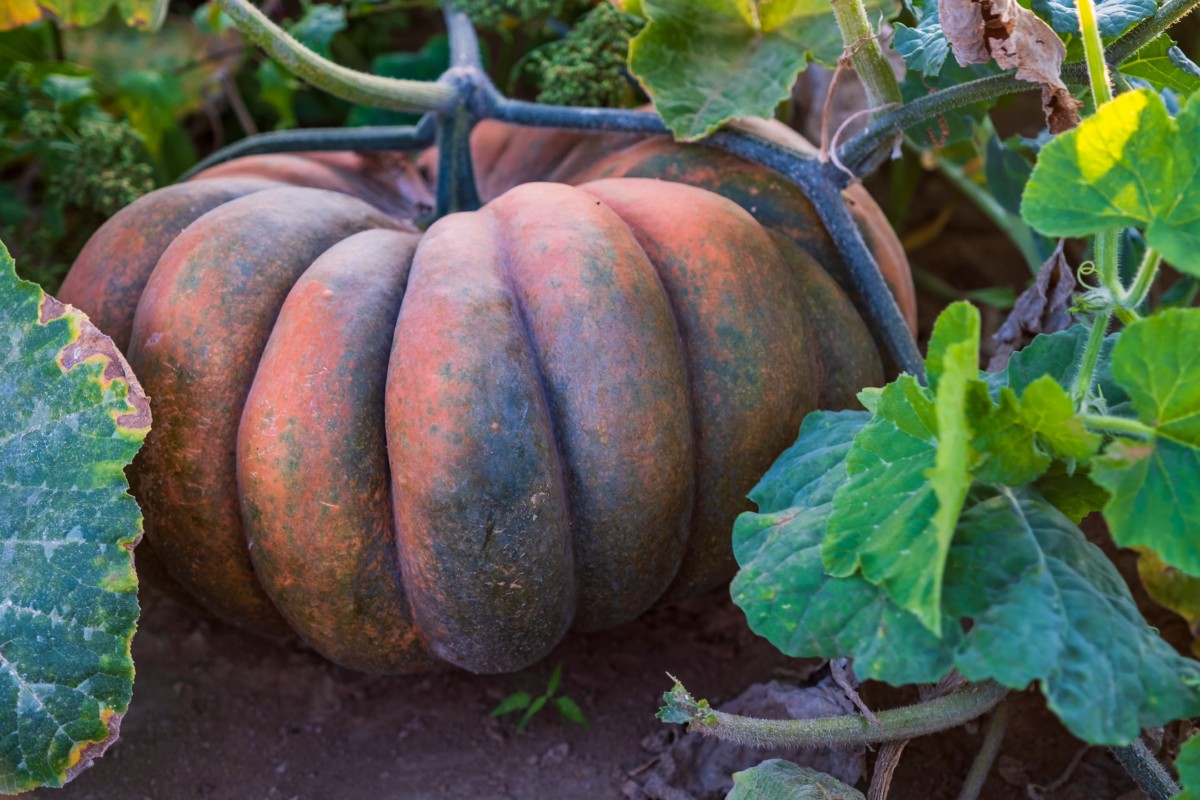
3. What Color is Your Pumpkin?
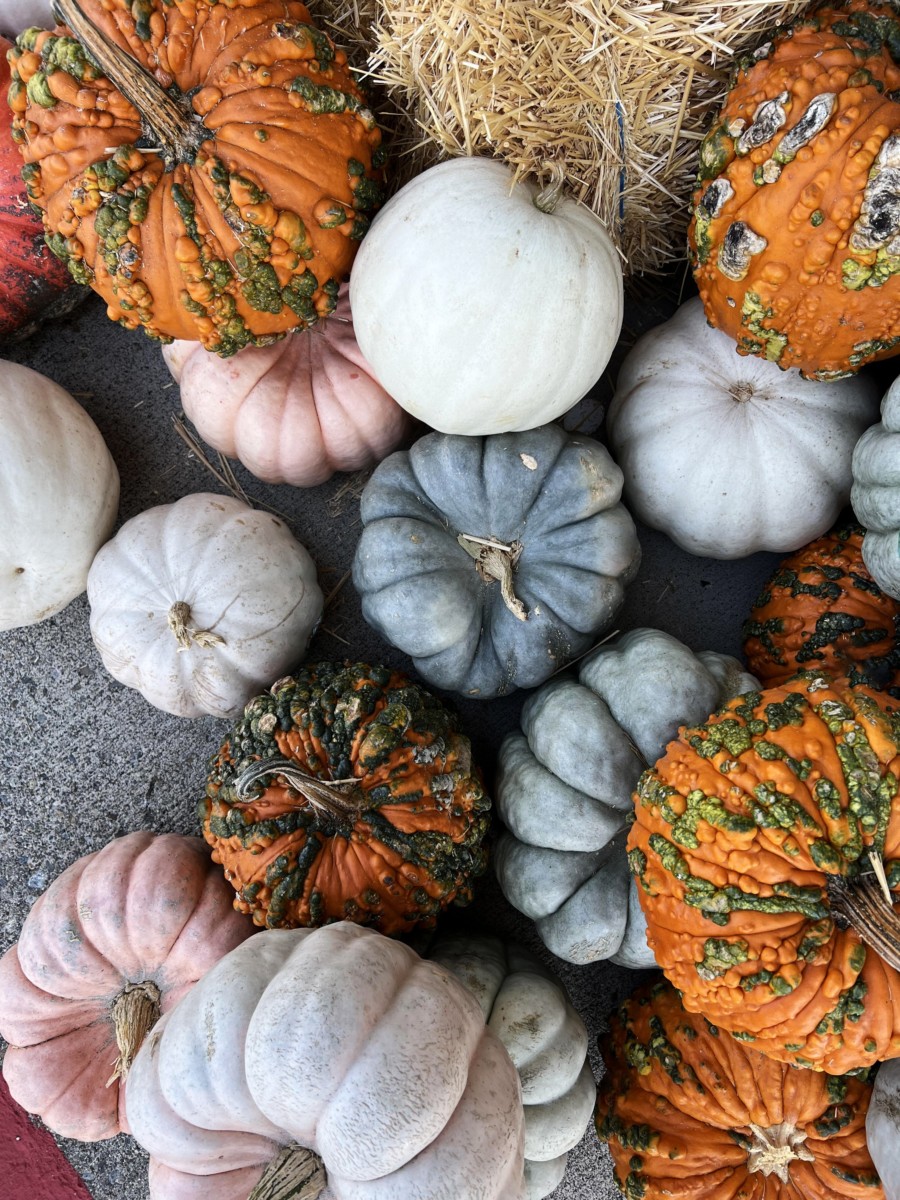
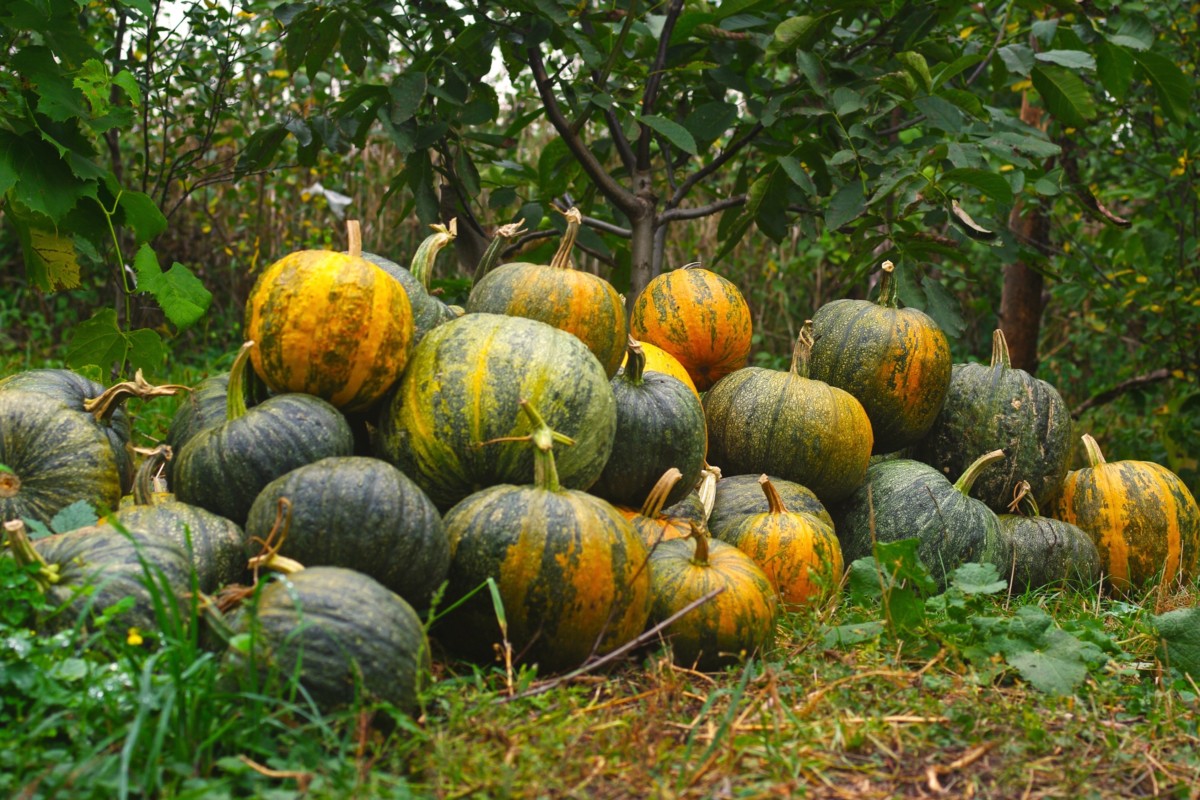
Over the years, heirloom pumpkin varieties have made a comeback, giving us more color options beyond the traditional bright orange. These days it’s not unusual to see warm coral, pale cream, slate blue and even dark green pumpkins in your seed catalogs. Still, color can clue us in to whether or not the pumpkin is ripe.
Most of the surface of the pumpkin should be the final color of whatever variety you’re growing. Sometimes there can be a small green or even orange spot left where the pumpkin sat on the ground.
4. Give Your Pumpkin a Good Knock
Like watermelons, knocking on the pumpkin is one of the most common tests for ripeness. But experience has taught me that it’s not the greatest indicator of whether a pumpkin is ready. Rather, I think adding it in among several other tests is wise.
The idea is that a ripe pumpkin should have a hollow sound when you rap it with your knuckles. This might hold for larger varieties grown specifically for carving and thus have thinner walls but can just as easily signal a diseased pumpkin with a rotten core.
Many pie and heirloom pumpkin varieties develop thicker-walled flesh with a much smaller core of seeds. A knock on the outside of these pumpkins wouldn’t create a hollow sound so that solid thud would be a good sign for that particular variety.
5. Shiny, Happy Pumpkins
This is another one of those time-honored tests that only helps if you’re growing certain varieties of pumpkins. The traditional orange pumpkins most of us are familiar with will lose their dull appearance and grow shiny as they reach peak maturity.
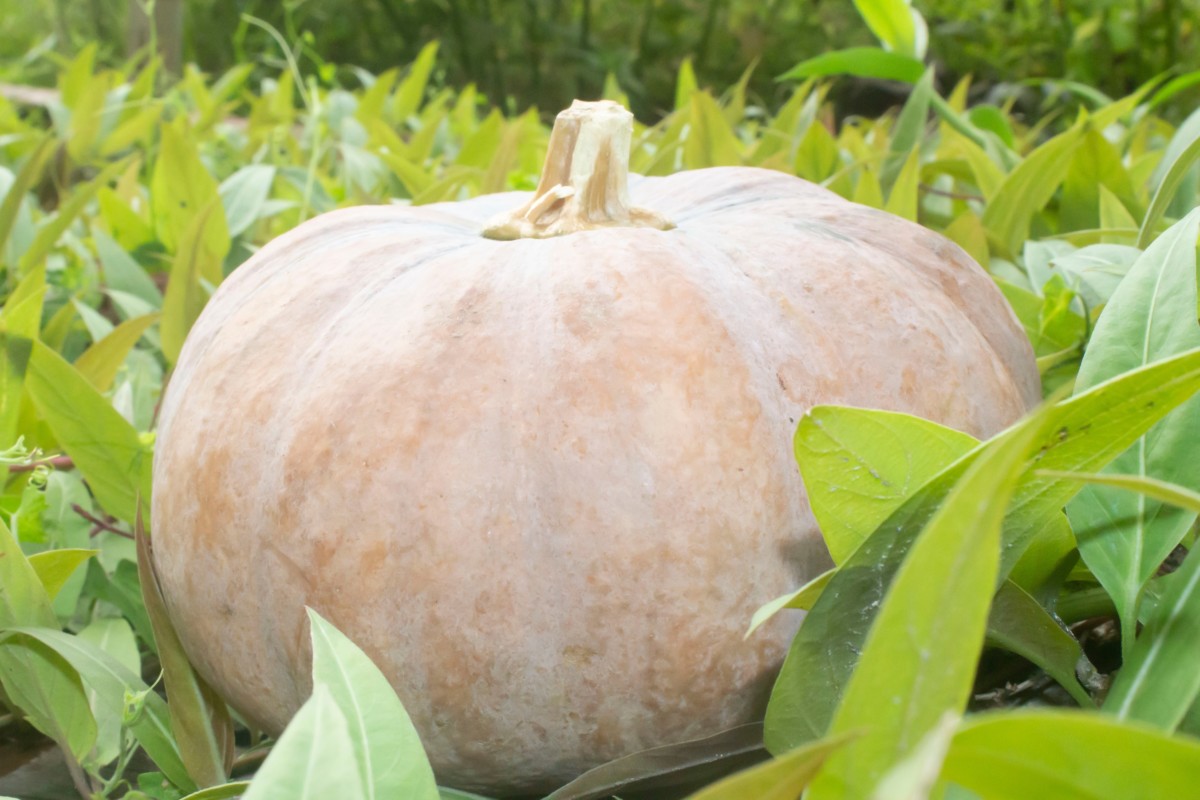
However, some pumpkins retain a bit of that whitish film even when mature. What you’re looking at is a yeast bloom. This occurs naturally on many fruits and vegetables. As the fruit matures, the yeast die back, leaving you with shiny apples, watermelons, pumpkins and so forth.
Again, this is one of those clues that should be noted in tandem with other signs of ripeness.
6. Test the Rind for Thickness
Winter squash and summer squash are really no different from one another beyond when you pick them. We enjoy certain squash varieties earlier in the season while the skins are still thin and tender. Winter squash we let mature to a point where the skin or rind becomes hard and protective. Biologically, there is little to no difference between the two.
To check your pumpkin’s rind, press the edge of your fingernail into it. If your fingernail punctures it or easily leaves a mark, the pumpkin isn’t ready yet.
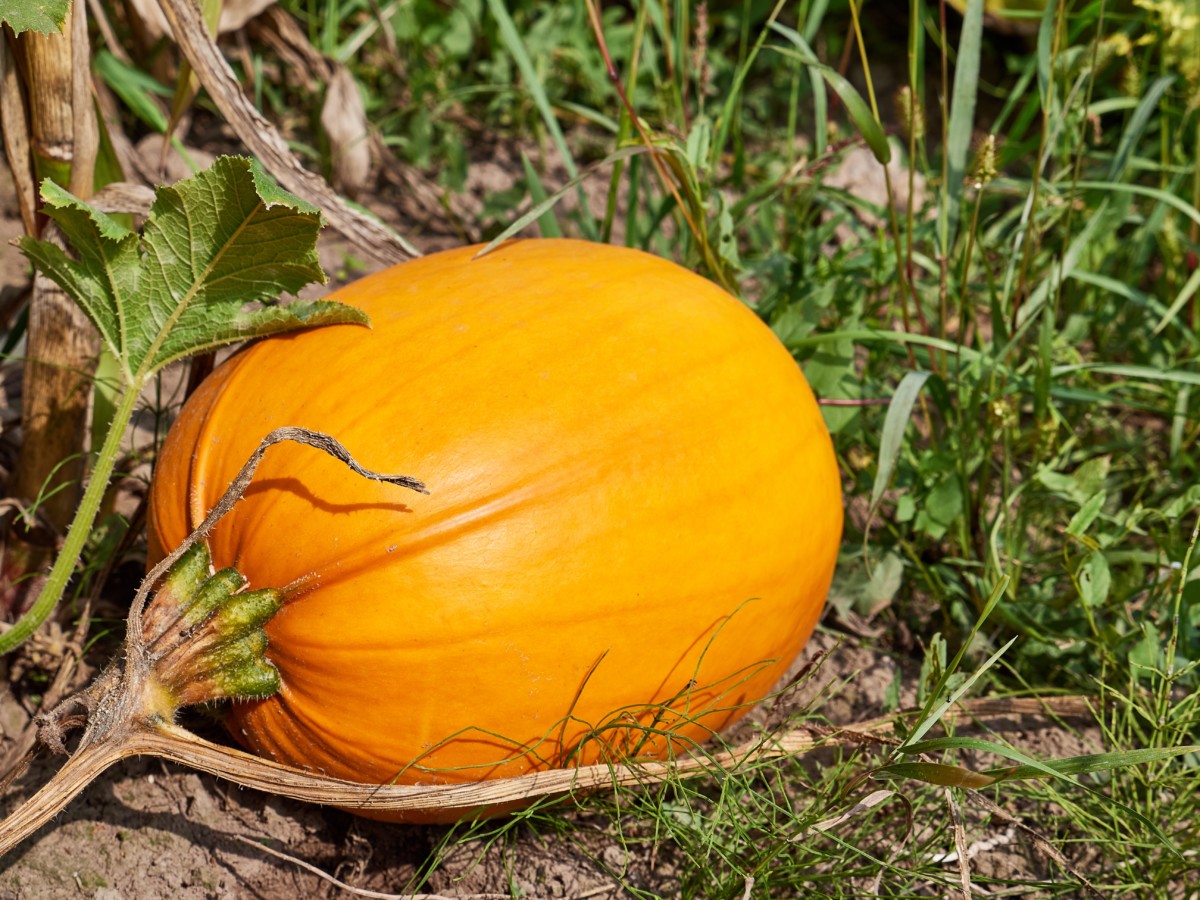
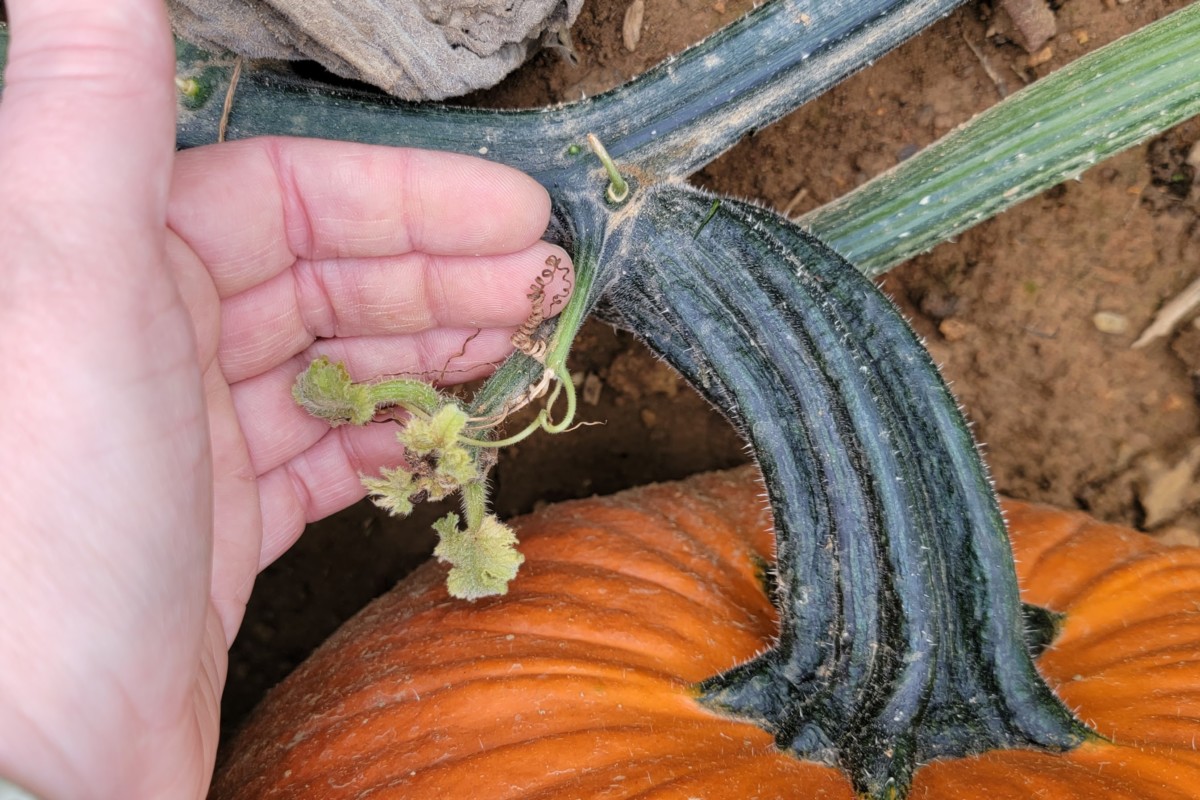
7. Feel the Stem
You may have noticed the leaves and vines of pumpkin plants are all hollow. While developing, the stems of pumpkins are hollow as well. Once the pumpkin reaches maturity, the stem closes up and becomes tough and woody because it no longer receives nutrients from the vine.
Check your pumpkins by wiggling the stem. A ripe pumpkin should have a tough, brittle stem with very little flex. The stem may also be turning brown, starting where it connects to the vine.
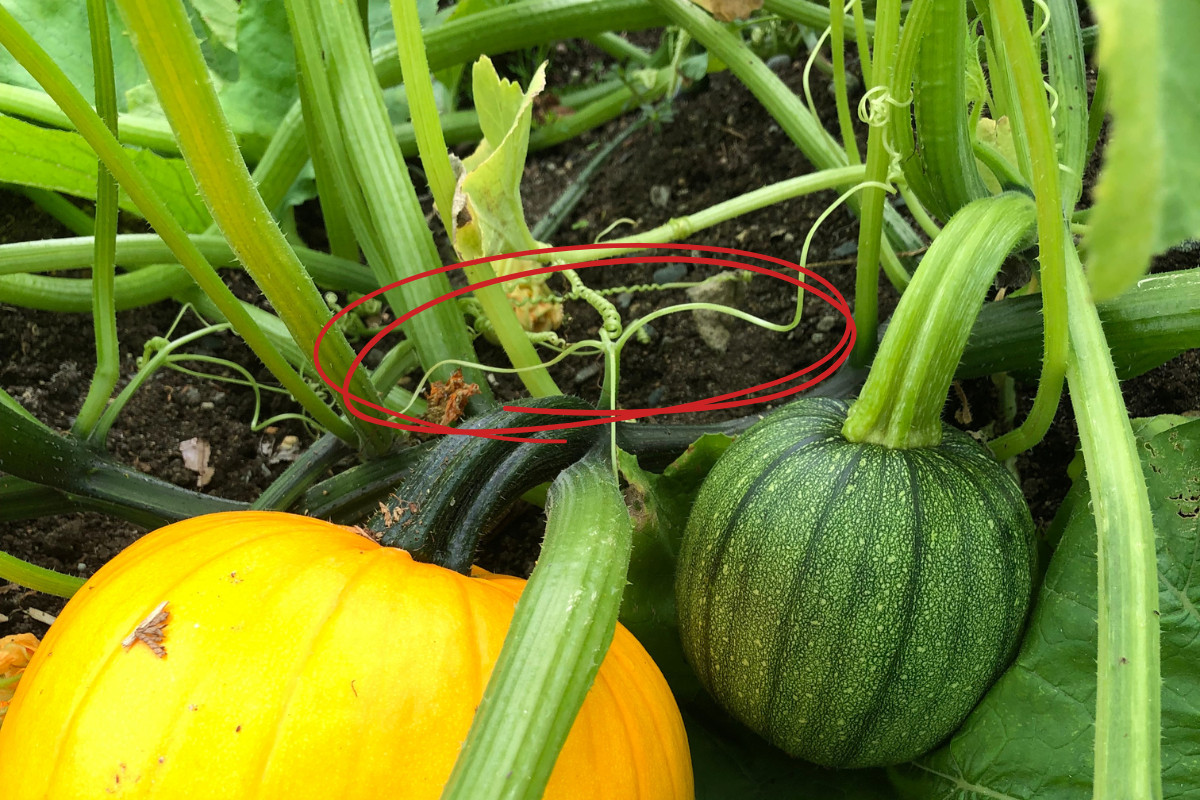
8. Check the Little Curly-Q
If you’ve read my piece on how to tell when a watermelon is ripe, then you’ll be familiar with this tip.
In my experience, it’s the definitive indicator of a ripe pumpkin. Despite my advice about using several clues, this is the only thing I check, and so far, it’s never let me down.
As we just discussed, pumpkins stop receiving nutrients when they mature. There is an even better and timelier indicator of when this happens than the stem. If you trace the pumpkin’s stem back up to where it joins the vine, you will notice a small curly-q-shaped tendril growing.
This tiny tendril is the best indicator as to whether or not the pumpkin below it is still receiving nutrients.
Because it’s so small, it is the first part of the plant to die back when it no longer receives water and food. When the pumpkin is ripe, the curly little tendril will be tan to brown and dry.
So, in effect, without poking or thumping or hefting your pumpkin, you can tell at a glance if it’s ready to be picked from the vine.
Coloring Up Your Pumpkins Off the Vine
Sometimes it’s necessary to pick pumpkins a bit early. Whether you’ve got hard frosts coming or you’re trying to save a crop from disease, you may need to bring in your harvest before the pumpkins have fully colored up. And sometimes, you get a fully ripe pumpkin that hasn’t reached its usual bright orange.
You can help your pumpkins reach their peak color by setting them outside in the sun and bringing them inside in the evenings. After about a week, your pumpkin should be completely colored and ready to cure.
Curing and Storing
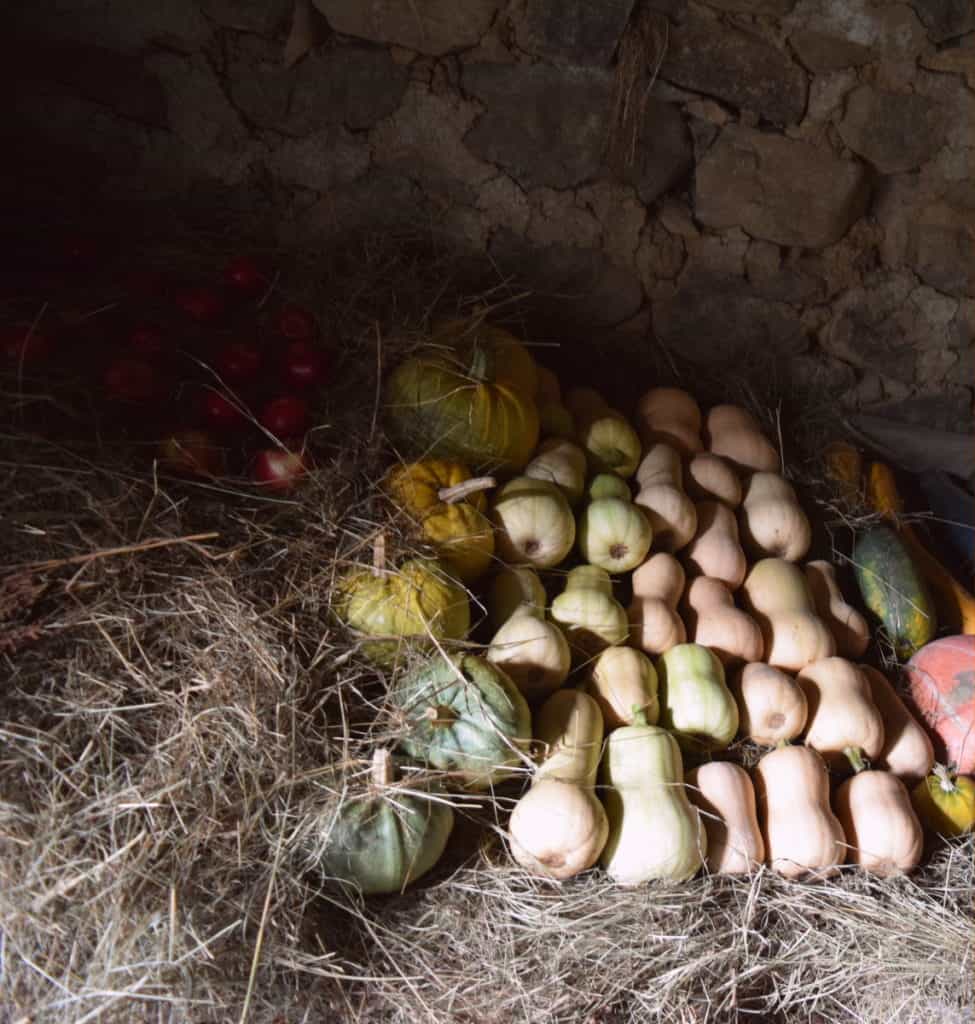
Now that you’ve got a lovely harvest of perfectly ripe pumpkins, you’ll need to cure them so they will last. Cheryl has written everything you need to know about curing and storing pumpkins and all other winter squash. Following her techniques, it’s not unlikely to have pumpkins that last you six months or more.

Get the famous Rural Sprout newsletter delivered to your inbox.
Join the 50,000+ gardeners who get timely gardening tutorials, tips and tasks delivered direct to their inbox.