

Let’s be honest, tomatoes are kind of a pain. We put in months of work for a few short weeks of fruit, only to start over again each spring.
But what if I told you it doesn’t have to be this way? Did you know you can overwinter tomato plants and replant them next spring?
Doing so means you get tomatoes earlier in the season, which means more tomatoes overall.
Everyone’s Favorite Annual is a Perennial
Every winter, around February or March, gardeners poke tomato seeds in soil and start the annual process of growing the world’s most popular vegetable.
We tend the seedlings indoors before hardening them off and planting them outside after the magical “all danger of frost” date has passed. We toil all summer against pests, diseases and unfavorable weather to enjoy eating and preserving our own vine-ripened tomatoes.
And then, our plants get hit by that first hard frost, and the show is over for the season.
But tomatoes aren’t supposed to grow this way.
In the wild, tomatoes are perennials, sometimes living for years. They enter a period of dormancy in cooler weather, then begin growing and fruiting when the weather warms again.
Unfortunately for most of us, we have to grow tomatoes as annuals, as they are not frost-hardy and are incredibly cold-sensitive. But with a little planning, you can overwinter tomatoes in your home and start next spring ahead of the game by weeks.
What’s the Advantage of Overwintering Tomatoes?
There are a couple of great reasons to bring your tomatoes indoors for the winter.
Early Tomatoes = More Tomatoes
When we plant tomatoes in the spring, it’s quite a while before those transplants begin producing fruit. Rather than waiting for small, new seedlings to get established and begin flowering, overwintering allows us to leap ahead by putting a mature plant back in the ground.
From there, you only have to wait for the plant to resettle before it begins to set new flowers and produce tomatoes much earlier in the season.
Unlimited Tomato Varieties for Short-Season Growers
Overwintering opens up a world of later-developing tomato varieties to gardeners who live in short growing seasons. Many of the tastiest heirloom varieties take too long to produce fruit in certain hardiness zones. This means short-season gardeners miss out on hundreds of tasty tomato varieties.
However, overwintering tomato plants means you can skip ahead in the growing season by several weeks.
Granted, this would require committing a season to grow these varieties simply for the plant rather than the fruit. But once you have an established plant to overwinter, there’s no reason you can’t keep using that same plant every season thereafter.
Indeterminate & Determinate Tomatoes
Before we jump into the methods available for overwintering, it’s important to talk about indeterminate and determinate tomatoes.
The wild tomatoes that grow as perennials are indeterminate tomatoes. They continue to grow and set new fruit for the life of the plant. As long as you are growing an indeterminate tomato, it can be overwintered.
Determinate tomatoes are mostly hybrids or highly cultivated varieties. These are all grown as annuals. The plants are bred to grow to a specific height and set all their fruit at once before the plant dies off naturally.

But don’t lose heart; even if you’re growing a determinate tomato variety, you can still overwinter it with one of the methods I’ll detail below. While overwintering determinate varieties won’t get you more tomatoes, it will get you earlier tomatoes, which can be helpful if you plan to preserve them.
Two Ways to Overwinter Tomatoes
There are two ways to overwinter tomatoes, each method with different advantages, disadvantages and varying degrees of success. Once you’ve learned how to do each, you’ll be ready to decide which method is best suited to your needs.
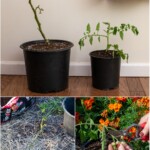
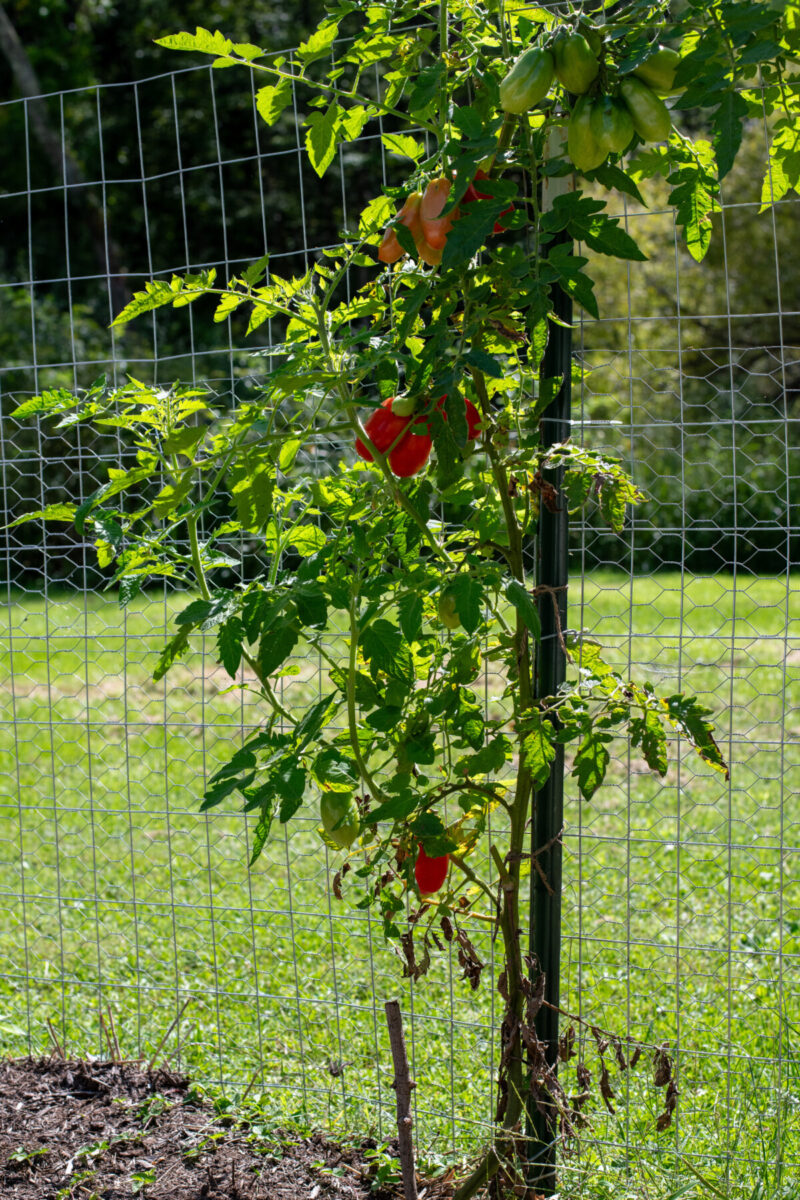
Digging Up & Pruning Hard
Much like you would when overwintering pepper plants, indeterminate tomatoes can be pruned back, dug up and overwintered indoors, where they will enter dormancy. This method is great if you’ve got a nice, healthy plant that did well and you would like to keep it going again next year.
When using this method, it’s important to remember that you aren’t trying to keep the plant producing fruit through the winter. Instead, you’re bringing the plant indoors to protect it and let it go through a period of dormancy. Basically, you’ll have a hibernating tomato plant in your home.
The Process
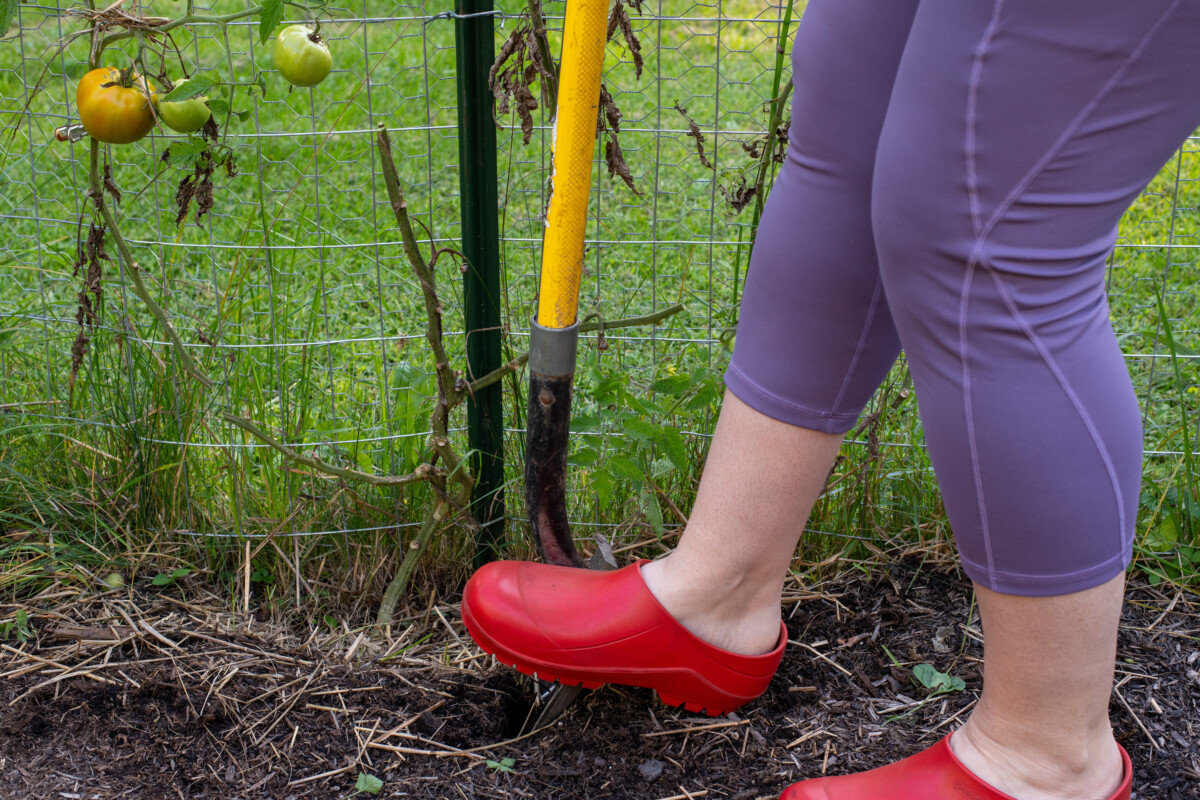
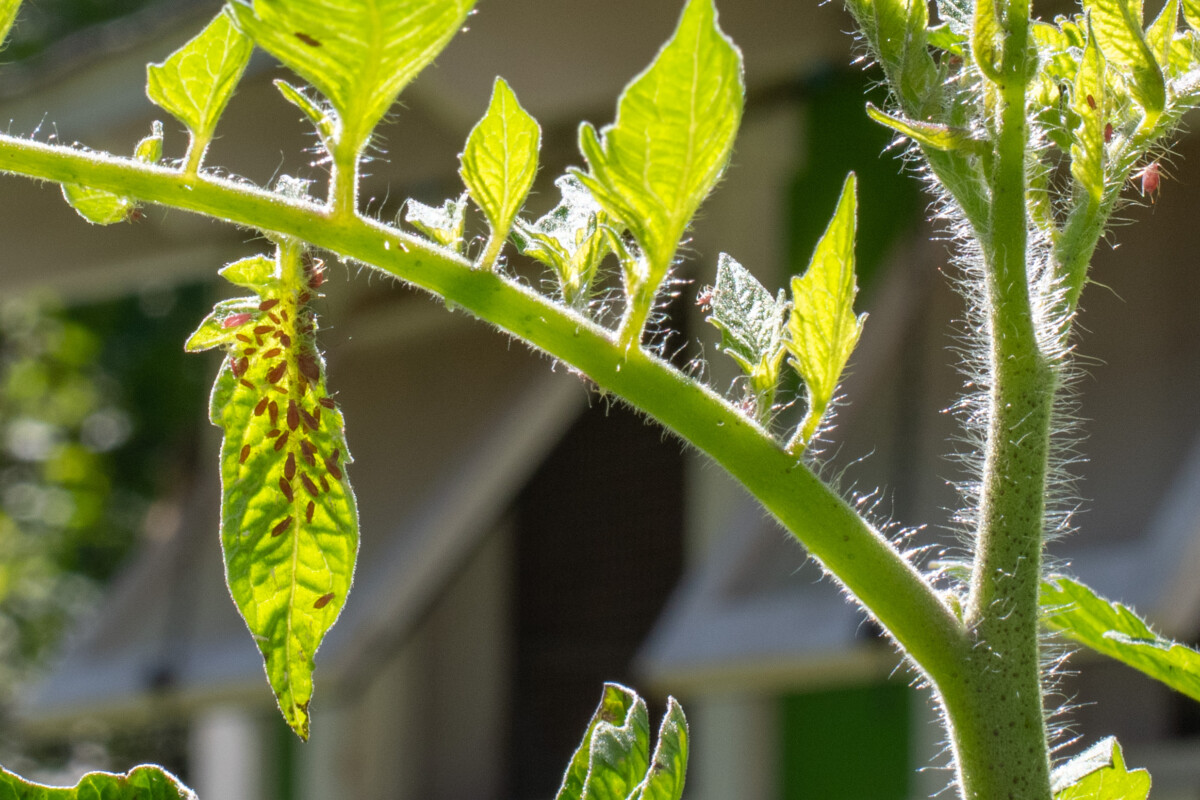
Choose a healthy plant free of disease and major pest infestations. A couple of weeks before your first expected frost, cut the top of the plant off, leaving between 18”-24” of the main stem growing from the ground.
Being careful to include as much of the root system as possible, dig up the plant. Do your best not to disturb the soil around the root ball. Check the roots for any signs of disease or pests.
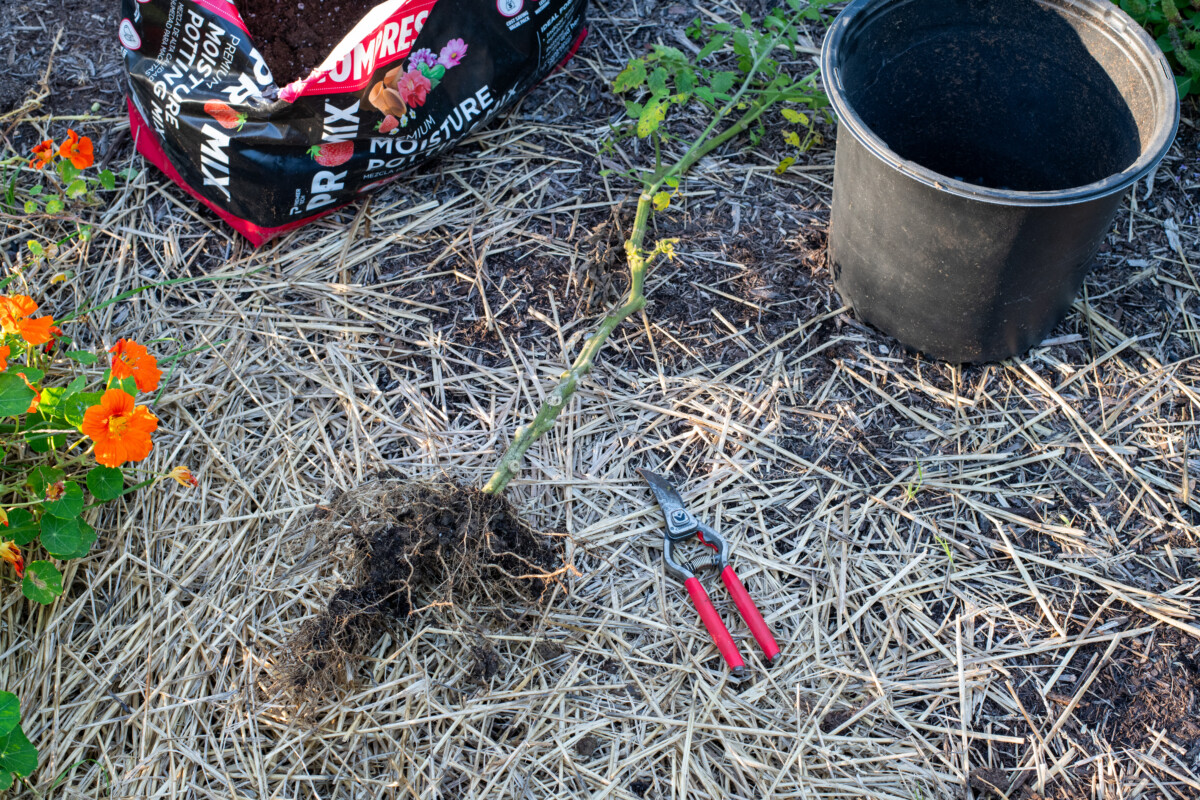
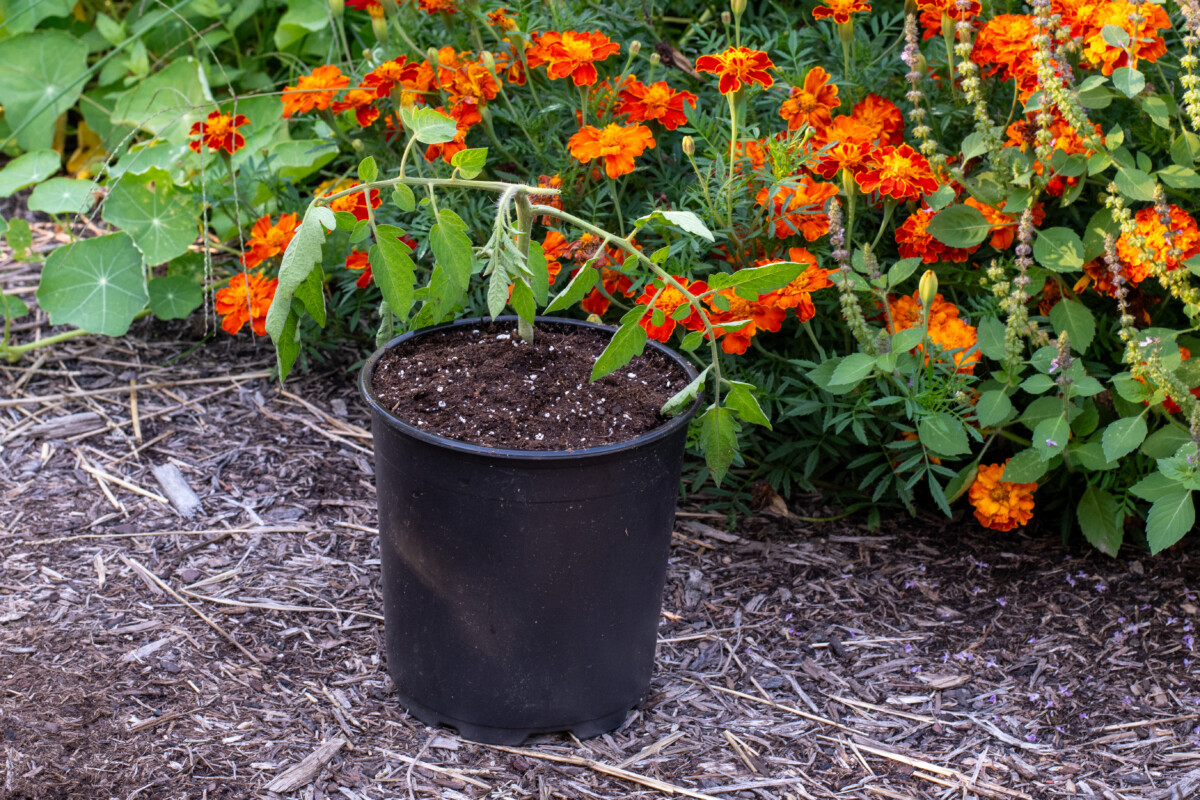
As we’re encouraging the plant to rest and store nutrients for next year, it’s important to provide nutrient-filled soil. Transplant into a large pot filled with quality potting soil with compost and/or leaf mold mixed into it. Consider adding worm castings, biochar or mycorrhizae to the soil as well. Water in the plant and set it somewhere it will receive full sun.
You want to give the plant several days to a week to acclimate and overcome the transplant shock.
Next, we will prune the plant back hard and bring it indoors. Prune all dead leaves and stems from the plant. Then go in with your hand pruners and prune back any live stems branching off from the main stem to about four to six inches long. Pinch off any flowers or developing tomatoes.
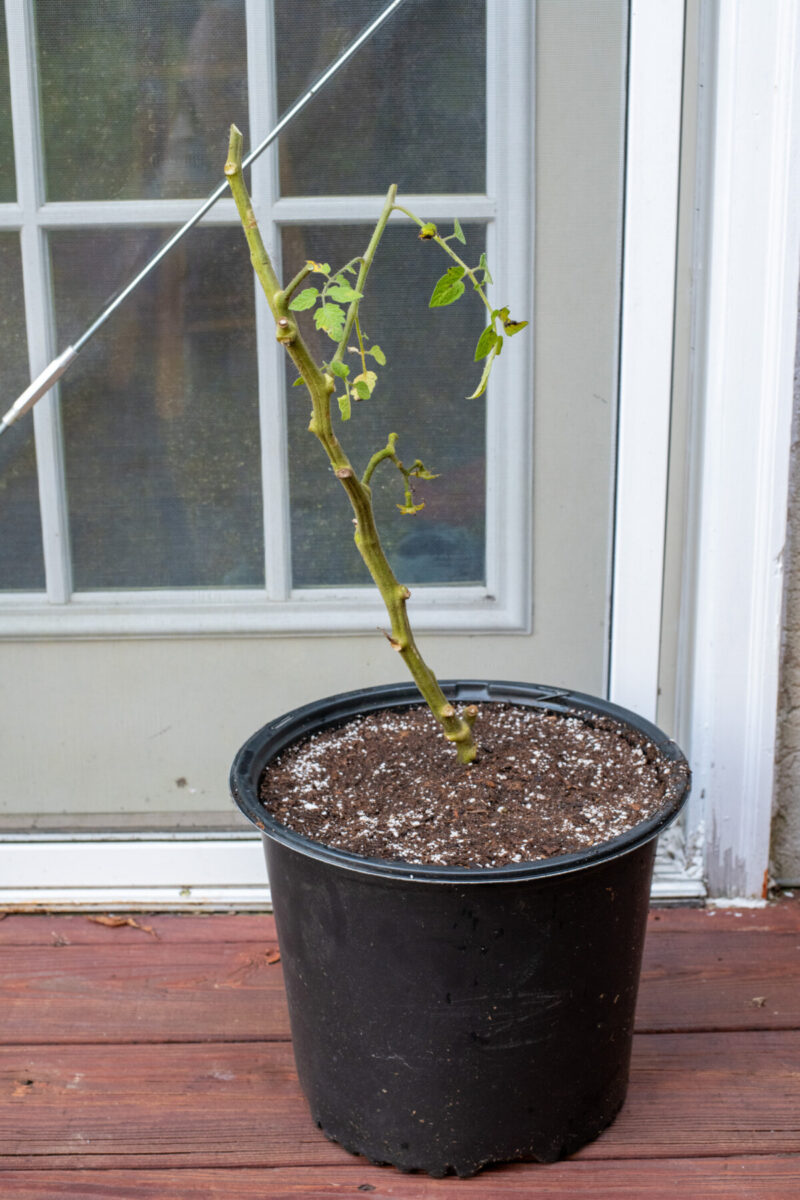
Bring the tomato plant indoors and keep it out of direct sunlight in a cool room. Aim for around 2-3 hours of sunlight daily and temperatures between 55-65F. We’re mimicking a mild winter that will cause the plant to go dormant. Limit watering to once every two weeks.
If the plant begins to put out new growth, it’s either getting too much light or is too warm. Pinch off new growth and reposition the plant to ensure it stays dormant.
Next spring, about 6-8 weeks before your last frost, move the tomato plant somewhere indoors where it will receive 8-10 hours of bright sunlight daily and temperatures between 65-75F. Water the plant deeply, but don’t let it sit in standing water. You may need grow lights to provide adequate light.
The plant will come out of its dormant state and begin producing new growth. Once you notice new growth on the plant, you can begin fertilizing with a nitrogen-rich fertilizer.
A week or two before you plan to transplant the tomato back in the garden, begin hardening it off by bringing it outdoors for successively longer periods.
Advantages:
- Because the plant will be dormant indoors, it will have the winter to recoup necessary nutrients and store energy for the next season.
- A dormant plant needs less frequent care than a cloned plant (another method we’ll discuss), so it’s much easier to deal with in the off-season.
- The plant already has a large, healthy root system, which is a great advantage next spring when you transplant it back in the garden.
Disadvantages:
- Because it’s a full-grown plant, you’ll need to put it in a pot large enough to accommodate the root system, which means it will take up more room in your home.
- This method won’t work with determinate tomato varieties.
- Sometimes, the plant isn’t as prolific in subsequent years.
Clone Tomatoes for the Earliest-Fruiting Plants
Creating and growing tomato clones is the most advantageous method for overwintering tomatoes, and it works with indeterminate or determinate tomato varieties.
If you start a tomato clone at the end of the growing season, by the time spring rolls around, you’ll have a mature tomato plant ready to set fruit as soon as you put it in the ground. Even were you to start your tomato seedlings indoors extra early, they still wouldn’t be as developed as an overwintered clone.
The Process

Begin this process about a month before your first frost date.
Choose a tall pot for your clone, at least 9” high. It doesn’t necessarily have to be a wide pot. The soft pots used for tree saplings are perfect for cloning tomatoes (I use them to pot up seedlings). You want to be able to bury half of the stem so new roots will grow along it beneath the soil.
Prepare the pot with potting soil as discussed in the previous method. Moisten the potting mixture and set the pot aside.
Be sure to choose from a healthy plant free of disease and major pest infestations. Choose a thick stem from the top portion of the plant you wish to clone. The stem should be 18”-24” long and a minimum of ½” in diameter.
Foliage naturally browns and dies off, starting at the base of the plant as the season progresses. Cutting your clone from the top of the plant will ensure you’re getting the newest growth.
A good candidate will have several smaller stems with leaves branching off of it. Don’t worry about whether or not it has flowers or fruit starting on it.
For indeterminate varieties, you can use the topmost part of the main stem, effectively topping the plant. This also results in the plant redirecting energy into the remaining fruit, which can hasten the ripening of late-season green tomatoes.
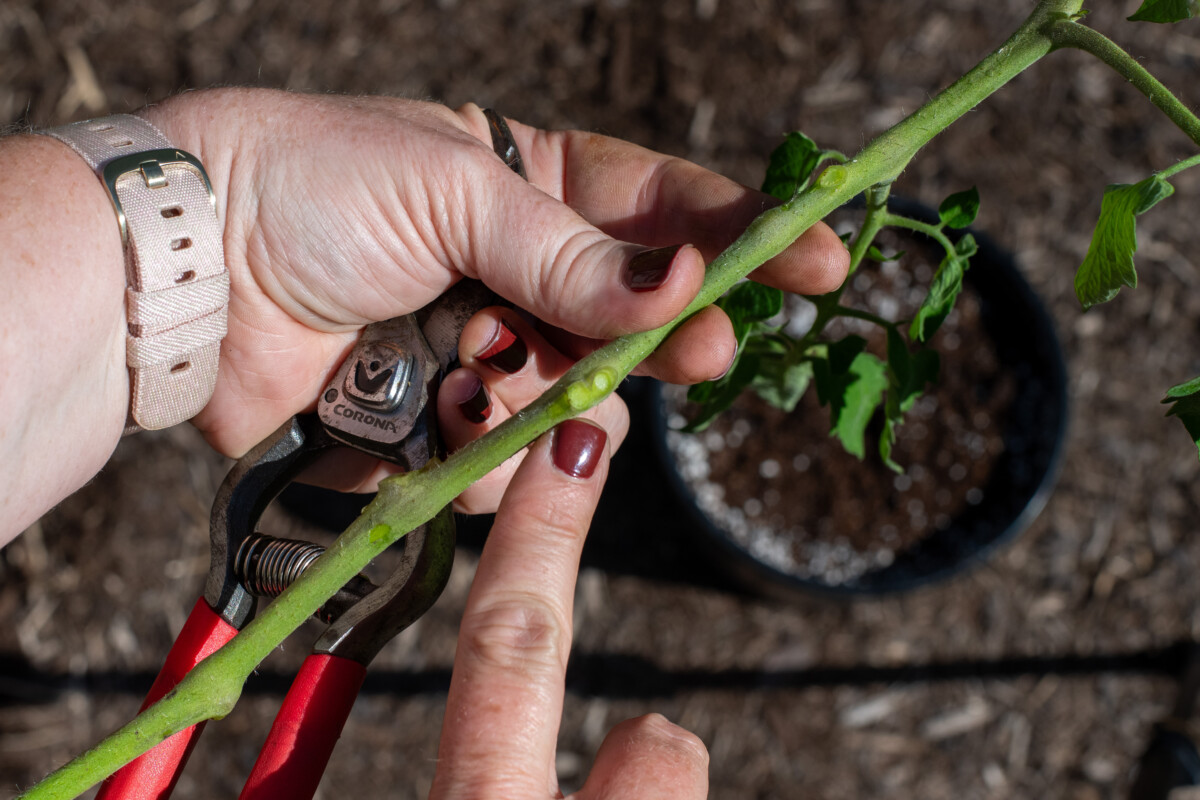
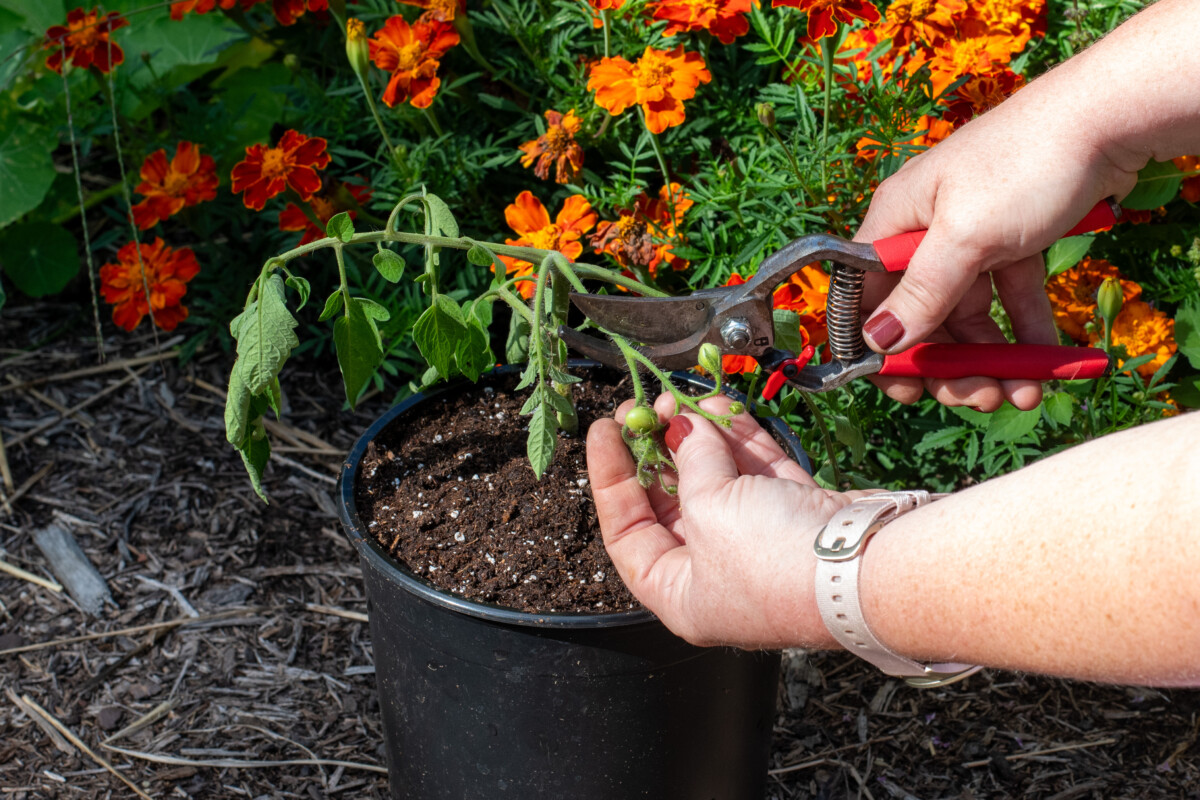
Using sharp, sterile pruners, cut your chosen stem at an angle. Working quickly, snip off any side stems from the lower half of the plant and pinch off flowers and developing tomatoes from the top half.
Now, carefully insert it into the prepared pot, ensuring at least half of the stem is below the soil. Firmly press the soil in around the base. The remaining leaves on the stem may look a little droopy but will bounce back after a few hours. Water in the new clone and let the pot drain well.
Caring for Your Clone
Place the clone in bright, indirect sunlight, and make sure the soil stays consistently moist for the first two weeks. At this point, the clone should have started putting out roots below the soil, and you can move it somewhere it will receive full sun.
It’s important to make sure the clone doesn’t dry out. Water it whenever the top inch of soil dries out.
Let the new clone continue to acclimate and grow outdoors, soaking up as much sun as possible. Pinch off any new flowers that develop to encourage the plant to put its energy into developing roots and new leaves.
Bring the plant indoors (making sure it’s free of bugs) before your first frost. From this point until next spring, you have a tomato houseplant. You’ll want to place your clone where it will receive as much sun as possible. If you don’t have a window that receives full sun for most of the day, a grow light will keep your tomato clone from growing leggy.
Continue to pinch back any new flowers during the winter. Your goal is to encourage bushy growth, not fruit. For indeterminate varieties, if the plant starts to get too tall, you can stake it or pinch off the top to encourage it to grow bushier.
If it’s a determinate variety, avoid pinching off new growth, as this will affect the plant’s overall size and fruit yield.
In the spring, harden off the plant about two weeks before transplanting it outside.
Advantages:
- Clones take up less room than an established plant with a large root system.
- There’s no need to dig up the root ball.
- You can select the healthiest growth from your established plant.
- You’re essentially creating an entirely new plant without going through the seedling process.
Disadvantages:
- Clones require regular and consistent care as they grow through the winter.
In Conclusion
At the end of the day, both methods are reliable ways of overwintering tomato plants. It all comes down to which works best for you and your needs.
Overwintering tomatoes opens up new gardening possibilities for gardeners in cooler climates; for others, it means a bigger bounty of tomatoes. Still, some may choose to let their garden and themselves rest and stick to starting tomatoes from seed each year.
Read Next:

Get the famous Rural Sprout newsletter delivered to your inbox.
Join the 50,000+ gardeners who get timely gardening tutorials, tips and tasks delivered direct to their inbox.