


Can you think of a plant that, upon hearing how low maintenance it is, you just roll your eyes? Because how can it be low maintenance when you’ve managed to kill it on three different occasions? And by you, I mean me. And by “a plant,” I mean lavender.
Lavender and I are now very good friends, only because it seems that it has finally decided to thrive in my garden. Or maybe I’ve just learned how to treat it right to keep it by my side. It was very much a game of fixing one mistake, then immediately proceeding to unknowingly make another one. But in the end, we got to an understanding. I won’t drown it and it won’t die on me.
In the interest of helping our readers skip to the good part, peaceful cohabitation with their lavender plants, here are some lavender mistakes to watch out for. From planting to watering to propagating, I’ll cover every stage of a stormy lavender love affair.
Mistake 1: You’re planting your lavender in too much shade.
I think that it’s important to start with this one because a good deal of make-or-break decisions happen at planting time. Or rather, transplanting time, since most of us buy potted lavender for our gardens.
Let’s say you’ve bought a lush lavender plant, but once you’ve transplanted it to your own garden, it starts showing signs of unhappiness. It stops growing and even starts turning pale.
The first thing you should check is whether the lav shrub is getting enough sun. Lavender needs full sun, preferably between six and eight hours a day (or more at the height of summer).
If your plant isn’t getting enough sunlight, the best time to transplant it is right away. Yes, it will get a bit of a shock following consecutive relocations; but the larger it gets, the harder it will be to move it.
Mistake 2: You’re watering your lavender too much.
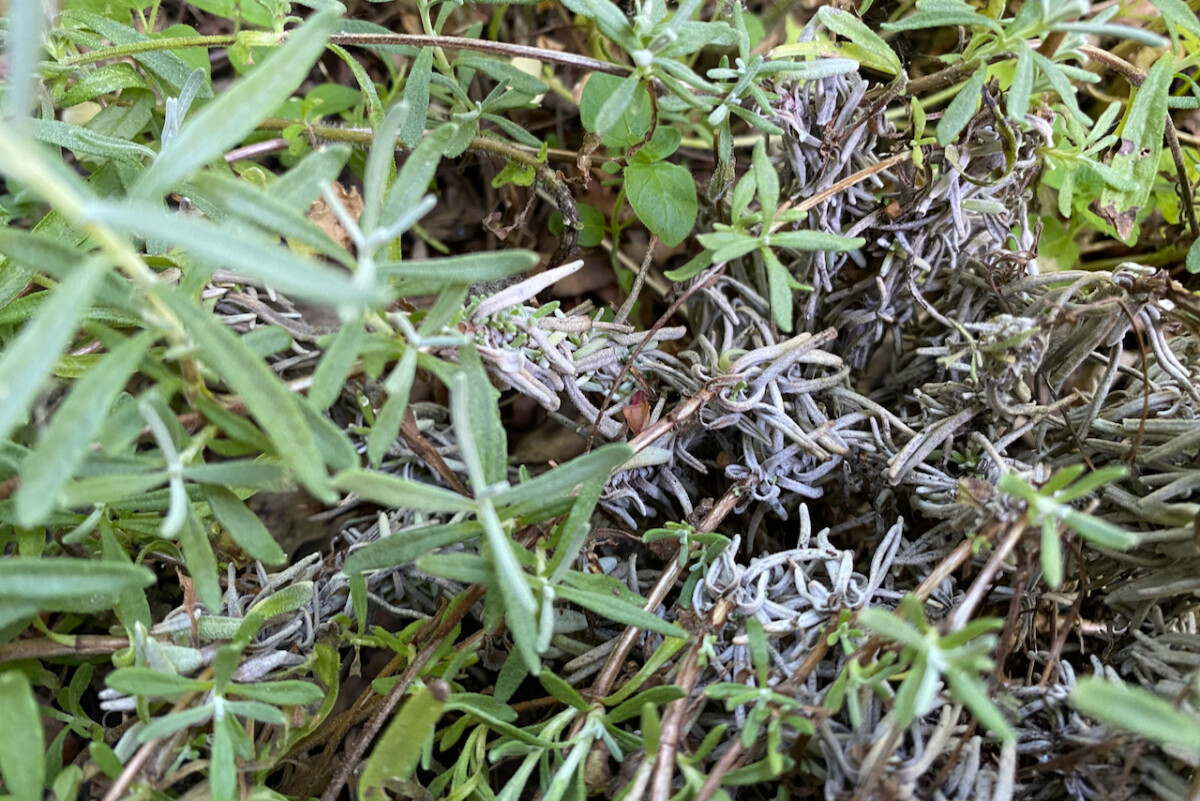
Let’s say that, over the course of a few weeks, you start noticing that your lavender is turning brown and showing signs of wilting. Oh, I know. It must be dry, right? So you give it a glug of water to fix things. Then another one. And another one. And somehow the lavender keeps looking sadder and sadder.

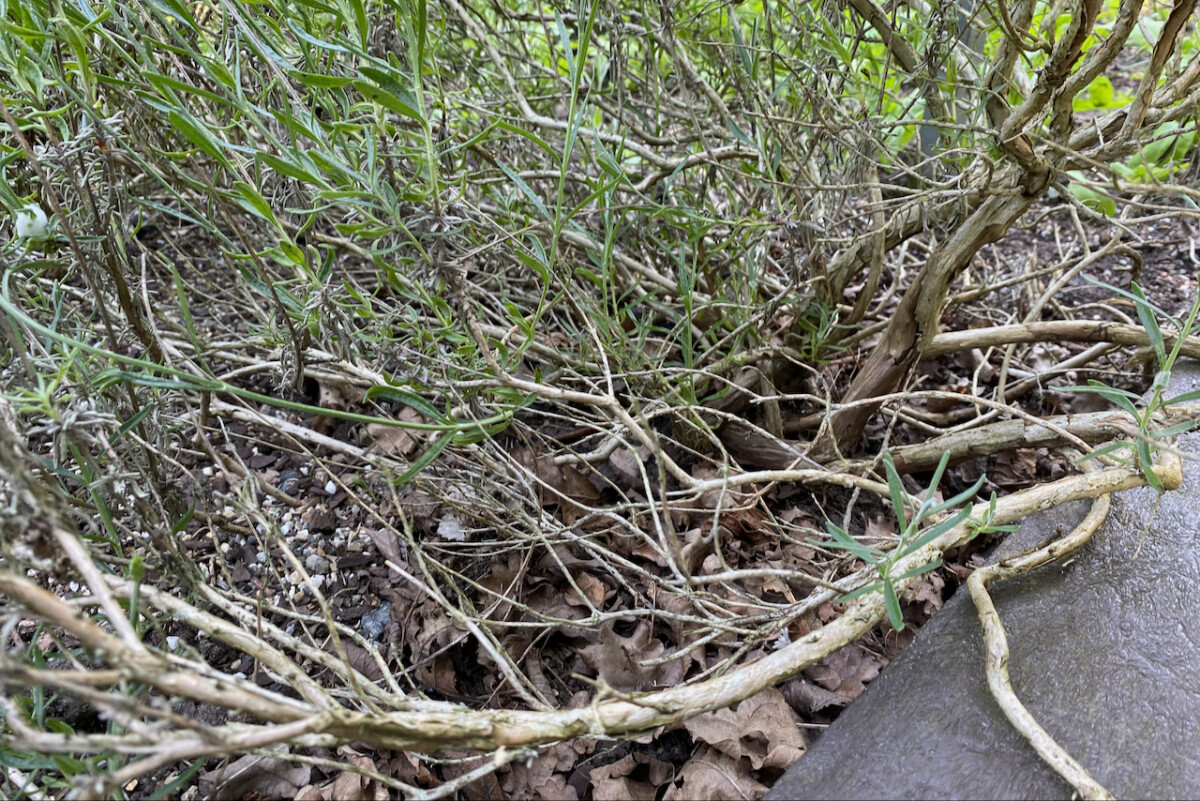
I have bad news for you. The cause of these symptoms is most likely the overwatering itself. It’s pretty confusing, I know. But overwatering can lead to a damaged root structure, which in turn leads to root rot and poor water absorption.
Remember that overwatering leads to root rot.
Having to compost this dead lavender root structure that had succumbed to root rot was not one of my proudest gardening moments. But I think it’s important to show the mistakes that we make as much as our wins.
Remember that lavender is a Mediterranean plant that is very well adapted to dry climates. Its waxy, oily and tough foliage helps it reduce transpiration and lock in moisture. It doesn’t need as much water as your more thirsty garden plants.
If we’re talking about growing lavender in pots, tempering our overwatering tendencies isn’t that hard. You simply don’t water the pot until it’s thoroughly dry.
But what about the lavender that we grow in our garden? Well, it turns out you can overwater that too.
It comes down to location, location, location.
So when you transplant your lavender, choose a spot that drains well. If the water pools in that particular spot after a storm and you can see little lingering puddles on the surface even an hour after the rain has stopped, that’s a sign that the ground stays too moist for your lavender.
So if you’re gardening in a high-humidity climate, just know that if your lavender is struggling it’s most likely through no fault of your own.
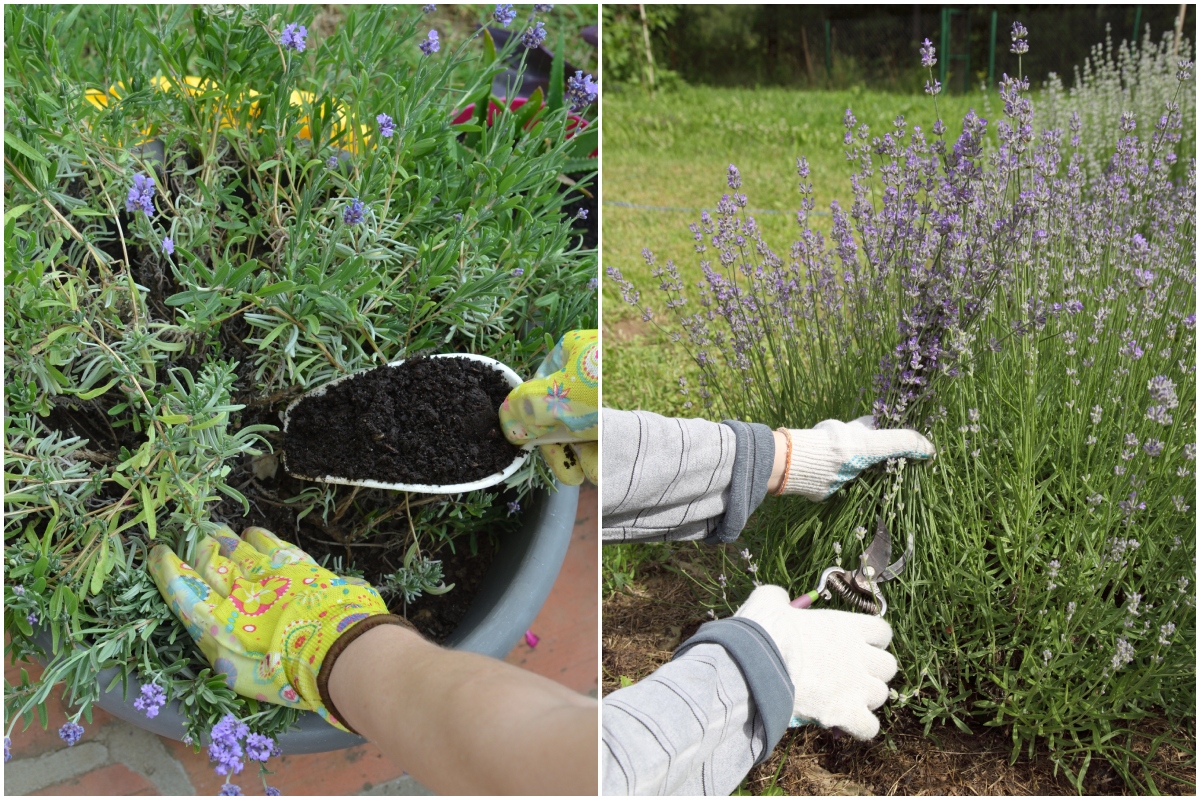
The best solution for this problem, in the garden, is to plant your lavender in soil that’s a little bit sandy or gritty. If that’s not possible, plant it somewhere that’s a little bit higher in elevation than the rest of your garden and let gravity do the draining. And finally, it’s always a good idea to improve the drainage of your soil by adding fresh compost. This will benefit all of your drought-loving plants, not just your lavender.
Beware of overwatering by proxy.
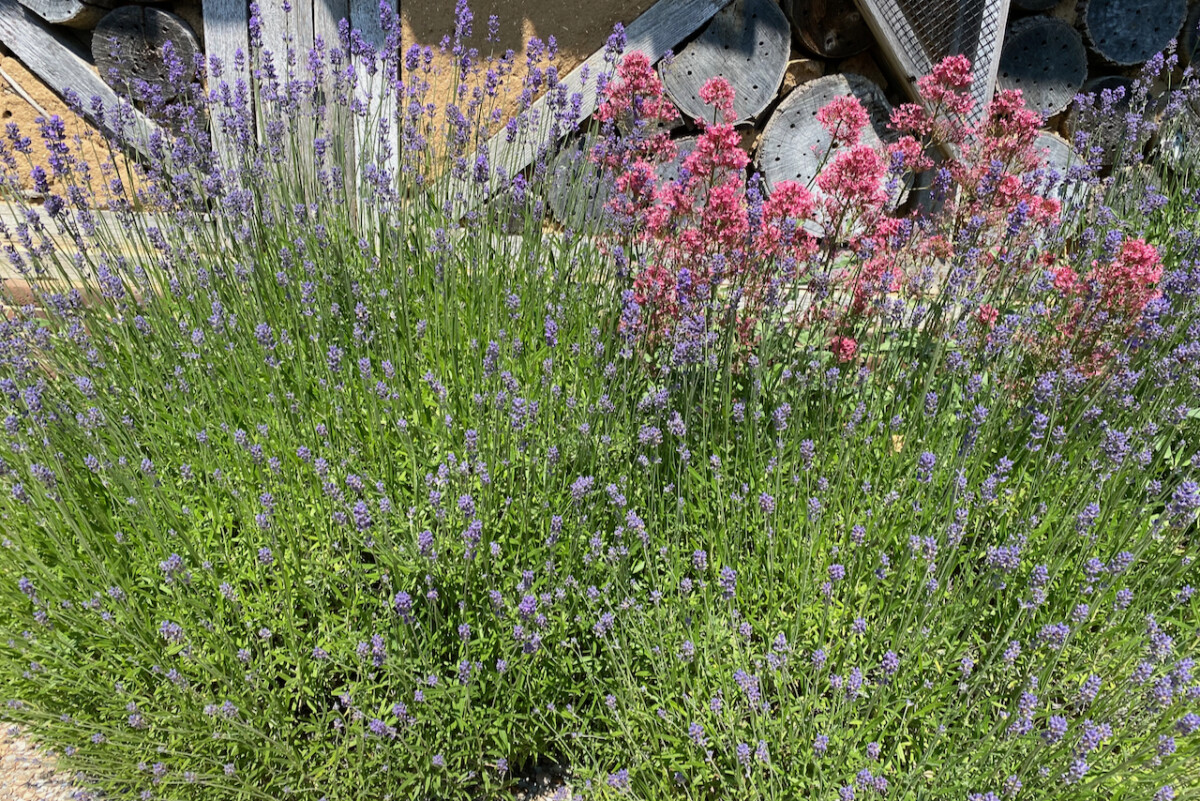
Another scenario in which you might be overwatering your lavender has to do with its neighbors. If you’ve planted your lavender close to thirsty plants, then you might be inadvertently watering it.
Do as I say, not as I do. Especially this year when I’m letting a cucumber volunteer plant (from my compost spread) grow next to my lavender. I just didn’t have the heart to pull it out! So for the rest of the summer, I’ll have to walk the fine line between not underwatering the cucumbers and not overwatering the lavender. Fun times!
Mistake 3: You’re fertilizing your lavender too much.
Lavender doesn’t really need fertilizer. To me, that makes it the perfect plant since I don’t like applying any synthetic fertilizers on my garden. However, I do add a good layer of nutritious compost that feeds the plant gradually over the course of its growing season.

Add to that a few layers of dry mulch spread around year-round, and the lavender is as happy as a clam.
A symptom that you’re over-fertilizing your plant is its leaves turning yellow and looking sickly. A tough Mediterranean shrub such as lavender simply doesn’t need a deluge of nutrients.
One thing to pay attention to is what I like to call over-fertilizing by proxy. Just like the previous point, with overwatering, you might only be fertilizing hungry plants in your garden. But if these plants are located next to your lavender, it, too, will absorb whatever you add to your soil.
Mistake 4: You’re over-pruning your lavender.
I already wrote an entire guide on how to properly prune lavender, both in the fall and during spring. So I won’t get into too much detail about it here. But one piece of advice that bears repeating is this: there’s no new growth from old wood alone. It’s as simple (or as complex) as that.
The most common lavender pruning mistake that I see is over-pruning. That often means pruning back to hard, woody growth. Now if there are some new sprouts shooting out of the growth, that’s fine. You want to prune back some of the old stems, as long as there are enough fresh green shoots left to take the lead and start growing. But if old growth is all there’s left, then you’ve cut too low.
But how do I get rid of those unsightly woody stems? The honest answer is that you don’t. Lavender is a shrub that shows its age very clearly. And even though some lavender shrubs can look magnificent even when they reach ten years old, the truth is most will peak in neatness and blooming pattern a few years before that. Which brings us to the next point.
Mistake 5: You’re not taking backup cuttings.
This is not so much a mistake as it is a lack of an insurance policy. If something happens to your lavender, or if it’s simply getting too old and scraggly, it’s a good idea to have your own cutting to replace it with.
The good thing about propagating lavender is that you can take softwood, semi-hardwood and hardwood cuttings. So you basically have a very wide window – roughly from May until September or October to propagate more lavender plants out of your existing stock.
Here’s a great tutorial (including detailed photos) of how to take lavender cuttings that actually keep growing into new plants.
You can also start lavender from seed. But having done both seed and cuttings myself (successfully, I might brag), I highly recommend that you try propagating cuttings first.
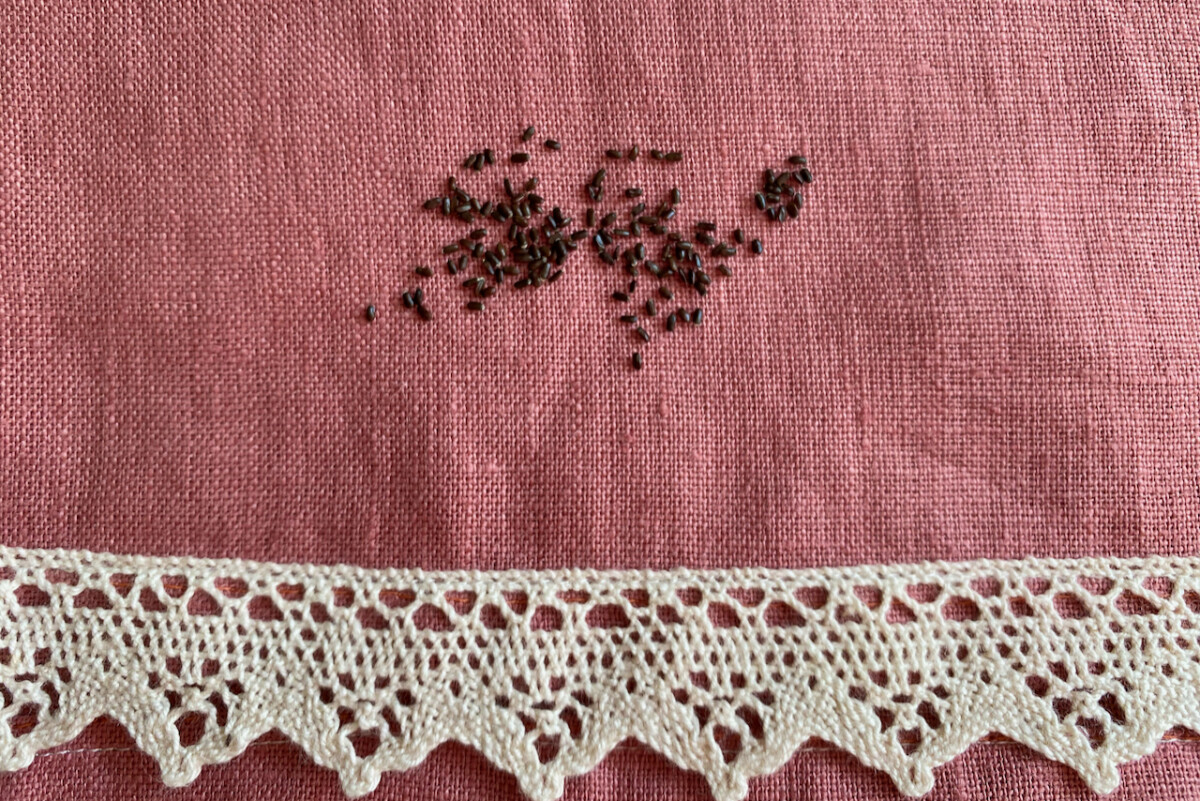
It takes a lot of patience and determination to wait that whole month for any signs of life. Lavender has a low germination rate and it takes about 200 days for it to go from seed to mature plant. If you have that kind of patience, it’s a very rewarding experience. I wrote more about it in this guide on starting flowers from seed.
The beauty of growing lavender is that, once it’s established, it will be quick to forgive you for all these mistakes. Provided you don’t wait too long before you course-correct.

Get the famous Rural Sprout newsletter delivered to your inbox.
Join the 50,000+ gardeners who get timely gardening tutorials, tips and tasks delivered direct to their inbox.