

Watering is one of the most (if not the most) essential tasks in houseplant care.
Unfortunately, many newbie indoor gardeners (and often experienced ones) tend to get it wrong.
Whether it’s underwatering, overwatering, or even using the wrong water, there are a few issues that can do some serious damage to your plants.

Luckily, the world of plant hacks has you covered. Try these eight watering hacks to demystify the watering process and keep your plants happy long-term.
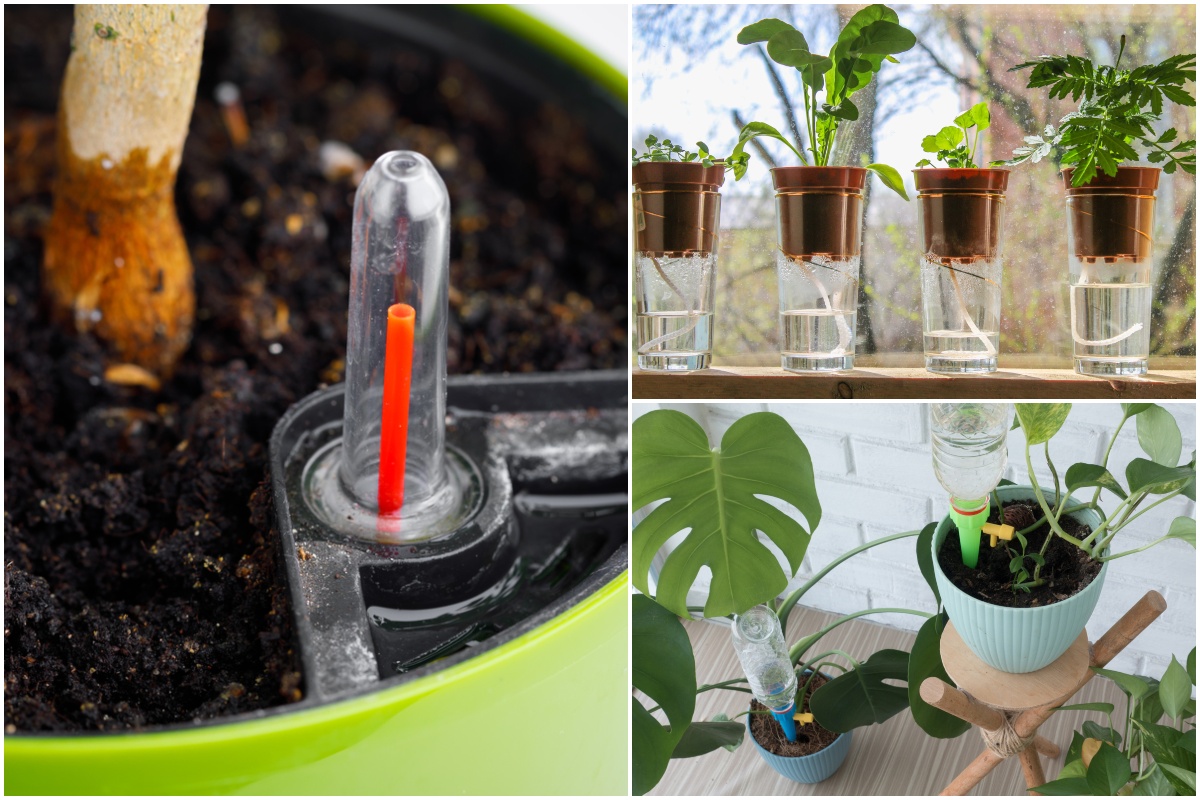
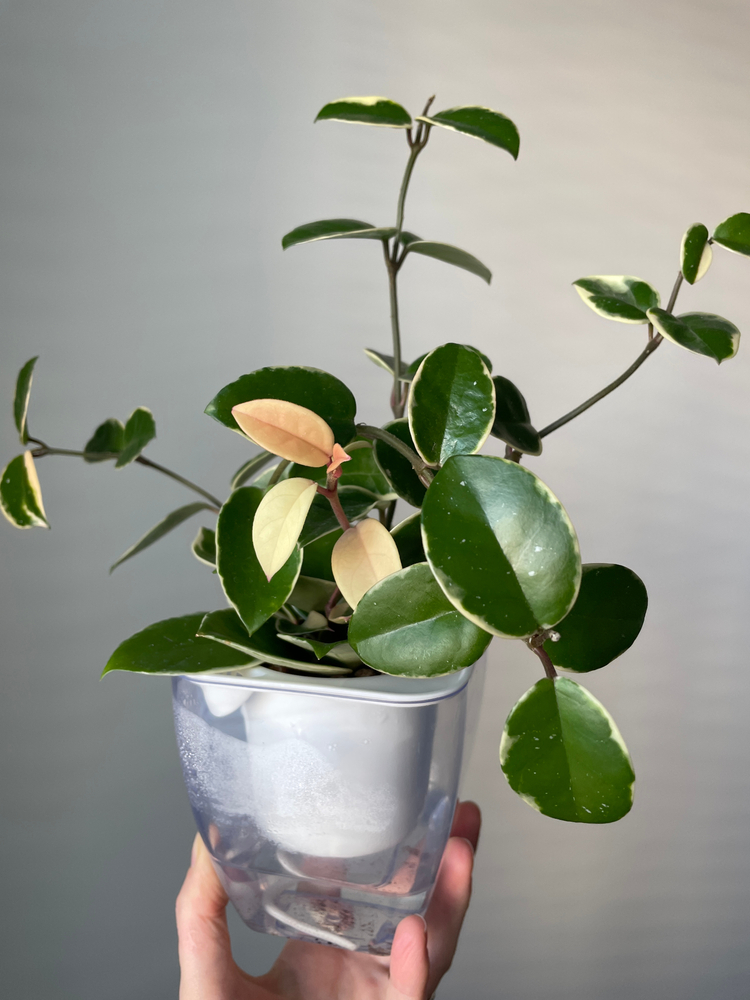
1. Use Self-Watering Planters
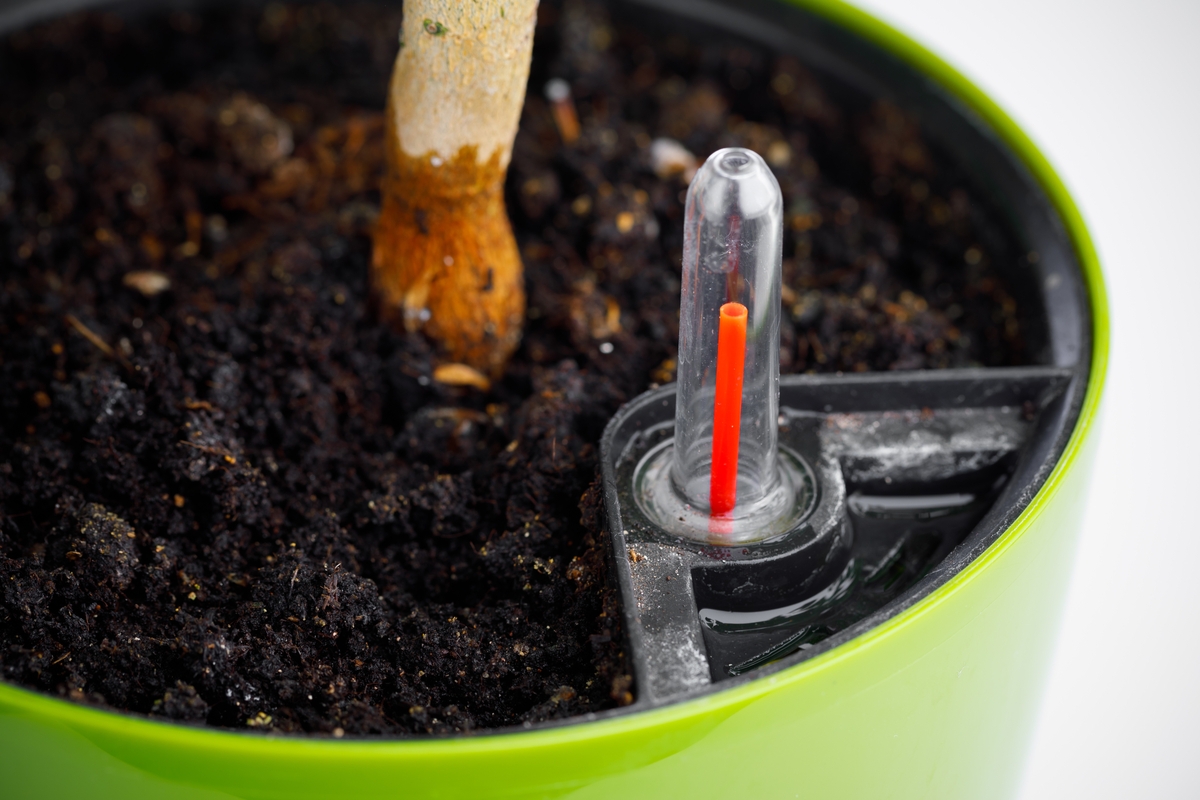
The phrase ‘self-watering planter’ may sound like a thing of the future, but they’re actually more common than you think.
Self-watering planters make use of a number of processes, usually capillary action or wicking, to add water to the soil when it starts to dry out.
Rather than letting the plant sit in water, the soil draws up the moisture only when it needs it, keeping it evenly moist and not oversaturated.
This helps you avoid several plant problems related to under or overwatering, such as yellowing or brown leaves, root rot, and stunted growth. Plus, the plants effectively water themselves, eliminating an entire care task altogether.
Whether you’re looking to save time or have trouble watering at the right time, these are ideal.
Many self-watering planters are available for purchase online and are relatively inexpensive for the amount of time and trouble they save.
Some, like this set, have visible water reservoirs that allow you to keep an eye on the water level.
Others look like completely normal pots, like these modern white containers, simply hiding the mechanism inside. There are even self-watering hanging baskets available for those hard-to-reach planters.
It’s also easy to DIY your own self-watering planter. There are many tutorials online that are simple and don’t require many tools, if any at all. The tutorials range from simple containers to full-on raised beds that effectively take care of themselves.
2. Make Use Of Wicking
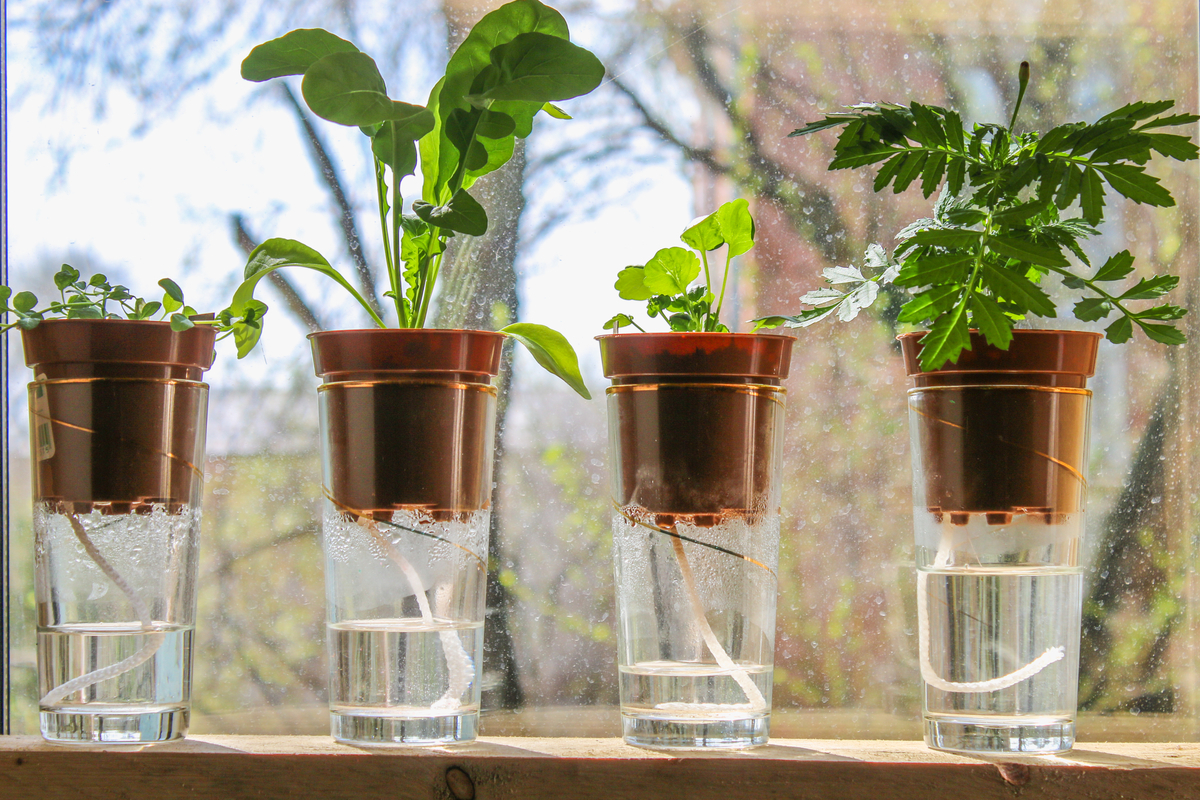
If you don’t want to go the full planter route, there are other self-watering options available. One of those is wicking.
By using the same principles as self-watering planters – only set up outside the pot – you can have your plants water themselves in minutes.
Simply grab a wick or thick cotton string and bury it in the soil. Try to get it as close to the center of the pot as possible without disturbing the roots. Place the other end in a glass or jug filled with water and rest it next to the plant to get started.
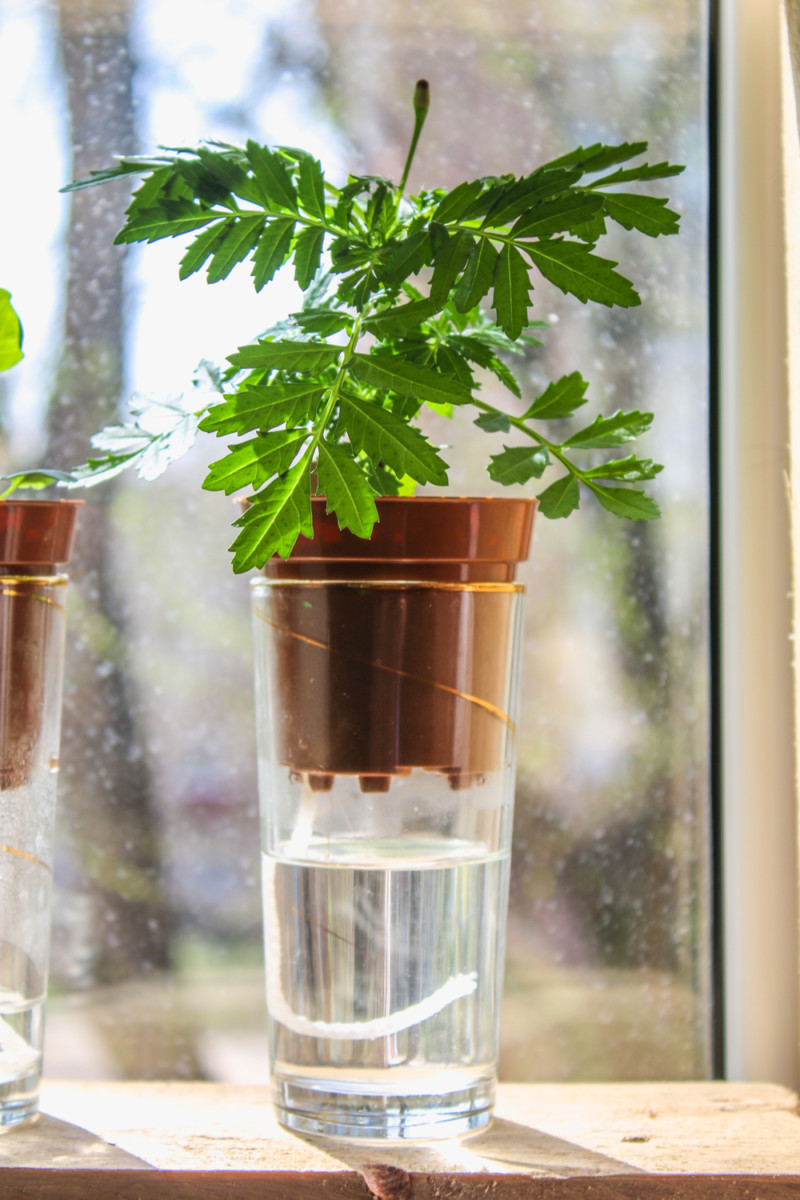
The string will draw up the water and deliver it to the dry soil. Once it is completely saturated, it will stop drawing up the water, starting up again when the soil starts to dry out. All you need to do is keep the glass jug filled and they will be happy for weeks on end.
Make sure you keep the glass of water at the same level as the pot and not above it. In this case, rather than drawing up water when required, the gravity will continue to add water to the soil, leading to waterlogging and ultimately root rot.
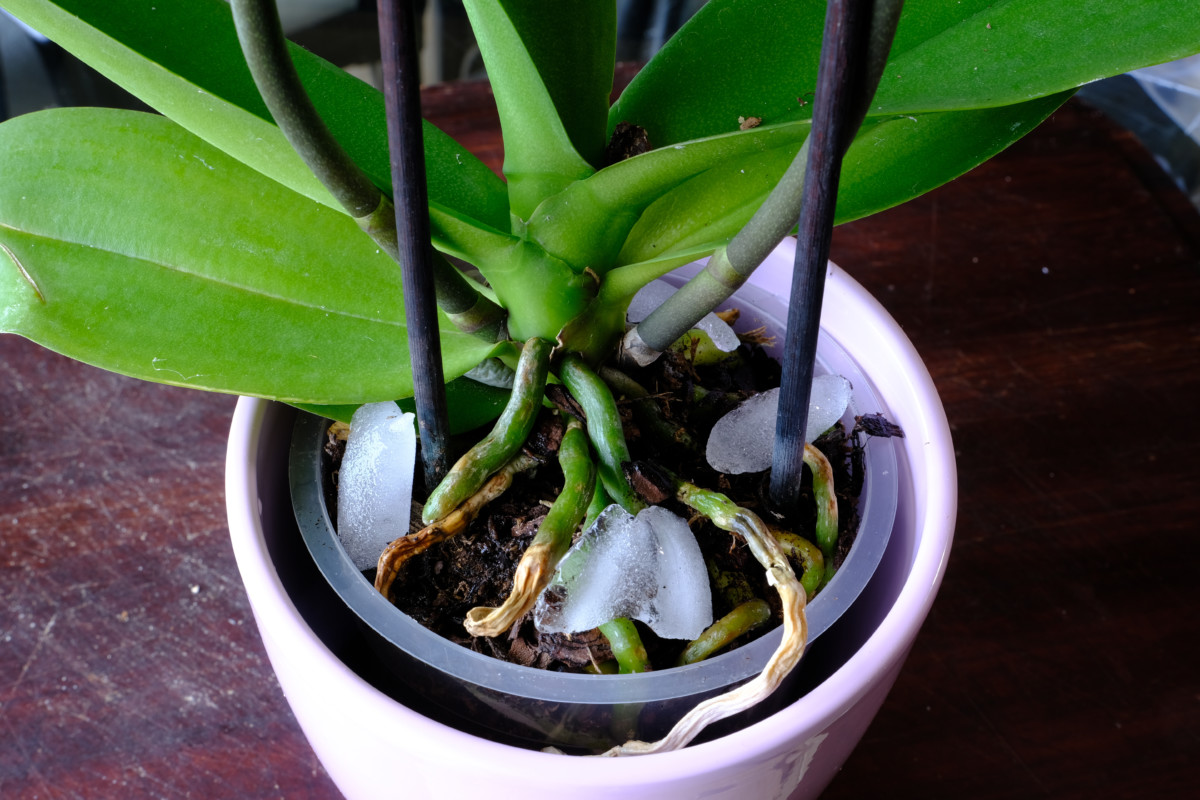
3. Try Hydrospikes
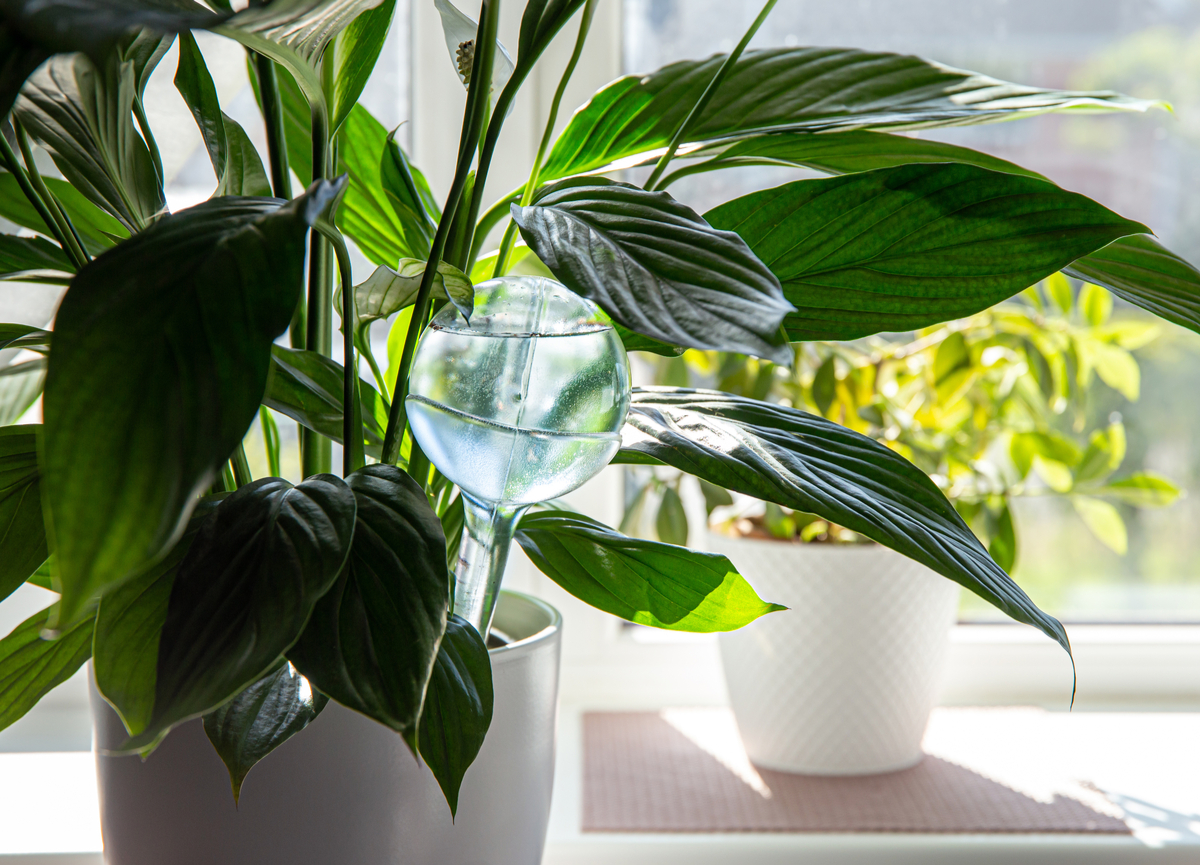
For those who forget to water often, or tend to overwater, hydrospikes are your answer.
They’re also great for busy plant parents who don’t have much time for plant care, or for anyone who has so many houseplants they can’t even begin to imagine watering them all at once.
Hydrospikes, coming in many shapes and sizes, are buried around the edge of the pot. Either filled with water or connected by a string to a jug of water, these little contraptions slowly saturate the soil, giving your houseplants just enough water to thrive.
Most hydrospikes are simple, designed to be hidden by the large leaves of your tropical plants. They come in packs of three so you can add on to your smaller pots, or two to larger pots if they’re very thirsty.
For those looking for something more decorative, there are also ornamental options out there.
For animal lovers, try these cat spikes or even bird spikes for a Tom & Jerry combo. Other glass spikes like these colorful glass-blown mushrooms follow the same principle and look stunning while keeping your plants happy.
4. Burying Bottles
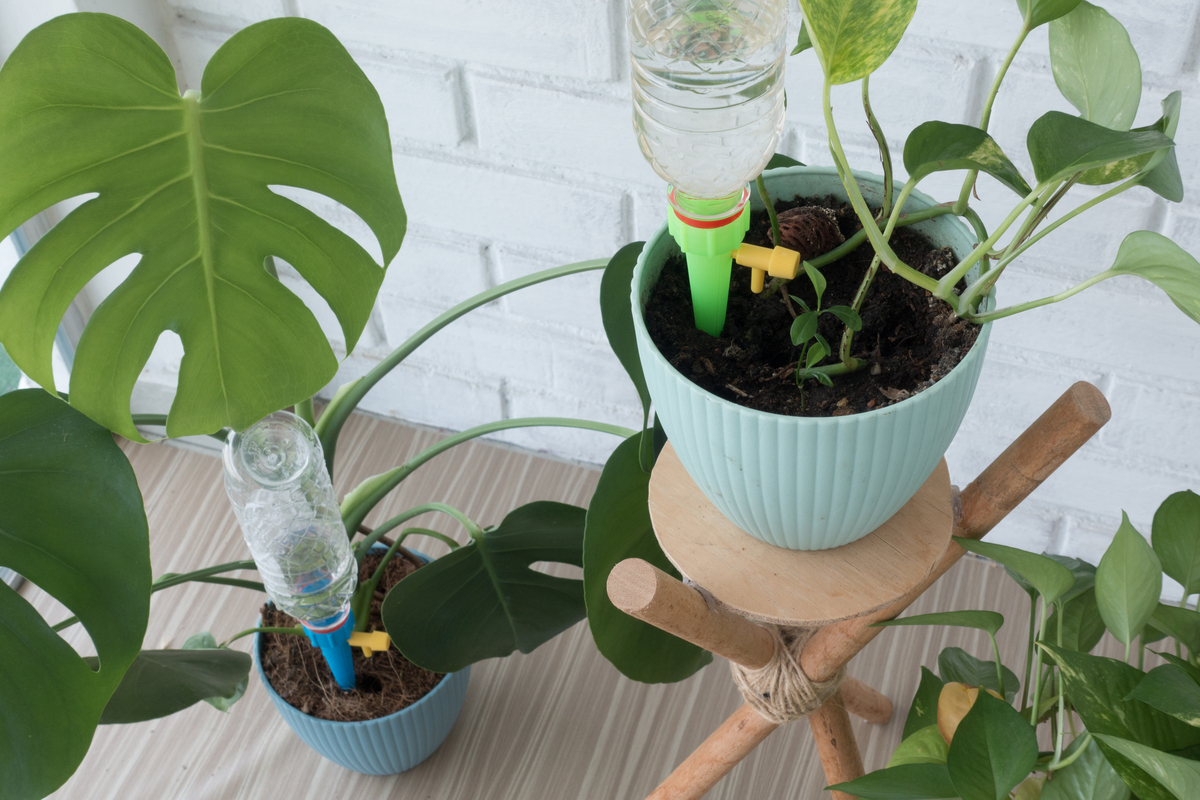
For DIY lovers, it will take a couple of minutes to make your own self-watering device similar to a hydrospike. It’s also a great way to make use of recycled plastic bottles, limiting waste and the amount of plastic in the environment.
First, grab a bottle with a neck small enough to bury in your desired pot. With the lid on, make a few holes by heating a nail or screw and pushing it into the plastic. Make a few more holes in the neck, near the top of the bottle.
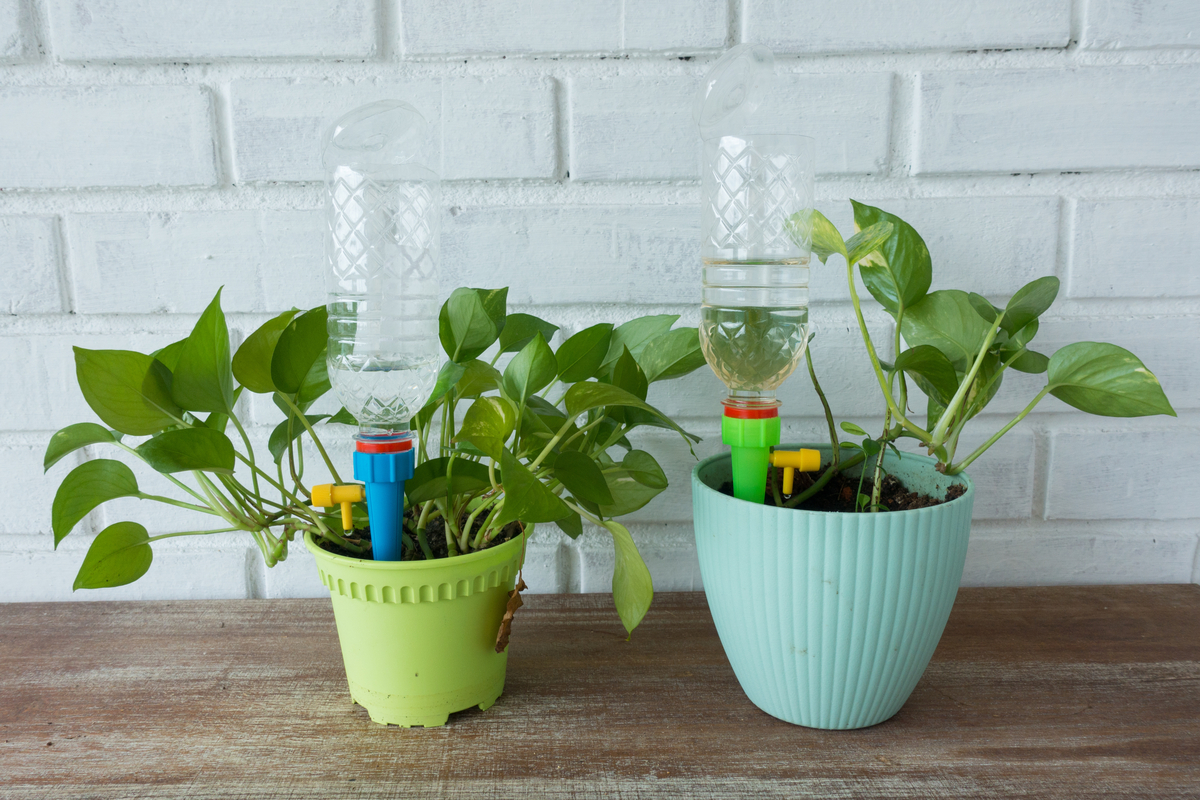
Remove the lid and fill with water just below where the holes start. Then, bury the neck of the bottle upside down, leaving the water to slowly seep from the small holes in the bottom. With a large enough bottle, your plants should be happy without another watering for several weeks.
This solution isn’t the most aesthetically pleasing nor ideal for long-term watering due to the space the bottle takes up in the pot and the difficulty of refilling. However, it is a great temporary solution for those going on extending holidays who don’t have anyone to come in and water their plants while they’re away.
5. Make Your Own Watering Can

If you need a watering can in a pinch, you can use the same principle as above to make your own. This also works if you’ve lost the attachment for your existing watering can or happen to have lost the entire watering can somewhere in your rambling indoor garden.
Using a heated nail, simply push a few holes into the lid of a plastic bottle. Fill it with water and replace the lid, turning it upside to water. You can also squeeze the bottle to release more or less water as required.
Again, this solution is not particularly attractive and certainly won’t contribute to your interior décor like some other fancy watering cans. But, it does the job and makes a simple watering can replacement for those who would rather spend their money on the plants themselves.
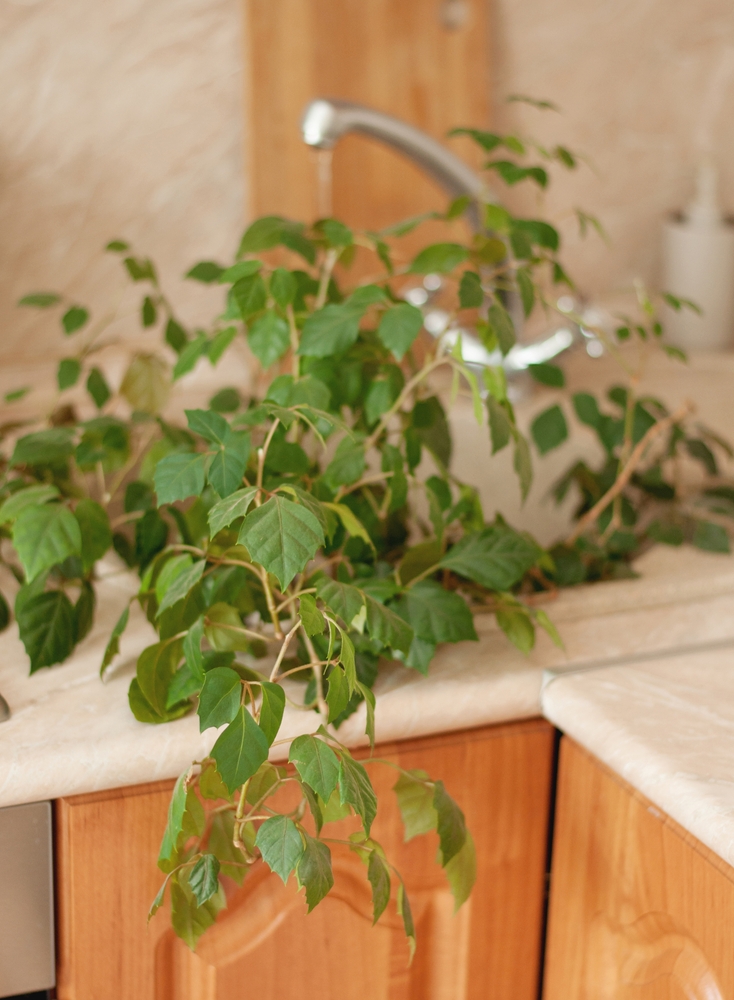
6. Bottom Watering
Anyone spending their time on PlantTok (the self-appointed name for the gardening side of TikTok) will already be well-aware of this hack. Timelapses of plants drawing up their own water in large buckets have gone viral many times, proving the ubiquity of this suggestion.
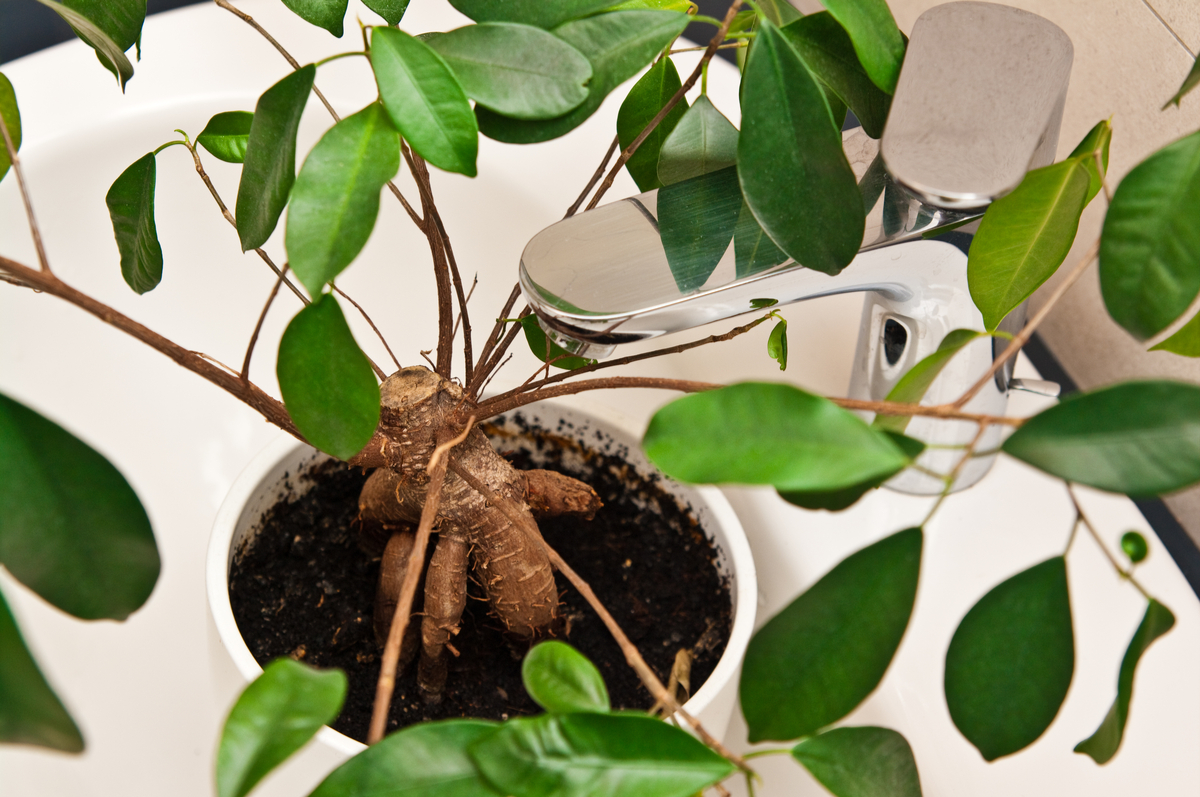
Bottom watering is simply placing a pot in a bath, sink or bucket filled with water and letting the soil draw up moisture on its own through the drainage holes.
Once the water level stabilizes, you’ll know the plant has absorbed all the moisture it needs, and you can remove it from the pot.

This solution may be a bit more time-consuming than adding a few drops with a watering can, but it is far better for the health of your plants. It ensures all areas of the soil are completely saturated, not just the tops and sides which can happen when soil becomes compacted. It also leaves the top layer of soil dry, preventing problems with fungus gnats and potential diseases.
These are some caveats to this method – mainly in the risks of root rot. You can never leave the pot to sit in water for long periods, or the roots will begin to rot.
Generally, 15 – 30 minutes is enough time for the soil to become saturated, but this can vary depending on the size of the pot. Make sure you never forget about your plant and leave it in the water, or you will certainly do more harm than good.
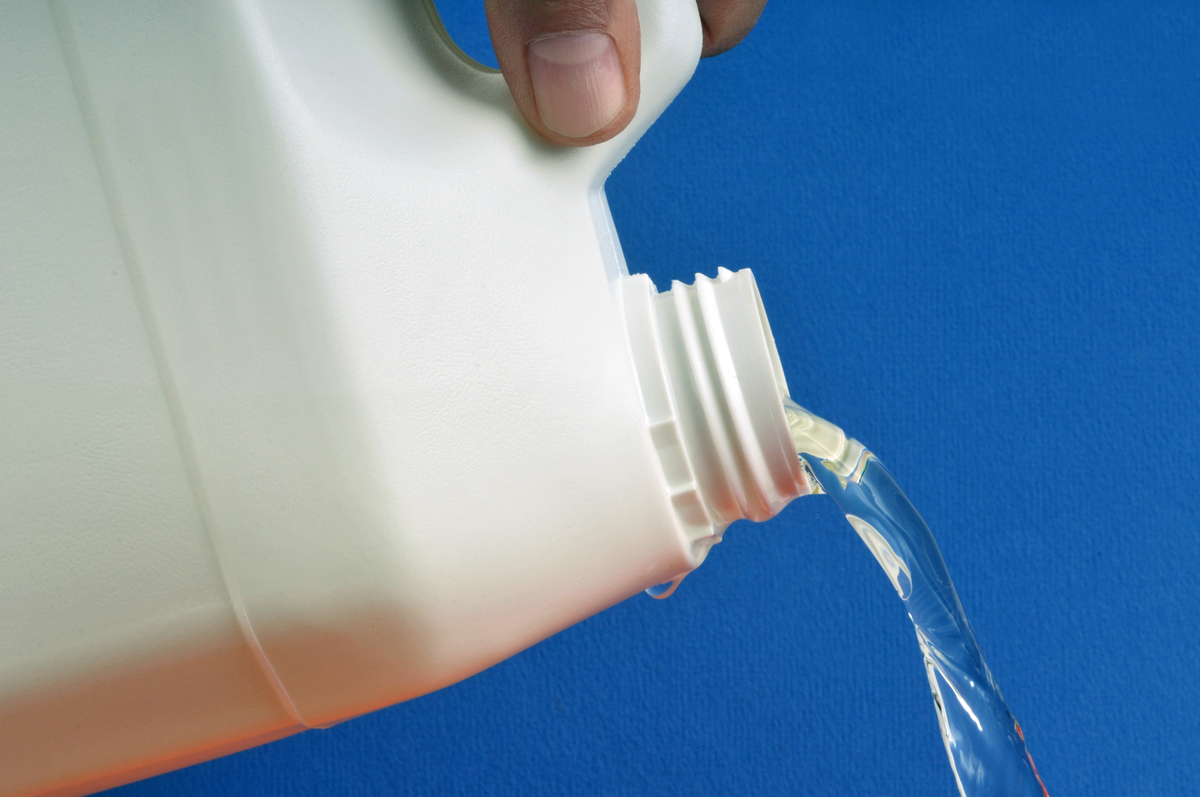
7. Bleach
This hack is for all the plant propagators out there.
We’ve all tried propagating houseplants in water at some stage, waiting for the fateful day when roots begin to sprout. But, you may have noticed that this method is not as easy and carefree as described.
To keep the roots healthy and oxygenated, you need to change the water frequently. This limits bacterial growth and gives the delicate roots everything they need to thrive.
This water change can be easy to forget, only remembered when the water is visibly dirty. By that time, damage may have already been done to the vulnerable new growth, limiting your propagating efforts.
One of the popular cut flowers hacks can be your saving grace in this process.

Adding a few drops of bleach to the water can prevent bacterial growth, allowing you to go a few more days without changing it out again. This stops bacteria from growing in vase water, extending the life of your cut flowers.
Serious restraint is needed as adding too much bleach can harm growth and change the pH of the water, limiting uptake in the cuttings. A couple of drops is all you need to have a visible effect.
8. Leave Your Water Out
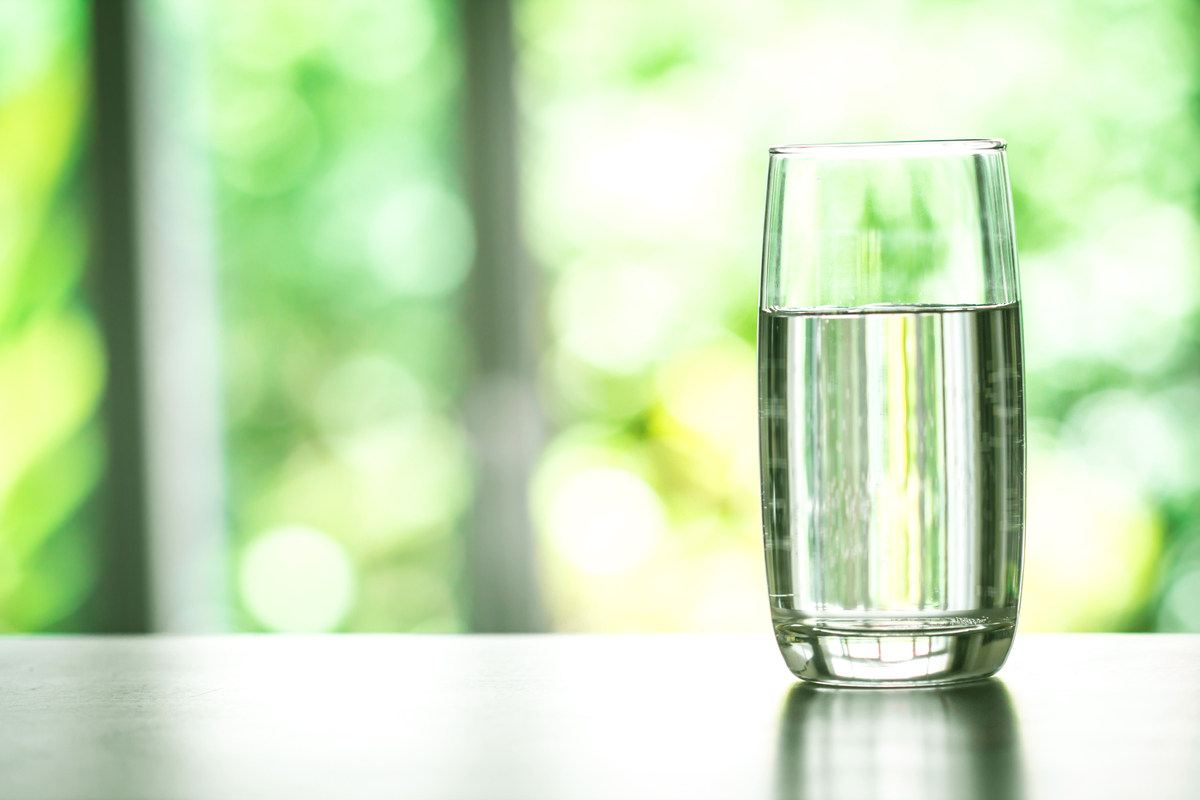
Not all tap water is equal. Due to the processes used to make it safe for drinking, tap water can contain many chemicals that affect quality. One of those chemicals is chlorine, an element plants are not particularly fond of.
This is why gardeners often recommend using filtered, distilled or rainwater on houseplants. One watering won’t hurt, but a buildup of chlorine in the soil over time can have damaging effects on your houseplants.
If you don’t have an outdoor area to collect rainwater, filtered or distilled water can be pricey. Instead, you can simply leave your water out on the counter before using it to water your plants. Some of the excess chlorine will evaporate, making it better for use on delicate or sensitive houseplants.
It’s important to note that this hack does not remove all the chlorine and is impacted by the composition of your tap water, as well as external environmental conditions. But generally, it can have a positive impact.
Leave the water out for at least 24 hours, preferably 48, for the best results.
Read Next:

Get the famous Rural Sprout newsletter delivered to your inbox.
Join the 50,000+ gardeners who get timely gardening tutorials, tips and tasks delivered direct to their inbox.