

Raised beds are great, aren’t they? Even if you have terrible soil where you live, you can still have a beautiful garden with raised beds.
The soil in a raised bed warms up quicker in the spring, meaning you can start gardening sooner and stays warmer longer, lengthening your growing season in the fall.
There are often fewer weeds to deal with in raised beds. And you have the ultimate control over your soil content. Not to mention, they’re usually a lot easier on the ol’ knees.
But, as convenient as they are, there are some vegetables folks shy away from growing in raised beds.
Potatoes are one such vegetable, and understandably so. As far as common vegetables go, potato plants are on the larger side and require quite a bit of space. I even wrote an article about some of the best veggies for raised beds and ended with the suggestion that potatoes weren’t one of them specifically for this reason.
However, as with all things gardening (and life in general), your mileage may vary here.
The fact is, potatoes do exceptionally well in raised beds, mainly because of the control over the soil content. So, if space isn’t an issue for you, then yes, you should be growing potatoes in your raised beds.
Granted, if you’ve only got one or two 4’x4’ raised beds, then maybe potatoes aren’t the best use of your gardening real estate. Lucky for you, though, they do equally well in five-gallon buckets.
If you’re unsure, try growing a few potatoes in one section of a raised bed this season and see how they do. Like myself, you may end up expanding your gardening space specifically to make more room for those tasty spuds. Having a bed specifically for potatoes is not unheard of and might be the best way to grow them.
But Tracey, potatoes are so cheap. Why should I bother growing them in the first place?
Ah-ha, I was hoping you would ask. There are two excellent reasons to grow potatoes.
The first is that you get to control their growing conditions. If you’re looking to eliminate chemical pesticides from your garden (and therefore your diet) and grow organically, then you may find the time and effort of growing potatoes worth it.
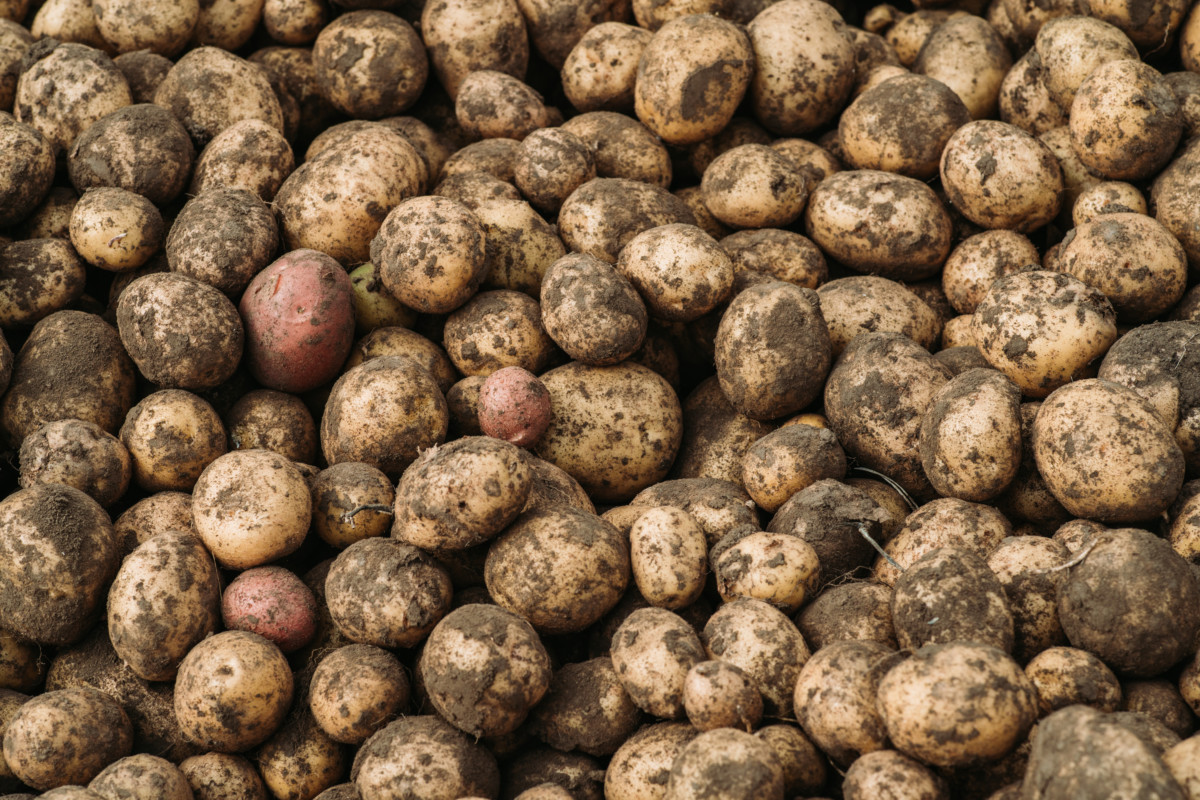
The second reason is that there are so many more choices than the boring potatoes offered at your local supermarket. White, red and yellow. Those should be crayons, not potato choices.
How about the tasty Atlantic potato, a homemade potato chip lover’s dream? Or whip up a batch of heavenly lavender-colored mashed potatoes with some Adirondack potatoes. Perhaps, like me, you love a good red-skinned potato salad? Then the Strawberry Paw is for you.
Potatoes are ridiculously easy to grow and make a fantastic addition to any garden.
Let’s grow some spuds in those raised beds, shall we?
Earlies or Lates?
One thing you’ll want to decide is whether you prefer early or late potatoes. These terms define when the potatoes are harvested and coincide with how long you can store them.
Earlies, also referred to as new potatoes, are harvested mid-summer. They have thinner skin, are generally smaller, and need to be used right away. Late potatoes are the best choice if you want to grow a harvest of potatoes for long-term storage. These potatoes are harvested in the fall when they’re large and thick-skinned.
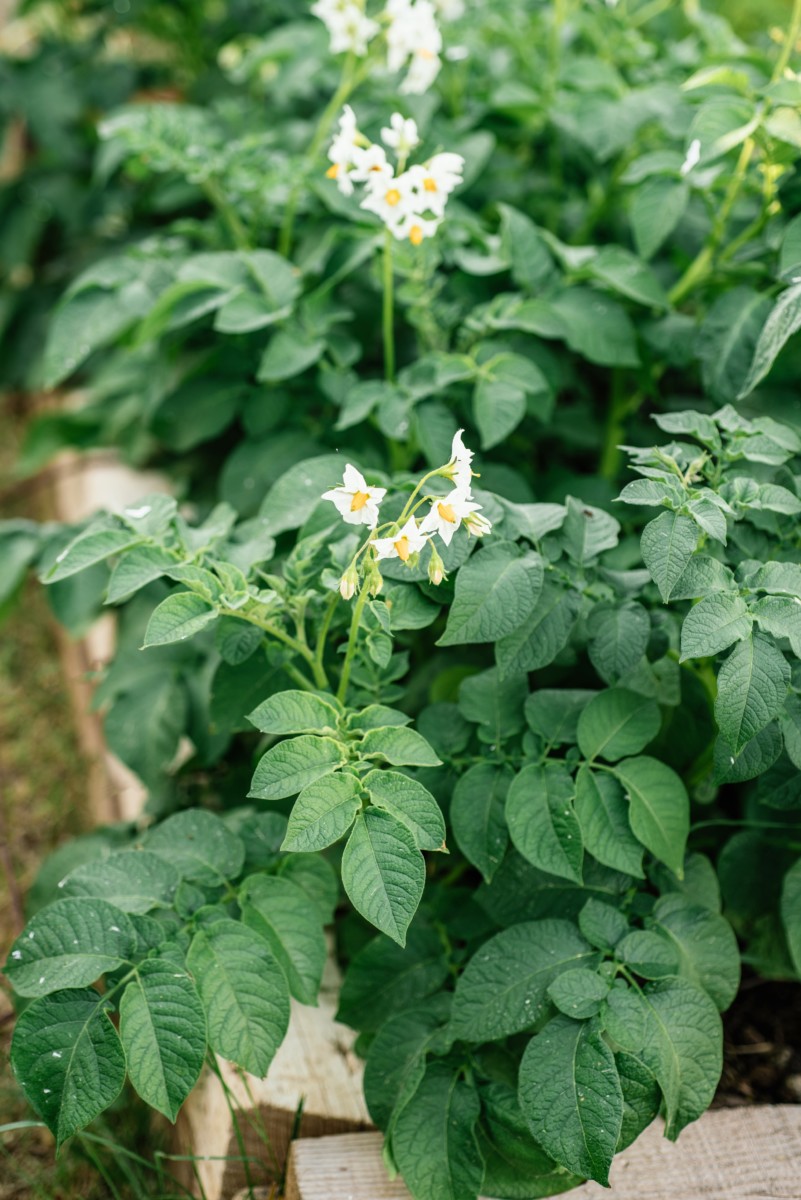
Luckily, with most varieties of potatoes, you can choose both early and late. Simply harvest a few plants in mid-summer when the plants flower and then leave the rest to continue growing for the fall harvest.
Sun, Soil, Water & Nutrients
Potatoes need full sun for at least six hours a day to do well. Naturally, they love the well-draining soil that makes up your average raised bed.
When you plant your seed potatoes, it’s always good to mix in some compost and bone meal to give them the nutrients they will need for a good season.
Most potatoes do just fine with average rainfall as far as water goes. However, if you live in an especially dry area or experience a draught, you’ll want to give them a thorough watering, soaking them deeply. Water at the base to avoid getting the leaves wet or splash dirt on them, as this can encourage disease.
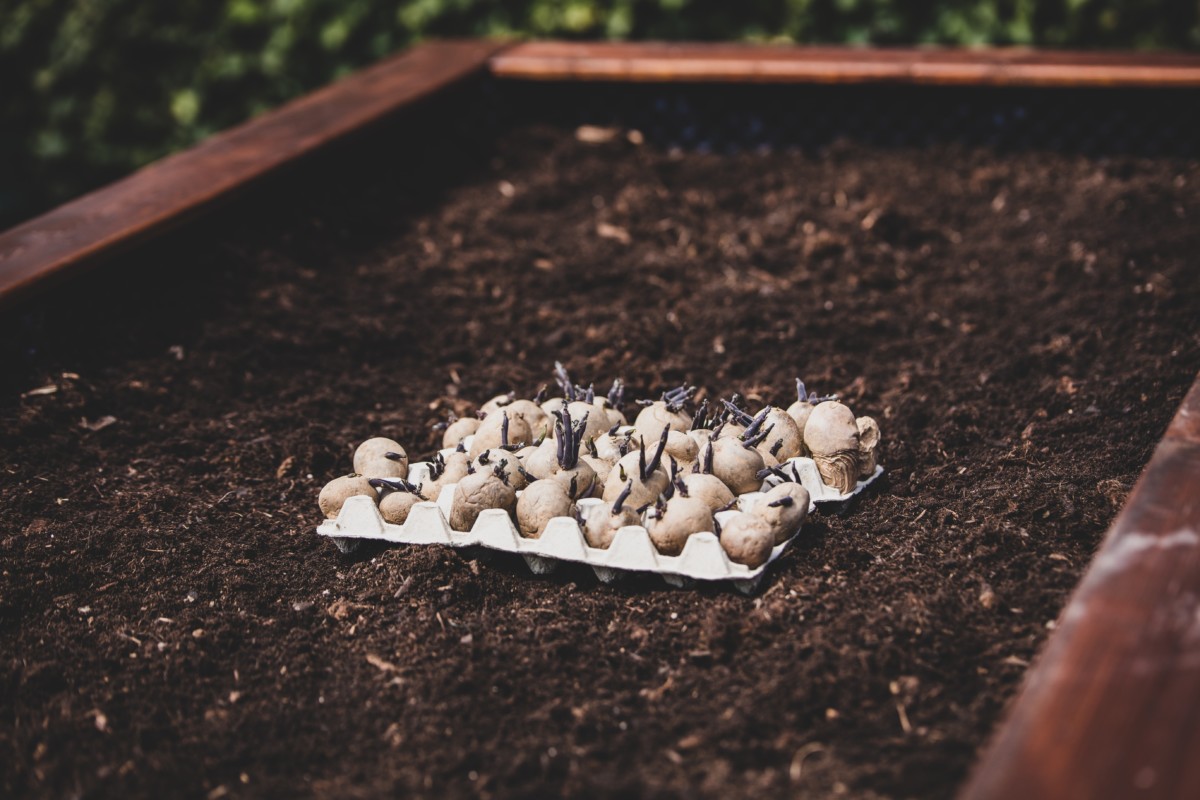
Prepping Potatoes to Plant

I’ll give you a brief overview here, but ideally, you’ll want to read Elizabeth’s excellent piece on chitting seed potatoes.
Chit your seed potatoes a few weeks before you plant them by placing them somewhere warm and sunny so they can grow sprouts. Several days before you plant them, whole potatoes will need to be cut into smaller pieces and left to scab over before putting them in the soil.
Planting and Hilling in Raised Beds – You’ve Got Options

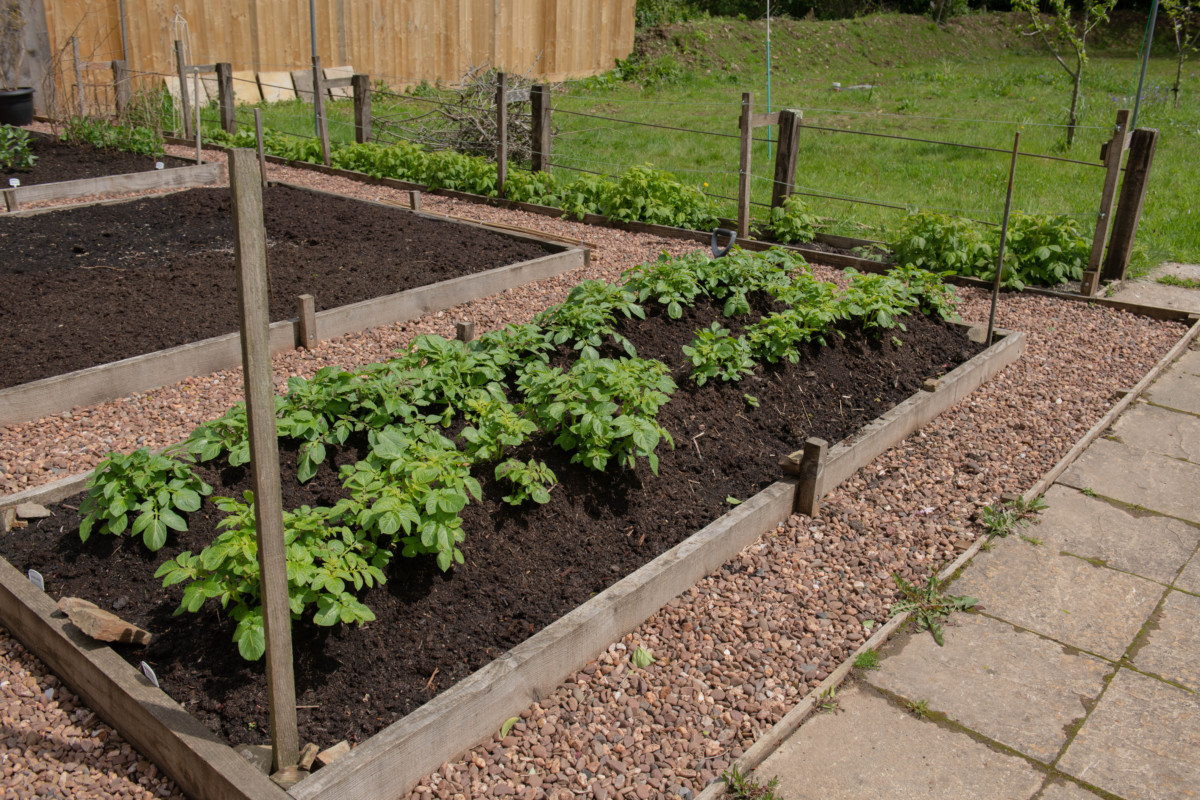
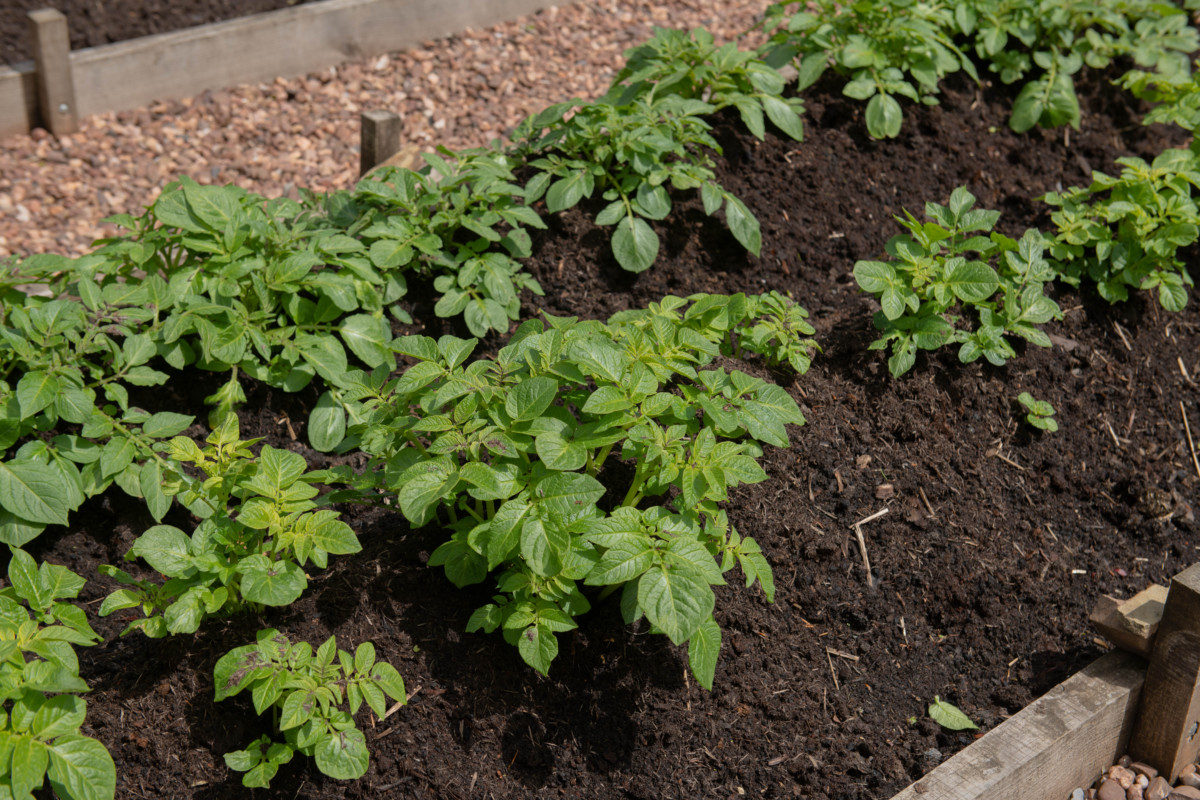
Raised beds produce great potatoes, and even if you don’t have very deep beds, you can still grow tasty spuds better than you can directly in the ground. Let’s look at two options for growing potatoes in raised beds.
Deep Raised Beds
If you’ve got raised beds at least a foot or deeper, you can grow your potatoes as you would in the ground.
Make a trench, about six inches deep in the soil, running lengthwise through your raised bed. Space your trenches about a foot apart. Plop your seed potatoes in the trench a foot apart, making sure the potato eye is facing up. Next, add any soil amendments, like compost and bone meal, before covering the seed potatoes loosely with soil.
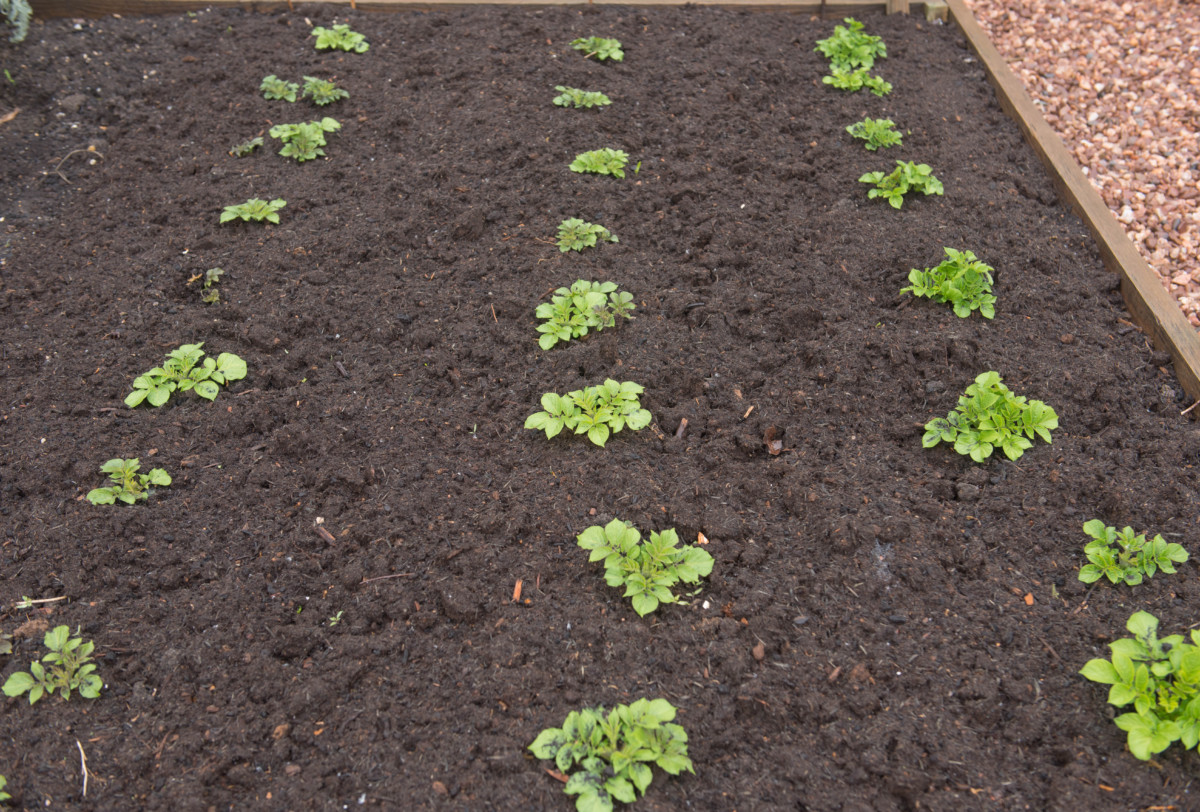
In a couple of weeks, your potato plants will sprout up through the soil. Once these sprouts reach about 6-8 inches tall, hill up soil around each plant so that only the top few leaves are poking up from the dirt.
If you wish, you can choose to hill up your potatoes again once the sprouts reach a height of 6-8 inches again. However, this isn’t necessary. From this point on, you can let your potatoes grow.
Shallow Raised Beds
If your raised beds are on the shallow end, have no fear, you can still grow potatoes. And lucky for you, this method is incredibly easy to do and makes harvesting potatoes a breeze.
You’ll be using straw to make up for the lack of dirt.
You will also be making trenches the length of your raised beds; however, your trenches will only be one inch deep. Again, make trenches one foot apart, and plant your seed potatoes every twelve inches.
Now, rather than covering them with dirt, you’ll be covering them with a layer of straw around four inches deep. It needs to be thick enough to block out light. Wet the straw down thoroughly with a hose to help it settle so it won’t blow around. You can also cover it with cardboard and a few stones for the first few days to help tamp it down, although you’ll need to remove the cardboard so the plants can grow up through the straw.
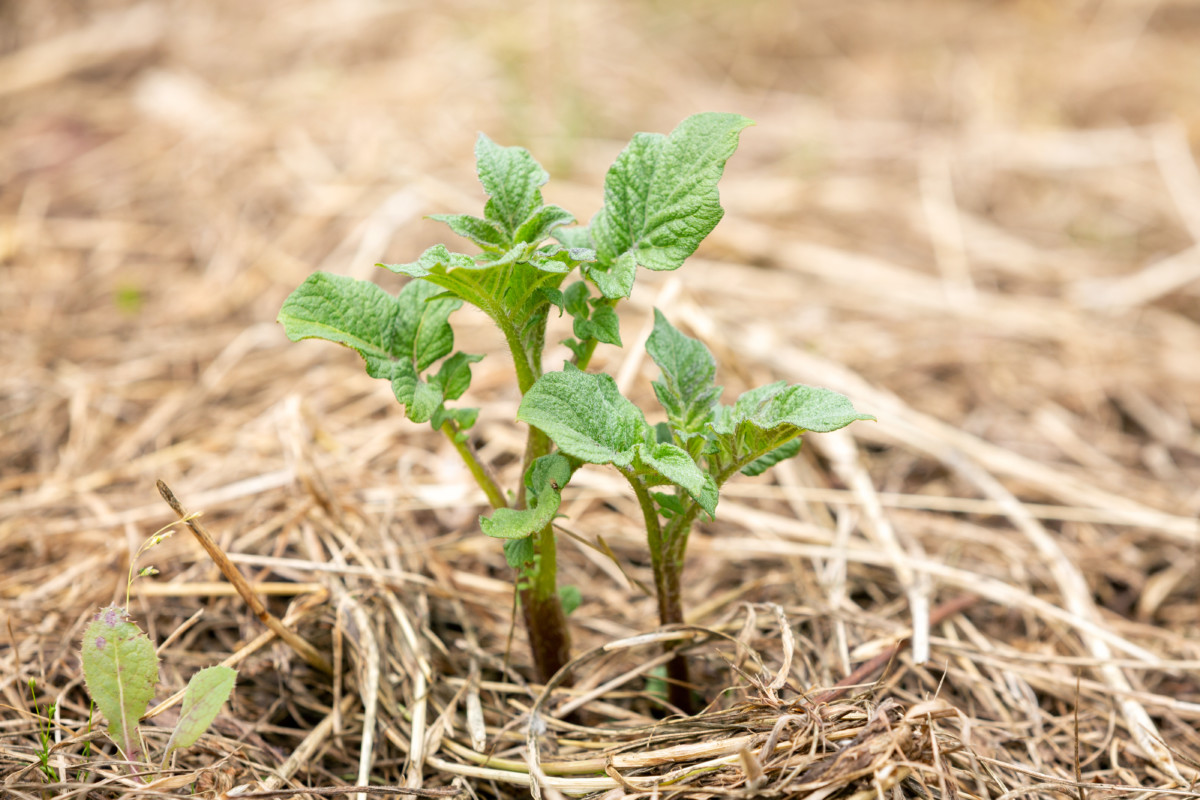
And just like growing in the dirt, your straw-covered seed potatoes will send up sprouts in about two weeks. They will also require hilling at about 6-8” in height. Again, you’ll be covering the sprouts in a thick layer of straw, leaving the very tips of the sprouts uncovered. Wet the new straw and tamp it down again.
From this point on, growing your potatoes is the same no matter which method you use.
Simply let your spuds grow large and bushy, and keep an eye out for those pesky Colorado potato beetles. Water them if you get a long dry stretch. Otherwise, potatoes are a great set-it-and-forget-it veggie.
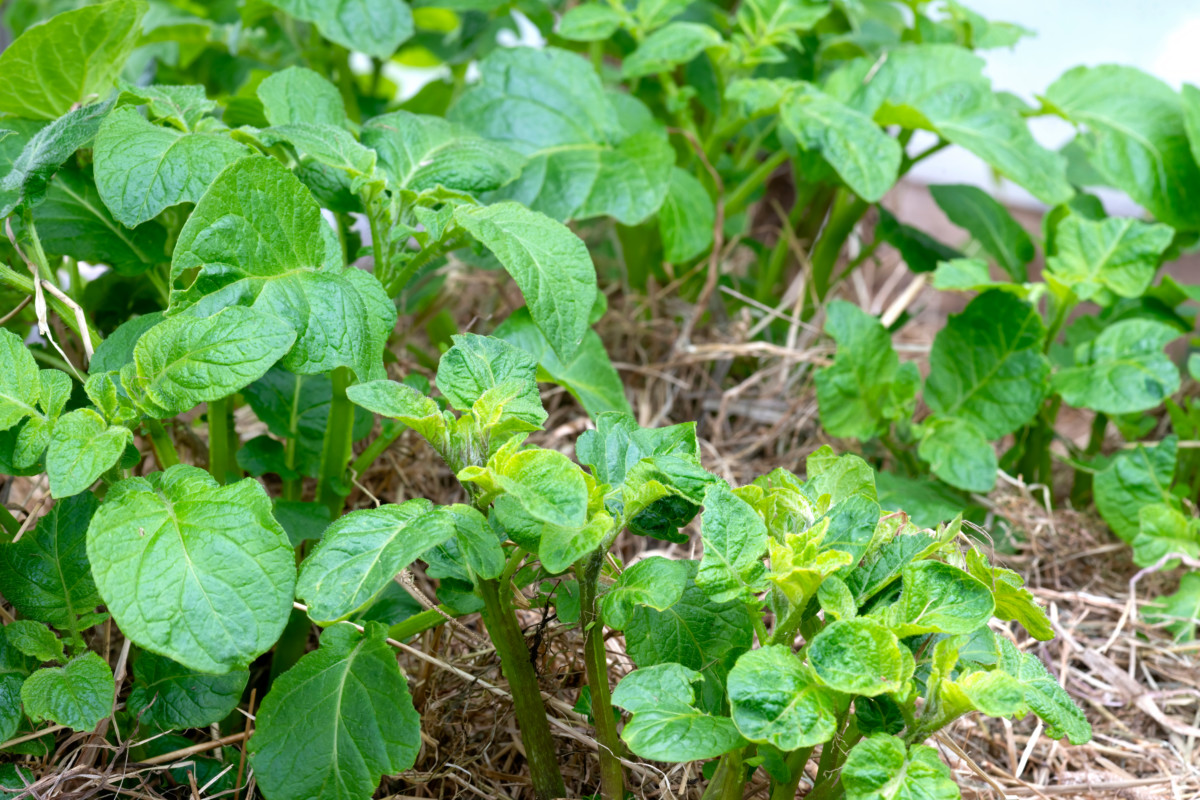
If you are using the straw method to grow potatoes, I find it helpful to check on them occasionally and add a bit more straw if it starts to compact down or gets thin in areas. You want to create a dark environment for your spuds to grow, where no light can get it in and create green potatoes, which are mildly toxic.
When to Harvest and How
How do you know when to harvest a vegetable that grows underground? Potatoes give us some great clues to let us know when there are spuds to be had.
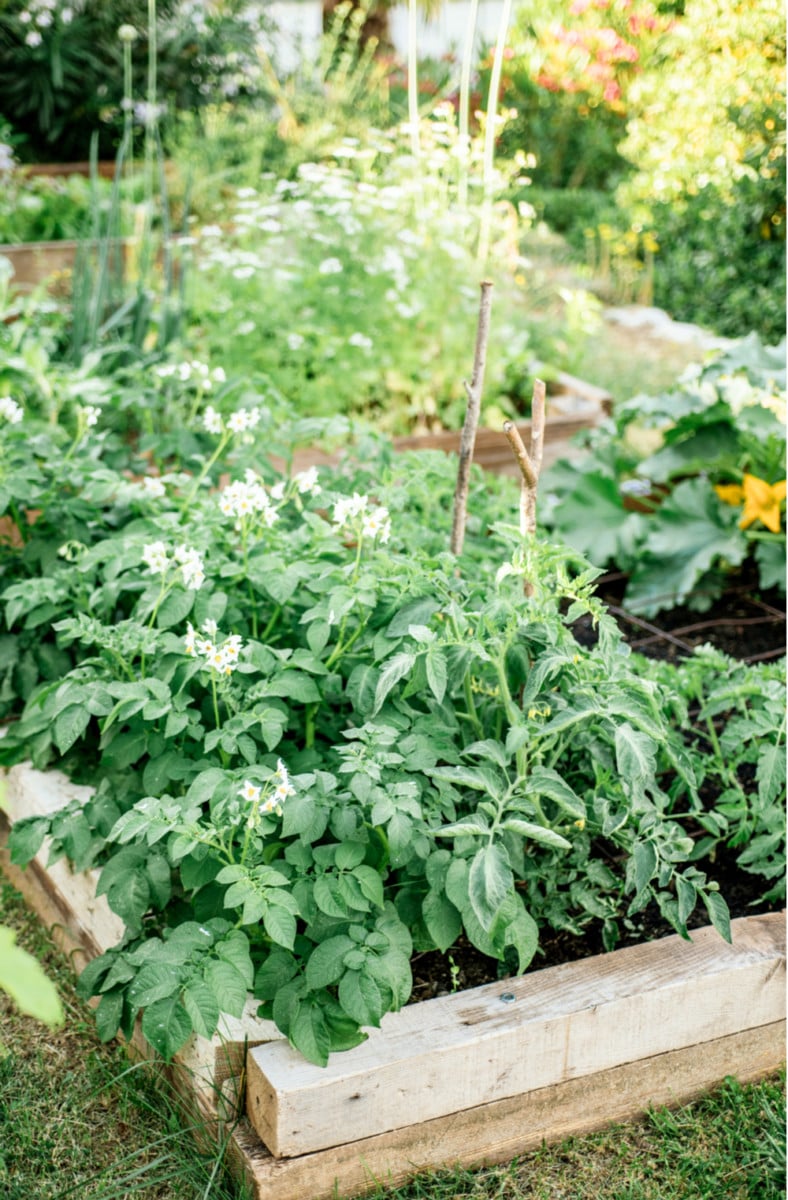
If you’re looking for early potatoes, keep an eye on the flower buds. You can harvest new potatoes when the blooms start to wilt, or if the buds never open, when they start to drop off the plant.
For a fall harvest, pay attention to the foliage. Once the bushy green plants begin to yellow and dry out, you can harvest your potatoes. This often coincides with the first frost. If you want to toughen up the skins of your potatoes for long-term storage, wait a week or two after the foliage dies back before digging them up.
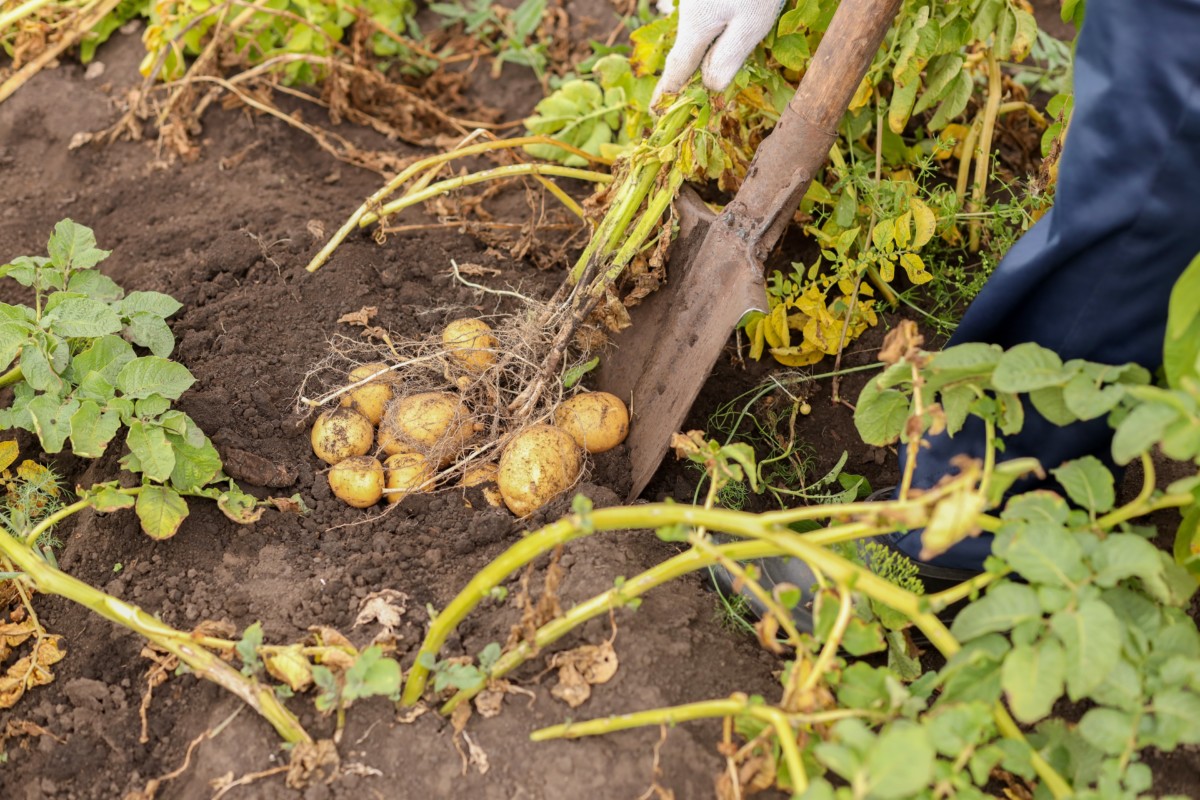
If you grow your potatoes in the soil, you’ll need a garden fork to lift the tubers from the ground gently. Be careful, as it’s easy to pierce potatoes, rendering them unfit for long-term storage. They can still be eaten, though.
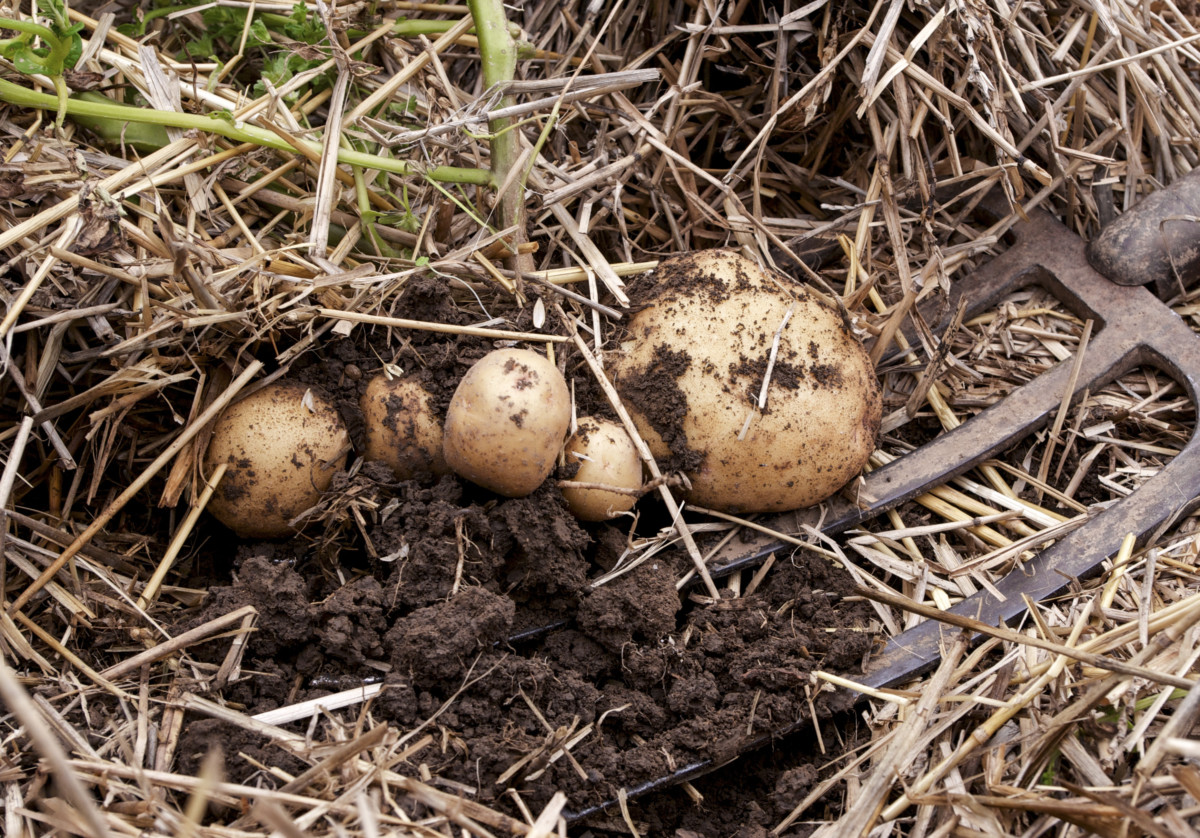
Those of us growing our potatoes in straw are in luck. All you have to do is peel back the layers of straw (best done with gloves on) to unearth your glorious spuds.
Curing and Storing Potatoes
Potatoes have been a food staple for hundreds of years for a good reason. They are prolific, simple to grow and keep for months when stored properly. You don’t even need a root cellar to do it, although it certainly does help.
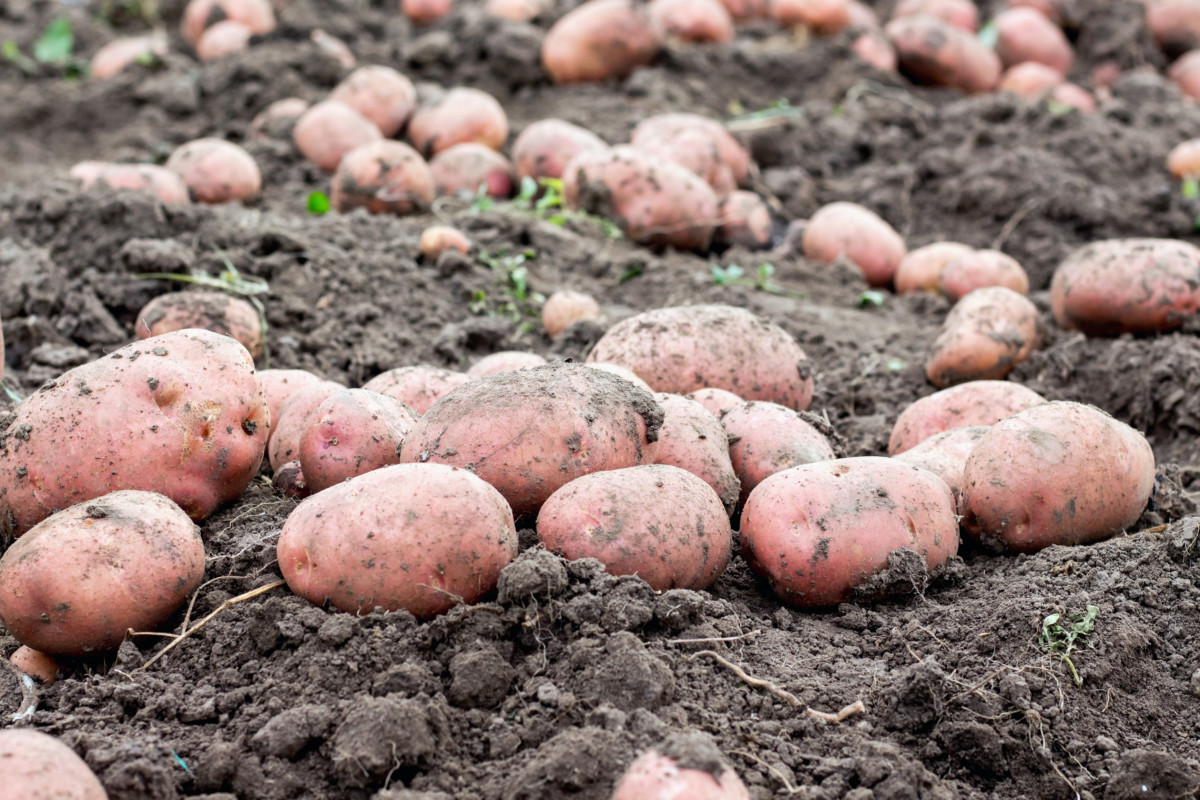
Once you’ve dug up your potatoes, it’s important to let them cure before you store them. Leave them on top of the dirt for a few hours so the soil can dry out. After a few hours, knock off large clumps of sod and gently brush the dirt off them, but don’t be too scrupulous. A fine layer of dirt helps to protect potatoes, allowing them to be stored longer. If you’ve got any potatoes cut or pierced by your garden fork, pull those and eat them right away.
When it comes to storing potatoes for several months, the thicker the skin, the better. Thick skin is the goal of curing potatoes.
Cure potatoes somewhere dark and dry on a layer of newspaper, a dry tarp, or on large pieces of cardboard. Space them out so they aren’t touching; you want to ensure good airflow around them. Now, let your potatoes hang out in the dark for 7-12 days.
Now that your potatoes have cured, they’re ready to be put up for long-term storage. Potatoes can be kept for months if they’re stored someplace cool, dry and dark. Lydia has everything you need to know about storing potatoes so they will last for months.
If you’ve got room in the freezer, you can freeze potatoes for storage.
So, are potatoes a match made in raised bed heaven? Only you can be the judge of that.

Get the famous Rural Sprout newsletter delivered to your inbox.
Join the 50,000+ gardeners who get timely gardening tutorials, tips and tasks delivered direct to their inbox.