


The peanut (Arachis hypogaea) is also known as the groundnut, goober or monkey nut.
It is a legume that is grown primarily for its edible seeds. Widely grown in the tropics and subtropics, peanuts can also be grown in warmer temperate climates, and even in cooler climates when grown undercover.
Understanding Peanuts
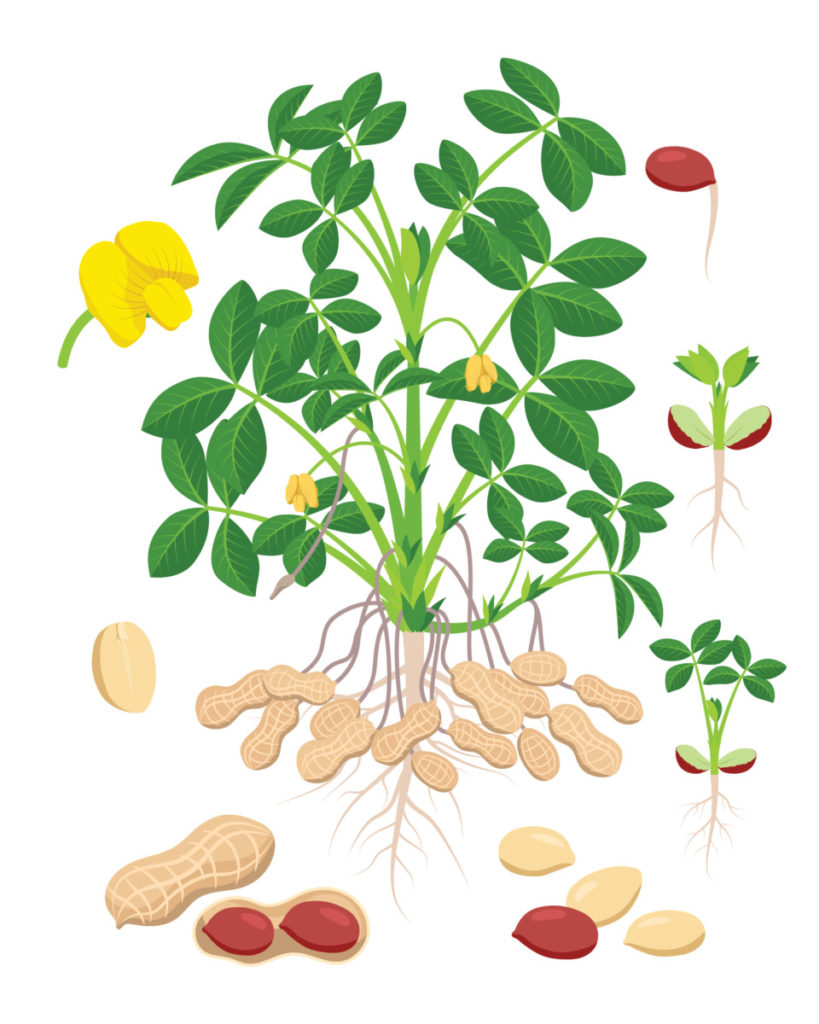

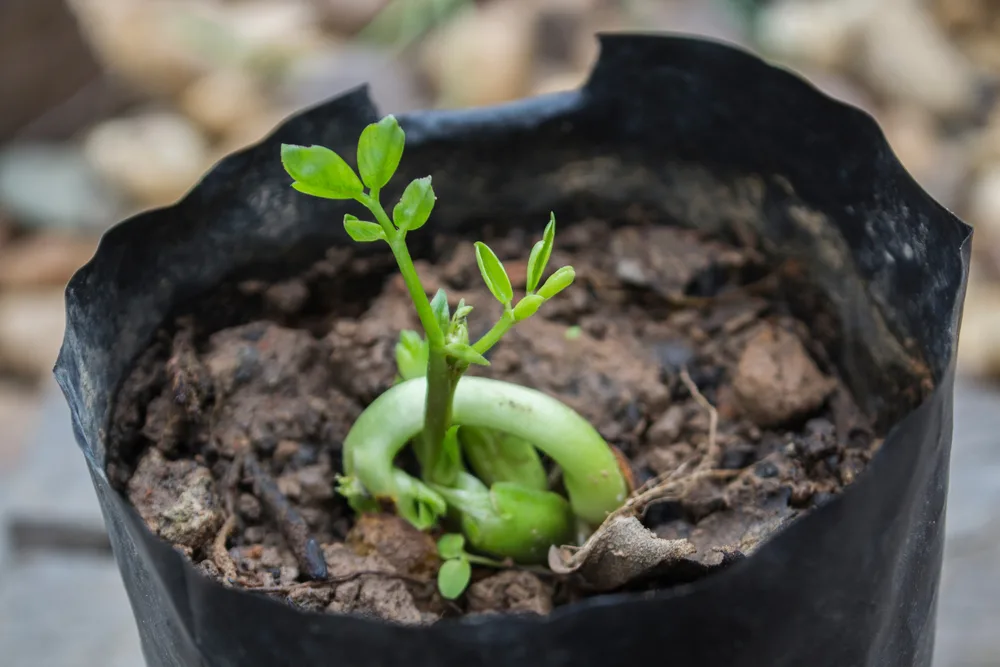
The peanut is a herbaceous annual plant, that grows to around 1ft- 1.6ft tall. The leaves are pinnate and opposite, in opposing pairs. One interesting thing about these plants is that, like many other legumes, leaves have ‘sleep movements’ and close at night.
The little flowers are formed on clusters on the stems above ground, and last for just one day. After fertilization, a thread like structure known as a ‘peg’ elongates from the base of the ovary below flowers, and grows down into the soil.

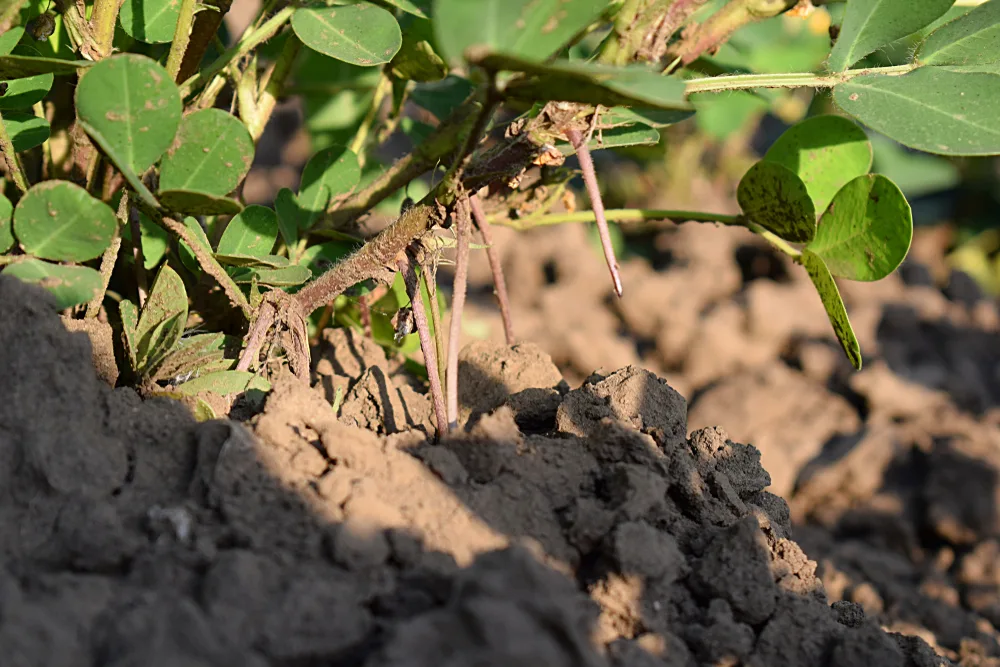
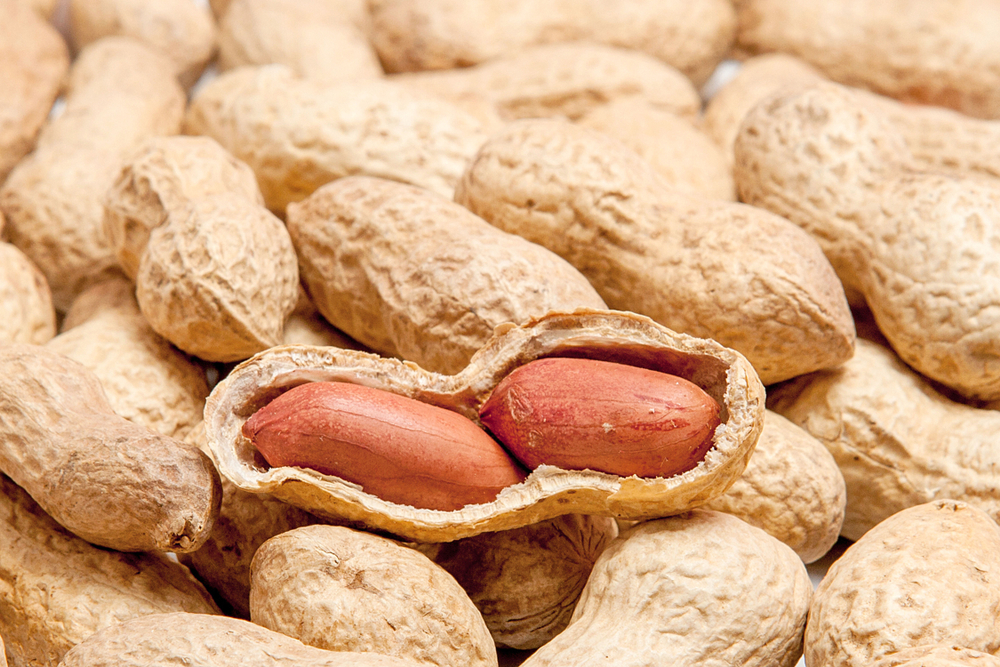
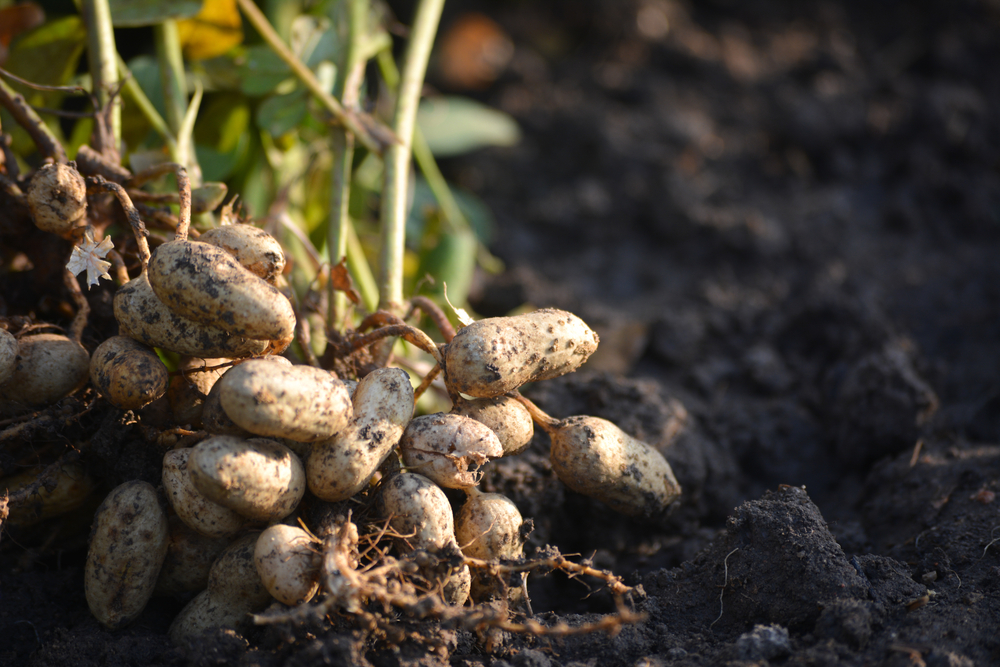
The tip then matures to develop into a mature peanut pod. The pods are usually 1.2-2.8 inches long, and contain between one and four seeds.

As a culinary nut, peanuts are familiar to many, but fewer are aware of exactly how they grow, and how they are cultivated.
Though peanuts are described as nuts, they do not meet the botanical definition.
Botanically, a nut is a fruit whose ovary wall becomes hard at maturity. So technically, these are seeds, legumes or pulses, rather than nuts. But since they are used in much the same way as tree nuts like walnuts and almonds, this is a purely technical distinction.
In this article, we’ll take a look at how to grow your own peanuts. But before we delve into how to grow them, let’s take a brief look at why we might want to grow some in our gardens:
Why Grow Peanuts?
Peanuts are, of course, prized as culinary nuts. As you will discover towards the end of this article, they can be eaten raw, roasted, or used in a range of other ways, but their uses in the kitchen are not the only reason to grow them.
As legumes, peanuts are also useful while growing in the garden. Like other legumes, they have a symbiotic relationship with bacteria in their roots, and so play a vital role in fixing nitrogen from the air and making it available in the soil.
Their nitrogen fixing properties mean that they are very useful – potentially as companion crops, and certainly in crop rotations. Studies have shown that crop rotations involving peanuts can increase the overall yields on a piece of land.
In both larger scale farm production, and in home gardens, peanuts can be used as part of garden plans designed to protect and enhance the soil of growing areas.
Where Can You Grow Peanuts?


While peanuts can be a very useful crop, it is important to understand that they cannot be grown everywhere.
These are a warm climate crop, and require a relatively long growing season. This means that they are, of course, much more of a challenge to grow in cooler climates with shorter growing seasons.
In the United States, peanuts are commonly grown in three main regions:
- The southeast – Alabama, Georgia and Florida.
- New Mexico, Oklahoma and Texas.
- Virginia, North Carolina and South Carolina.
Peanuts grow best between latitudes 40 degrees south and 40 degrees north. They have a long growing season and require a minimum of 100-130 frost-free days to reach maturity. And as a warm climate plant, they require plenty of full sun, and warmth, during the growing season.
However, it is still sometimes possible to grow peanuts in more northerly climes, providing that you can give them the right conditions. Usually, this involves growing them in containers, indoors or under cover. The same approaches can also be used to grow peanuts even in areas of northern Europe (though it is important to choose shorter season cultivars – more on which below).
Wherever and however they are grown, peanuts require a light and humus-rich soil/ growing medium. A sandy loam is ideal. The crop tolerates a pH in the range 4.3 to 8.7.
Choosing Peanuts
Success in growing peanuts where you live very much depends on choosing the right cultivars. The main types in the US are:
- Spanish type
- Runner type
- Virginia group
- Valencia group.
There are running and erect forms in each of these groups. The erect forms mature more quickly. So this means they are more likely to succeed in colder areas.
‘Early Spanish’ varieties mature in 105 days and these types have cropped reliably as far north as Canada.
‘Spanish’ matures in 110 days and crops in Canada if grown in a light sandy soil with southern exposure.
There are also fast-maturing Valencia types so these types are generally the ones to look out for if you are trying to grow peanuts in more northerly climate zones.
If you are in the UK or elsewhere in northern Europe, check out peanuts to grow at lubera.co.uk.
In the US, one place to source peanut seeds is here, and another is here.
Speak with other growers in your area to get recommendations about which varieties might be best for where you live, and for tips on how to grow them in your area.
It is always best to choose seed peanuts rather than simply planting raw seeds from the store. Peanuts should remain in their shells right up until planting. Otherwise, they may have a tendency to dry out and lose viability.
Sowing Peanuts


If you live in cooler, northern regions, sow peanuts indoors around a month before the average last frost date where you live.
In warmer, southern regions, you can also start them off indoors, a few weeks before the last frost, or direct sow them outdoors once there is no longer any risk of frost.
If sowing into a container, choose a pot or container that is at least 4 inches deep. Fill it with a potting mix/ growing medium that is fine, and moist yet free draining.
It is a great idea to use a biodegradable plant pot, since this can avoid disruption of roots when it comes to transplanting. Toilet roll tubes or DIY paper pots could work well.
When you are shelling the peanuts, it is important to be careful not to damage or remove the brown seed covering. If this coating is damaged or removed, germination may not take place.
If you are starting peanuts indoors, carefully press seed peanuts into the top of the pots/ containers. Then cover them with roughly an inch of potting mix. A minimum growing medium temperature of 65 degrees F is required for germination to take place.
Again, soil temperature should be at least 65 F. before you sow outdoors. You should sow seeds at a depth of around 2-4 inches. Expect them to break ground in around 1-2 weeks. Aim for a spacing of around 8 inches between each plant.
Transplanting Young Plants

When transplanting young plants, make sure that the growing area has been well-prepared. Avoid adding too much nitrogen-rich material/ compost to the bed, as this can encourage leafy growth and reduce nut yield. Loosen the soil and make sure it is not compacted. A loose and friable soil structure is essential for peanut plants.
If you have used biodegradable pots/containers, these can be placed into the ground along with your plants. If you have not, you will have to carefully remove plants from their pots and transplant them into the ground (or into larger containers in which they can grow on). Be careful to plant young plants at the same depth that they were in their first pot/container. Avoid exposing the sensitive roots.
If you are keeping peanuts in containers, then it is important to choose one that is at least 10 inches deep. Again, make sure that there is not too much compost/ nitrogen rich material in the mix. Leave space at the top of the container, don’t fill it right up to the brim, as you will later hill up around the plants (mounding soil/ growing medium around each ‘peg’).
Water the soil or container well after transplanting. But be careful not to overwater. If puddles form on the surface, you may have watered too much.
If you are growing peanuts in more northerly climes, make sure you have considered whether or not the plants will be warm enough, and whether the frost-free season will be long enough. Grow peanuts indoors, in large containers in a sunny conservatory, for example. Or grow them inside a greenhouse or polytunnel that can potentially be heated to keep off the first frosts in fall.
Companion Plants for Peanuts
A number of different plants can work well with peanuts where it is sunny and warm enough and the season is long enough for them to be grown in the ground.
As a nitrogen fixing plant, peanuts may aid a number of different crops but peanuts can also benefit from being grown with other plants.
For example, you can grow them with:
- Potatoes and other companion crops that require similar soil conditions. (Potatoes also help break up the soil and reduce compaction.)
- Root crops like carrots, parsnips etc.. that do well in light soil.
- Strawberries (that give good ground cover).
- Thyme, and other aromatic herbs (that can provide ground cover and can also help repel certain pests).
Caring for Peanuts
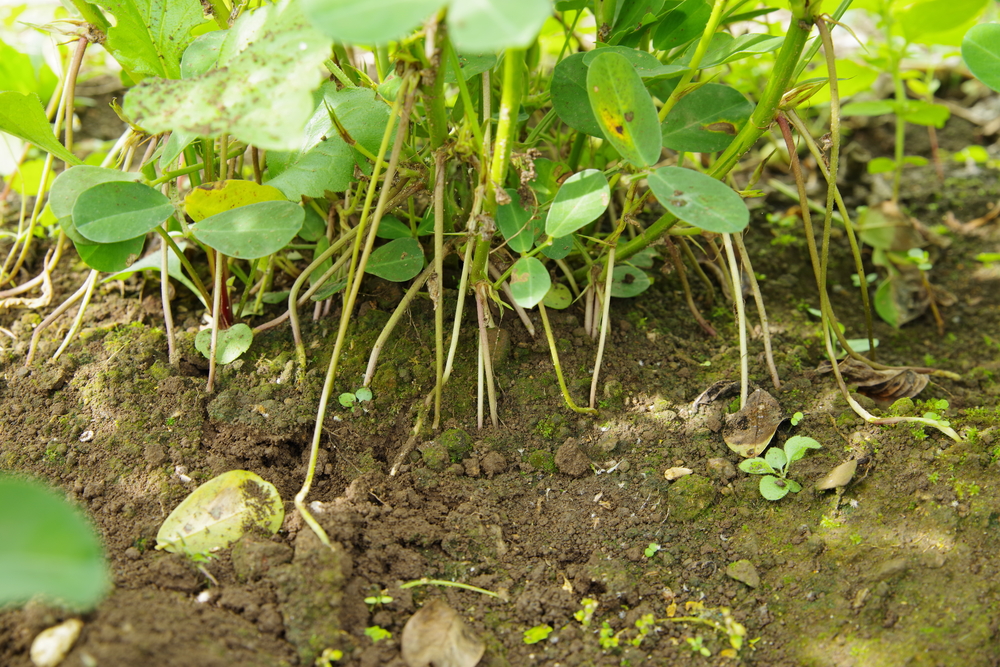
After the plants reach around 6 inches in height, lightly dig in the soil or in your containers to loosen the growing medium around the plants. This will help make it easier for the flowers’ ‘pegs’ to make their way underground to become the mature peanut pods.

Once plants begin to flower, consider adding a fertilizer rich in calcium, as this may help maximize nut production. Avoid nitrogen rich fertilizers, as these may reduce yield.
After the ‘pegs’ have made their way underground, and plants are around 12 inches in height, you should gently mound the soil/ growing medium around each buried peg and around the base of the plant. This provides the growing peanuts on the ends of the pegs with extra warmth and protection.
Just after making the hills, mulch around your plants carefully with a light organic mulch of straw, leaf mold or another mulch material. (Though do not use grass clippings or other high-nitrogen mulches, or heavy mulches like wood chip that might prevent further ‘pegs’ from heading underground.)
Aim to provide peanuts with around 1 inch of water each week. It is best to water peanuts little and often. They will do best when soil/ growing medium is somewhat dry on the surface but moist at around 1 inch down.
There is one final thing to consider, especially if you are growing peanuts outdoors, in the ground. Peanuts offer a temptation for a number of different creatures, looking for a free feast.
To prevent squirrels, chipmunks, and other creatures from eating your crop, you may have to consider creating a physical barrier around your plants. Use mesh or fencing around your peanut plants, and make sure the barrier extends 2-3 inches below the ground to protect the peanuts as they grow underneath.
If growing in a greenhouse or polytunnel, consider placing containers higher up, on staging, to make it harder for burrowing/digging creatures to reach your peanut crop.
Harvesting Peanuts

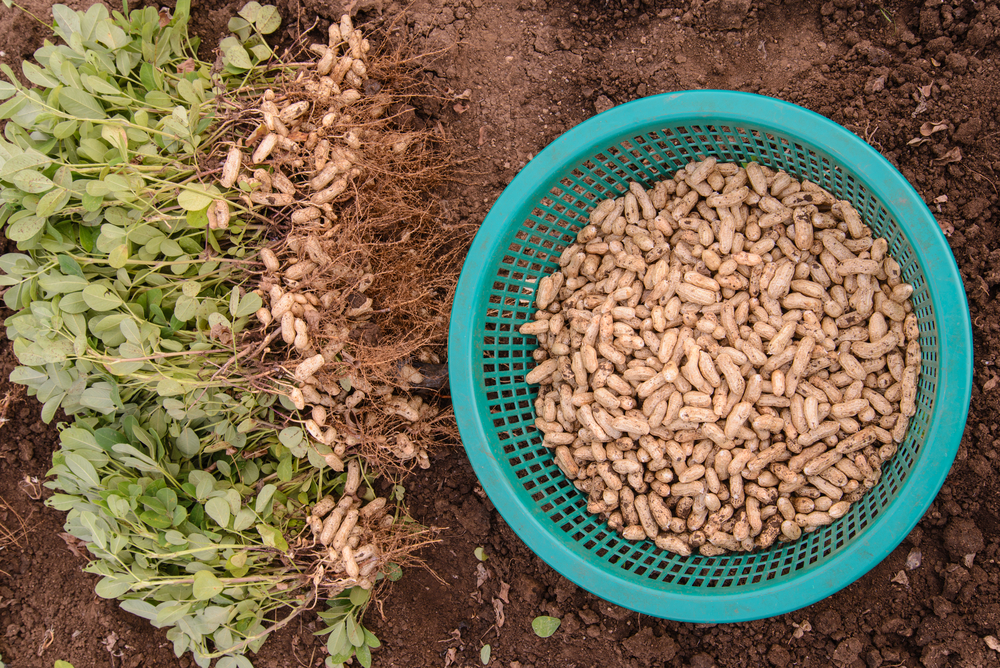
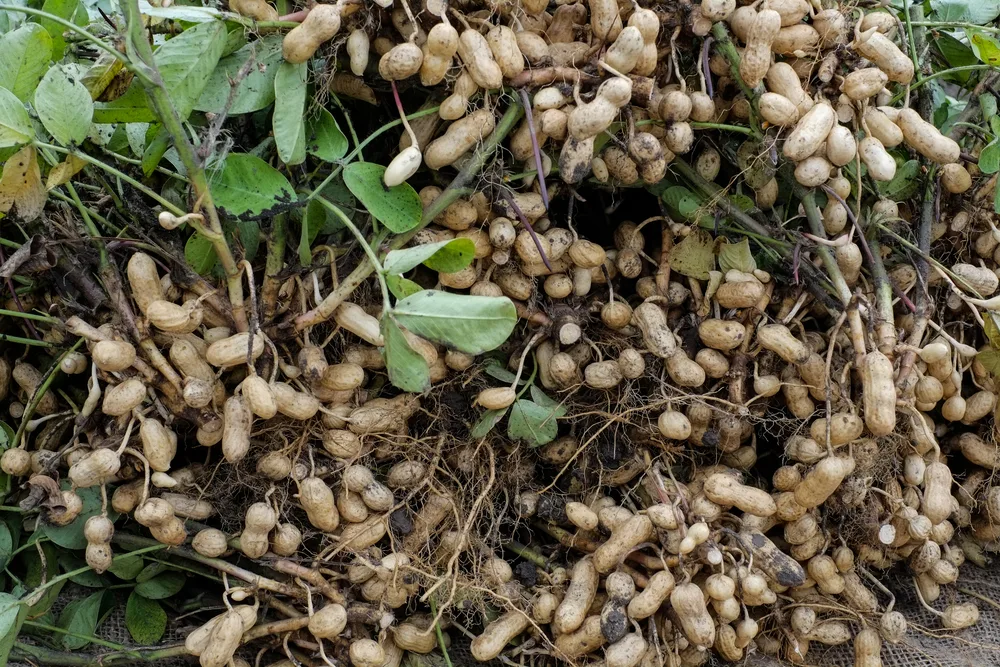
Peanuts should be harvested before the first frost of fall when grown outside. Whether grown outside or inside, the plants should turn yellow and begin to wilt when they are ready to be harvested.
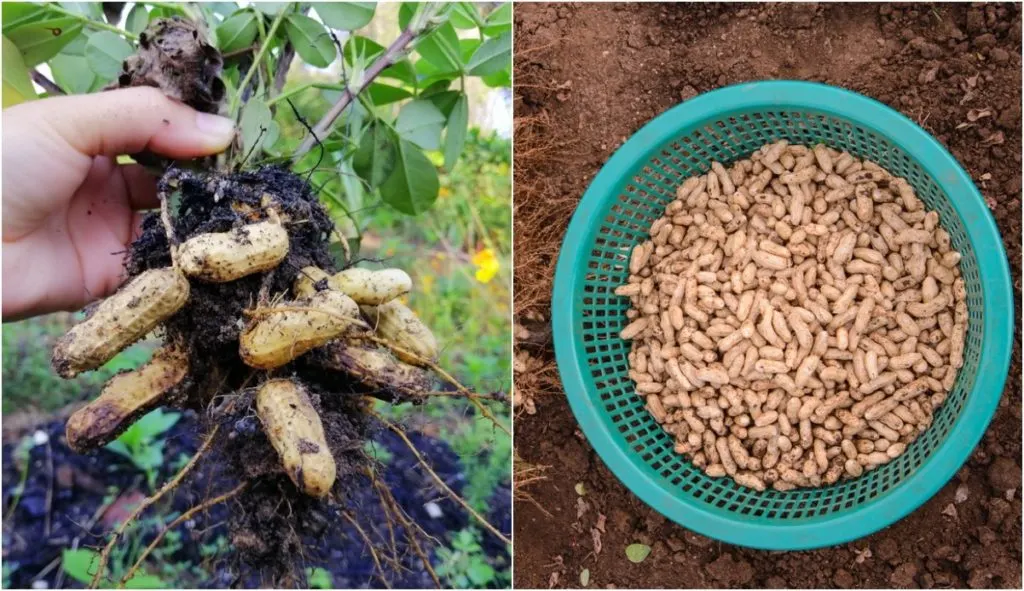
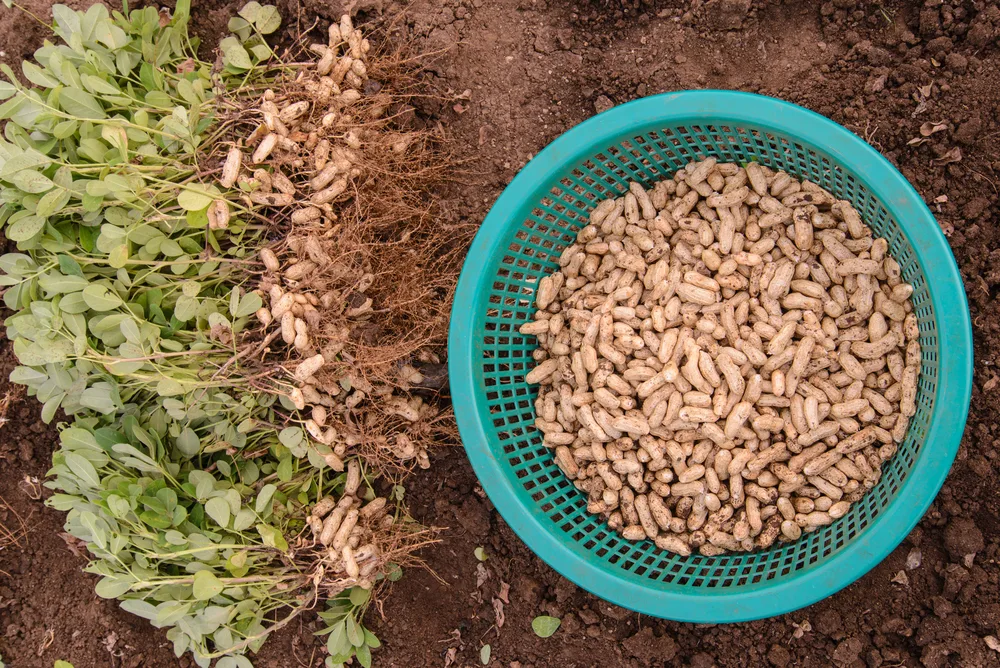
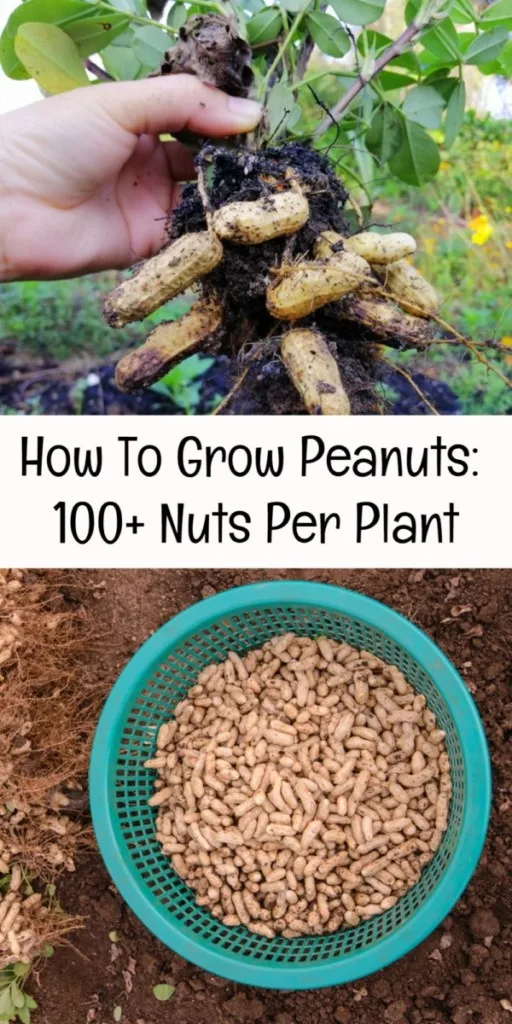
Lift the entire plant from the ground or from its container. Shake it gently to knock off the soil or growing medium sticking to its roots.
You can usually expect a healthy plant to give a yield of between 30 and 50 nuts. Though certain high-yielding cultivars have been known to produce upwards of 100 nuts in optimal conditions.

In sunny, southern climate zones, peanuts can be a staple crop – great for use as a protein source. In more northern climates, growing peanuts is usually more of a novelty, and provides only small yields. That said, it can still be fun to grow a few plants, and to observe their interesting growth, even when you only get a handful or two of nuts.
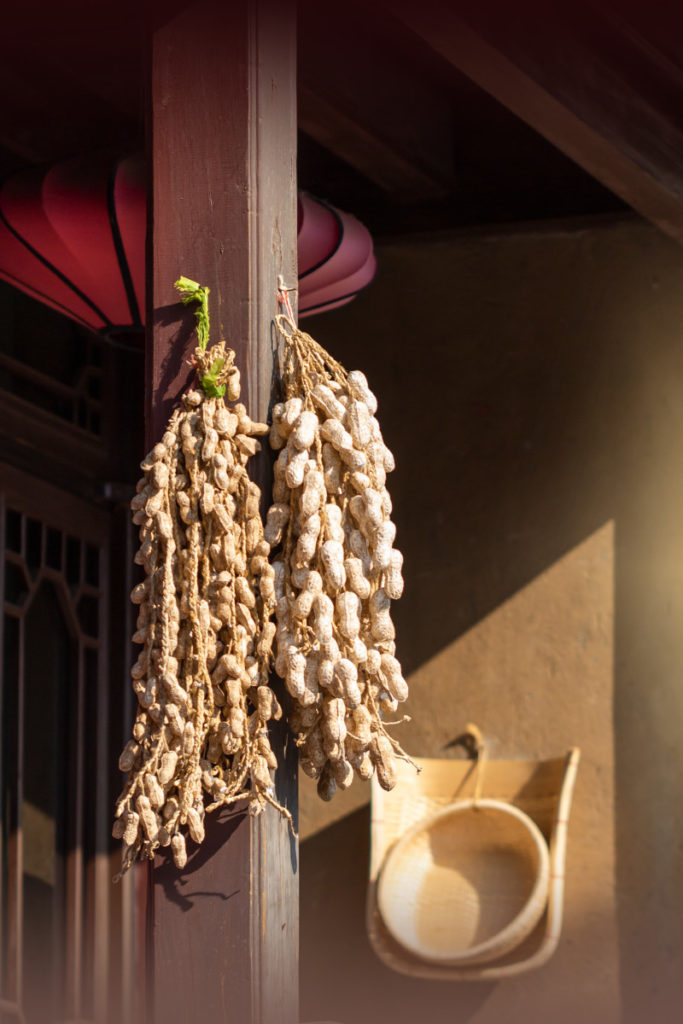
Once you have lifted your plants, hang them in a dry location to dry out for a couple of weeks. Then remove the nuts from the plants, and leave them to dry for another two weeks or so.

Storing Peanuts
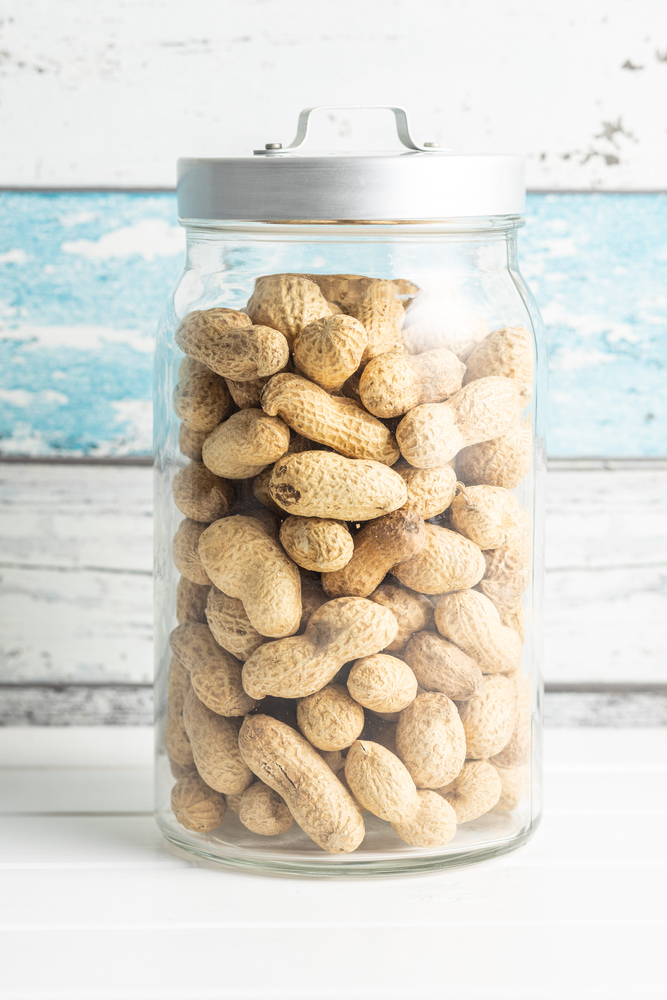

Once cured, the nuts should store (still in their shells) in an airtight container in the refrigerator for up to 6 months. You can also freeze them for a year or longer.
In a non-refrigerated, dry, dark storage area, nuts in their shells will usually keep for around 3 months without further processing.
If you enjoy canning, and have a pressure canner, you can also hot pack mature green peanuts. Here’s a great tutorial for doing that.
Using Peanuts
Peanuts can be eaten raw. They can also be used in your kitchen in a number of different ways.
Roast Peanuts


To roast peanuts, bake them in an oven set to 350 F for around 20 minutes. (You can cover them in different coatings to provide the taste you require, leave them unseasoned, or just add some salt.)
Peanut Butter
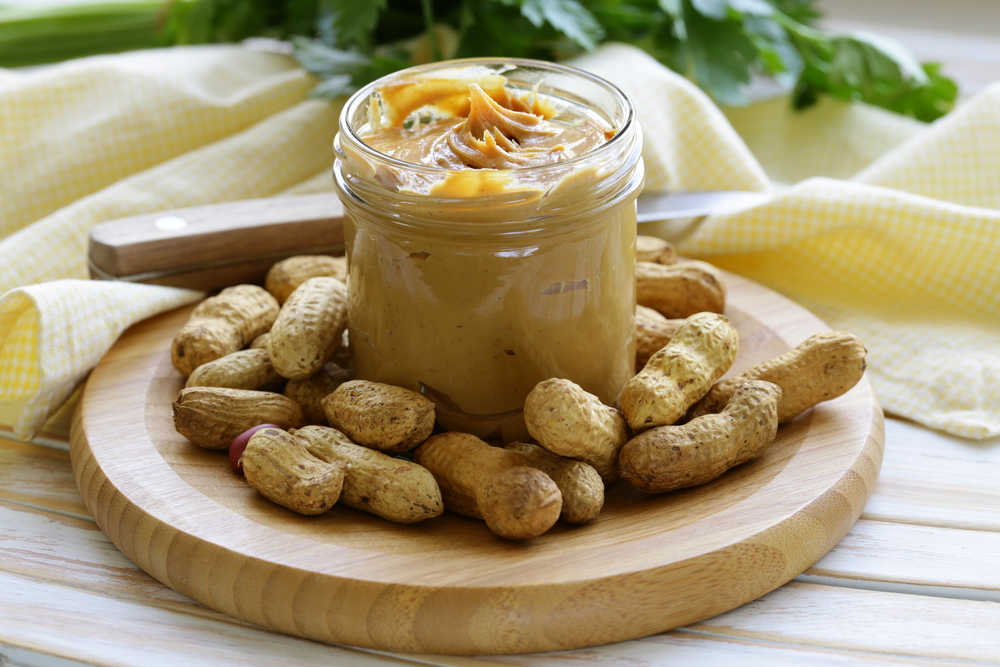

If you have a bumper peanut crop, you could also turn them into peanut butter.
To make a natural and healthy peanut butter, simply blend your peanuts until they reach the level of smoothness or crunchiness you desire. Toasting the nuts before blending them can give your peanut butter a deeper flavor, but is not essential.
This basic peanut butter will naturally separate when left in a jar. But you can simply stir it to re-incorporate the oil before use.
Homemade ‘just peanuts’ peanut butter is far healthier than most store bought peanut butter, which is often full of salt and sugar. But if you’re craving that store bought flavor, just add salt and/or sugar to taste. You can also experiment with flavors by adding other extras, like cocoa powder/ chocolate, cinnamon, honey etc…
A simple peanut butter is a very useful store cupboard ingredient to make. Not only can you spread it on toast, or make some PB & J sandwiches, you can also bake it into cookies or other baked goods, or even use it to thicken a range of stews, gravies and curries and in other savoury recipes.
Peanuts, whether raw or roasted, or made into peanut butter, are a very versatile ingredient. They are far more than just a simple snack. Sweet or savoury, they are a great way to add more protein and healthy fats into your diet.
And as experienced home growers will already know – things taste so much better when you have grown them yourself! So why not give it a go, and try growing some peanuts where you live?
Pin This To Save For Later


Get the famous Rural Sprout newsletter delivered to your inbox.
Including Sunday ramblings from our editor, Tracey, as well as “What’s Up Wednesday” our roundup of what’s in season and new article updates and alerts.