

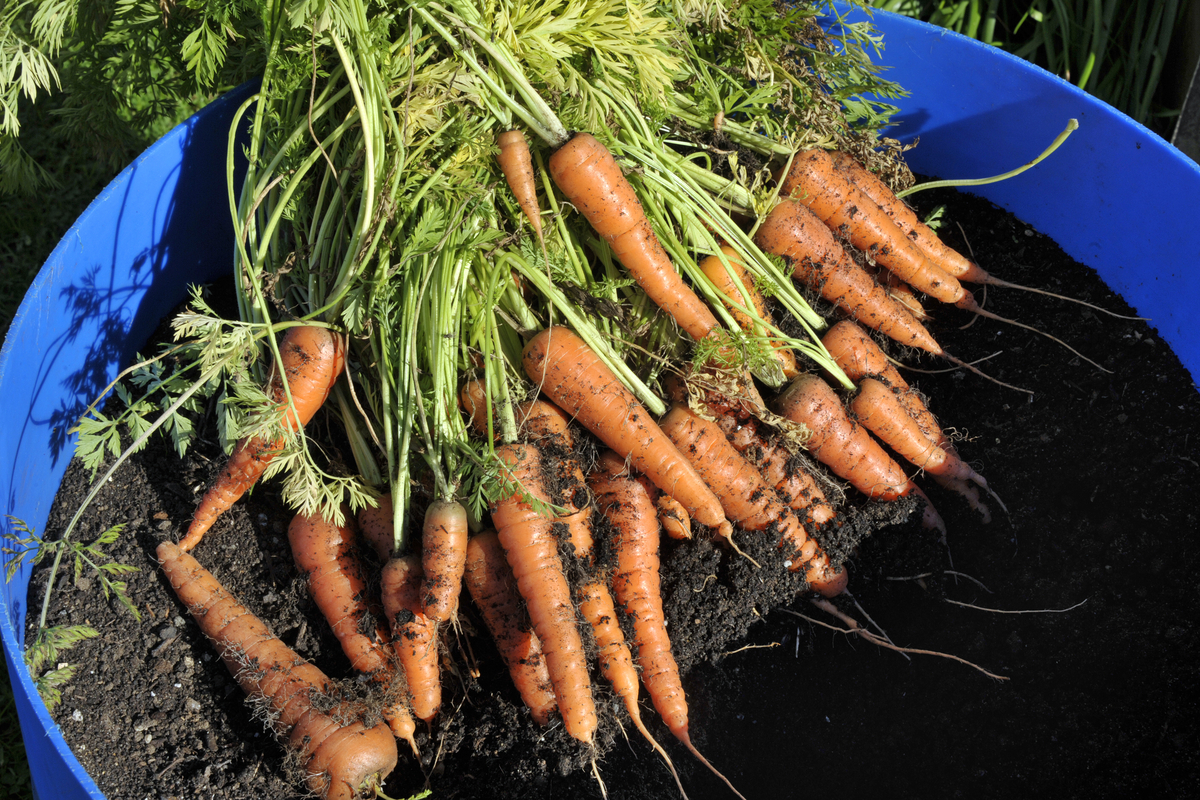
Carrots are not among the easiest vegetables to grow. It takes loose, rock-free soil that is also well-draining and fluffy to reap the best taproots. If we suggest you to grow carrots in containers, rather than sowing seeds in the soil – what on earth is going to happen next?
Will backyard gardeners start growing potatoes in buckets?
Or will humans start hacking the “grow your own food” process?
There’s no telling what this year’s crop of ingenious gardeners will bring to future harvests.
One thing is for sure, if you don’t have a lot of space leftover in your garden to dedicate to carrot taproots and tasty greens, all you need to do is grab a container and get to planting.
But not just any kind of container.
Think about how big carrots can actually grow, then plan(t) accordingly.
Before we tip you off on what carrots actually like, let’s consider a few important reasons for container gardening.
Container gardens are a fantastic way to grow food where soil space is limited. Say, you live in an apartment with a balcony, or just have a way with sowing too many zucchini seeds.
The choice to use containers also comes in handy in homes with backyards that are more dedicated to play and ornamental plants than food-producing land.
Container gardens can also complement your garden, allowing you to try out new varieties, while at the same time keeping certain plants separate for seed saving. Planting in pots also gives you the flexibility to practice succession planting for an extended harvest.
Plus it goes without saying that you can grow less hardy plants, provided you can move the containers in and out of the sun or the rain.
Overall, container gardening is a near-faultless way to grow more than just carrots.
In containers, you can grow a myriad of herbs such as basil, chives, lemon balm, sage and thyme.
You can also grow blueberries, broccoli, beans, chard, eggplants, peas, peppers, strawberries and much more.
Any plant that is small enough will fit into some sort of container.
Secrets for Growing Carrots in Containers
We’ve covered the “why” – growing space, access to the right amount of sunshine, a quality growing medium, etc. Now let’s get to the secrets of growing those carrots in containers.
Tip #1 – Choosing the Right Carrot Varieties for Container Gardening

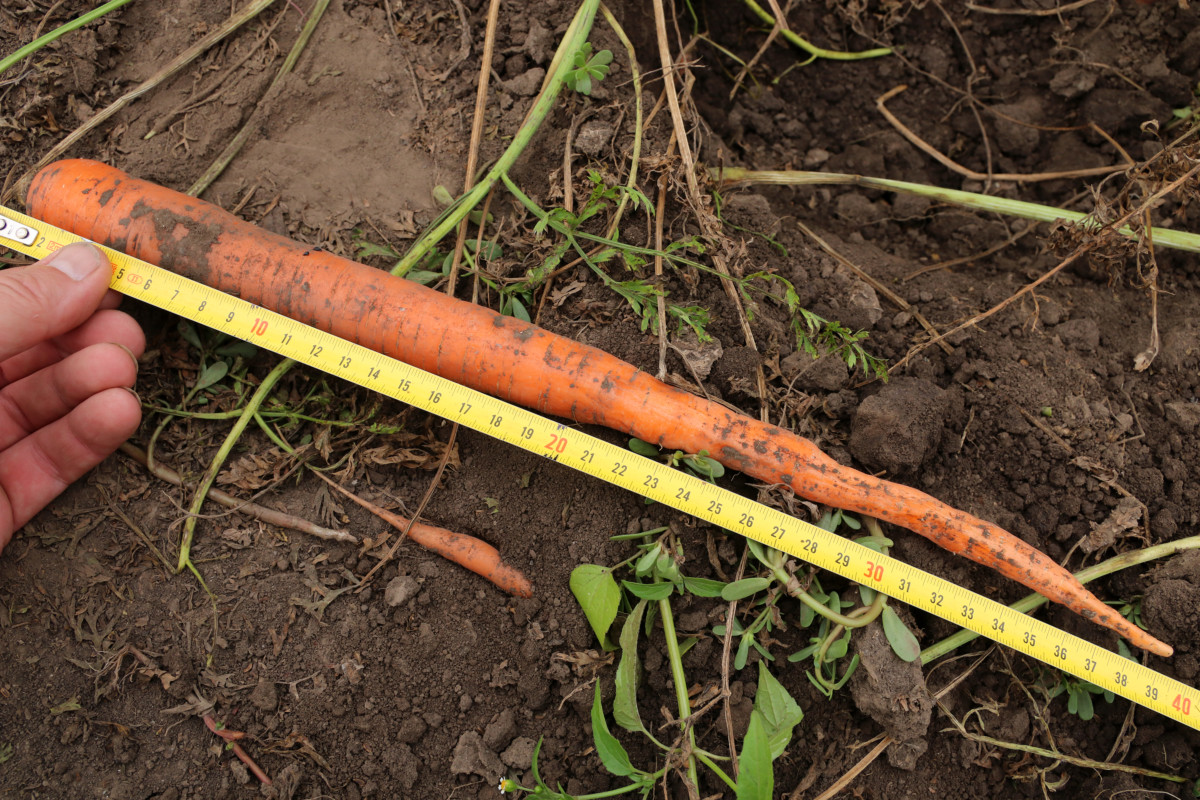
While some varieties of carrots can reach a depth of 12″, others won’t grow nearly that long.
If you choose to grow carrots in containers, you’ll have far better luck with growing tinier varieties that max out at about 6-7″.
The benefits of growing smaller varieties? You’ll need a lot less potting soil, which can help save some money… which you’ll likely spend on more garden plants. You’ll also be able to use a shallower pot. Plus, you can grow obscure varieties you may not find at the store, such as globe carrots.
Carrot Varieties for Containers
Shorter is better when it comes to taproots in containers. Here are several carrot varieties to choose from that are perfect for container gardening.
Babette: Typically grown to 3″ or 4″, these baby carrots are delectable whether eaten raw or cooked. Glazed with a hint of maple syrup or honey, they are simply delicious.
Chantenay Red Core Carrot: An ideal heirloom candidate for juicing and fresh salads that is very sweet indeed. Grows to 5-6″.
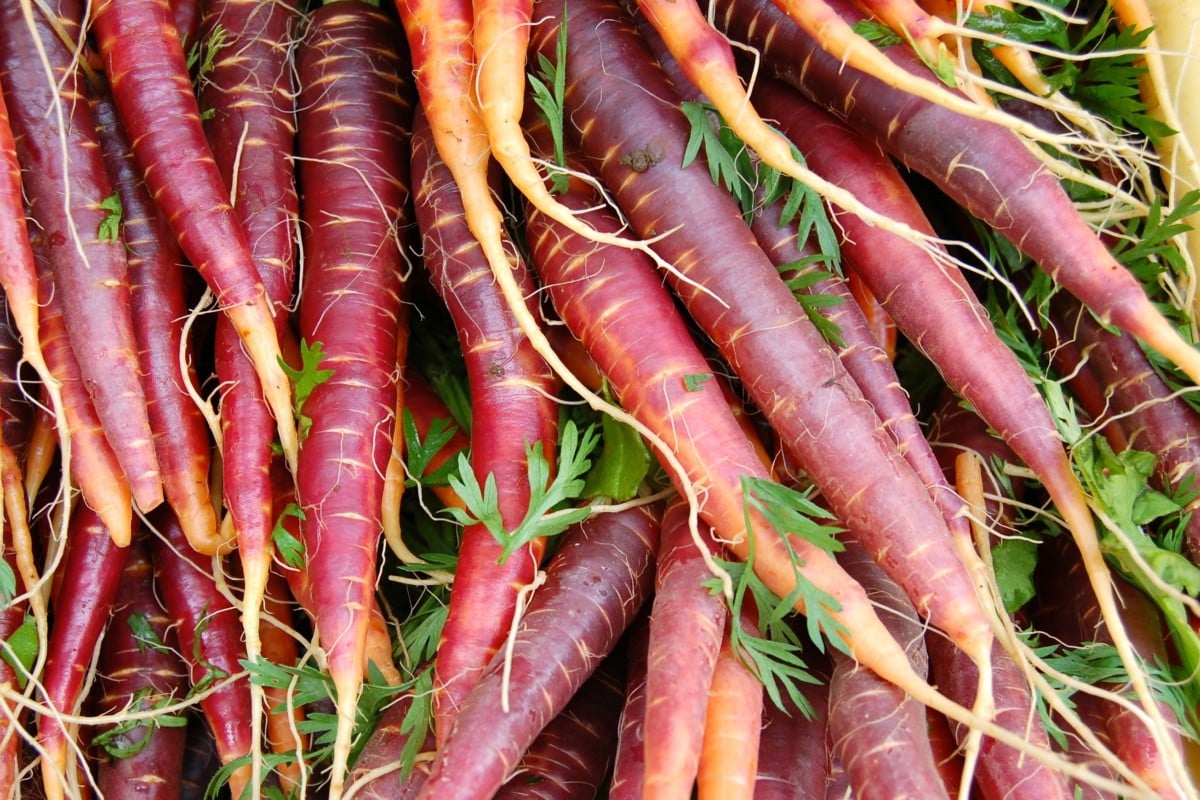
Cosmic Purple Carrot: Wine-colored skin with the insides of an orange carrot. It livens up any meal with its color. Both heat and drought tolerant.
Little Finger Carrot: You may want to avoid baby carrots from the supermarket, but never from your own garden. Little Finger carrots are harvestable at 55 days, growing to a mere 3″ in length. A popular snack for kids and kids-at-heart.
Oxheart Carrot: If you are seeking a super productive carrot that can grow up to a pound each, this is the winner for food space efficiency. Sweet and mild, perfect for less than perfect soils, as well as container growing.
Paris Market Carrot: One thing you’ll find in common with short growing carrots, is that they have a tendency to be able to grow in less than ideal soils, or fairly heavy soils. These cute little carrots are no exception. Looking like orange radishes, they can be very showy on your breakfast plate.
And that’s just a short list to get you started on your carrot-growing journey. Browse some seed catalogs to find more suitable varieties, or try some regular seeds and harvest them early.
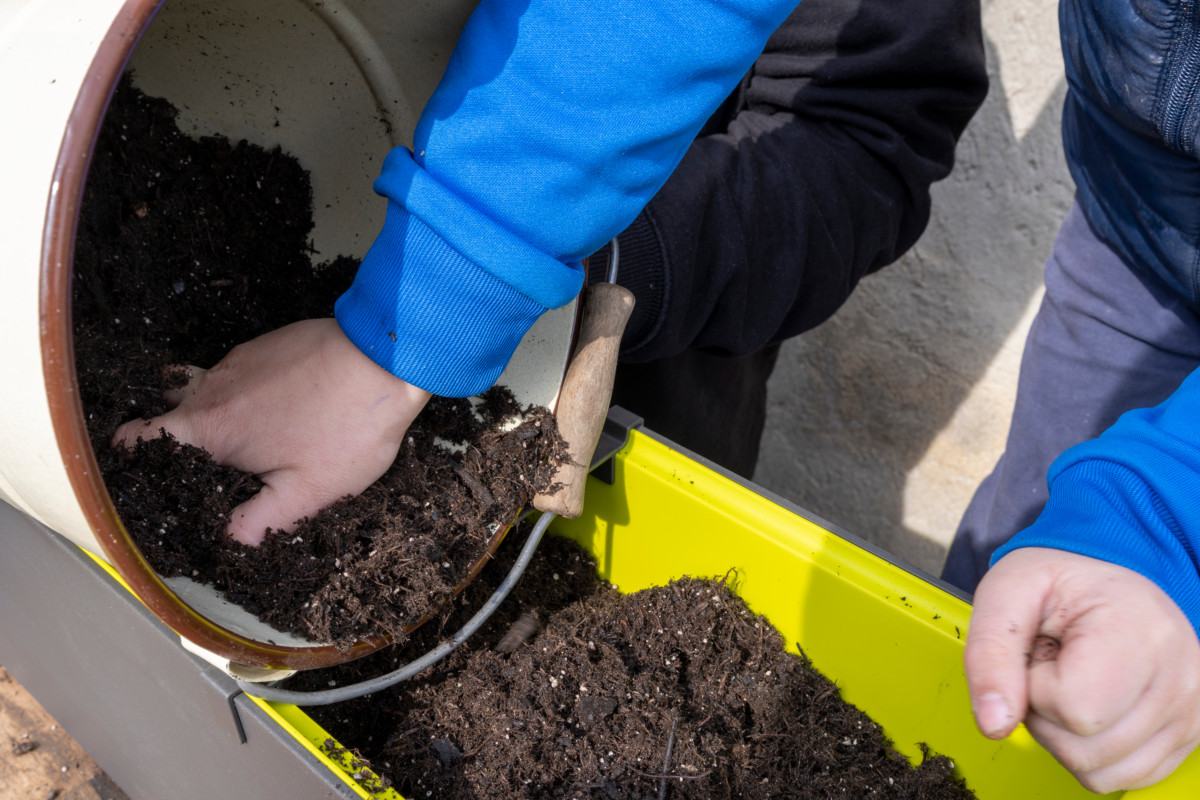
Tip #2 – Finding the Best Soil for Container Grown Carrots
The best-kept secret to growing any garden crop, outside of an unknown magic fertilizer mix, is the quality of the ground in which plants are grown.
In a regular garden, you have what you have – sandy, rocky, heavy clay, rich humus, whatever sort of soil is in your backyard. However, when you get into raised beds and container growing, you have the chance to improve your harvest right in your own hands.
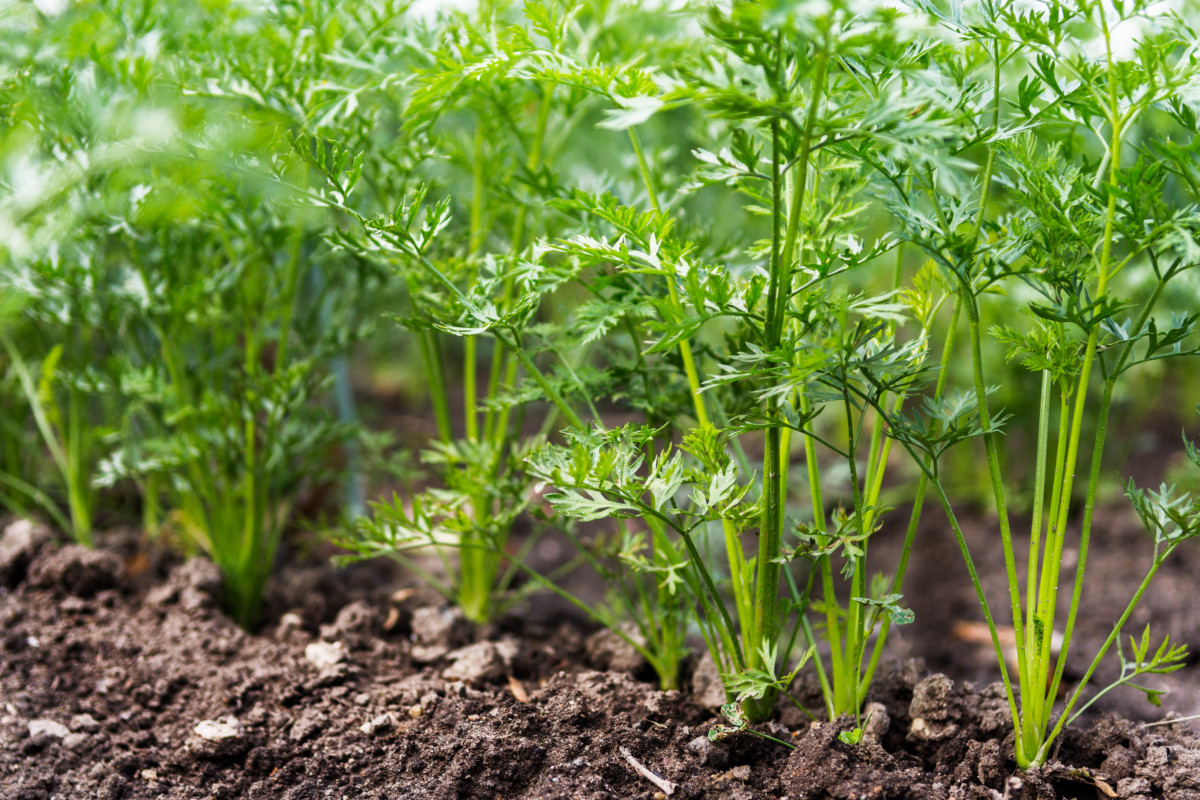
Carrots, as you probably have found out the hard way, like nice smooth soil that extends about a foot below the ground surface. No rocks that they have to twist around, nor heavy wet clay to sit in. A simple, loose and well-draining soil are all that carrots need to thrive. That is, if you have straight roots in mind.
The Perfect Soil Mix For Container Planting
There are a few recipes floating around online on how to make your own potting soil mix. The DIY route is an excellent option if you don’t want to be buying huge bags from the garden center.
What’s ideal for carrots, will also be suitable for other garden crops, so it’s always beneficial to make more than you need.
If you are purchasing pre-made soil mixes for your container gardening needs, that’s fine too.
But, you’ll need to add some more nutrition to that soil mix for your carrots.
A good ratio to aim for is: 2/3 potting soil mix to 1/3 compost. This compost can come from your backyard, or from the store.
It’s also wise advice to add a handful of bone meal to the potting mix. Bone meal is a great source of phosphorus, which aids in root formation.
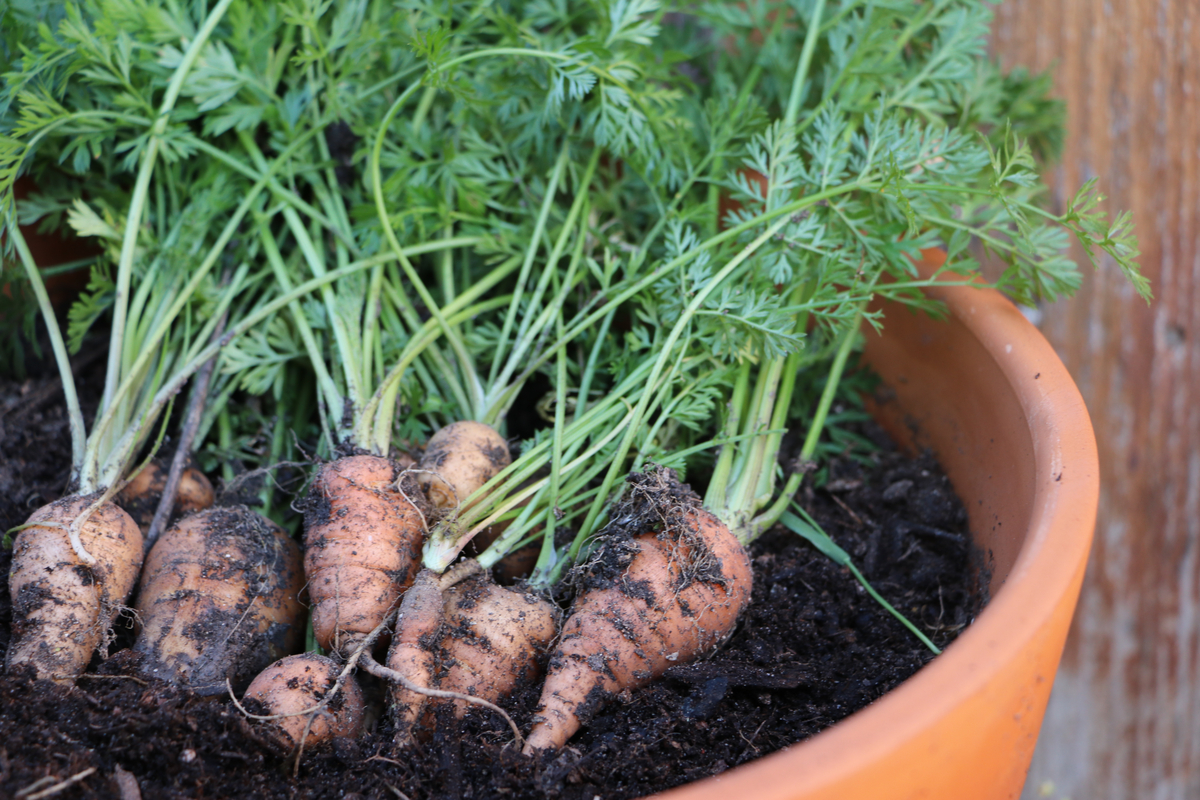
Tip #3 – Picking the Right Containers for Gardening
Now, that you have an idea about carrot varieties and suitable potting mediums, how about pots and containers for growing those carrots?
The key here is finding containers that are deep enough for the roots to grow downwards.
Bigger pots and containers that hold a larger volume of potting soil will also retain water better. This, in turn, means less work of watering for you. If you are lugging around a watering can, the fewer times you have to fill it, the better off your shoulders will be.
Carrots can be grown in clay pots, as well as plastic 5-gallon buckets, to metal containers and everything in between, including fabric grow bags. So, there is really no excuse not to grow carrots in your backyard, or on your deck.
Go for pretty pots, or be completely happy with functional, less-showy options. Either way works for the carrots and for you.
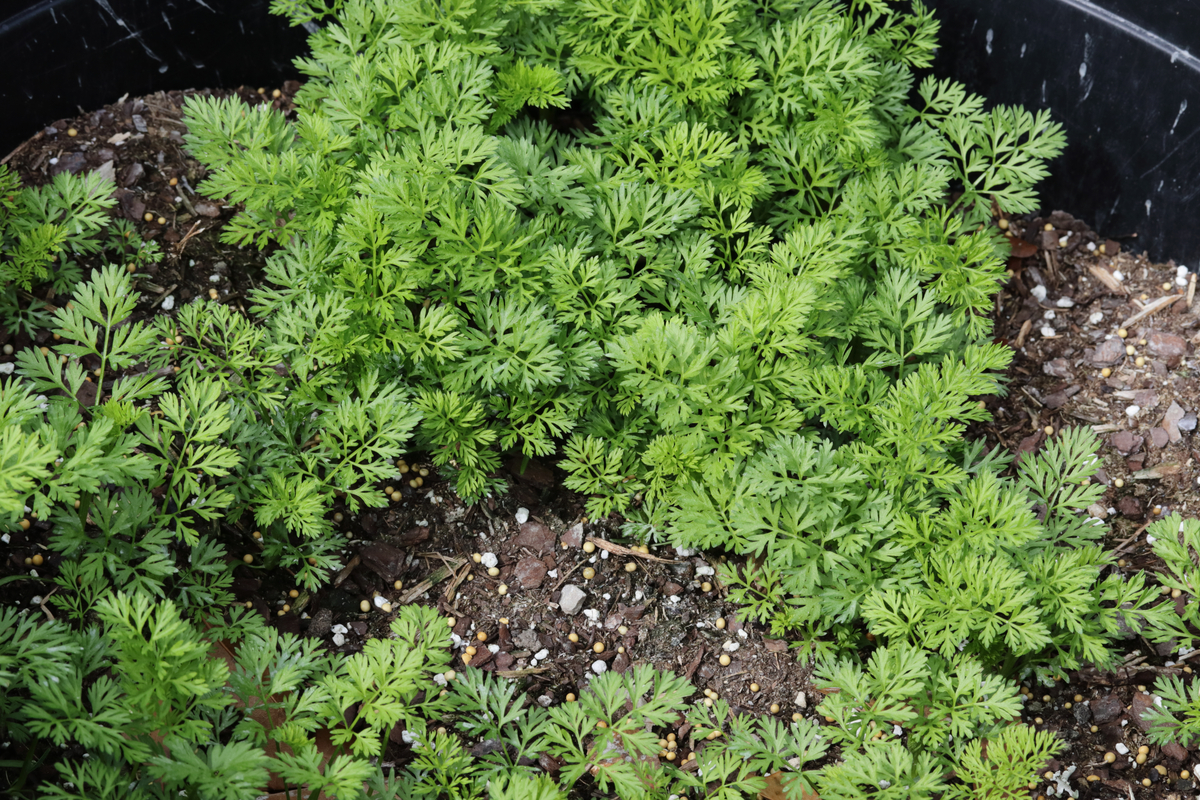
Did you know that even in containers, you can practice companion planting with carrots? Try it and see what happens!
Tip #4 – Watering Your Carrots
Consistency is key. Carrots are not the kind of plants you can water when you feel like it, or when you have the time. They need a more continuous supply of water to the tune of at least one inch per week.
However, as your carrots mature, they may need even more than that. Perhaps even up to 2″ of water a week. But, that’s the suggestion for carrots planted in the ground.
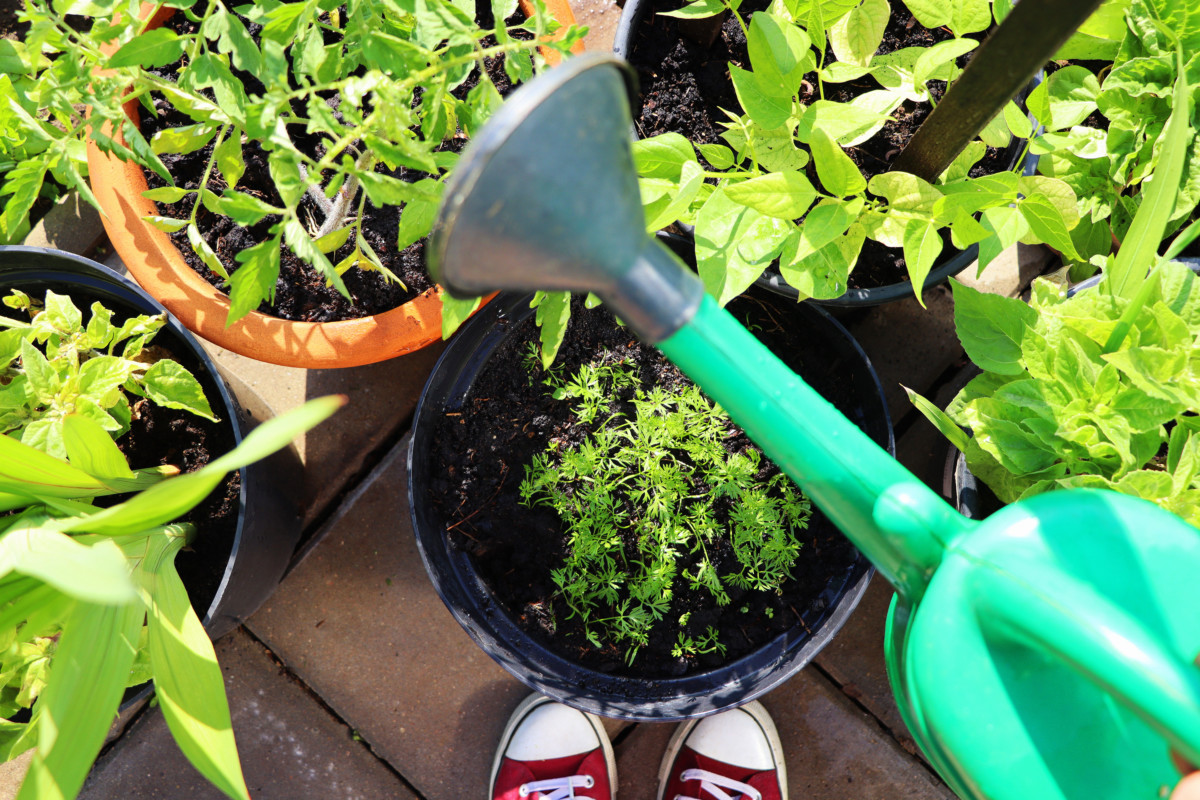
In containers, you will need to monitor the moisture in the soil.
Not too wet, and definitely not too dry. See, if the soil around carrots dries out too much, the roots can take on a bitter taste. And that’s an unpleasant aspect of eating carrots indeed.
If you’ve ever heard a child exclaim “I hate carrots!”, chances are good that once in their life they tasted a bitter carrot and said no way, never again.
Checking for moisture in the soil is simple, you don’t need any tech tools for the job. All you have to do is stick your finger down about an inch into the soil. If it’s moist, hold off on watering for another day. Dry? Water deeply now.
At the same time, make sure to water at the soil level, not over the leafy greens.
As much as carrots dislike dry soil, they also struggle when overwatered.
Especially with container-grown carrots, you’ll need to find your own well-balanced watering schedule. Not too much, not too little, just right.
Make sure to always have drainage holes in your containers. Miss this tip and you’ll have nothing to harvest.
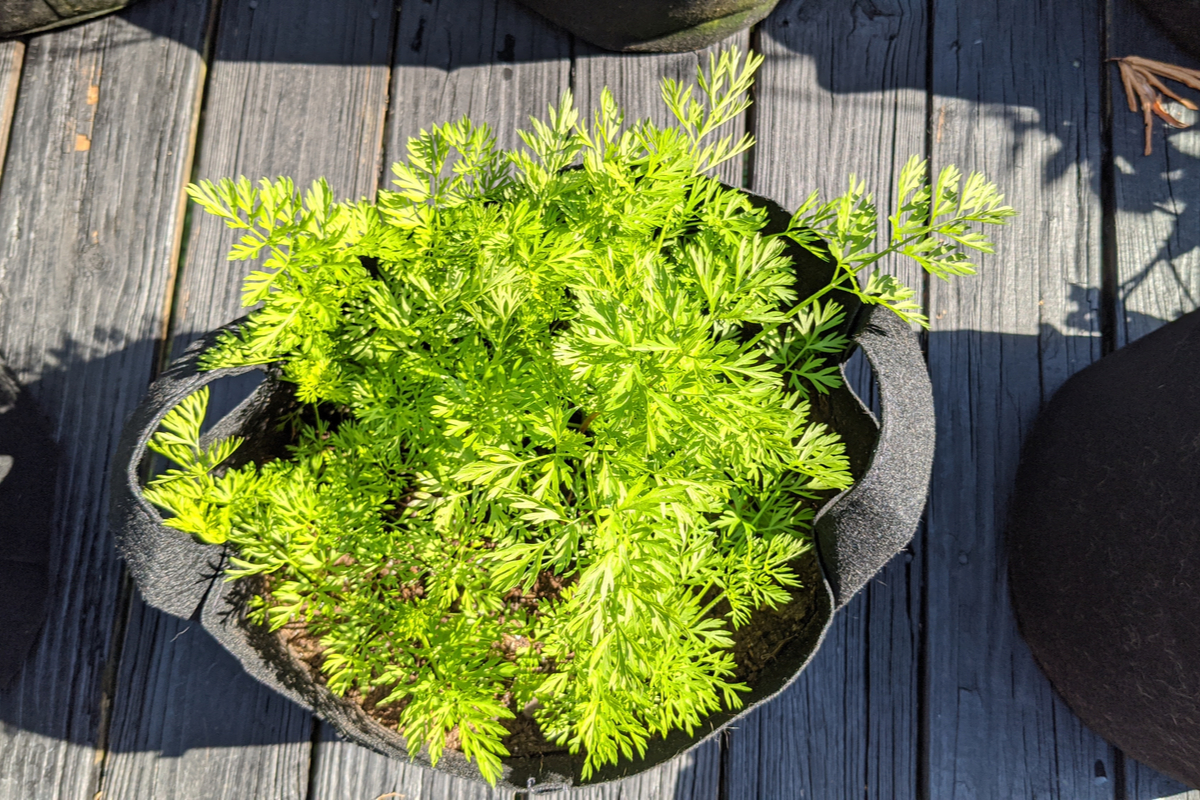
Tip #5 – Thinning Your Carrots
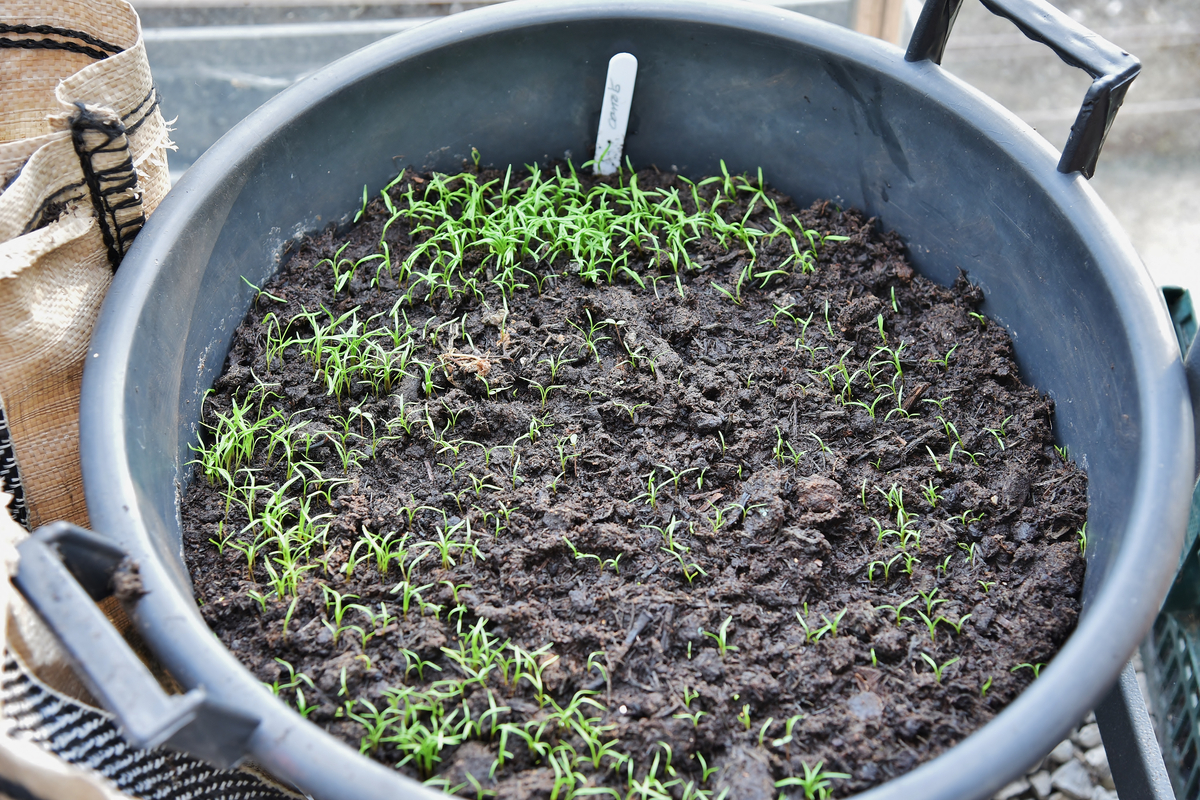
Just as carrots grown out in the garden need thinning, so too do your container-grown carrots.
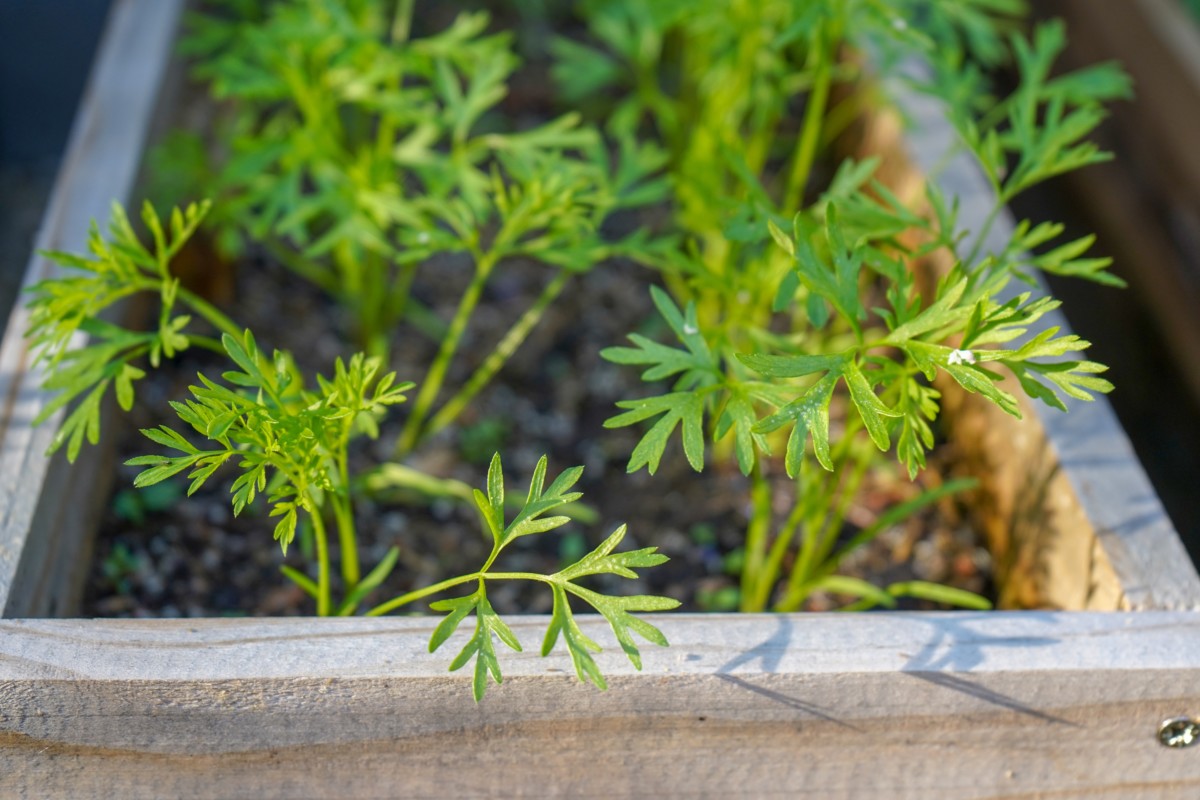
Due to the small size and not-so-consistent germination rate of carrot seeds, more often than not, you’ll find that they are planted too close together. In that case, they must be thinned as soon as it is possible.
To do this: pinch the tiny plant at soil level and pull firmly to remove the entire root. Make sure to pat the soil around the remaining carrots so as not to leave air space around the taproots.
Always remove the tiniest plants first, starting when the greens reach a height of about 4″. Then thin the remainder to a distance of 1.5″ to 2″ apart about a month later.
Can I transplant carrots?
If you are thinning out your carrots and some look too good to throw away, yet too young to eat, it may be possible for you to transplant them. Just make sure to compact the soil and water it straightaway after transplanting and the roots should continue growing.
Somewhat irrelevant, yet carrot-related: You might also be wondering if carrots can be regrown from tops. Naturally, the root isn’t what you’ll be eating, but the carrot greens will regrow under the right conditions.
In that case, don’t forget to eat your carrot tops!
Tip #6 – Hilling Your Carrots
It doesn’t always happen that your carrots push out of the soil, but when it does, the solution is ultra simple. All you need to do is add a bit more potting soil mix (or mulch – see the absolute last carrot growing tip for more info) to cover the carrot shoulders.
If the roots are exposed to direct sunlight, something similar happens as with potatoes. The roots and tubers turn green and bitter.
As it can be easily avoided, take a few moments to blanket them in soil or straw.
Tip #7 – Fertilizing Container-Grown Carrots
Some of us are gardeners who take what we get from nature without too much interference. Others are going for gold or at least a prize-winning carrot.
Either way, know that carrots benefit from a little extra nutrition throughout their relatively long stay in the soil. Harvest times for carrots vary from 70-100 days, depending on the variety of the vegetable. Since I haven’t mentioned it yet, carrots also come in a plethora of colors: orange, yellow, purple, red and white. Don’t forget to grow them for that aspect too.
When to start fertilizing my container-grown carrots?
As soon as you are able to thin your carrots, leaving about 3-4″ between roots, it is now time to start fertilizing. With so many fertilizers out there, it is hard to know what to choose. All I can say is this: avoid anything with an excess of nitrogen. This will promote an abundance of leafy greens, without so much as a pencil-thin root.
If you’d like to save money by making a DIY fertilizer, try a liquid compost tea for the best results.
You can also opt for a commercial fertilizer with low nitrogen levels. Choose from a 0-10-10 or a diluted 5-15-15 fertilizer, being sure to apply this at the 3-4″ growth stage. Less is more when it comes to fertilizing carrots, so go easy on them and let nature take its course.
Tip #8 – Harvesting Carrots in Containers
Knowing when carrots are ready to harvest isn’t all that tricky.
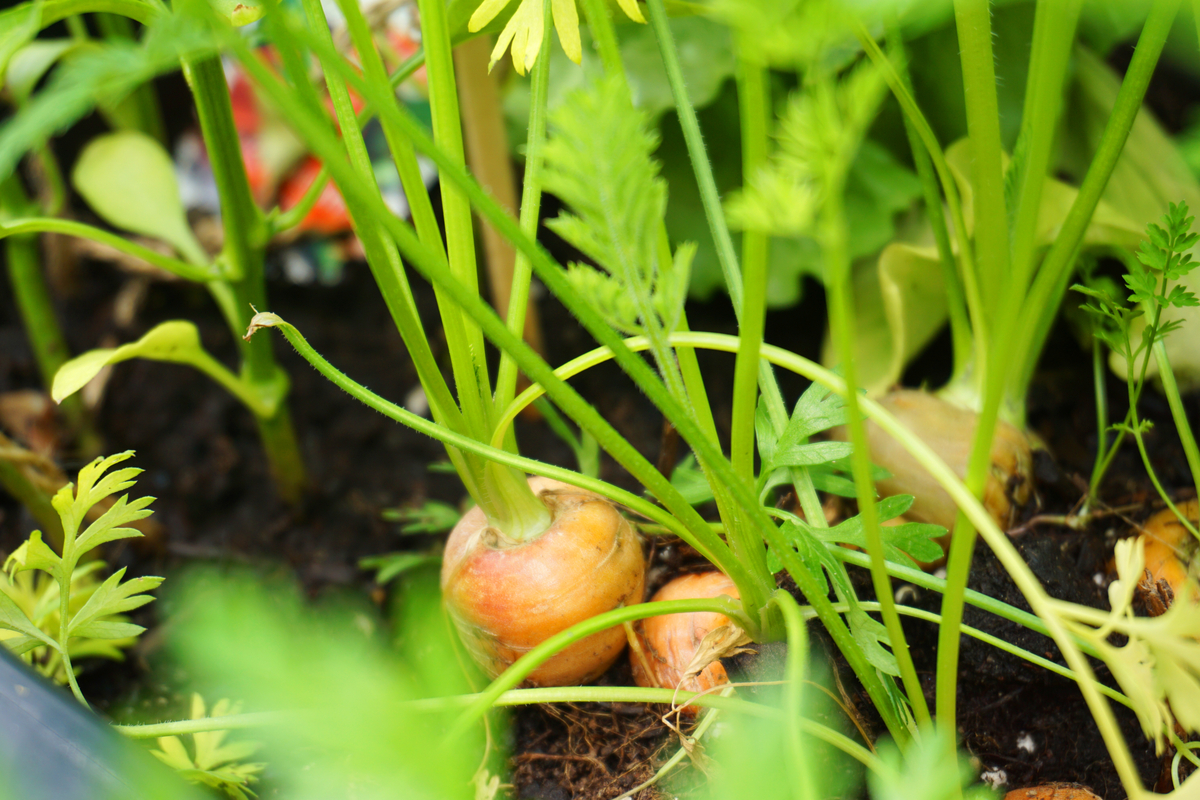
One of the best ways to check on the progress of your carrots is to pull up the occasional root and taste it for firmness, crunchiness and flavor.
Naturally, you’ll still have the seed packet to look back on to check “days to maturity” information – or not. Maybe you wrote it down in your garden planner if you are good at taking notes. Or perhaps you don’t remember where you wrote all that planting information down. If you are like me, sometimes you won’t jot down notes at all, just plant and harvest out of habit and intuition.
There are no mistakes in gardening, only experiments.
The great thing about growing carrots is that you don’t have to eat the mature root. All varieties of carrots can be consumed once they are large enough to eat. So, there’s really no way to go wrong on this one.
When harvesting carrots from containers, you don’t need to harvest the whole lot. All you need to do is pull up as many individual carrots as needed at a time.
You can first pull out the smallest ones, leaving more room for other carrots to grow.
Or pull out the largest ones first, leaving more room for the small ones to mature.
All that’s left to do, is harvest, wash and eat!
My last carrot growing secret is this…
When watering your carrot crop, don’t forget to pull the weeds that are encroaching upon your orange roots. Doing so will ensure that the carrots have plenty of delicious soil to take nutrients from.
And one last quick carrot growing tip, which may just be the very thing that gets you to your dream carrot harvest: mulch. Many times it isn’t mentioned at all, but it is an effective way of blocking out weeds.
Only you shouldn’t mulch along the rows until the greens are at least 3-4″ high. Use straw, dried leaves or short grass clippings to get the job done right. Yes, you can use mulch in container gardening as well!

Get the famous Rural Sprout newsletter delivered to your inbox.
Join the 50,000+ gardeners who get timely gardening tutorials, tips and tasks delivered direct to their inbox.