

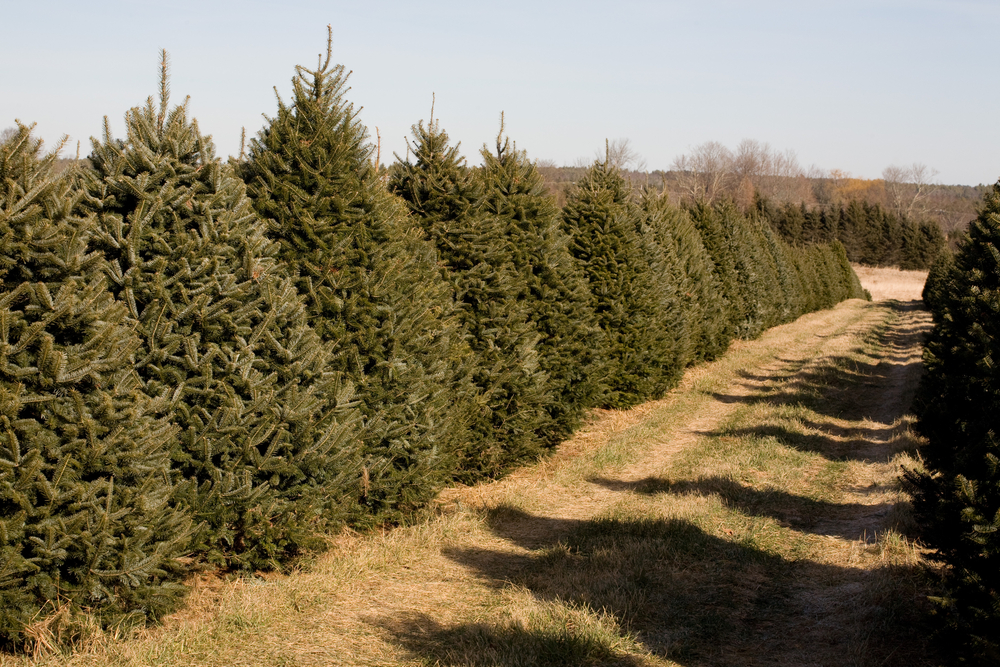
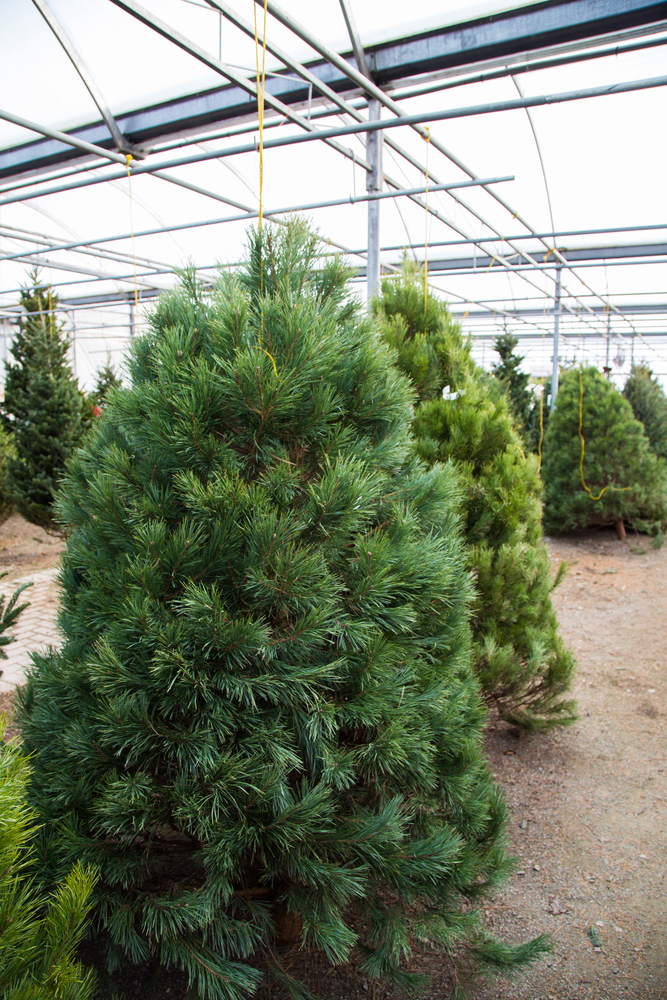
We are a Christmas tree farm family. Each December, we head out to a local tree farm to pick out the perfect evergreen to grace our home for the holidays. And each year, I come home itching to plant Christmas trees.
When I lived in southern Pennsylvania, I recall one year, I got talking with the owner of a small local tree farm, and he said his family planted their first batch of Christmas trees shortly after their first child was born. They had come up with the idea to start a Christmas tree farm and run the operation long enough to fund their firstborn and any subsequent children’s college tuition.
I thought that was such a wonderful idea.
I asked how old his kids were, and he said, “Oh, we’re grandparents now. We loved it so much we never stopped.”
It got me thinking about growing a Christmas tree to mark special occasions, like when a child is born or celebrating an anniversary or a graduation or a marriage. You would have a very special Christmas tree in about ten years.
Even if you don’t plant them to commemorate a milestone, growing your own Christmas tree from a tiny little seed is such a wonderful idea.
Perhaps a particular species of evergreen isn’t commonly found at your local tree farms? Here’s your chance to grow them yourself.
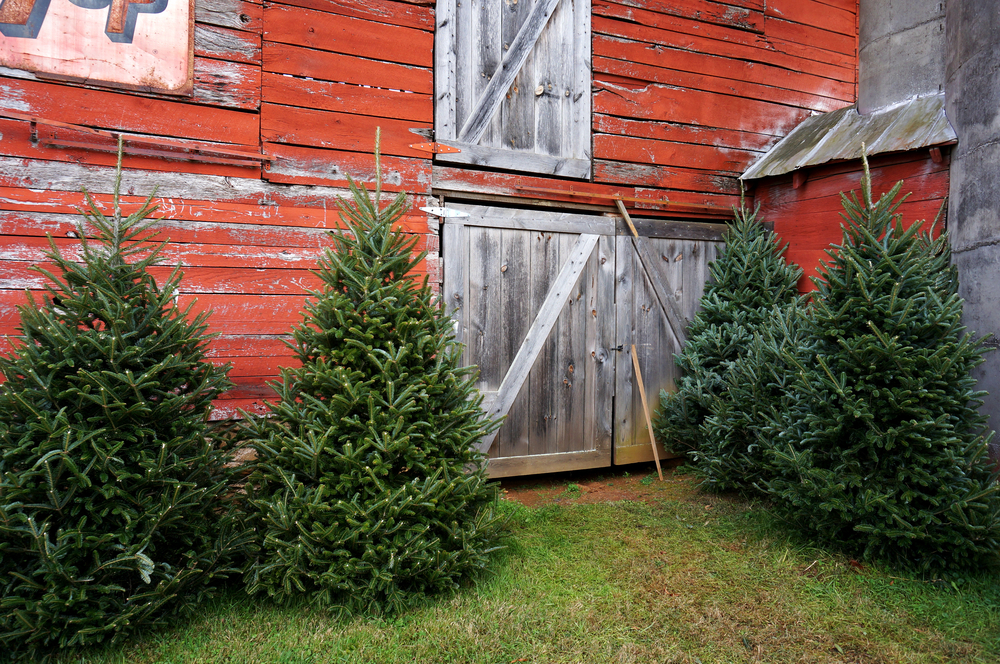
If you’ve got the land and the patience, why not plant a few trees? Or plant a couple every year. You could be growing some wonderful future Christmas memories. And once the trees are big enough to support lights or ornaments, you could even begin decorating them while they’re still growing.
Environmental Benefits
Growing a Christmas tree or two (or even many) has several benefits to your property.
- Evergreens tend to do well in less than ideal soil
- More trees equal more carbon reduction and more oxygen
- Planting trees on your property prevents soil erosion
- Depending on where you plant them, the trees can be a wind block to shelter a garden or more tender plants
- You are providing a habitat and food for small local wildlife such as birds and squirrels
If you want the lo-down on why real Christmas trees are so great, check out Real vs. Fake – 9 Reasons To Choose A Real Christmas Tree This Year & Every Year.
What Type of Christmas Tree Should I Grow?
Spruces, firs, and pines are the traditional Christmas tree line-up. And among those evergreens, you’ve got quite a variety to choose from. Here’s a list of the most popular Christmas tree varieties.
All have become Christmas tree classics because of their good needle retention, attractive foliage and shape, and that wonderful pine scent we all know and love.
Consider growing more than one variety. You may find a new favorite.
Naturally, you’ll need to do a little research to see what evergreens grow best where you live based on hardiness zones and soil. A good place to start is by identifying evergreens that grow naturally in nearby forests. Another good resource is to check with your local agriculture extension office.
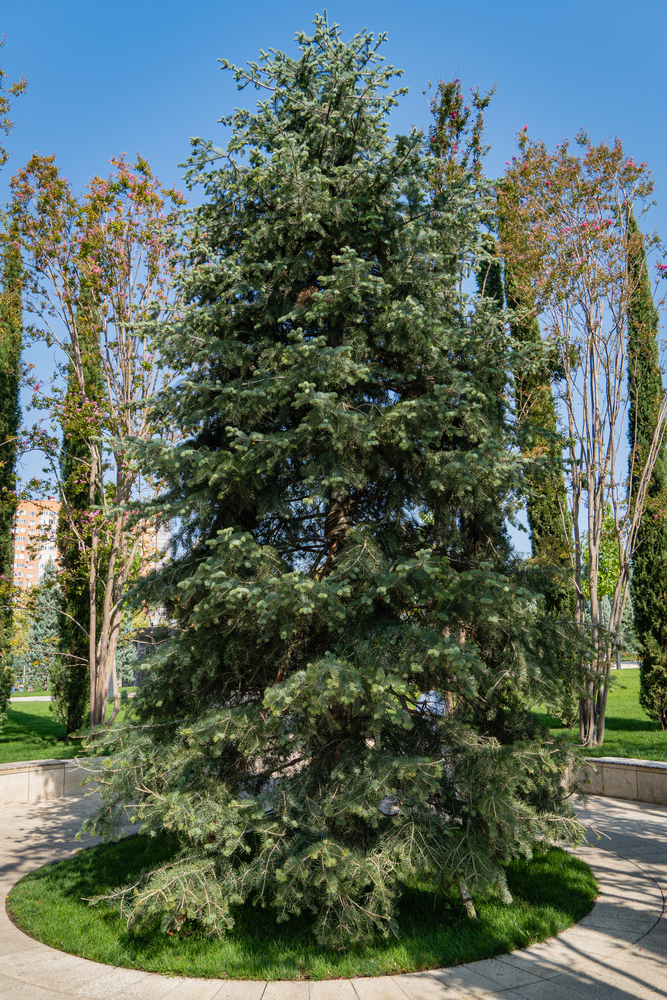
The Spruces
Easily identified by their four-sided needles and their lovely white or blue-gray coloring, these Christmas trees always look lovely when lit with white lights, which show off the tree’s beautiful foliage.
- White – Picea glauca – zones 2-7
- Colorado Blue – Picea pungens – zones 4-7a

The Firs
Fir trees are an easy favorite for real Christmas tree lovers because of their soft, flat needles and prolific branches. They’re also known for keeping their scent throughout the holidays.
- Balsam – Abies balsamea – zones 3-6
- Fraser – Abies fraseri – zones 4-7
- Concolor – Abies concolor – zones 4-7
- Noble – Abies procera – zones 4-5

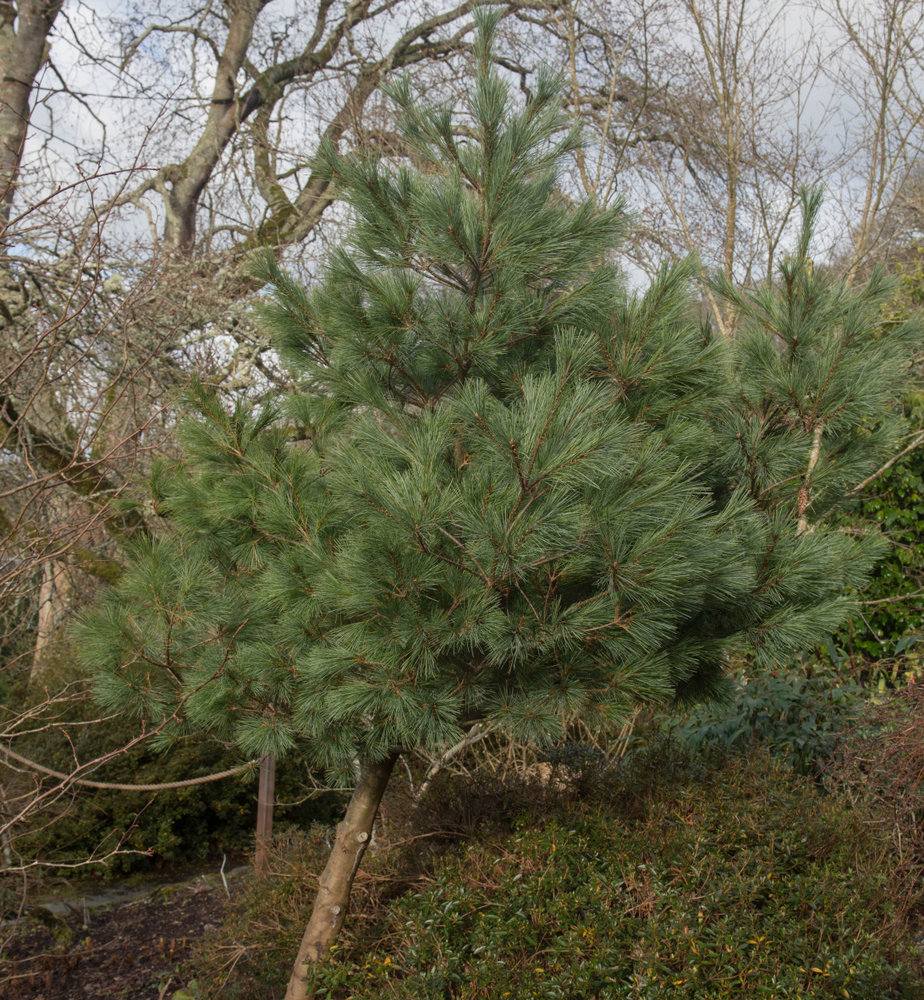
The Pines
True pine trees, with their long slender needles, grow a little faster than other evergreens, meaning you could have a Christmas tree in as few as six years.
- White – Pinus strobus – zones 3-8
- Scotch or Scots – Pinus sylvestris – zones 3-7
- Sand – Pinus clausa – zones 7-10
- Virginia – Pinus virginiana – zones 4-8

Starting a Christmas Tree from Seed
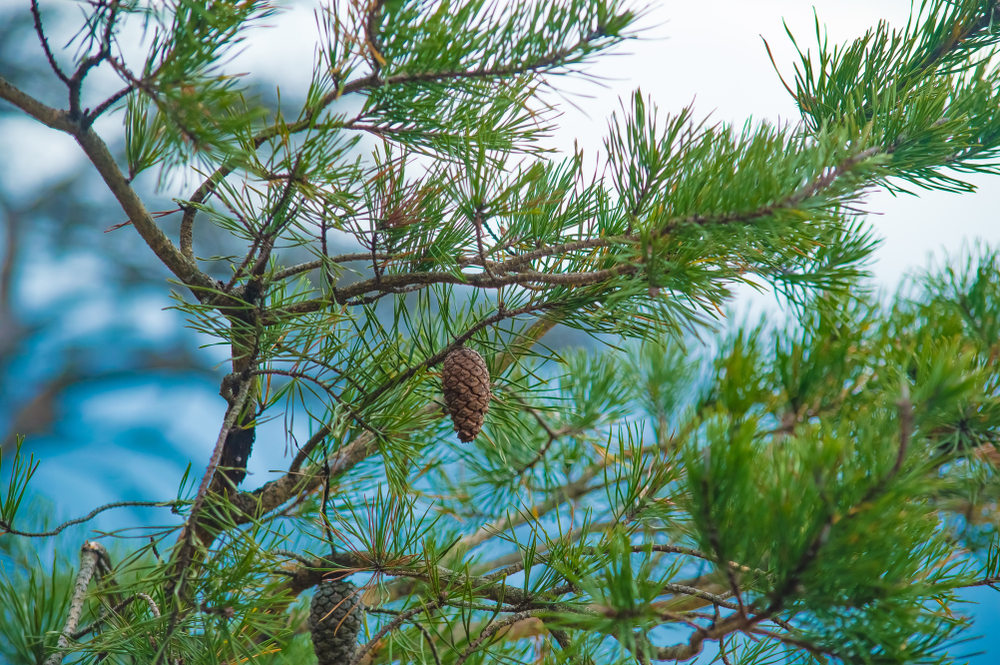
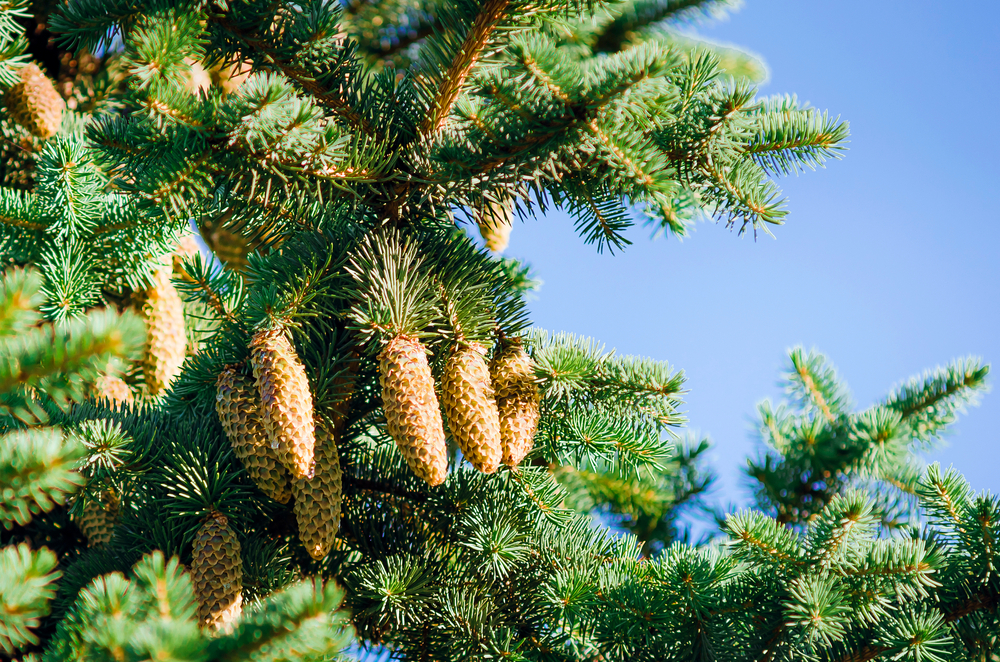
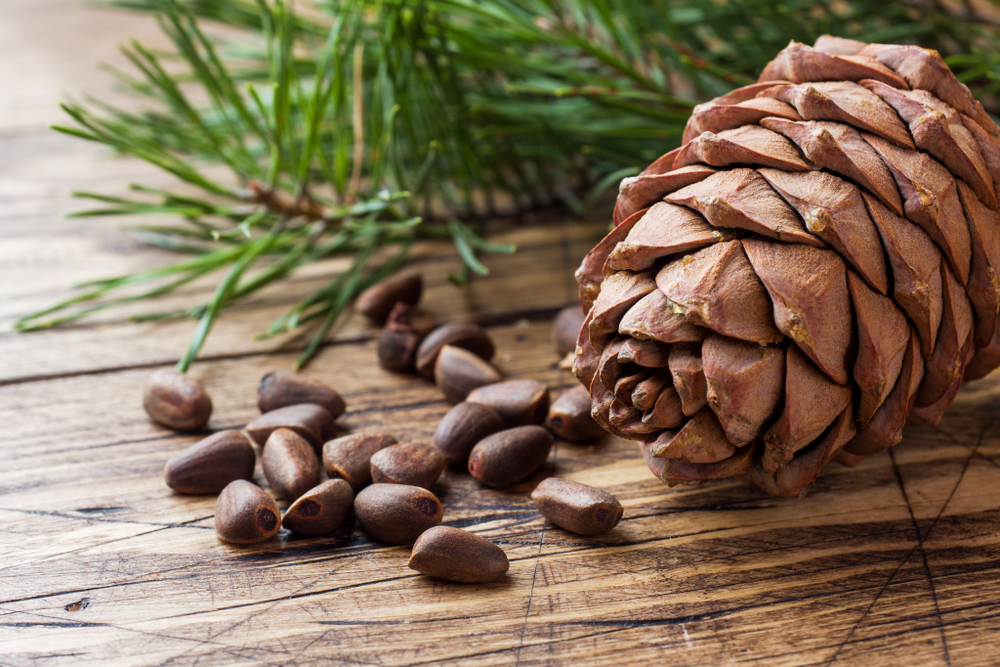
Naturally, you can grow a Christmas tree from seeds collected from cones of the species you wish to grow.
However, doing so is definitely a project for the more determined gardeners among us. There’s a lot of uncertainty and patience involved in growing an evergreen from the seeds of a cone.
If you’re the type of person who loves a challenge or likes to experiment, then this is a great project for you.
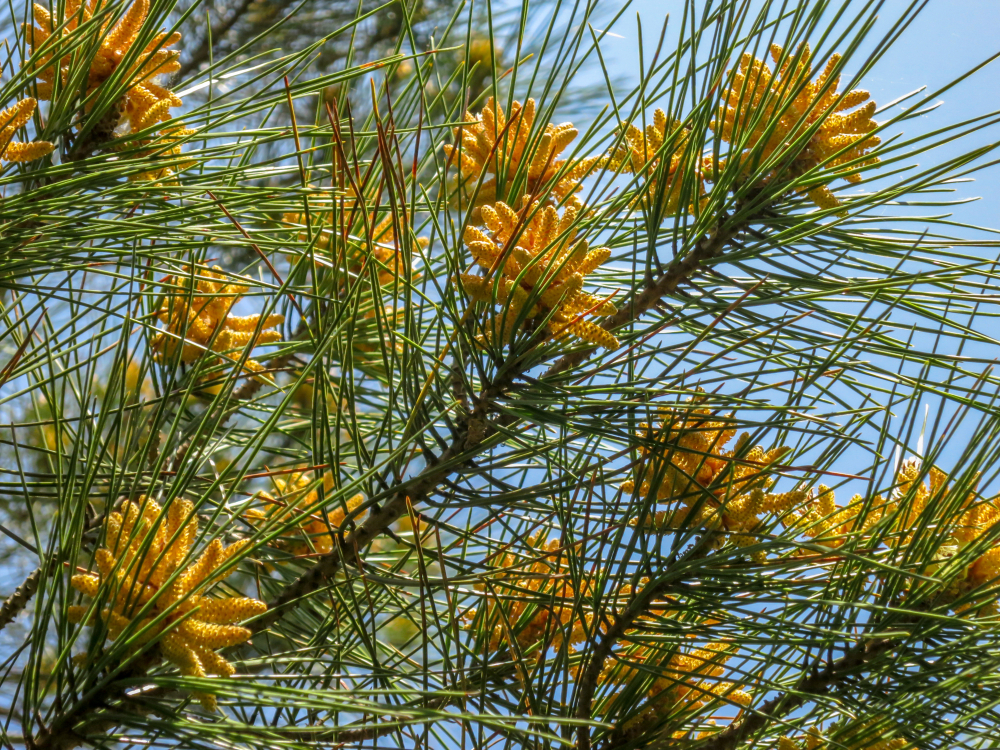
The male cones release pollen to fertilize female cones each spring. You’ll need to collect mature female cones in the fall. It’s important to collect female cones directly from the tree, as once they fall on the ground, there’s a good chance they will have already released their seeds.
To be sure your cones are mature and have seeds inside them, you may want to cut a cone in half and look for the seeds. Healthy seeds will have a white endosperm. Cutting a cone in half is also a good way to look for insect damage.
It’s a good idea to collect a few cones; that way, you have plenty of seeds to work with. You’ll need extra seeds to test-germinate after the stratification process. More on that later.
Drying Cones
The cones you have collected will need to dry in a warm area of your home, allowing the scales to open. It can take a few days to a couple of weeks for the cones to open up. If they don’t look like they are opening, place them in a warmer spot.

Once the pine cones have opened, place them in a paper bag, close the bag tightly and give it a good shake. This should release the seeds. You can also use a pair of tweezers to remove any remaining seeds from your cones.
Pick the seeds from the chaff by hand or dump everything except the (now seedless) cones into a colander. Swirl everything around in the colander to separate the seeds from the woody bits and pieces and pick out the seeds.
Viability
You might want to test the viability of the seeds by placing them in a small bowl of water. Any floating seeds are not viable and should be discarded. If you choose to test your seeds this way, allow them to dry completely in a warm location before moving on to the next step. It’s best to lay them on a screen so they are not touching, and check the seeds daily to make sure none are moldy.
Stratification
The seeds will need to go through a stratification period, which is basically a fancy word for tricking seeds into thinking it’s winter.
Normally, seeds released by pine cones spend the cold winter months nestled under a layer of pine needles waiting until the spring to germinate. To replicate this dormant period, place your seeds in a bit of moist sand in a clear plastic baggie and place the bag in your freezer.
The stratification process can take anywhere from three weeks to three months.
Keep an eye on your seeds though, if you see they are germinating in the bag, take them out of the freezer and plant them right away.
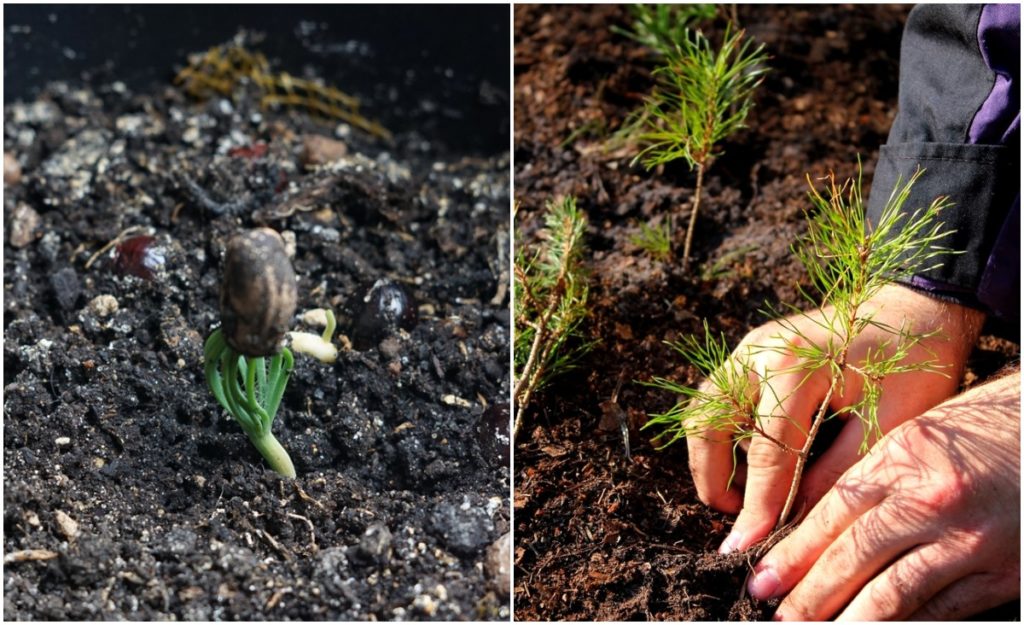
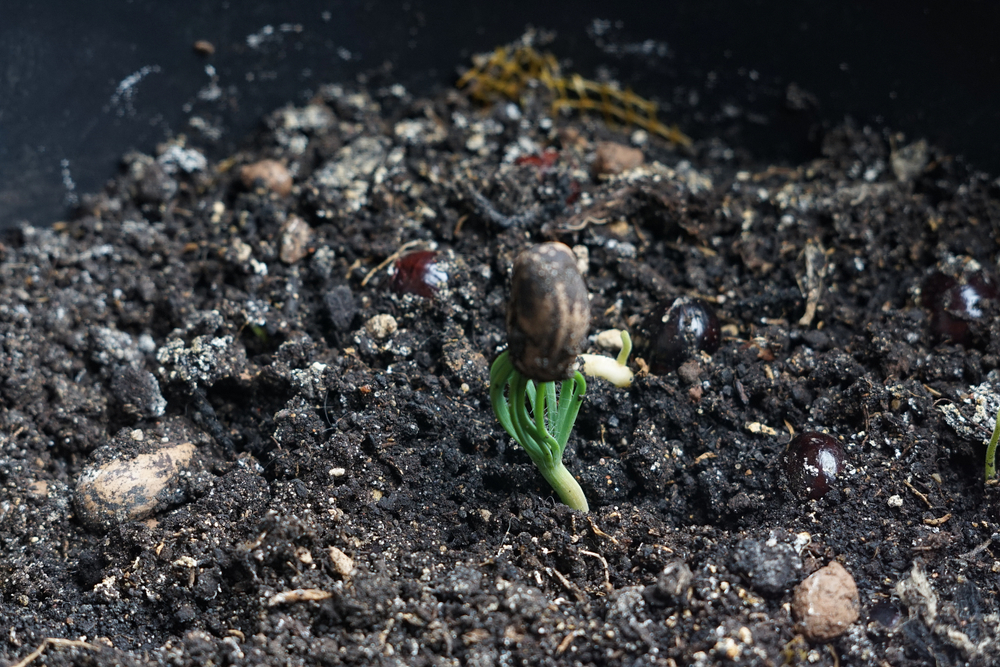
Germinating the Seeds
Test a few seeds to see if they have been dormant long enough by placing several in a resealable plastic bag with a damp paper towel.
Patience, again, is key. It can take anywhere from a week to a month for the seeds to germinate. If, however, they don’t germinate, the seeds haven’t been dormant long enough. Give your seeds another week or two in the freezer, then try to germinate again.
Planting
Start your seeds in small 4″ nursery pots. Use a good seed starting mixture and plant them just below the soil, about 1/4″ deep. Water the seed and place it in a warm, sunny location.
The soil should be kept consistently moist but not water-logged. Letting the soil dry out completely or overwatering can kill the seed. Consider covering the pots with a cloche of some sort to keep moisture and heat in the pot just until the seed germinates.
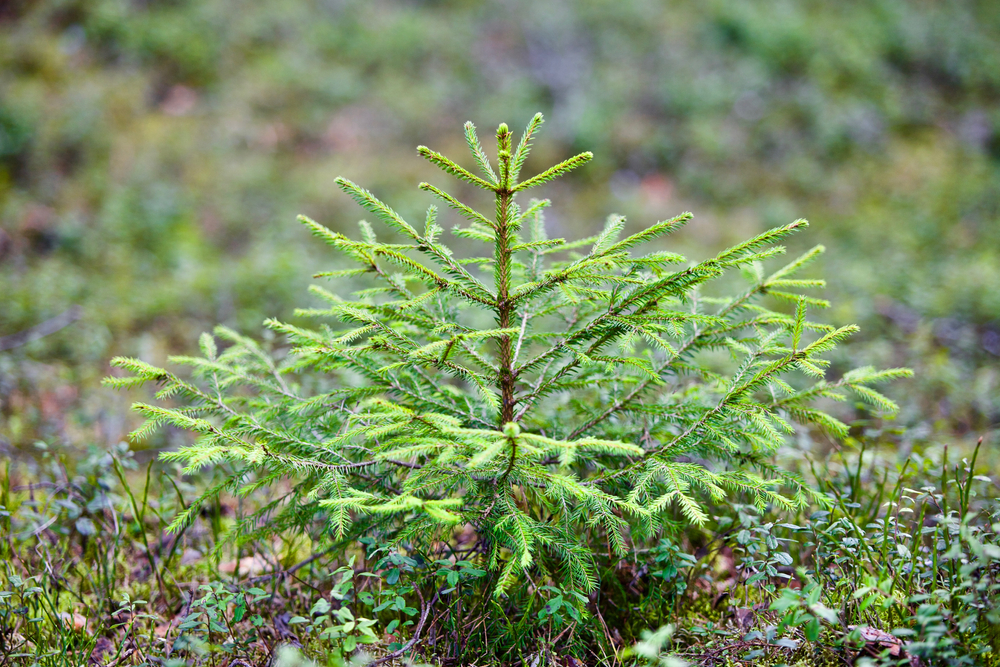
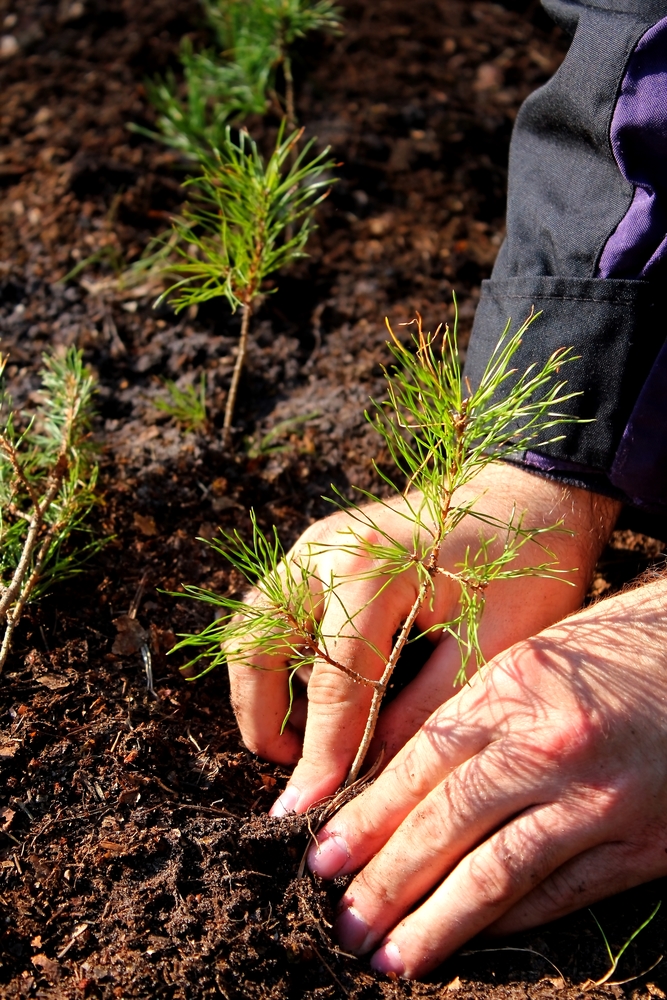
Once your tiny future Christmas trees are about 8″ tall, they are ready to be planted outside. You may wish to mark them somehow so you don’t accidentally step on them or, worse, run over them with the lawnmower.
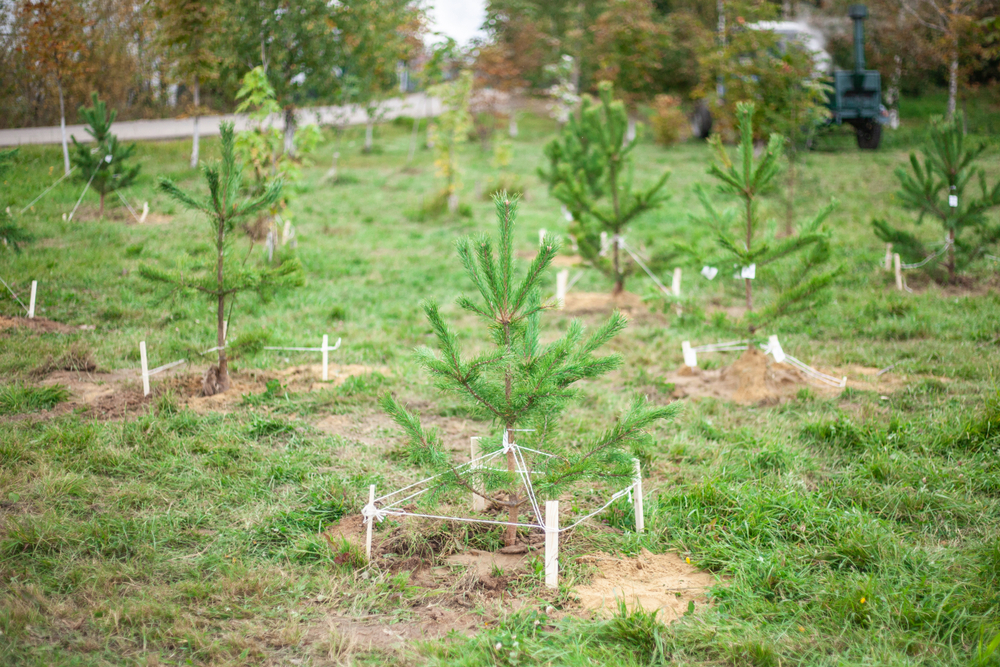
And, of course, congratulate yourself; that was the hard part. The easy part is waiting a decade for your tree to grow to the height of a good Christmas tree.
Personally, I think reading “T’was the Night Before Christmas” to your little sapling occasionally will help it to grow big and strong.
Buying Seeds and Saplings to Grow a Christmas Tree
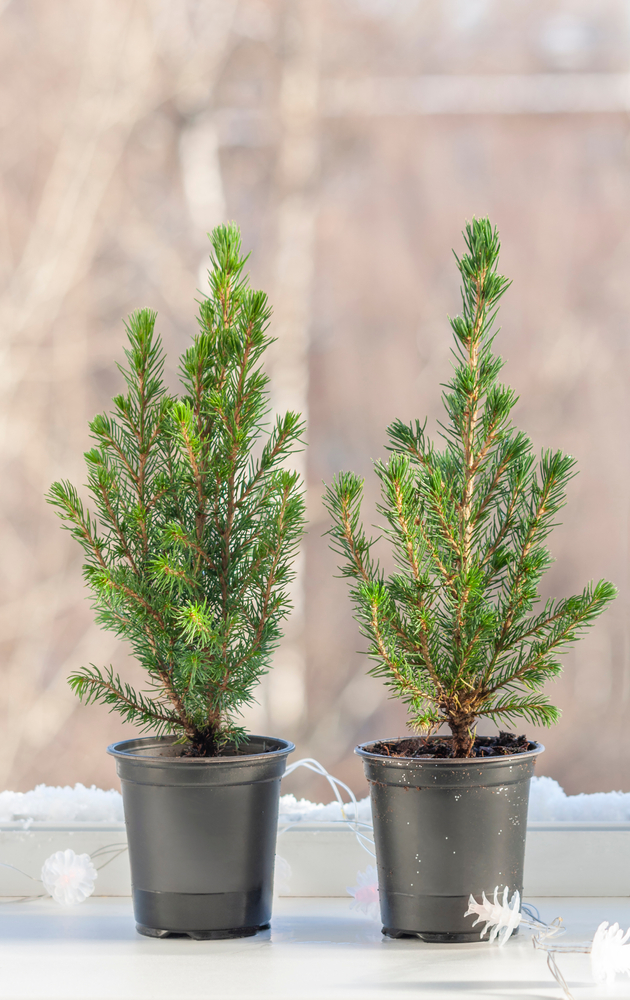
If all of this sounds like a bit more work and uncertainty than you’re willing to take on, you can always order seeds or seedlings to grow a Christmas tree.
There are obvious advantages to doing it this way, such as getting the exact variety of tree you wish to grow. And you’re removing the uncertainty of will or won’t the seeds grow.
It’s much quicker too. As you’ve just read, the entire process of collecting the cones, removing the seeds, stratification, and even germination can take almost an entire year, depending on when you get started.
Christmas Tree Seeds
While a bit harder to find than seedlings, you can purchase evergreen seeds from several places.
- Tree Seeds
- Whatcom Seed Company
- Sheffield’s
- Etsy
- For those of you in Canada, you can purchase evergreen seeds from Mount Royal Seeds.
Saplings
If you want to go straight for saplings, you have even more options, including local nurseries and tree farms. There are so many places that sell saplings online that I won’t trouble listing them here. A quick google search will have you well on your way.
Arbor Day Foundation
An excellent way to get the perfect Christmas tree sapling is through the Arbor Day Foundation. If you become a member (memberships start at $10), the Arbor Day Foundation will send you ten free saplings.
The great part about going through the Arbor Day Foundation is they offer you trees that grow best where you live based on your zip code. Then they ship them to you at the correct time of year to be planted. They take all of the guesswork out of it for you.
Even if you choose to grow a Christmas tree or two from seed, I encourage you to become an Arbor Day Foundation member as well. If you don’t want the extra saplings, you can always donate them to a forest via your membership.
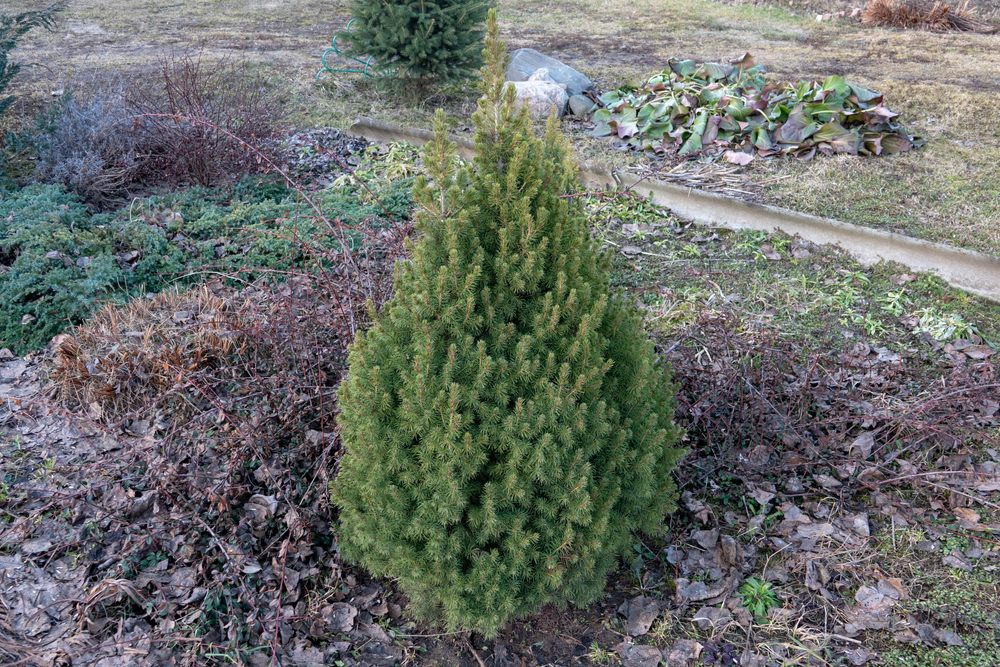
With patience, care, and a little luck, you’ll have a mature Christmas tree in 10 – 12 years.
Will it be the Christmas tree you planted the year you got married? Or the Christmas tree you planted when you had your first child? Maybe it will be the tree that commemorated when you moved into your first home.
You’ll have a Christmas tree that’s more special than any tree you could find at a Christmas tree lot. And who knows, after all those years of tending to your fledgling Christmas tree, you may find yourself hesitant to cut it down. Maybe you’ll let it grow year after year. Better plan accordingly now, and plant more than one.
Pin This For Later

Get the famous Rural Sprout newsletter delivered to your inbox.
Join the 50,000+ gardeners who get timely gardening tutorials, tips and tasks delivered direct to their inbox.