

Propagation by division is the name given to the technique where gardeners divide perennial plants to make new ones. Division is one of the easiest methods of propagation, and is a great way to quickly and easily increase your plant stock.
Why Propagate Your Own Plants?
Propagating your own plants is a great way to get new plants without having to go to the expense of buying them. You can use these new plants to fill in gaps in your planting schemes or to populate new growing areas.
Of course, you could also propagate plants in order to sell them, as part of a way to increase yield from your garden or homestead. You might even be able to consider plant sales as part of a diversification plan for a home business.
Why Divide Perennials?
Choosing division as a method of propagation means taking the easy route. Dividing perennials is one of the easiest ways to make new plants at home. Even novice gardeners will find this is a simple and easy process.
There are other methods of propagation to consider for certain plants – hardwood, semi-ripe or softwood cuttings, for example, or of course growing plants from seed. But if you are new to propagation, dividing perennials is a good place to start.
But we may divide perennials not only to create new plants but also in order to keep existing plants healthy and happy. Perennials that have been in your garden for some time may become overcrowded, such as bee balm.
Divide perennials that have become overcrowded in order to reduce congestion and improve airflow to help reduce the incidence of pests and disease. Doing so will ensure that your plants maintain health and vigor.
When To Divide Perennials
Perennial plants can be divided successfully at almost any time, as long as you take care to maintain water supplies afterwards. But the best time to divide plants is usually when they are not in active growth.
Summer-flowering plants are best divided in spring (March to May) or fall (September to November). If the fall is particularly wet, it may be better to delay division until the spring. Spring may also be a slightly better choice for plants that are somewhat tender.
Spring flowering plants (like irises) are best divided in summer (June to August) after flowering, as this is the period during which they will be focused on root growth.
Which Perennials are Suitable for Division?
Generally speaking, division is a suitable technique for all clump-forming herbaceous perennials. In other words, perennials which throw up more than one stem from a crowd, or root ball. Some examples of plants that are suitable for this technique are:
- Anemone
- Aster
- Bergenia
- Comfrey
- Convallaria
- Crocosmia
- Delphinium
- Euphorbia
- Geranium
- Helianthus
- Hemerocallis
- Hosta
- Iris
- Ornamental grasses
- Primula
- Ranunculus
- Salvia
- Sedum
- Verbena
- Zantedeschia
Within the sphere of division, you may also consider plants which create suckers, plantlets or runners which can be divided from the parent plant. One common example of this are strawberry runners.
Another example is the Ajuga (bugle) which produces small, individual plantlets which can simply be divided from the parent plant and repositioned elsewhere. Suckers sent out by, for example, raspberry and blackberry plants are another example of plants that can be divided from a parent to create new plants.
Different Ways To Divide Perennial Plants
There are several different ways to divide perennial plants. While the aim in all cases is to separate sections from the parent plant, the techniques involved will differ somewhat depending on the type of plant, and its specific characteristics.
Uprooting and Dividing a Clump
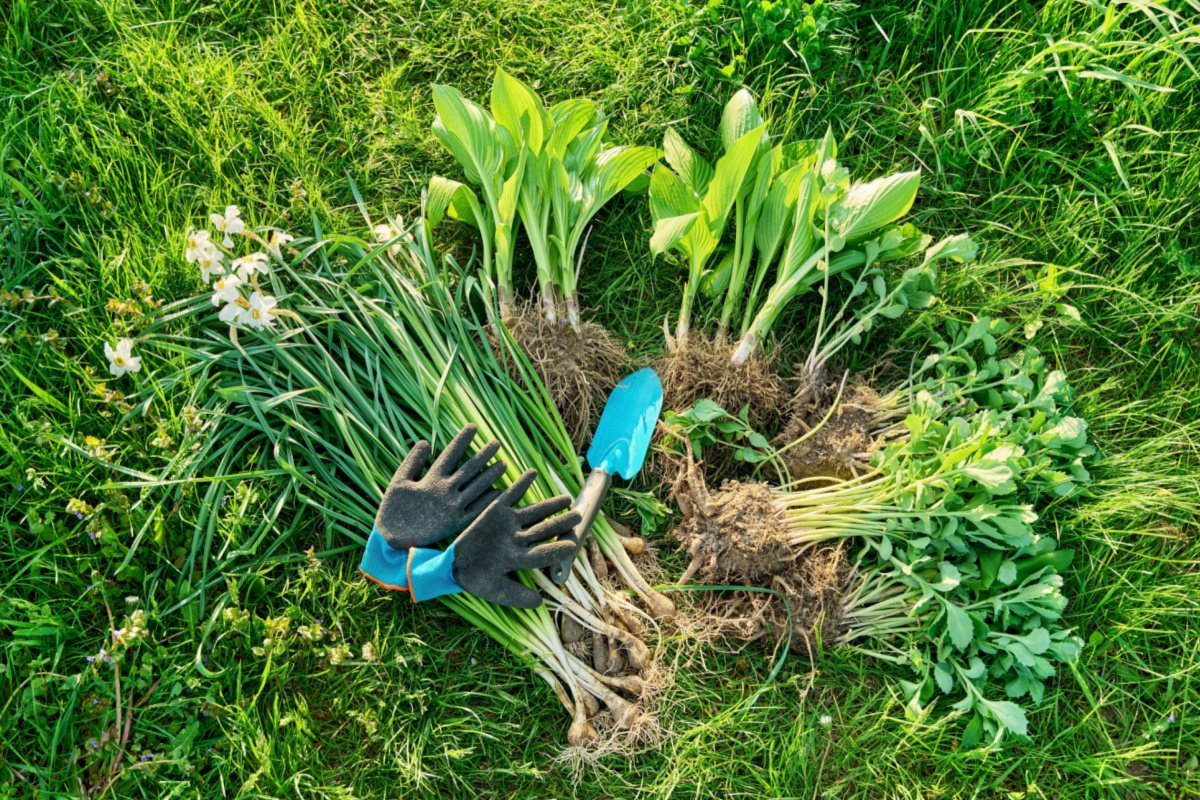
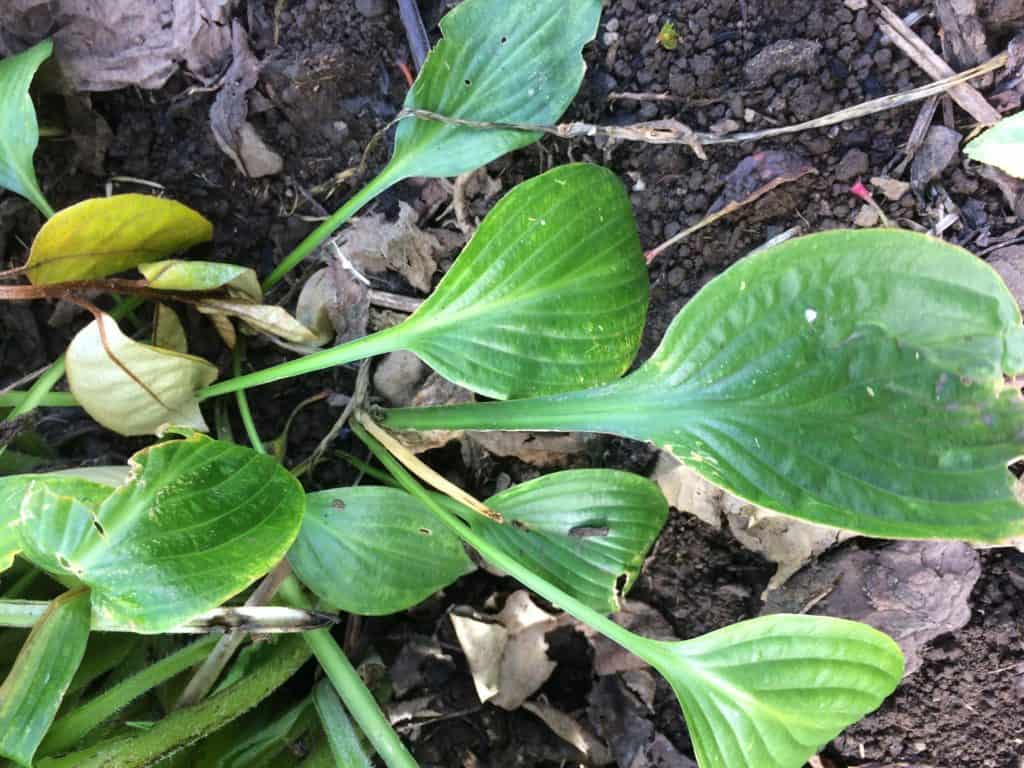
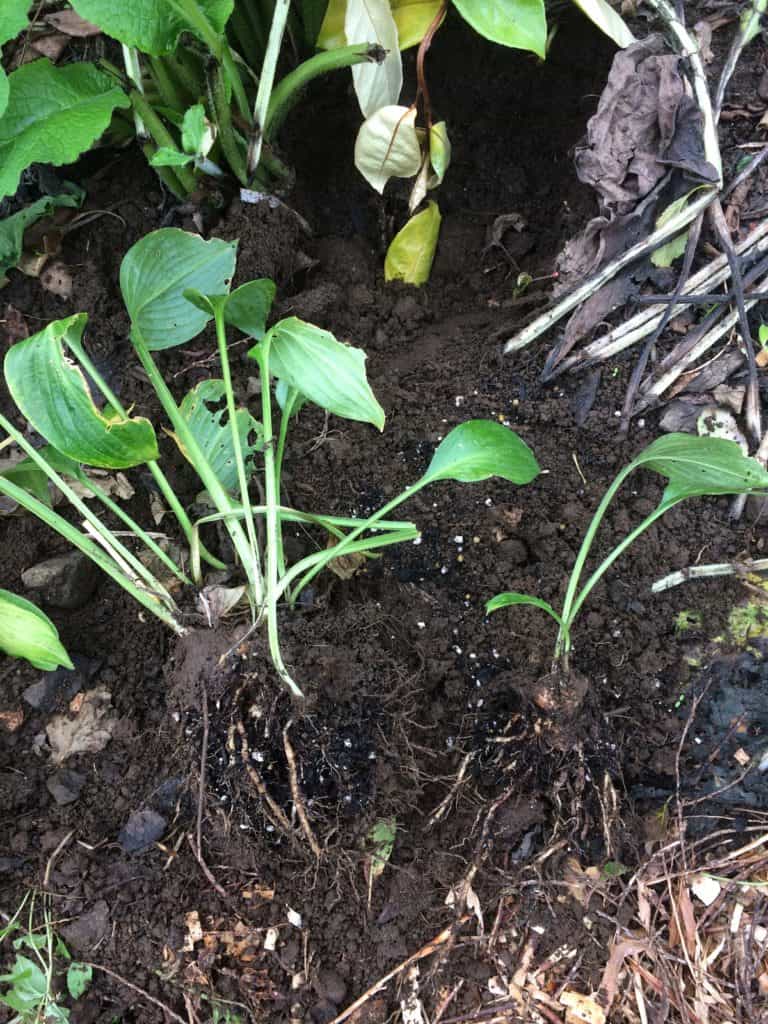
The first type of division is that which is used for smaller, fibrous-rooted plants (of which Hosta is an example). In order to divide this sort of plant:
- Lift plants gently from the ground, trying to retain as much of the root system as possible.
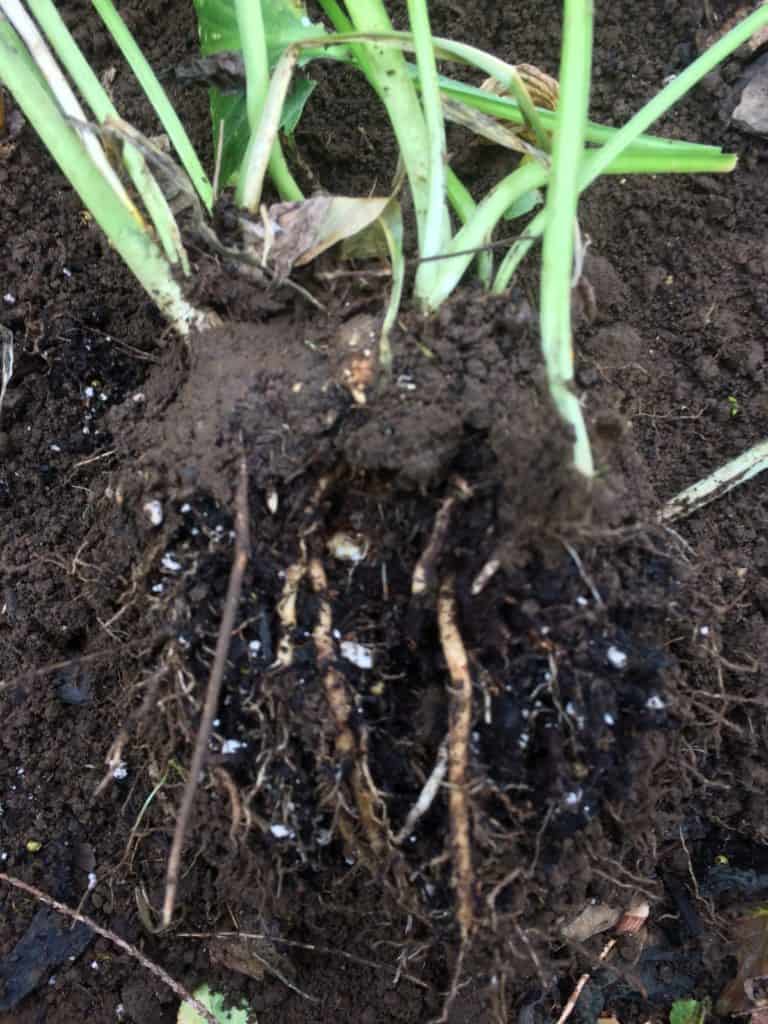
- Shake off excess soil so that you can see the roots more clearly.
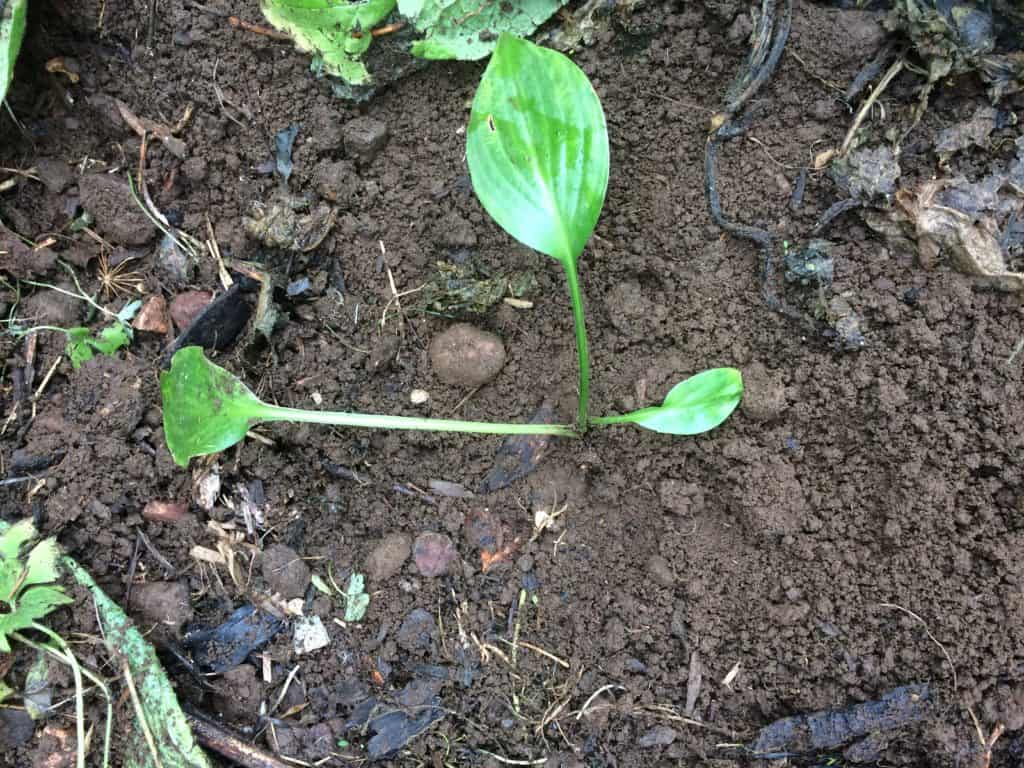
- Gently pull the root system apart with your hands, taking care to retain some above ground plant and some of the root system with each division.
- Replant your divisions as quickly as possible, and water them in well.
For larger fibrous-rooted perennials (like Hemerocallis, Day Lily, for example), you may need to pry apart the plant using two forks back to back to separate the crown into sections. In certain cases, you may even require a sharp knife or axe in order to cleave the clump. Woody crowned plants (like Helleborus) or fleshy roots (like Delphinium) may need to be cut with a sharp knife or spade.
In all cases, aim to create new plants that have at least 3-5 healthy shoots and as much root system as possible. Generally speaking, the larger the sections you form, the more quickly these will become re-established elsewhere in your garden.
Taking Divisions From the Edges of a Parent Plant
The second method does not involve uprooting the whole parent plant, but rather taking divisions from the edges of the parent plant. This method is suitable for many larger and more established perennial clump-forming plants.
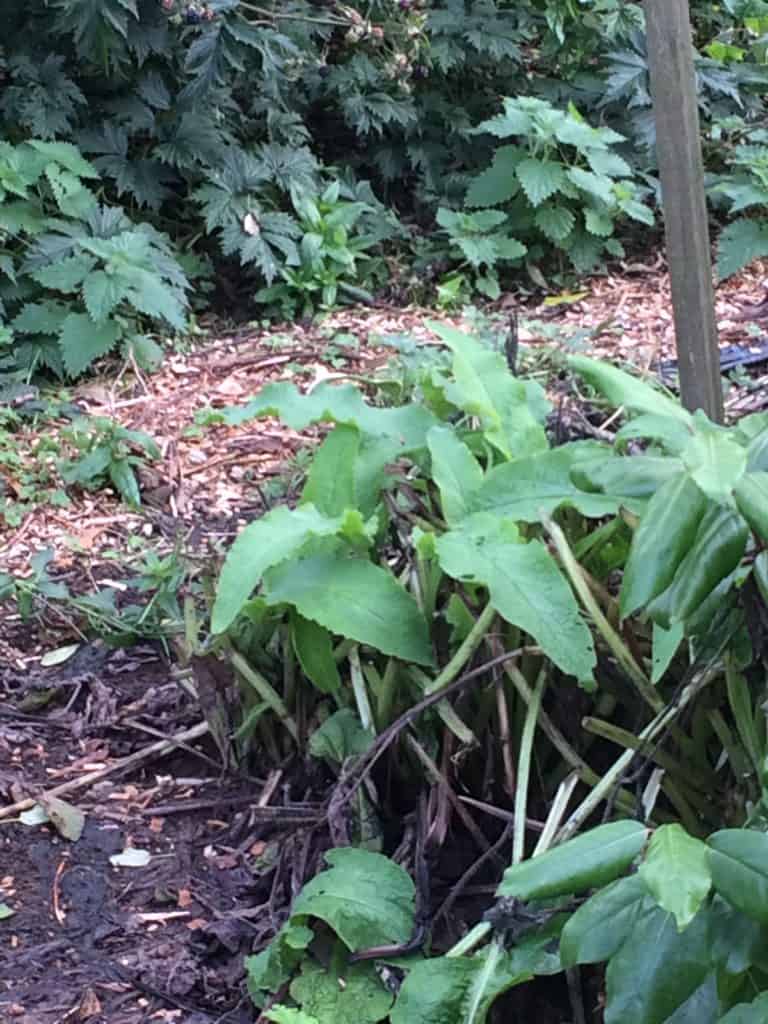
Dividing Comfrey Plants
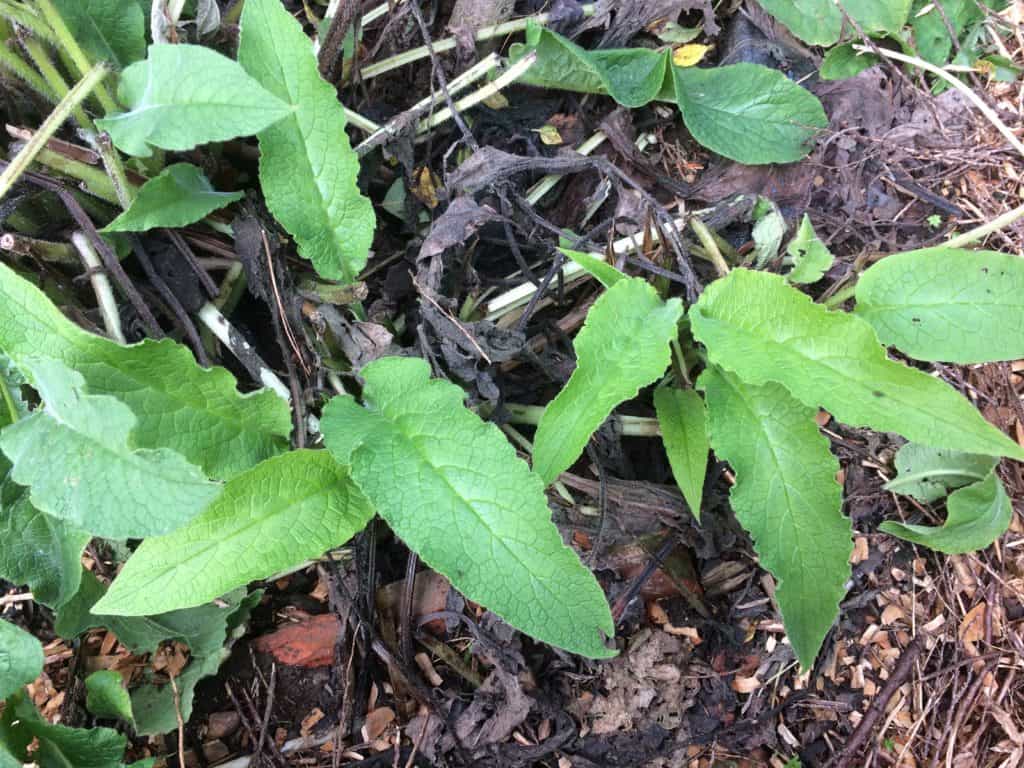
Comfrey is a good example to illustrate this method of division. From one division of this useful plant, you can obtain a large number of crown offsets and root offsets.
- Choose a strong, mature plant.
- Identify a section to remove from the parent and clear the area around so you can see what you are doing.
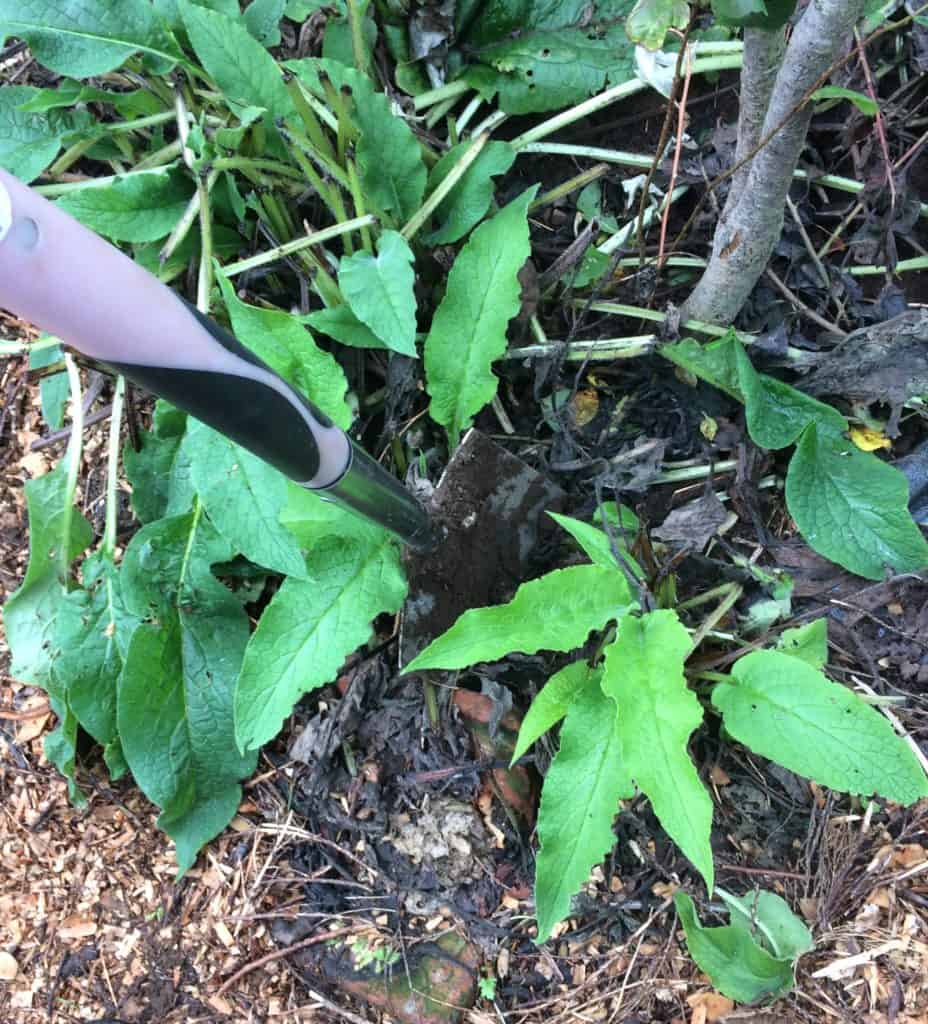
- Take a spade and cut straight downwards to make the division.
- Pry the section of plant you are separated from the parent from the ground and put it to one side.
- Refill the hole made with soil/compost and tamp back the soil around the parent plant. (It will recover quickly and be just as productive as other plants that were not divided next year.)
- Take the lifted section and shake/ wipe to remove excess soil so you can see what you are dealing with.
- Cut off any large leaves from the tops of the plants, and divide the crown, using either your fingers or a sharp knife, into crown offsets. Leaving a few centimetres of root on these crown sections, cut off lower areas of root, which can then themselves also be used to create new plants. (Crown offsets have both growing tip and a section of root and will get going more quickly, though root sections (of around 5cm in length) will also effectively grow into new plants in spring.)

- Either plant your offsets directly in the ground. (They will generally do just fine in decent soils.) Or put them in pots to overwinter and then plant them out as soon as the leaves begin to grow. (Be quick, comfrey grows very quickly.)
Why Divide Comfrey?
Comfrey is a particularly good plant to divide, as just one division can create a high number of new plants. Just be careful where you place them, as once established, it is virtually impossible to eradicate it from a growing area, due to its deep roots, and ability to regrow from root sections.
Separating Plantlets, Suckers or Runners
Plantlets & Suckers:
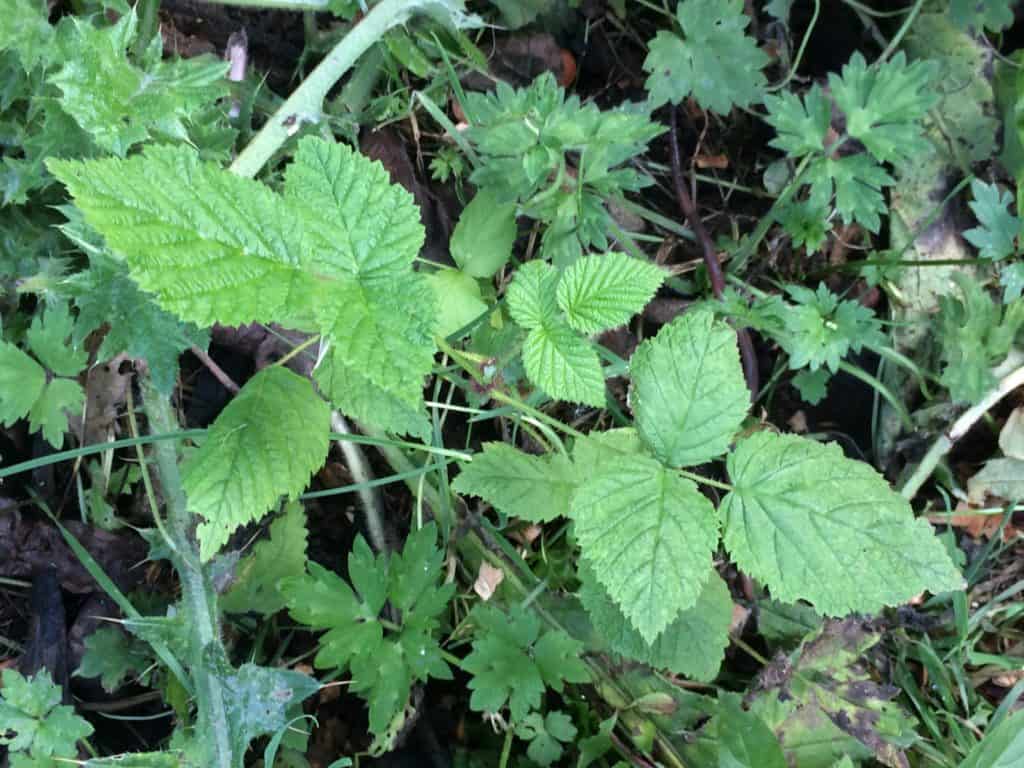
Plantlets and suckers can easily be dug up from the ground to divide them from their parent plants. Here, where we live, we frequently see raspberry and blackberry suckers popping up all over the place. However, rather than just removing these from where they are not wanted, and discarding them, I tend to keep them to replant elsewhere (or to gift to family or friends).
This is simply a case of placing a spade underneath each one and lifting them from the ground, then placing them in an new area or in a container for transportation.
(While this is a suitable technique for soft fruits, you should not usually retain the suckers from top fruit trees, since these are generally grafted. The suckers are sent out by the rootstock, which means that they will not necessarily produce edible fruits, and certainly won’t resemble the fruits of the scion of the parent tree.)
Runners (E.g Strawberry Runners)
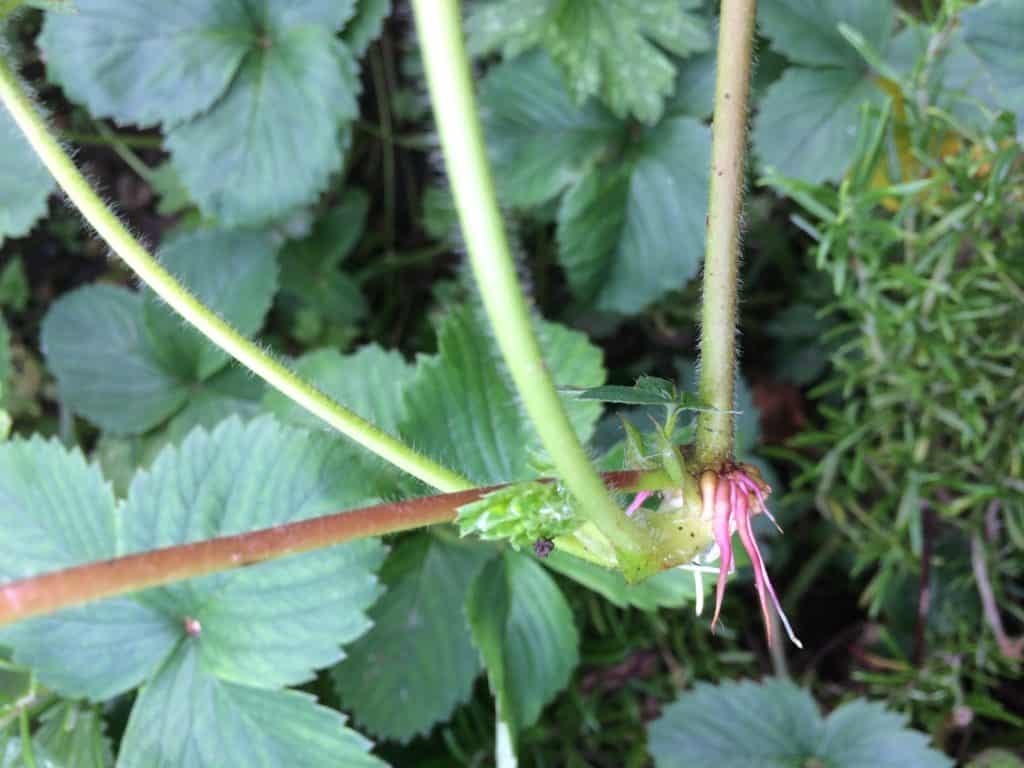
Runners on strawberry plants are treated somewhat differently to suckers and plantlets. These are best kept attached to the parent plant until established. Look out for the small plants forming at the ends of the long runners sent out my strawberry plants. You should be able to see small white roots forming on these.
You can simply allow your strawberry plants to self-root at will in the strawberry patch or growing area where parent plants are located. This can create a strawberry thicket. But such a growing area can become congested over time and look untidy. Excess foliage may make it less productive, as fruits will lack the light they need to ripen.
While it can be a wonderful way to create ground cover in an informal kitchen garden or forest garden, it may not be suitable for smaller gardens, where space may be at a premium.
To bring some order to your strawberry growing area, you can gently guide the strawberry runners into suitable locations close to the parent plant. You can also, however, place these into containers and divide them from the parent to take them to a new area in your garden or to give them away to family or friends.
Potting Up and Dividing Strawberry Runners From Parent Plants
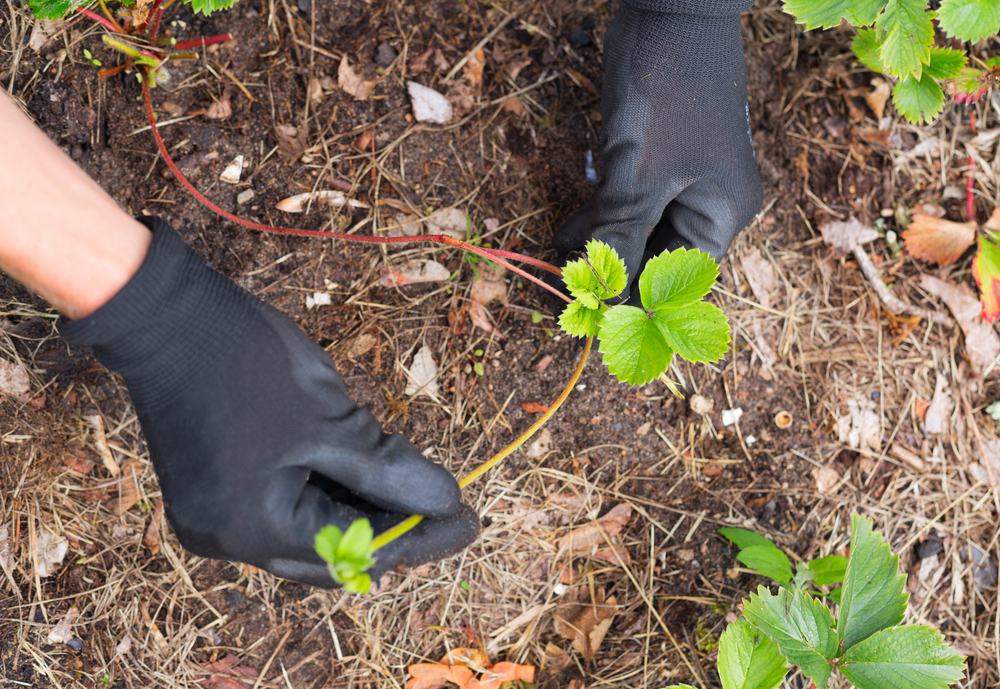
- Take a pot filled with soil/ compost and gently position it so that the new strawberry plant (still attached by runner to the parent plant) can be placed within it.
- Use a peg to secure the plant and keep roots in contact with the soil.
- Wait for the roots to form properly and anchor the new strawberry plant in its pot. Be sure to keep it well watered.
- A couple of weeks later, very gently pull on the new plant to see if it is anchored by new roots.
- When it is, you can then sever the connection and divide your new strawberry plant from its parent.
- You can then plant your strawberry plant wherever you would like it to grow, either in a new outside growing area or (for an earlier crop) inside a polytunnel or greenhouse. You can also overwinter the plants in pots before planting out in the spring.
Divide perennial plants and you will keep them healthy, and keep your garden well stocked. It is so easy and simple that it can be achieved by even the most inexperienced of gardeners. So this fall, why not give it a go? You might be amazed by how many new plants you can make.

Get the famous Rural Sprout newsletter delivered to your inbox.
Join the 50,000+ gardeners who get timely gardening tutorials, tips and tasks delivered direct to their inbox.