

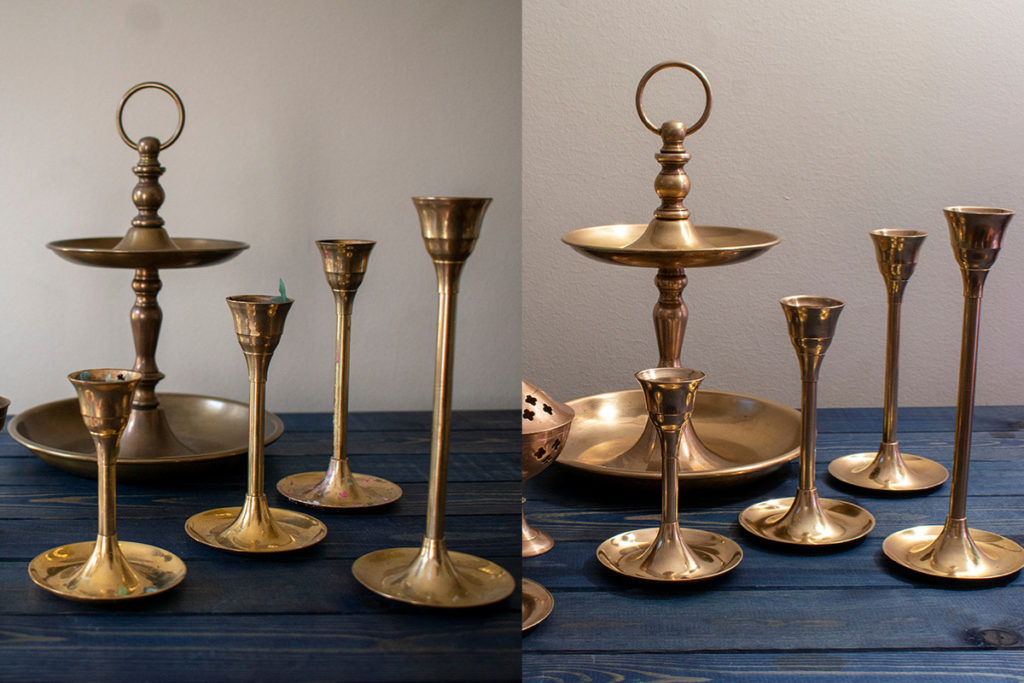
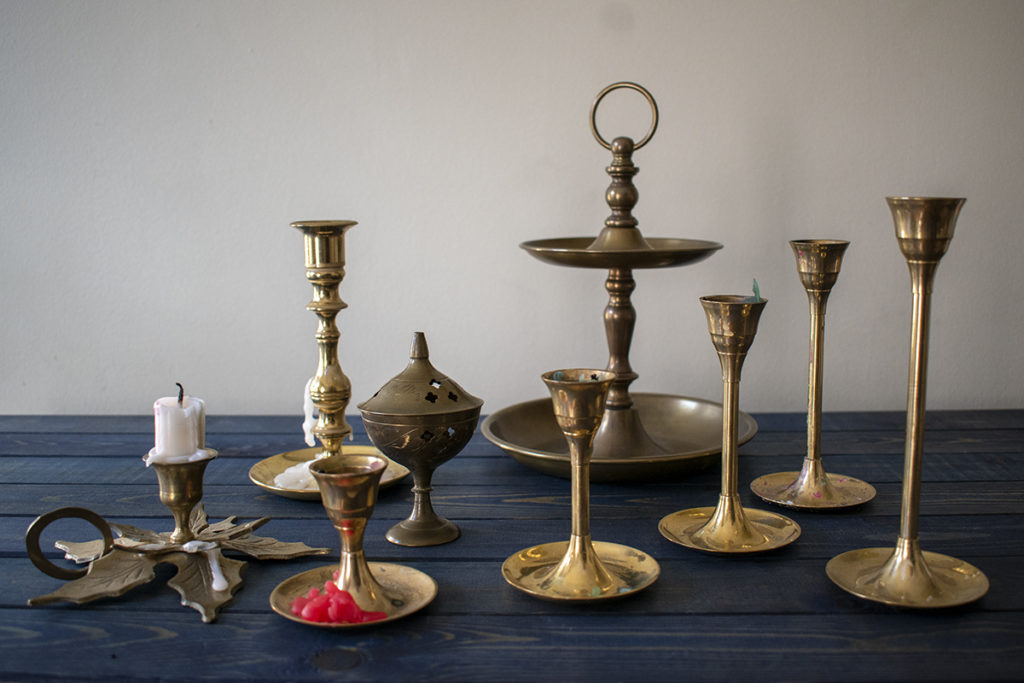
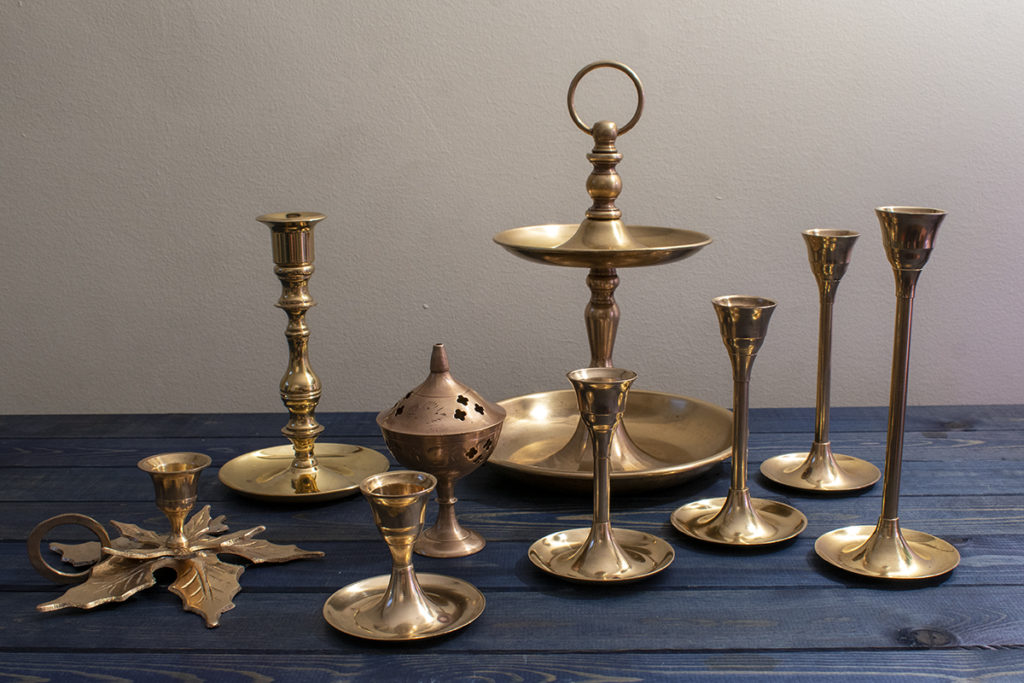
The rich hue and warm shine of brass has a way of drawing the eye, which means it only takes one or two pieces in a room to pull you in. Like many things from the mid-century, brass is having a moment, and vintage brass pieces are being snatched up from thrift and antique stores everywhere.
Of course, grabbing some vintage brass usually means cleaning it as well. There’s no need to head to the store for a special brass polish, though. You’ve probably got an excellent brass cleaner in your cabinets.
Brass is a soft metal, so it can scratch easily. To clean brass, you should always opt for a soft cloth, such as a scrap of cotton flannel or an old t-shirt. Avoid scouring sponges or metal as they can scratch or gouge the brass.
Lacquer
Before you subject your brass to any polish, you need to figure out if it’s lacquered or not. Some brass pieces are treated with a very thin layer of lacquer to keep the brass from tarnishing. Over the years, this lacquer will flake and peel away.
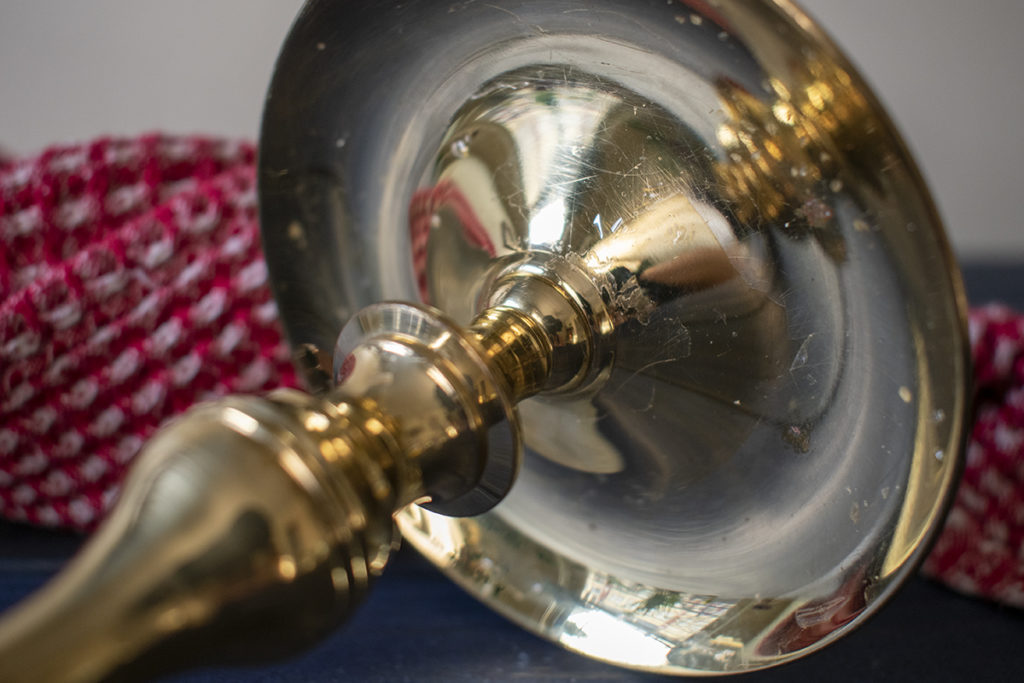
A dead giveaway as to whether or not a piece is lacquered is whether or not it’s shiny. If the piece is still quite shiny and bright, it’s probably lacquered. You can also look closely at the piece to see if there is any flaking.
If the piece is lacquered, all you need to do is wash the brass in hot soapy water with a sponge. Buff it gently with a piece of flannel, and it will be good as new.
Brass or Brass-plated?
It’s important to determine if your piece is solid brass or brass-plated. Put a magnet on the piece; it will not stick if it’s solid brass. Brass-plated pieces should never be scrubbed hard or with commercial brass cleaners. The harsh abrasives in commercial polishes or scrubbing vigorously could remove the plating and damage your piece.
To Shine or Not to Shine
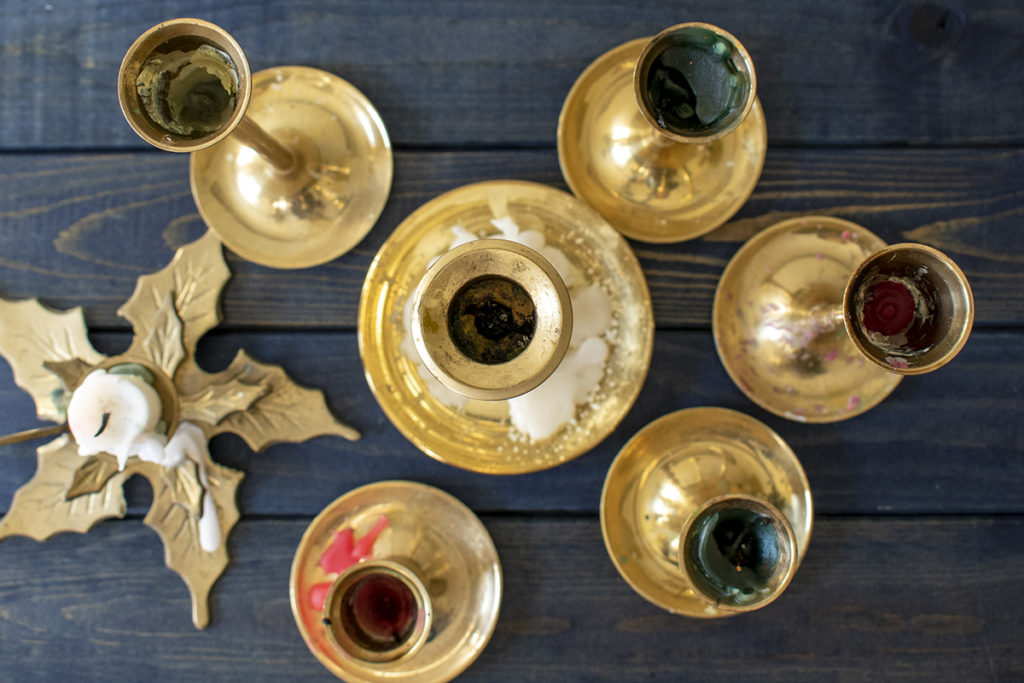
Before you polish your brass, something to consider is whether or not you should. The patina of well-aged brass is part of its appeal. And if the piece is an antique, you could diminish its value by trying to polish it. Your best option might be to leave it as it is.
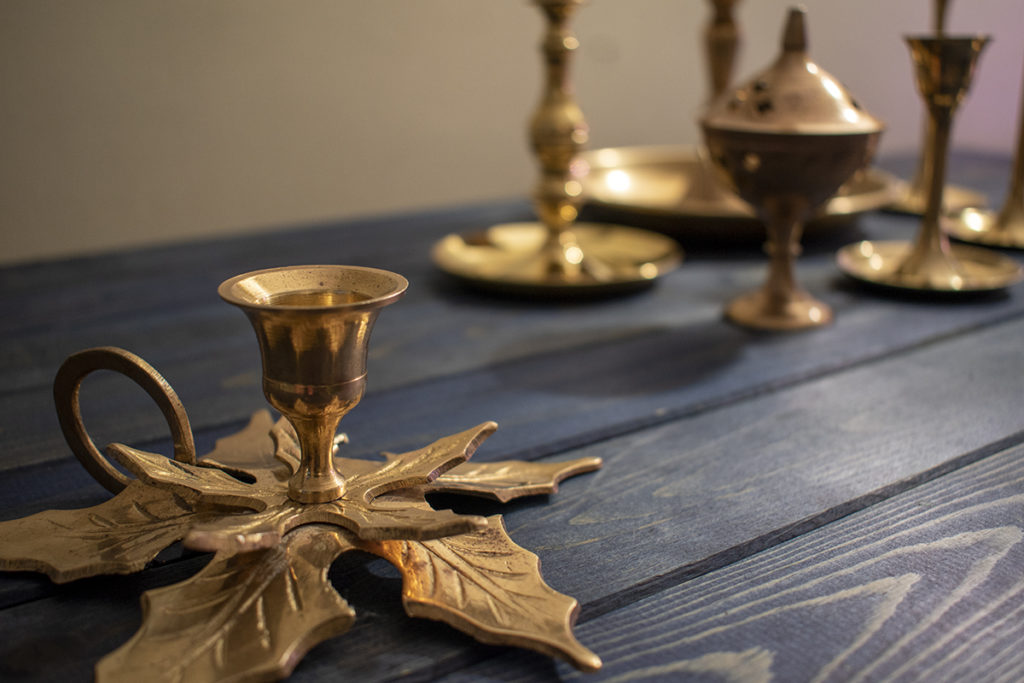
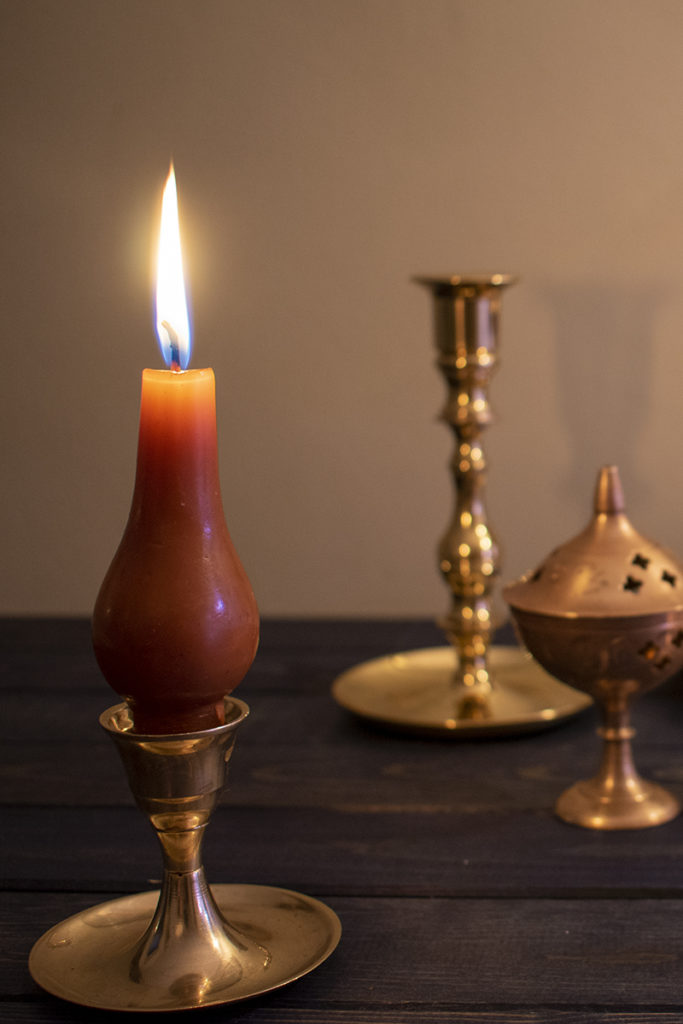
Candlesticks
One of the first things you should do when cleaning brass candlesticks is to remove the candle wax. Put your candlesticks in the freezer for 15-20 minutes. Once you take them out, most of the wax will pop right off or can easily be peeled off.
For residual wax, gently warm it with a hairdryer and wipe it off, then use a cloth soaked in white vinegar to remove any remaining wax.
Hot Soapy Water
You should wash your brass with hot soapy water before trying anything else. Sometimes this is all that’s needed to restore the luster and shine. And if not, it prepares the piece, making any of the following natural polishes and cleansers more effective.
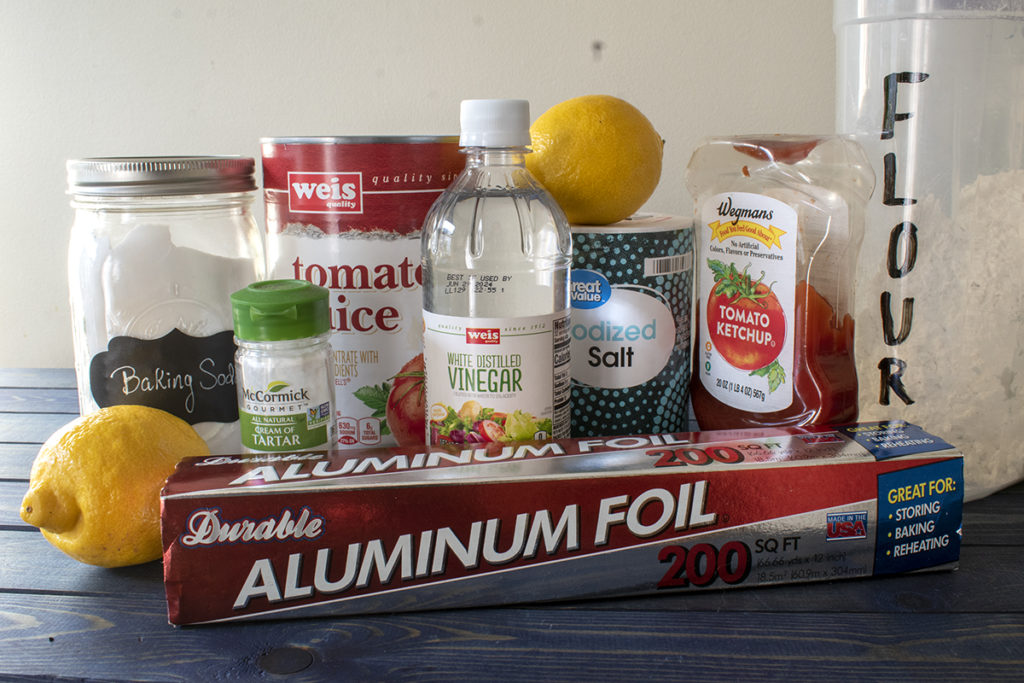
1. Lemon Juice and Salt

This solution works well for only slightly tarnished pieces. Slice a lemon in half and sprinkle the cut side with salt. Use the salted lemon to rub down the brass piece. Let the piece sit for a few minutes before wiping off the lemon juice and salt with a clean, soft cloth. Buff the piece lightly to bring back its shine.
2. Lemon Juice and Cream of Tartar
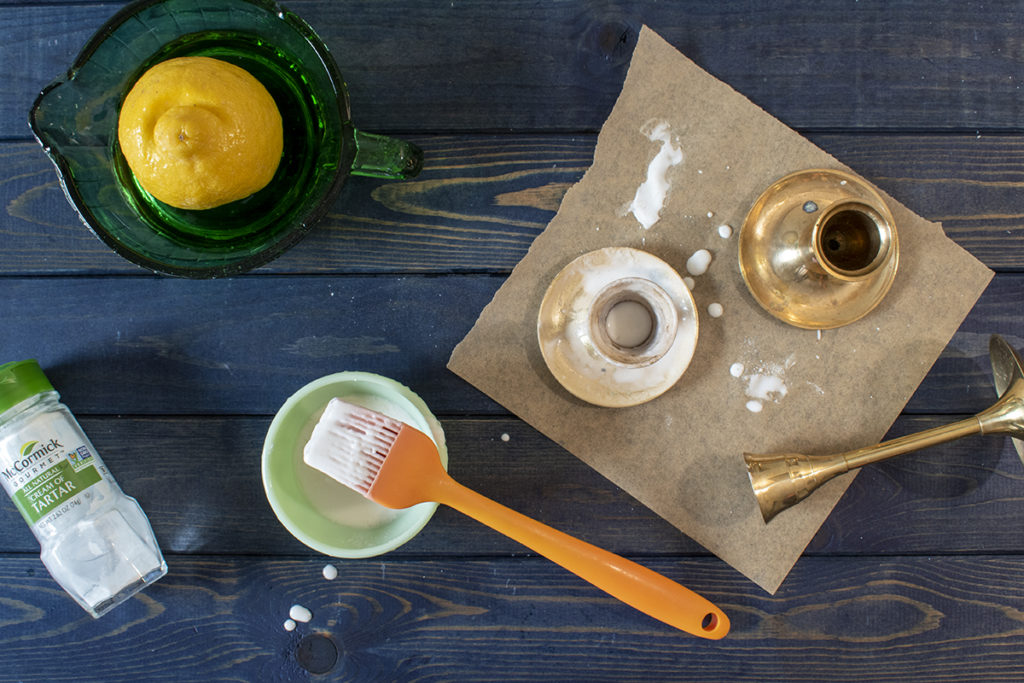
For stubborn tarnish, mix a paste of lemon juice and cream of tartar. Use a clean, soft cloth or pastry brush to apply the paste to your brass. Let the brass sit for 10-20 minutes before rinsing it with warm water. Dry the piece off and buff it lightly with a soft cloth.
3. Ketchup
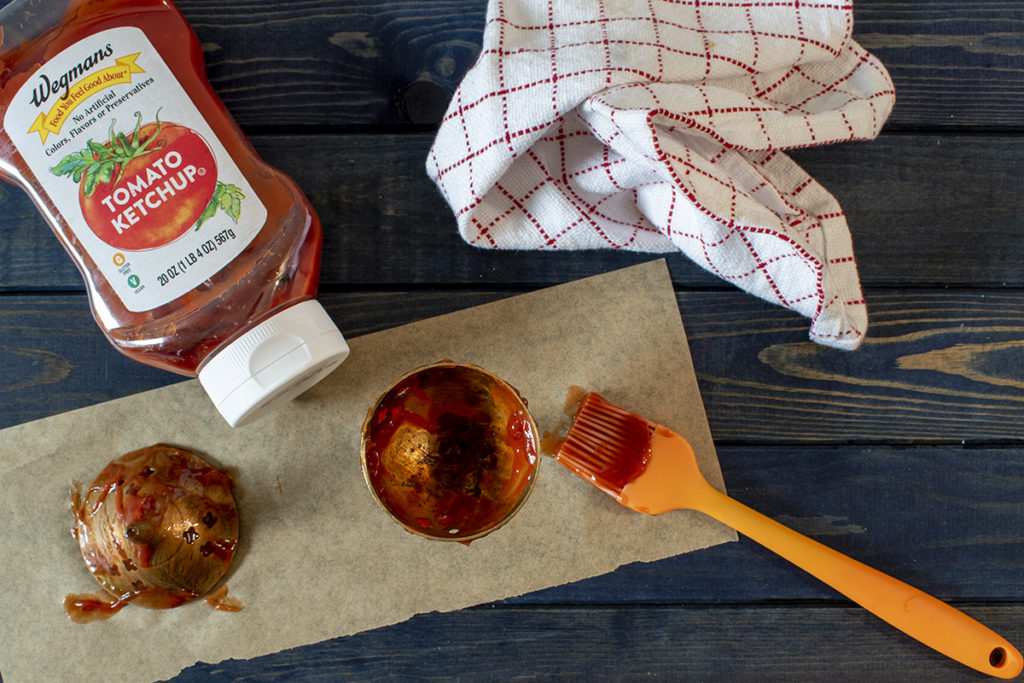
No lemons? Grab the ketchup.
The acid in tomatoes makes a great tarnish remover. And the consistency of ketchup makes it easy to spread onto candlesticks, sculptures, and bookends.
Coat your tarnished brass in ketchup and let it sit anywhere from 5-15 minutes before rinsing the ketchup off with warm water. Dry your brass, and it will be as good as new.
4. Tomato Juice
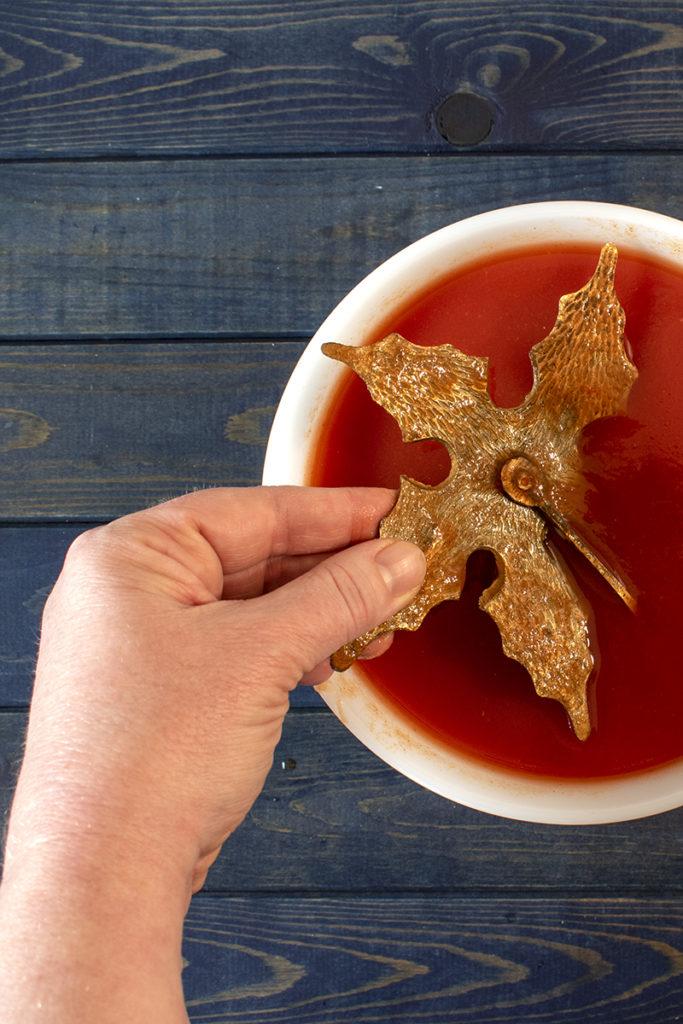
Tomato juice is an excellent option for brass pieces that may be fairly intricate, where getting into the nooks and crannies may prove difficult for other methods. You can submerge the entire piece in tomato juice, which will take care of hard-to-reach tarnish.
Let the brass piece sit in the tomato juice for 10-30 minutes, depending on tarnished it is. You can check the piece every few minutes to see how it’s progressing. Simply rinse the tomato juice off and dry the brass.
5. Flour, Salt and Vinegar
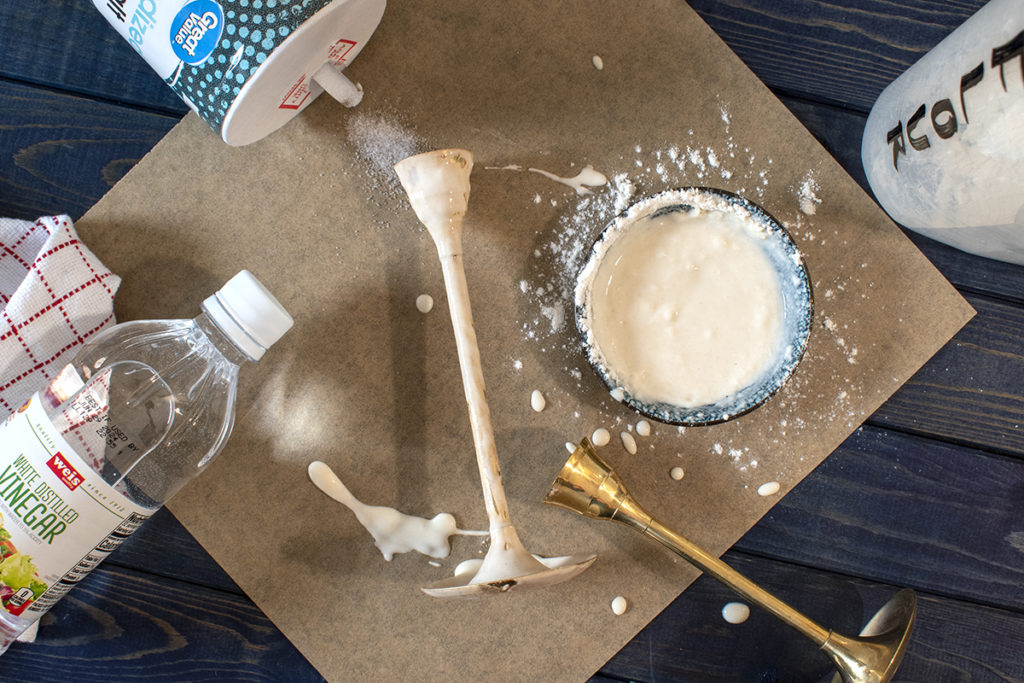
Mix up one teaspoon of salt with a ¼ cup of vinegar. Now stir in enough flour to make a paste. You want it thick enough to stick to the brass. Apply the paste to your brass piece and let it sit for 5-15 minutes, depending on how dirty the brass is.
Rinse the paste off and dry the brass with a clean towel.
6. Tin Foil and Baking Soda
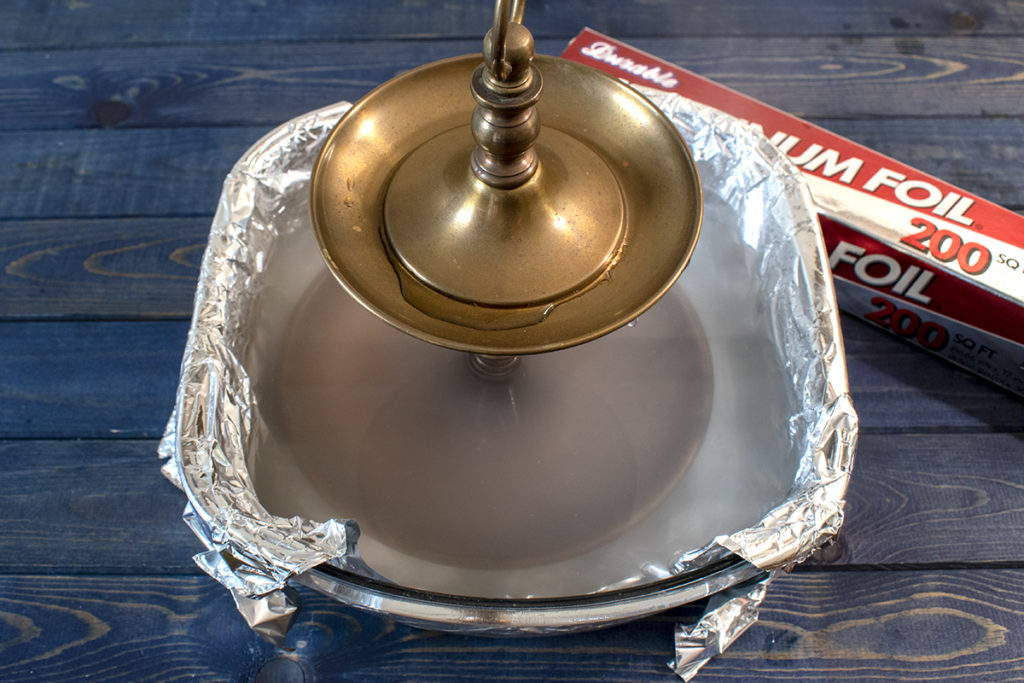
This is perhaps one of the easiest methods to clean brass.
Line a baking dish or bowl with tin foil, ensuring the shiny side is up. Sprinkle a generous layer of baking soda across the bottom of the dish. Now place your brass pieces in the dish and pour in enough boiling water to submerge them.
Let the piece sit submerged for about fifteen minutes.
A neat chemical reaction (which I am bad at explaining) will occur in which the tarnish lifts from the brass and bonds to the aluminum foil. Especially tarnished pieces may need to be soaked in this manner twice. This method also works on silver.
Keep It Shiny
Now that you’ve put in all that hard work to clean up your brass, keep it shiny with a very thin coat of mineral oil or boiled linseed oil. Buff your piece with a clean piece of flannel and wipe off any excess oil.
If your piece is used for serving food, don’t use the boiled linseed oil; instead, opt for food-grade mineral oil like the kind that is sold for conditioning wood cutting boards or as a laxative.
Coating your piece with the oil will prevent oxygen from oxidizing the piece as well as protect it from the oils on your hands, both of which will cause the brass to tarnish.
And that’s that, keep your brass shining like new with very little elbow grease and a few household items.
Here are some more articles you may enjoy:
How to Clean Copper Easily Without Harsh Chemicals
Make a Bottle of All-Purpose Natural Citrus Peel Cleaner
8 DIY Natural Cleaning Products For The Entire Home

Get the famous Rural Sprout newsletter delivered to your inbox.
Join the 50,000+ gardeners who get timely gardening tutorials, tips and tasks delivered direct to their inbox.