


With the explosion of e-commerce over the last few years, most people seem to have far too many cardboard boxes lying around. Luckily I’ve got a great way to make the most of them in your garden.
It’s not composting them (yet), and it’s not creating new no-dig garden beds with them (not really).
One of the best uses I’ve found for the abundance of boxes in my home is to use them as temporary raised beds for growing potatoes.
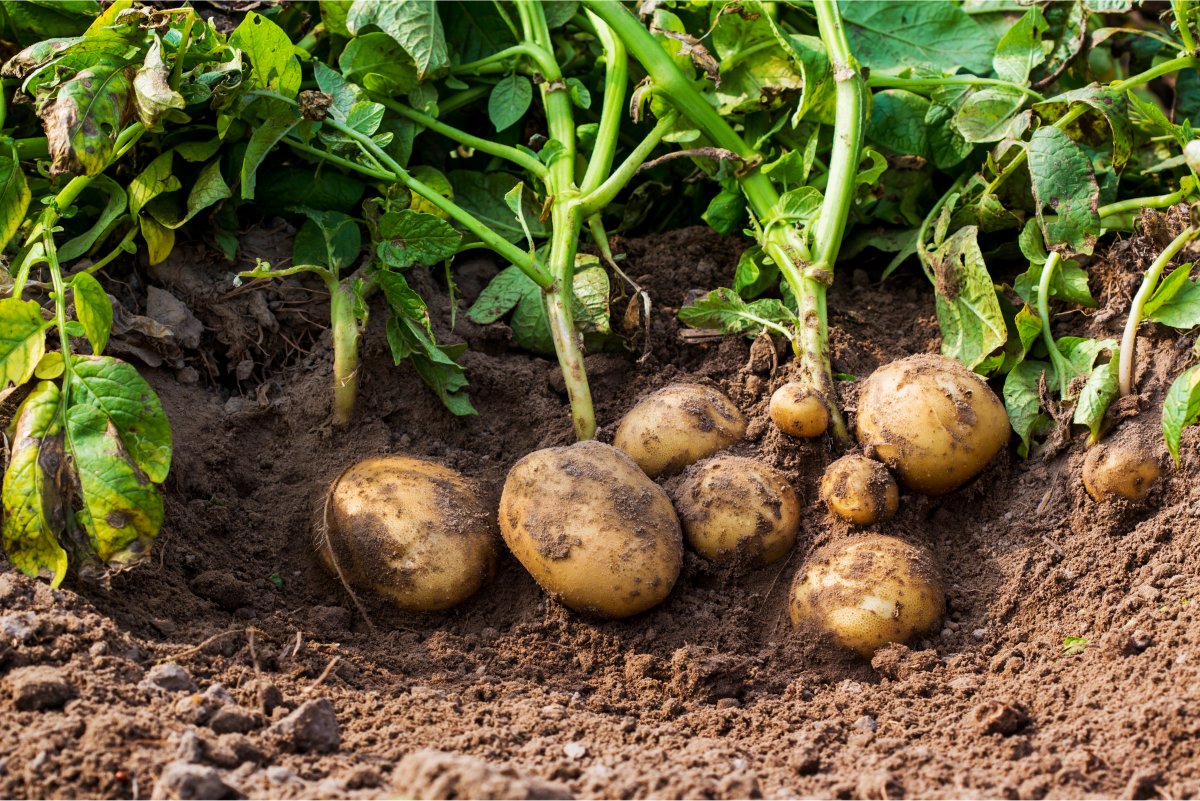
You can’t compare the flavor of homegrown potatoes with the ones you buy from the grocery store. Fresh potatoes from the garden have a creamy texture with delicate skin — perfect for “new potatoes” or potato salads.
While you can grow potatoes and cure them in a way that will allow you to store them for months, this method is best for new potatoes.
Why a Cardboard Box?
Why not? If you’re anything like me, you’ve received more than one online purchase in a shipping box that was easily four times the size of what you bought.
These big boxes are great for using as weed blocks in the garden. But if you’ve already put in all the garden beds you have room for in your yard, they can start to pile up.
Related Reading: 9 Practical Cardboard Uses In The Garden
Yes, they make excellent compost. Red wriggler worms are particularly fond of plain cardboard. But these boxes are nearly impossible to shred without serious machinery. They’re too thick, too heavy, and too unwieldy to cut up finely enough for composting.
A lot of home gardeners have turned to grow bags for planting their spuds. While they’re very affordable now, why not use something you already have for free?
Better yet, once you’re done using it to grow potatoes, the boxes have partially decomposed and become easy to tear up for the compost heap.
Many home gardeners feel they don’t have enough garden space to grow potatoes. I can relate since I have a suburban yard that doesn’t offer nearly enough space. However, planting potatoes in a cardboard box provides a temporary garden bed for the occasional crop of spuds.
There’s no need to clear more land or double dig new garden beds. You won’t have to worry about how they’ll impact other vegetables in the garden.
You only need the size of your cardboard box(es) in a sunny spot for the next two or three months to grow a fresh crop of spuds.
So, the benefits include:
- Free planters
- Free compost materials
- No extra digging in the garden
- Less clutter in the house
It’s a win-win scenario.
Before You Grow, Here’s What You Need to Know
Before you plant your spuds, there are a few things to know about potatoes. The first is knowing which type of potato to grow.
Like their tomato cousins, potatoes can also be determinate or indeterminate.
If you’ve heard the terms “early potatoes,” “mid-season potatoes” or “late season potatoes,” this refers to the plant’s growth pattern and time to harvest.
In the UK, they call them “first earlies,” “second earlies,” and “maincrop” potatoes.
Early and mid-season potatoes mature in about 60 to 90 days. They only grow potatoes at one level under the ground, and they generally don’t need hilling up regularly. You may still need to ensure they don’t get exposed to sunlight.
Determinate potatoes have a bushy growth habit. They grow, flower, and then die off once the potatoes are ready to harvest.
Indeterminate varieties will grow tubers at varying levels underground. They’re ready to harvest between 120 and 130 days, depending on the variety. This type of potato plant will continue to grow and sprawl until the first frost. They’re often planted later in the growing season and harvested in the fall.
You need to choose determinate varieties when planting potatoes in a cardboard box — or any other kind of container.
Determinate potatoes need less room to grow than indeterminate varieties, so will perform better in the restricted space.
And when you’re using cardboard boxes, you want to be sure they’ll mature before the box falls apart.
Determinate Potato Varieties
Some popular varieties of determinate potatoes to consider:
- Caribe
- Fingerlings
- Gold Rush
- Kennebec
- Norland
- Red Norland
- Red Pontiac
- Russet Norkotah
- Viking
- Yukon Gold
Sourcing Seed Potatoes
Some experts advise using only “certified” seed potatoes — and that’s certainly the safest way to prevent the spread of blight.
Others advise that using unsprayed organic spuds from a local grocery store works just as well.
I’ve used both and find that when planting potatoes in a cardboard box or other container, there’s less concern about disease spread. You’ll have full control over the contents of the box, so it’s easy to isolate them should something go wrong.
Another reason for using grocery store potatoes is cost and availability. Seed potatoes can be expensive. What’s worse, they can often be difficult to find.
Here in subtropical Florida, our potato-planting schedule falls between December and February. March is a stretch.
Do you know who’s shipping seed potatoes in December?
Nobody.
Even our local feed store doesn’t get them in to sell until February.
So, I have used sprouted spuds from the grocery store before. While I didn’t get a huge harvest, I also didn’t have to spend $18 a pound to buy them out of season for the rest of the country.
Exciting New Methods for Sourcing Seed Potatoes

The good news is that you may not have to choose seed potatoes over grocery store potatoes.
I’ve recently learned about an exciting new (to me) technique where you can use “sprouts” from old potatoes instead of seed potatoes.
It’s called “potato sprout planting” or “potato bud cultivation.”
Instead of planting a whole potato — or even a large chunk of one — you grow from the many sprouts that emerge from the eyes.
This method is similar to growing sweet potato slips, where you plant the tuber in a nutritious mix and then harvest sprouting seedlings from where they develop roots on the surface.
This is more economical than using seed potatoes, and from a quick look at the literature, it seems to provide a larger yield in a shorter time.
I haven’t tried it yet, but considering how difficult it is to find seed potatoes in December, it’s certainly something I’ll have to try very, very soon.
Choosing the Right Cardboard Box and Location
If you’re planting potatoes in a cardboard box, choose a plain brown one without any color printing on it. Choose uncoated cardboard boxes. You can remove the labels or tape if you prefer.
Depending on how many seed potatoes you want to plant, you should choose large boxes that offer about 12 square inches of surface area for each plant.
Look for boxes at least 12 inches deep, although 18 inches deep is better. This is sufficient for determinate potatoes, which all form on the same layer.
In temperate zones, pick a full-sun location. Depending on how early you are in your growing season, you’ll want to pick somewhere warm. You can plant potatoes when the soil is as cold as 45°F, but the chances your seed potatoes will rot are higher.
The ideal temperatures are closer to 70°F during the day and 60°F at night.
In subtropical or tropical zones, temperatures are less of a worry. However, you may want to provide some midday shade during the late spring and summer months.
Soil Options for Planting Potatoes in a Cardboard Box
The good news is that potatoes are not picky about soil. While it’s true they like loose soil, you won’t have to invest a fortune into expensive garden amendments.
This is a good opportunity to reuse and recycle old potting soil. It’s generally dry and loose and will only need some fertilizer.
Planting Potatoes in a Cardboard Box Step by Step
The varieties I chose this spring were Yukon Gold and Red Norland. The trick for growing temperate climate crops in Florida is to choose fast-maturing varieties. This ensures you can make the most of mild weather before the heat, humidity, and intense storms that make gardening in our summer so challenging.
Red Norland is a reliable determinate type that’s ready to harvest in 60 to 90 days. Yukon Gold is recommended by our state ag extension and matures in 80 to 95 days.
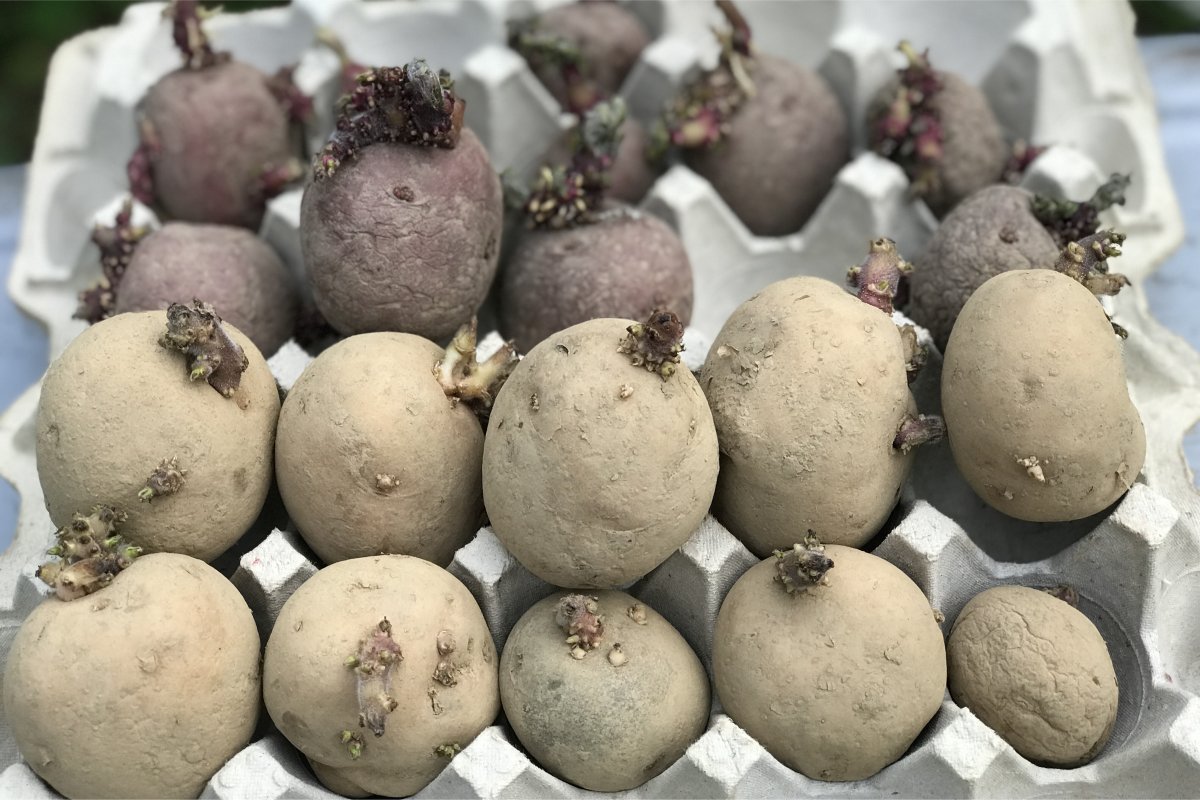
1. If desired, prepare your potatoes by chitting them. Follow this handy guide for guidance on that.
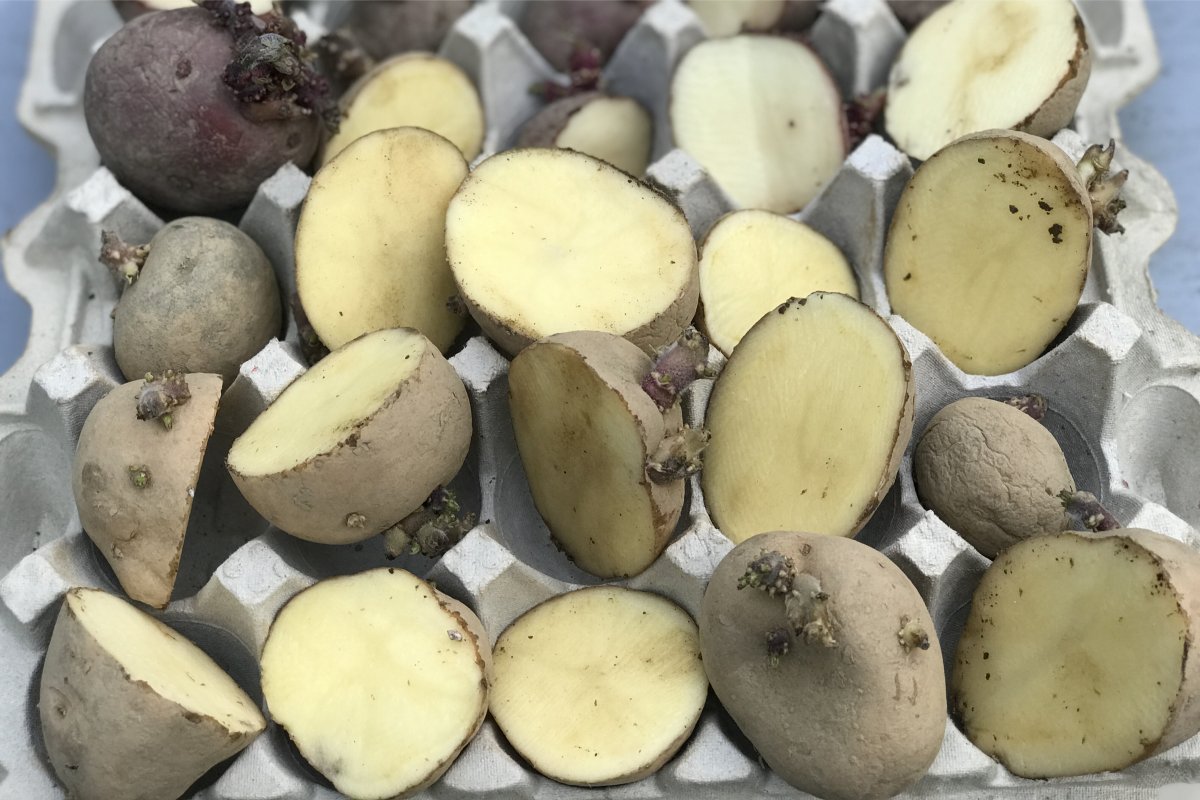
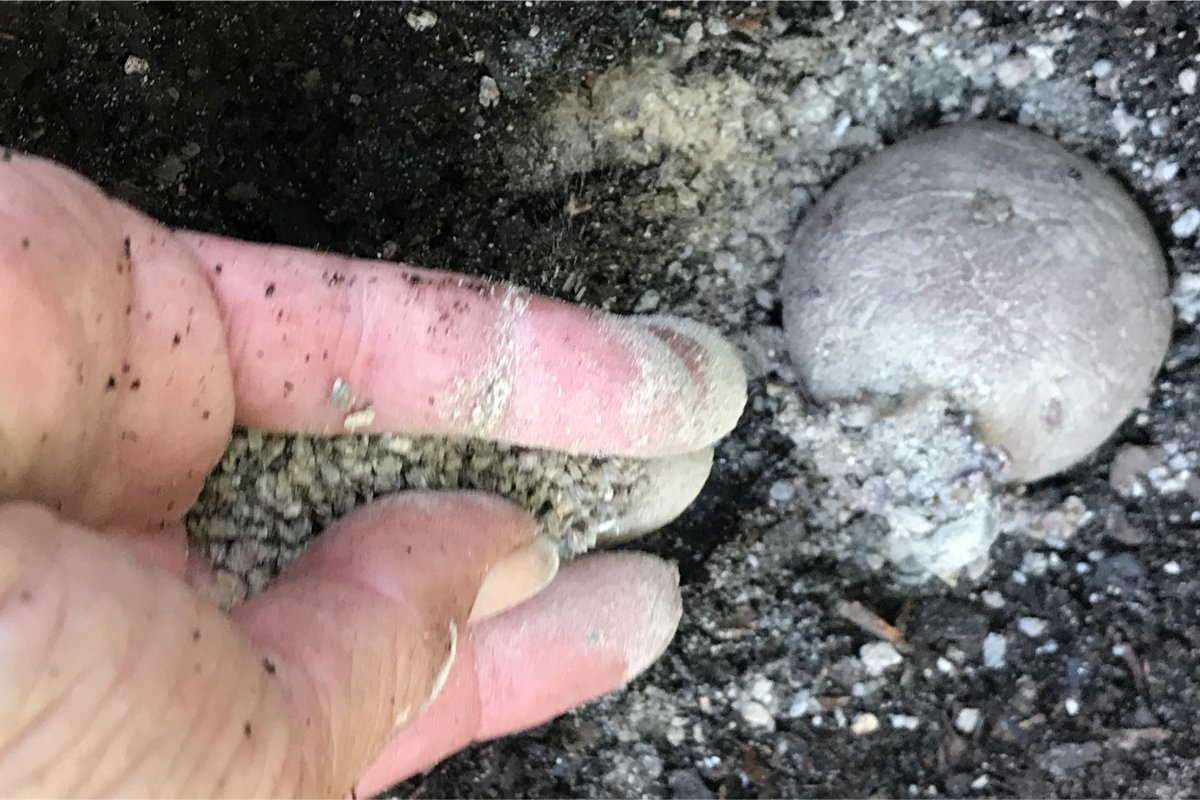
2. Cut larger seed potatoes into chunks, ensuring each section has at least two buds or “eyes.”
3. Allow the cuts in your seed potatoes to callus over, especially if your soil is still rather cool. This reduces the chances they will rot before growing.
4. Choose a warm, sunny location for your box. Note that once filled, you won’t be able to move the box until after harvest.
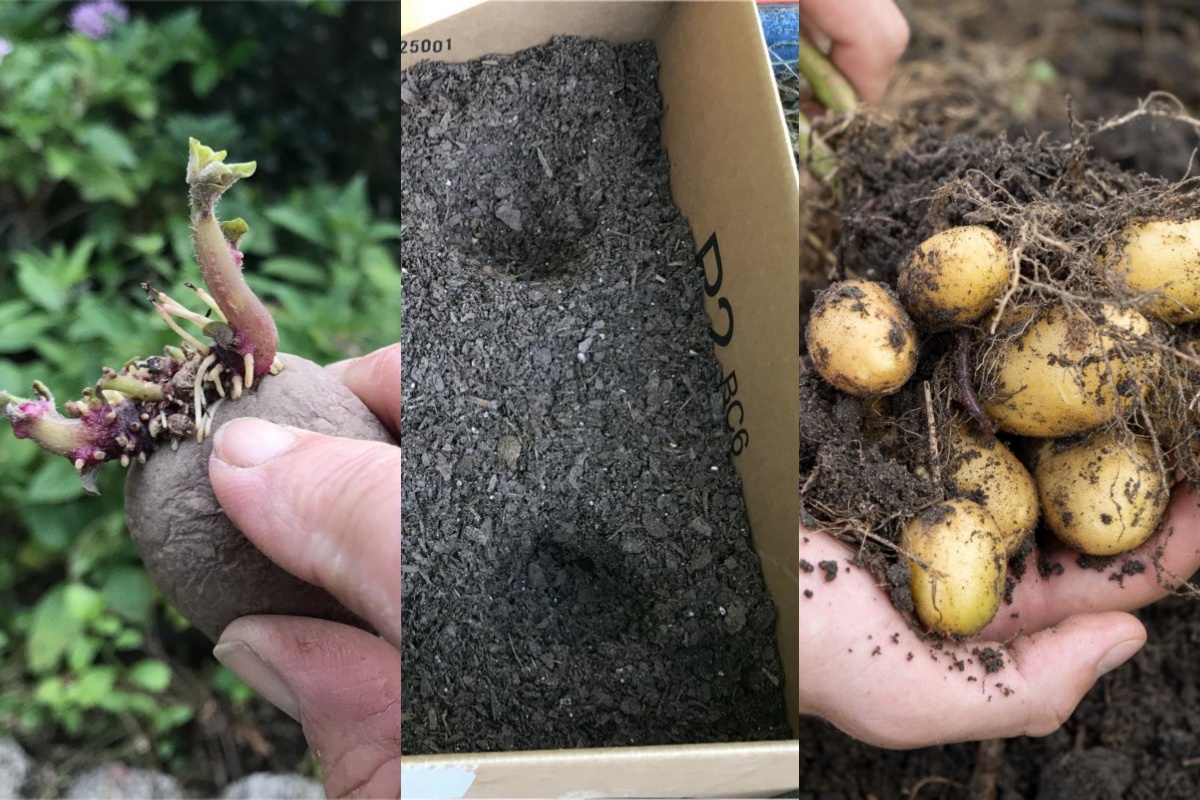
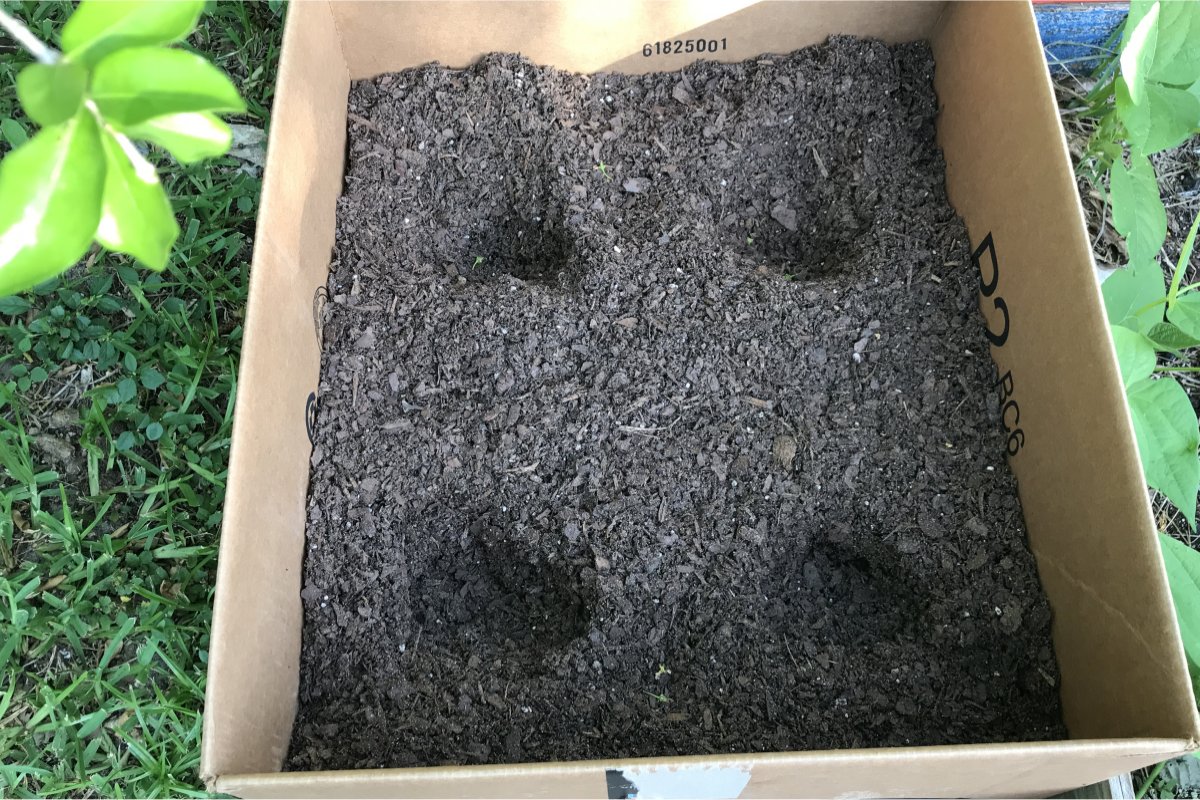
5. Remove any tape or labels from the cardboard box. Close the bottom of the cardboard box by folding the flaps in an alternating pattern and then tucking in the final flap. Place the cardboard box where it will be for the next three to four months.
6. Fill your cardboard box with loose potting soil or raised bed soil. Leave about 8 inches from the top of the box.
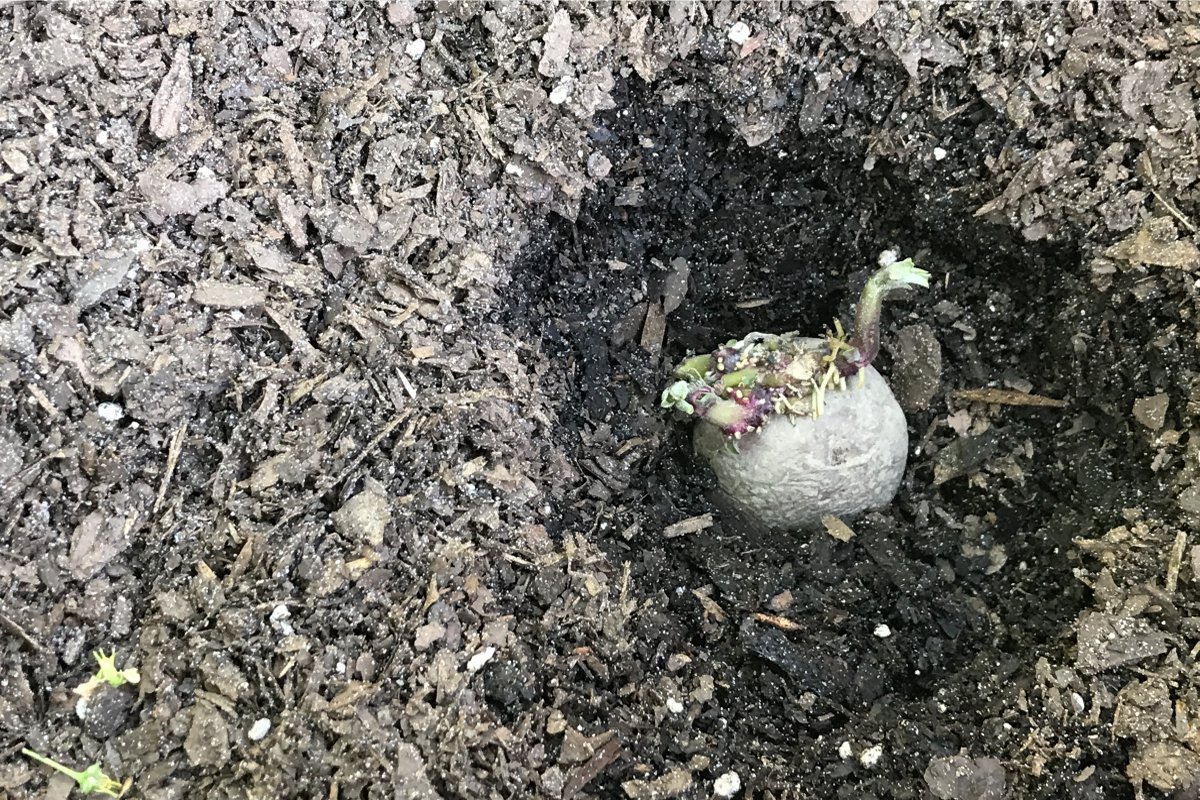
7. Place your seed potatoes at 12 inches apart with the buds facing upward.
8. Sprinkle compost and/or organic fertilizer on top of the seed potatoes.
9. Add another 4 to 5 inches of soil.
10. Water thoroughly after planting but refrain from overwatering to prevent disease.
After Planting Your Potatoes in a Cardboard Box
Your spuds should start to emerge in about two to three weeks.
You shouldn’t have to “hill” them up but be prepared to mulch once the plant emerges. This will help the soil retain moisture as well as prevent greening from sunlight exposure. Check them regularly to see if the mulch needs to be replenished.
If it doesn’t rain, begin watering your potato plants regularly once they emerge. Potatoes need 1 to 2 inches of water per week, depending on the temperature and their stage of development.
The amount of water they need increases when they’re forming tubers — up to 1/4 of an inch a day during this stage. As the plants begin to die back in preparation for harvest, you can reduce the amount of watering.
Potatoes need lots of extra nutrition to develop tubers. Since potatoes grow best in slightly acidic soil, you may want to feed them with a fertilizer for acid-loving plants.
Feed your potato plants a fertilizer high in potassium and phosphorus about two weeks after planting. You can also side-dress the plants with compost. Continue feeding every two weeks but stop when the plant begins to die off as the tubers become ready to harvest.
Get Ready to Eat Taters!
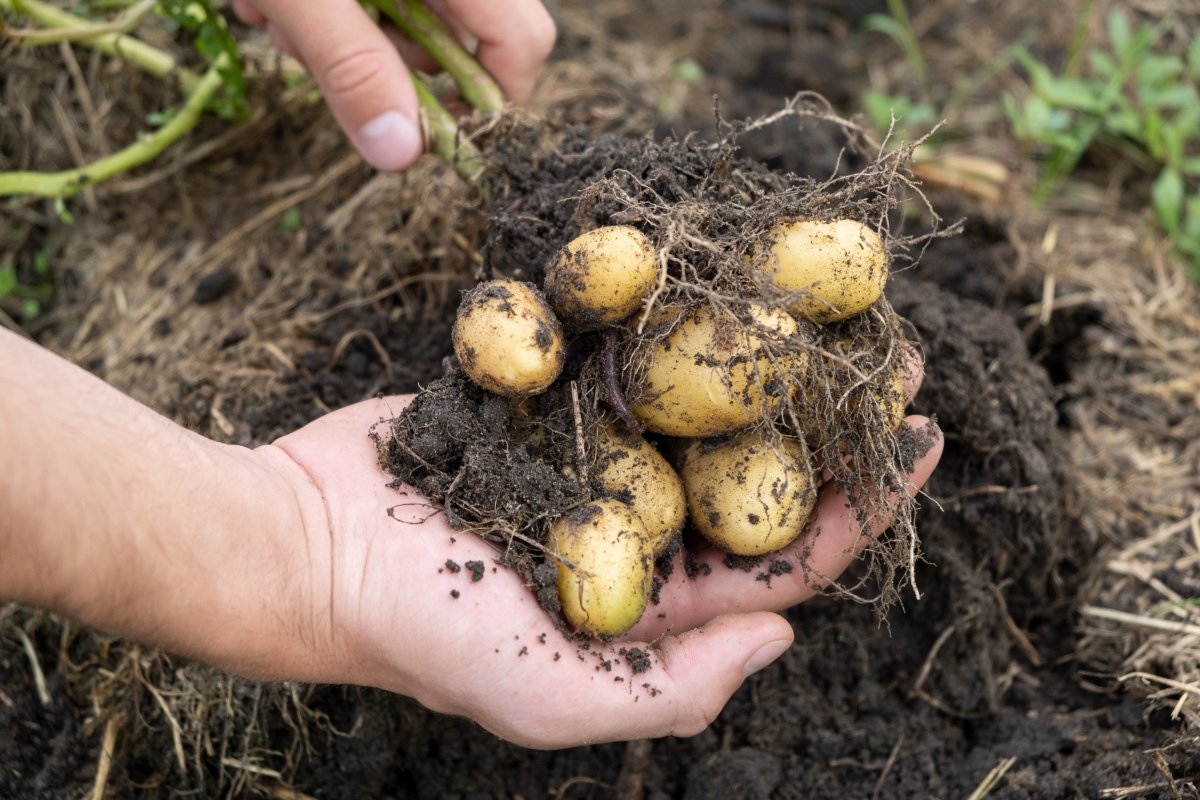
You won’t have to cure fresh-grown potatoes from the garden. Depending on the variety, you’ll be able to harvest and cook them in just 8 to 12 weeks after planting.
However, be sure to harvest them carefully to prevent damaging the skins. Once you’ve dug them up, let them dry completely in a cool, dark place.
Meanwhile, you’ll find the cardboard box you used has now broken down. It may be torn, soaked, and falling apart. It should now be much easier to remove any remaining tape or labels and tear or cut into smaller pieces to add to the compost pile or vermiculture bin.
To prepare your dried spuds for eating, remove as much soil as possible with a soft bristle brush before washing them. This helps keep the skin intact during the few days they’ll spend in your refrigerator before you cook them.
On the other hand, if you’ve ever had fresh, homegrown potatoes before, you may not want to wait that long.

Get the famous Rural Sprout newsletter delivered to your inbox.
Join the 50,000+ gardeners who get timely gardening tutorials, tips and tasks delivered direct to their inbox.