

I’m of the mind that there are few landscaping problems that more plants can’t solve.
Need privacy, better drainage, weed displacement, or to cover up an ugly view? Well, there’s a plant for that.
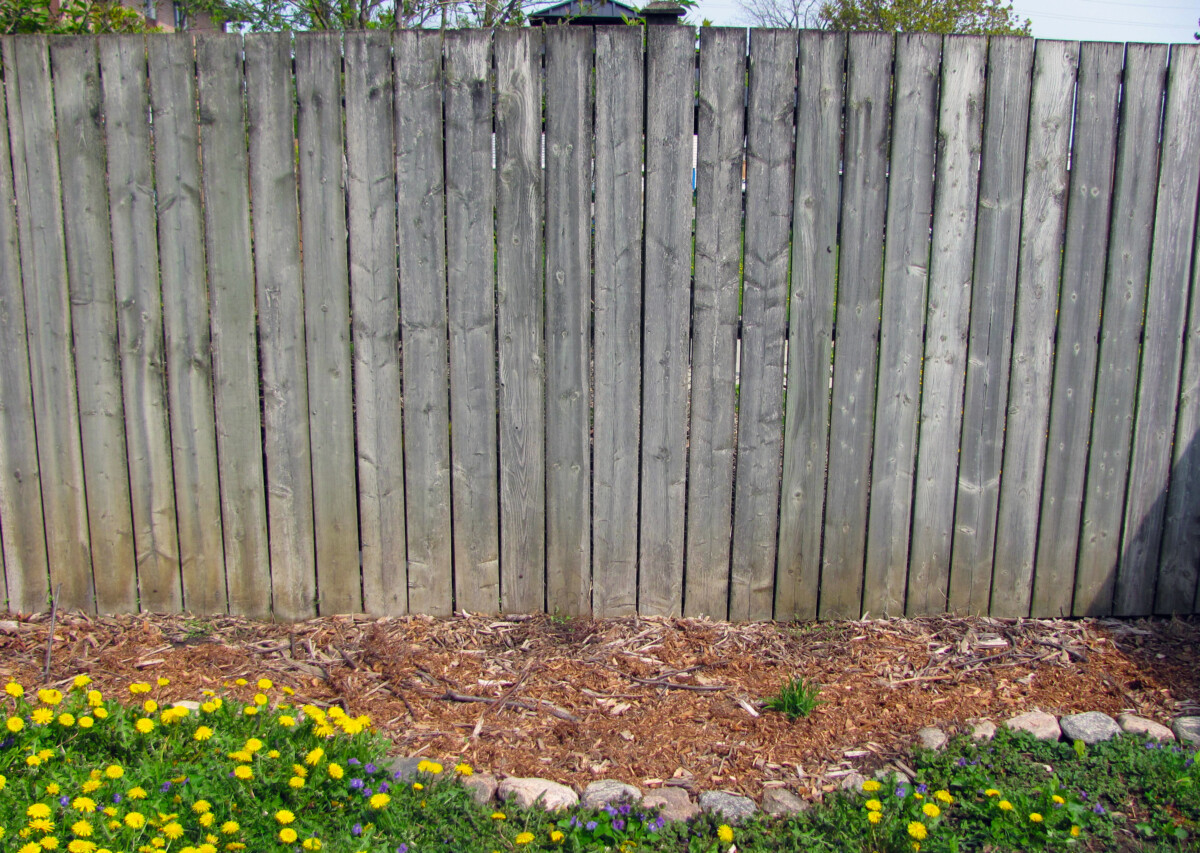
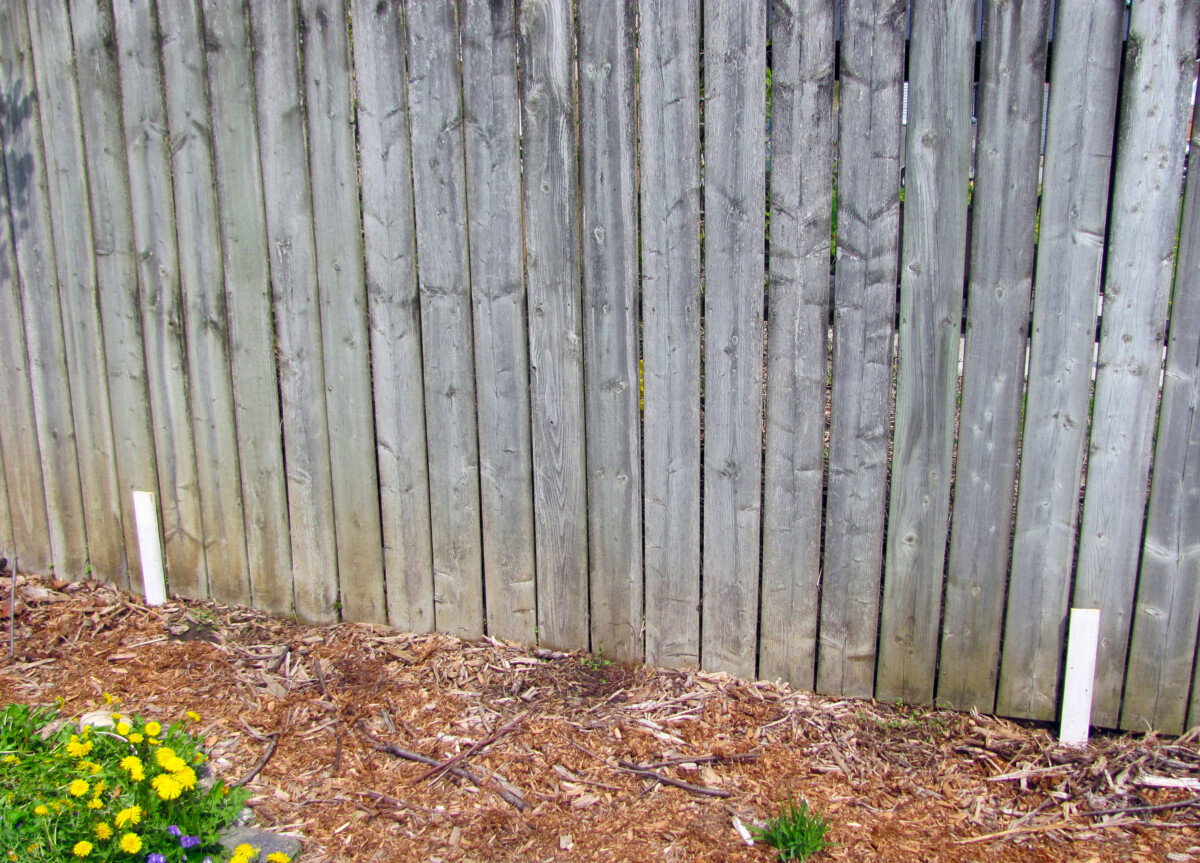
So when vining weeds growing on my neighbor’s side of the fence kept poking through the panels, flowering, and scattering their seeds everywhere, I had to do something to stop the madness.
My planty solution was to build a lattice trellis along the fence and grow some handsome climbing vines. Not only should this do the trick and block encroaching weeds, it will create a beautiful living wall that I’ll enjoy for many years to come.
The Concept
I wanted the lattice trellis to look good and last a long time, but also be super simple to build.
Looking around the internet for tutorials that matched my vision had me coming up empty. I didn’t want a freestanding trellis with concrete footings, or decorative add-ons like cap molding, or for the project to require specialized tools. The overly complex builds just wouldn’t do – and besides, this lattice will be covered in vining plants anyway.
I’ve landed on a design that’s easy to make. The basic idea is to affix the lattice to the fence on top three horizontal lengths of strapping lumber. The wood strips will make sure the structure is sturdy while also keeping the lattice 1.5 inches off the fence. With this bit of space, the twining plants can grow over and under the slats of lattice.
It’s a two-person job that takes an afternoon to put together, and only cost me about $50 in materials.
Materials and Tools:
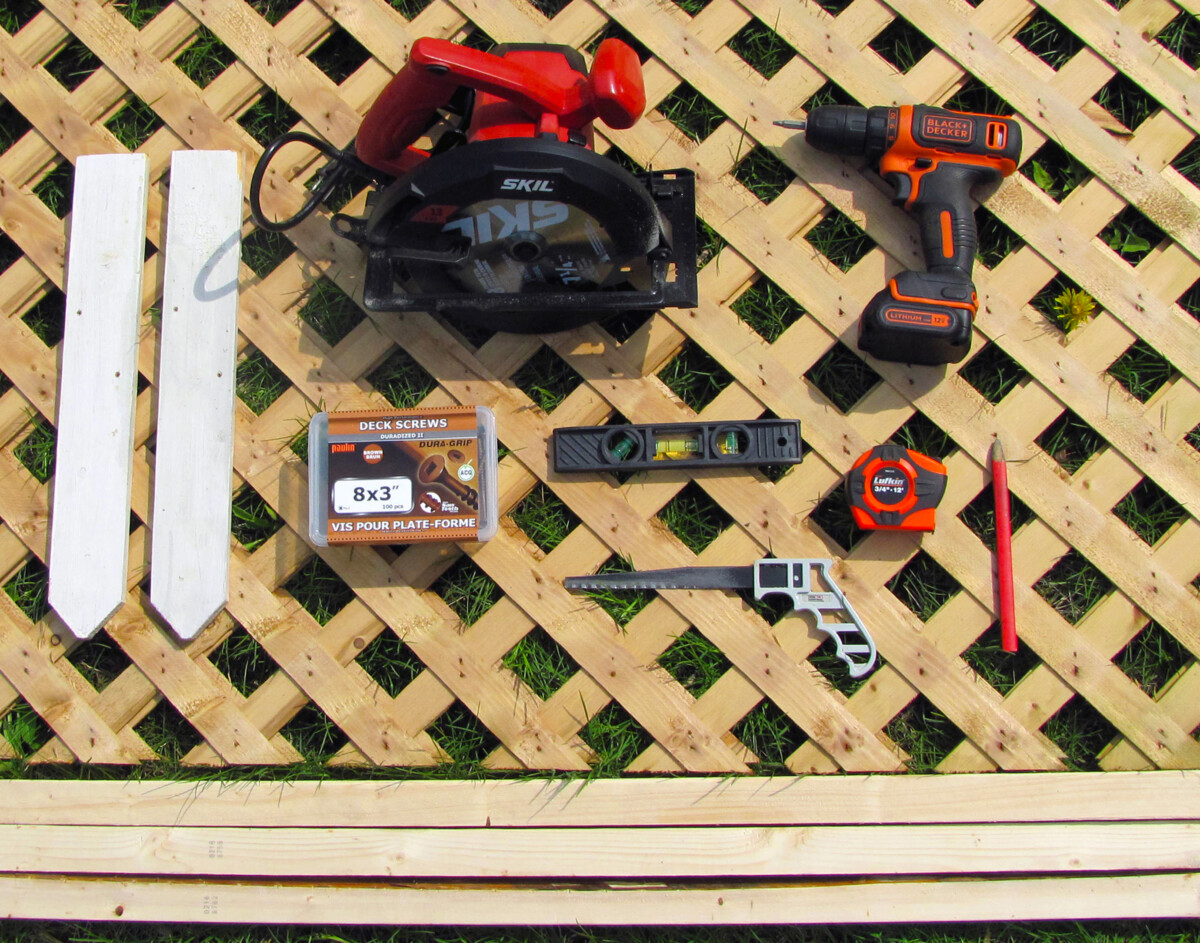
- (2) 4×8 lattice panels
- (3) 2x2x8 lumber
- Deck screws – 3” long
- Circular saw or hand saw
- Keyhole saw
- Cordless drill
- Measuring tape
- Level
- Pencil
- Scrap lumber for stakes
Step 1: Measuring and Marking
The first thing to do is grab your measuring tape and mark out the placement of the lattice along your fence or wall.
I’ll be using two 4 foot wide lattice panels and orienting them vertically for an 8-foot long lattice.
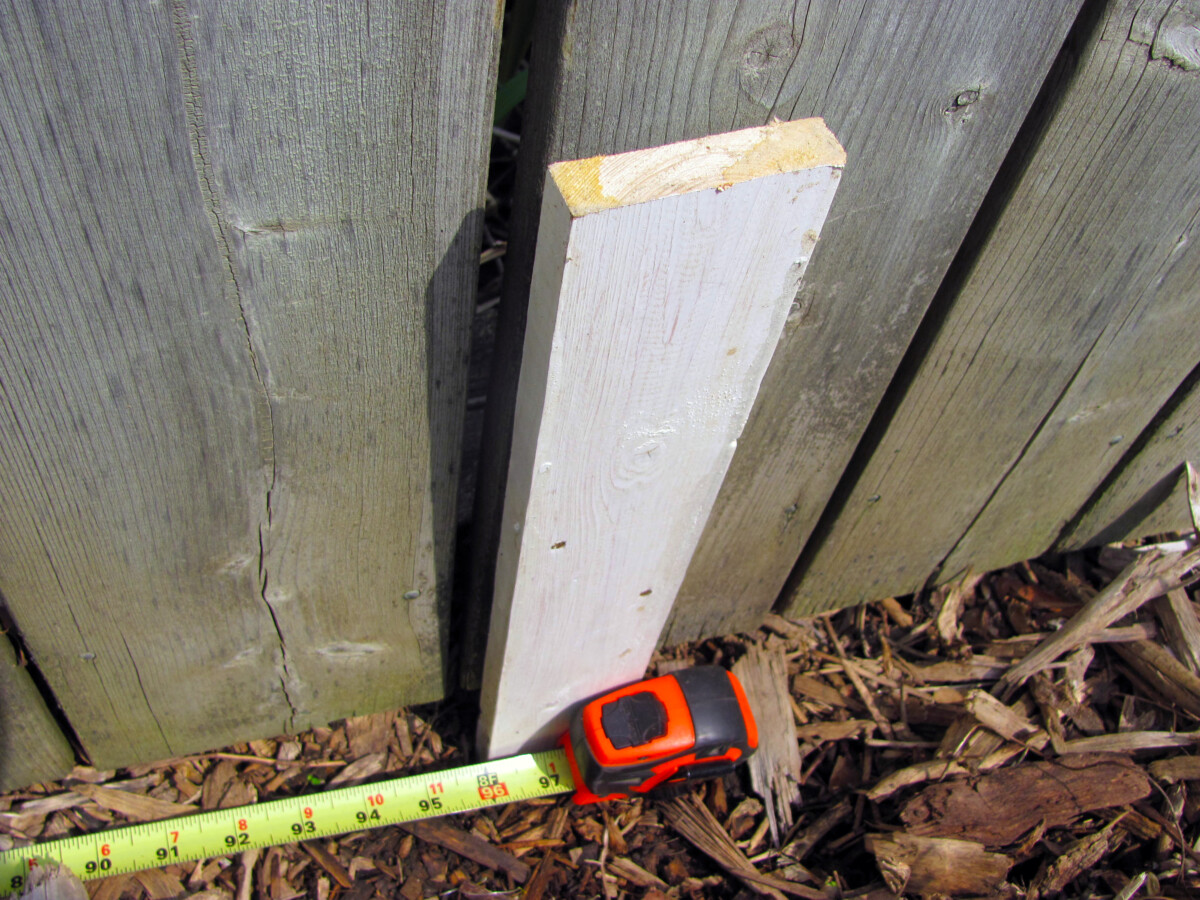
Figure out where you want to the lattice to be and drive two stakes into the ground to mark the position.
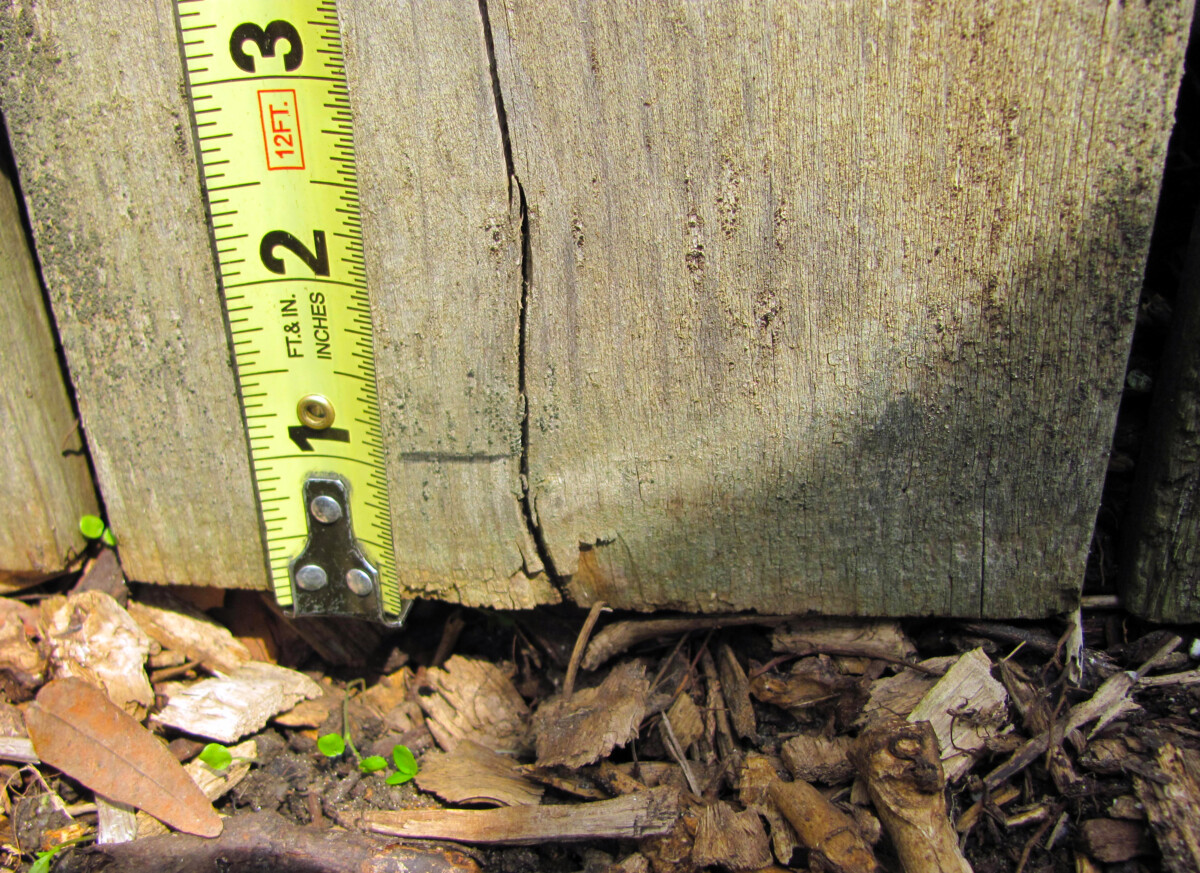
Next, measure the height of the fence and then subtract an inch so the lattice won’t sit directly on the ground.
The strapping will be a bit shorter than the lattice panels on each side. From each stake, measure 6-inches inward and mark these spots with a pencil.

Step 2: Cutting the Lumber to Your Measurements
If your wall or fence is taller than 8 feet, you won’t need to cut your lattice pieces. In my case, the fence is shorter than the panels so the height of each one will need to be cut to size.
Wood lattice is a pretty flimsy material so take care when sawing. I used a keyhole saw to lower the chances of the slats cracking and breaking as they are cut. Placing the lattice face up (with the heads of the staples on top) will make sawing by hand go a bit more smoothly.

Because the strapping is to be 6-inches shorter than the lattice on each side, the lumber will need to be cut to 7-foot lengths. A circular saw makes the task quick and easy but a hand saw would also work.

Step 3: Installing the Strapping
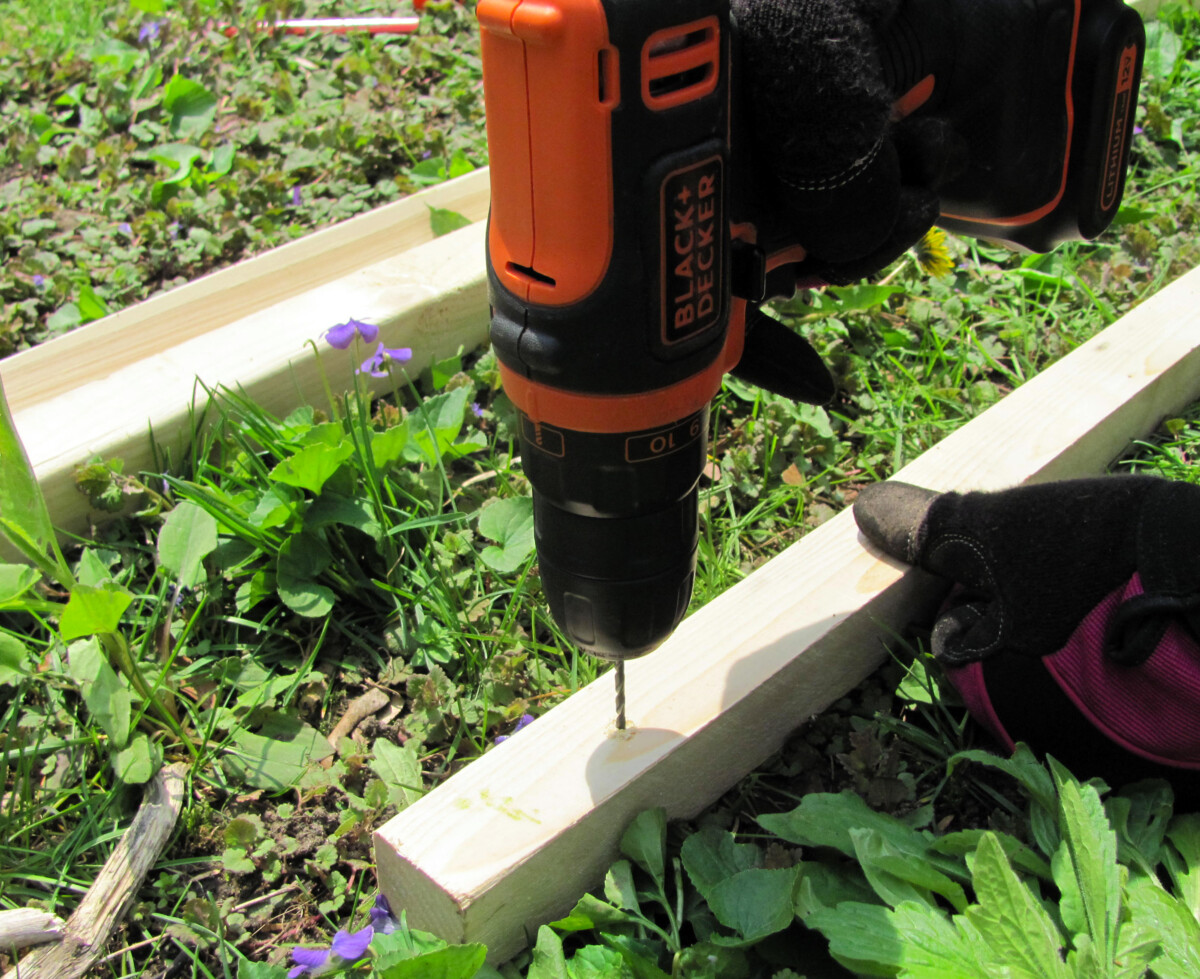
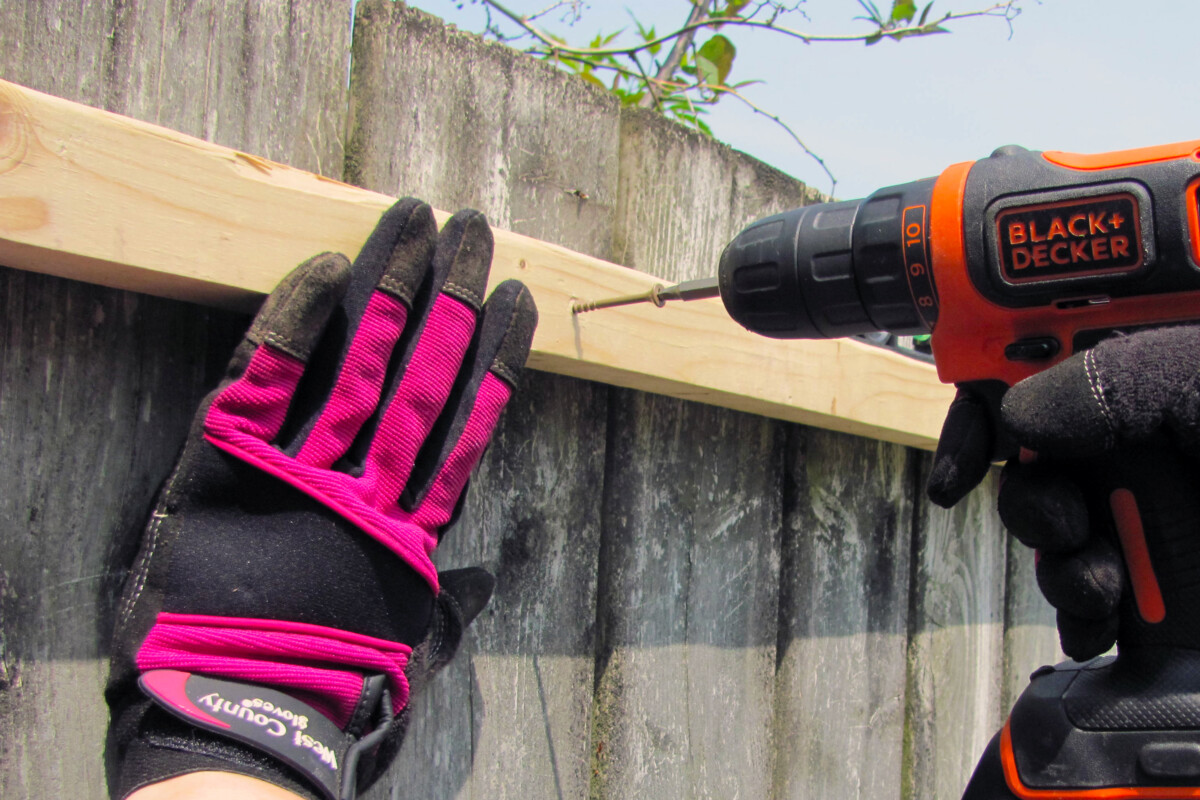
Drill pilot holes along each length of strapping. I started by pre-drilling holes 2-inches from each end and spacing the rest approximately 20-inches apart.
Find the best place to sink your screws on the wall. The fence here has three rails on the opposite side that are the perfect spot to drill into. If you’re installing the lattice trellis on vinyl siding, use the wall studs as your backstop. If it’s brick or concrete, simply space the strapping 12-inches down from top, 12-inches up from the bottom, with the last piece in between.
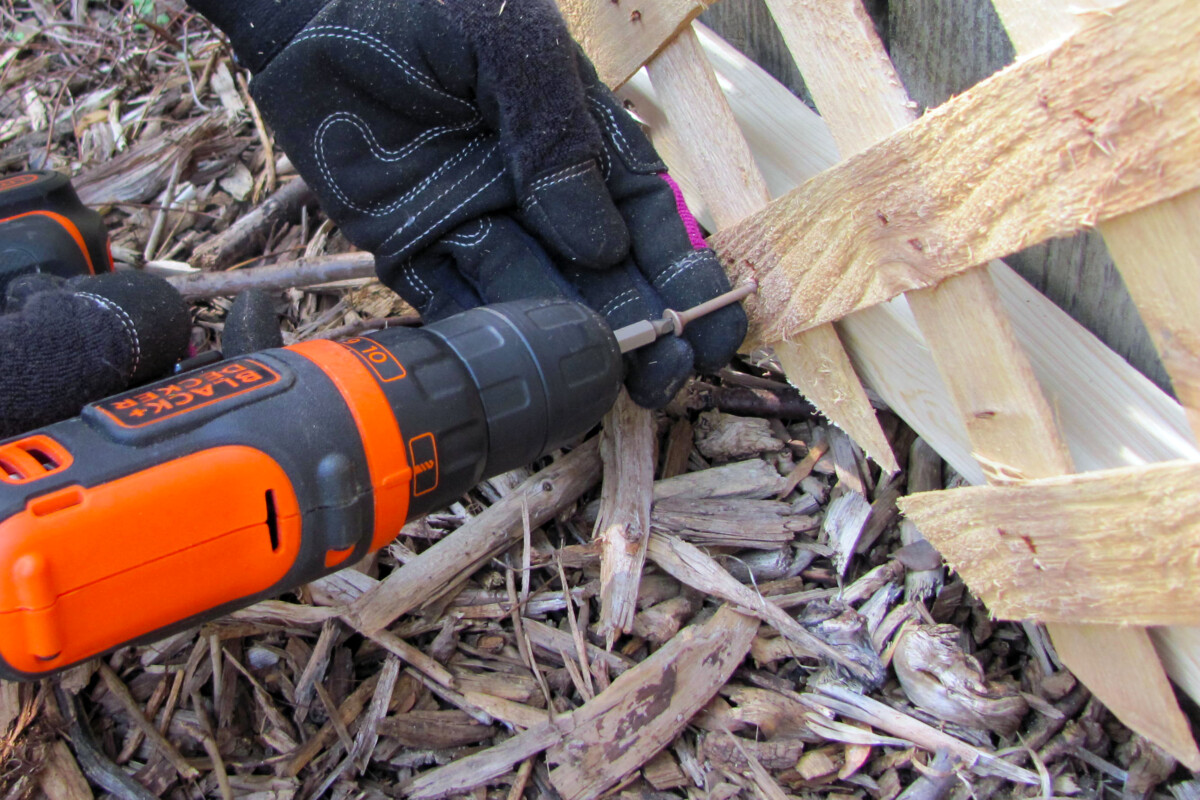
Place one length of strapping against the fence, 6 inches in from the stake. Drill a screw into one end, but keep it loose.
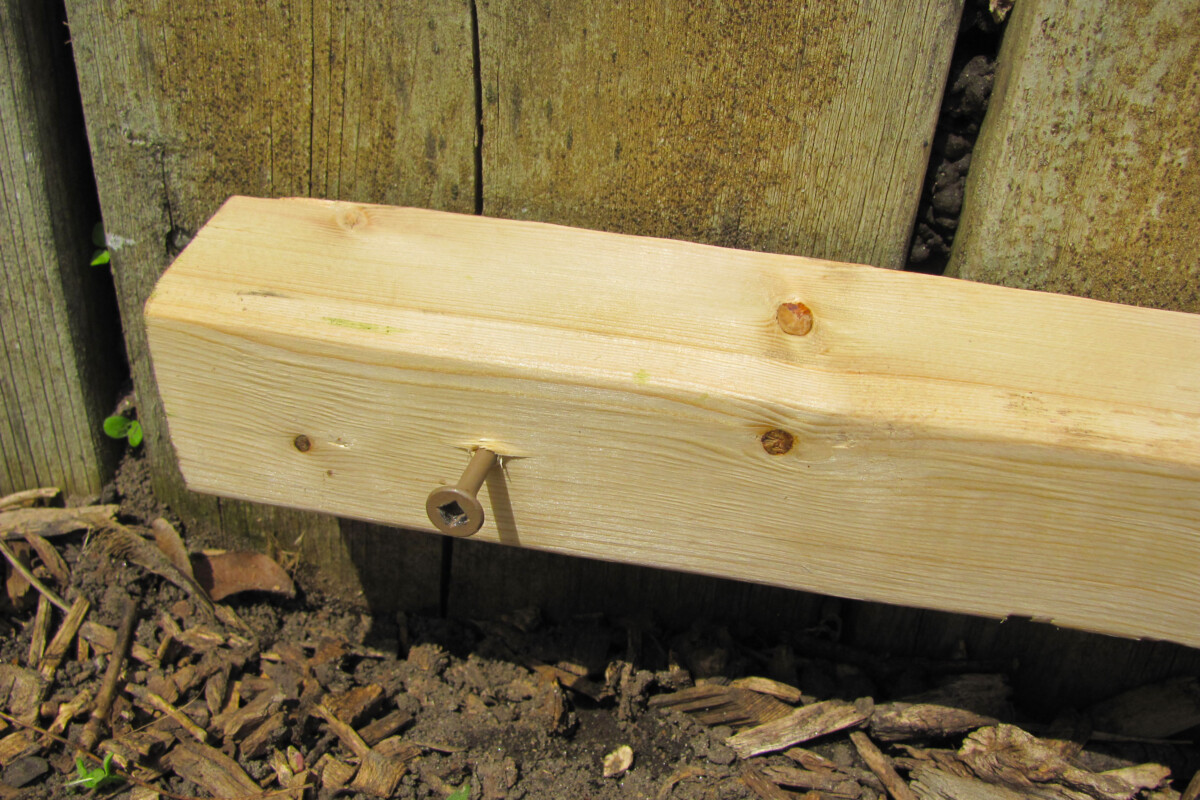
Use your level to determine the correct angle and then drill in a screw at the opposite end.
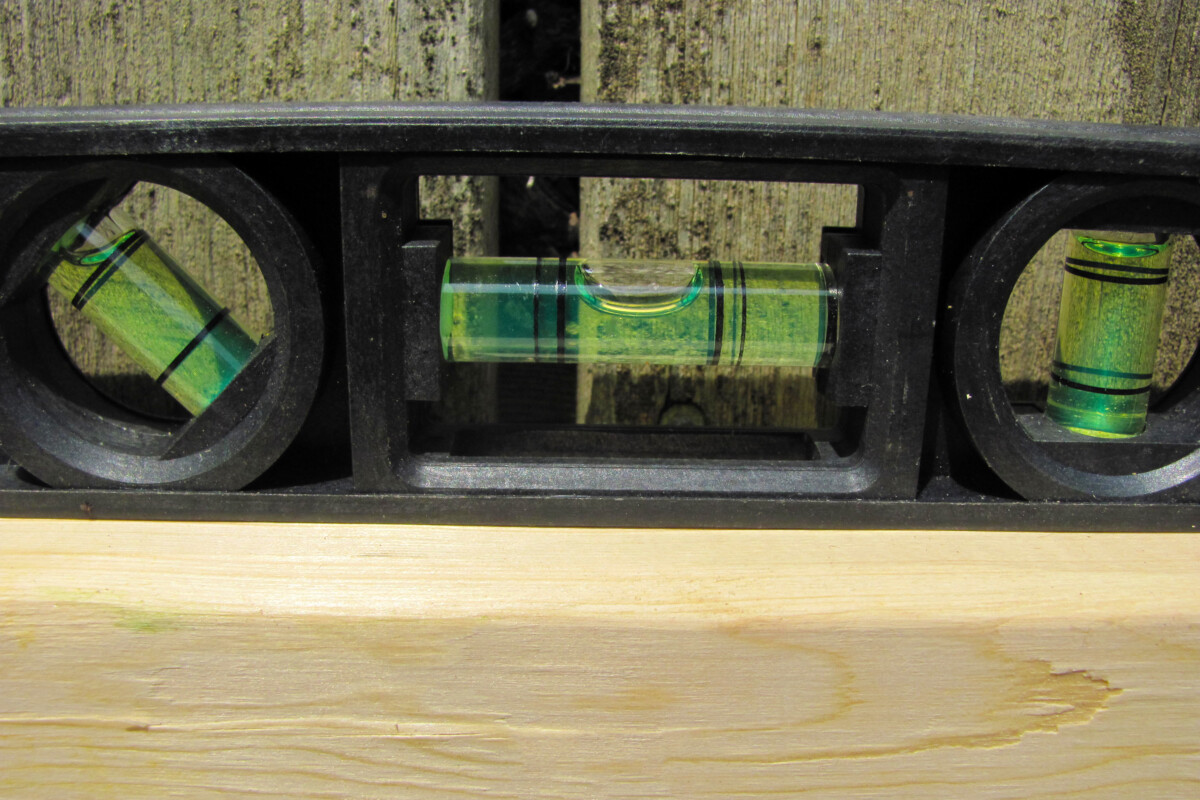
Now that it’s level and straight, go ahead and drill in the rest of the screws along the length of the strapping. Tighten up that first screw too.
Repeat until all three lengths of strapping are affixed.
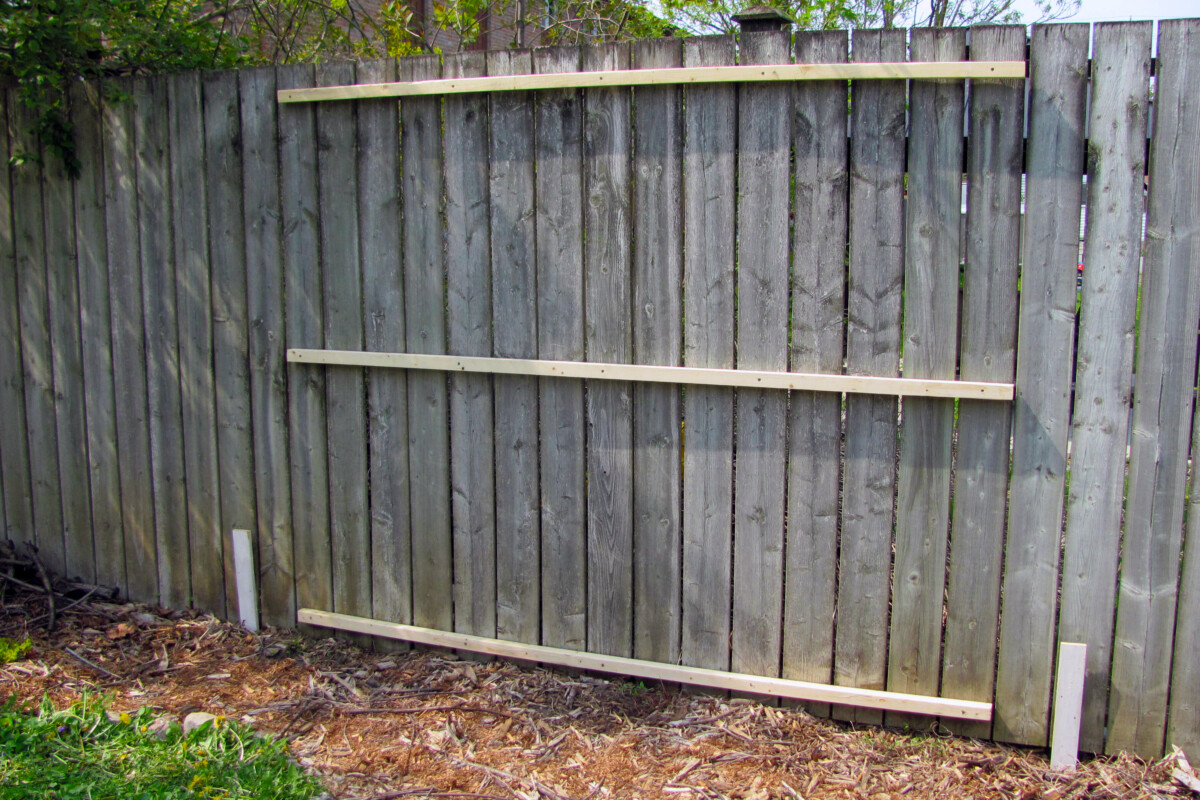
Step 4: Attaching the Lattice Panels
One thing I wish I had known before embarking on this project was to pay closer attention to how the lattice panels were cut back at the lattice-making factory.
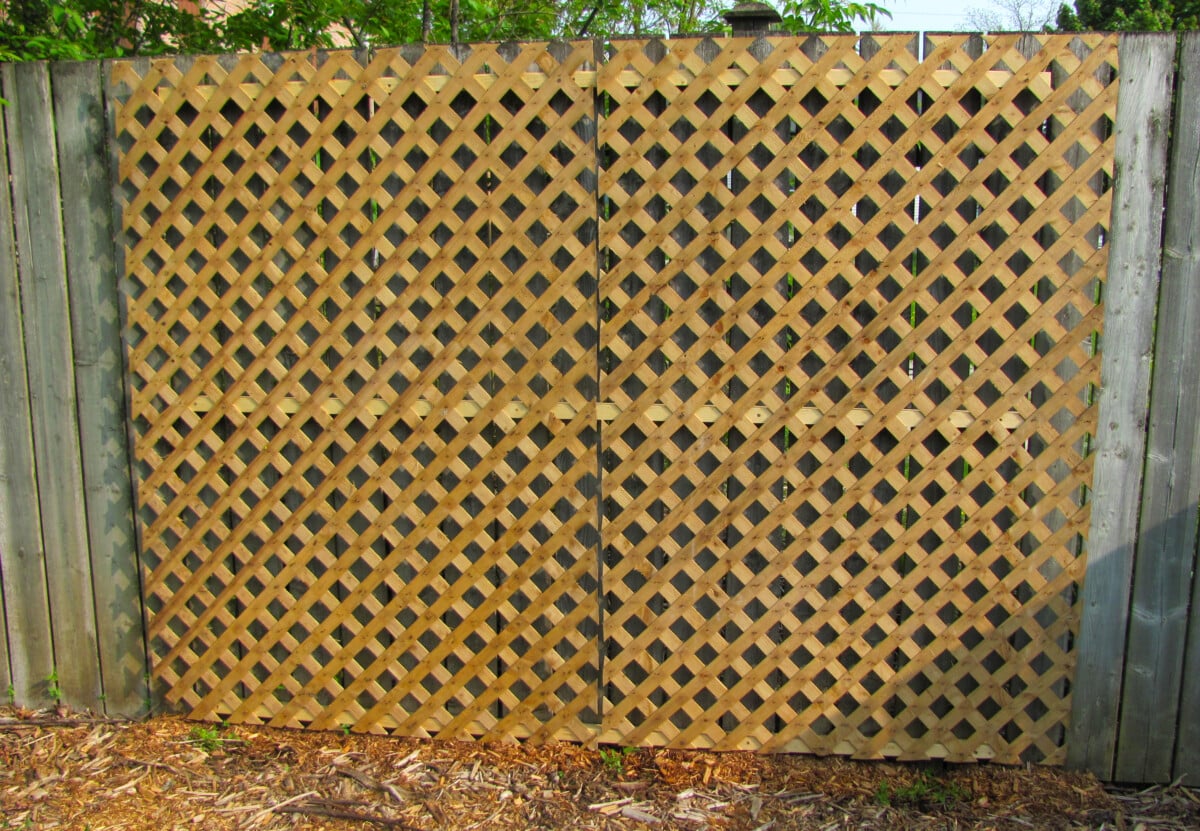
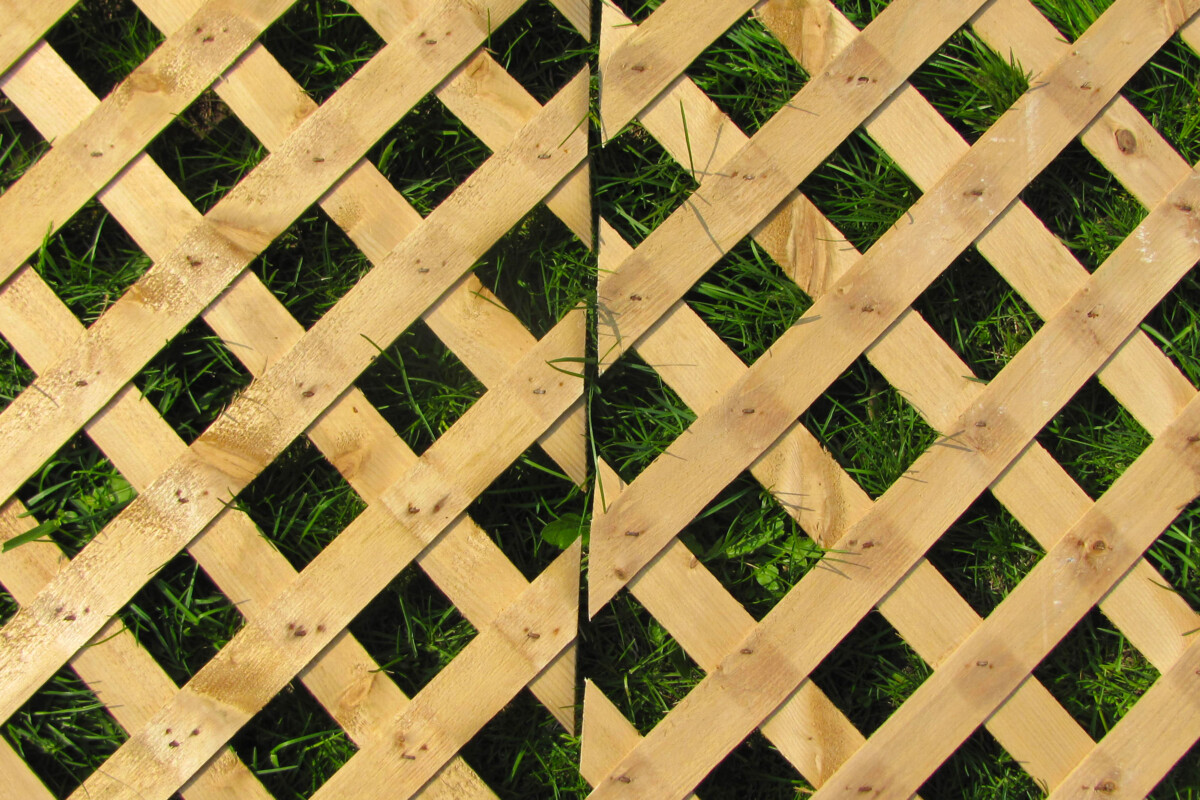
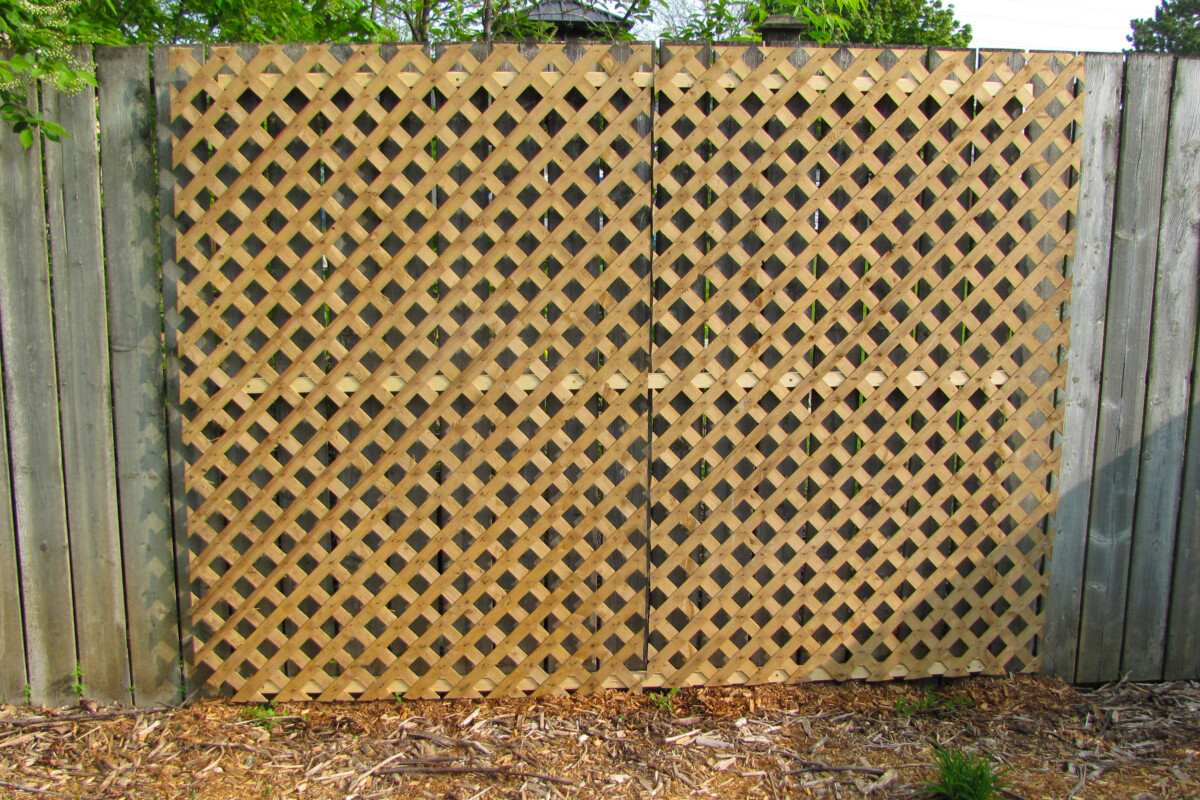
Ideally, the sheets of lattice would line up at the seam to create an uninterrupted span of little diamonds across both lattices. My lattice panels, however, were cut with partial edges. When the two panels are put together side-by-side, they look like this:
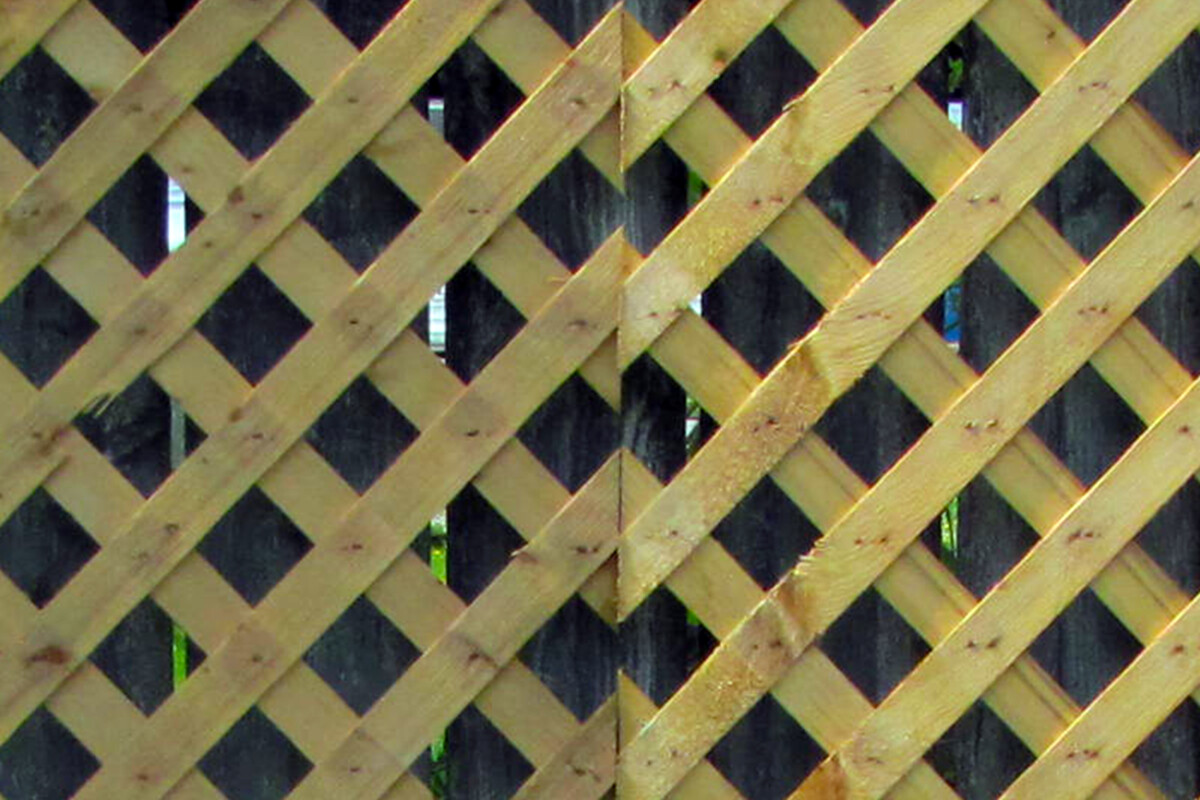
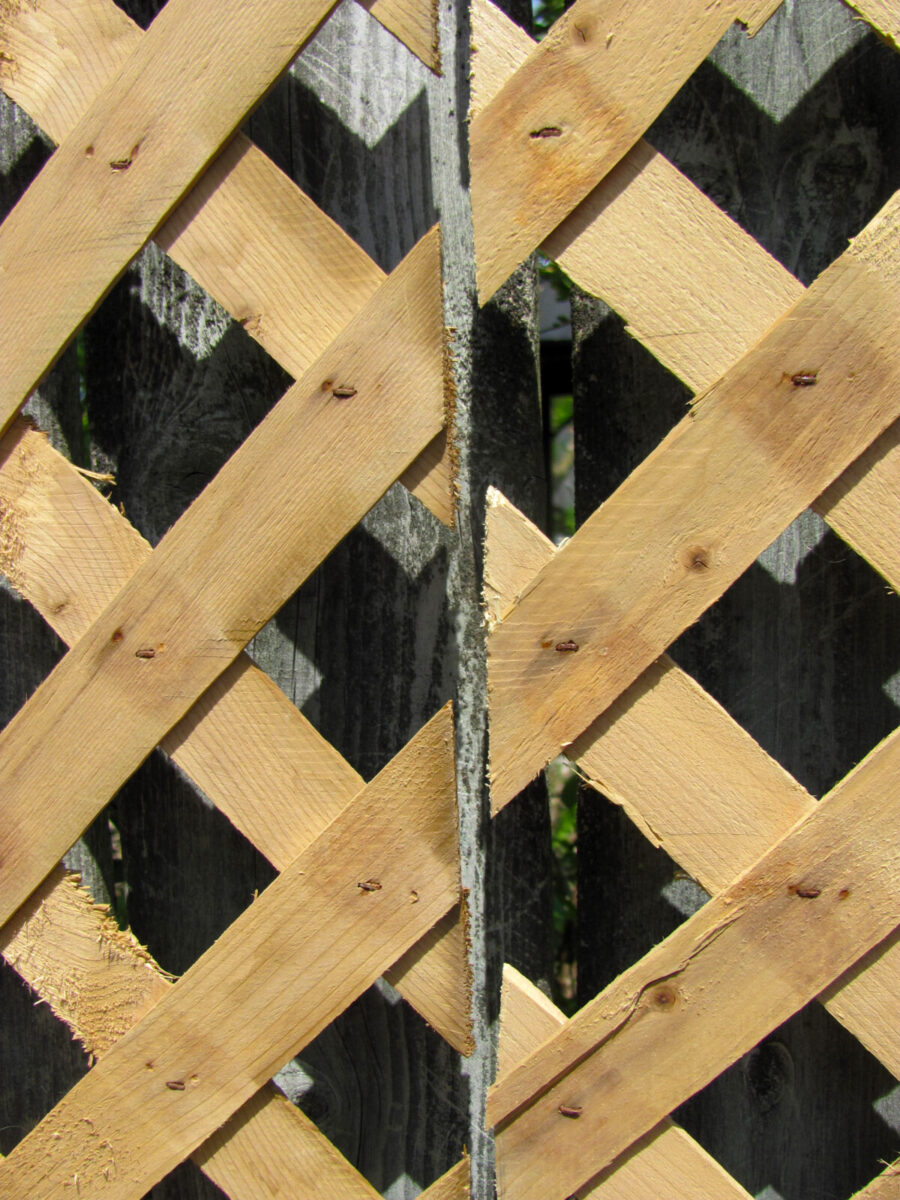
Although I think the double diamond effect still looks good, I wanted the two panels to appear somewhat seamless. The better route would have been to purchase lattice that had complete diamonds at each edge. Since mine did not, I ended up cutting 2.5” off the long edge of one panel so that the lattice would line up like this:
Once you’re happy with how your lattice looks lined up, it’s time to attach the panels to the strapping.
Using the ground stakes to guide you, keep the lattice panel straight and lifted an inch off the ground. Begin screwing in the first lattice panel, starting at the top.
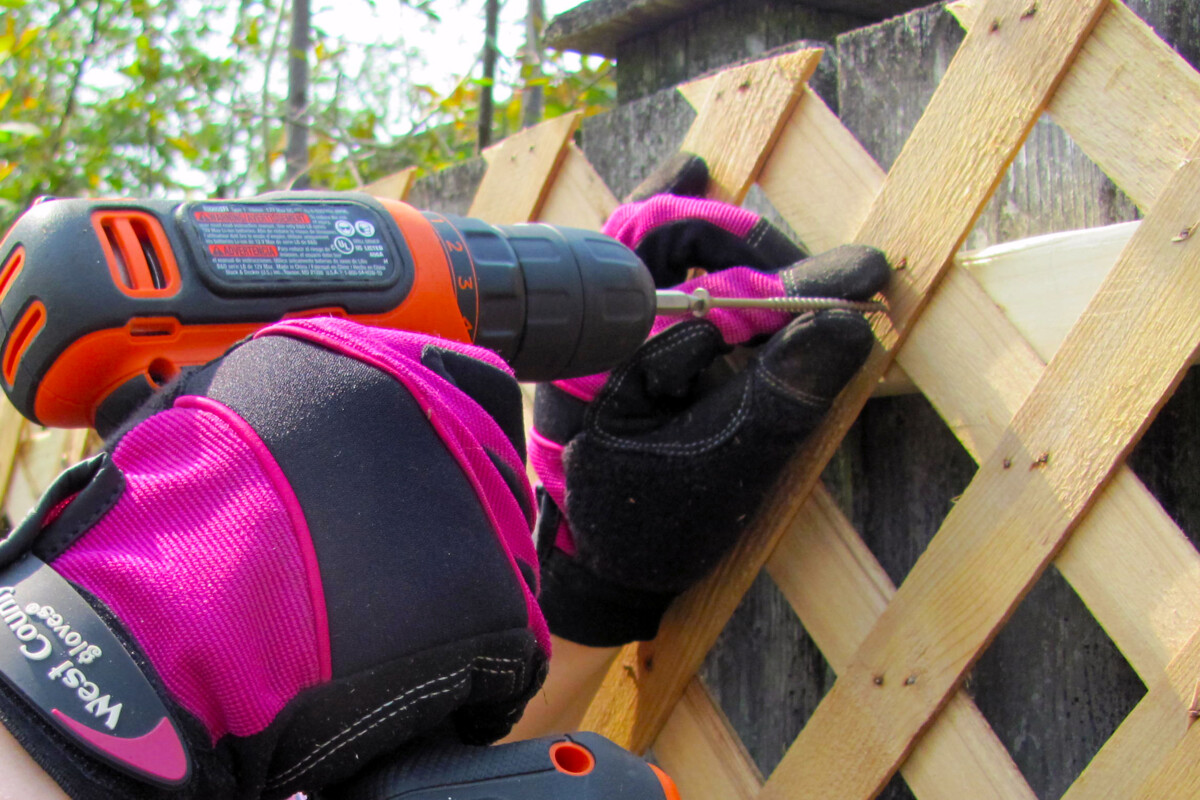
Don’t overtighten the screws. Keep them a little loose so the lattice slats don’t split under pressure.

After the screws are in the top rail of strapping, take a step back and make sure the lattice is level and straight before going ahead and drilling in the rest.
With the first panel hung, position the second lattice panel in the same way. Keep the sheets spaced at least a ¼ inch apart. This gap will give the lattice panels room to expand and prevent the sheets from bowing and buckling.
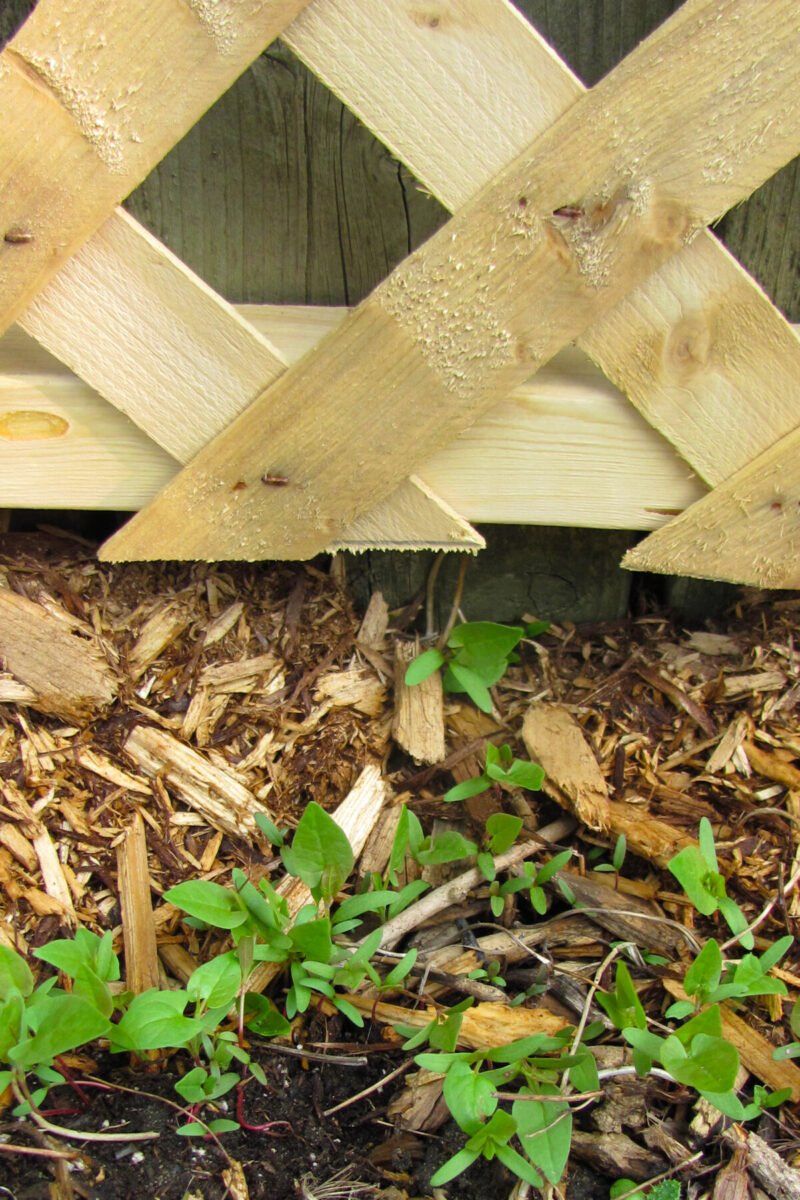
Scatter mulch along the bottom of the trellis to hide the lower gap – and it’s done!
All that’s left to do now is wait for these little morning glory seedlings to rise up and take hold of the lattice.

Get the famous Rural Sprout newsletter delivered to your inbox.
Join the 50,000+ gardeners who get timely gardening tutorials, tips and tasks delivered direct to their inbox.