

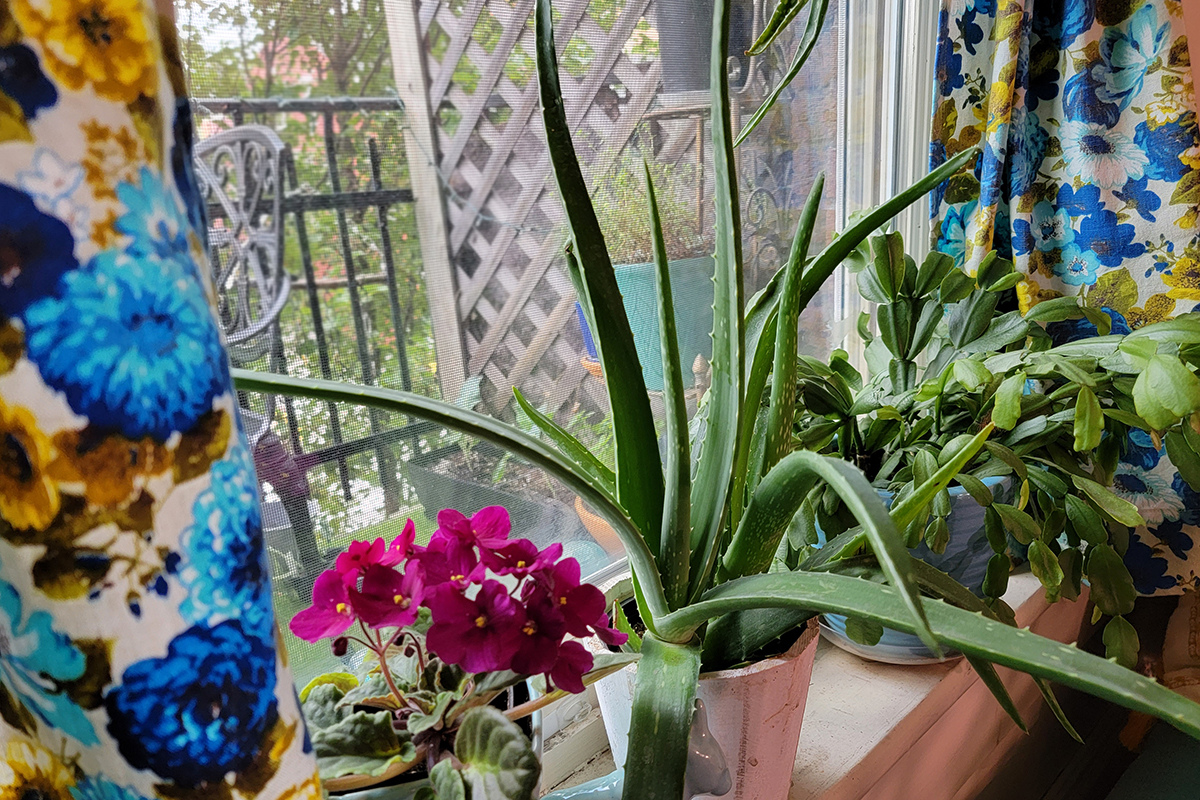
If you’ve got houseplants, chances are you own an aloe vera. Aloes are simple to care for and easy to get your hands on, making them one of the most popular houseplants out there.
Aside from the basics of caring for it, there are a few things every aloe plant owner should know. In the end, the more you know about a plant, the easier it is to care for, and that’s often the difference between having a plant last for decades instead of months.
Aloe Plant Care Basics
It’s always good to start with the most basic requirements to keep a plant alive. As far as aloe is concerned, it’s pretty easy to do. `
We’ll stick to the most commonly grown aloe, aloe vera, or Aloe barbadensis Miller. However, it’s worth noting that aloe care is pretty standard across the species. Aloe vera is native to the Arabian Peninsula but has naturalized to many other neighboring arid and tropical climates.
Aloe needs between 4-8 hours of bright sun a day, but a minimum of six hours to prevent it from becoming stretched and leggy.
As it’s a succulent, aloe stores water in its leaves, so it doesn’t need frequent waterings. It’s best to let the soil dry out completely between waterings. If your aloe is in a pot with a saucer, empty any standing water once the pot has had a few minutes to drain.
Choose a potting mix meant for succulents or cacti, something with good drainage that doesn’t stay damp. Always use a pot with a drainage hole, as aloes do not like wet roots.
Choose a good succulent fertilizer, such as Jobe’s succulent fertilizer spikes. Or choose a fertilizer with a ratio of 10-40-10 and apply it monthly to bimonthly during the spring and summer.
Aloe vera grown as a houseplant will need to be fertilized more frequently than aloe grown outdoors. However, it’s important to note it’s better to under-fertilize rather than over-fertilize; their tender leaves are susceptible to burns from too many nutrients. Flush the soil with pure water between fertilizing to keep salts from building up.
1. There’s a Trick to Growing Thick, Chunky Aloe Plants
Aloe’s popularity stems from how easy it is to keep alive. You can put it through all sorts of abuse, and it will take it. But what if you don’t want your aloe plant to simply stay alive? What if you want it to grow larger and thrive?
There are a couple of tricks to growing those thick, chunky stems filled with aloe vera.
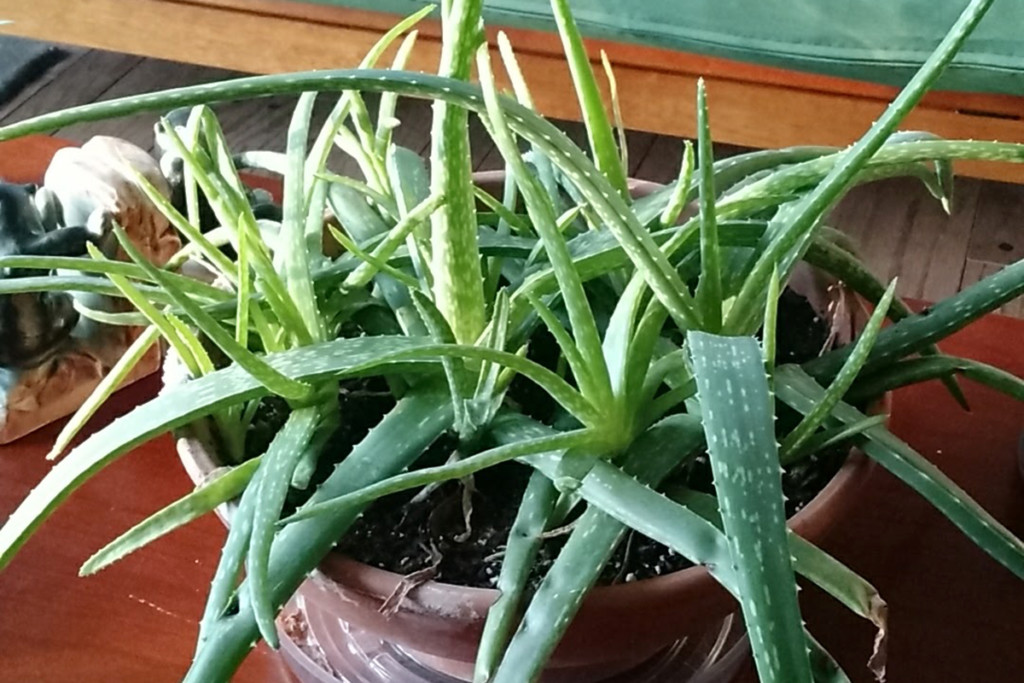
One of the most important things you can do to grow thick aloe vera leaves is to let your plant dry out between waterings. Most people assume that watering the plant frequently will cause it to store more water in its leaves because it’s a succulent. The opposite is true. If you water an aloe before it dries out, it still has access to water, so it won’t store it in the leaves; it can get it directly from the roots.
If you want thick aloe leaves, you want a thirsty aloe plant. Wait until the first two inches of soil have dried out completely before watering your aloe. Then give it a good drink, and it will store that water in the leaves.
Another important thing for chunky aloe stems is access to bright light. An aloe needs light for photosynthesis. It won’t grow large leaves if it doesn’t have access to regular, bright light because it can’t sustain larger leaves.
Aim to give your aloe at least eight hours of bright sun daily.
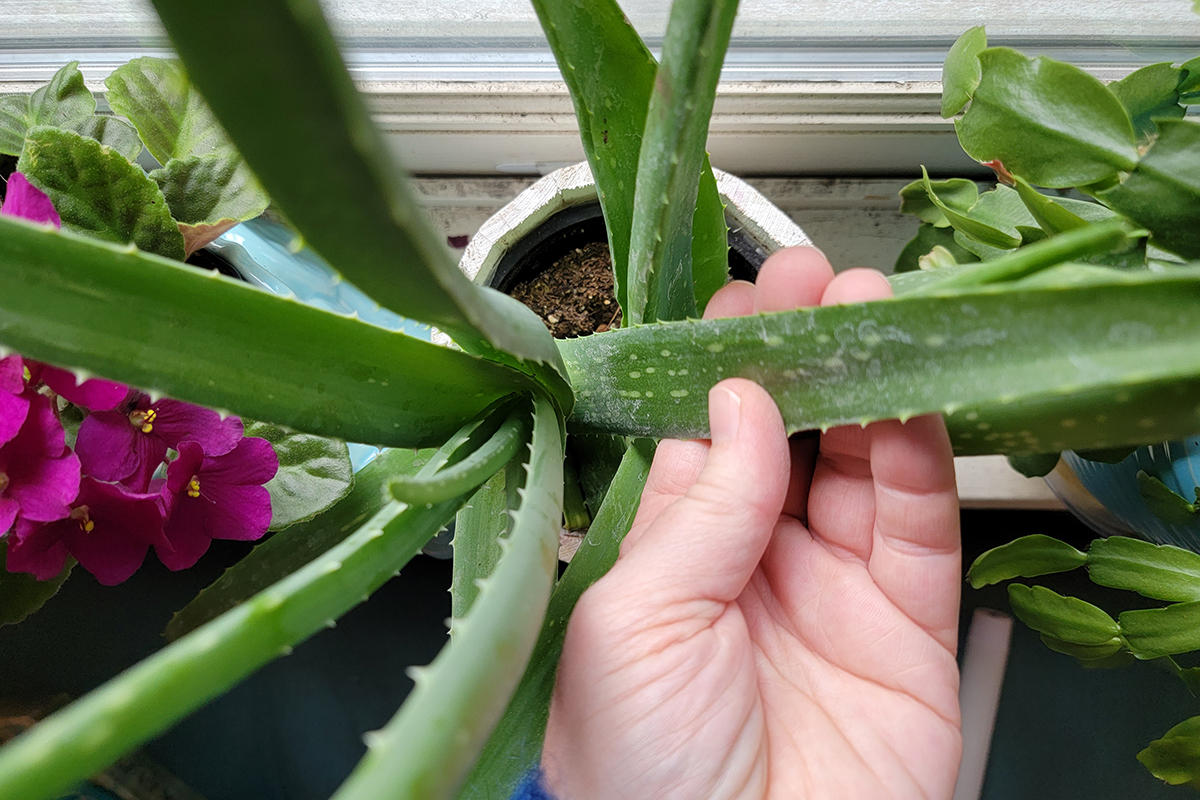
2. Train Your Aloe to Grow Straight Up
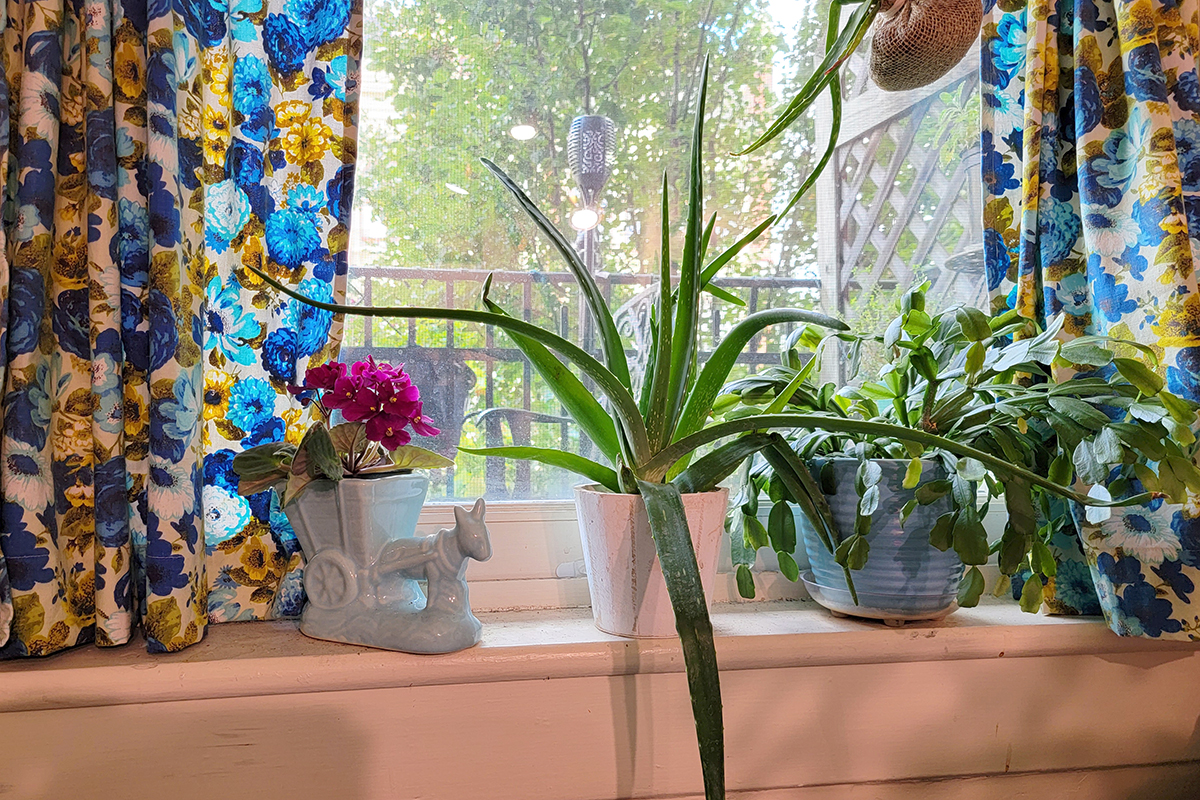
When you grow aloe vera outdoors, it usually gets direct sun from overhead throughout the day. Thus, you get a straight aloe plant, as it gets strong sun from all directions. If you take that same plant inside, it will usually begin to grow sideways, spreading out rather than up.
But don’t worry, you can train aloe to grow straight up indoors.
All you need to do is wrap a string, twist tie, or a strip of paper loosely around the outside of each aloe crown. You want to tie it slightly snug, but you don’t want to crush or break any leaves.
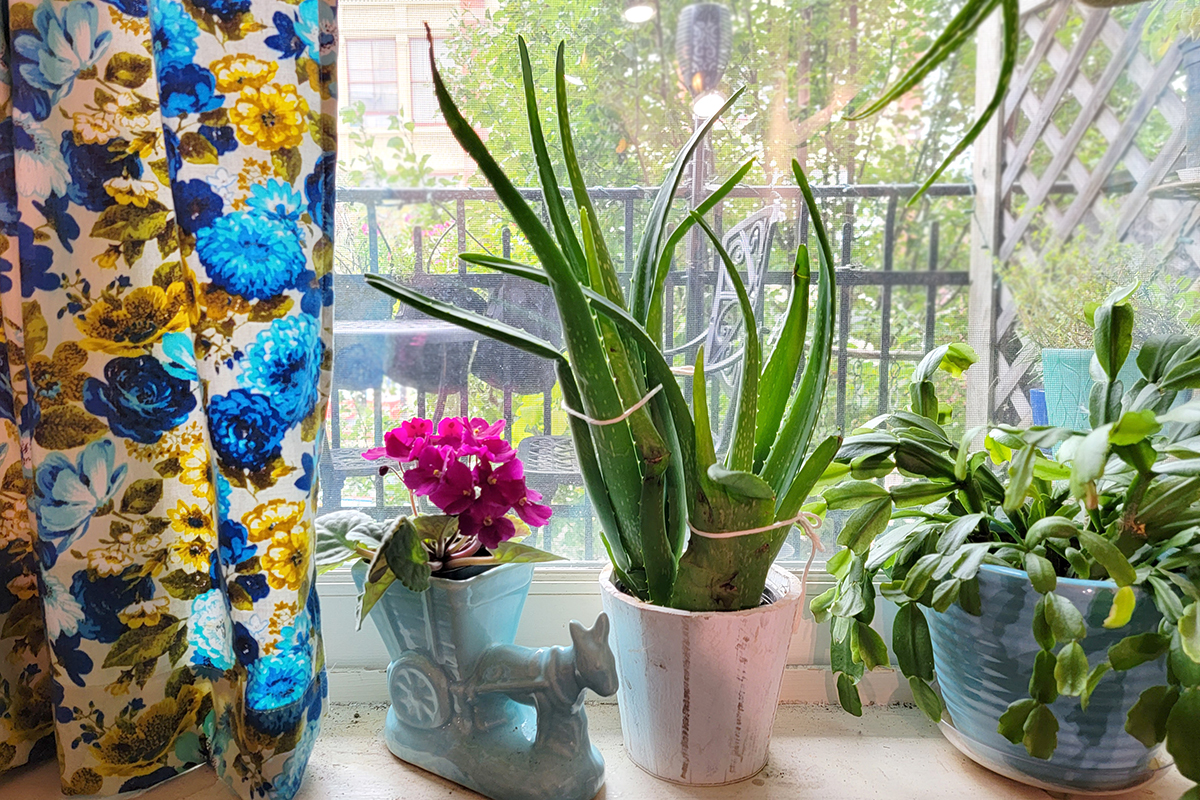
Once a day, you’ll tighten the string or tie a little bit over the next few days. After about five days of daily tightening, remove whatever you used to hold your aloe together. The plant will be growing straight up again.
To keep it growing straight up, consider moving it to a location where it receives at least 8 hours of bright sun a day, and rotate the pot twice a week so that it receives an even amount of sun exposure.
3. Pups are the Perfect Way to Propagate
As any houseplant enthusiast can attest, one plant never seems to stay one plant. Propagating our plants is nearly as much fun as growing the original. Whenever we add a new plant to our collection, it doesn’t take long for us to reach for the scissors to take a cutting.
Leaf cuttings are usually the easiest way to propagate most houseplants. But before you start snipping, there’s something you should know about growing aloe from leaf cuttings. It’s ridiculously hard to do.
Aloe, specifically aloe vera, is packed with aloe vera gel. All that moisture makes it hard to propagate from cuttings. The plant usually rots before it can send out roots. You’re more likely to end up with a rotten piece of mush than another aloe plant.
Luckily, if you want more aloe plants, the plants themselves are more than happy to oblige you via pups.
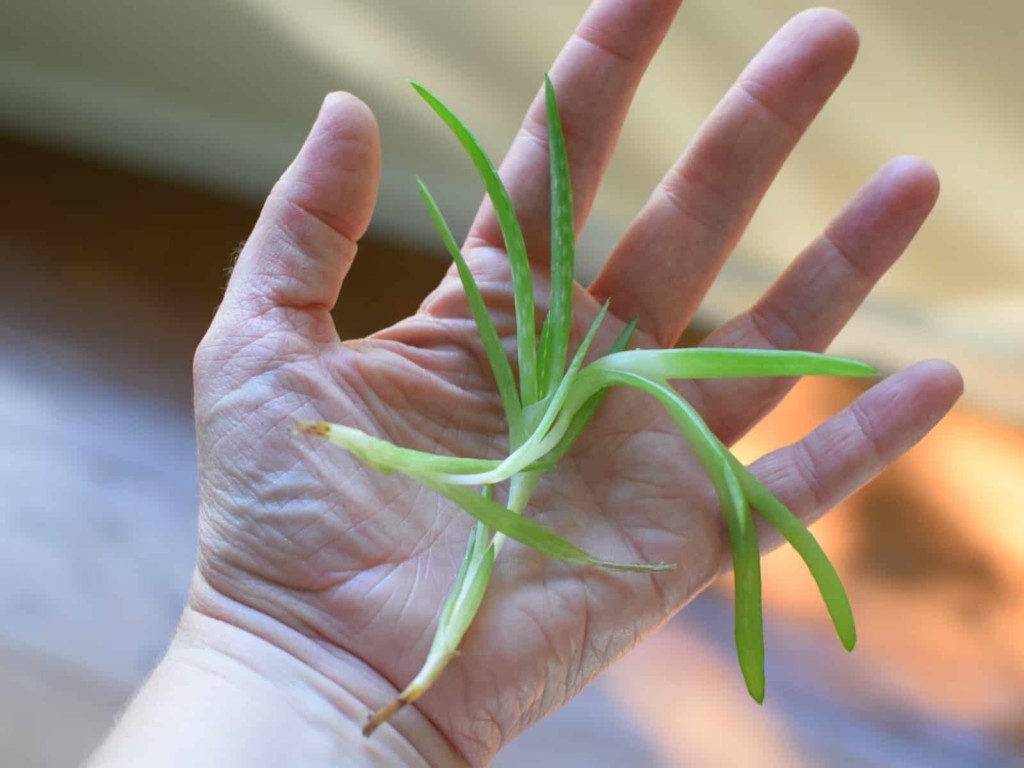
Aloe propagates itself by growing tiny new clones at its base. These wee aloe plants, called pups, are attached to the parent plant by a stolon growing beneath the soil. These pups are perfect for replanting and sharing with family and friends.
I’ve got a quick tutorial that will walk you through all the steps of propagating aloe from pups.
4. Aloe Vera Can Cure Your Sunburn, But Aloe Can Get Sunburned Too
Often, aloe vera gets mistaken for a cactus, so it’s not uncommon for new plant owners to put their aloe vera plant in the sunniest spot they can find. Sure, aloe vera is related to the cacti family, but it’s a succulent, and succulents require much different care than a cactus.
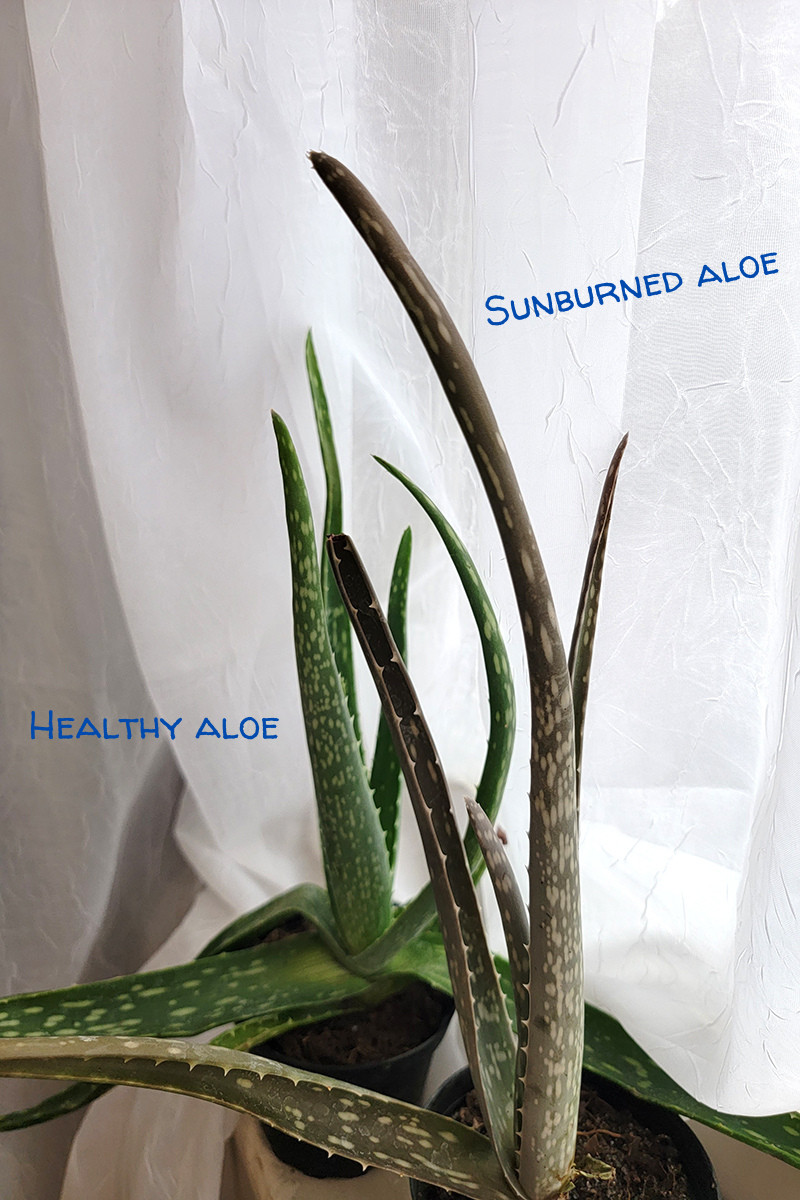
Believe it or not, those spiky leaves are pretty tender and will burn when overexposed to direct sunlight. If you notice your aloe’s leaves turning brown or red, beginning at the tips, your aloe is most likely sunburned.
This is easily remedied by moving the plant to a less sunny location or diffusing the light with a sheer curtain. Often, moving the plant further away from the window a bit is enough to keep it from getting burned while still giving it plenty of light.
If you prefer to move your houseplants outside during the warm summer weather, keep this in mind and choose a spot that gives your aloe a break from the hot sun during midday. You’ll want to check the plant regularly to ensure it isn’t receiving too much sun.
5. Easily Harvest Aloe Vera Gel
If you’ve ever had a bad sunburn, you know how handy it is to have aloe vera gel around. Rather than keeping a commercially produced bottle of aloe vera gel (with an expiration date) on hand, it makes more sense to have an aloe plant.
You’ll always have access to the freshest aloe vera gel whenever you need it.
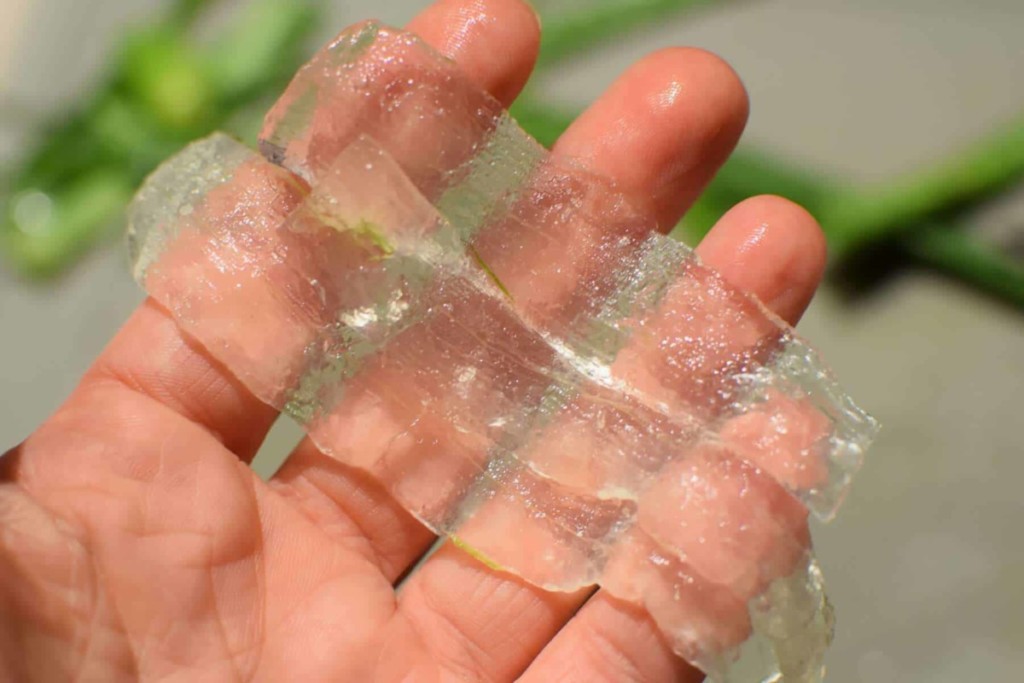
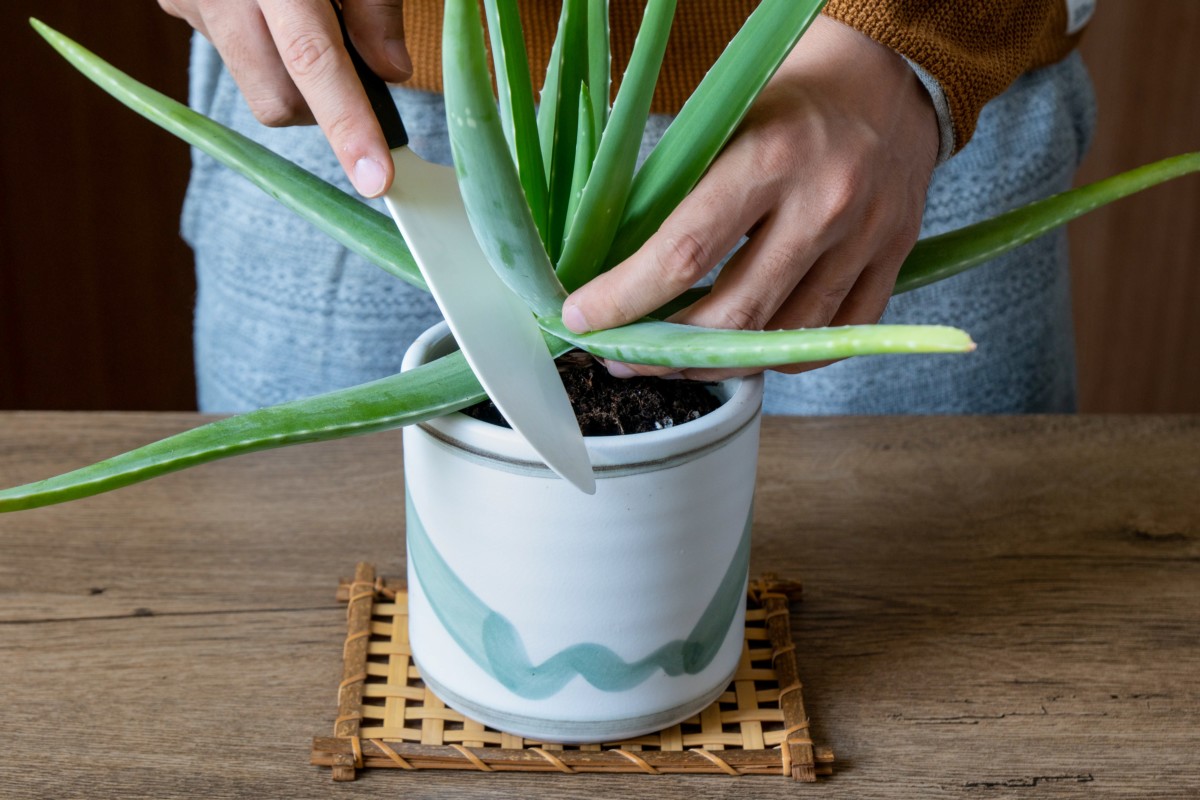
I’ve written a short piece detailing how easy it is to harvest aloe vera gel. In a nutshell, you’ll want to slice an aloe vera spear at the base, let the latex drain from the plant, then peel the outer skin off before pulsing in a blender.
Rather than using aloe vera that’s been sitting on a shelf for who knows how long, you’ll have the freshest gel packed with nutrients.
6. Root or Base Rot
Aloes and succulents are generally prone to diseases that develop from sitting in wet soil, such as roots and basal rot. If you end up with a sick plant, it’s usually one of these two.
Both are incredibly easy to prevent, though.
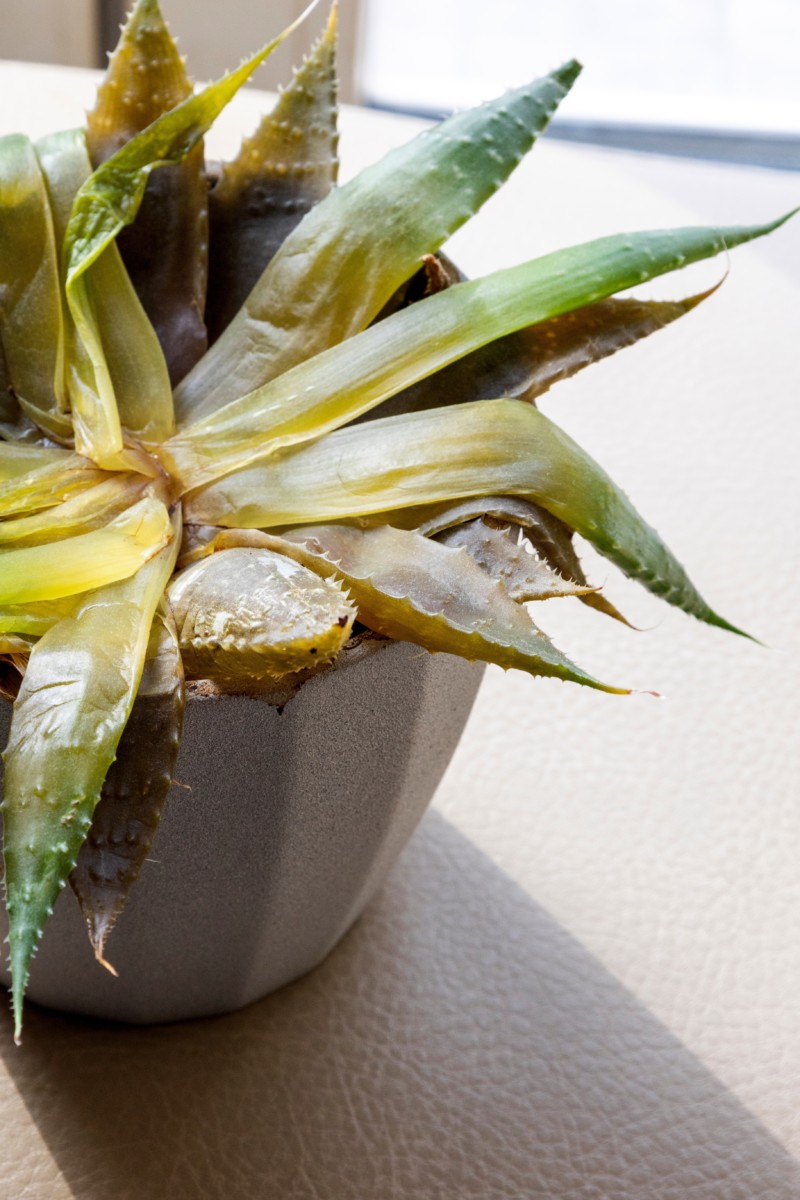
Base rot is caused when the crown or leaves of the plant are sitting in cold, damp soil for too long. Basal rot is easily diagnosed. The plant’s very base or crown will turn brown or red and become soft and mushy. Base rot must be identified quickly to save the plant; left for too long, the rot will travel up the plant, and it will turn black and die. If you catch it early on, you can usually cut off affected portions. You can also pull the plant from the pot and let it dry without soil for a few days, much the same as you would with a cutting to let it scab over.
Replant the aloe in well-draining soil and keep it in a warm, sunny location.
Root rot is triggered by too much moisture in the soil (overwatering and poor drainage). You can easily diagnose root rot by pulling the plant out of the soil. The affected roots will be brown and soft. Cut the rotted roots away using sterilized scissors and let the plant dry out for a few days before repotting it as described above.
If you want to ensure you never have to deal with base rot, sprinkle the top layer of potting mix with perlite or sand; in this way, the plant is never sitting on top of damp soil. And as for root rot, always stick your finger in the soil before watering. Be sure the plant has dried out from its previous watering, and use a pot with proper drainage.
7. Aloe Can Be Grown as an Air Plant
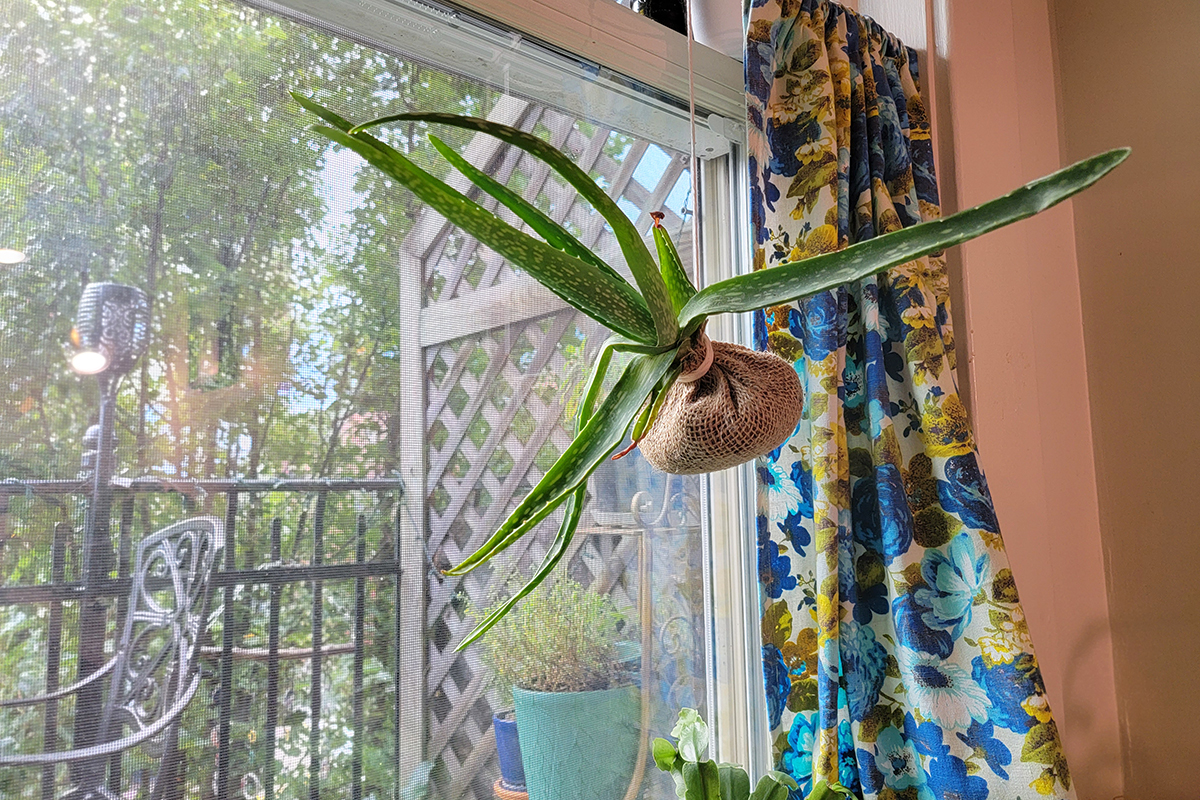
I think this is the most interesting thing about aloes, so I saved it for last. Much like Tillandsia, aloes can be grown without soil as an air plant. And the best part is, you can hang them. If you’re running out of surfaces to put plants on, it’s time to think vertically.
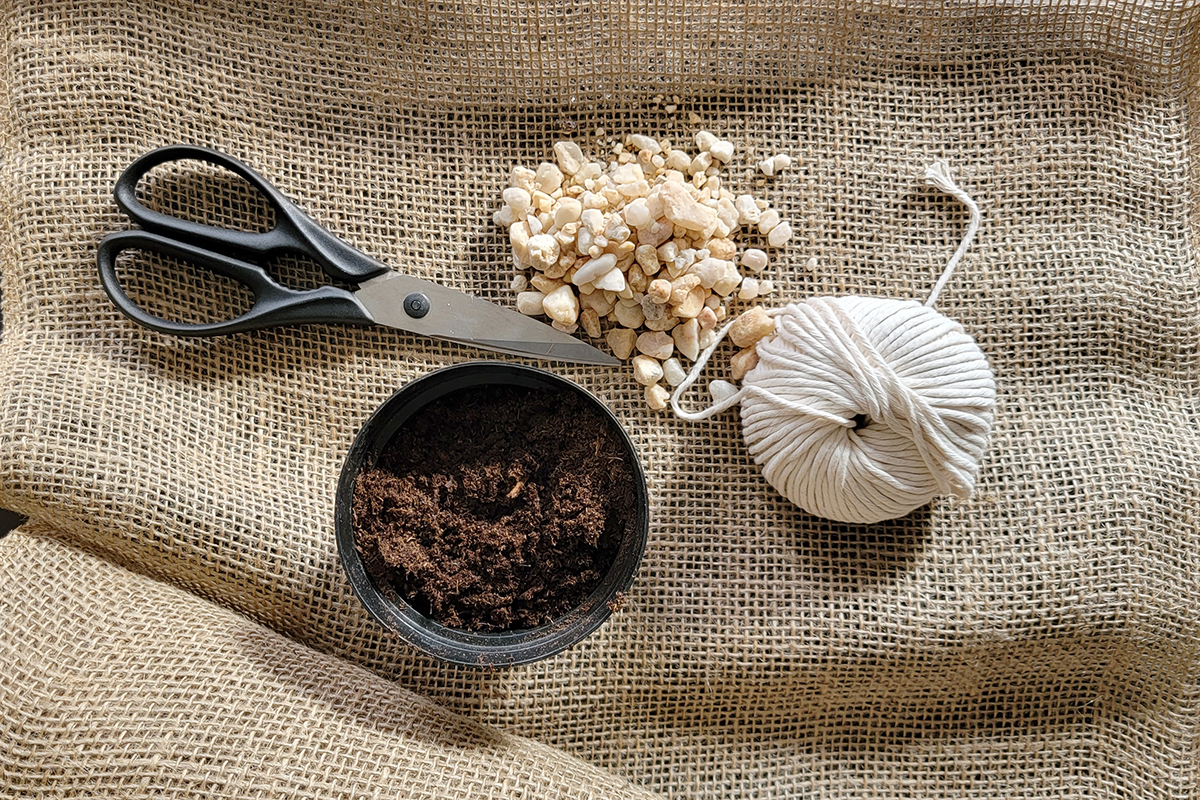
You can use pebbles and a mix of coconut coir. A square of burlap or tulle is used to hold the pebbles or coconut coir around the roots of the plant. Then it’s wrapped up and tied at the base of the plant. Add a length of twine or cotton string to hang your aloe in a sunny location, and you’re good to go.
Granted, you will need to water the aloe more frequently than a Tillandsia, but it’s just as easy. Place the burlap-wrapped end in a saucer with water for a few minutes, then remove and let the plant drain before returning it to its hanging spot. You can do this once a week. Once a month, add a bit of liquid fertilizer when soaking the plant.
If you don’t want to risk drips, you can just as easily spray the root ball every few days.
Here’s my full step-by-step tutorial for growing aloe as an air plant.

Get the famous Rural Sprout newsletter delivered to your inbox.
Join the 50,000+ gardeners who get timely gardening tutorials, tips and tasks delivered direct to their inbox.