

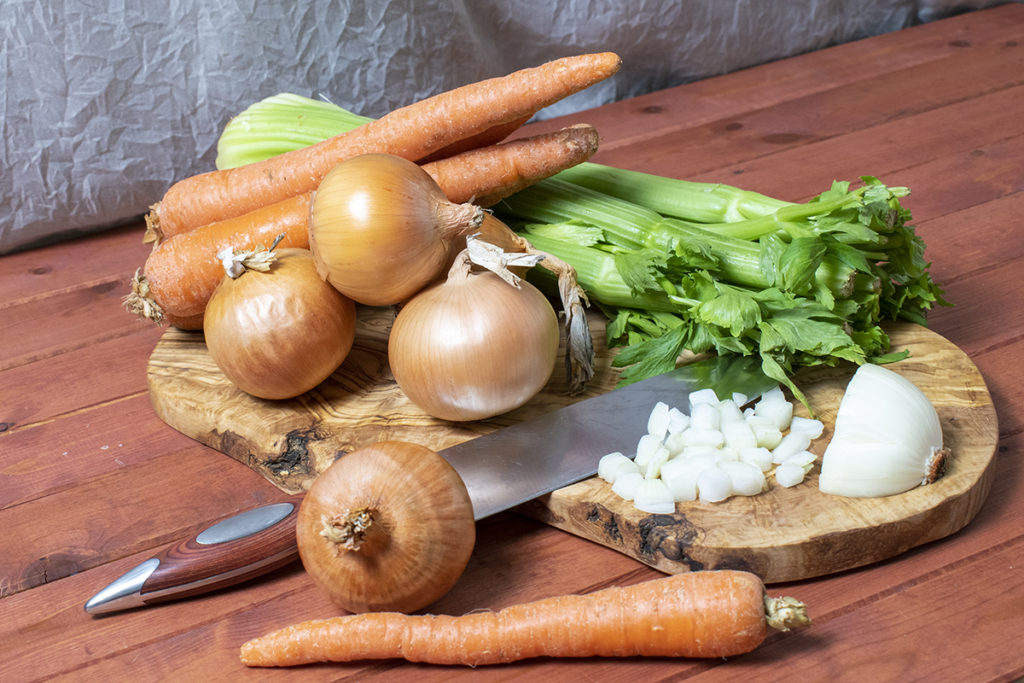

Celery, carrots and onions. Also known as mirepoix. These three humble vegetables are often the beginnings of some pretty incredible dishes – soups, stews, Bolognese, and stir-fries, to name a few.
To make this mix often requires quite a bit of work. Everything needs to be washed, the carrots and onions need to be peeled, and the tops of the celery and carrots need to be trimmed off. (If you use carrots with tops, be sure to save the tops to eat!)
And there’s lots and lots of chopping.
If you’re going to make mirepoix, why not go all out and make a large batch. Put a couple of hours into it and be ready with a stash of celery, carrots and onions whenever you need them.
The great thing about preserving a large batch is that you have two choices for long-term storage. I’ll show you how to freeze or dehydrate your mirepoix. But I think you’ll find that dehydrating this handy cooking staple is the best way to go.
Why Choose Dehydration over Freezing?
Because of how we’re going to prep the vegetables for dehydrating, you can just as easily freeze the mixture. I like using frozen convenience foods that I make myself; it’s hard to beat the color, texture and flavor of frozen vegetables from your garden.
But lately, I’ve been giving a lot of thought to the energy used to preserve my food.
Once the food is frozen, it takes energy to keep it that way. Then there’s the worry about losing food if there is a power loss that lasts several days. As the climate changes and our power grid here in the US continues to degrade, I find myself losing power more often each year.
I primarily use my freezer to store meat, but there’s plenty of fruits and vegetables in there as well. I would lose quite a bit of food and money if I lost everything. And that’s just a tiny little 5-cubic foot freezer. I know plenty of people with much larger, full-size chest freezers that would suffer a considerable loss.
Preserving food via canning or dehydrating means once the food is preserved, it doesn’t take any more energy to keep it that way.
Not only is this better for the environment, but it’s also better for my electric bill. Between the two, I’ve been opting to dehydrate more food.
As someone with a small home, the appeal of dehydrated food is obvious – it takes up less space than row upon row of mason jars. Because dehydrated food takes up less space, I save money on jars and lids too. Dehydrated food lasts much longer than canned food. And it’s much less labor-intensive. Most of the actual preserving is passive while the food dries.
Granted, dehydrated food has its limits.
Once rehydrated, the texture and firmness of the vegetables aren’t usually the same. But when we’re talking about something like mirepoix, which is mixed in other dishes, this doesn’t matter.
So, while I’m certainly not going to give up canning anytime soon, I’ve made space in my pantry for more dehydrated foods. And the classic mix of celery, carrots and onions is a perfect candidate to be dried.

Getting Started
Naturally, if you’re going to dehydrate vegetables, you should use the freshest possible. You want to dry food when it’s at its peak flavor and nutrition.
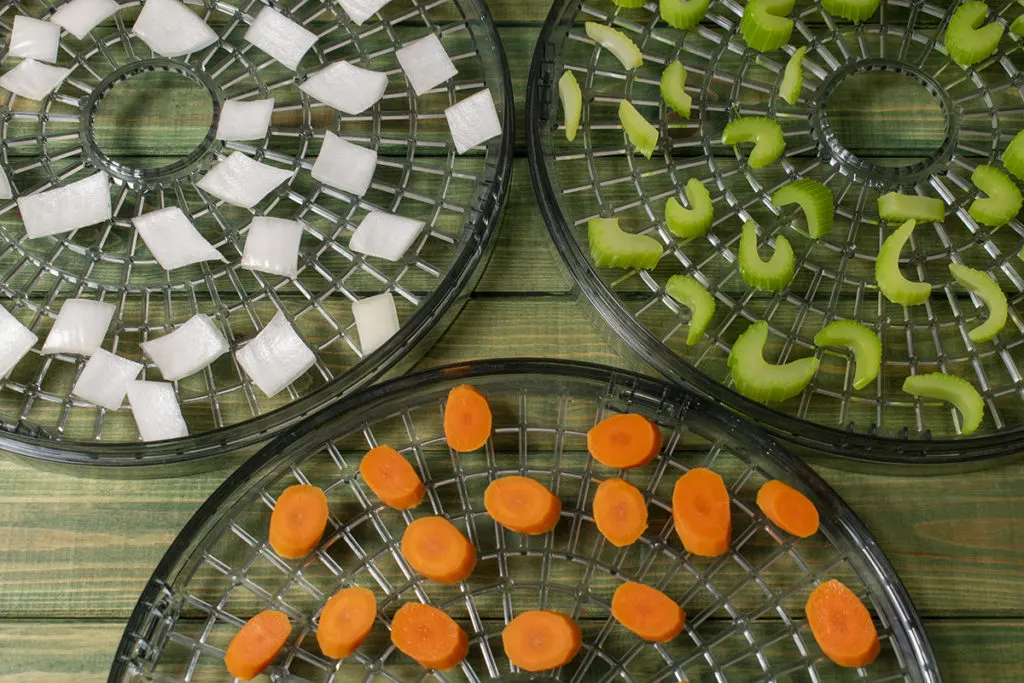
Prepping the Vegetables
Onions
Onions are by far the easiest to deal with when making a large batch of mirepoix to dehydrate. Peel the skins from the onions and slice them into rings that are ¼” to ½” thick. Alternatively, you can dice the onions as well.

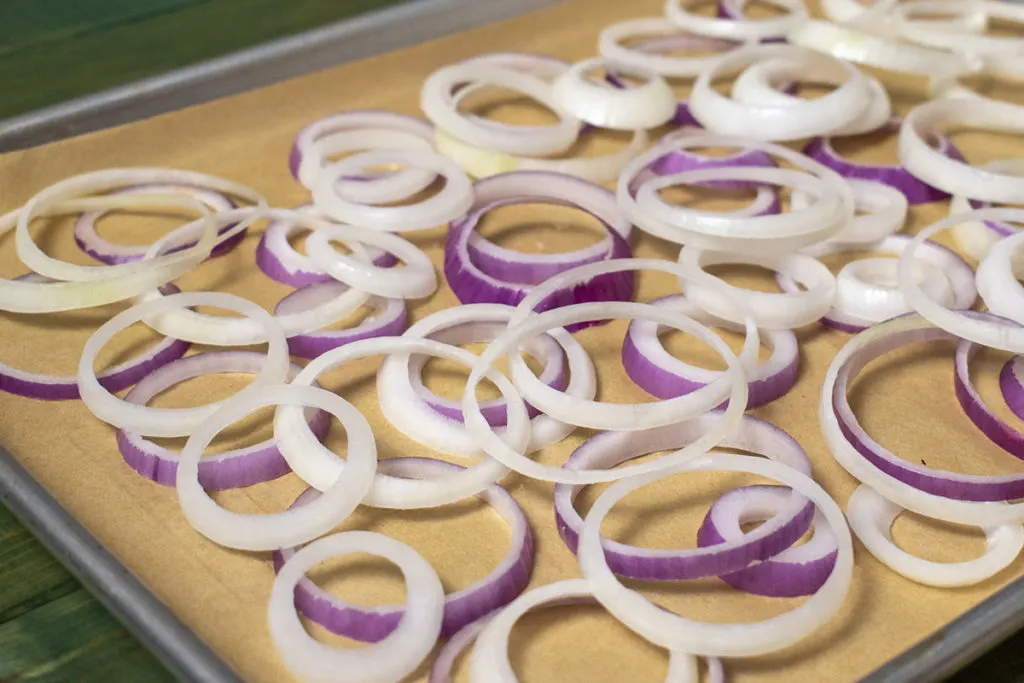
However, if you’re using a food dehydrator, you’ll need to be sure your onion pieces aren’t so small that they slip through the holes of the trays. Keep in mind they will shrink as they dry.
Carrots

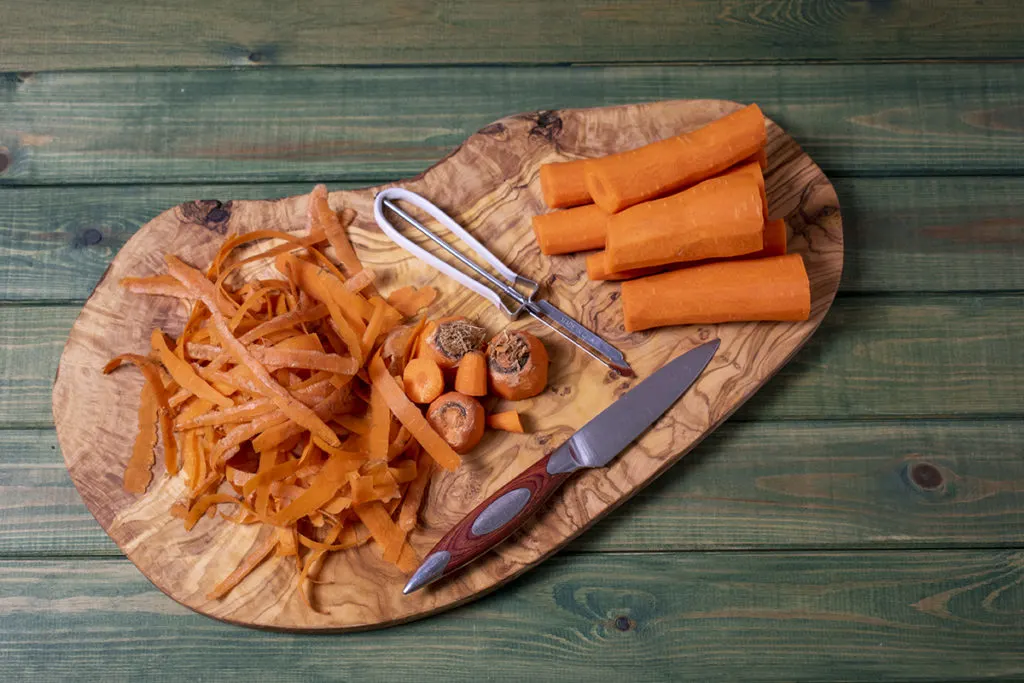
The carrots will need to be peeled and the carrot tops and tip of the carrot trimmed. Cut the carrots in half, but don’t slice them into chips yet.
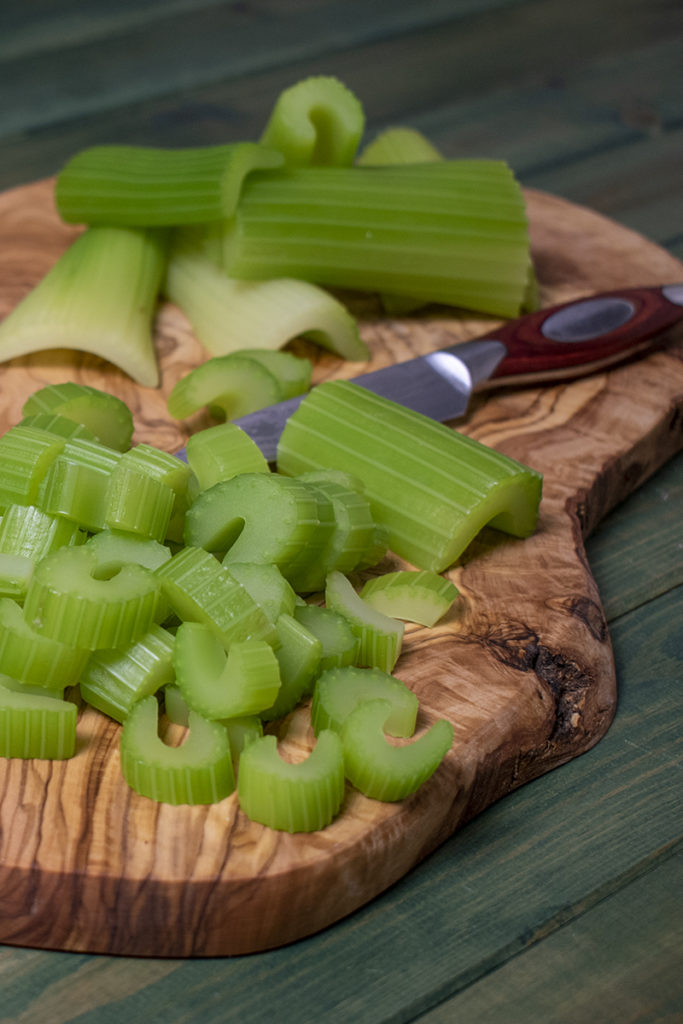
Celery
Cut the bottom portion of the celery off. Now cut the tops off just at the little joint before the stalk branches off into the celery leaves.
Don’t throw away the leaves and smaller stalks. Save them for your Ugly Broth Bag!

Rinse the stalks well to remove any dirt. Now, cut the celery stalks in half, as you did for the carrots.
Blanching

To retain the bright colors of the carrots and celery, there is an additional step. These two vegetables will need to be blanched first.
Blanching will allow both carrots and celery to retain their nice bright colors once dehydrated. Blanching will also shorten their cooking time once rehydrated.
Of course, you don’t have to do this step. It has no bearing on the flavor of the finished mirepoix. But drying the celery and carrots without blanching results in a much duller, brown finished mirepoix.

If this isn’t important to you, then feel free to skip this step.
Prepare an ice-water bath in your kitchen sink. Now, bring a large saucepan or stockpot to a rapid boil. Add your carrots and celery, cover the pot and boil for two minutes. Using a large slotted spoon or tongs, remove the vegetables to the ice-water bath to stop the cooking process.
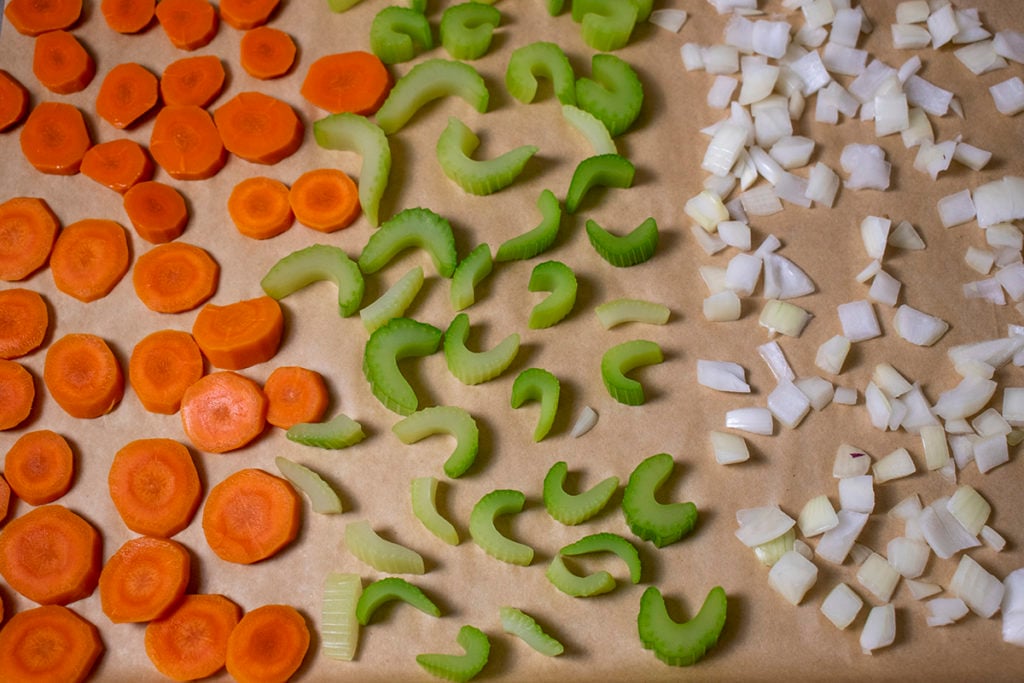
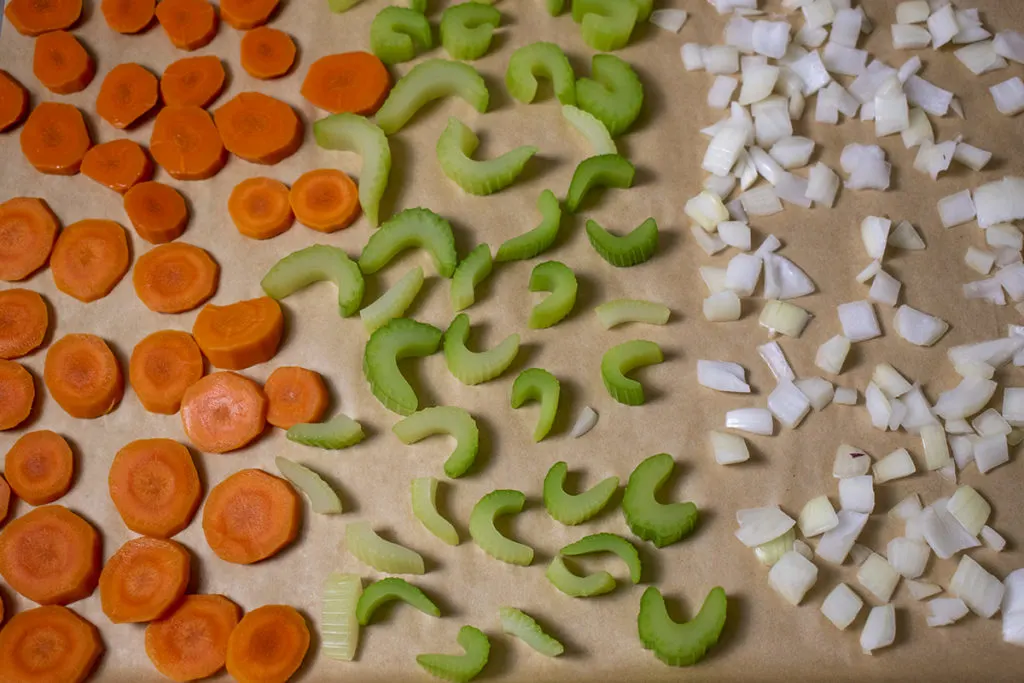
Slicing the Celery and Carrots
Because carrots are the densest vegetable in the mirepoix mix, you’ll want to slice them into thinner “coins.” I find somewhere between 1/8” and ¼” works best.
The celery should be sliced between ¼” to ½.”
In general, the most important thing to remember is to keep each type of veggie consistent in the size you’re cutting your slices.
Mirepoix Ratio
For a true mirepoix mix, you’ll want to use the ratio of 2:1:1 for onions, carrots and celery. If you just want the three vegetables for soups, stews, etc., you can use a ratio of 1:1:1.
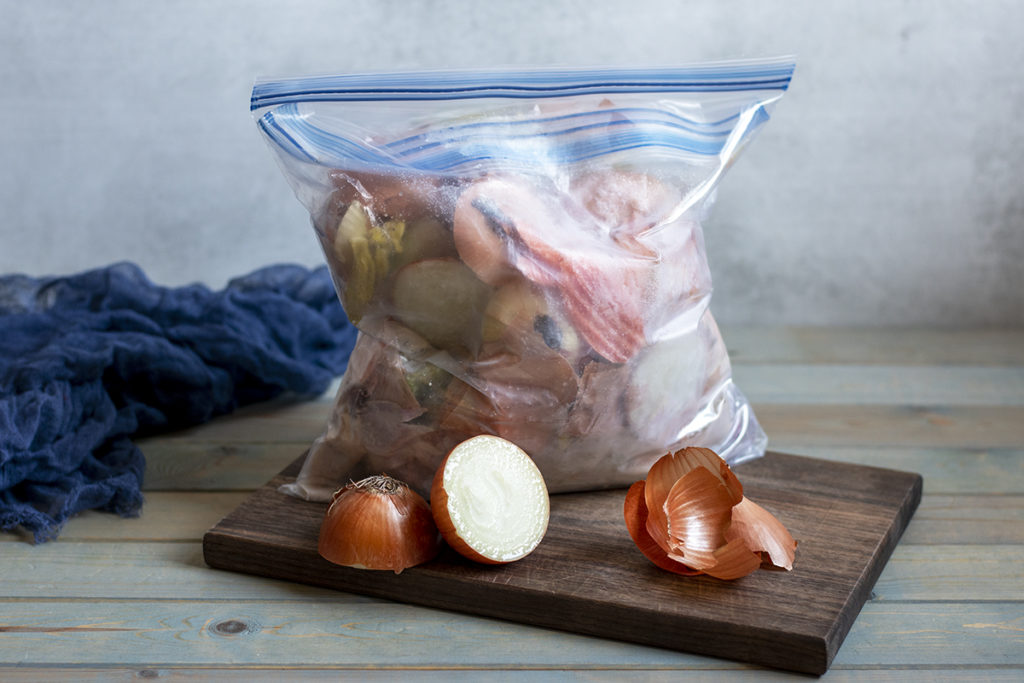
Freezing Mirepoix
It’s at this point you can freeze your mirepoix if you wish. Even if you plan on dehydrating your mirepoix, it’s not a bad idea to freeze one baking sheet full. It will come in handy when you’re busy or tired and want to get dinner on the table quickly.
Because we’re freezing it, we don’t have to worry about temperatures and thicknesses and making sure we pull each different vegetable from the oven or dehydrator at the right time.
Simply spread out your onions, carrots and celery on a parchment paper-lined baking sheet and pop it into the freezer. Once the vegetables are frozen solid (1-2) hours, remove them from the baking sheet into an airtight, freezer-safe container.
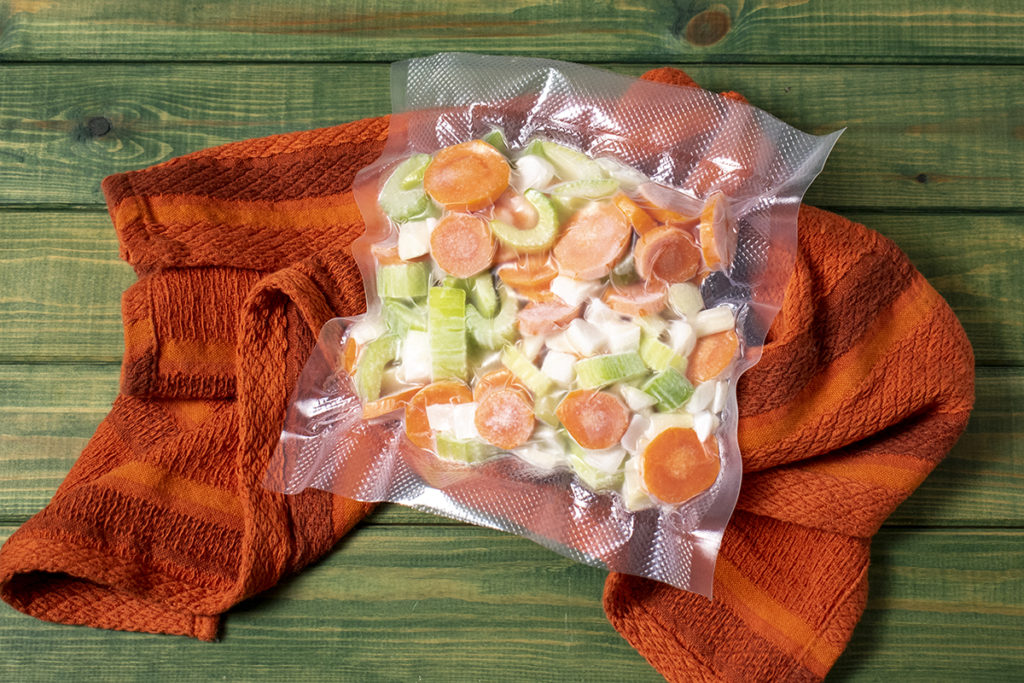

While this method does use more space and energy to preserve your carrot, onion and celery mix, it’s a convenient way to package soup vegetables to have at the ready.
Dehydrating Celery, Carrot and Onion Mix
You can dry the mirepoix in either a food dehydrator or an oven.
To dry the vegetables in a dehydrator, spread them out evenly on the food trays allowing for plenty of airflow around each vegetable slice. Keep one vegetable per tray to make removing them easier, as they will all finish drying at different times.

Set the dehydrator to 135F. The mirepoix should be dry after about 6-8 hours. It will be dry when the vegetables are no longer bendy and snap when broken in two.
It’s best to test a piece once it’s cooled completely.
To dry your vegetables in the oven, set it at the lowest setting possible or 135F. Arrange vegetables on parchment-lined baking sheets, one type of vegetable per sheet. Place the trays in the oven to dry.
Very few ovens can be set lower than 150F these days. To prevent the onions, carrots and celery from burning, prop the oven door open using a wine cork or wooden spoon handle. The vegetables should be dry after 6-8 hours of drying.
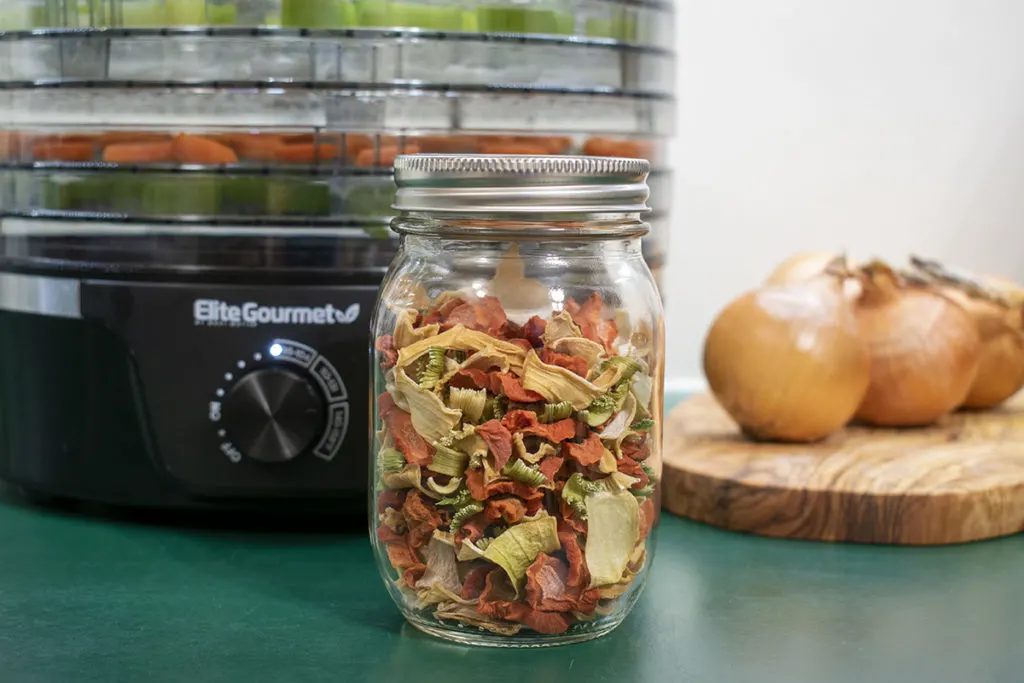
If conserving energy is a concern, I highly recommend investing in an inexpensive food dehydrator. Propping the oven door open creates a lot of wasted energy as the oven works to maintain the temperature it’s been set.
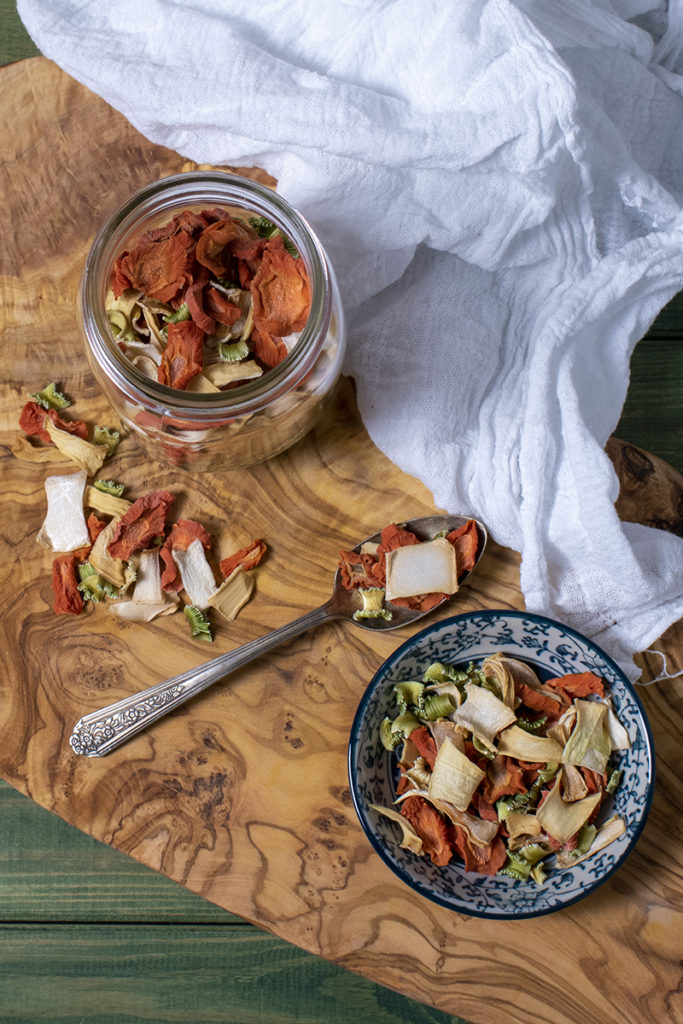
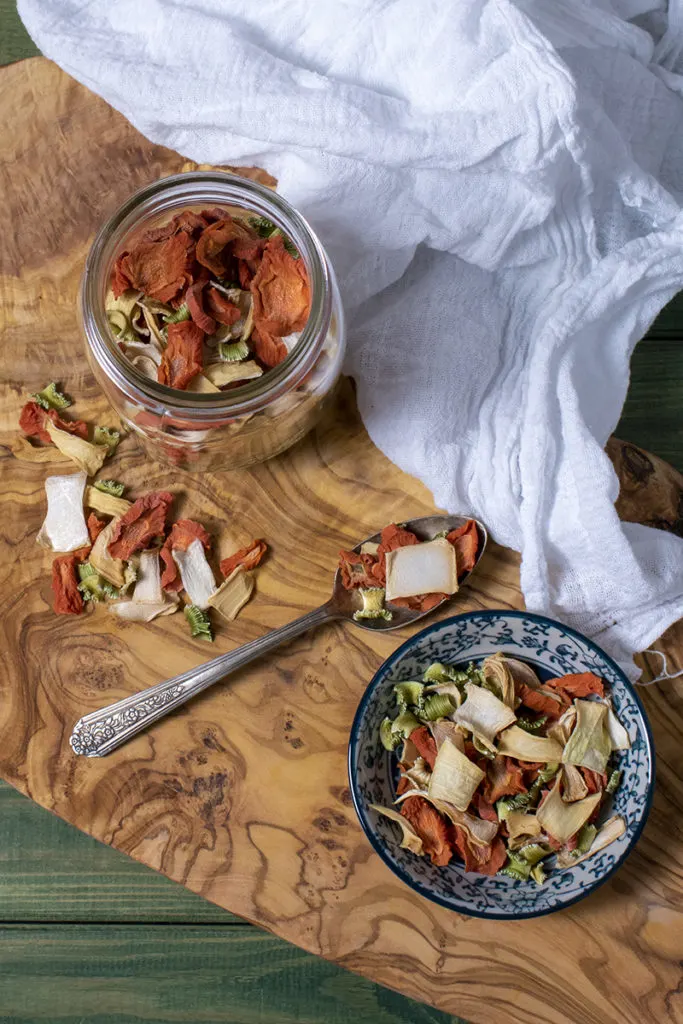
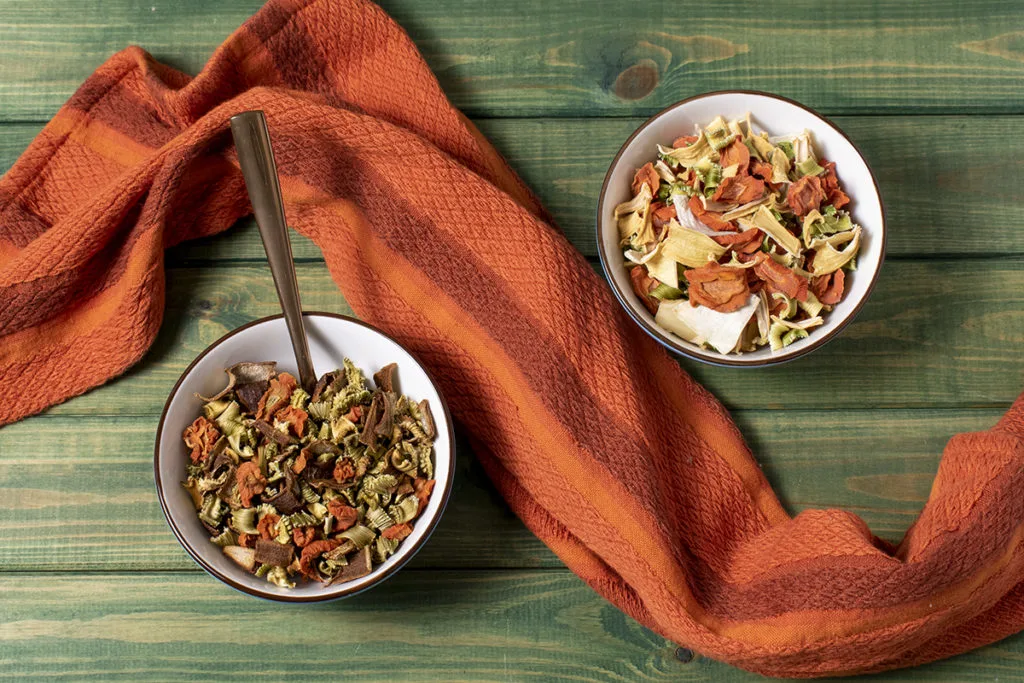
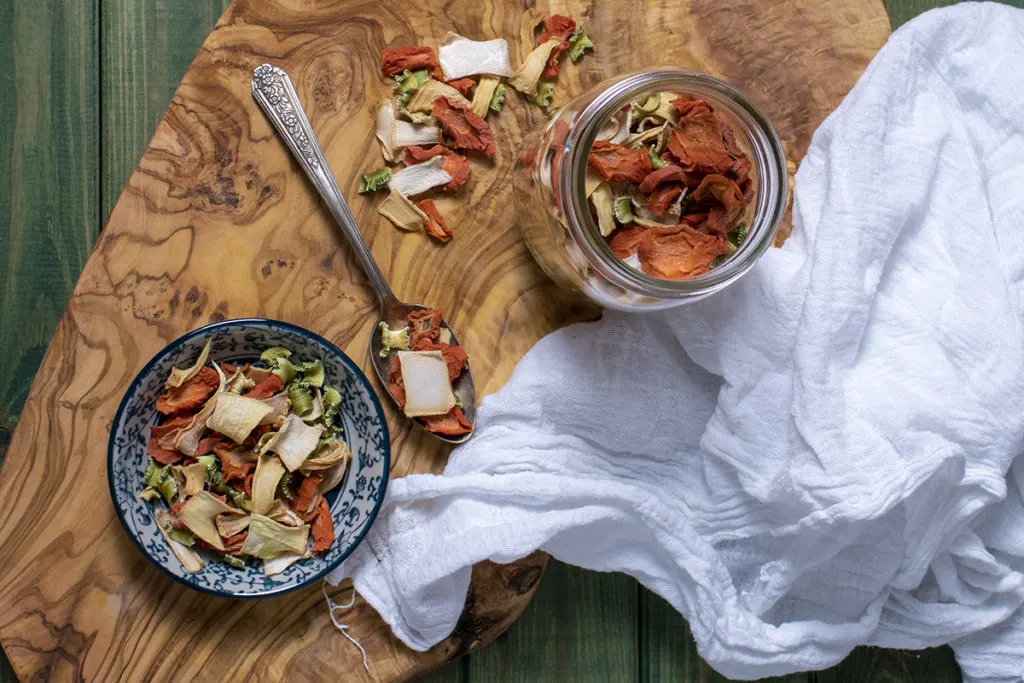
Storing Your Dried Mirepoix
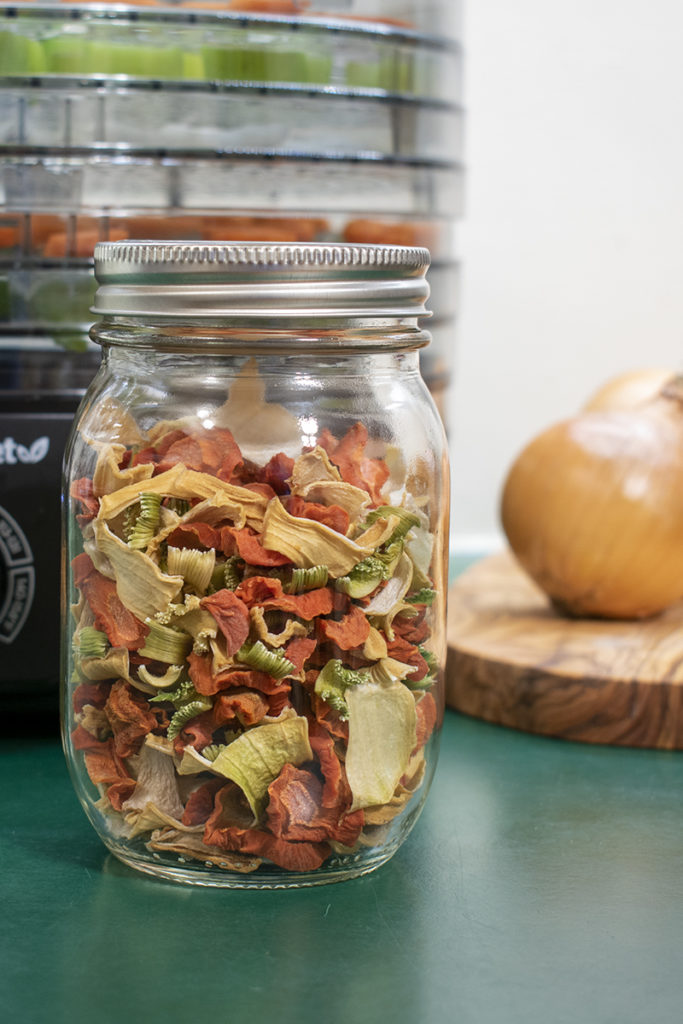

Once the vegetables have cooled completely, store them in a mason jar. Don’t forget to label the jar with the date. Stored this way, the dried veggie mix can last you for years! Much longer than frozen or even canned.
Desiccant
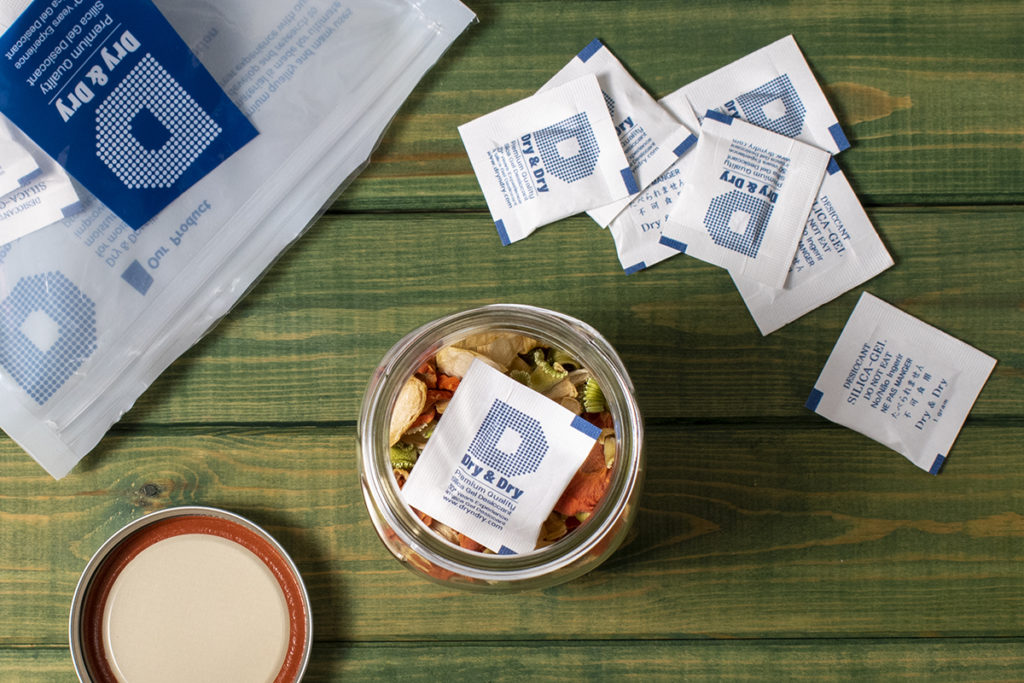
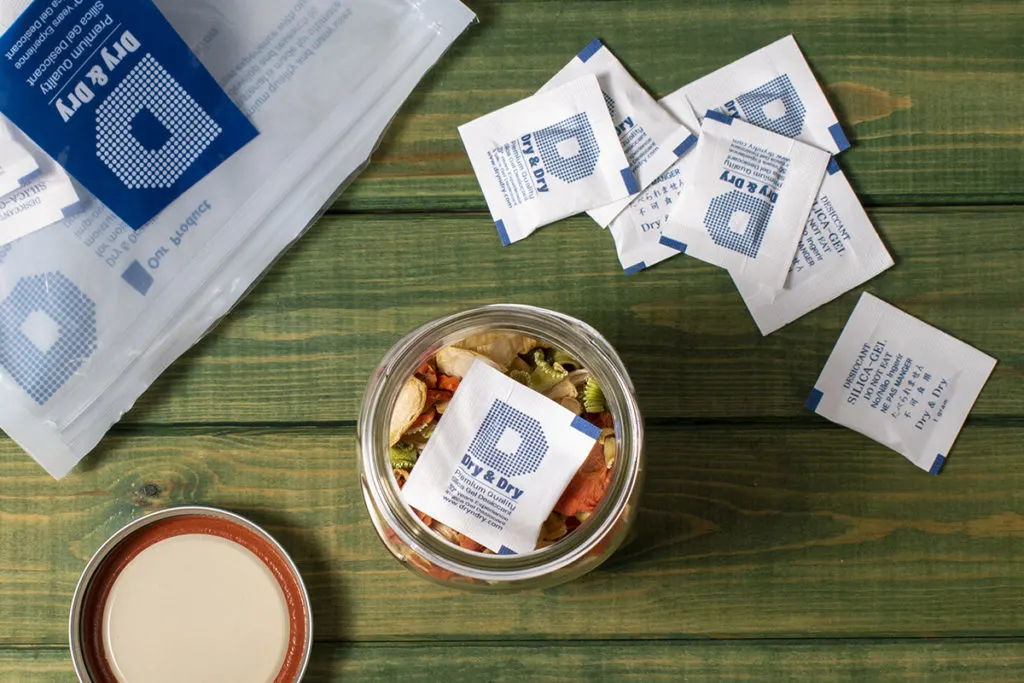
I’ve recently got into the habit of using a desiccant when I dehydrate foods. This little extra step adds another level of protection against spoilage.
I prefer to use the Dry & Dry 1 gram packets. They’re food-safe silica gel and change color once they’ve become saturated. You can dry the packets out in the oven and reuse them again and again.
Save space in your pantry by dehydrating some of your harvest this year. This delicious combination of carrots, onions and celery is the perfect place to get started. You’ll have food that can be stored longer, takes up less room, and doesn’t require extra energy to keep it preserved.

Consider making your own tomato powder, onion powder, garlic powder, or dried ginger powder too!

Get the famous Rural Sprout newsletter delivered to your inbox.
Including Sunday ramblings from our editor, Tracey, as well as “What’s Up Wednesday” our roundup of what’s in season and new article updates and alerts.